Regarding that transport GB: There will be a radial engine GB at the same time to allow for some crossovers…
Just wanted to update, work in progress…


Most of the building is finished…now the main painting can begin.
Nice looking P-40. What markings?
So far, it’s planned to be serial #119988
315 Squadron, 324 FG, N. Africa. From the research I’m doing, I believe this unit would have participated in the invasion of Sicily, my MO for the entry.
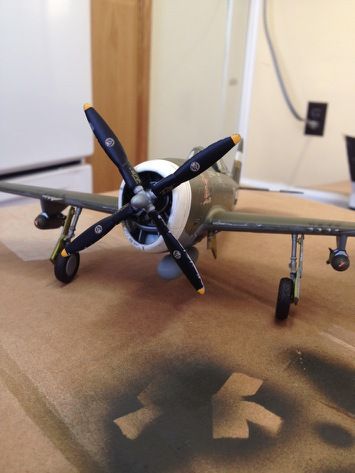
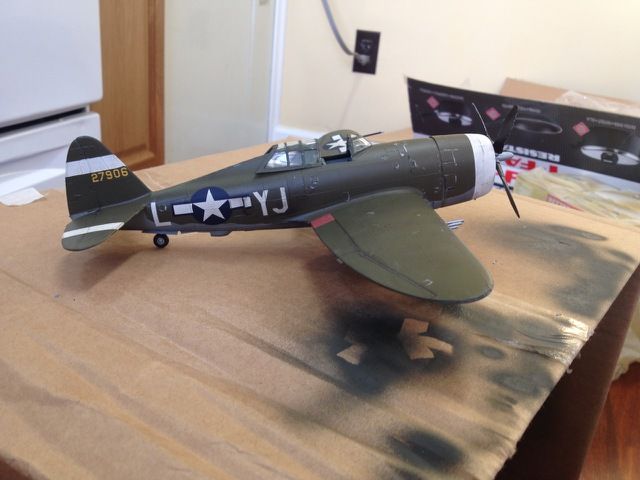
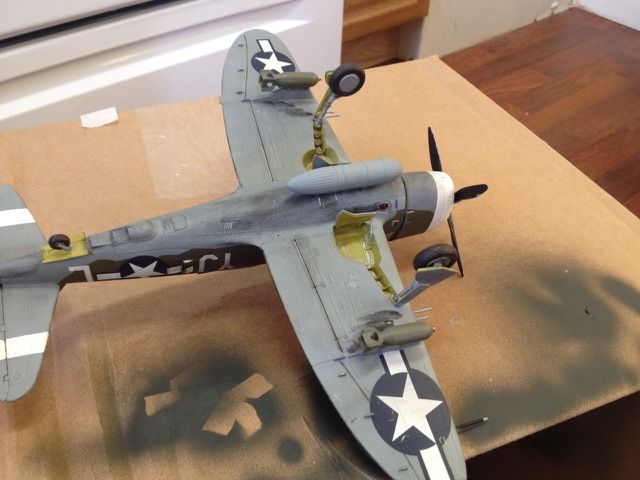
Well here we go, my Monogran P-47D, Chief Wahoo of the 353rd FG. Decided against accenting the panel lines in favor of giving a coating in various pastels to give alittle depth. I like the way it turned out. Hope you guys do too. 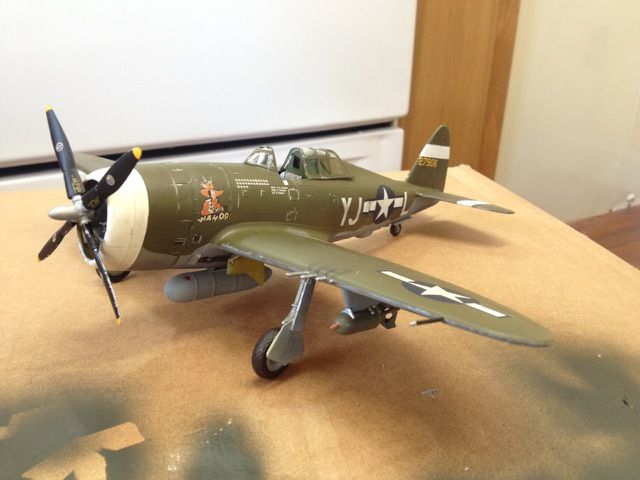

Hey nice work on the Jug! I like the chipping.
ajd3530,
That’s a nice looking razorback. I agree that accenting the panel lines on these is probably not necessary. A nice “wear” is just as effective.
Gary
That’s a great looking build, and I think your approach has worked nicely.
I too think the jug looks smart. Panel lines tend to be exaggerated all too often, so a good move there on your part.
regards,
Jack
I am hopeing I can get my 109 in just under the wire. The decals are done and have added the exhaust staining. Going to matt coat tomorrow and will get some pics then before the final stages. I don’t plan on doing much weathering on this one.
Sweet looking jug!
I decided to push on through and just get this one finished, and just about made it. I added metal gun barrels and pitot from master. The Begmont decals were nice, but the white in the upper wing crosses was to wide so I replaced those from the spares box. The Staffel badge under the cockpit was way to big, so I usethe one from the kit. That’s still a bit to big, but not as bad.
Here’s the finished pics.


Thanks for looking and its been another fun GB.
Now on to 1944.
hey Bish, wow!
This one came in roaring out of no where - I was aware you were cutting it close with the deadline, but did not expect a complete dio - well done! [Y]
The wing top crosses still look different to me, I thought they were usually narrower, but here look to be same dimension as those on the fuselage?
regards,
Jack
Thanks Jack. You might well be right, I didn’t actually think about checking the full width, I was just looking at the thinner white lines. The only pic I have showing the top of this aircraft, its on its nose and the photo is at an angle to the crosses. I just picked out decals that matched the AM ones but thinner white.
That will teach me to check references, I have plenty. I will have to mark that one down to experience.
It was a pretty simple dio anyway, so didn’t take to long to put together.
Happy New Year all!
Regrettably, I’m not going to finish on time, life got in the way one too many times. (I’m actually using this New Year’s Eve night to get some bench time in.)
I’ll post a picture when I’m done. (Especially because I want to get moving on the '44 build. I have a whole YEAR to get that one one done…)
Mine has been done for awhile, just haven’t taken pictures, I will do that tomorrow.
Nice looking dio, Bish!
I wasn’t able to finish in time, but I got the AM decals yesterday and I’ll try to finish her up this weekend…
For some reason only a small section of my post showed up. Let me try again…
I know I’m over the time limit, but I still wanted to post progress pics here.
Well, I got good news and bad news…
First the good news:
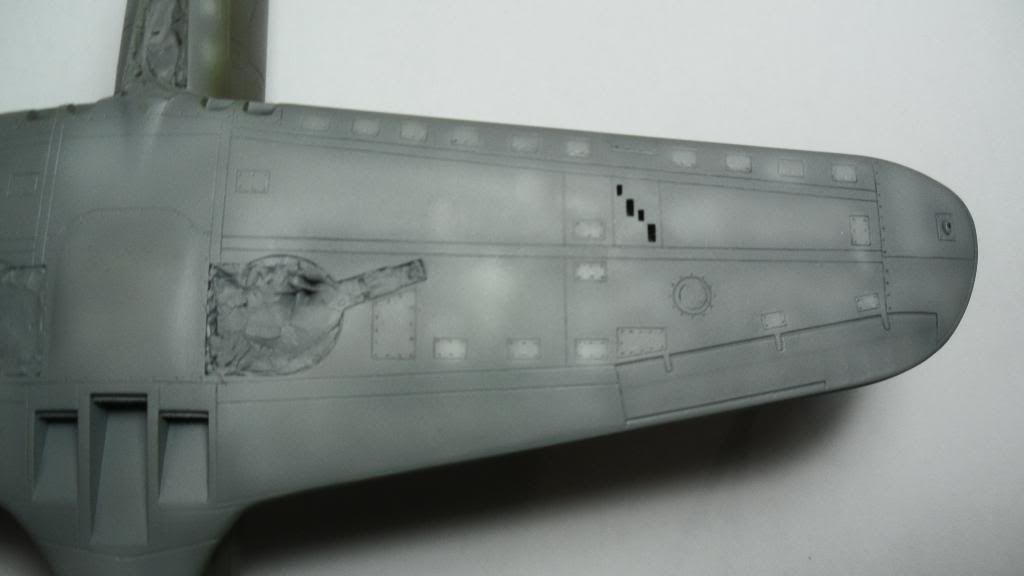
I got my Cobra painted by now and she just got her gloss coat yesterday. The model itself is at my LHS (I left her there to dry because the shop is almost dust-free unlike my modelling area). I’ll pick the Cobra up tomorrow and start decalling. Here are some pics:
Preshading (kinda heavy-handed as an attempt to make her look dirtier):
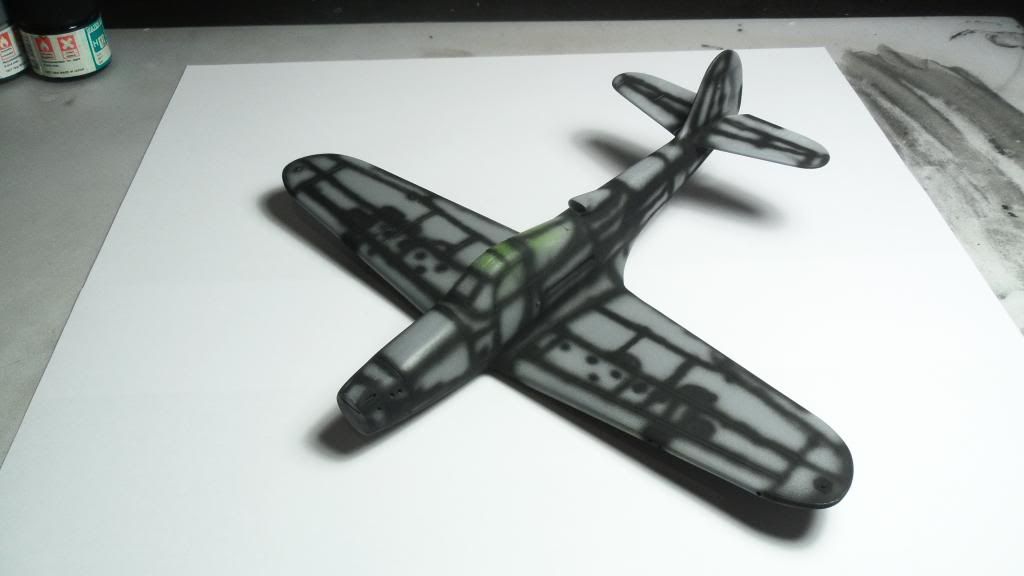
Lower surfaces painted with light coats of Gunze Neutral Gray:

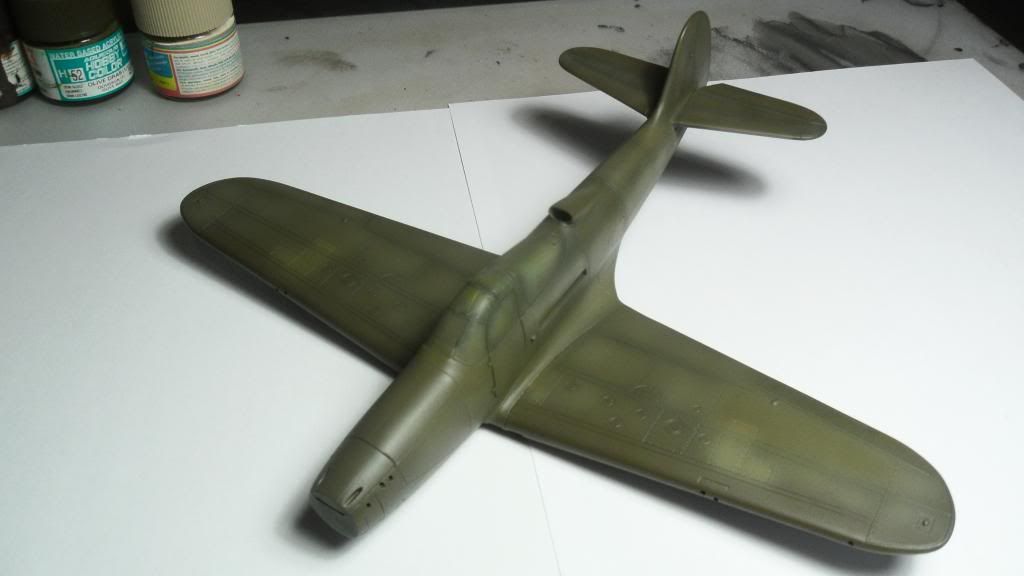
Then I painted all the upper surfaces with Gunze Olive Drab 1:

I had to do some touch-up work on the nose and wing tips and kinda messed up. Here’s the result (I have no idea how I managed to do that):

That meant that a few more coats of OD were necessary which partially killed the preshading effects.
After fixing my little paint-problem I decided to weather the paint a bit by applying different shades of OD and Gray to the model in very light coats staying at panel centers and highlighting access panels. I got a lot of inspiration from Aaron Skinner’s P-39 painting tutorial in the december issue of FSM.

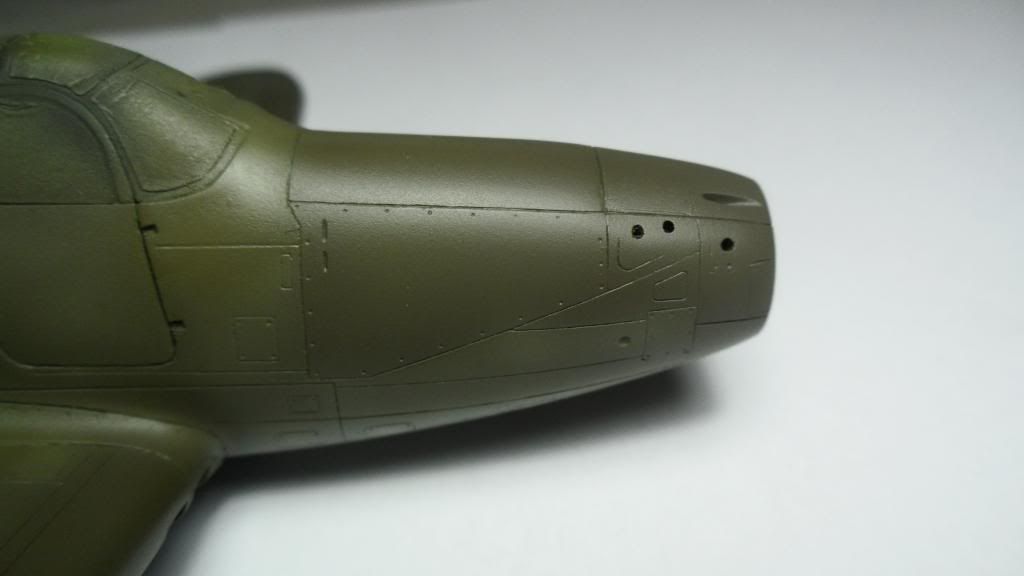
I sprayed some panels on the the nose in OD mixed with a bit of Chocolade Brown to add a bit more interest to the model:
My camera didn’t pick up all the shades of OD, but here’s a shot of the right wing:

There’s more color variation visible on the real thing, but it doesn’t show in the pics…
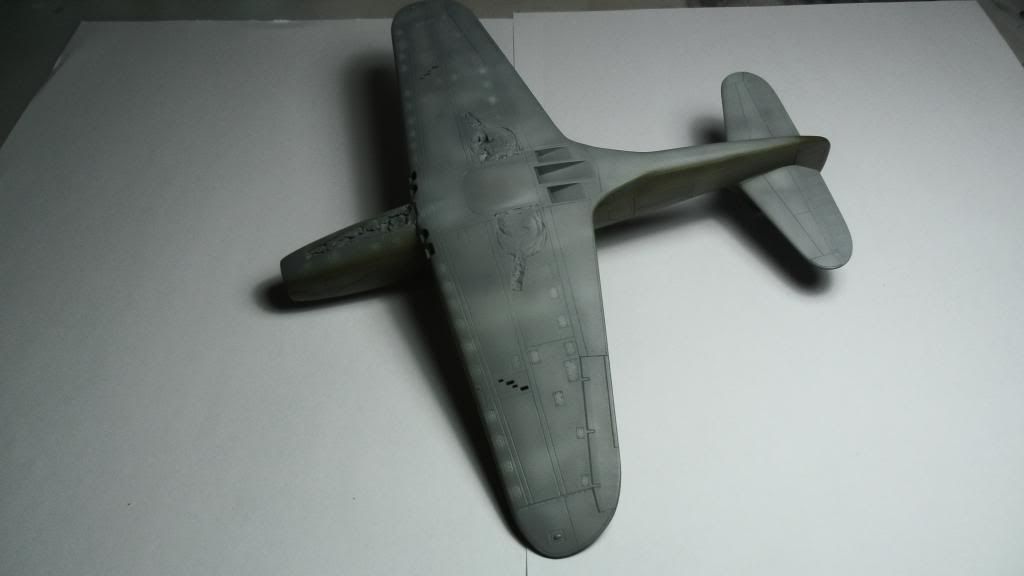
The lower surfaces got a similar treatment with Light gray (FS 36495) as the highlighting color:
The OD looks more brownish in person, but I can’t get my damn camera to pick up the colors properly. The mediochre lighting doesn’t help either…
Ok, now to the bad news: I got all the decals, but I made a terrible mistake: The decals I ordered only include markings for 2 1945 Airacobras. That means my Cobra won’t fit this GB anymore [bnghead] I’m sorry. I’ll just post a separate WIP thread in the aircraft section for those of you still interested in this build…[:(]
Cheers, Clemens
Ok I got the problems sorted out. All the pics should be visible now [;)]