Now that’s a sweet looking build Eric. Love the paint job and great work on that mask.
A well tapered mast is a tough one. I’ve seen them available at specialty shops and they are very expensive and there’s no guarantee you’ll find one for every kit. Top ship modelers are incredibly good and I don’t doubt some folk figure out a way to scratch build them. (I know some modelers buy metal tank antennas which taper and will suit some ship kits for masts.) Fortunately a lot of masts are modular and have varying widths per section. As you can see the plastic mast on Tamiya’s Scharnhorst does have a taper. The plastic mast isn’t bad for the scale, but on the advice of uber-meister ship guru Jim Baumann I build all my masts in brass because it will handle rigging so much better. (I also didn’t attempt to align the yards correctly - I don’t think epoxy would have held such a fine join. (I’ve bought a solder gun and might try that next time.) So the next best thing is to use thin brass tubing that will fit inside a slightly larger tube. Has evident use for all kinds of scratch building. Albion Alloys sells this stuff on several sites. If you go to their web site they have their own offerings available along with a very nice download on which size tube fits into another - I’m sure if you’re careful you could get the right stuff at a well stocked hardware store.
www.albionalloys.co.uk/metal-for-model-makers
I’ll be using more. I’ve got an old Revell Campbelltown that I’m going to build as USS Ward as part of my planned Minnesota Navy. (Ward’s guncrew were Minnesota reservists and they fired the first US shots in WWII - and hit something - a IJN mini-sub entering Pearl Harbor. The gun is in front of the state capital in St. Paul.) Anyway, the Revell gun is awful and I plan on building my own. We’ll need slide tubing for that no question.
Eric
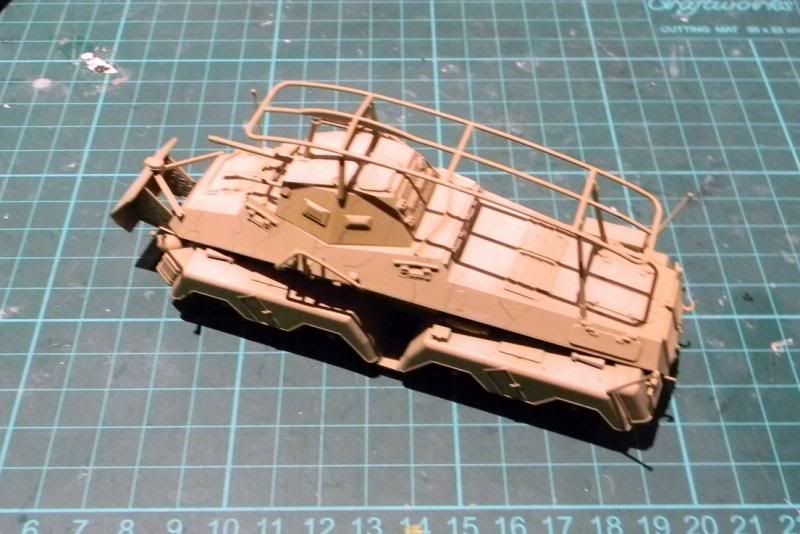
I’ve painted my 1/48 Sd Kfz 232 using the Vallejo Air set for Dunkelgelb. First time I’ev used Vallejo Air, and didn’t mind it. The pencil lines that you can see are guides for the camo pattern.
Cheers
Tony

Well working with the tracks today, I decided to just paint them a plain metallic grey. I might airbrush some browns on to try things but I just want to get things moving. Maybe for the D-Day GB I can try some weather of tracks. Also to anyone every planning on building a Tamiya 1:48 TIger, I used the sprue tree as a guide to make the tracks as the instructions said to, but the shape for the sag didn’t turn out right. I have a small way of fixing it somewhat, and most people that see it wont notice. We’ll see if you you guys do when I get pictures up.
Thanks for the tip WW2psycho, I have a few more of those Tamiya Tigers in my future, especially the new one.
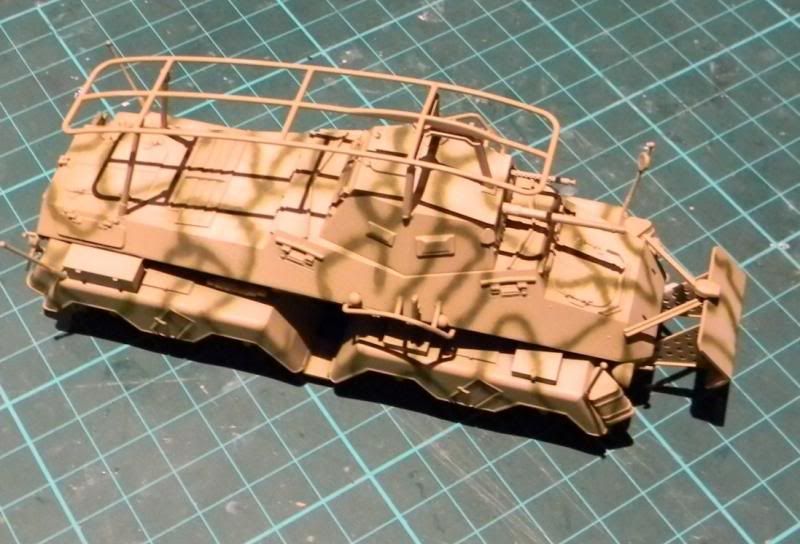
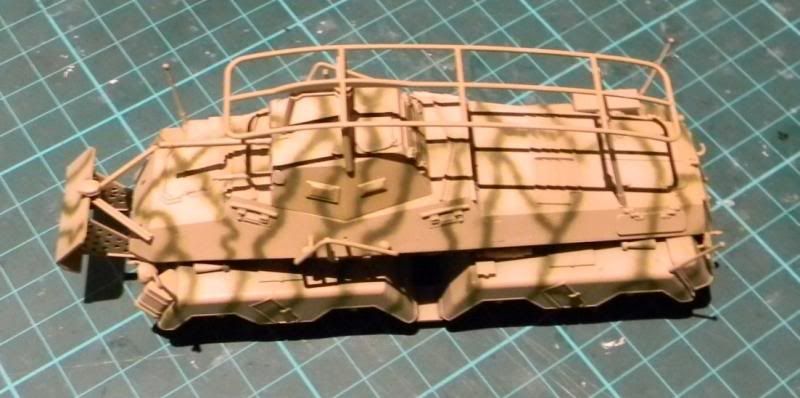
I laid some camo down on my 8 Rad. I’ve since decided that the real vehicle had a heavier, thicker green pattern, so I’ve reloaded the airbrush and beefed it up, but haven’t got around to photograph it. I never anticipated that I’d be able to airbrush lines that are too thin  Here it is with the thin pattern, anyway.
Cheers
Tony
I want to apologize, as I have greatly neglected this thread, and the website in particular. It started with computer problems, and now I am having very serious problems at home. As soon as I can get my computer working, I will update the front page for this group, and other than that, I am officially taking a hiatus from the forums. I will be back someday when I get everything sorted back out and some sense of normalcy again at home. Thank you all for understanding, and enjoy the rest of the group build!
-budd
Good to hear from you sub. Hope you are able to get things sorted soon.
Yes, Sub, very good to see you here, even if only briefly. I hope that things settle down for you quickly and that life smooths out to give you no more troubles or hassles at home.
Come back soon Sub!
All the best Sub.
Well my tiger took a dive off the table last week so I’ve been repairing it, shouldn’t take all but tonight to be back where I was plus a little bit. Need to do some touch up airburshing, finish the tracks then decals.
Ouch, don’t need that WW2.
I put the Me 109 to one side for a couple of weeks. But I have the undersides painted and getting the top camo done this weekend. So should have some pics in a couple of days.
Tamiya 1/700 Scharnhorst is all done. Except for weathering, railing and rigging - minor details when building a ship. Should be done before December.
Eric


She looks fantastic, Eric! Outstanding work!
I finally got my prop yesterday:
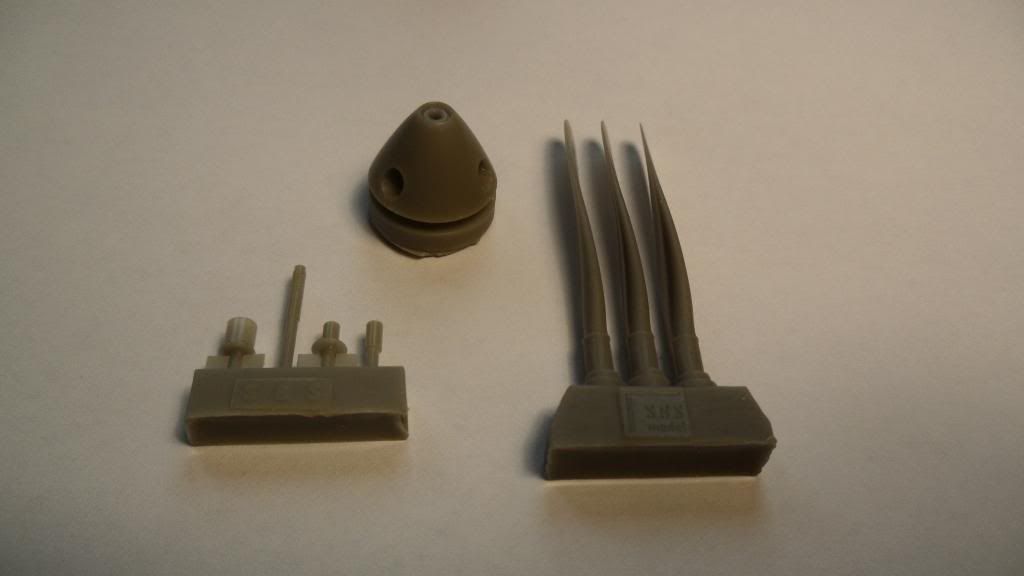
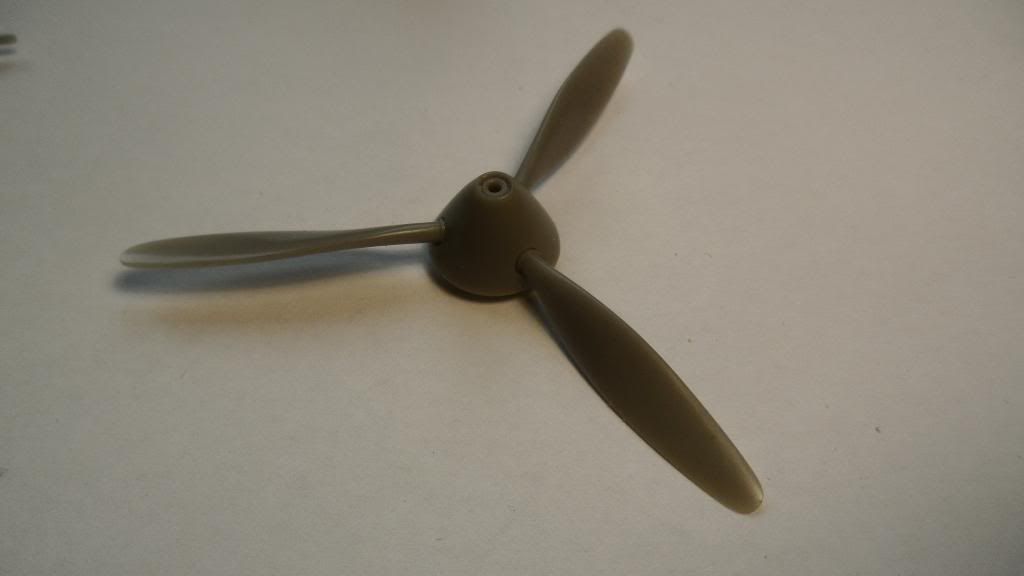
Everything looks nice and the molding is really crisp!
My Cobra is ready for some primer, but I will wait untill I get my December issue of Finescale. There is a tutorial in it on how to achieve a well weathered OD finish and I want to have a look at that article first before spraying some paint on her.
Here’s how she looks right now:
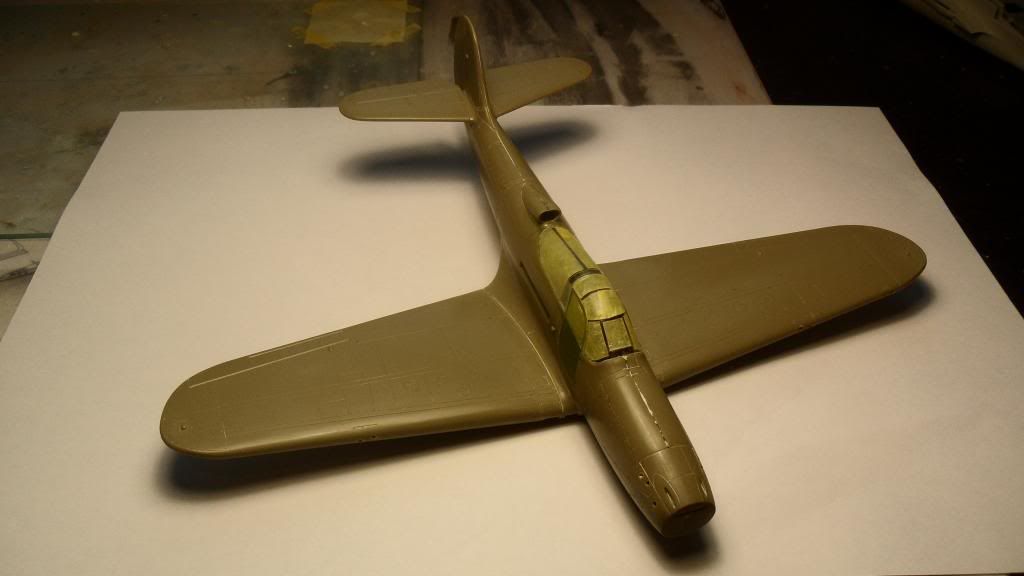
I will finish this Cobra, but I won’t have the time for the secon one…
Cheers, Clemens
Eric, she is looking really nice.
SS, looking good there. I haven’t read through that OD article yet, but it looks interesting. I will certainly be having a proper read of that.
Thanks, mate!
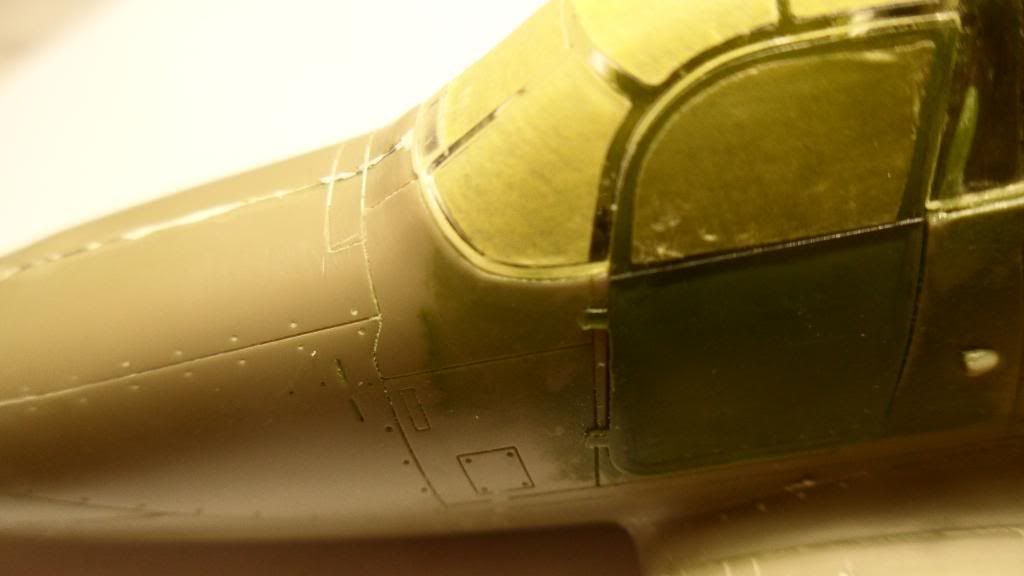
The fit of the canopy was horrible. There is a step all the way around where it attaches to the fuselage. Should I try to even it out? If yes, any tips on how to do so?
Nice Airacobra Clemens! I like that resin prop and spinner. I gotta build me a P-39 soon, but will go with the Hasegawa kit. Not sure on the canopy, can you post a pic? What I have done is take some Mr. Surfacer 1000 and apply it with a toothpick around the canopy, then let it dry an hour, and take a q-tip dipped in Mr. color thinner and blend in the surfacer with the canopy and fuselage.
Eric, your Scharnhorst looks outstanding! That camo scheme really looks killer!
Clemens, your P-39 is coming along quite nicely. I look forward to seeing what you will do to the OD for the war worn look on it.
Nathan: Here are some pics of the canopy. The step goes all the way around and is kinda big in some areas:

The spinner is really nice indeed with a chioce of 4 gun barrels: 3 37mm barrels (one with a barrel shroud, one with a cover for the gap between the barrel and the spinner and one is just the plain barrel) as well as a Hispano barrel for Cobras armed wih a 20mm gun.
It also eliminates the problem I had with the kit-supplied spinner: That one was a bit too small, while the resin spinner seems to have the correct diameter to fit the nose.
I think the Hasegawa kit uses the same molds, but I’m not sure on that one…