I’ve posted bits and pieces of this over in “What Did You Do on Your Workbench Today?”, so some of you have already seen the beginning of this story.
But after what happened tonight, I got to thinking that there might actually be something useful here for other people, and it would probably disappear pretty quickly buried in the Workbench thread.
So here we go. The continuing adventures of the Graybird of Indifference. 
A few days ago I did something that was surprisingly difficult for me.
I deliberately built a bad model that I had religated to the giveaway bucket.

I pulled an old Monogram A-4 out of my Bucket of Doom to use as a test mule. This was a kit I had absolutely no interest in actually building, so I decided it was finally going to earn its keep.
I built the airplane in about an hour.
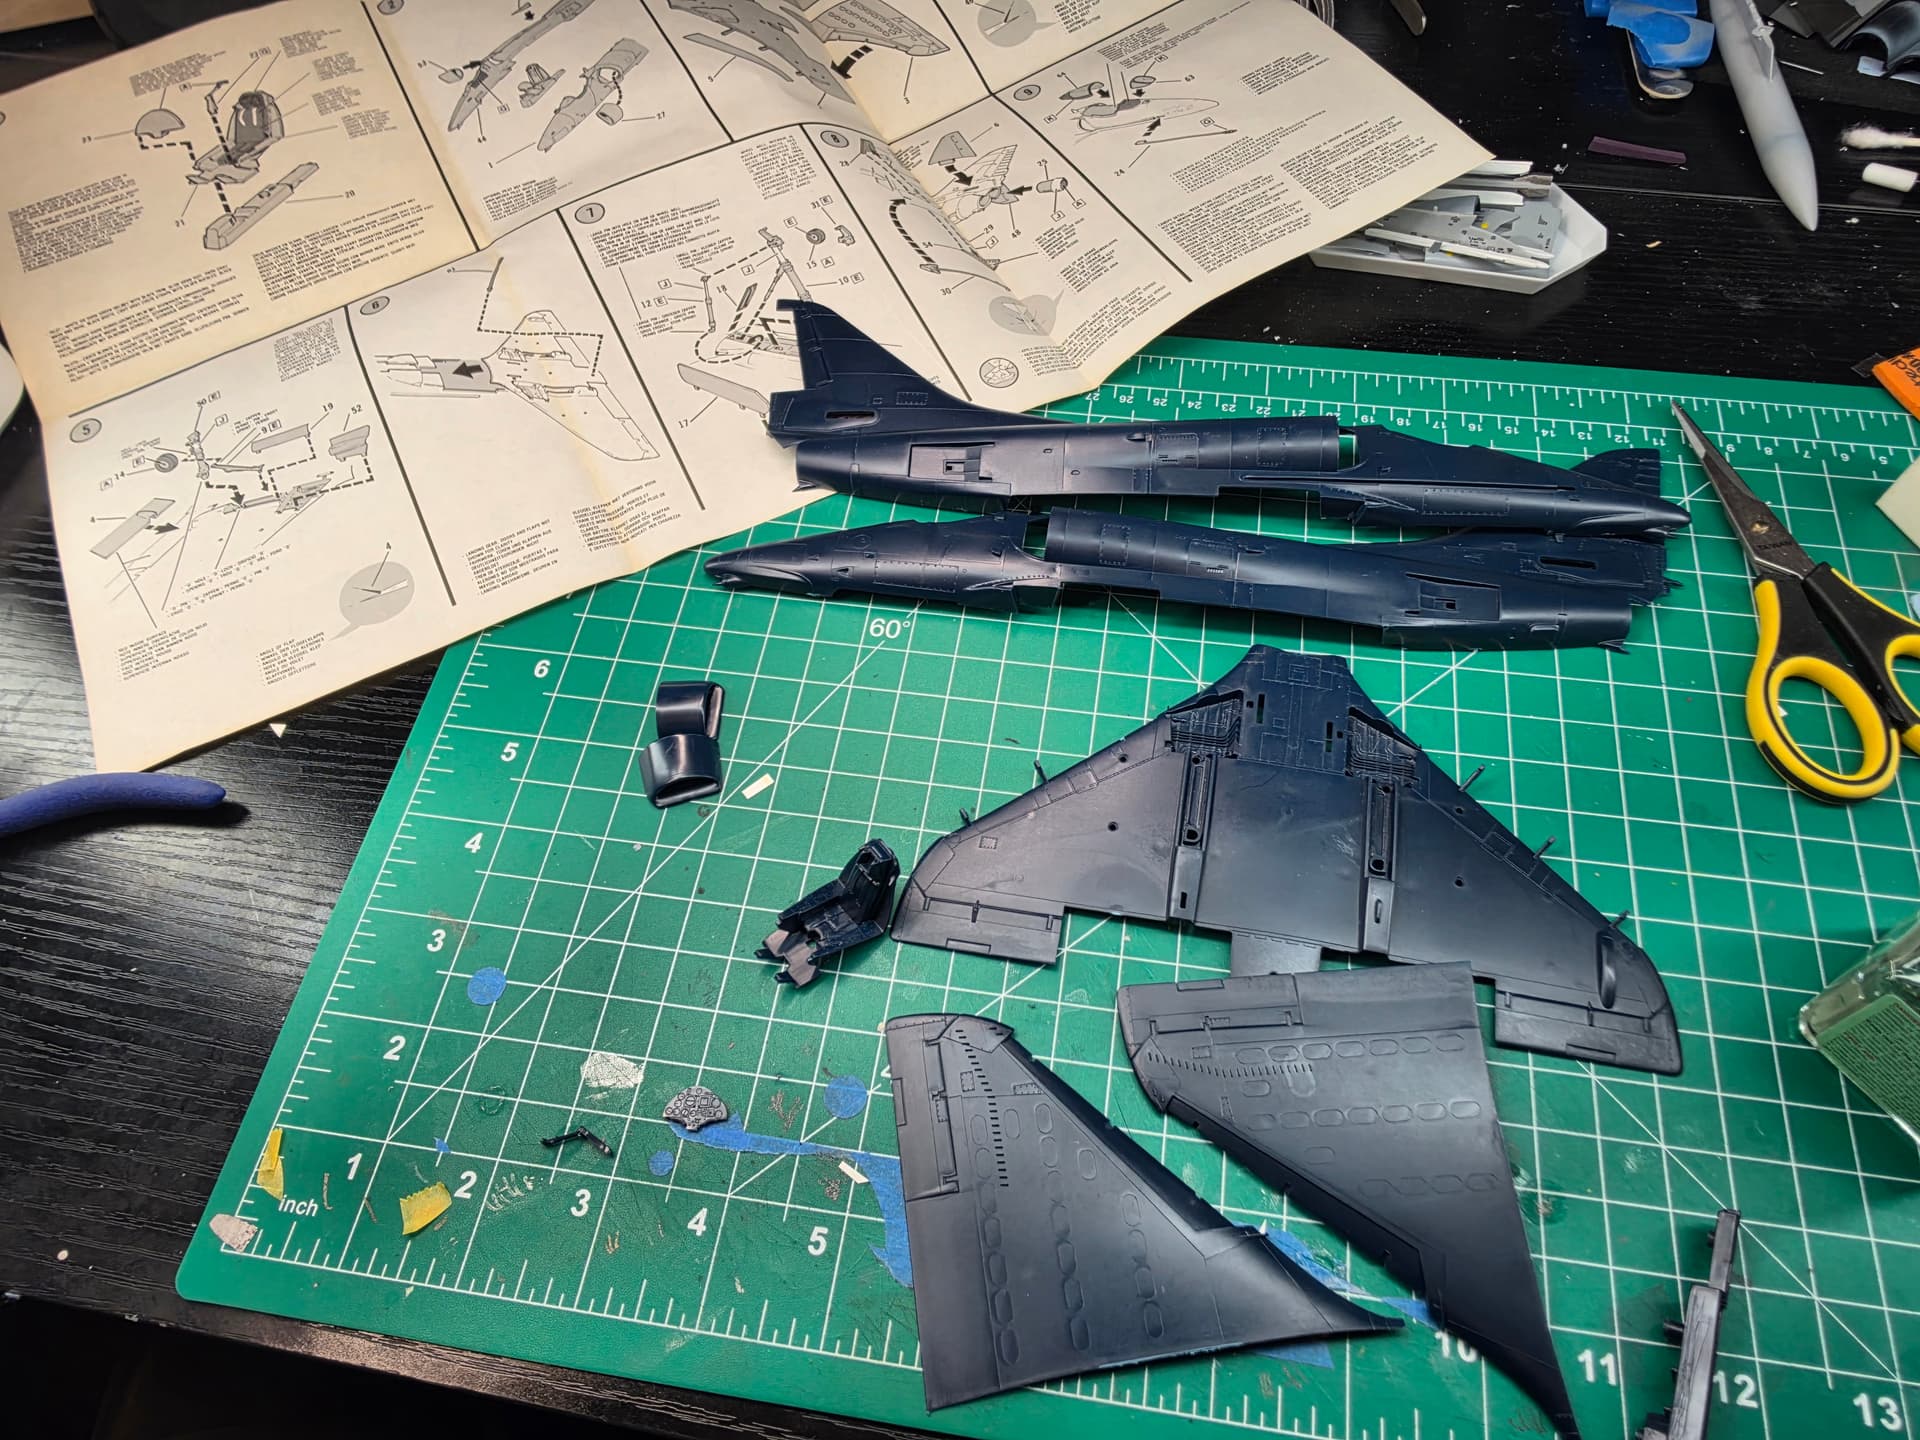
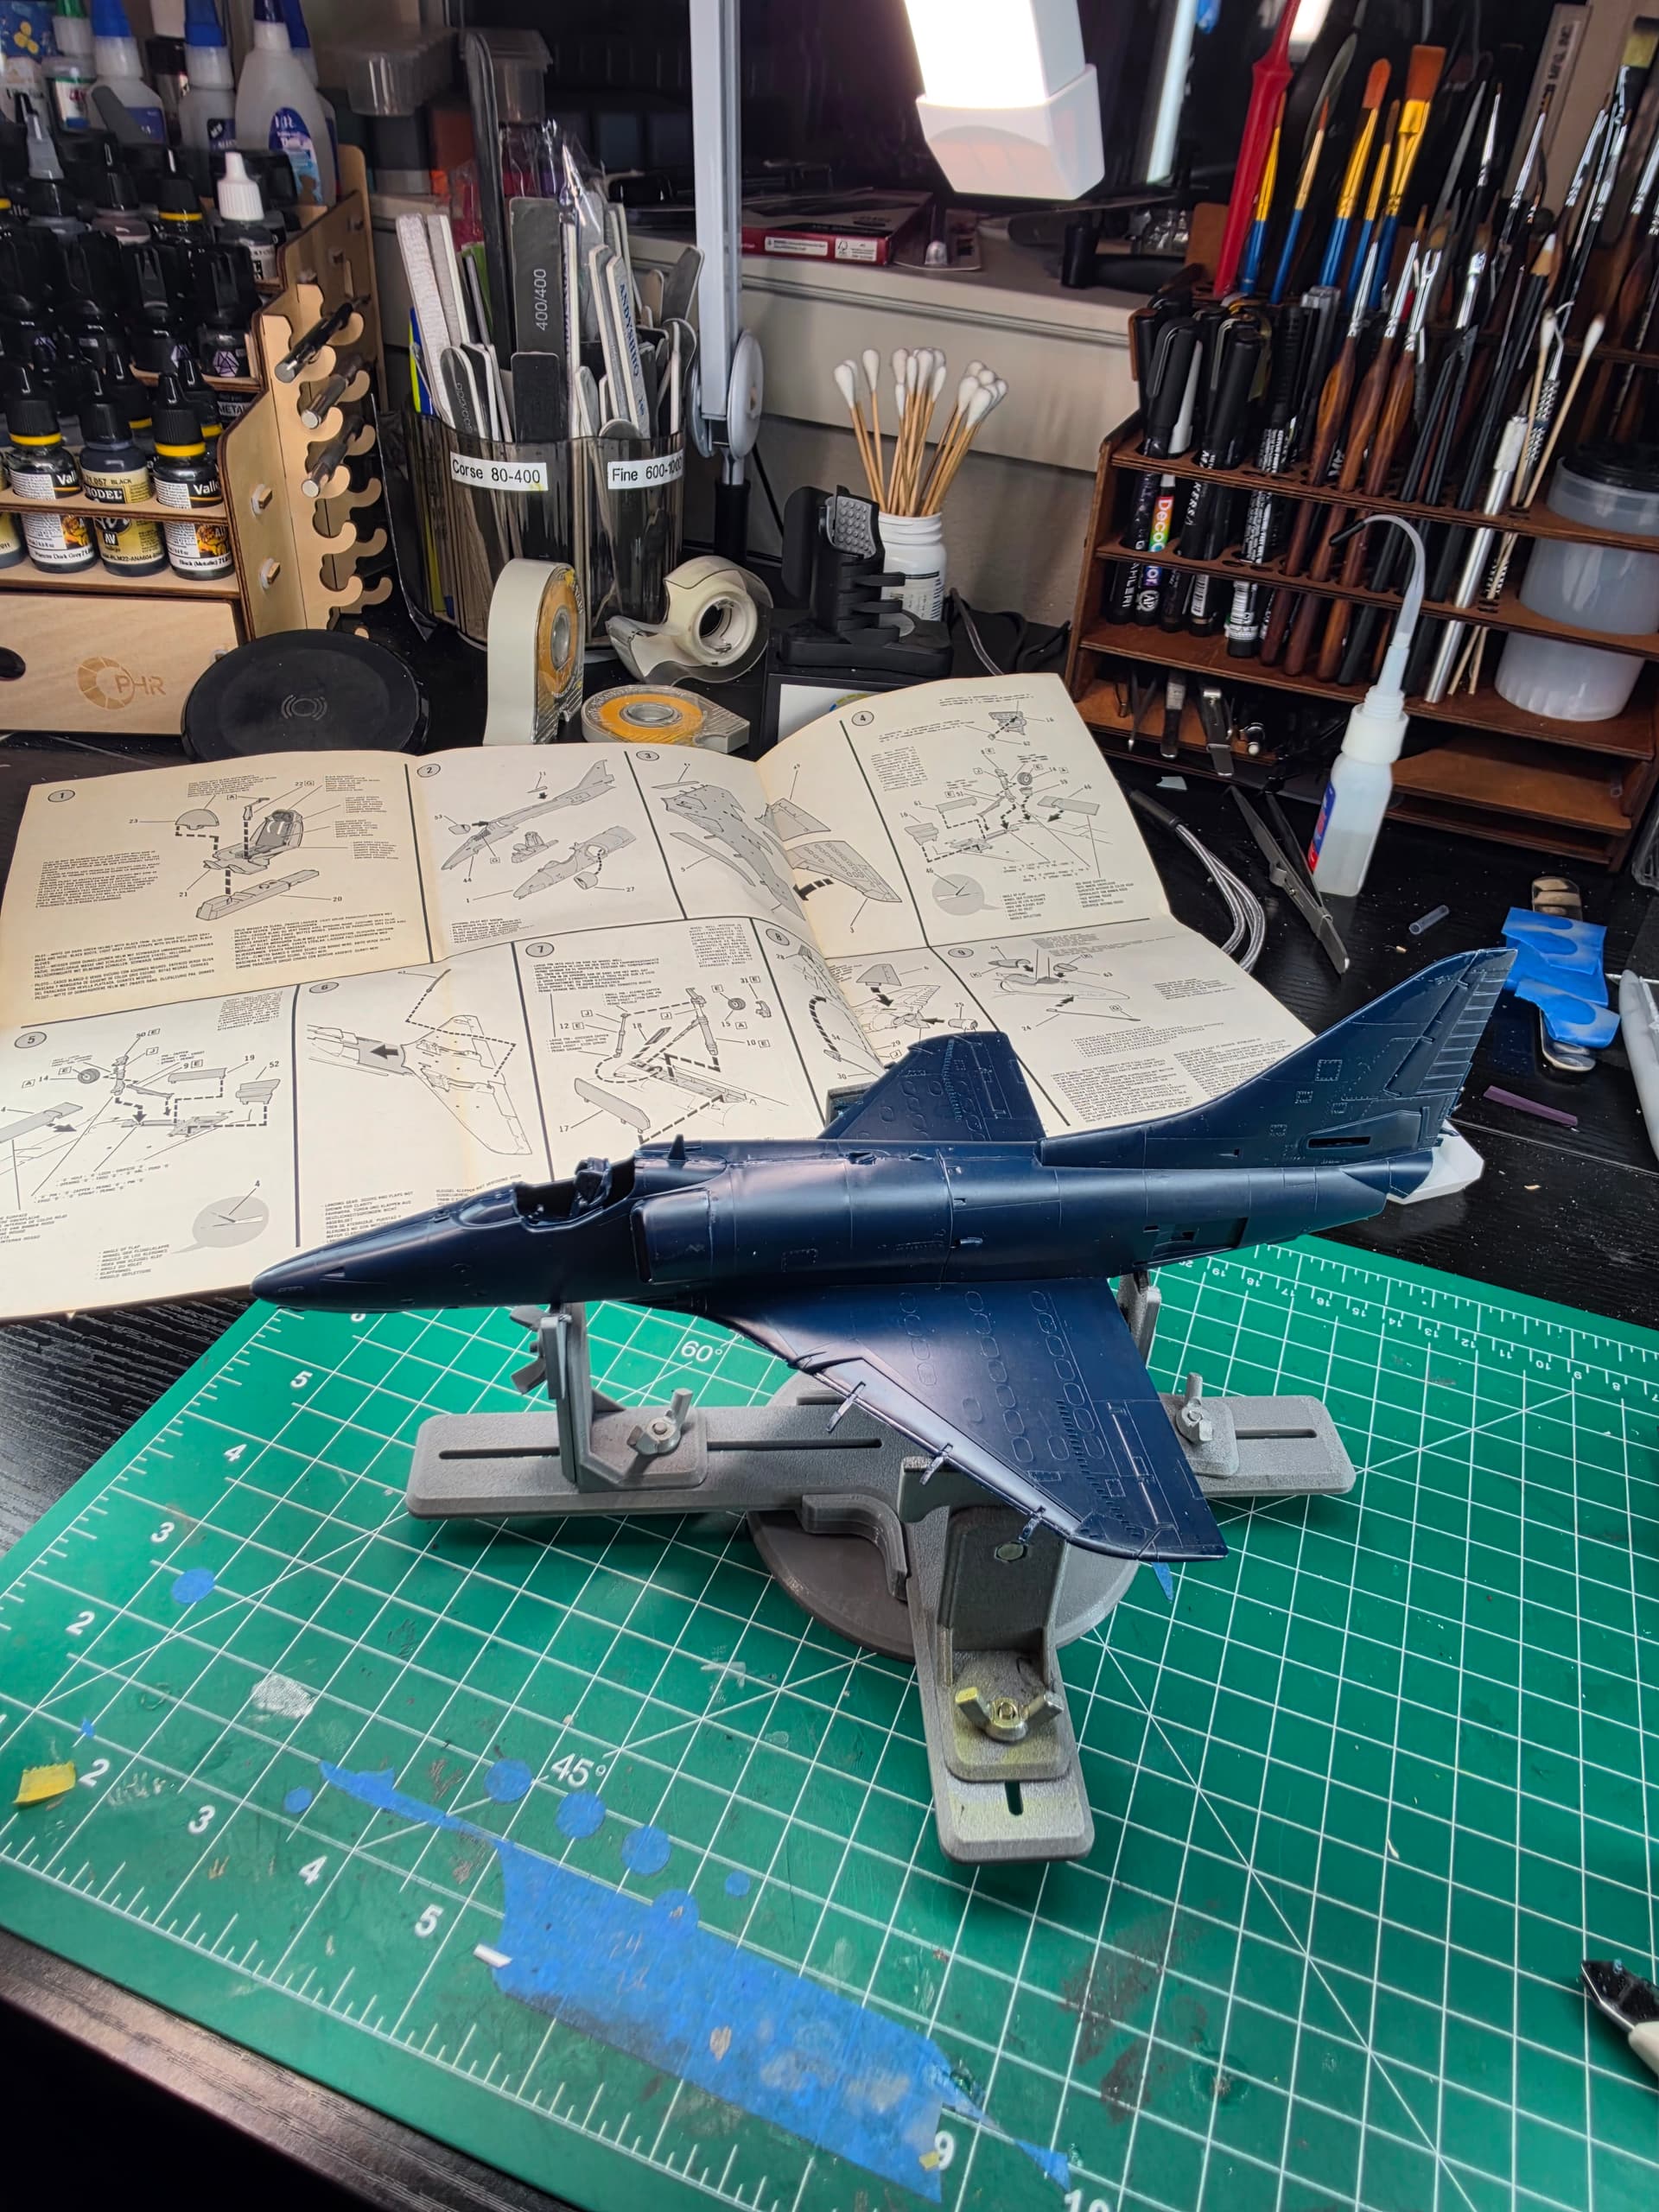
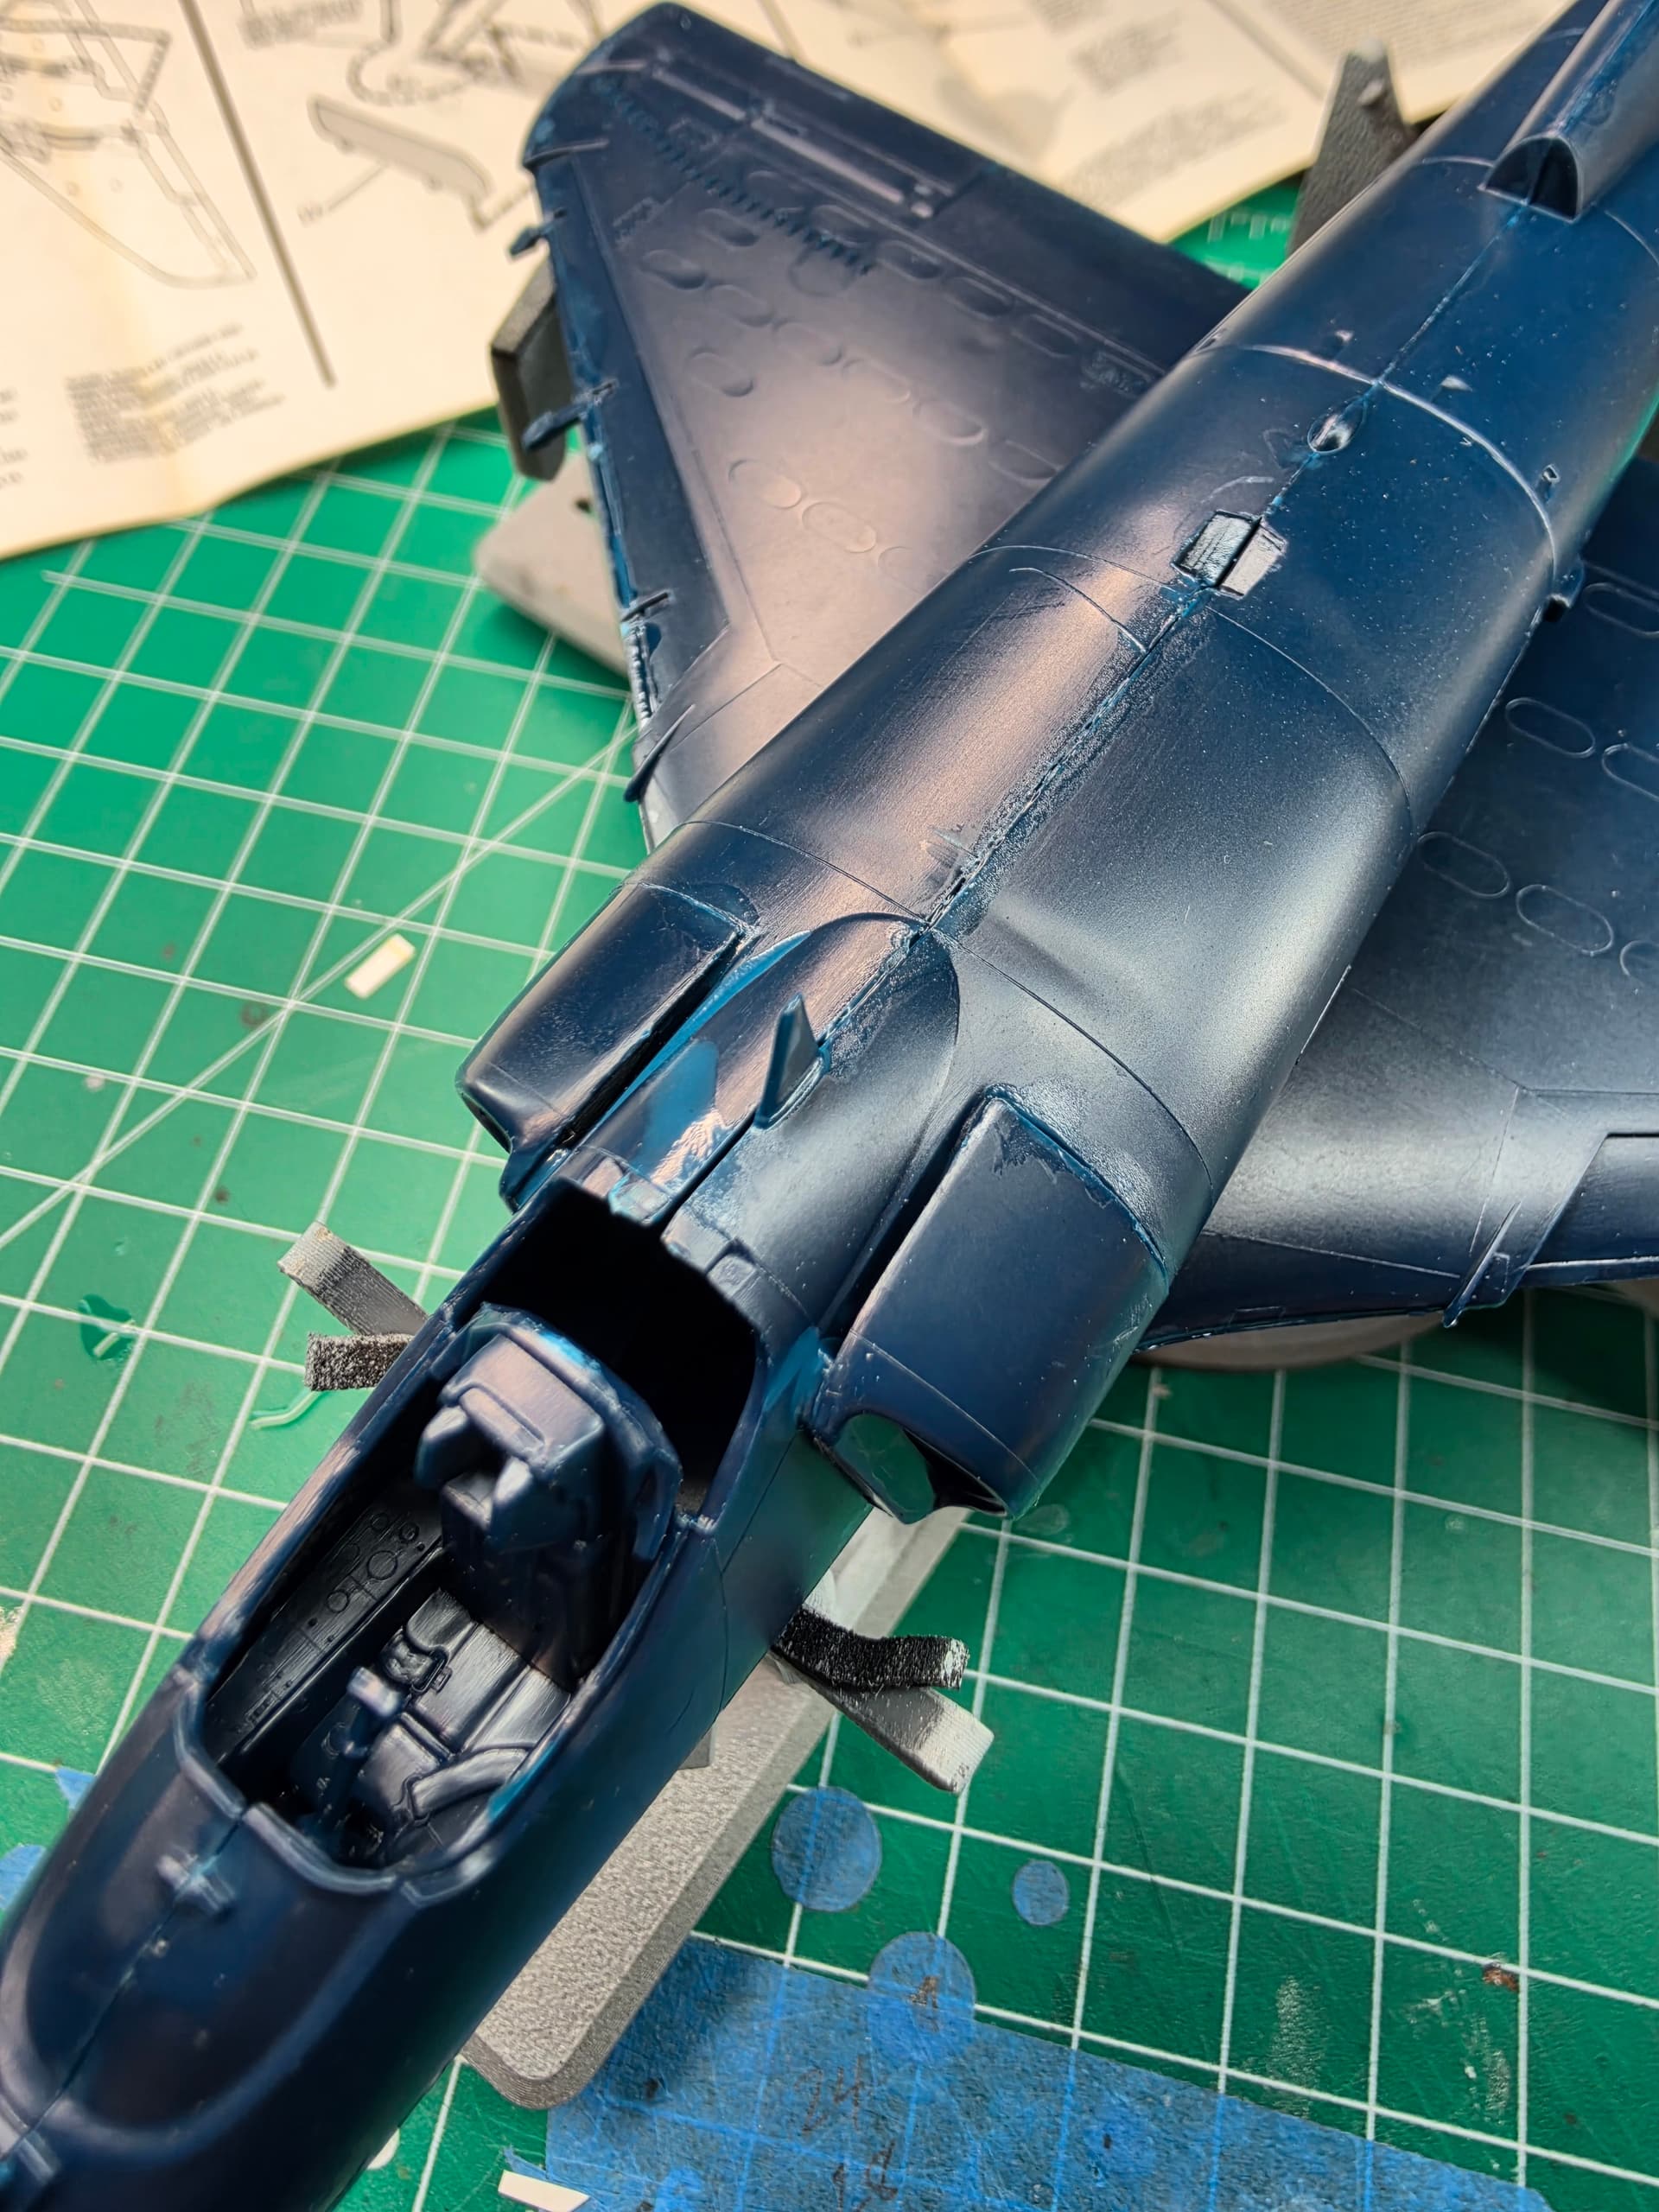
And when I say “built,” I’m using that word pretty generously.
I basically glued the major pieces together and forced myself to ignore the seams, steps and everything else I would normally stop and fix.
That was harder than it sounds.
I kept looking at those horrible seams and trying to convince myself that I really should fix them to make this a “proper” test platform. Eventually I had to remind myself:
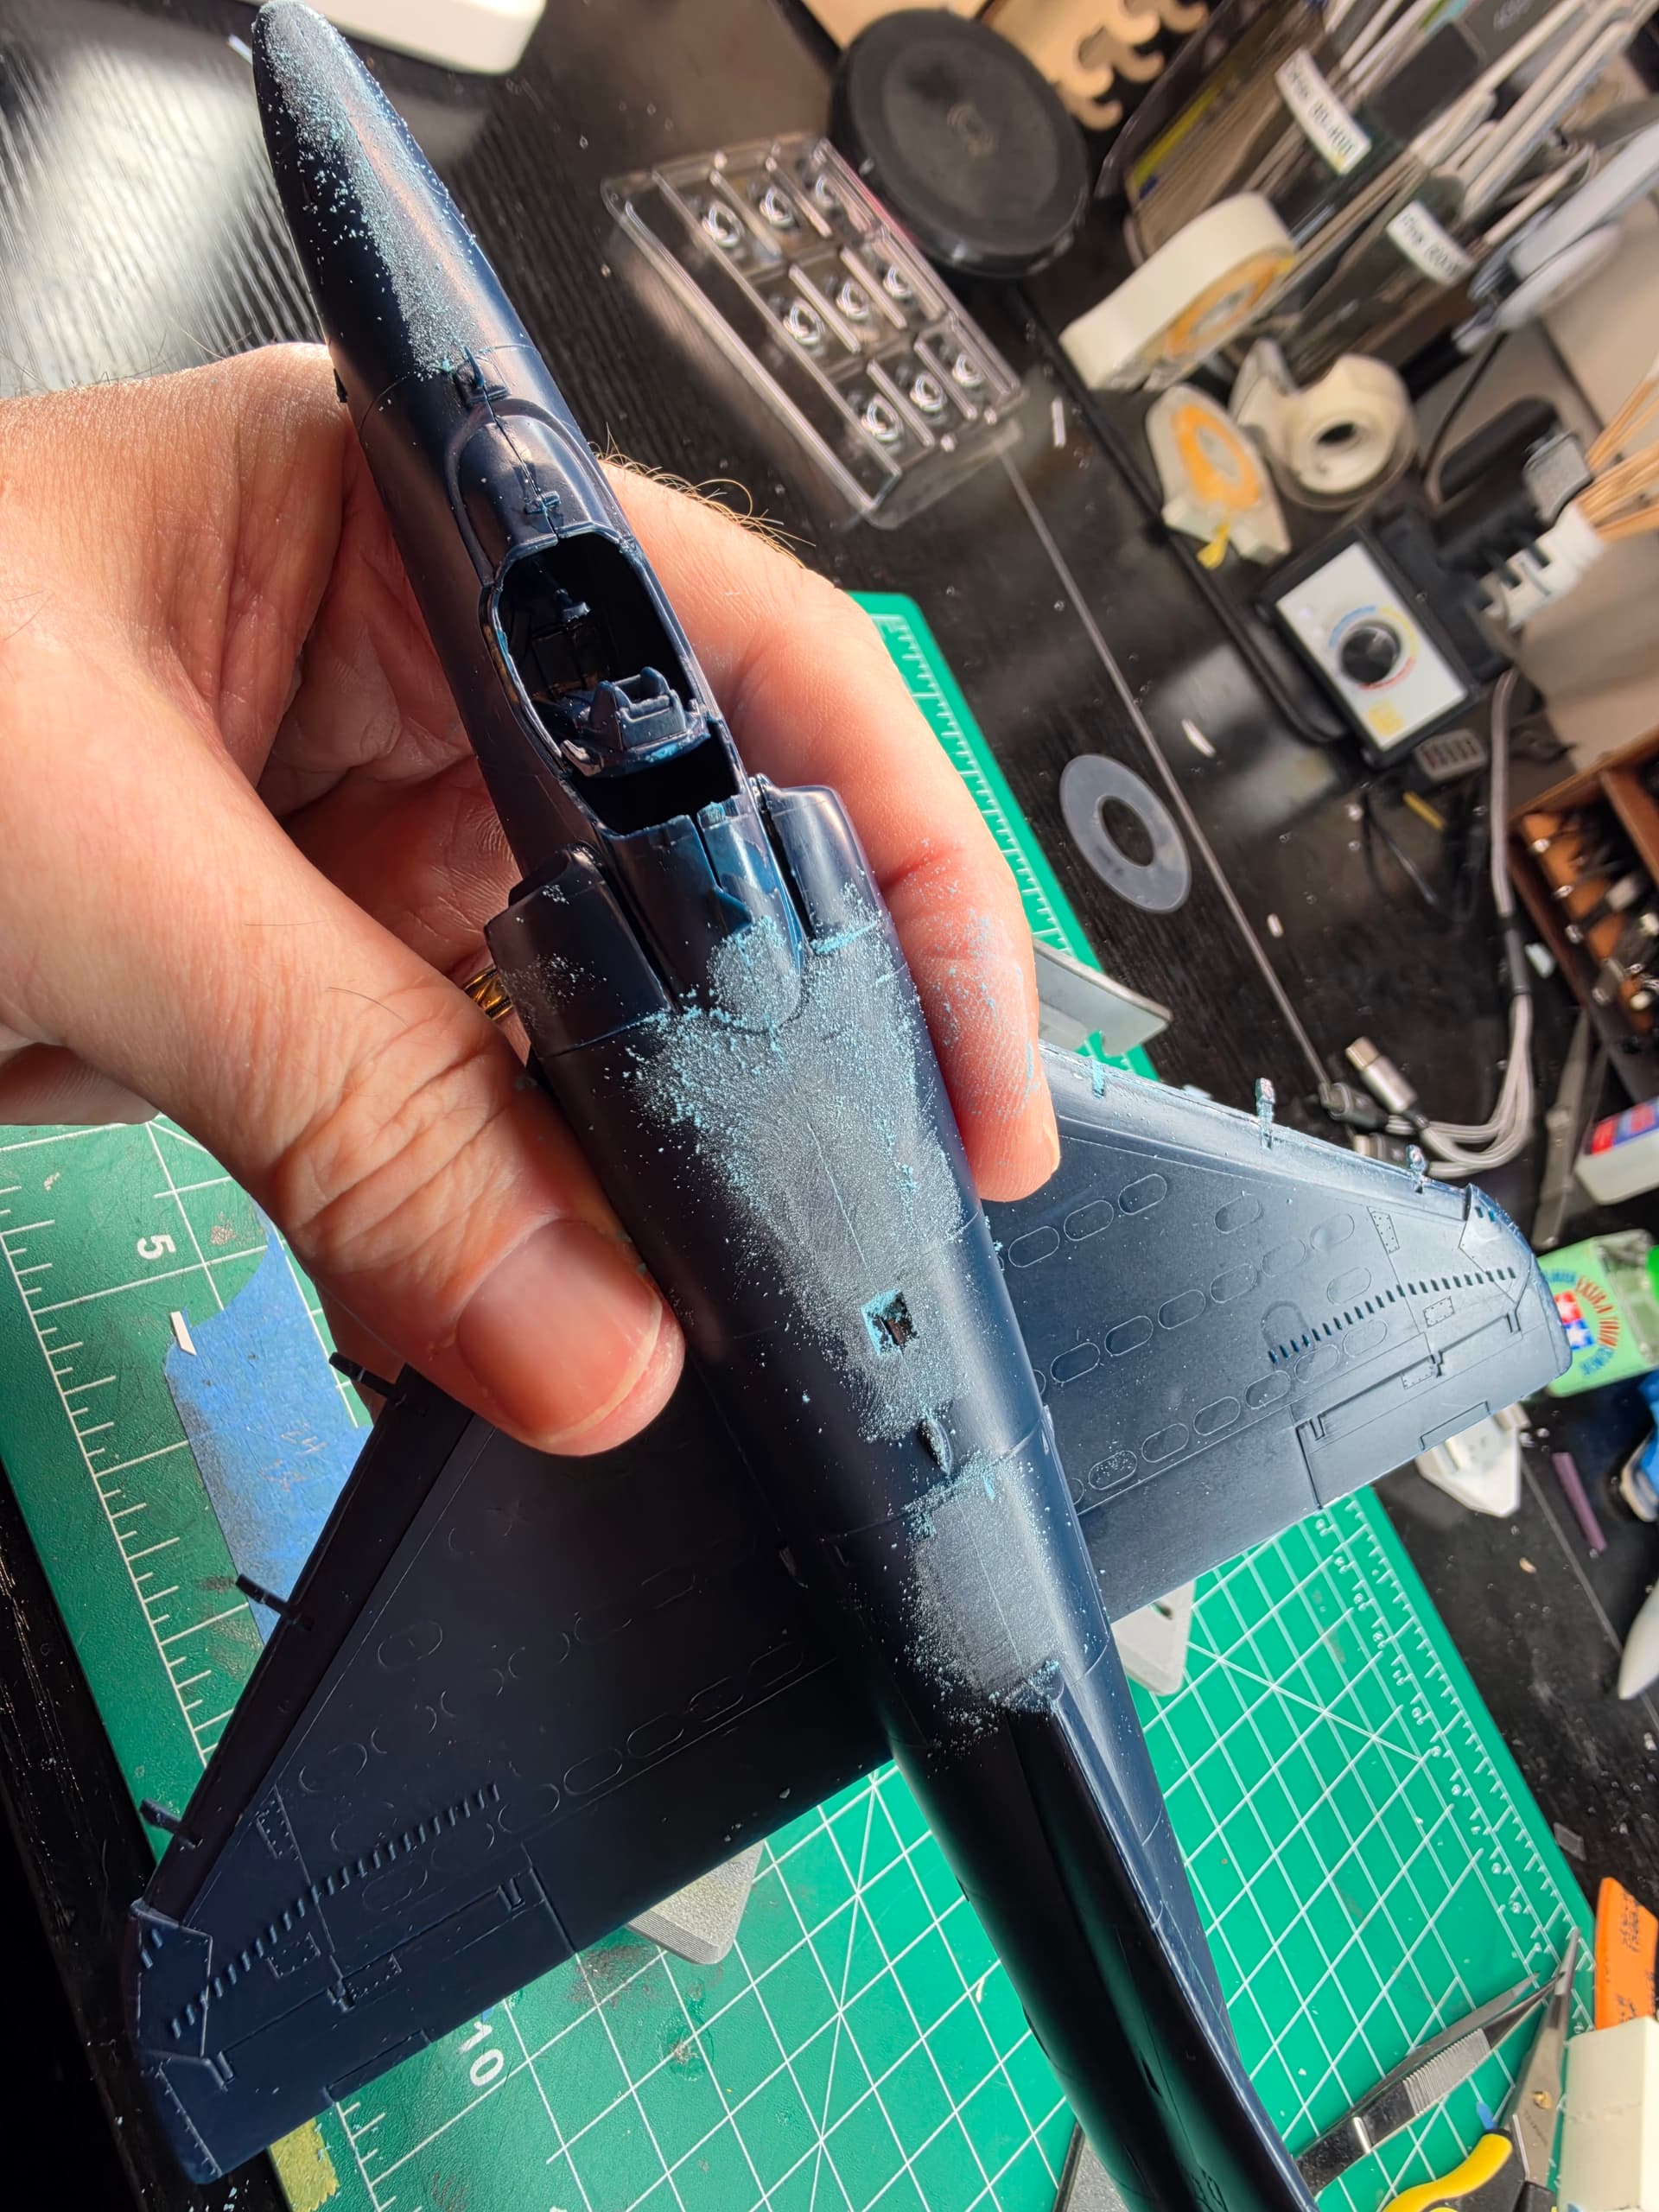
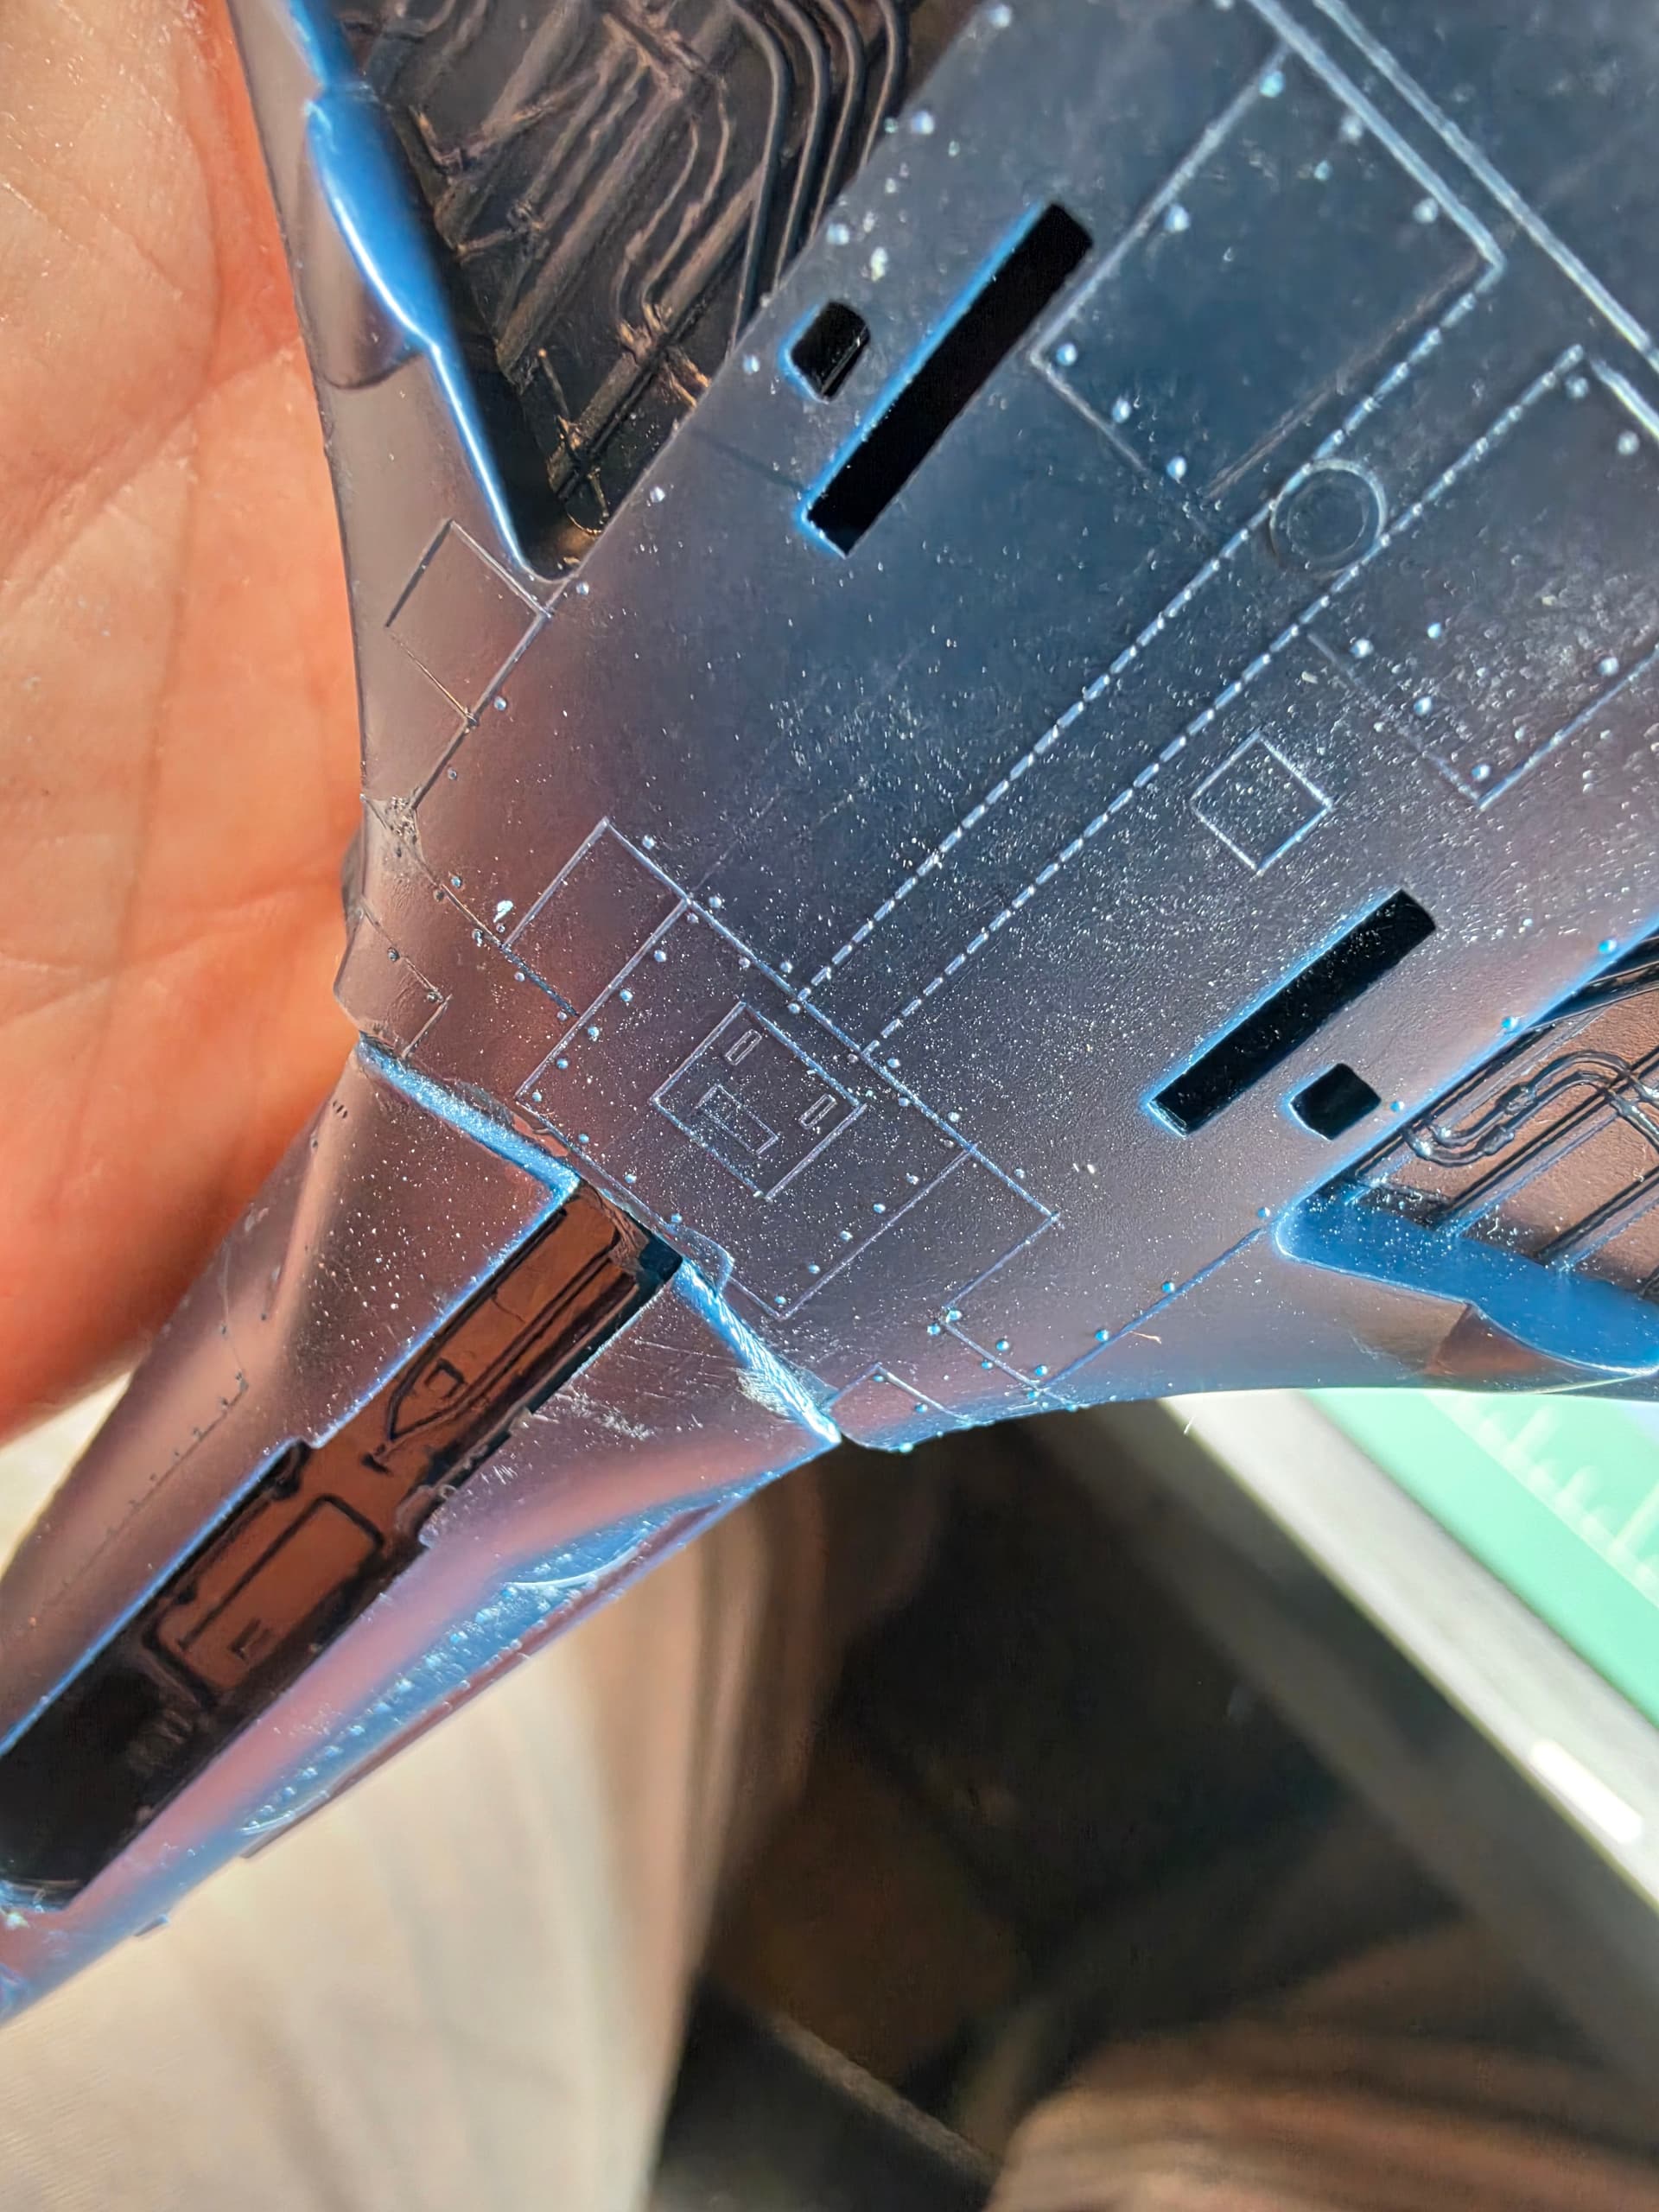
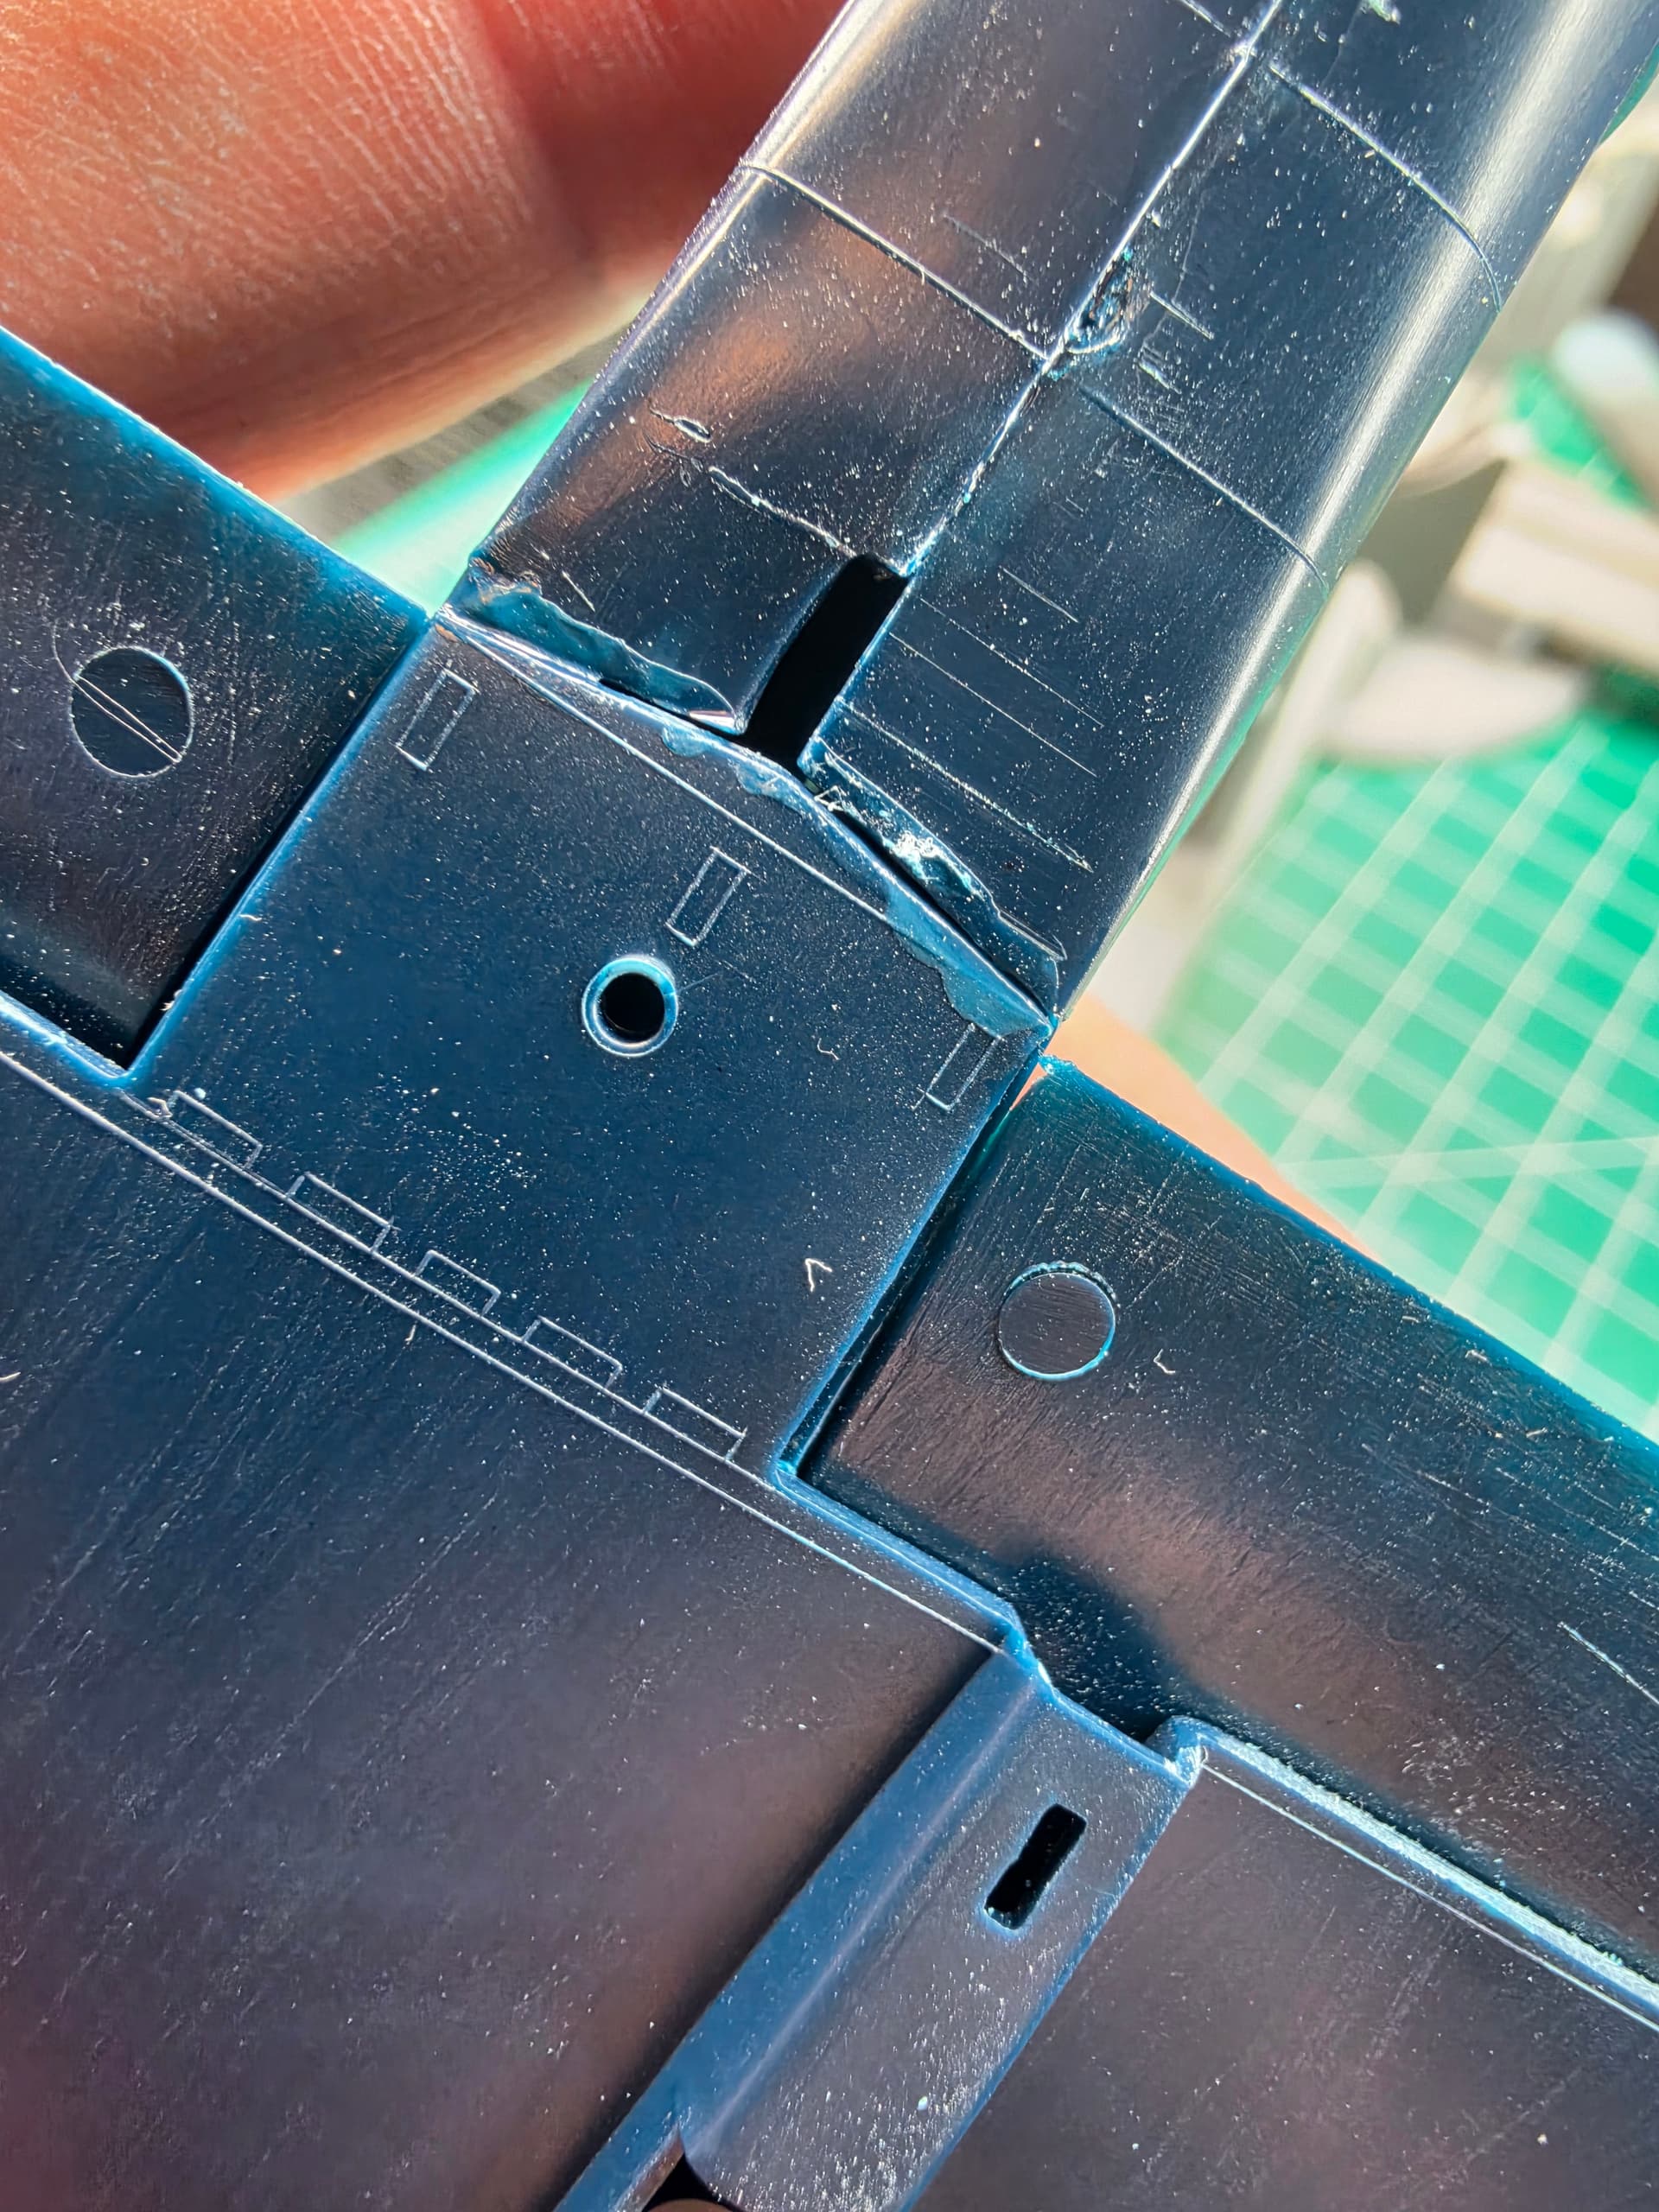
This isn’t a model. It’s a tool.
It started life as the Bluebird of Unhappiness, but after three coats of gray primer it became the Graybird of Indifference.
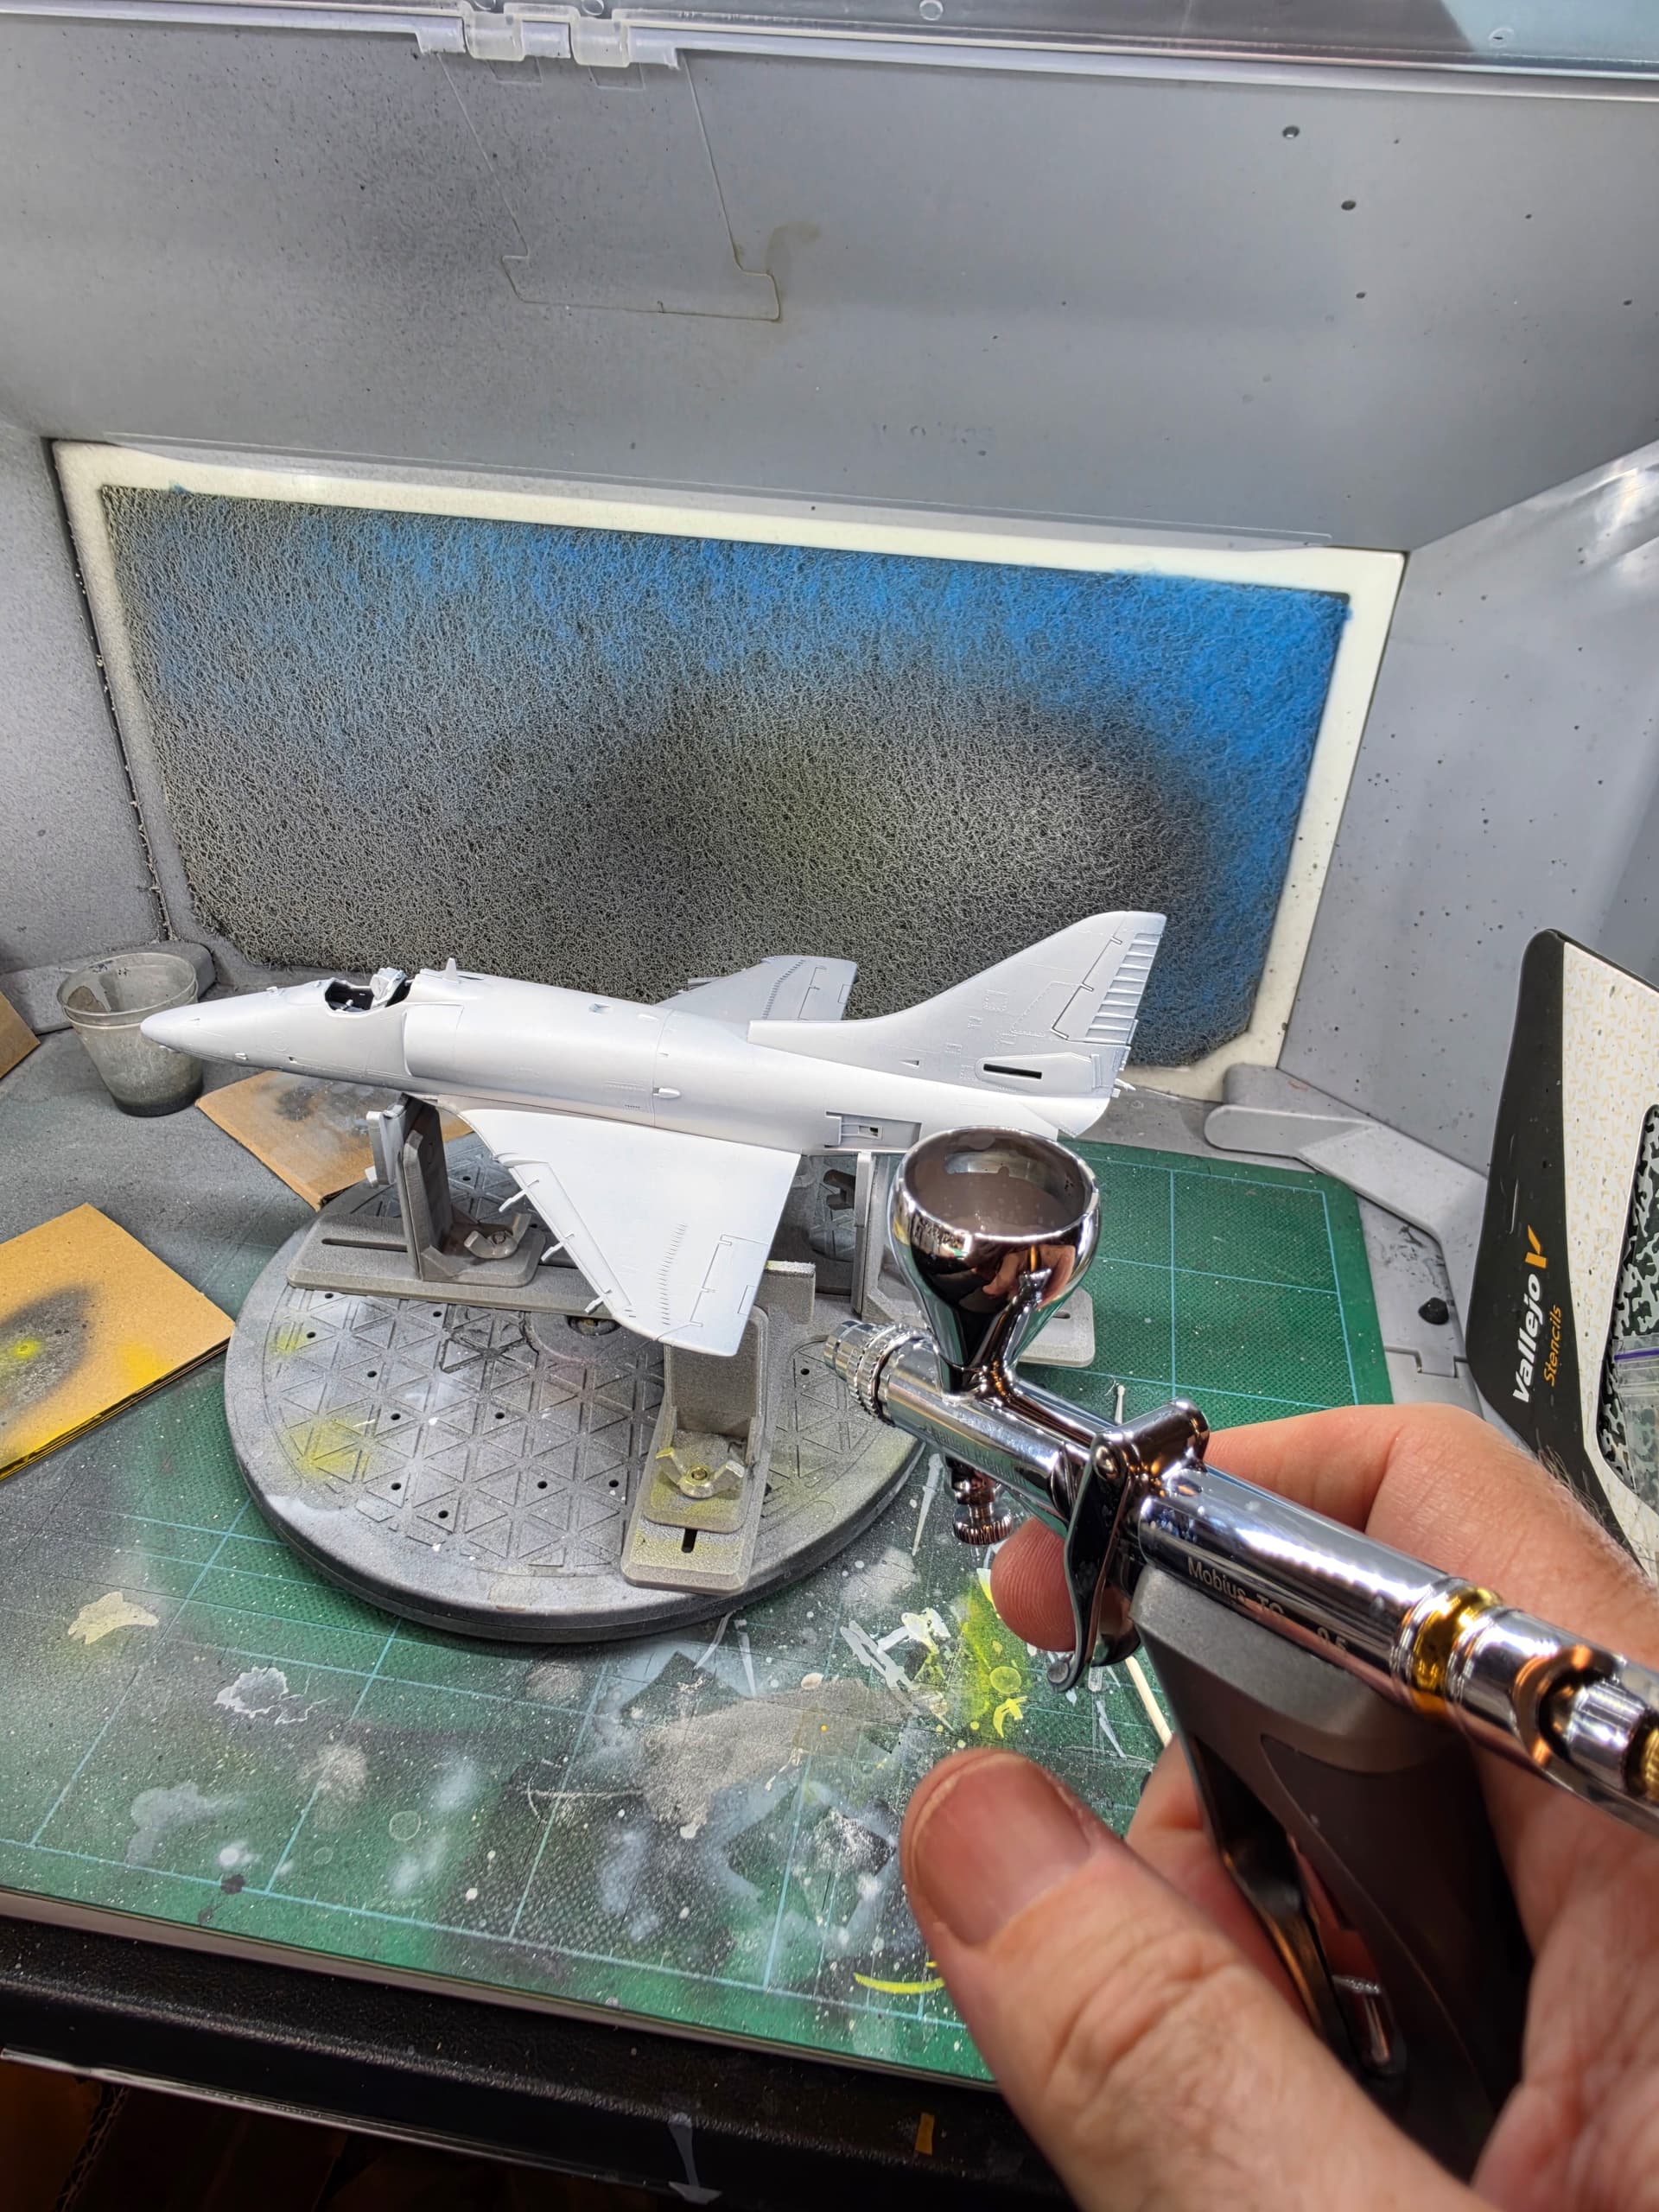
Its original purpose was to give me something resembling a real finished aircraft on which I could practice making and painting Cricut masks before trying them on my nearly finished F-86.
It hasn’t even gotten to that job yet, and tonight it already earned its keep.
I’m finishing up my fourth model since returning to the hobby about a year and a half ago, and I’ve never been completely happy with my gloss clear coats. They’ve tended to come out slightly rough, and I’ve ended up wet sanding them to get the smooth surface I wanted before applying decals.
Tonight I finally figured out why.
I was spraying the clear from too far away. It was beginning to dry before it reached the model instead of flowing together on the surface.
Since I didn’t care what happened to the Graybird, I could experiment without worrying about ruining months of work.
I started changing things — distance, pressure, mixture and how heavy a coat I was applying.
I wasn’t even planning to clear the whole airplane. I started with the fuselage and then moved onto the wings as I kept experimenting. I didn’t even bother with the nose. I just kept spraying because I wanted to see if I could figure out how to get the finish I wanted.
Eventually I put down a light coat followed by a heavier, wetter coat from closer in.
And suddenly I understood it.
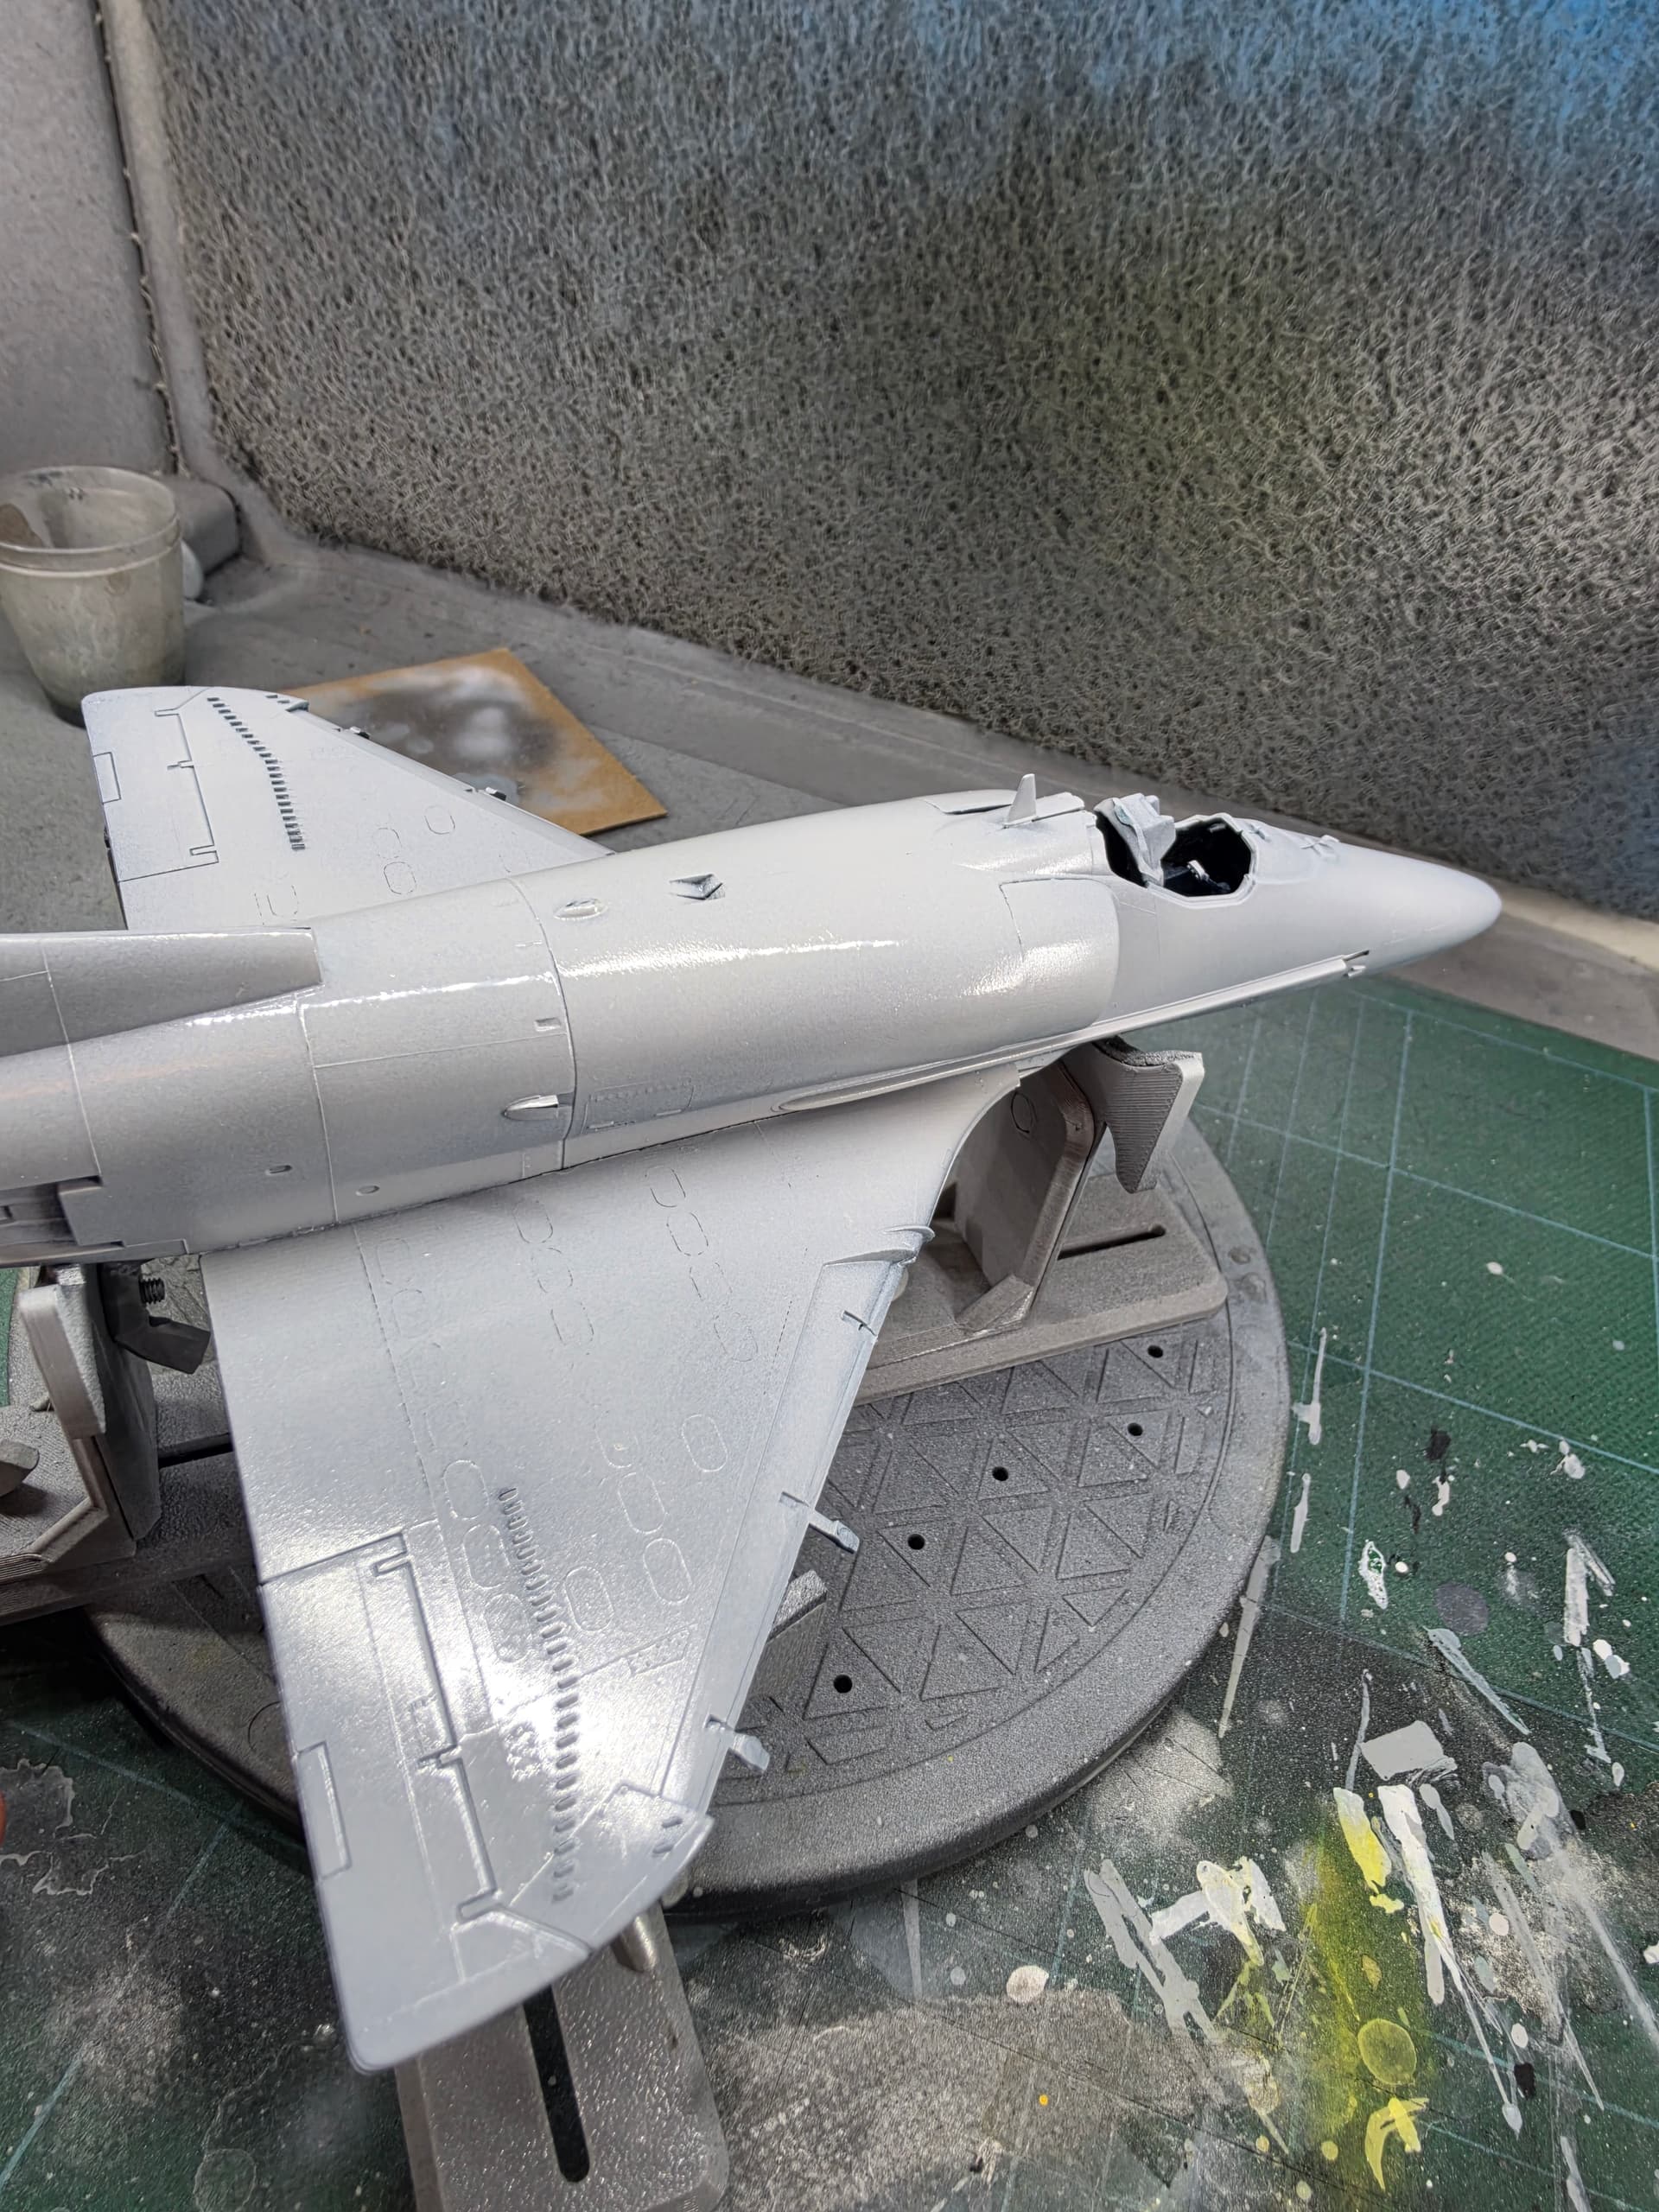
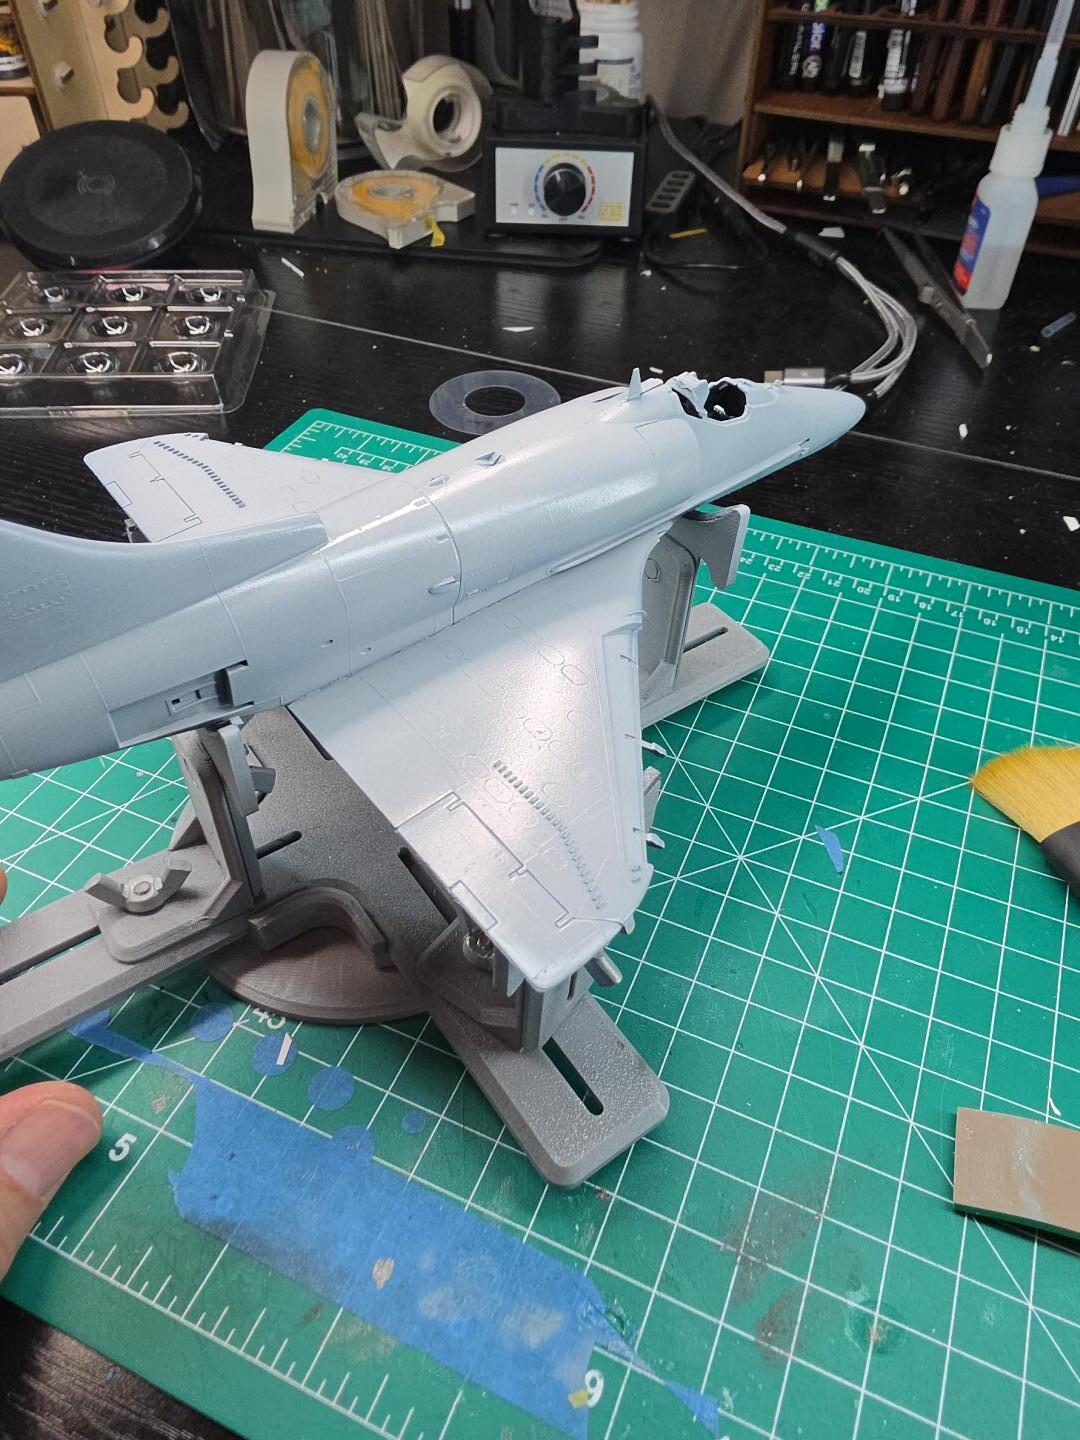
That’s probably the smoothest gloss clear coat I’ve sprayed since returning to the hobby, using exactly the same clear I’ve been using all along.
The paint wasn’t the problem.
My technique was.
I don’t think this surface is going to need any wet sanding at all before decals. That’s going to save me an entire unnecessary step, and it also makes me wonder whether some of the decal problems I’ve had may have been made worse by the rougher clear coats underneath them.
I learned one other thing tonight too:
Clean the airbrush immediately after spraying clear.
That stuff started turning into something resembling Elmer’s glue inside the airbrush surprisingly quickly. I caught it in time, but I can see how easily that could turn into a thoroughly unpleasant cleaning job.
So the Graybird has already taught me a couple of genuinely useful lessons, and it hasn’t even performed the experiment I built it for.
That’s really the part of this that I’m beginning to appreciate.
On a model I’ve spent months building, I’m always trying not to screw something up. With this thing, I can deliberately change one variable at a time, push something too far, make a mistake and find out what actually works without risking anything.
I think I’m going to keep this thread going as I use the Graybird for masks, paints, finishes and whatever else I decide to experiment with.
It turns out deliberately building a model I don’t care about may have been one of the more useful things I’ve done since getting back into the hobby.


