Gamera, I have absolutely no clue as to how many hours have gone into this project so far. All I know for certain is that it was started in 1988, I worked on it intensively for a couple of months, and then it was mothballed in the Closet of Doom for 20+ years! It came out a couple of times, but no actual work was done on it until this February. I don’t even remember doing the basic framework, so peeking inside the fuselage and wings is like seeing things for the first time.
BUT - Now we move forward! One of the wings had its underside planked last night.
https://flic.kr/p/27NbdyG]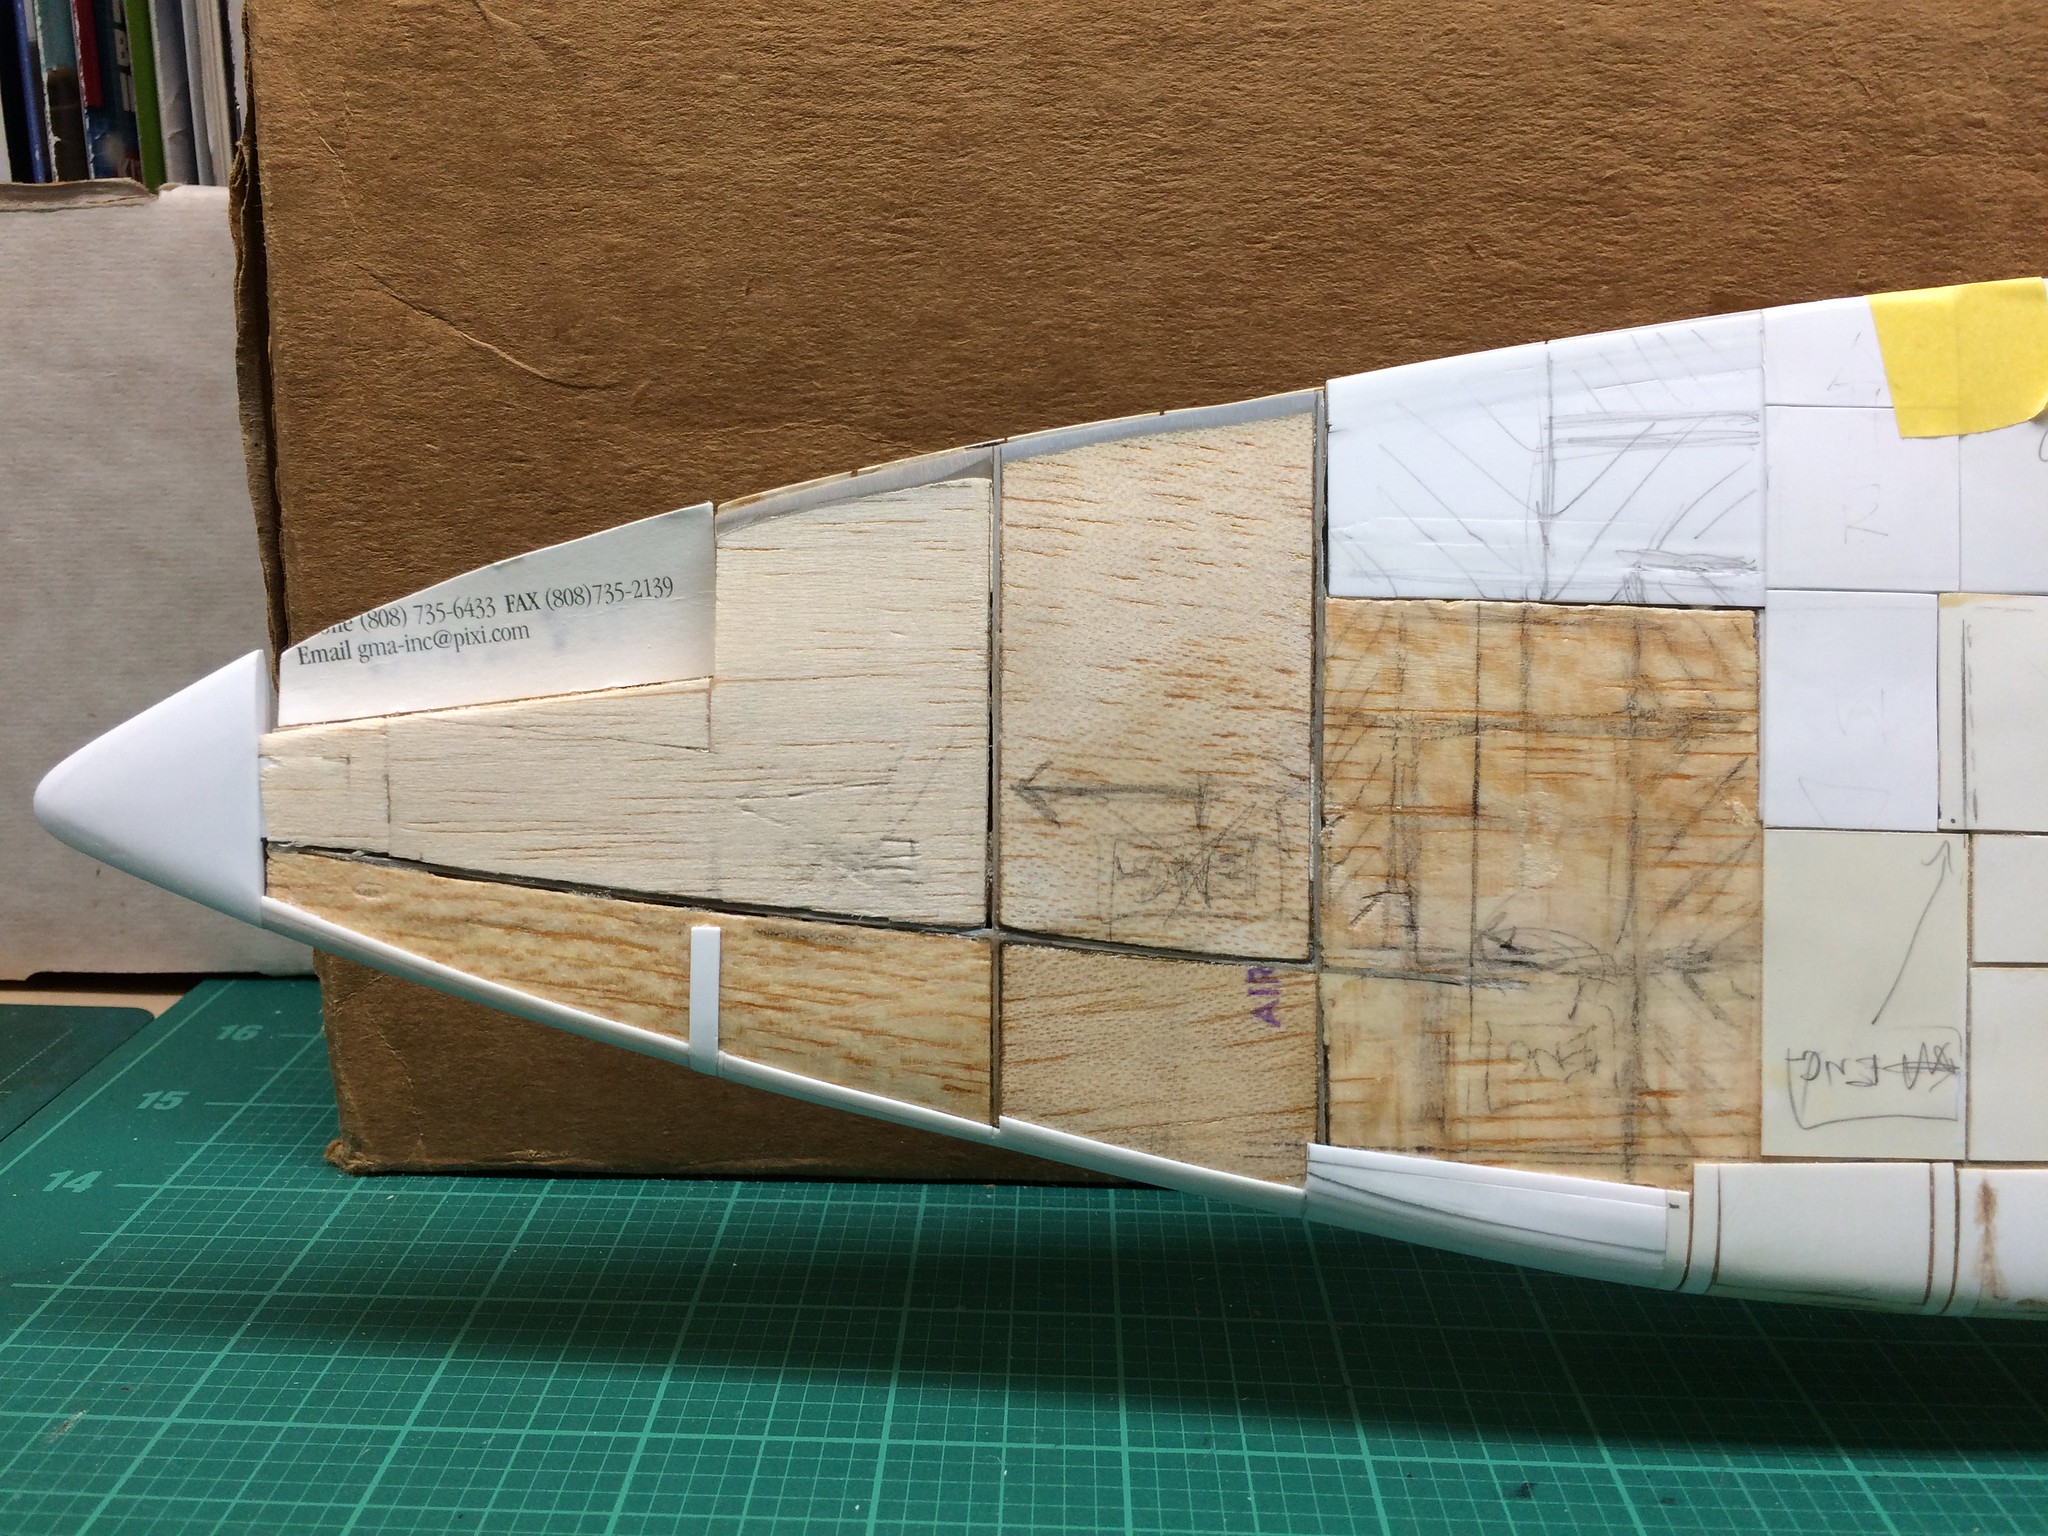 [/url]Untitled by N.T. Izumi, on Flickr
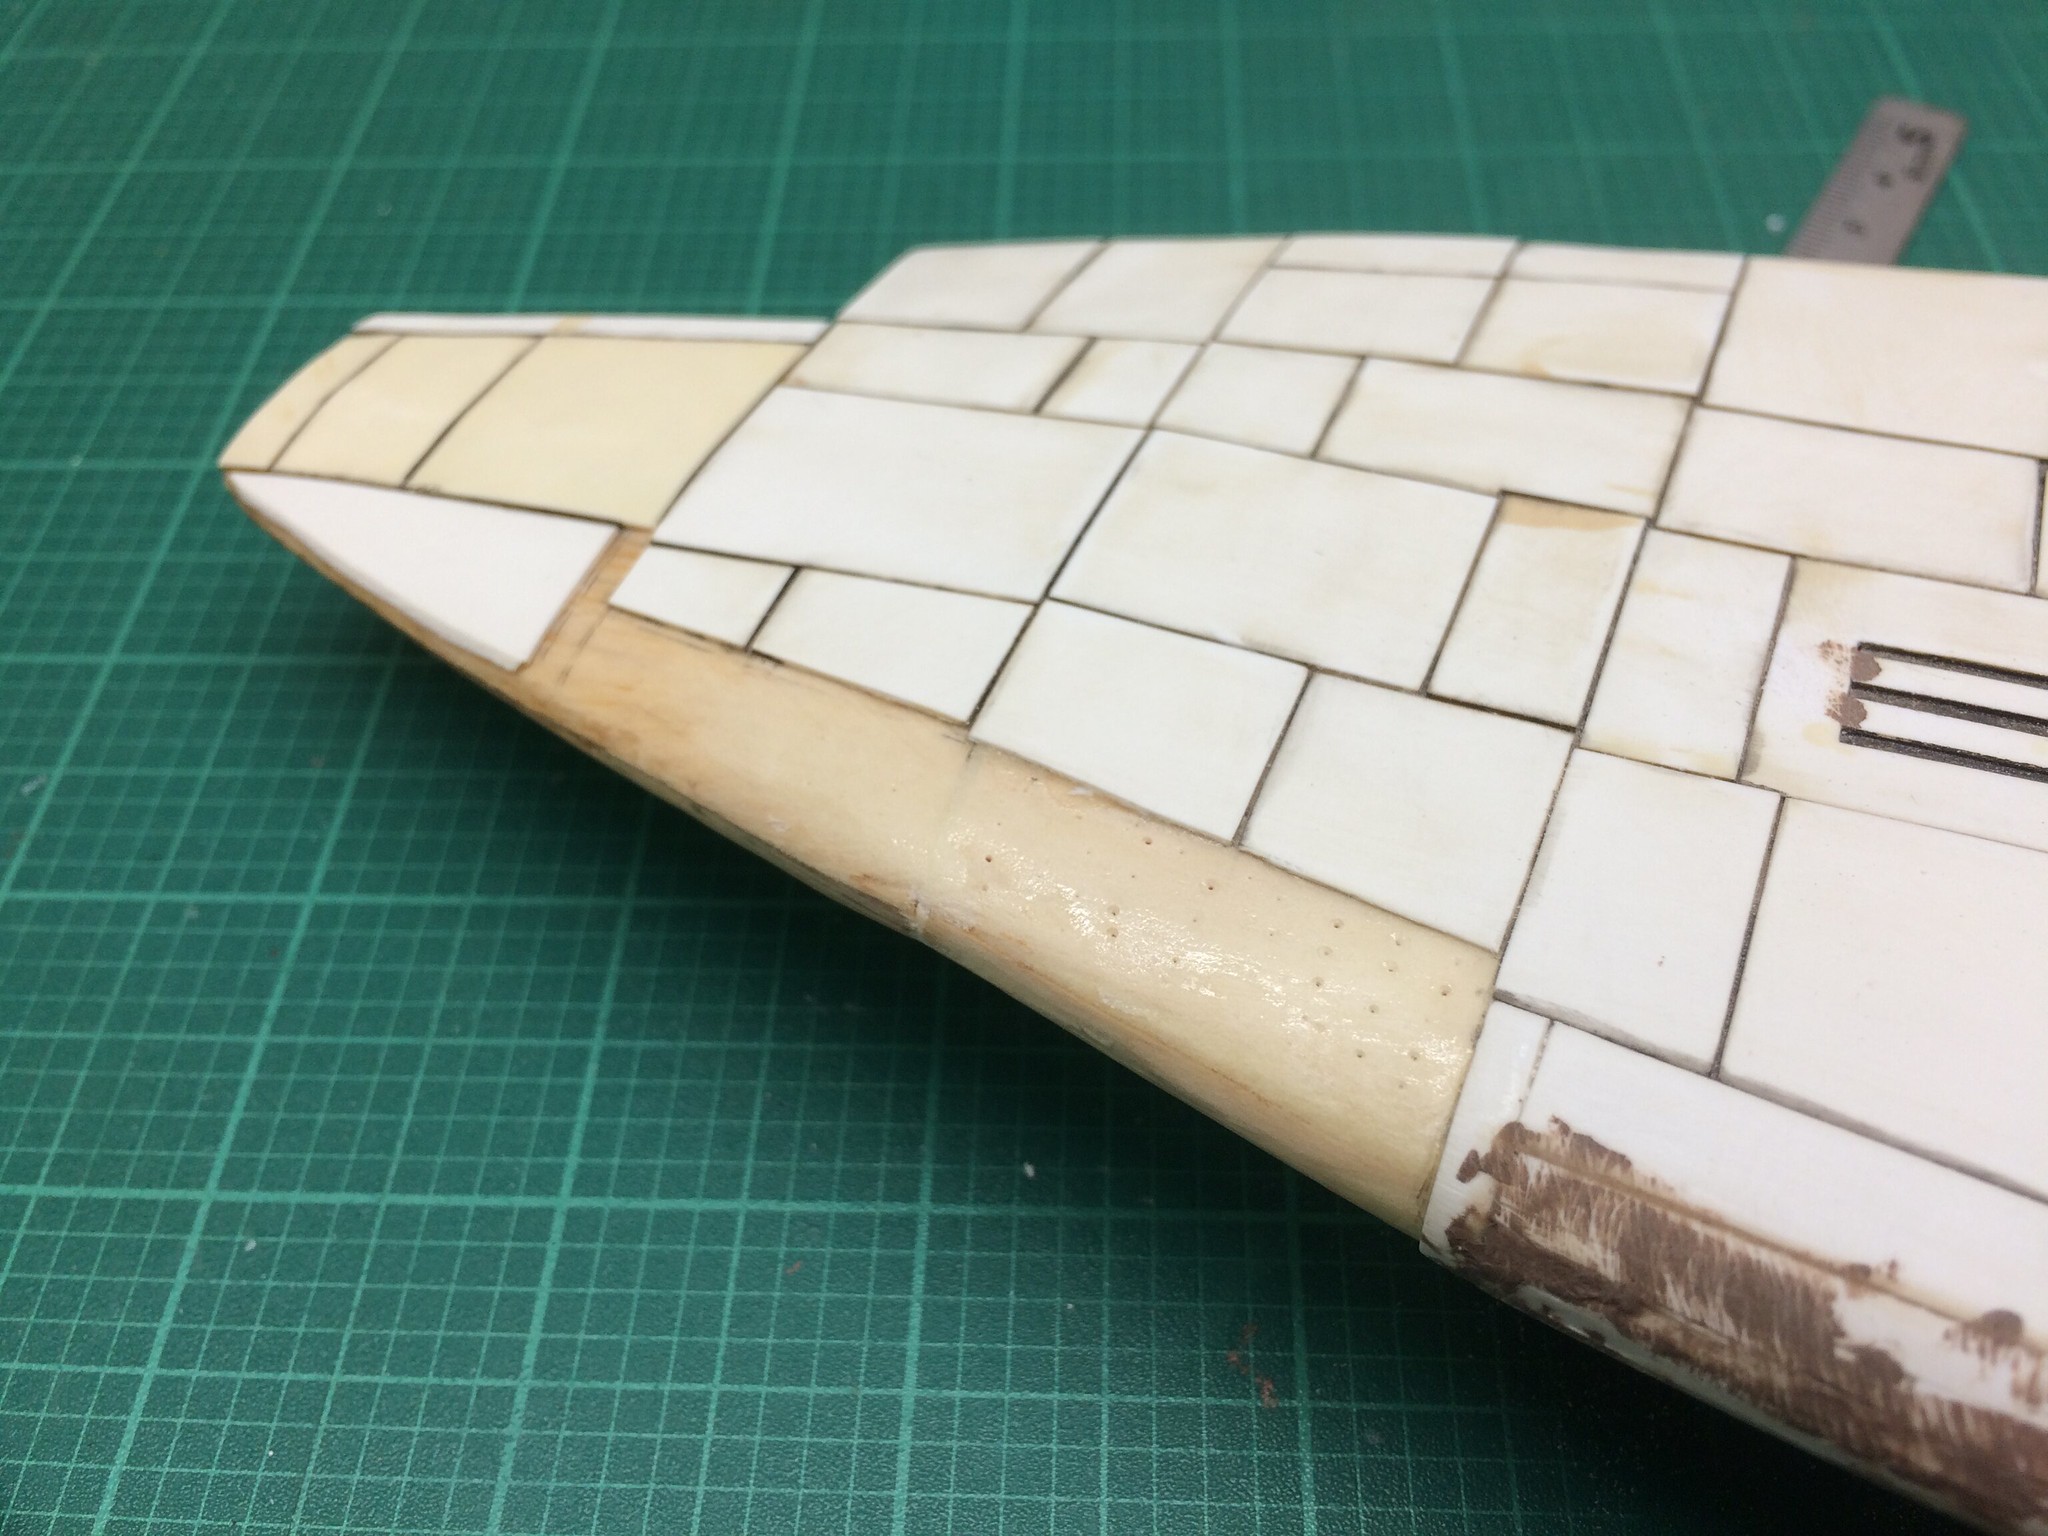
It took a while to sketch out the panels to get a nice flowing pattern. At least the opposite wing will not need to suffer that delay. See all the crazy scribbling on the panels? That was to keep them from being mixed up during the application process.
https://flic.kr/p/257XXBE]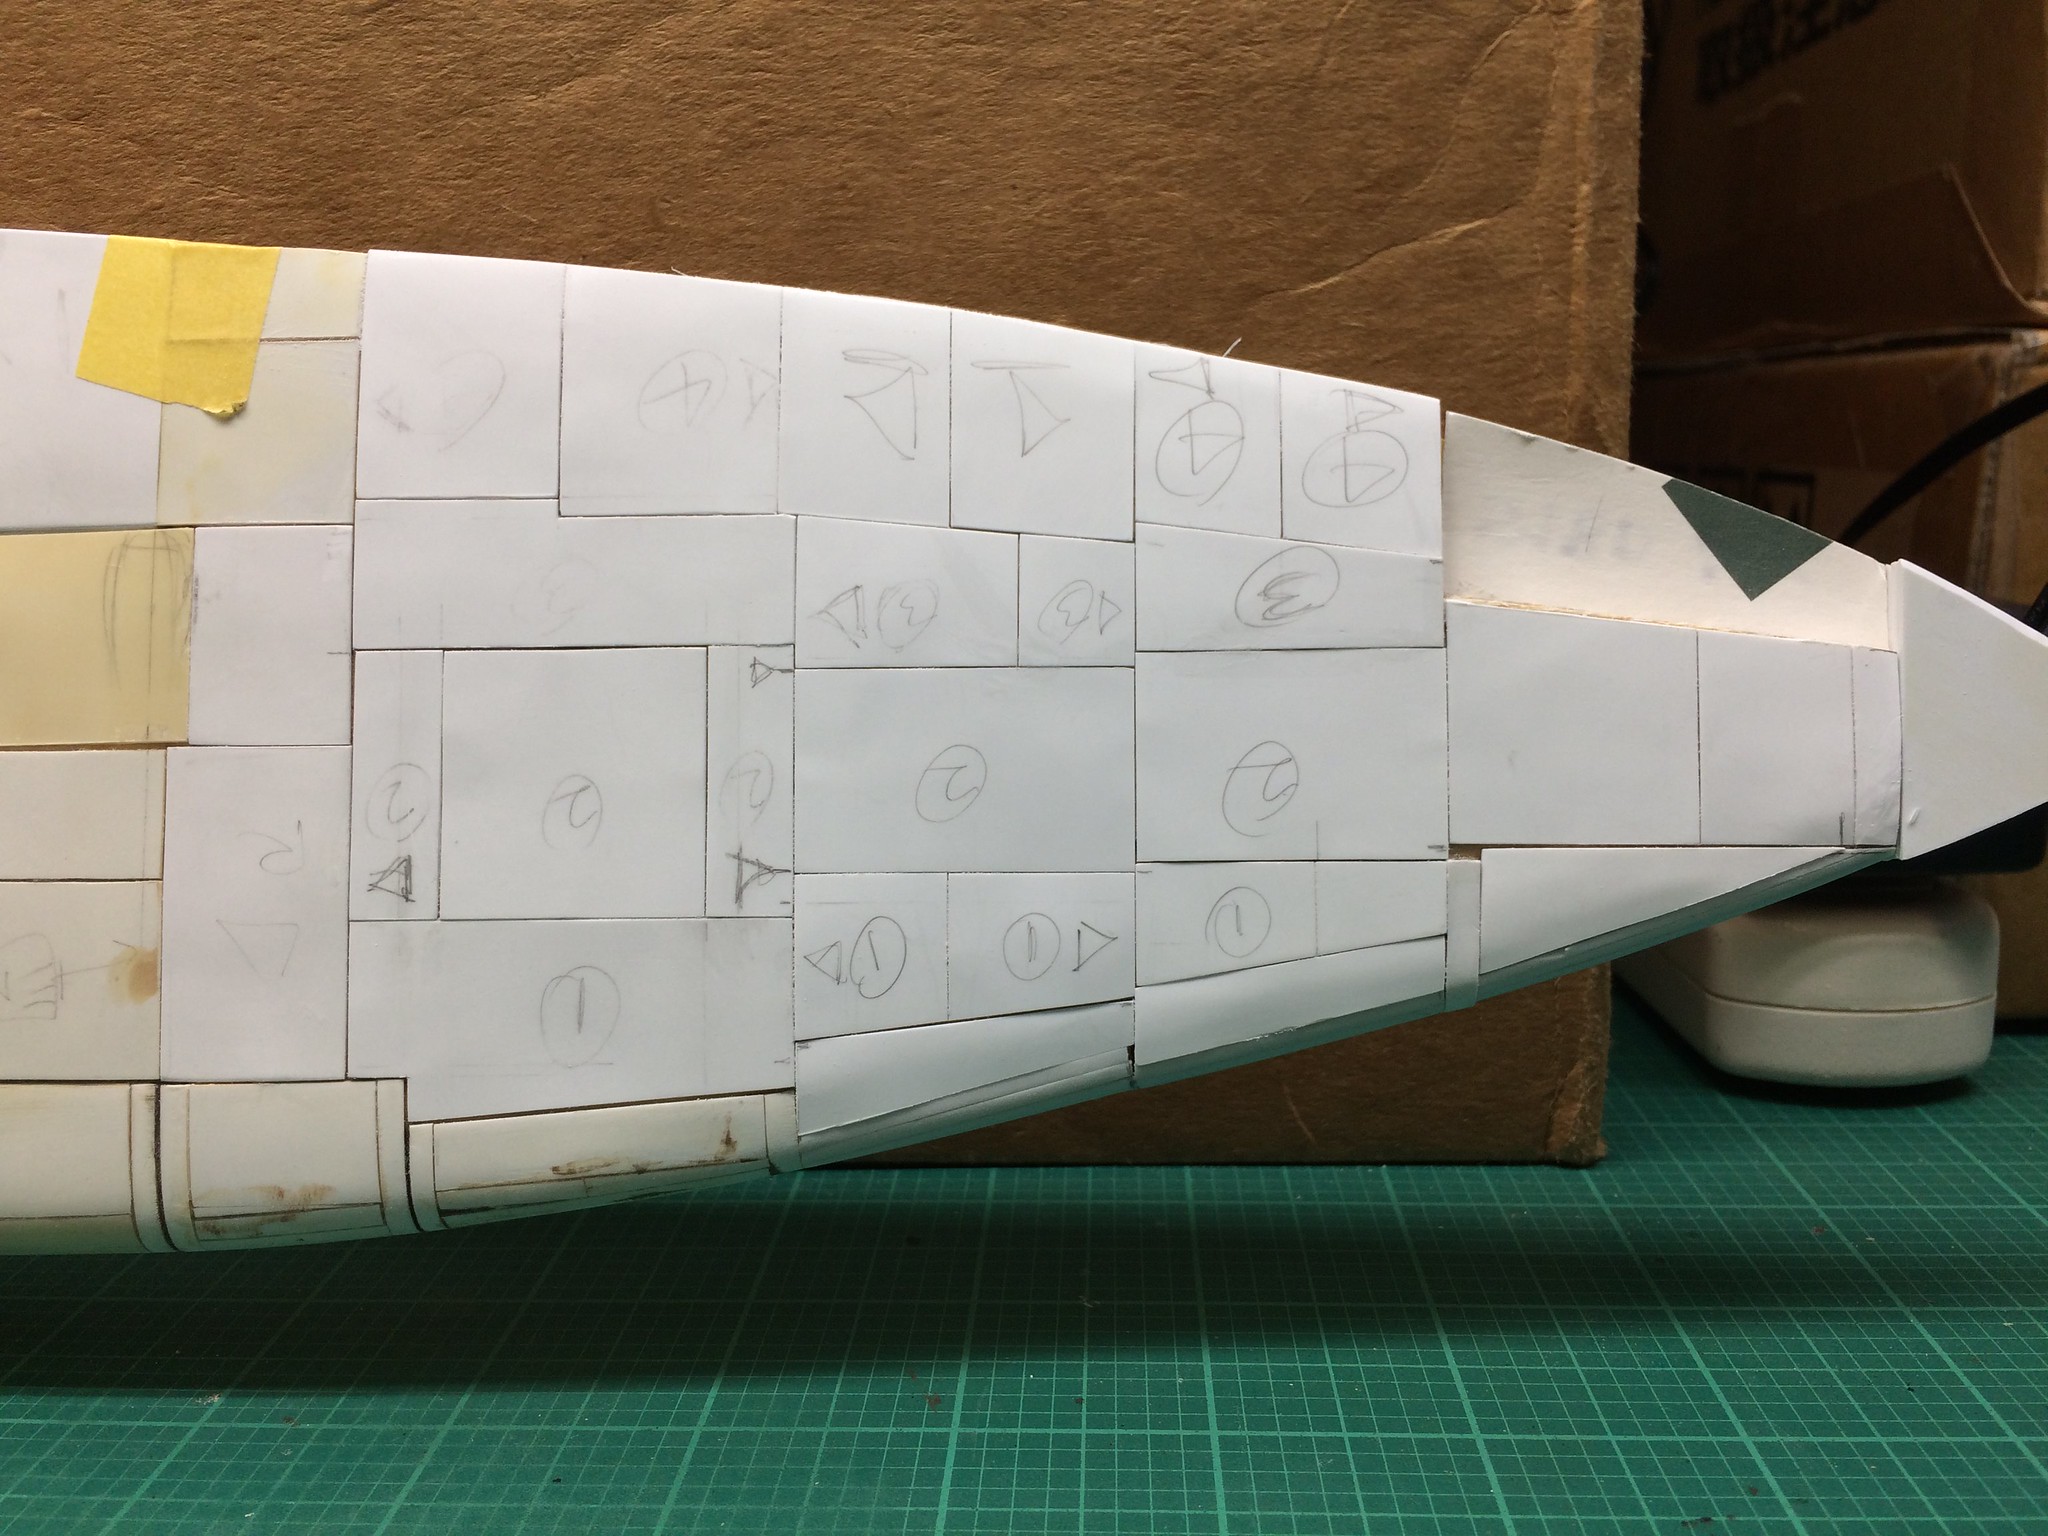 [/url]Bakagalas-95 by N.T. Izumi, on Flickr
What I did was cut a sheet of plastic to cover a large section of wing, marked out the panel lines, then cut each piece out, beat the hell out of them to impart a hammered texture, and applied them individually, cutting and trimming as needed to fit. I think I need to get a slow-set CA glue, as the one I have “grabs” too quickly.
Here is what the “hammered” finish looks like:
https://flic.kr/p/27NbcR9]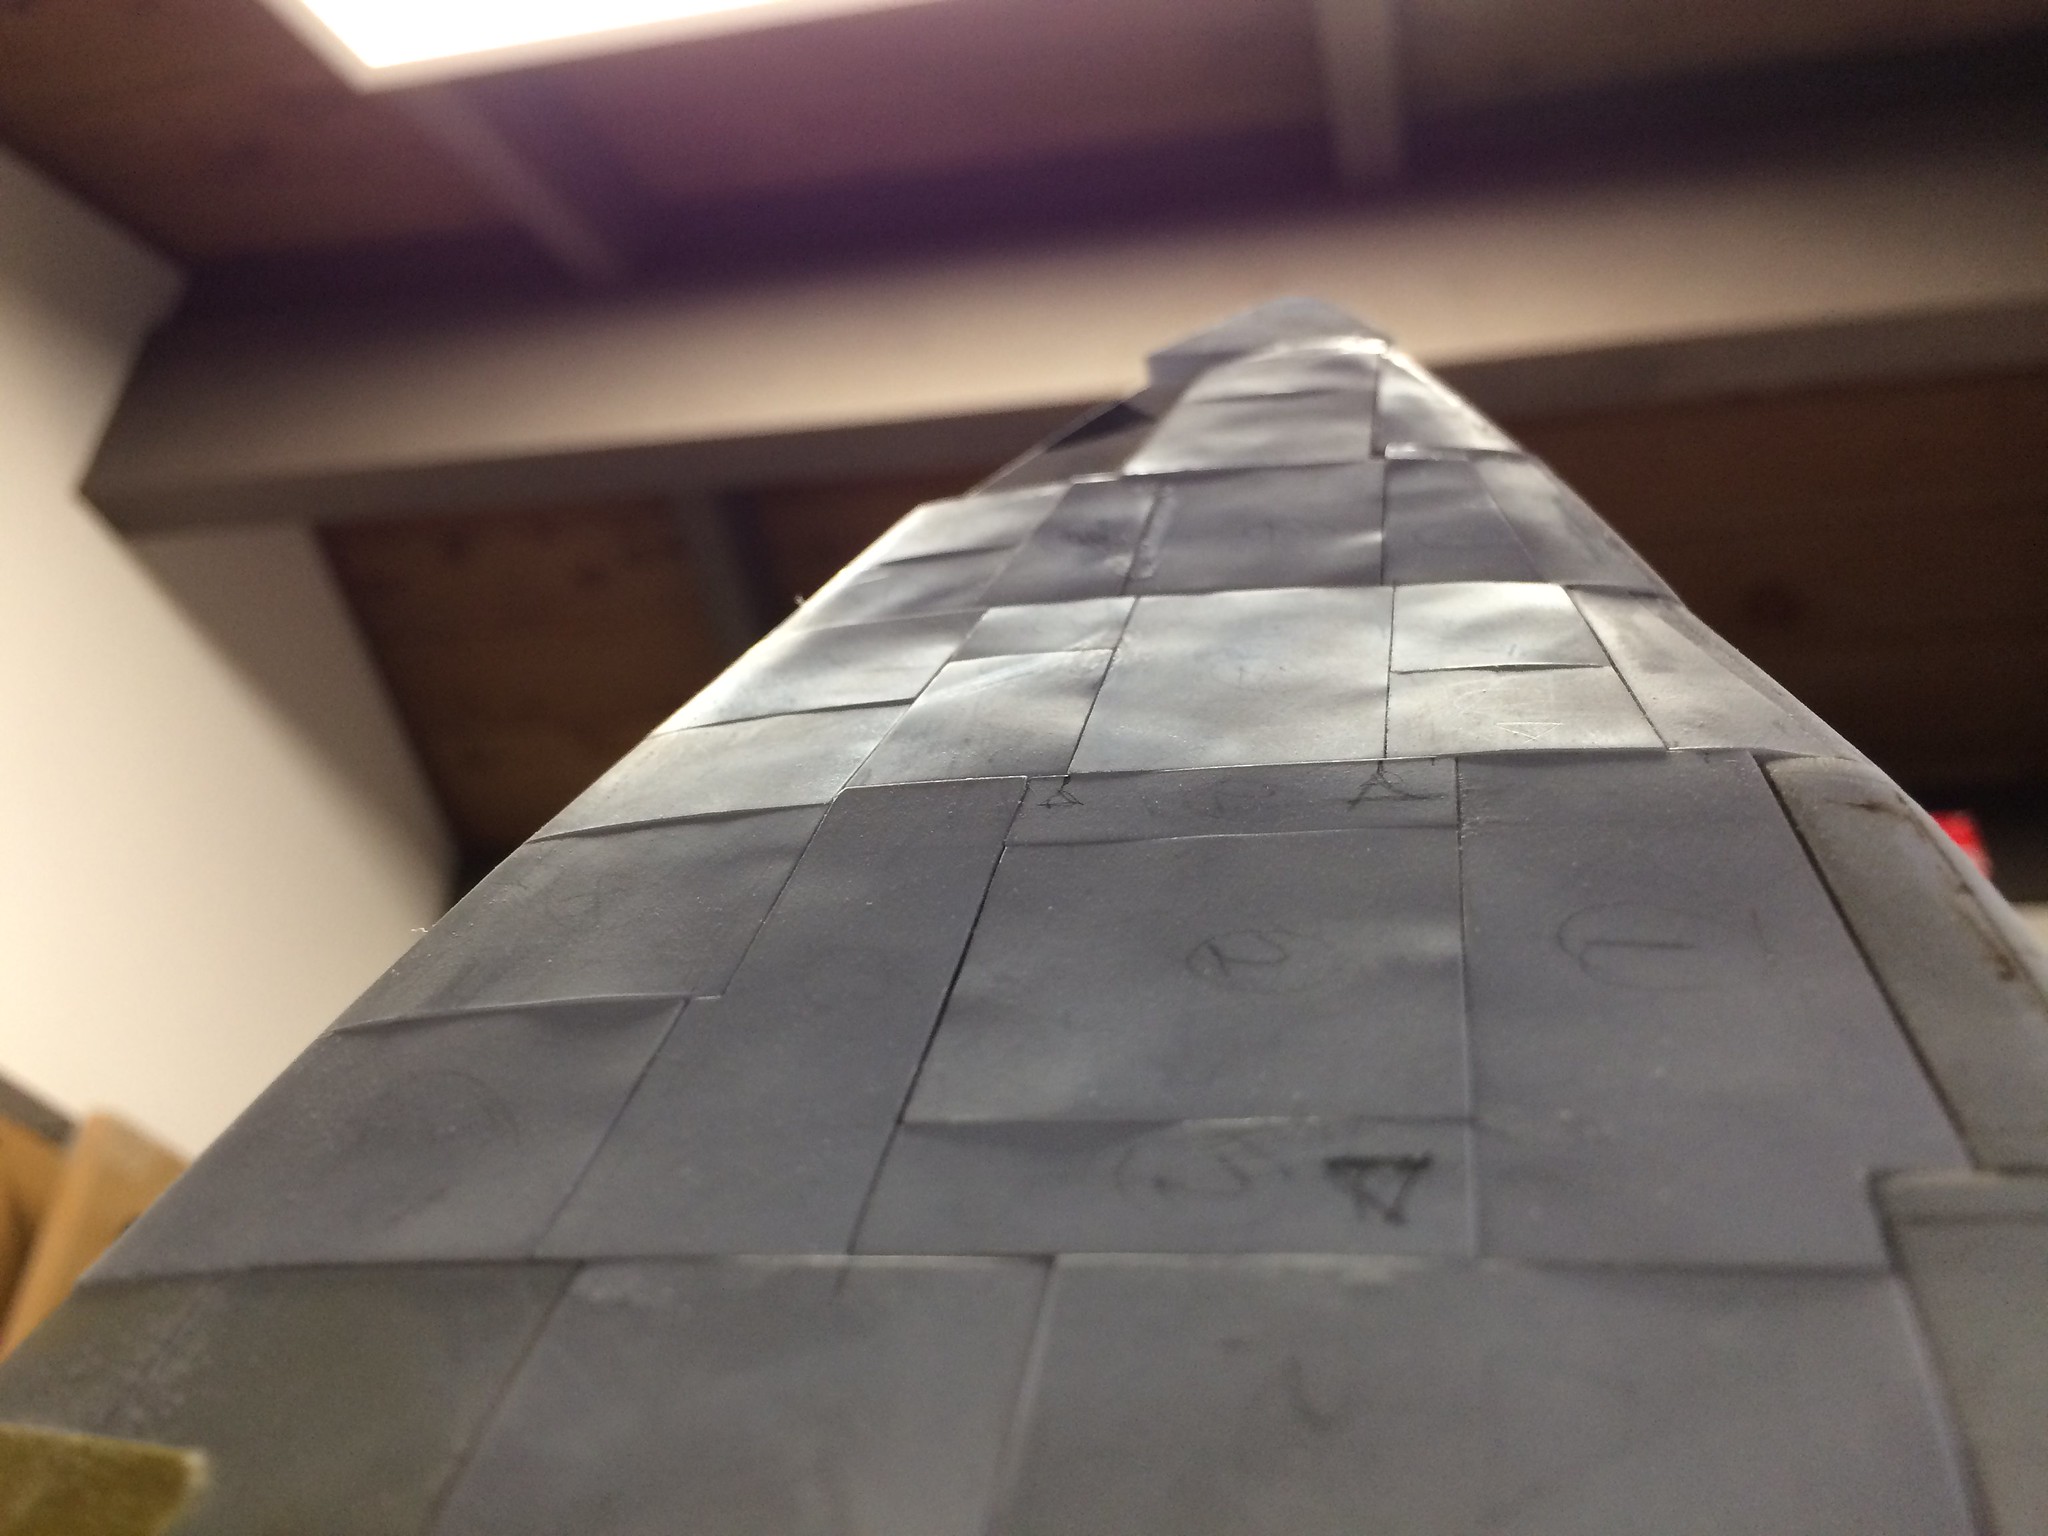 [/url]Bakagalas-97 by N.T. Izumi, on Flickr
And so the other wing will be done tonight.
https://flic.kr/p/27Nbeih]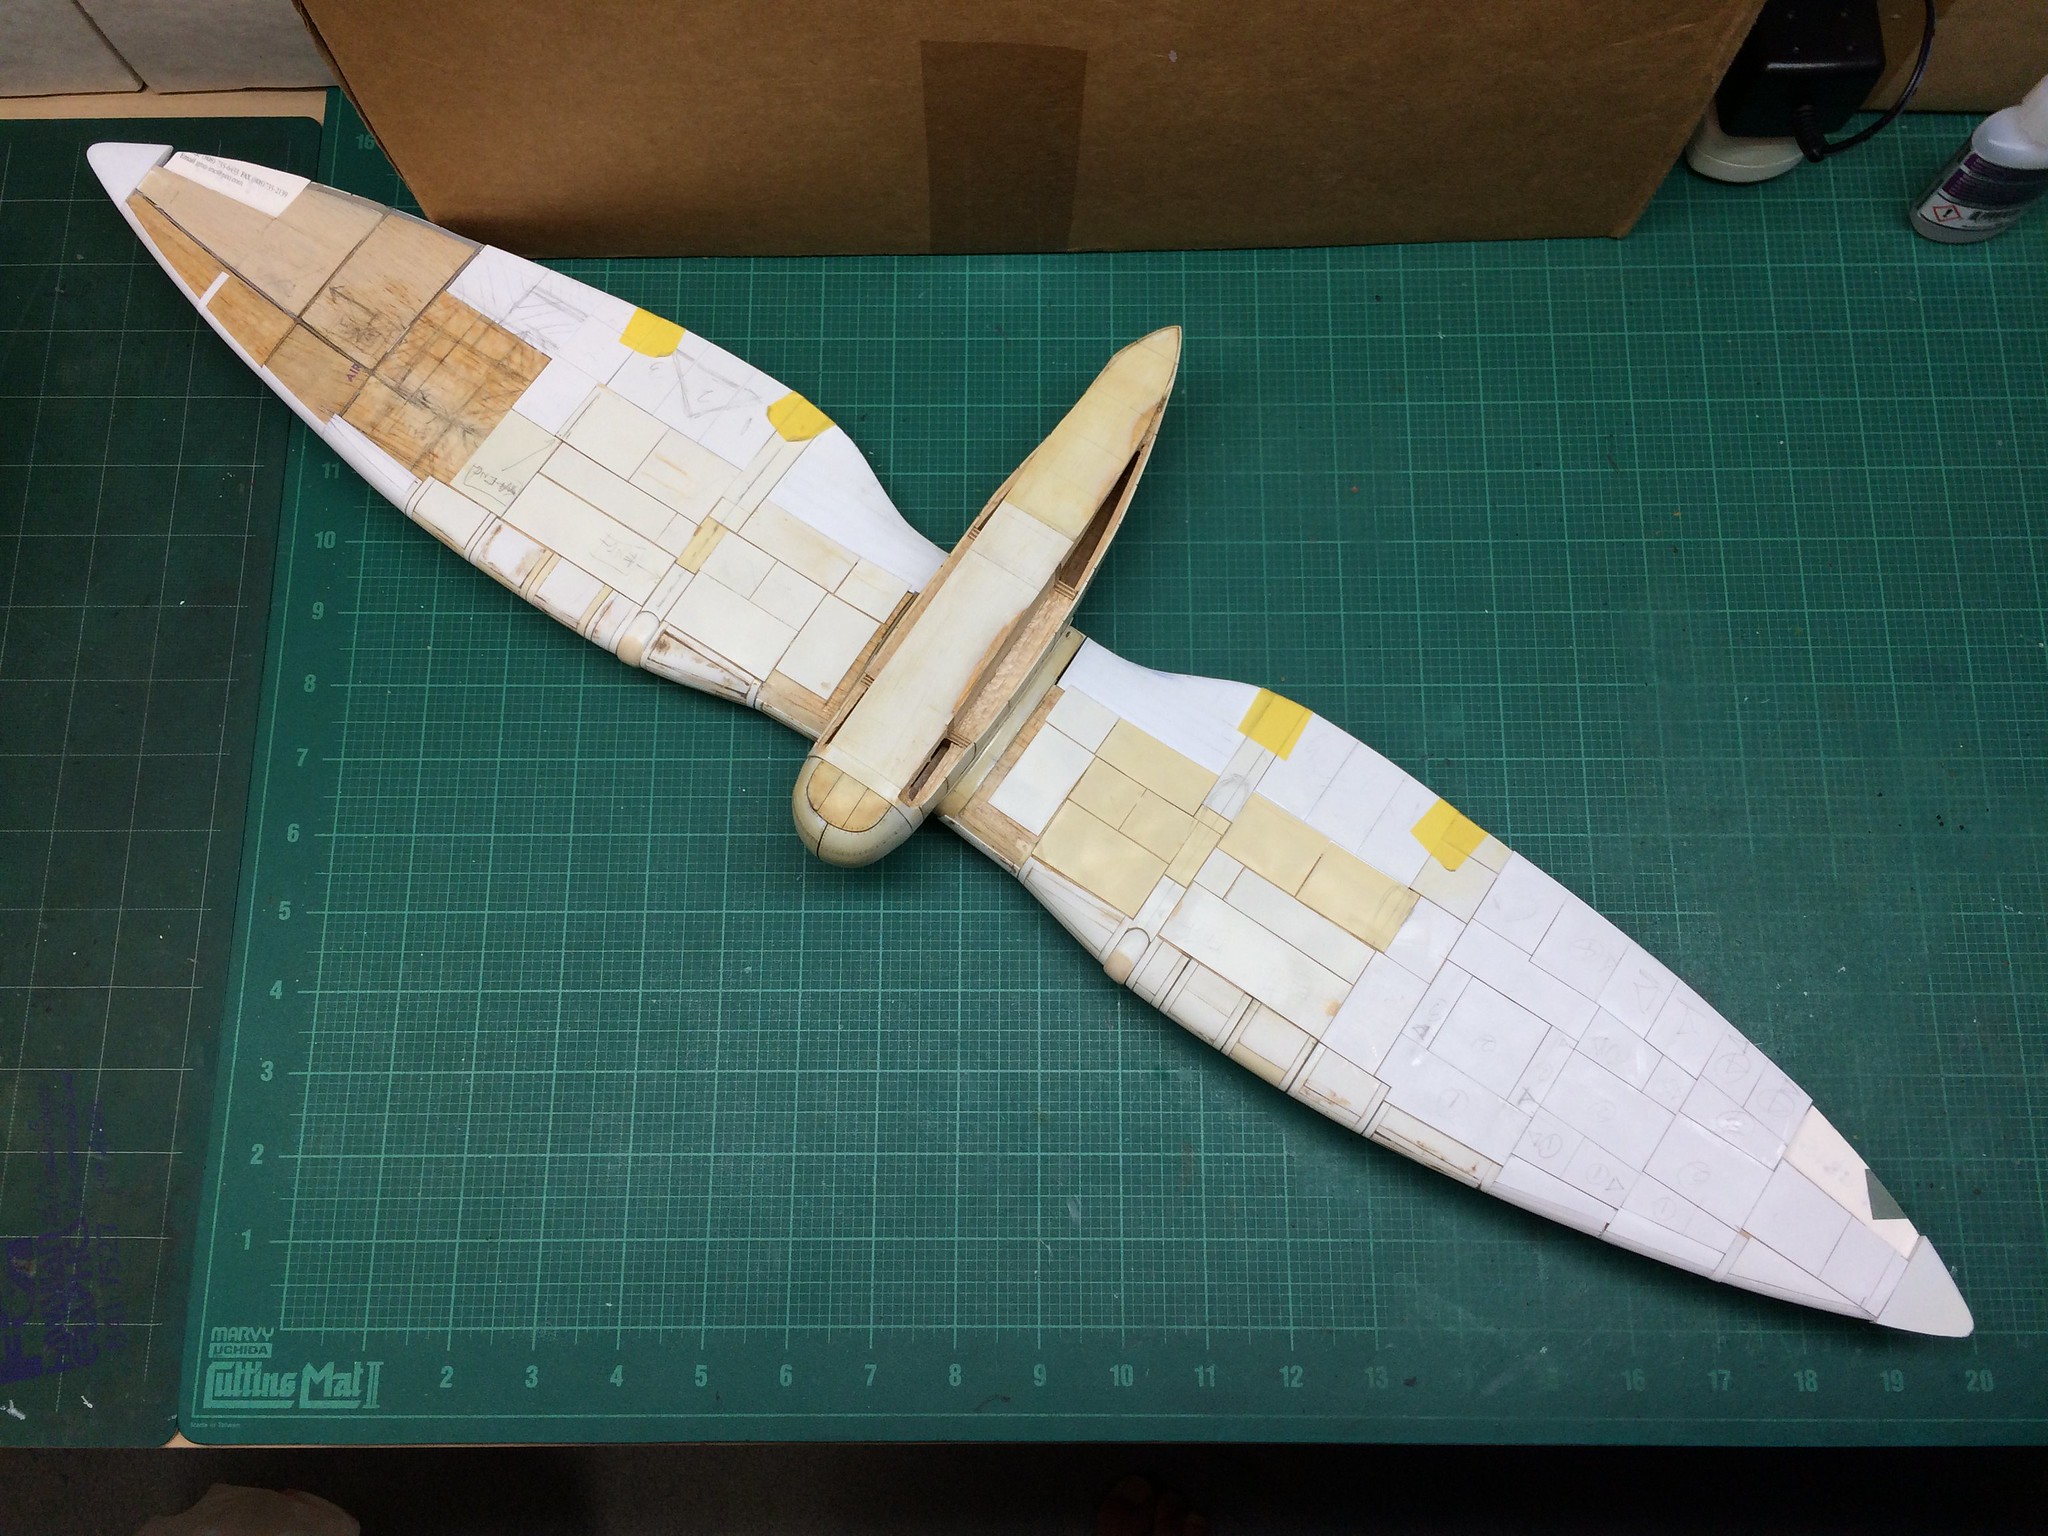 [/url]Bakagalas-96 by N.T. Izumi, on Flickr
Then the engines! I can’t wait.
 [/url]Bakagalas-76 by N.T. Izumi, on Flickr
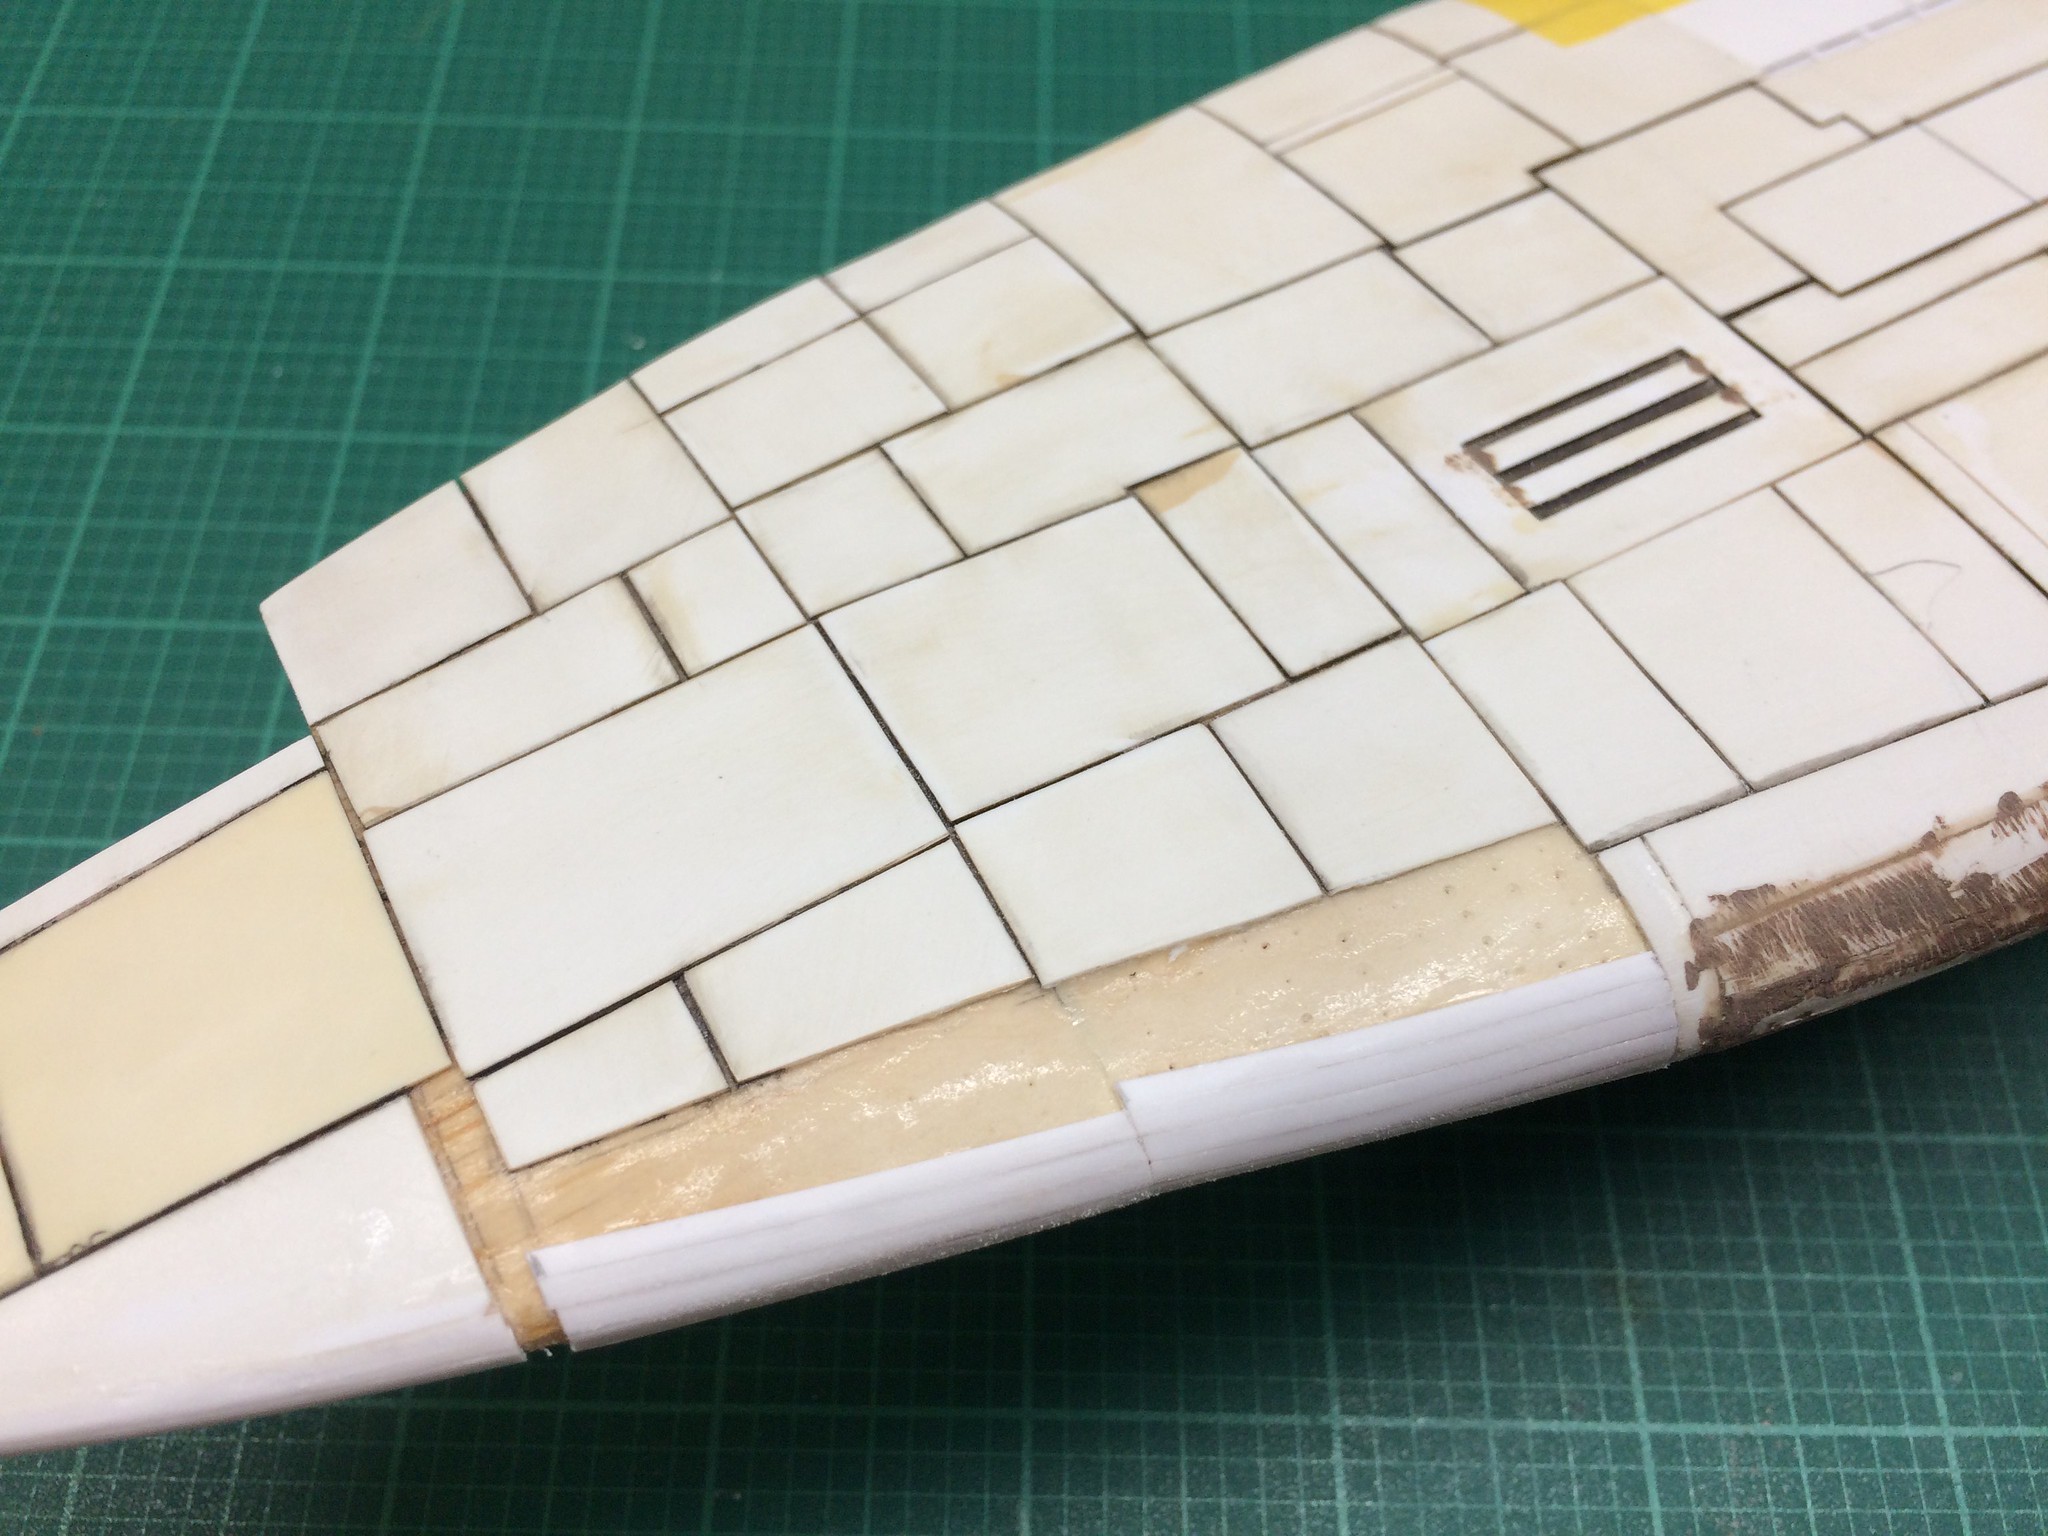 [/url]Bakagalas-86 by N.T. Izumi, on Flickr
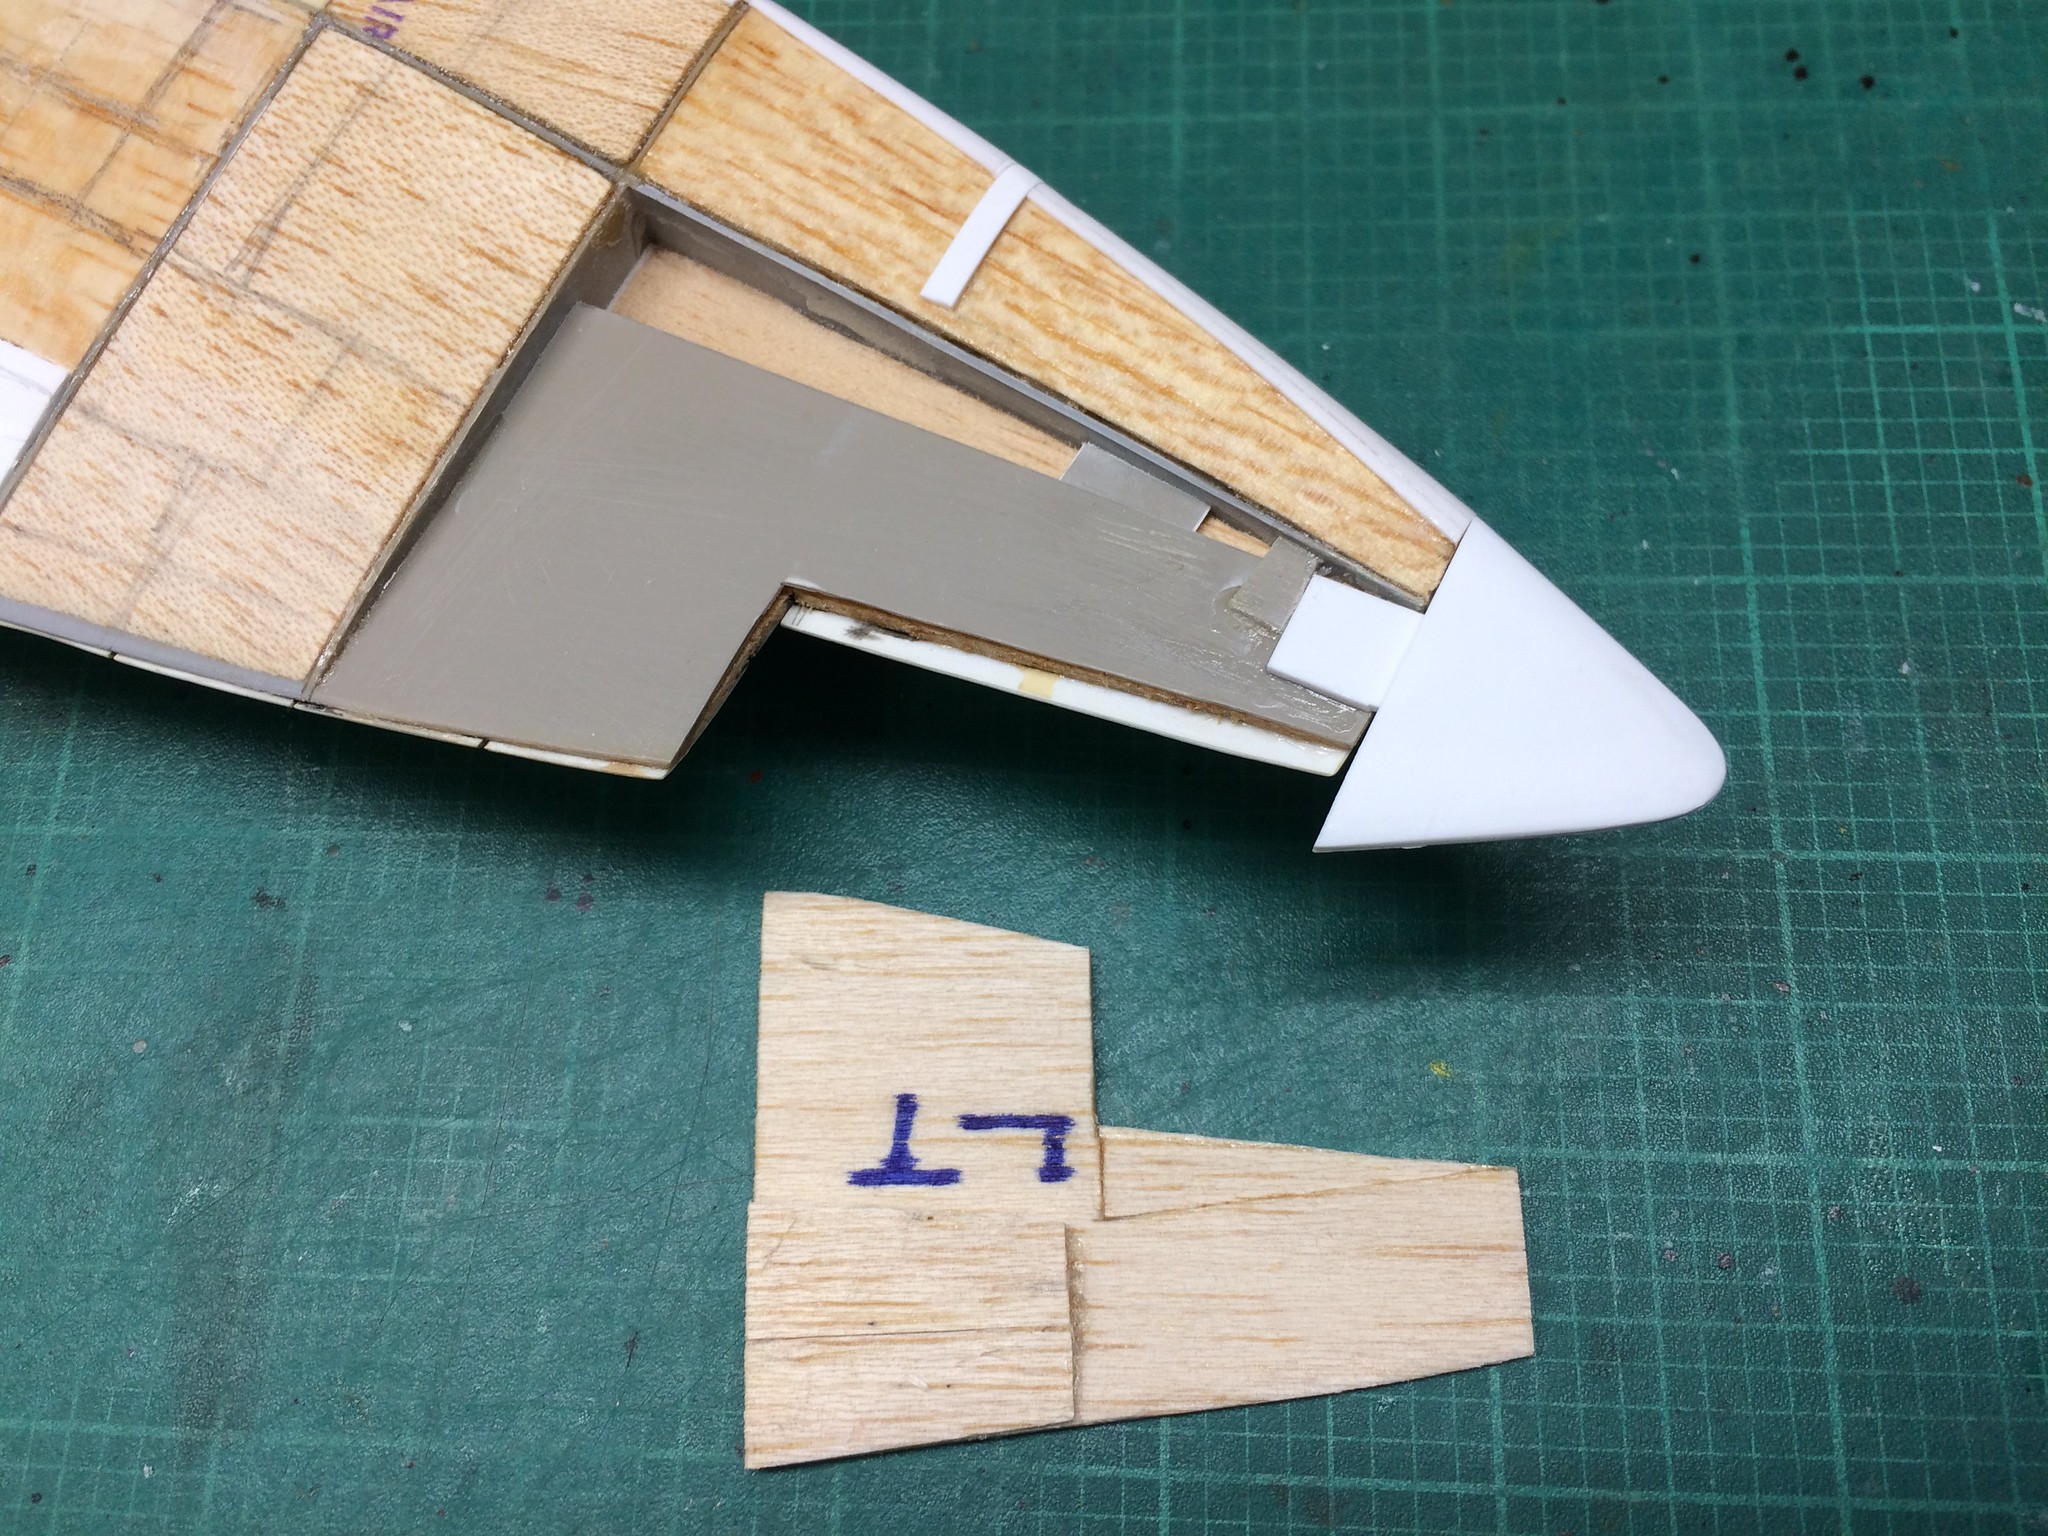 [/url]
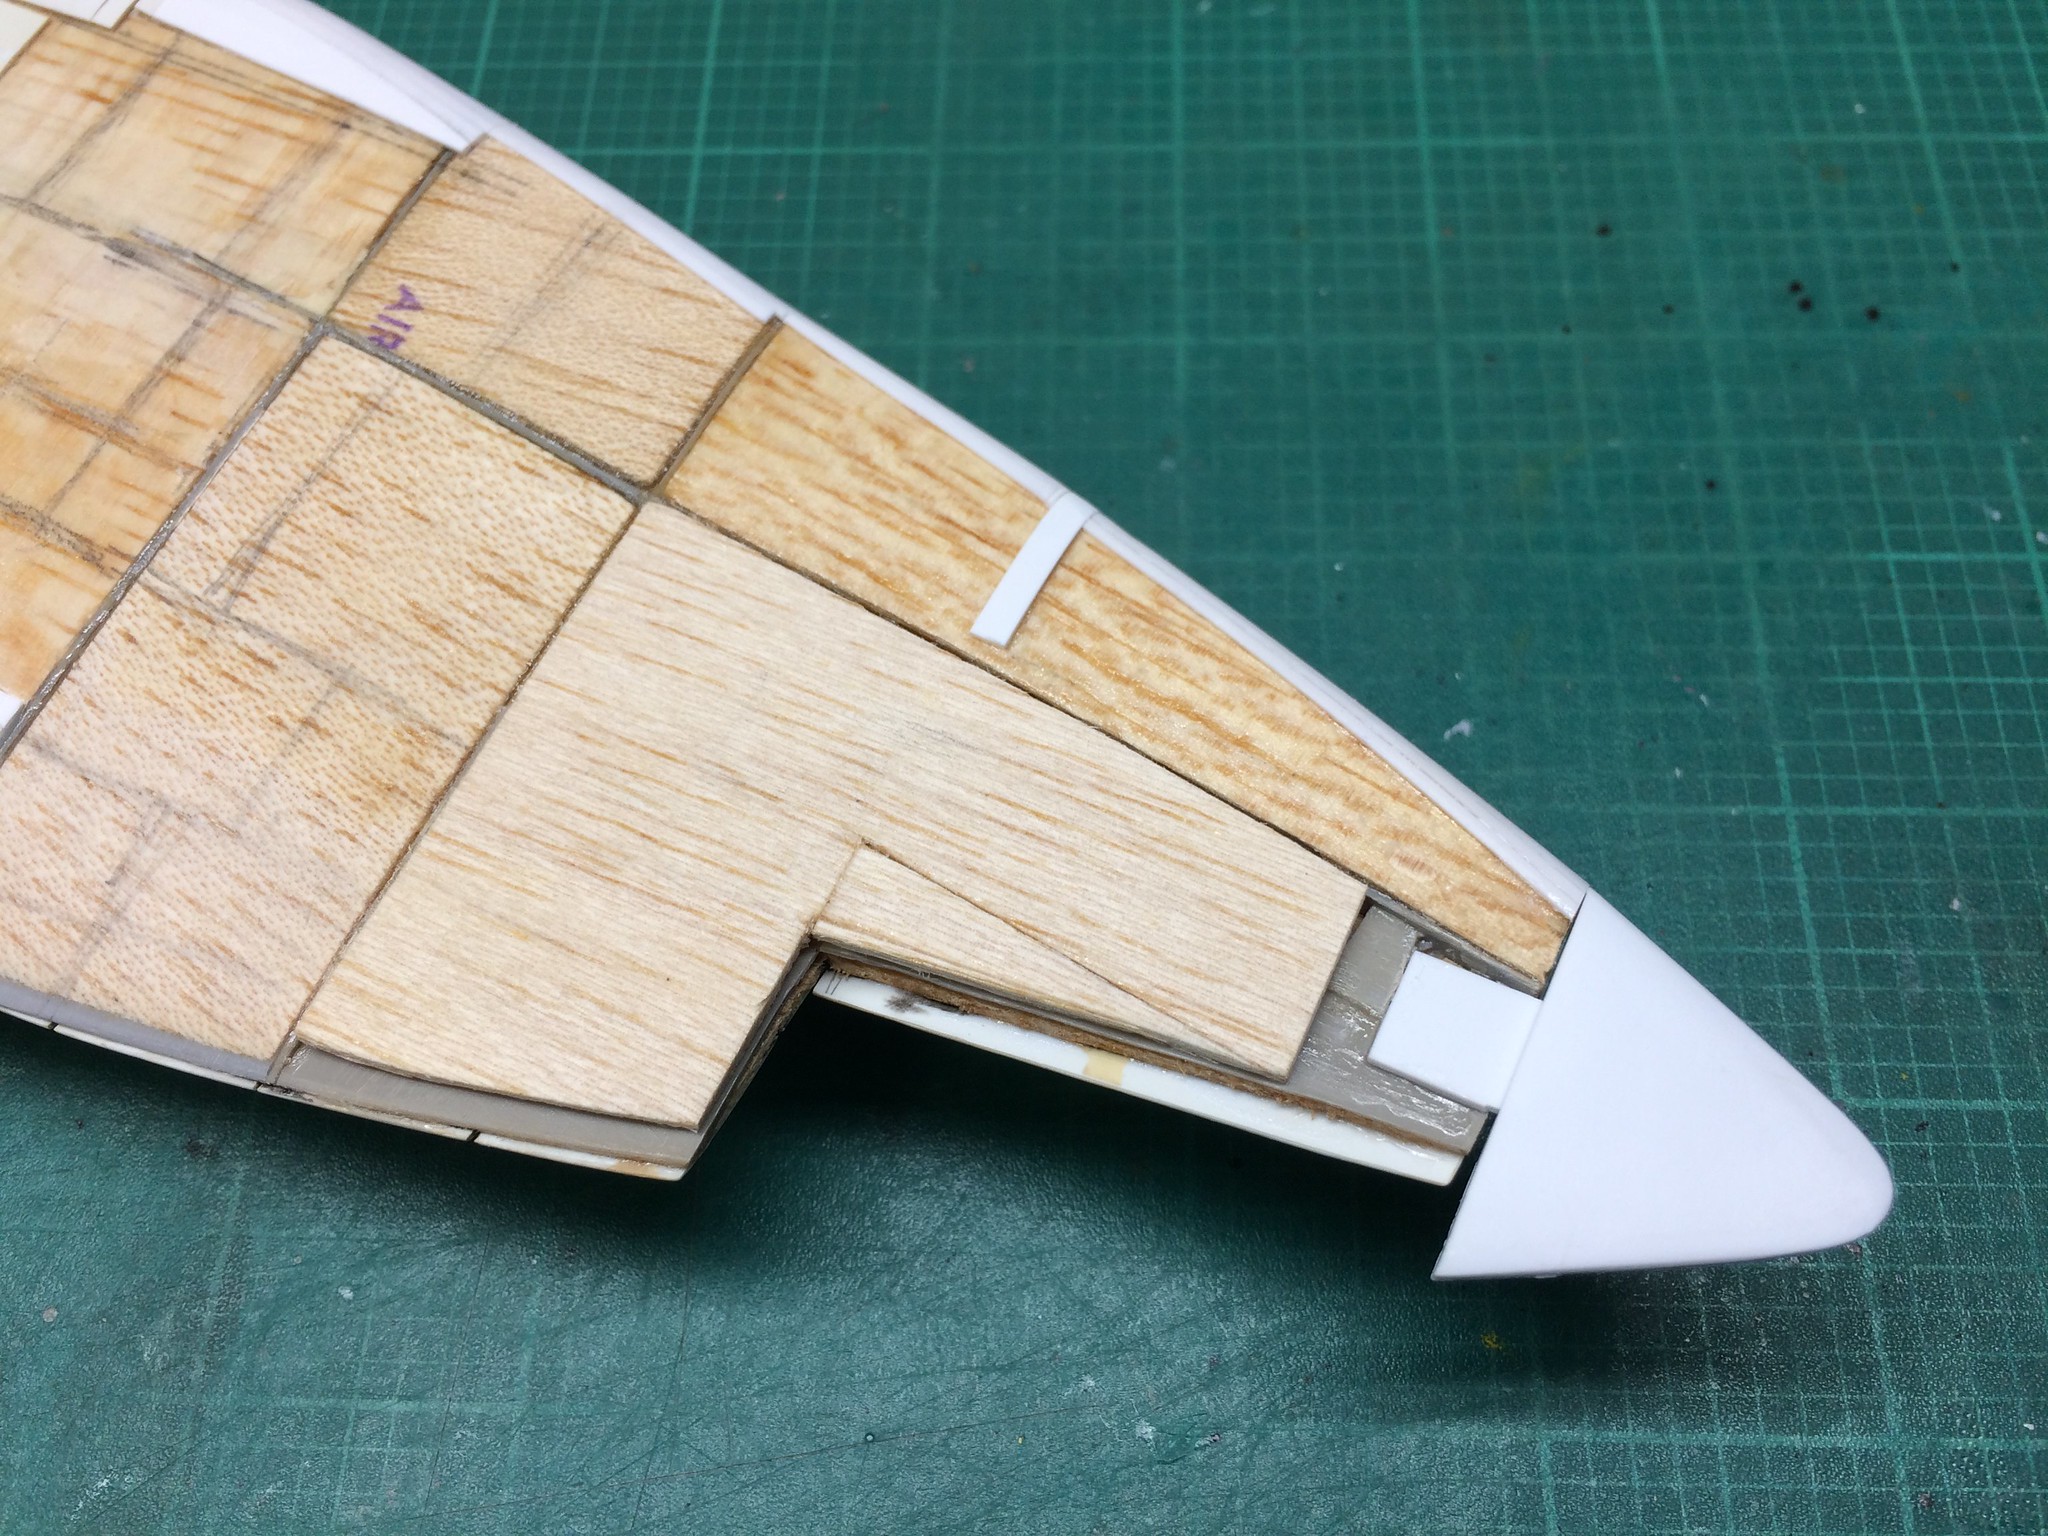 [/url]
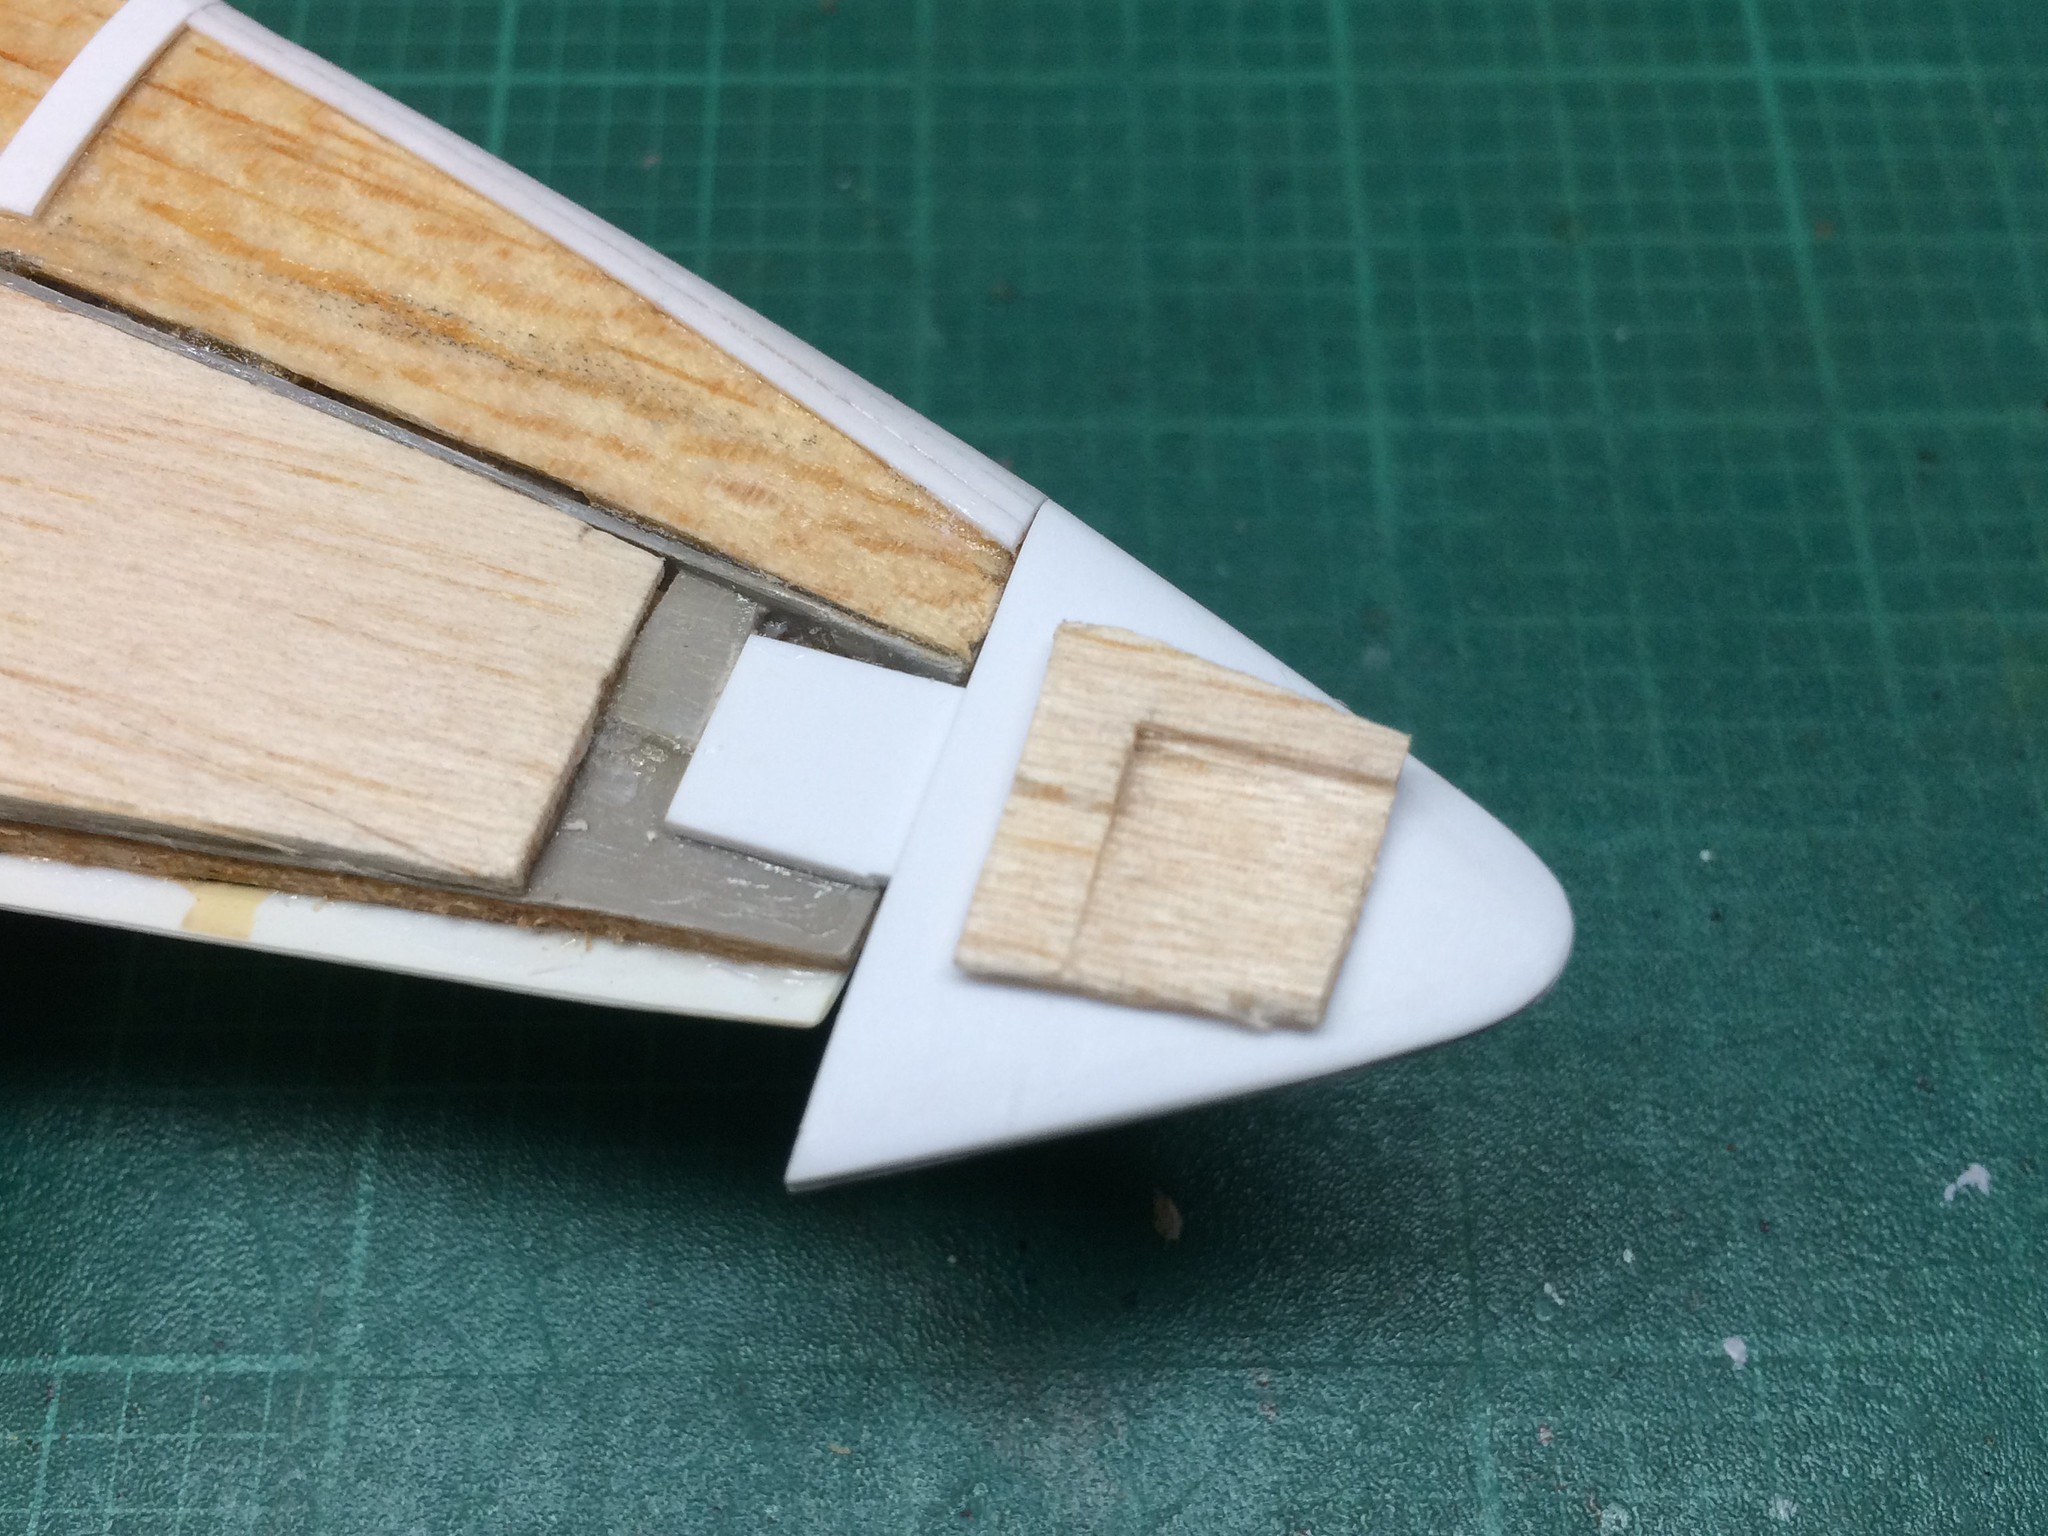 [/url]
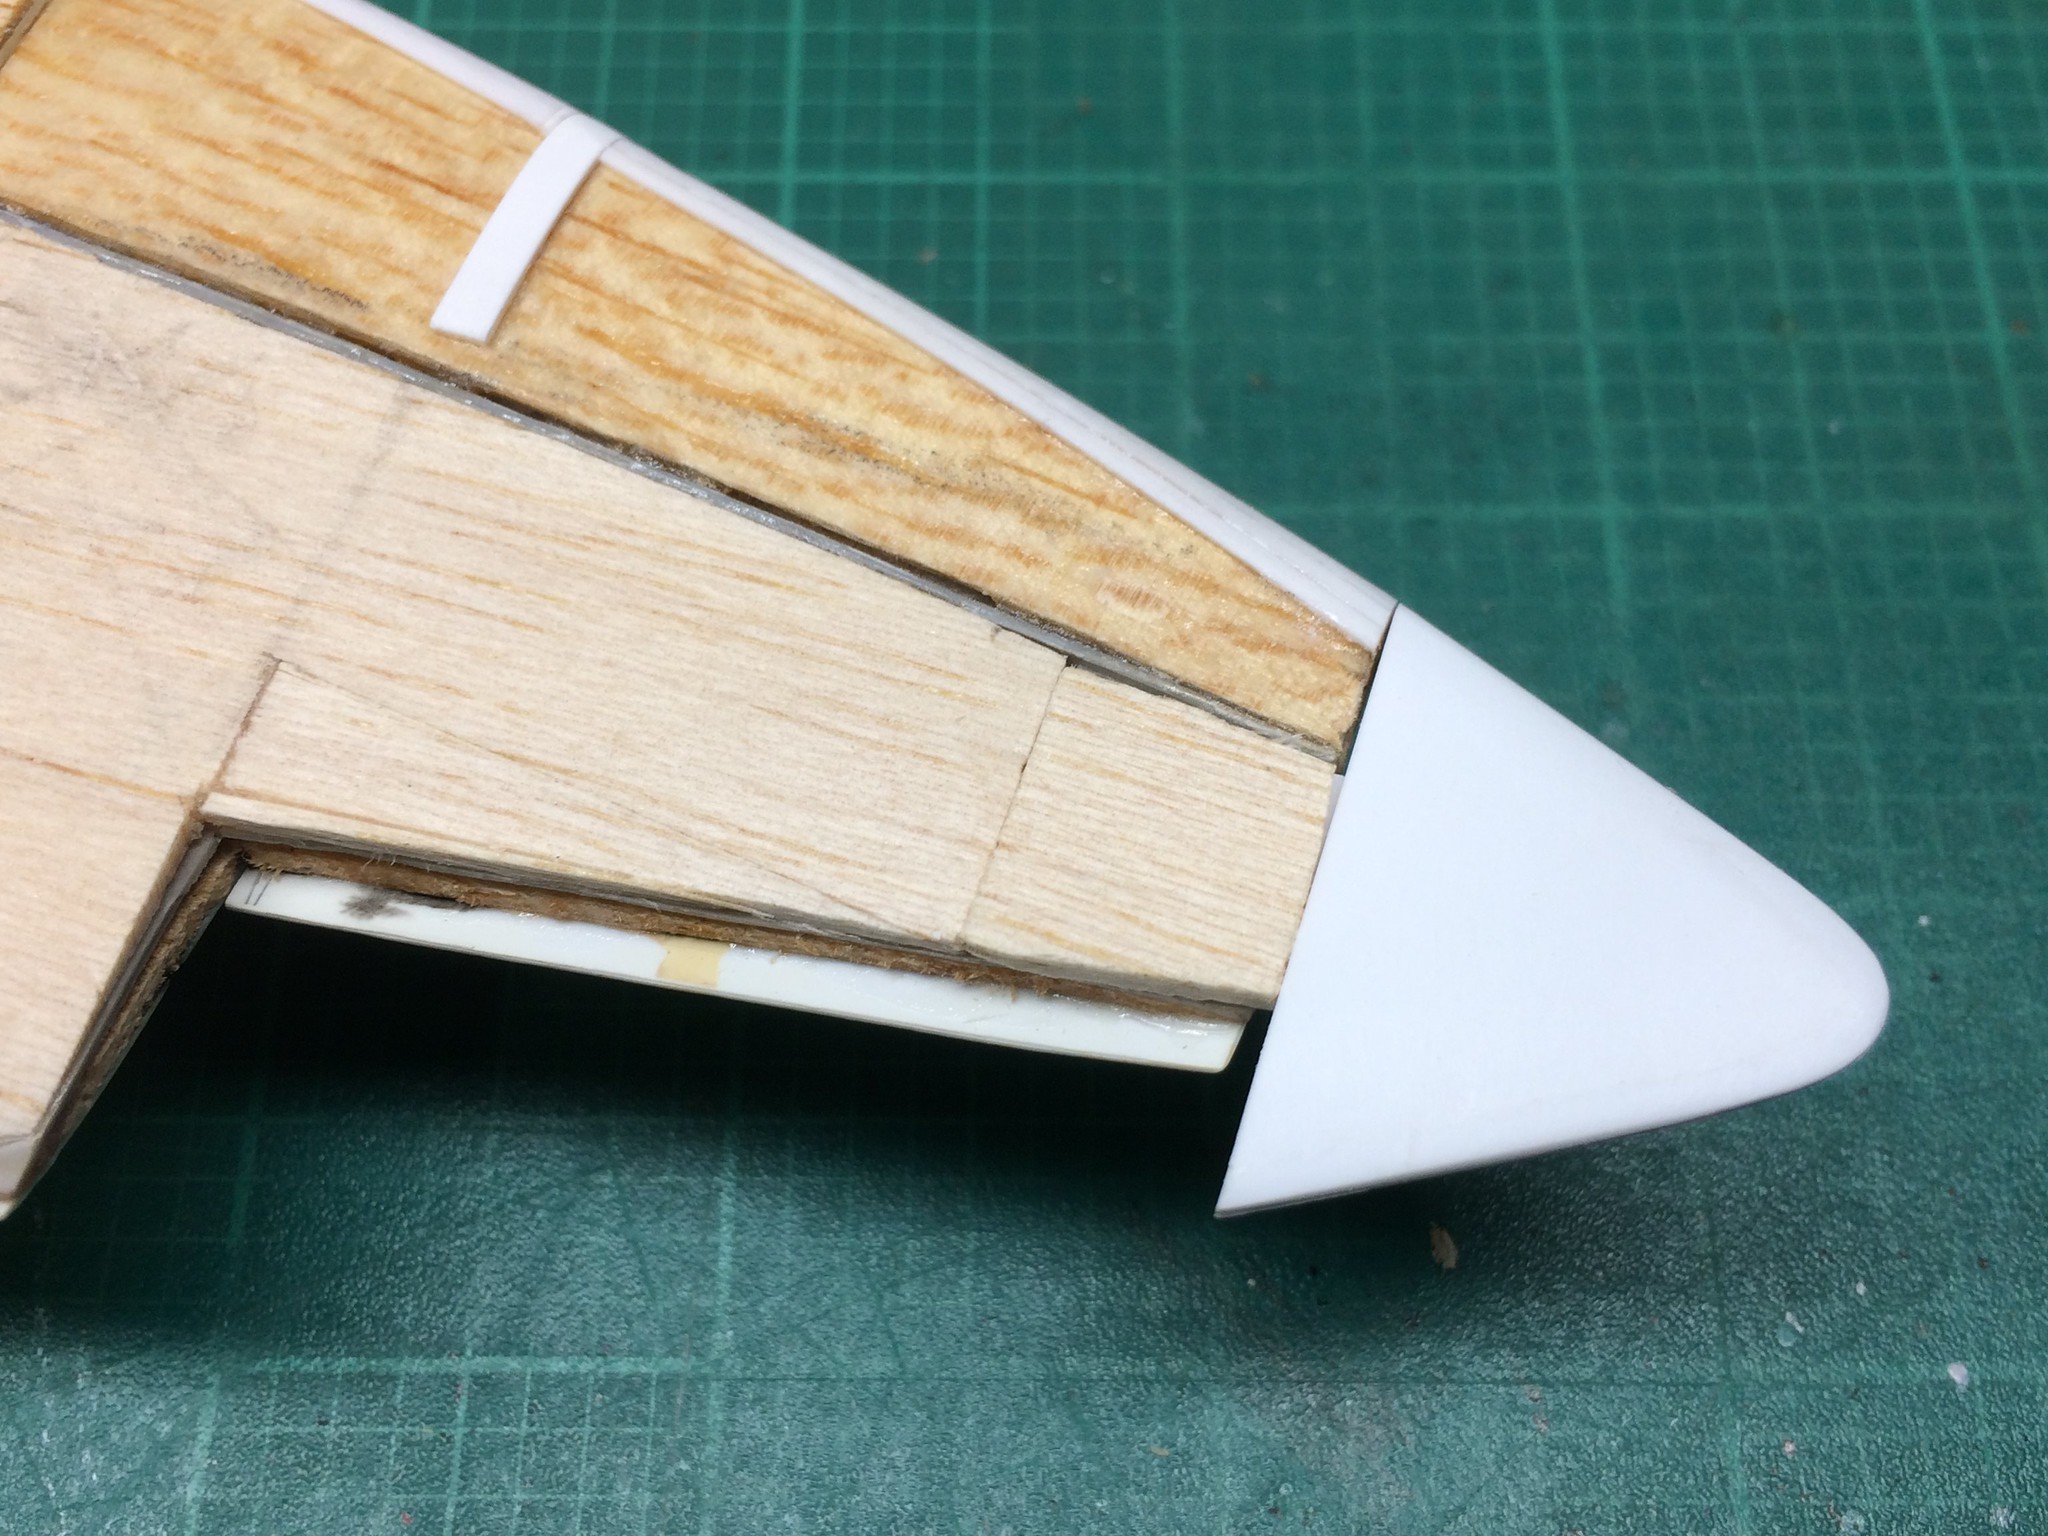 [/url]
 [/url]
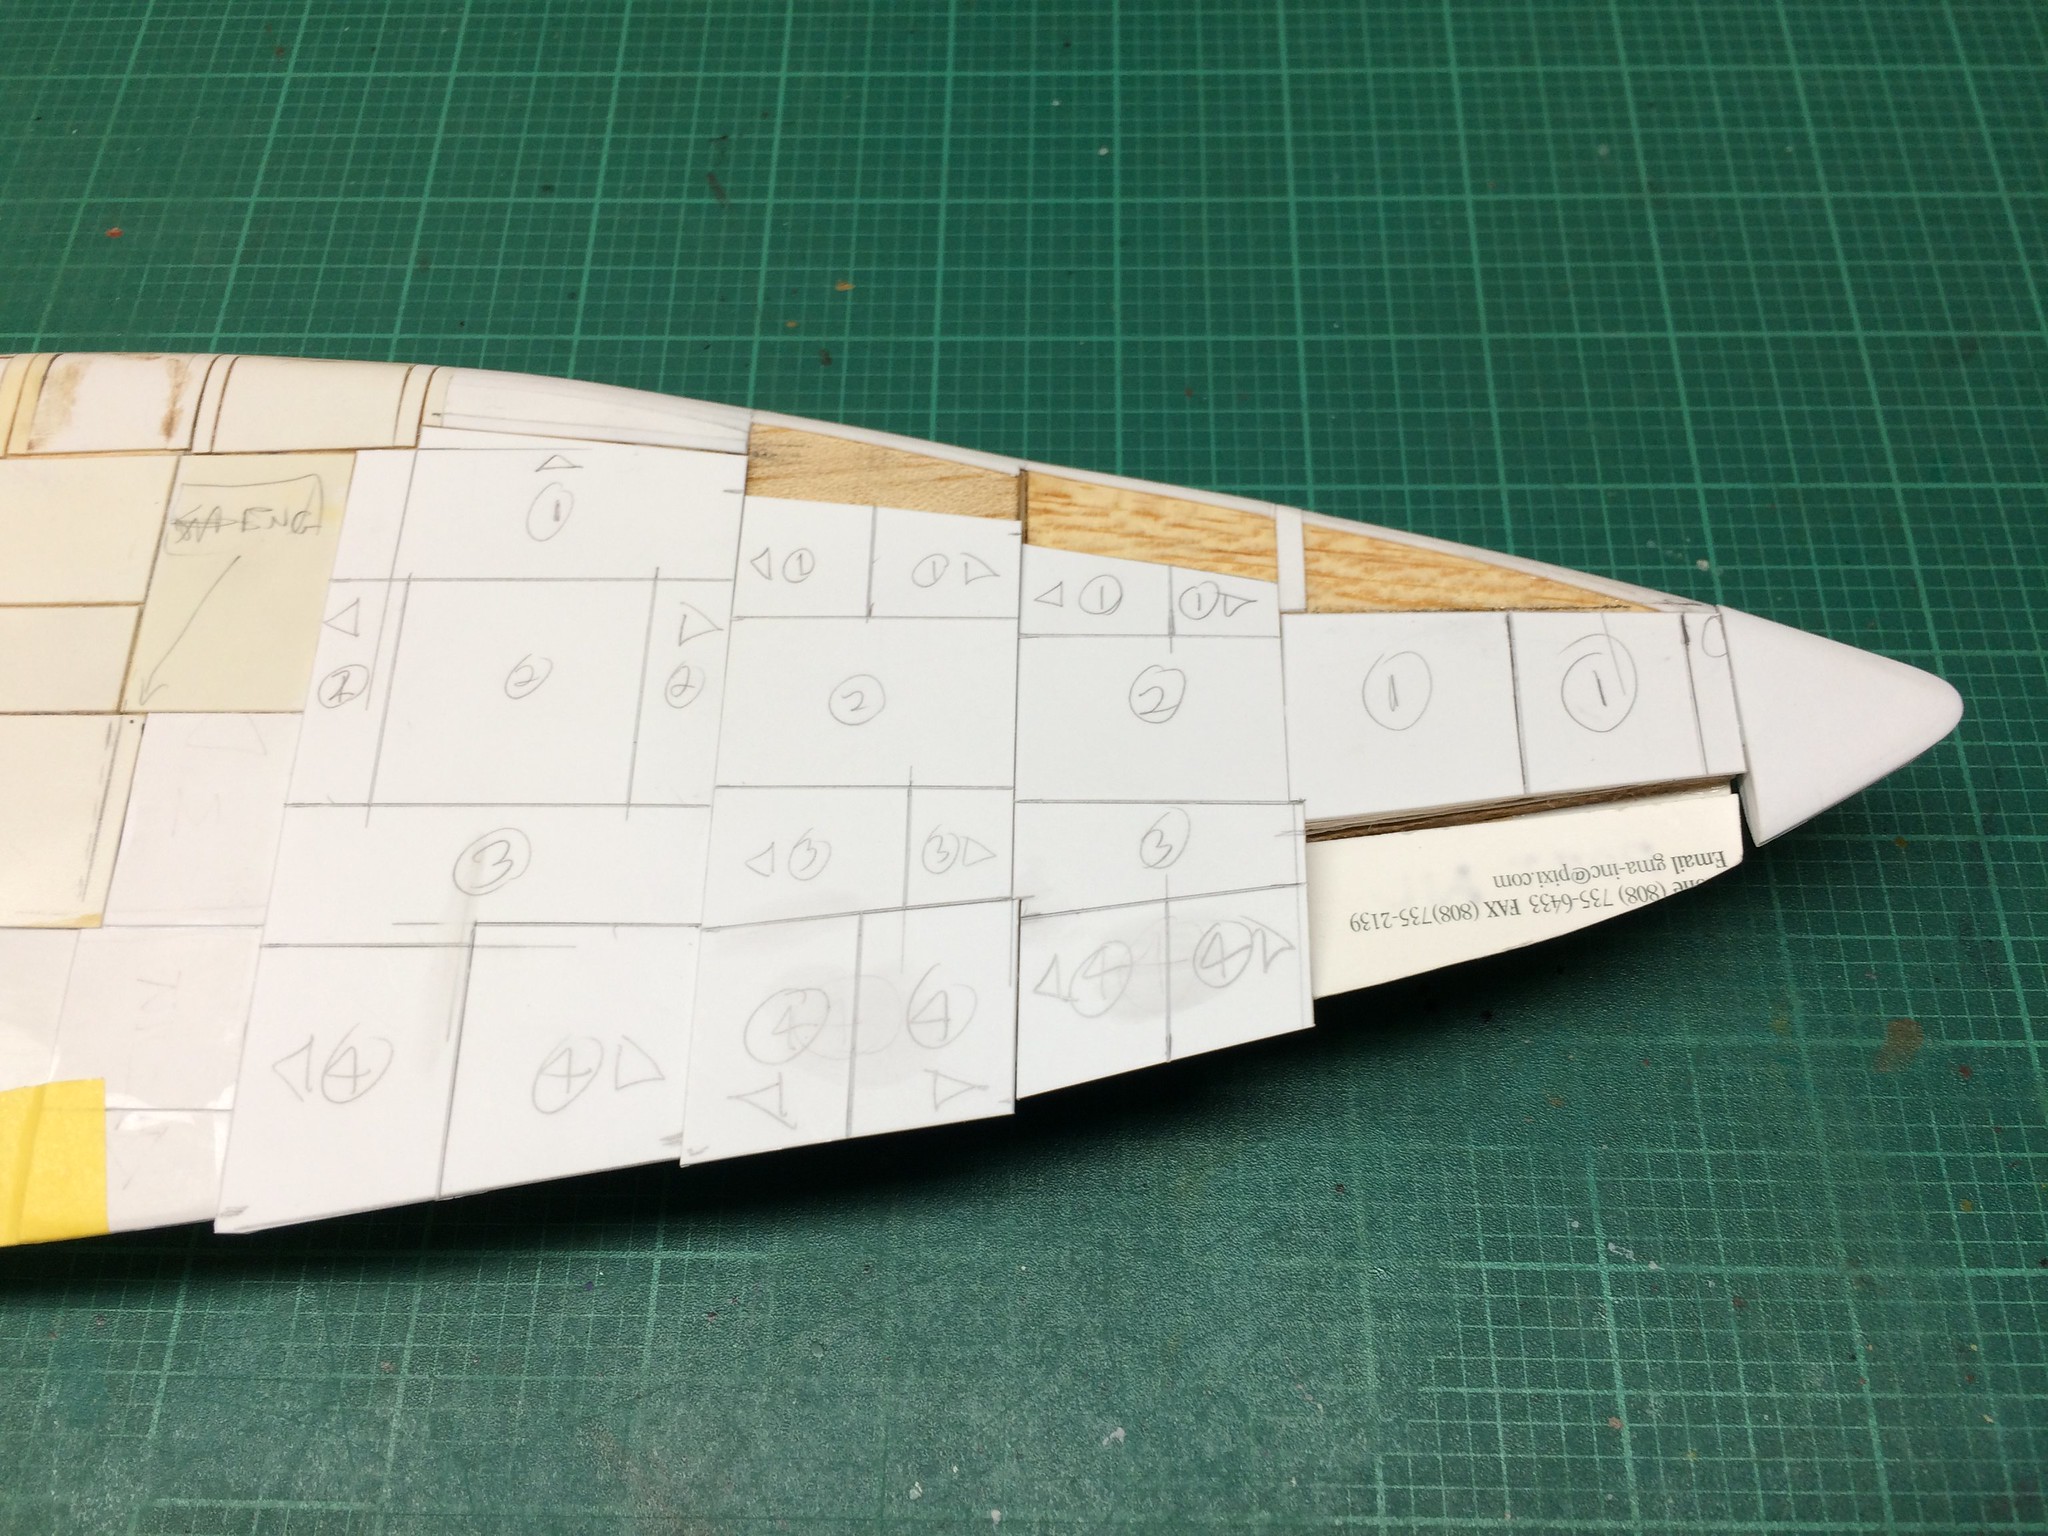 [/url]
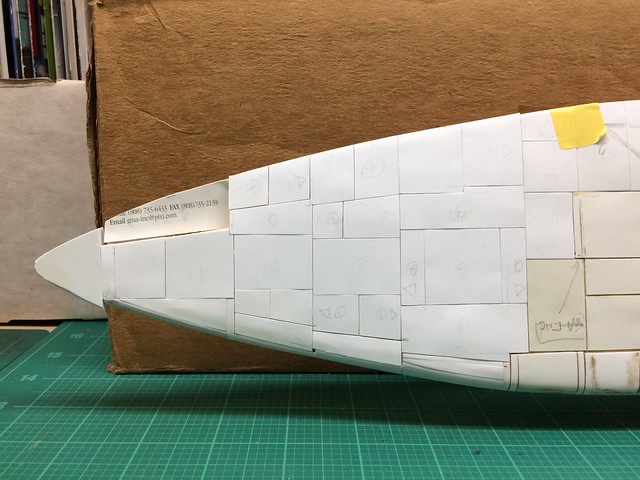 [/url]
 [/url]
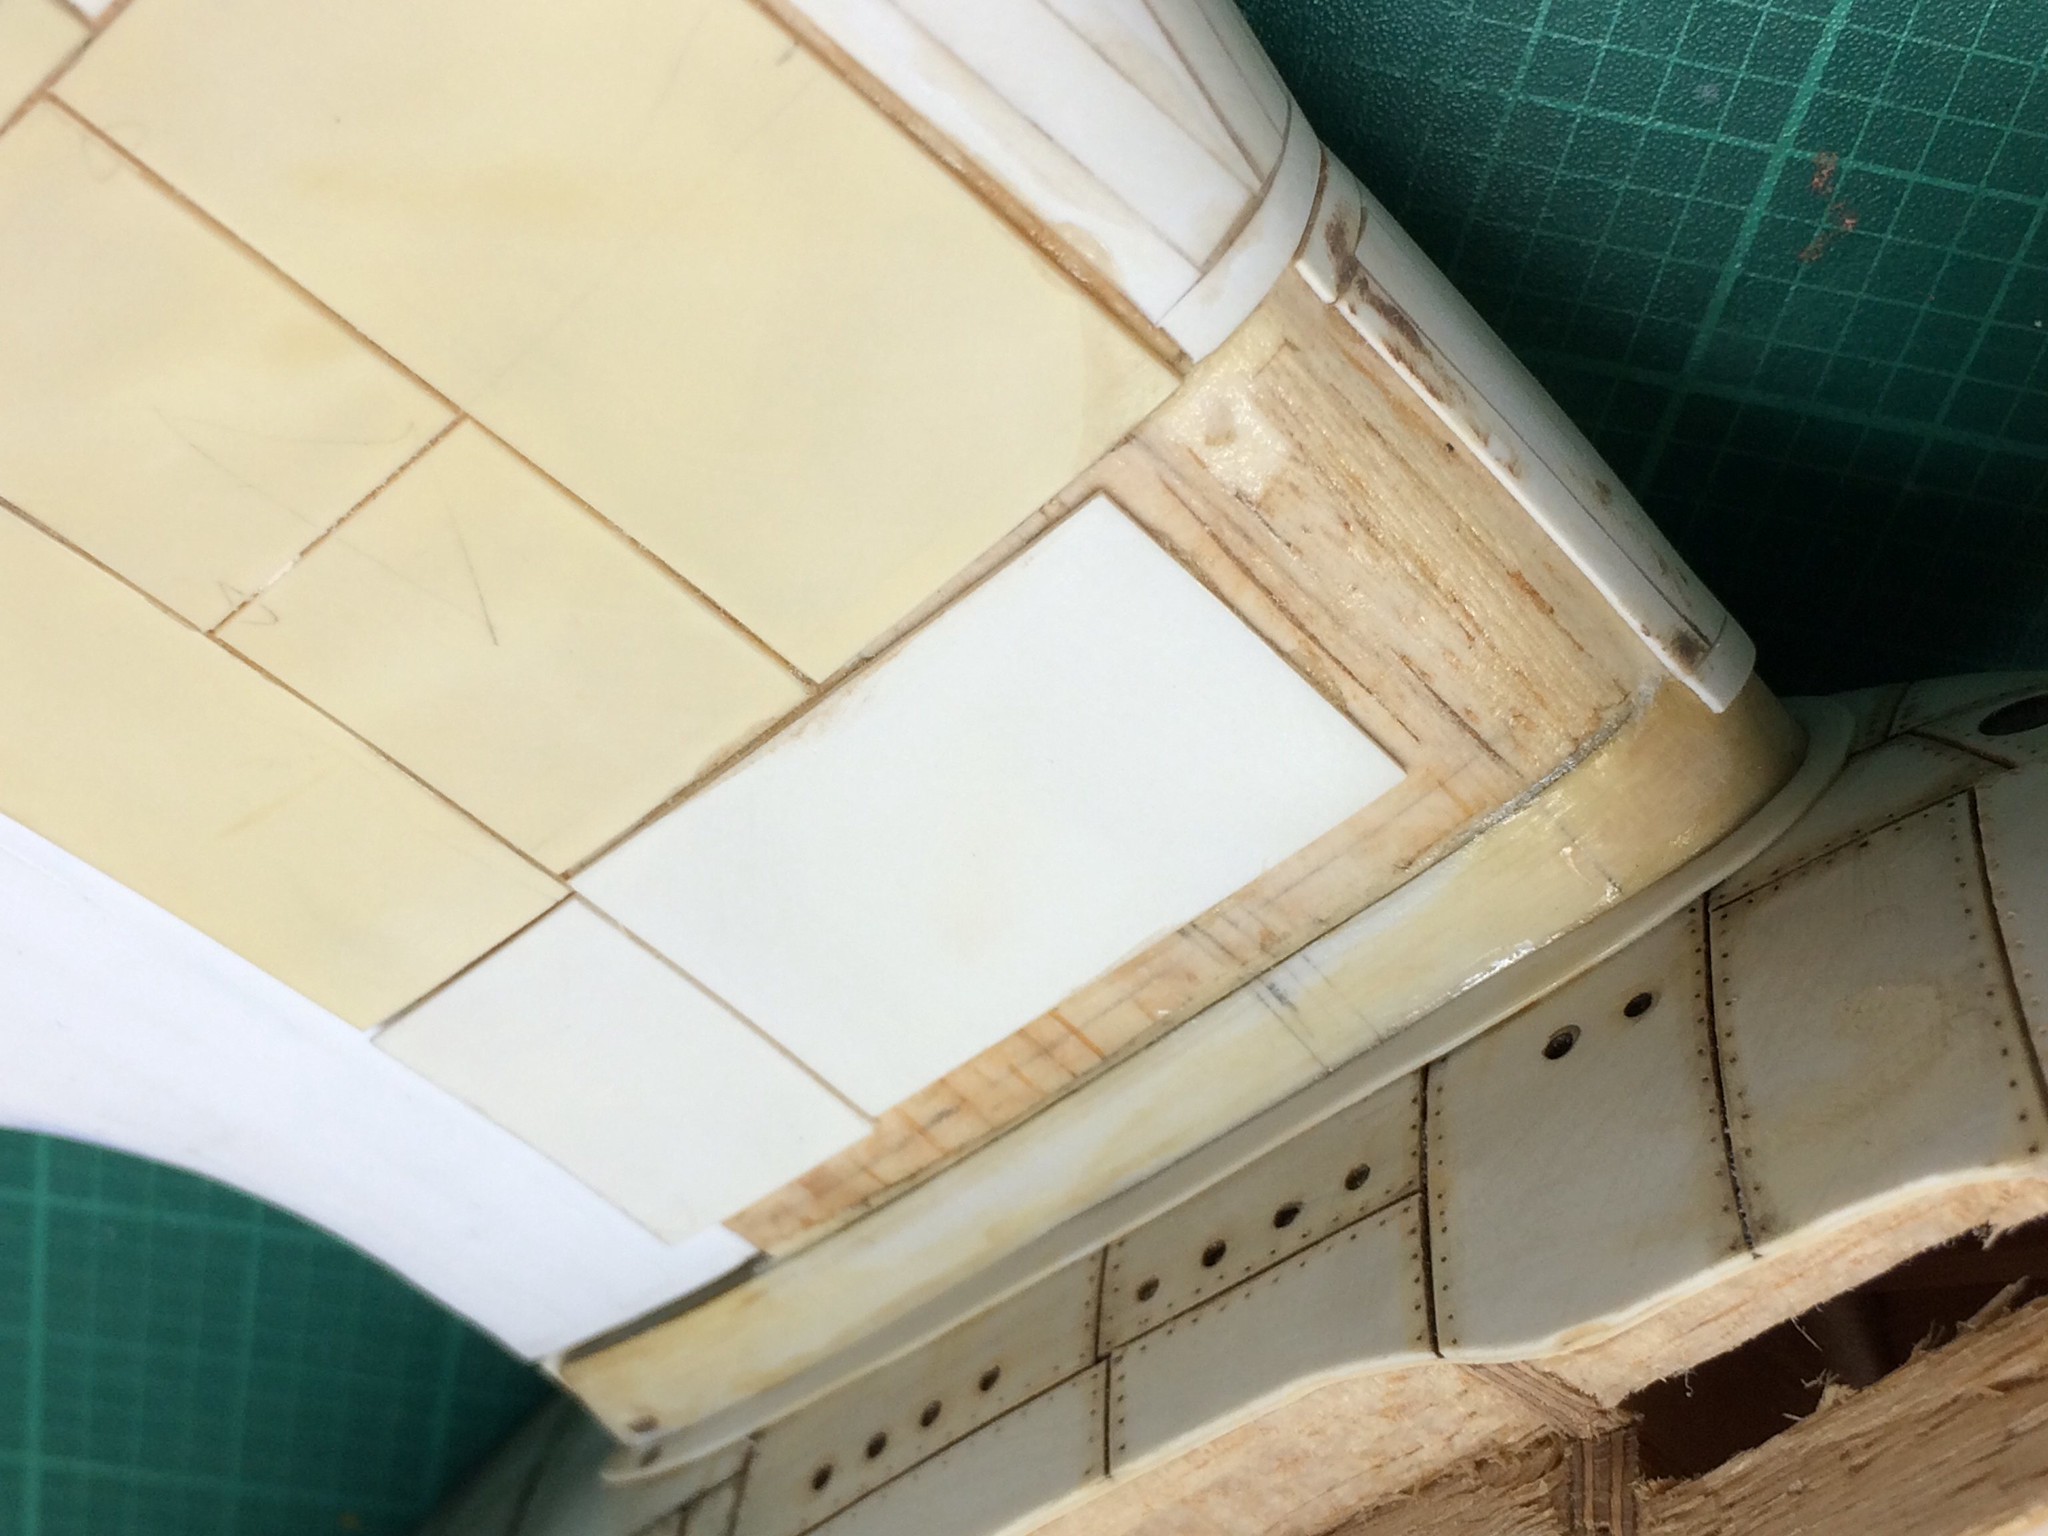 [/url]
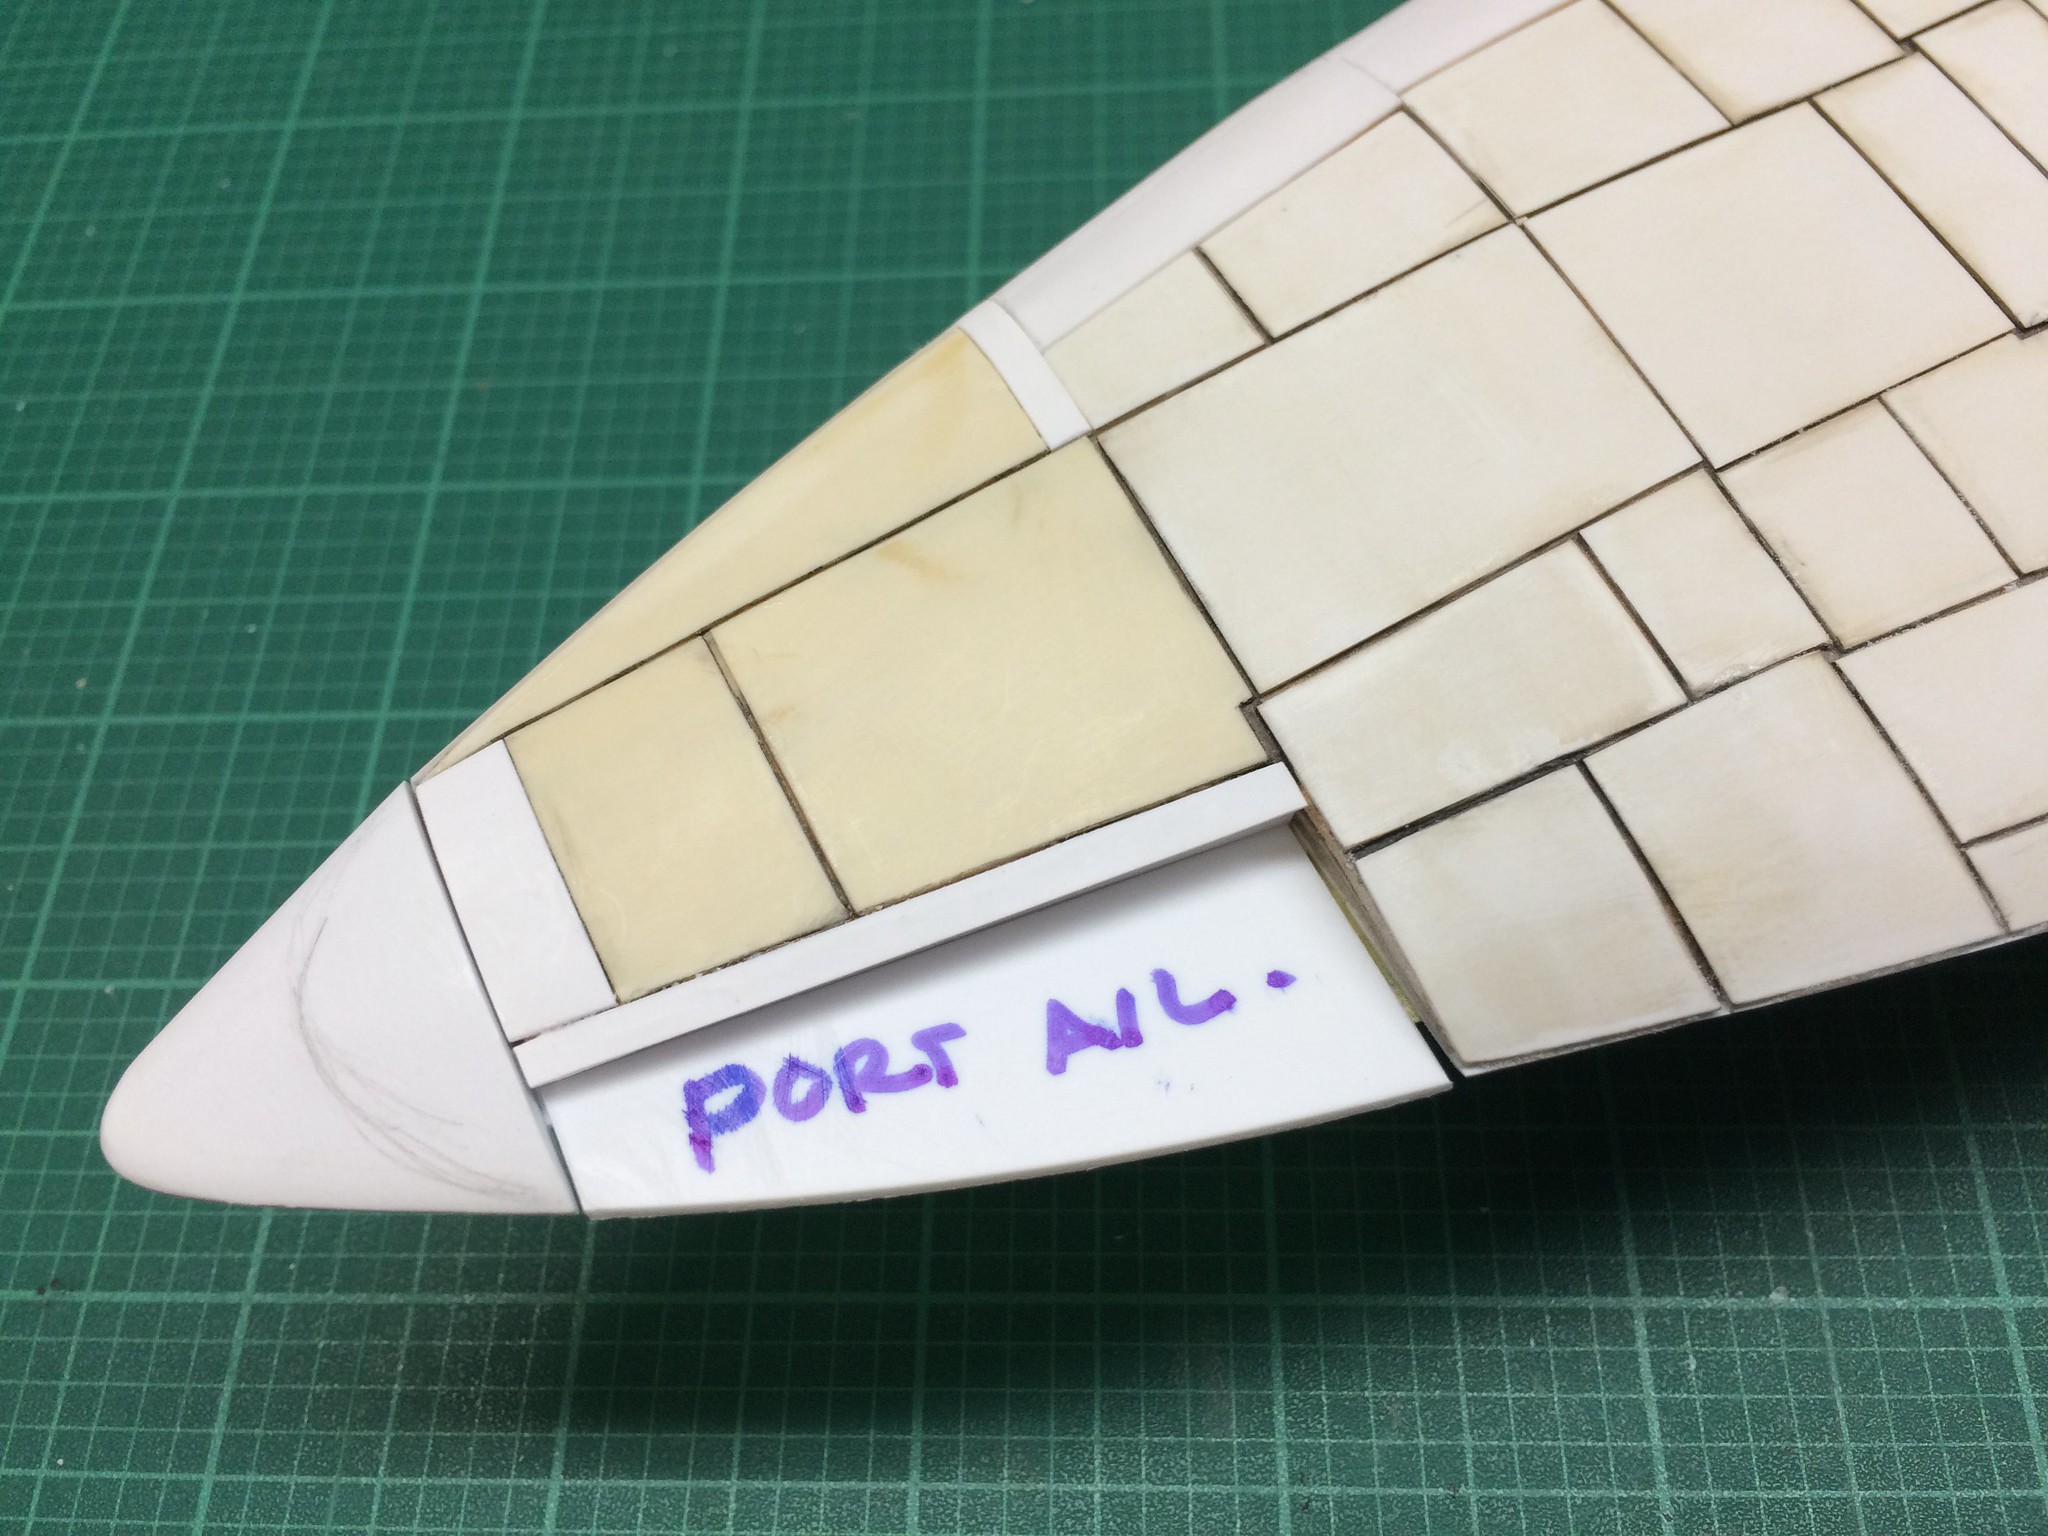 [/url]
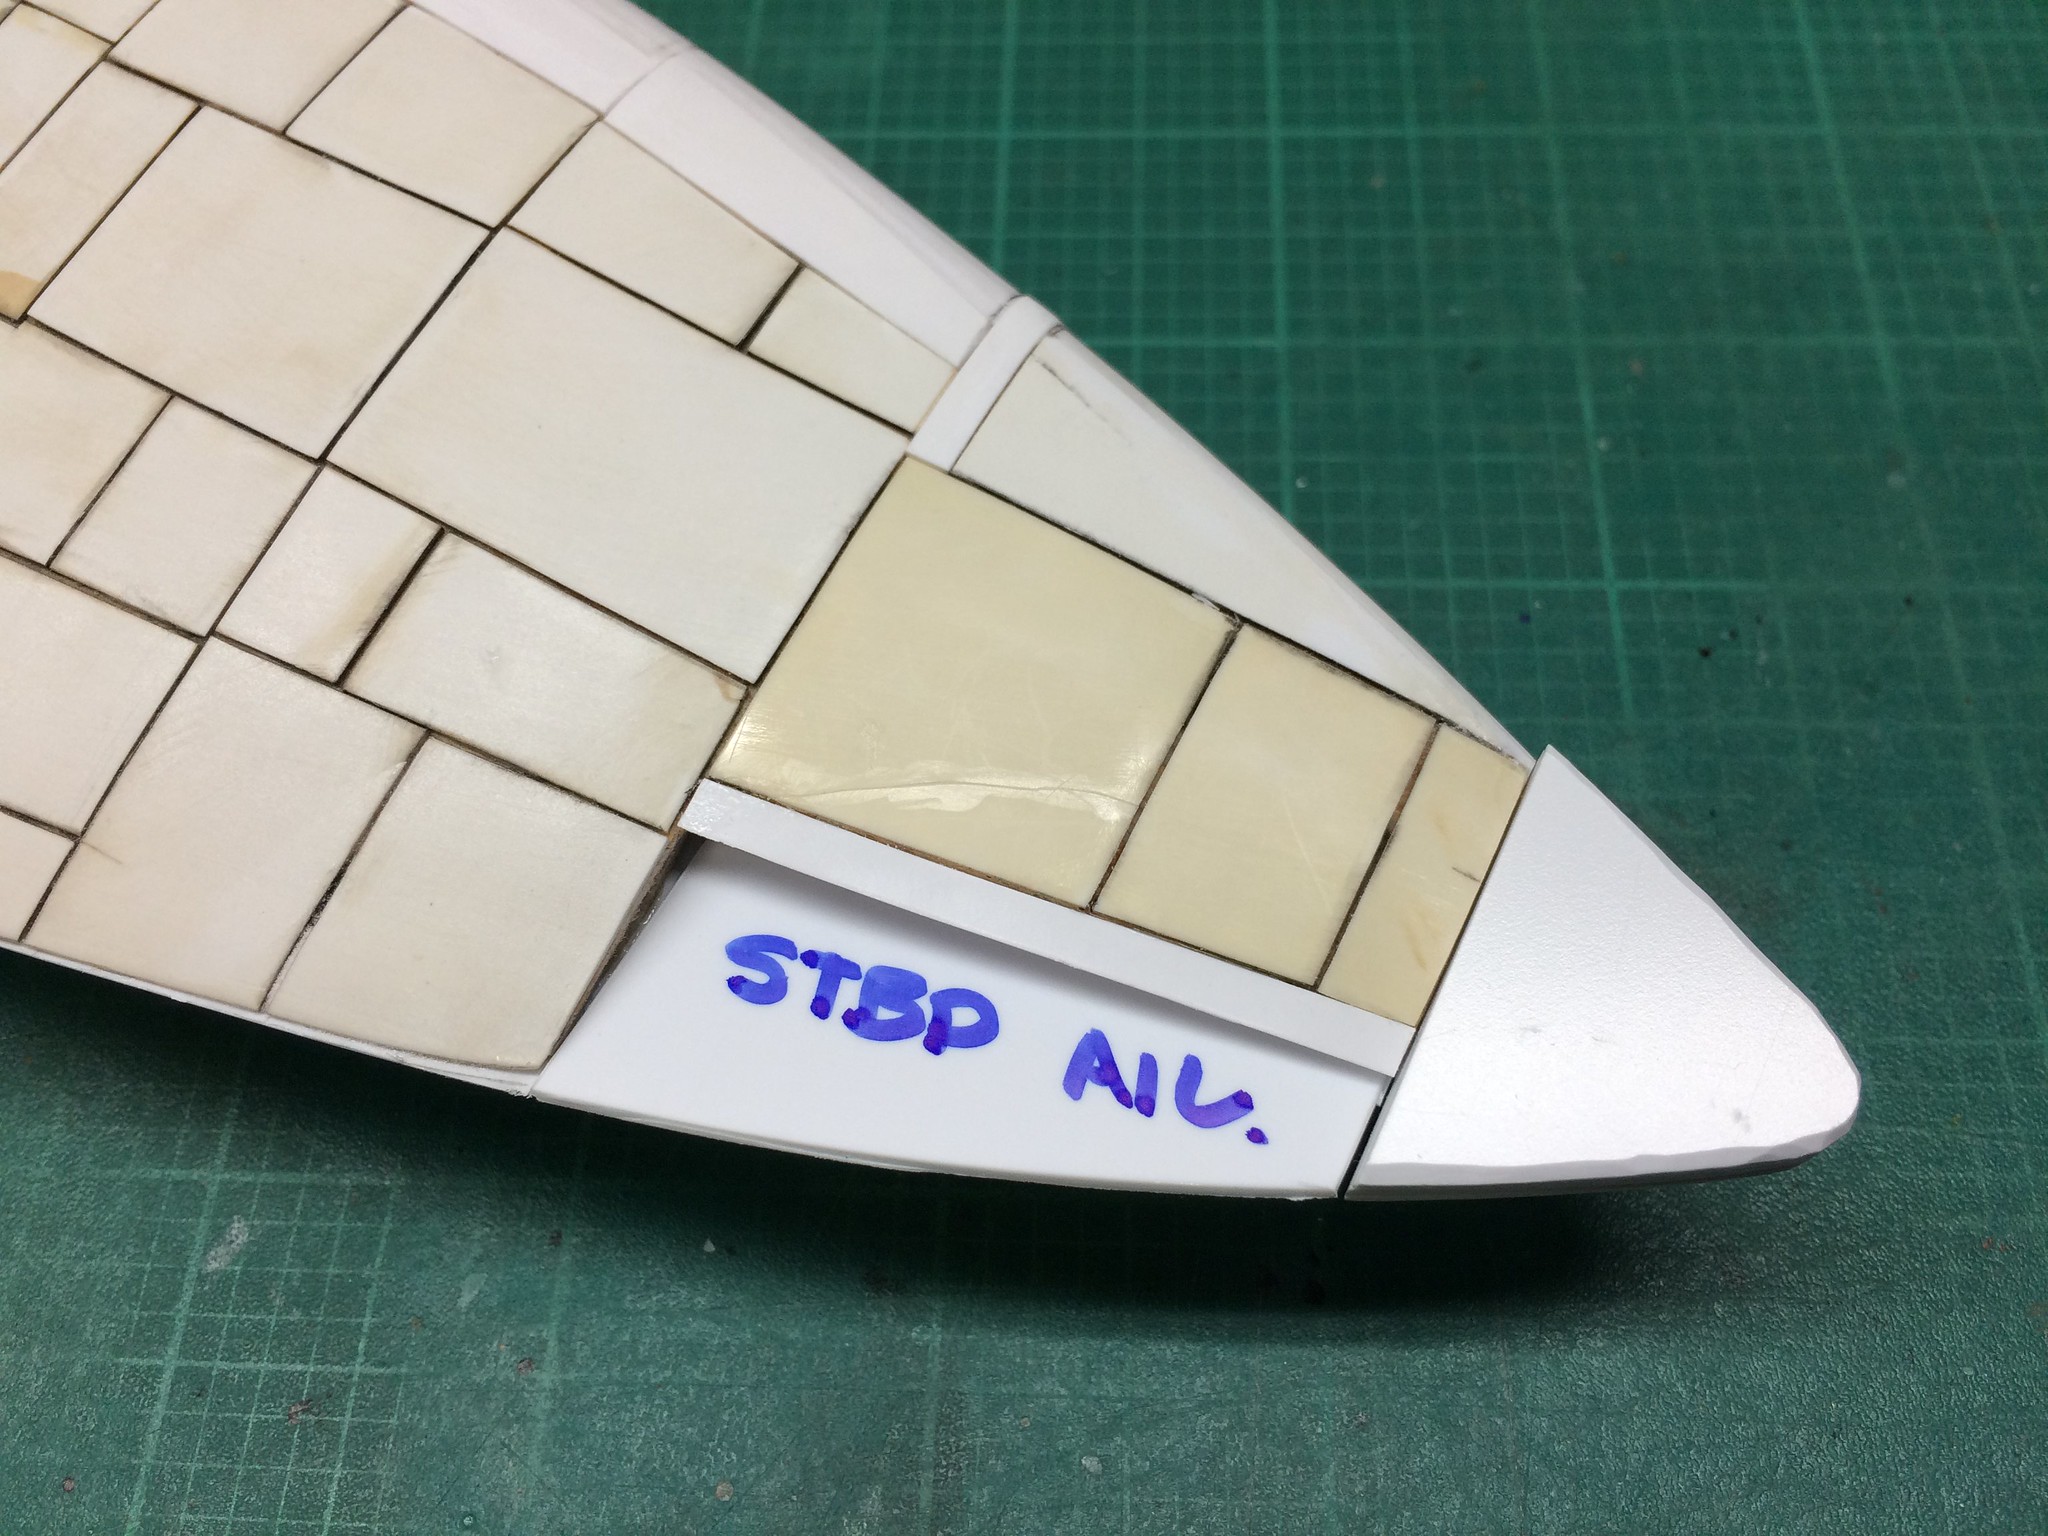 [/url]
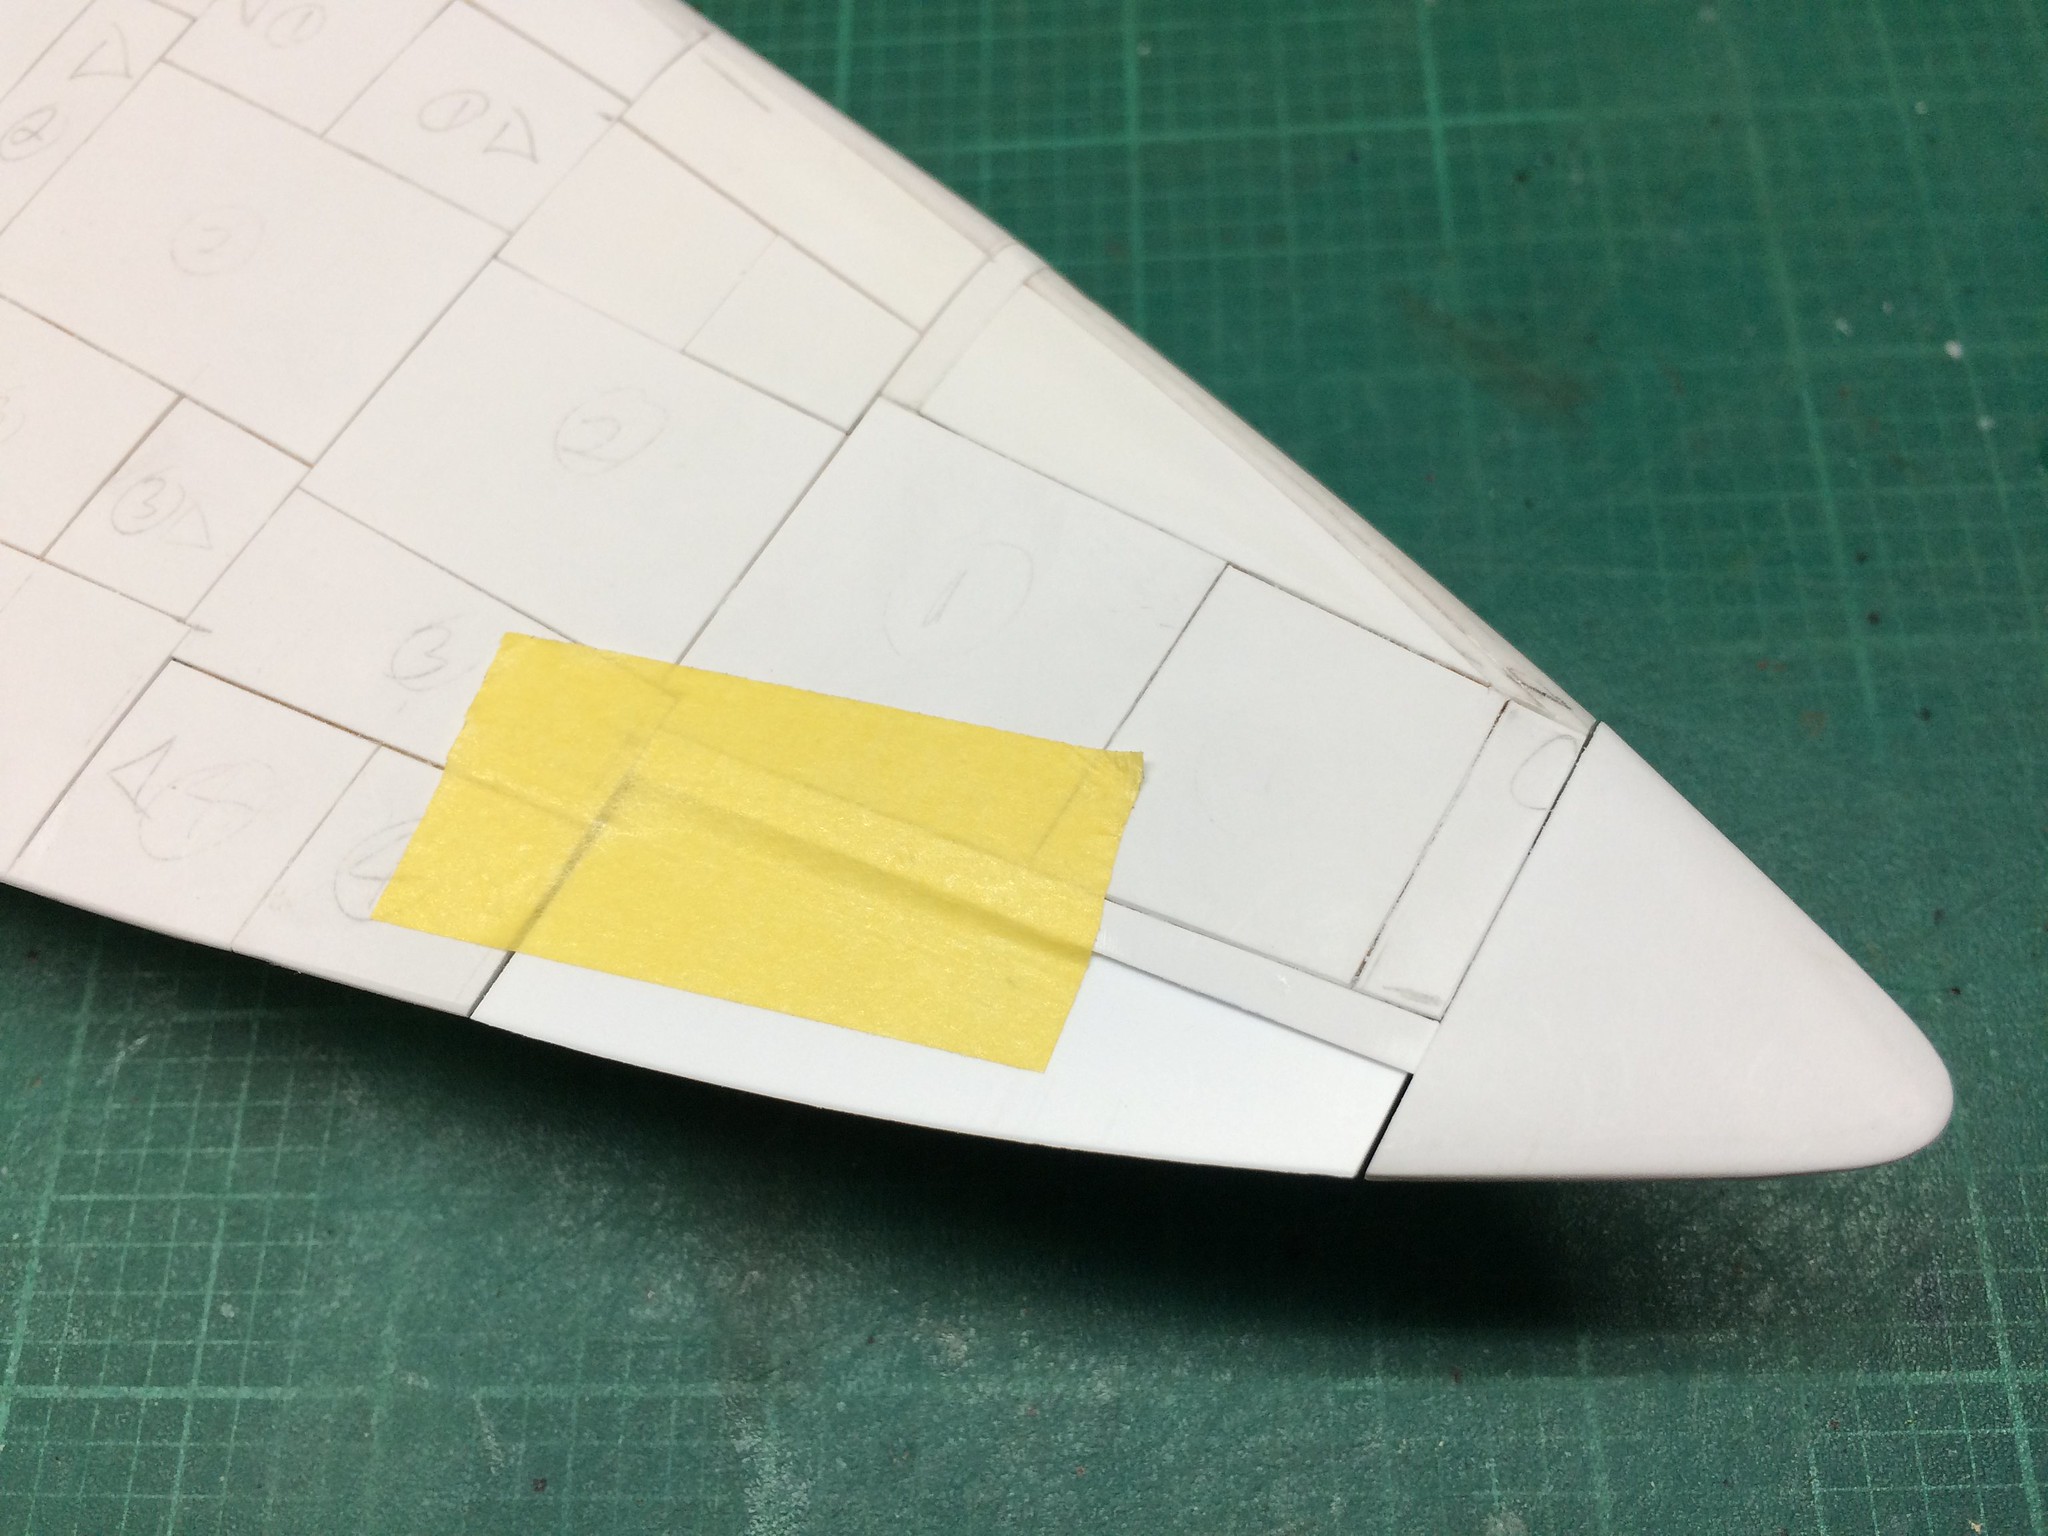 [/url]
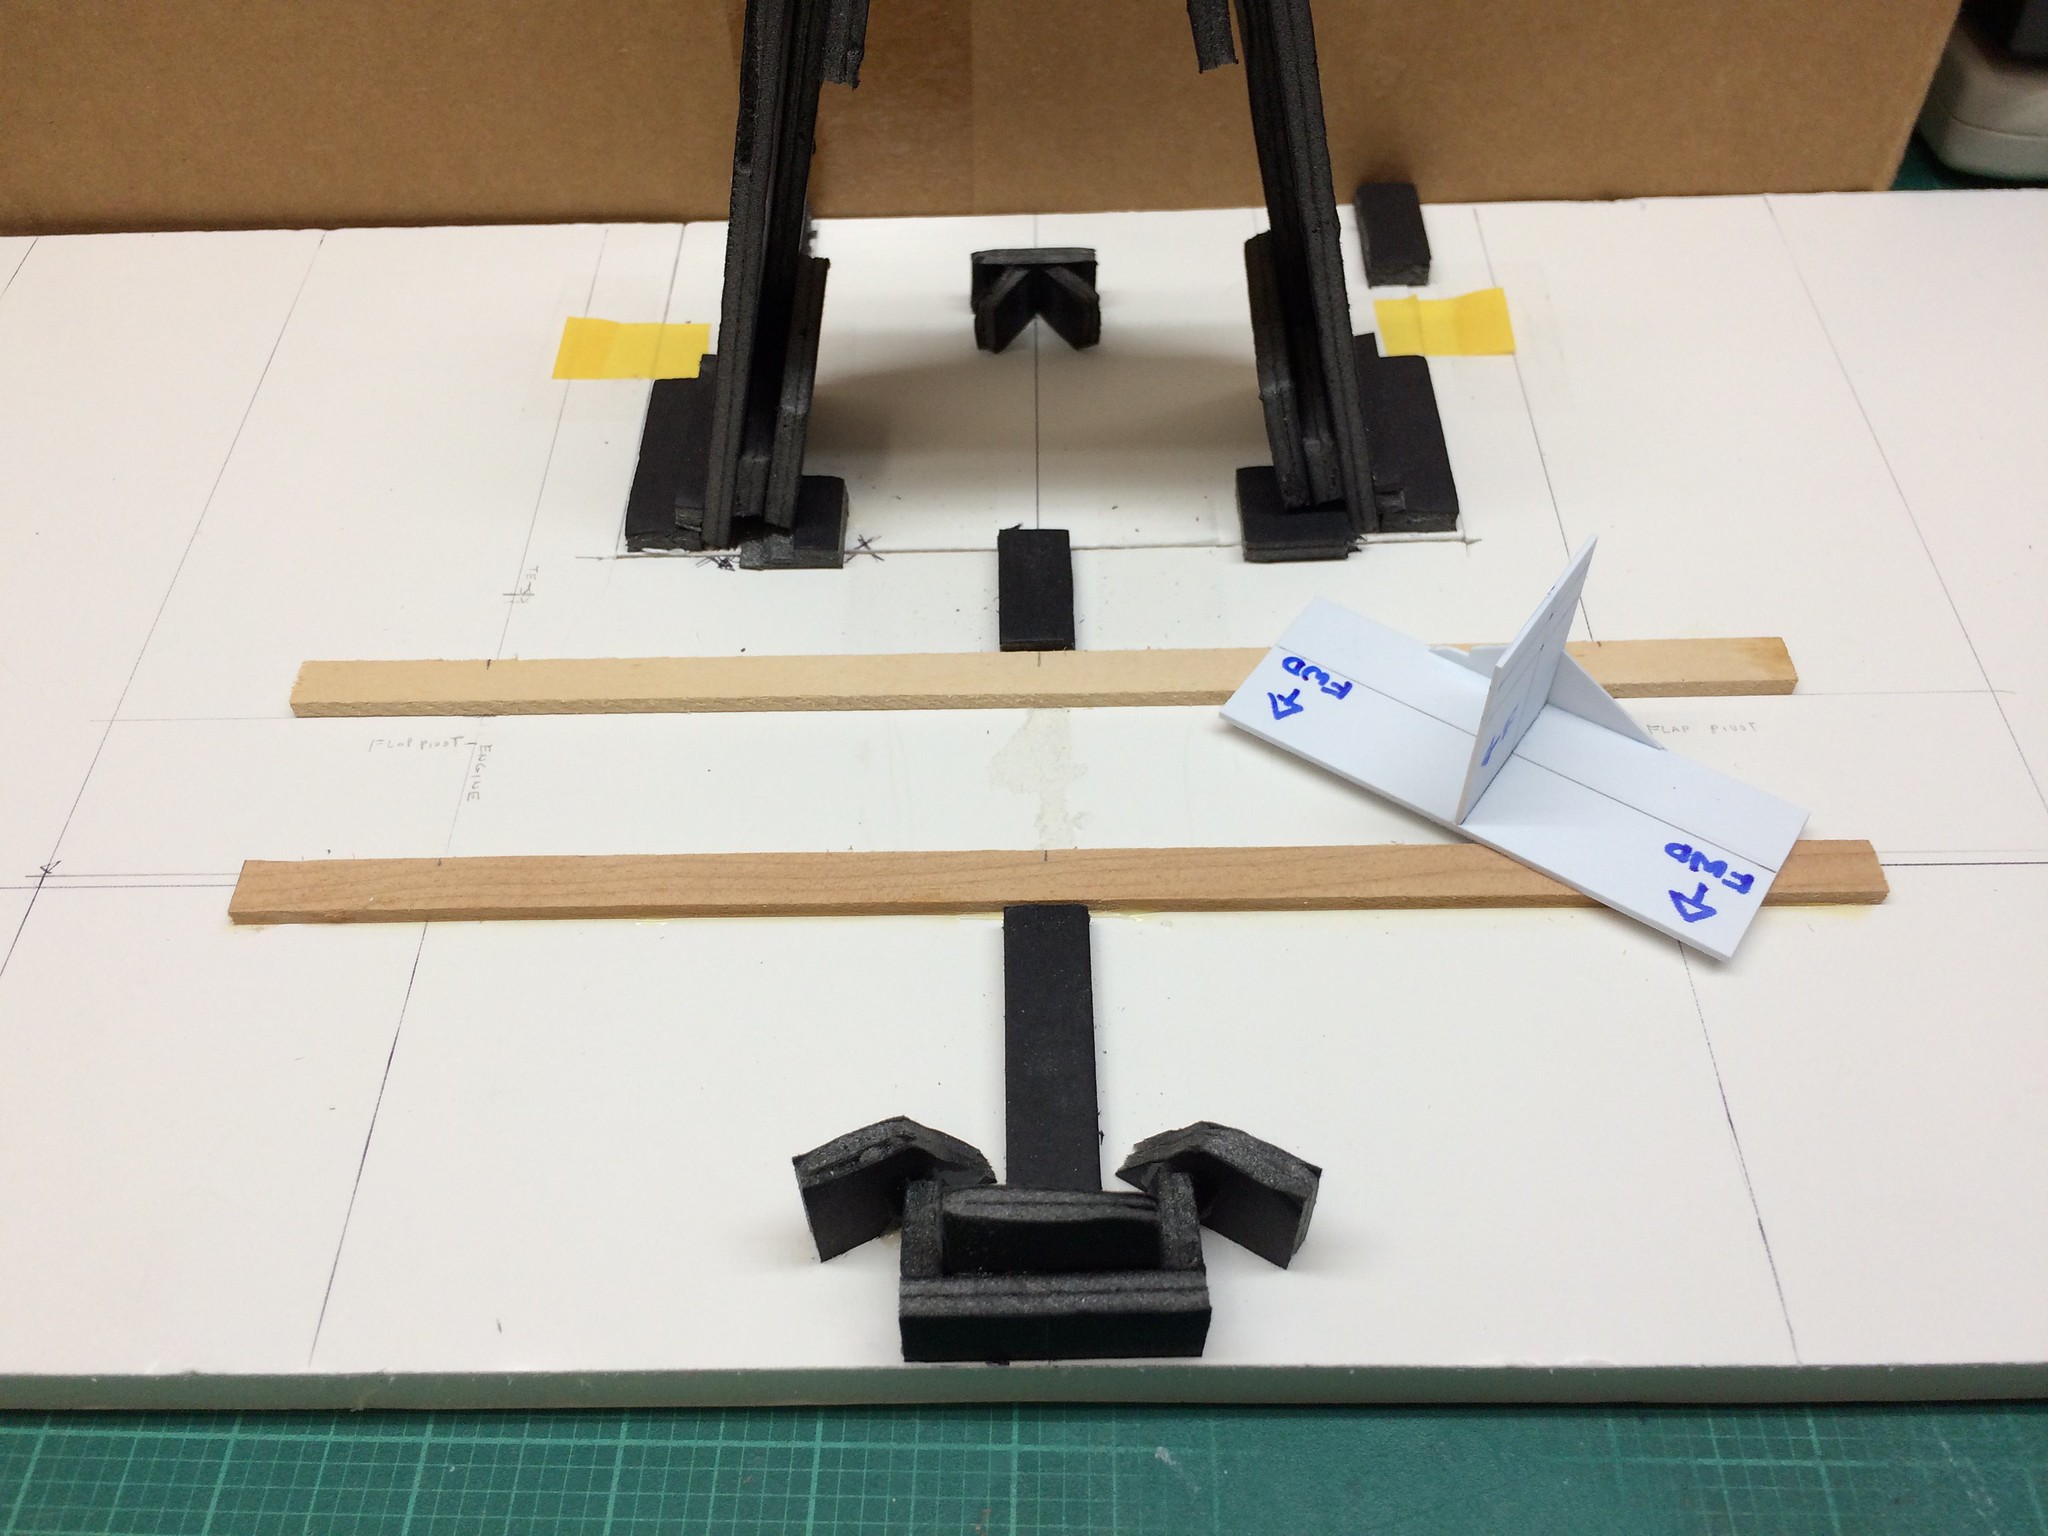 [/url]
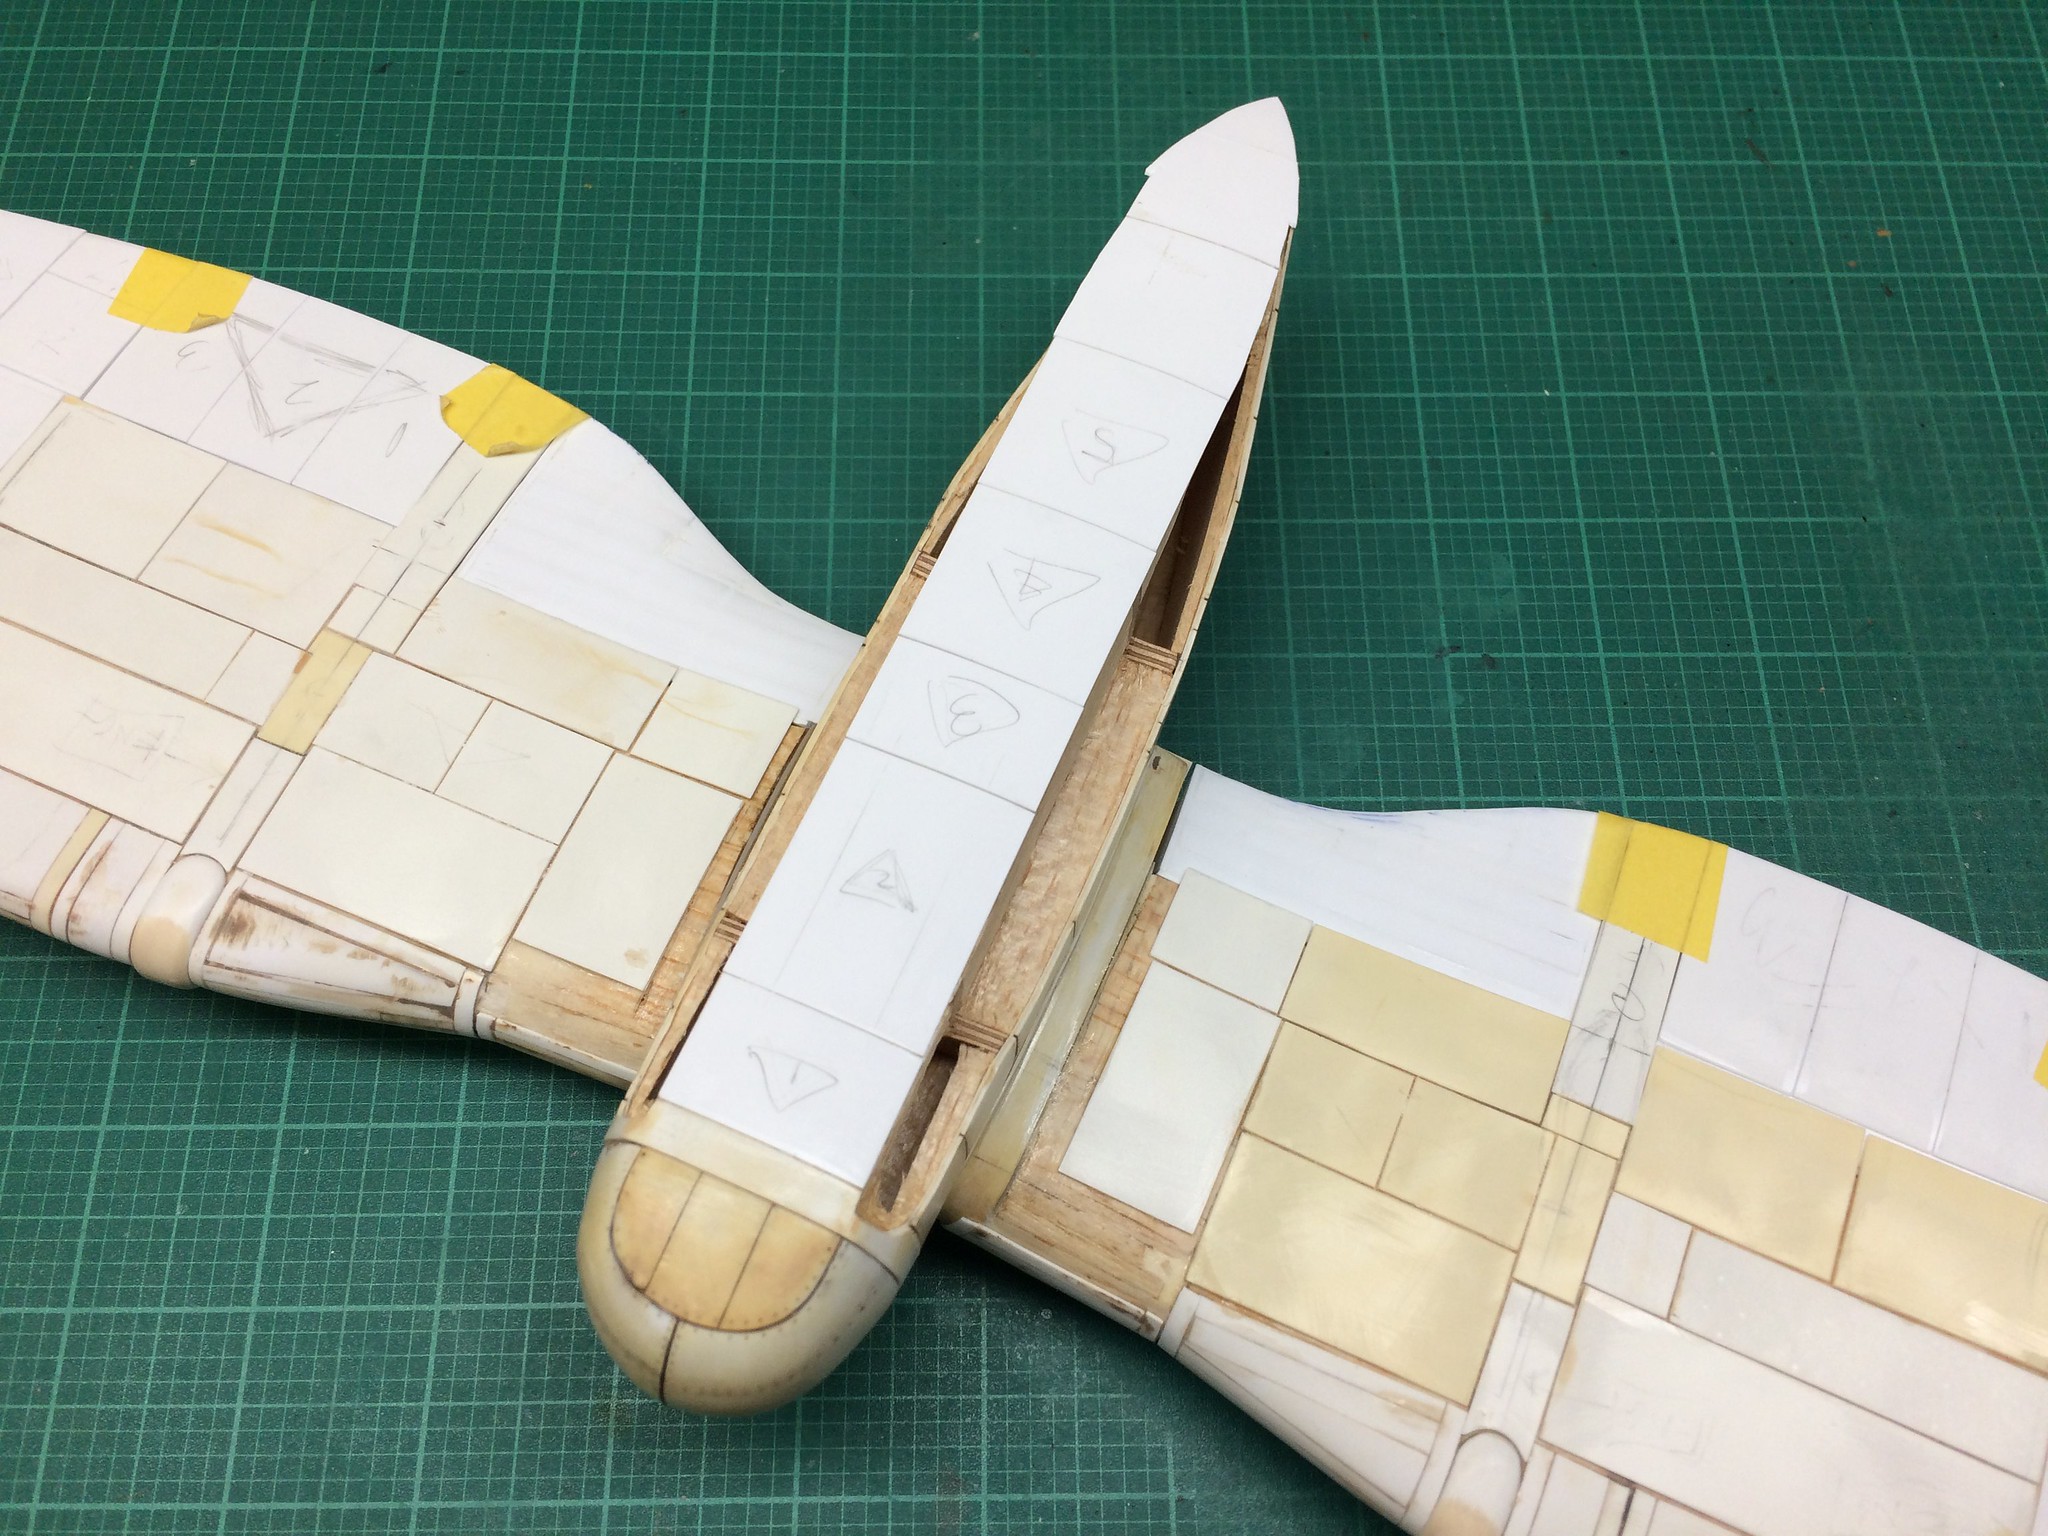 [/url]
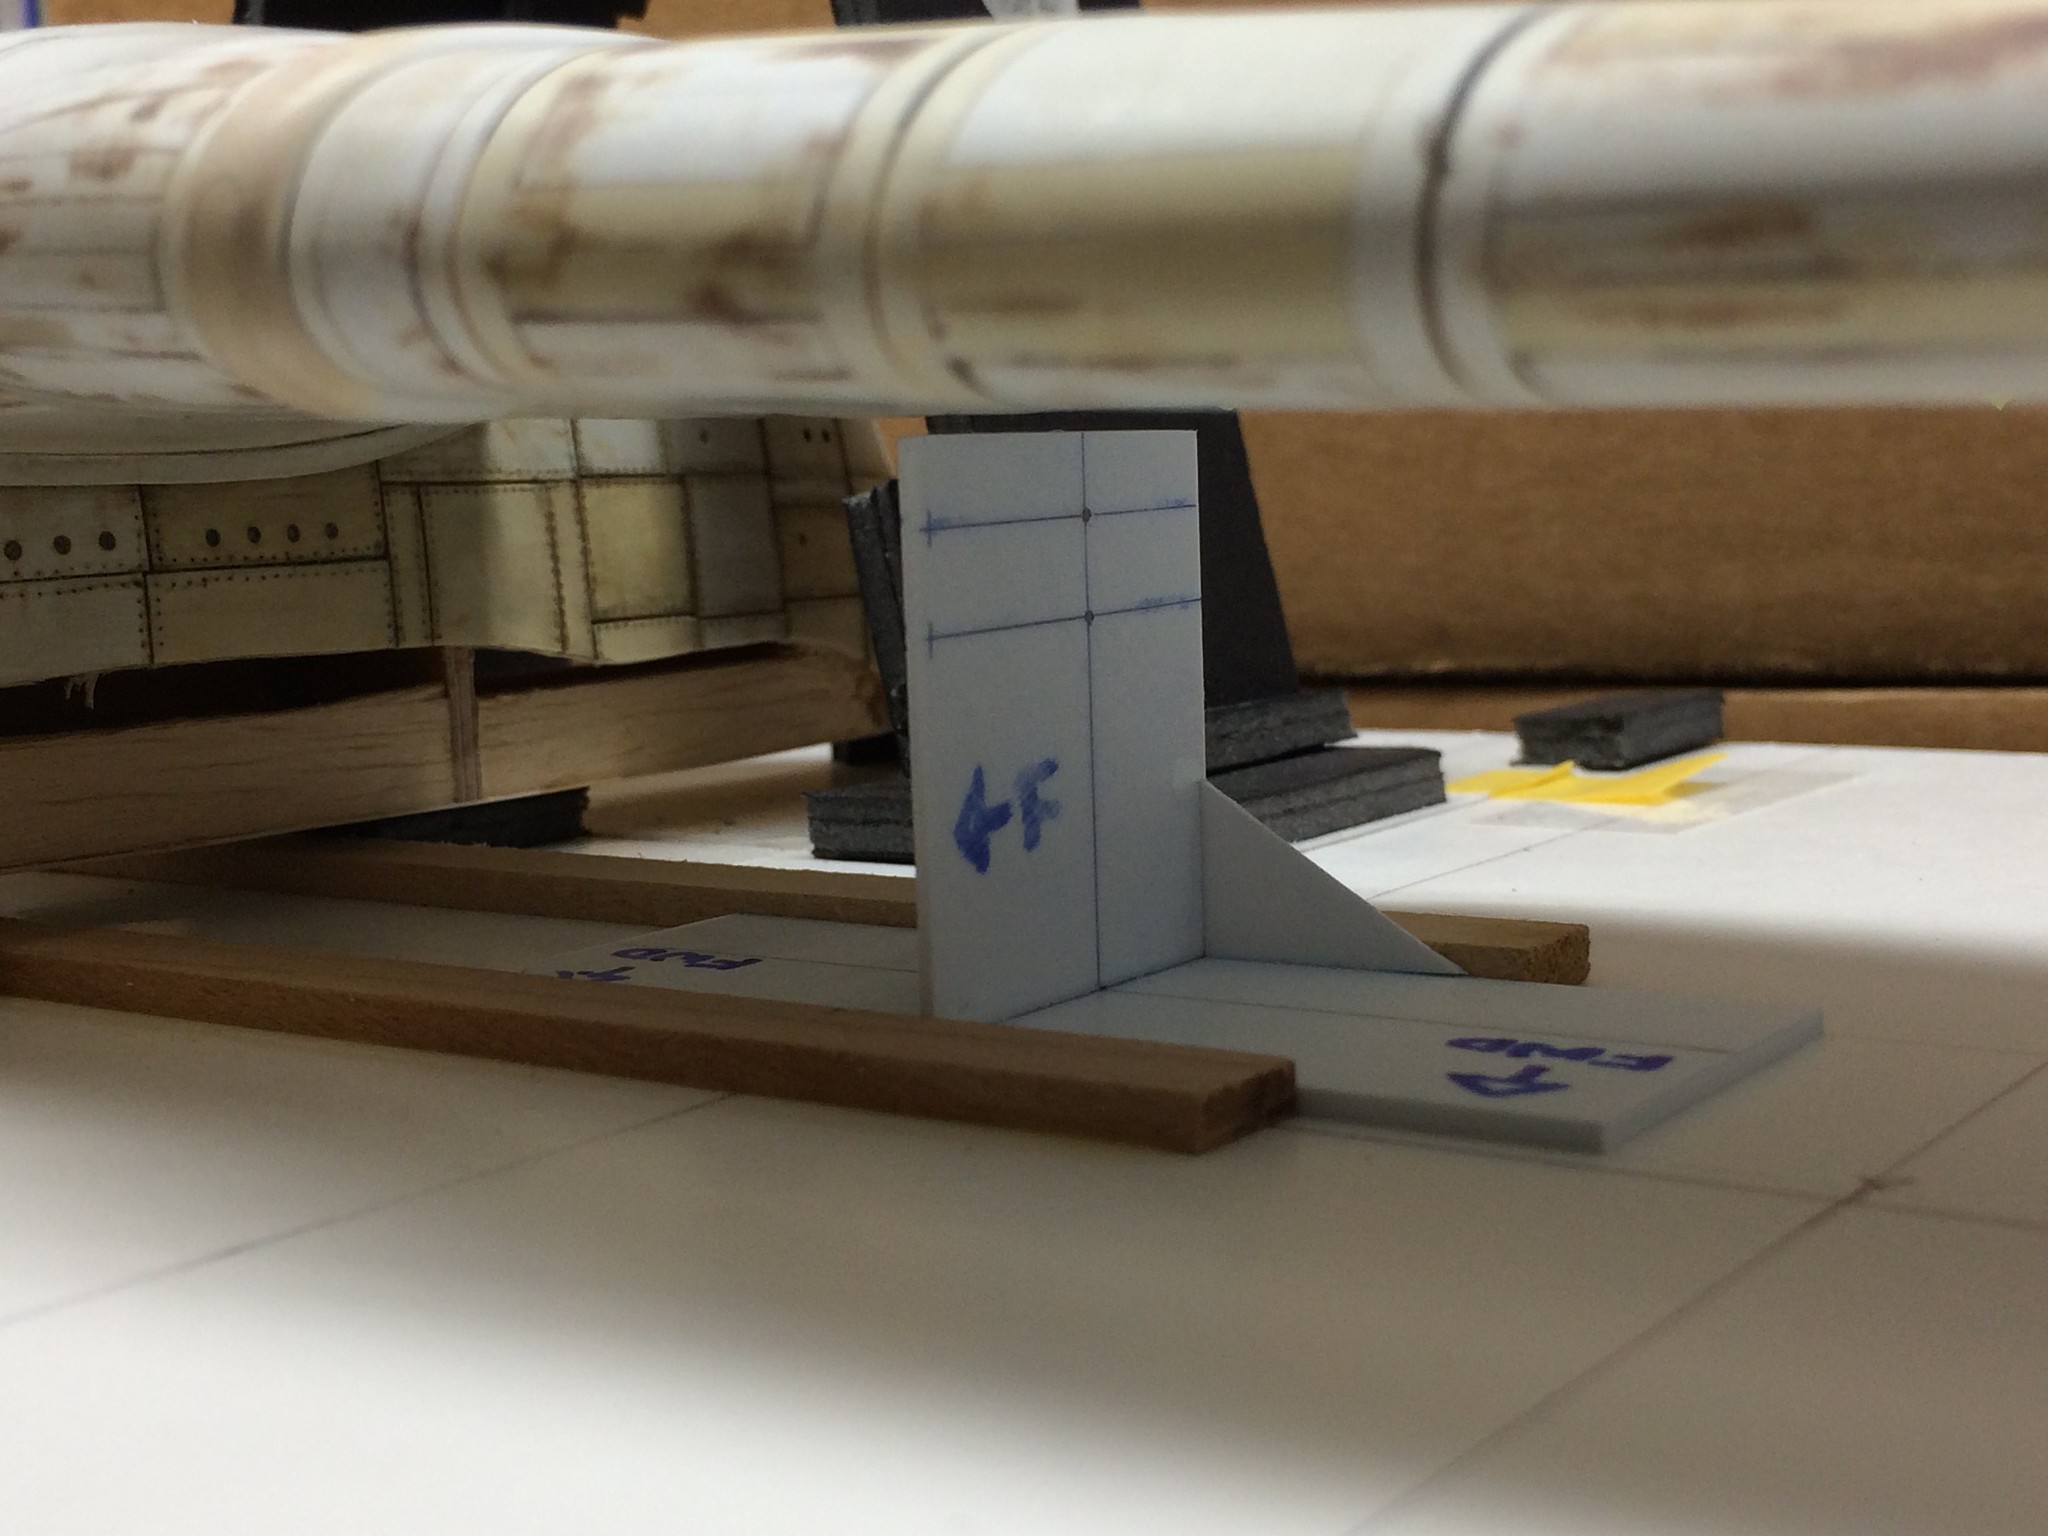 [/url]
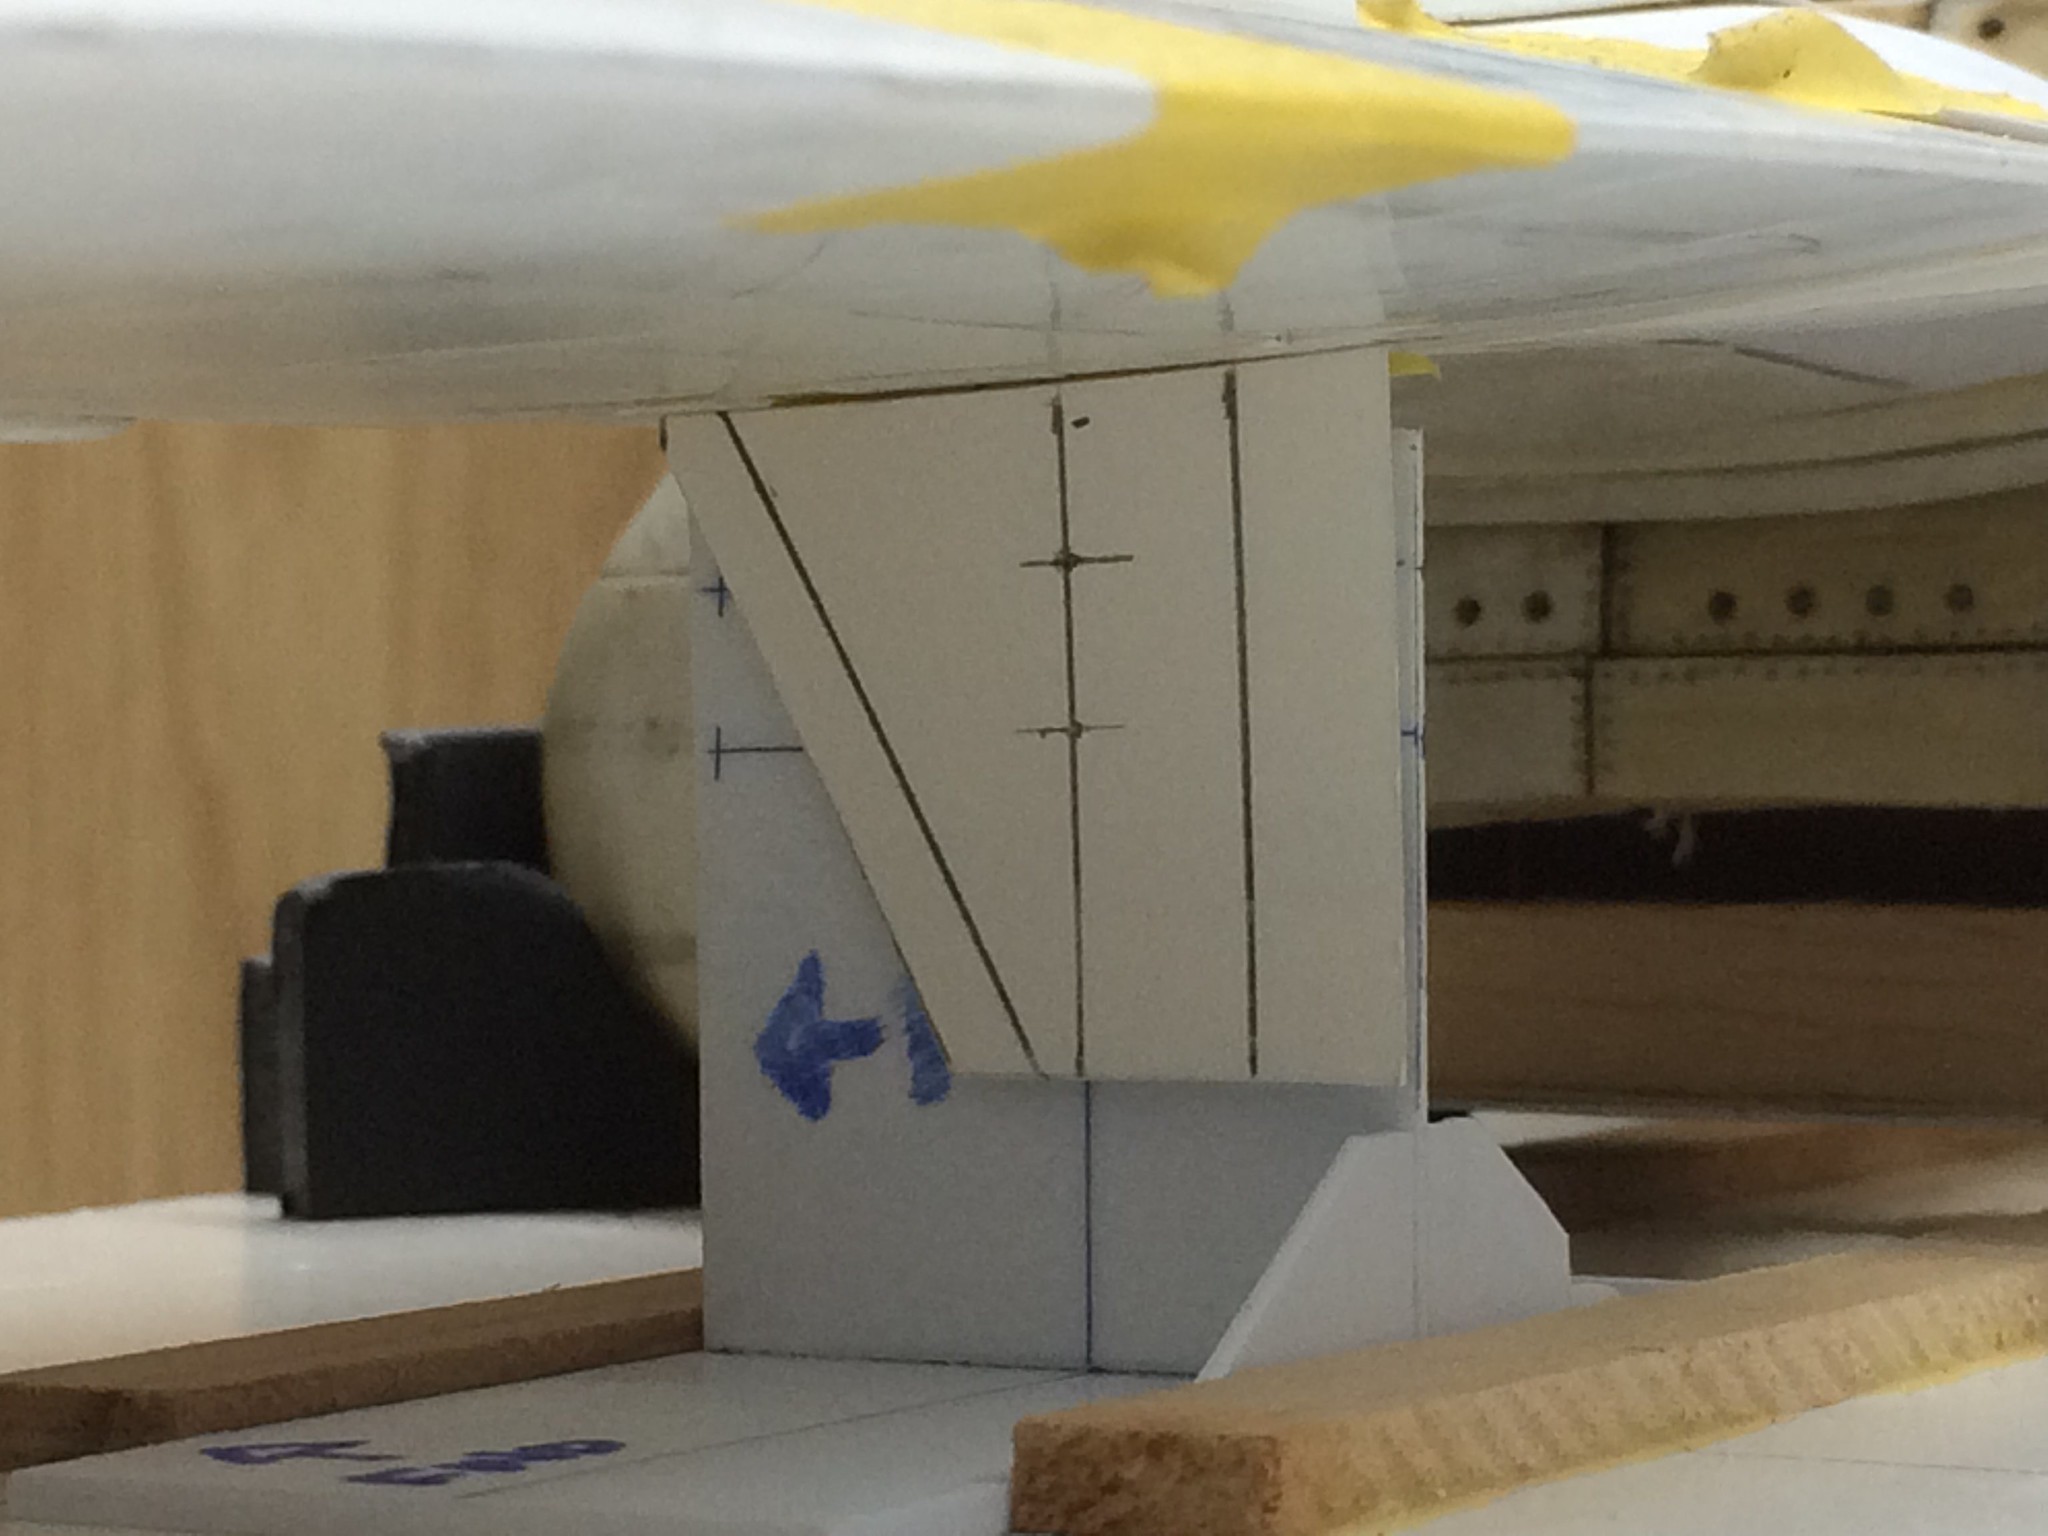 [/url]
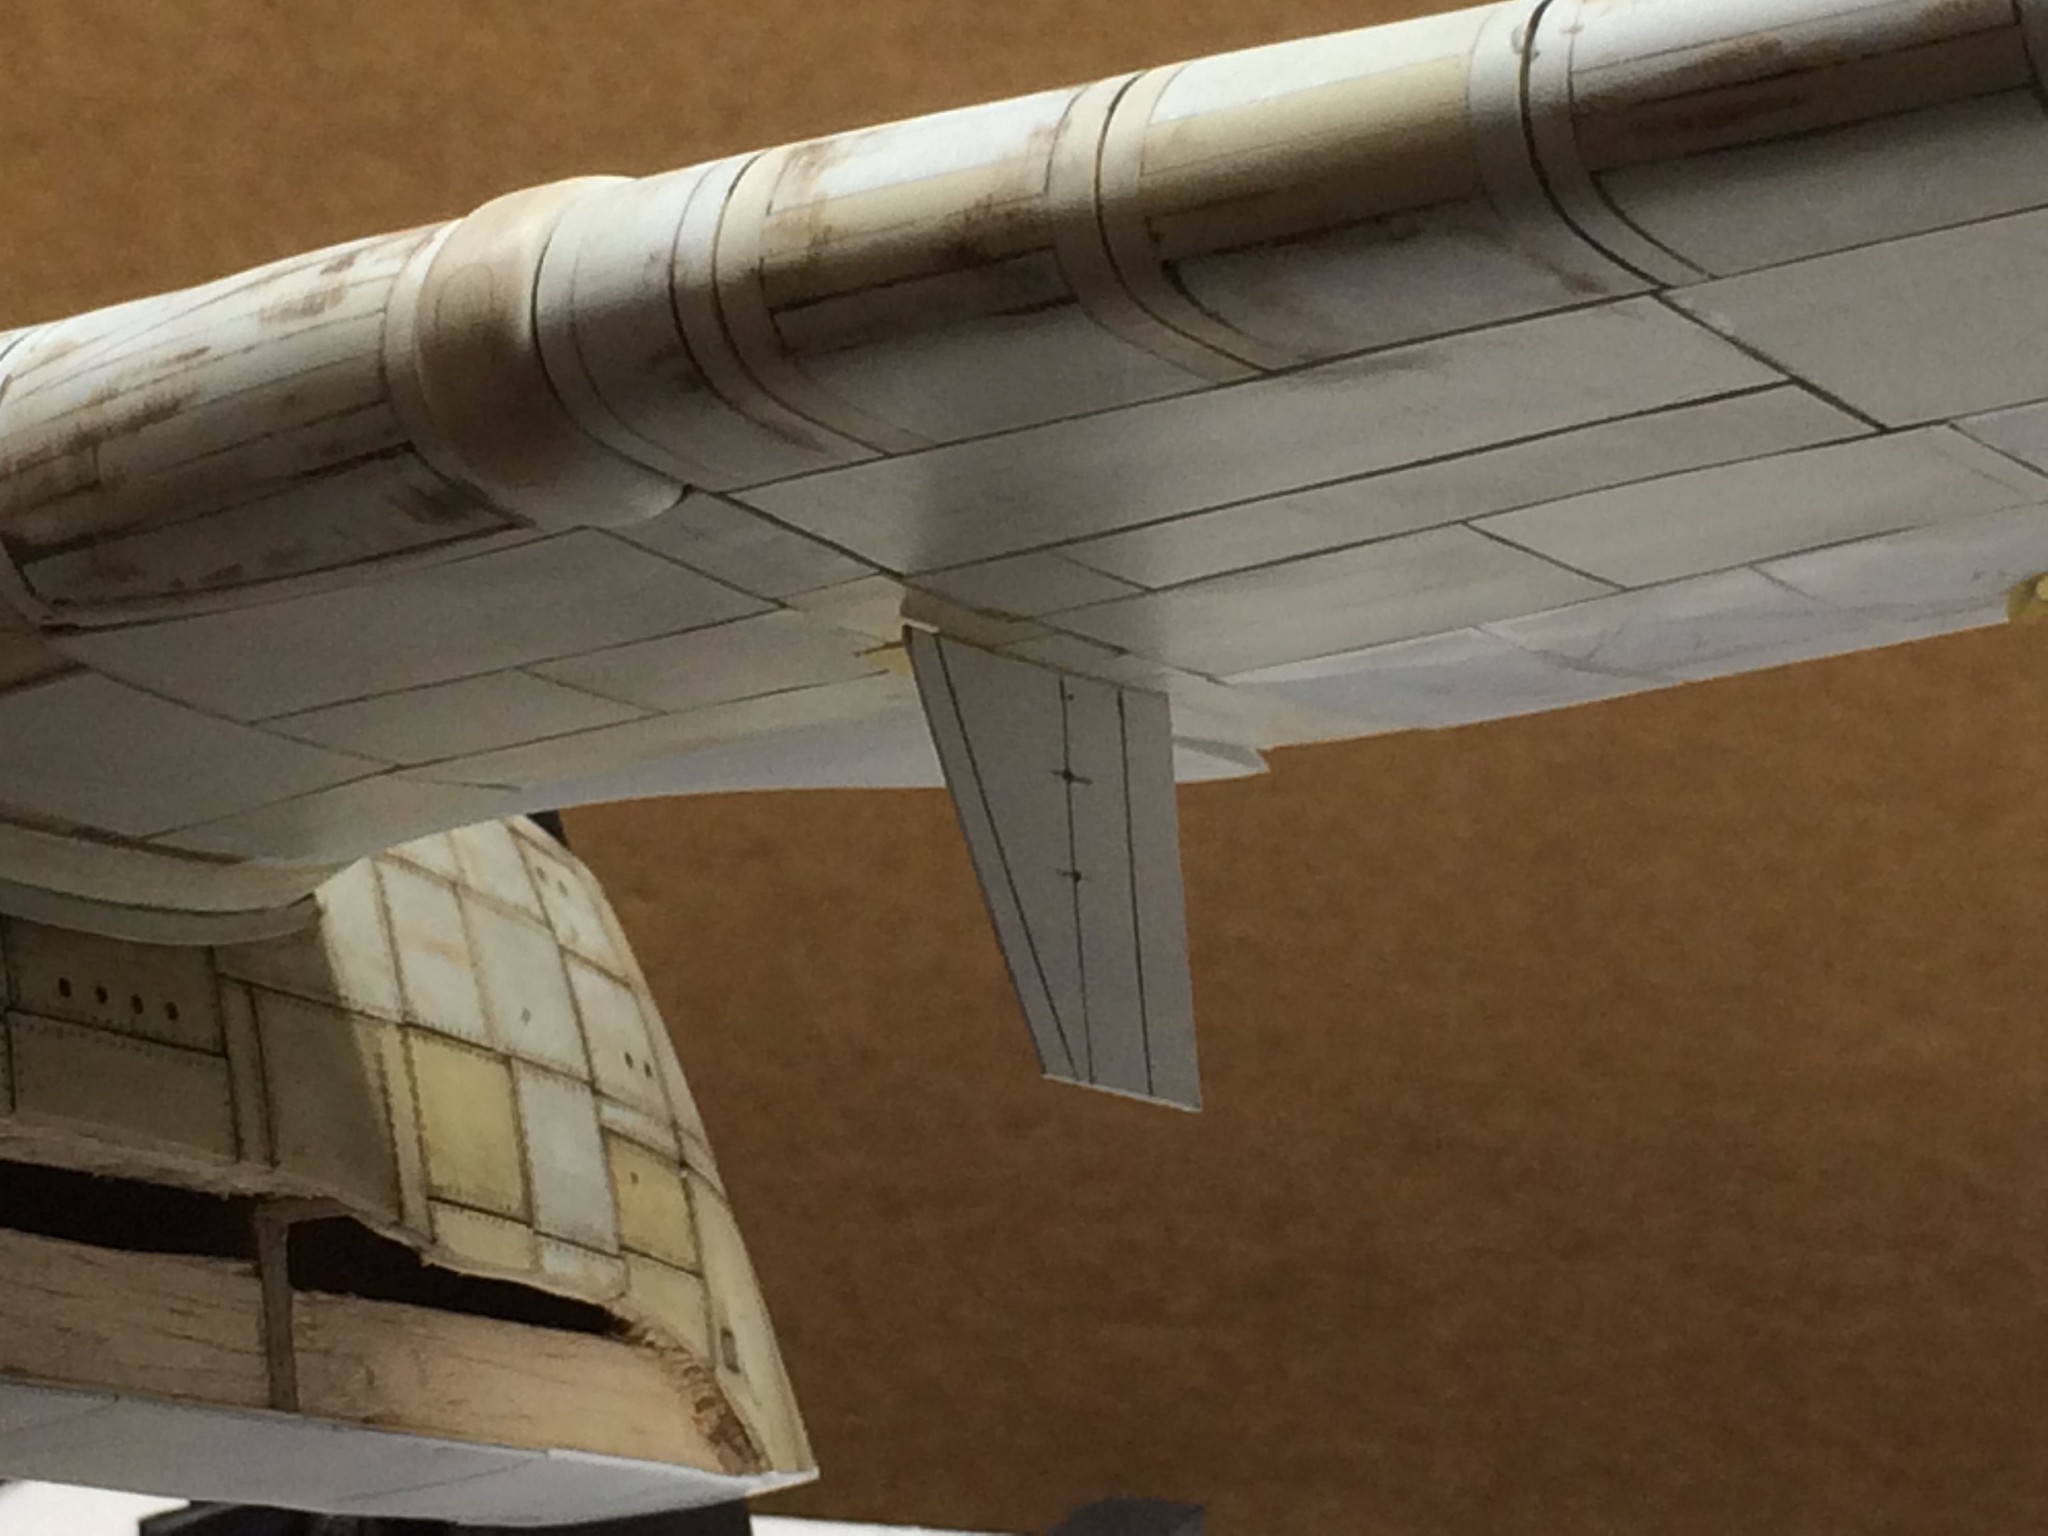 [/url]
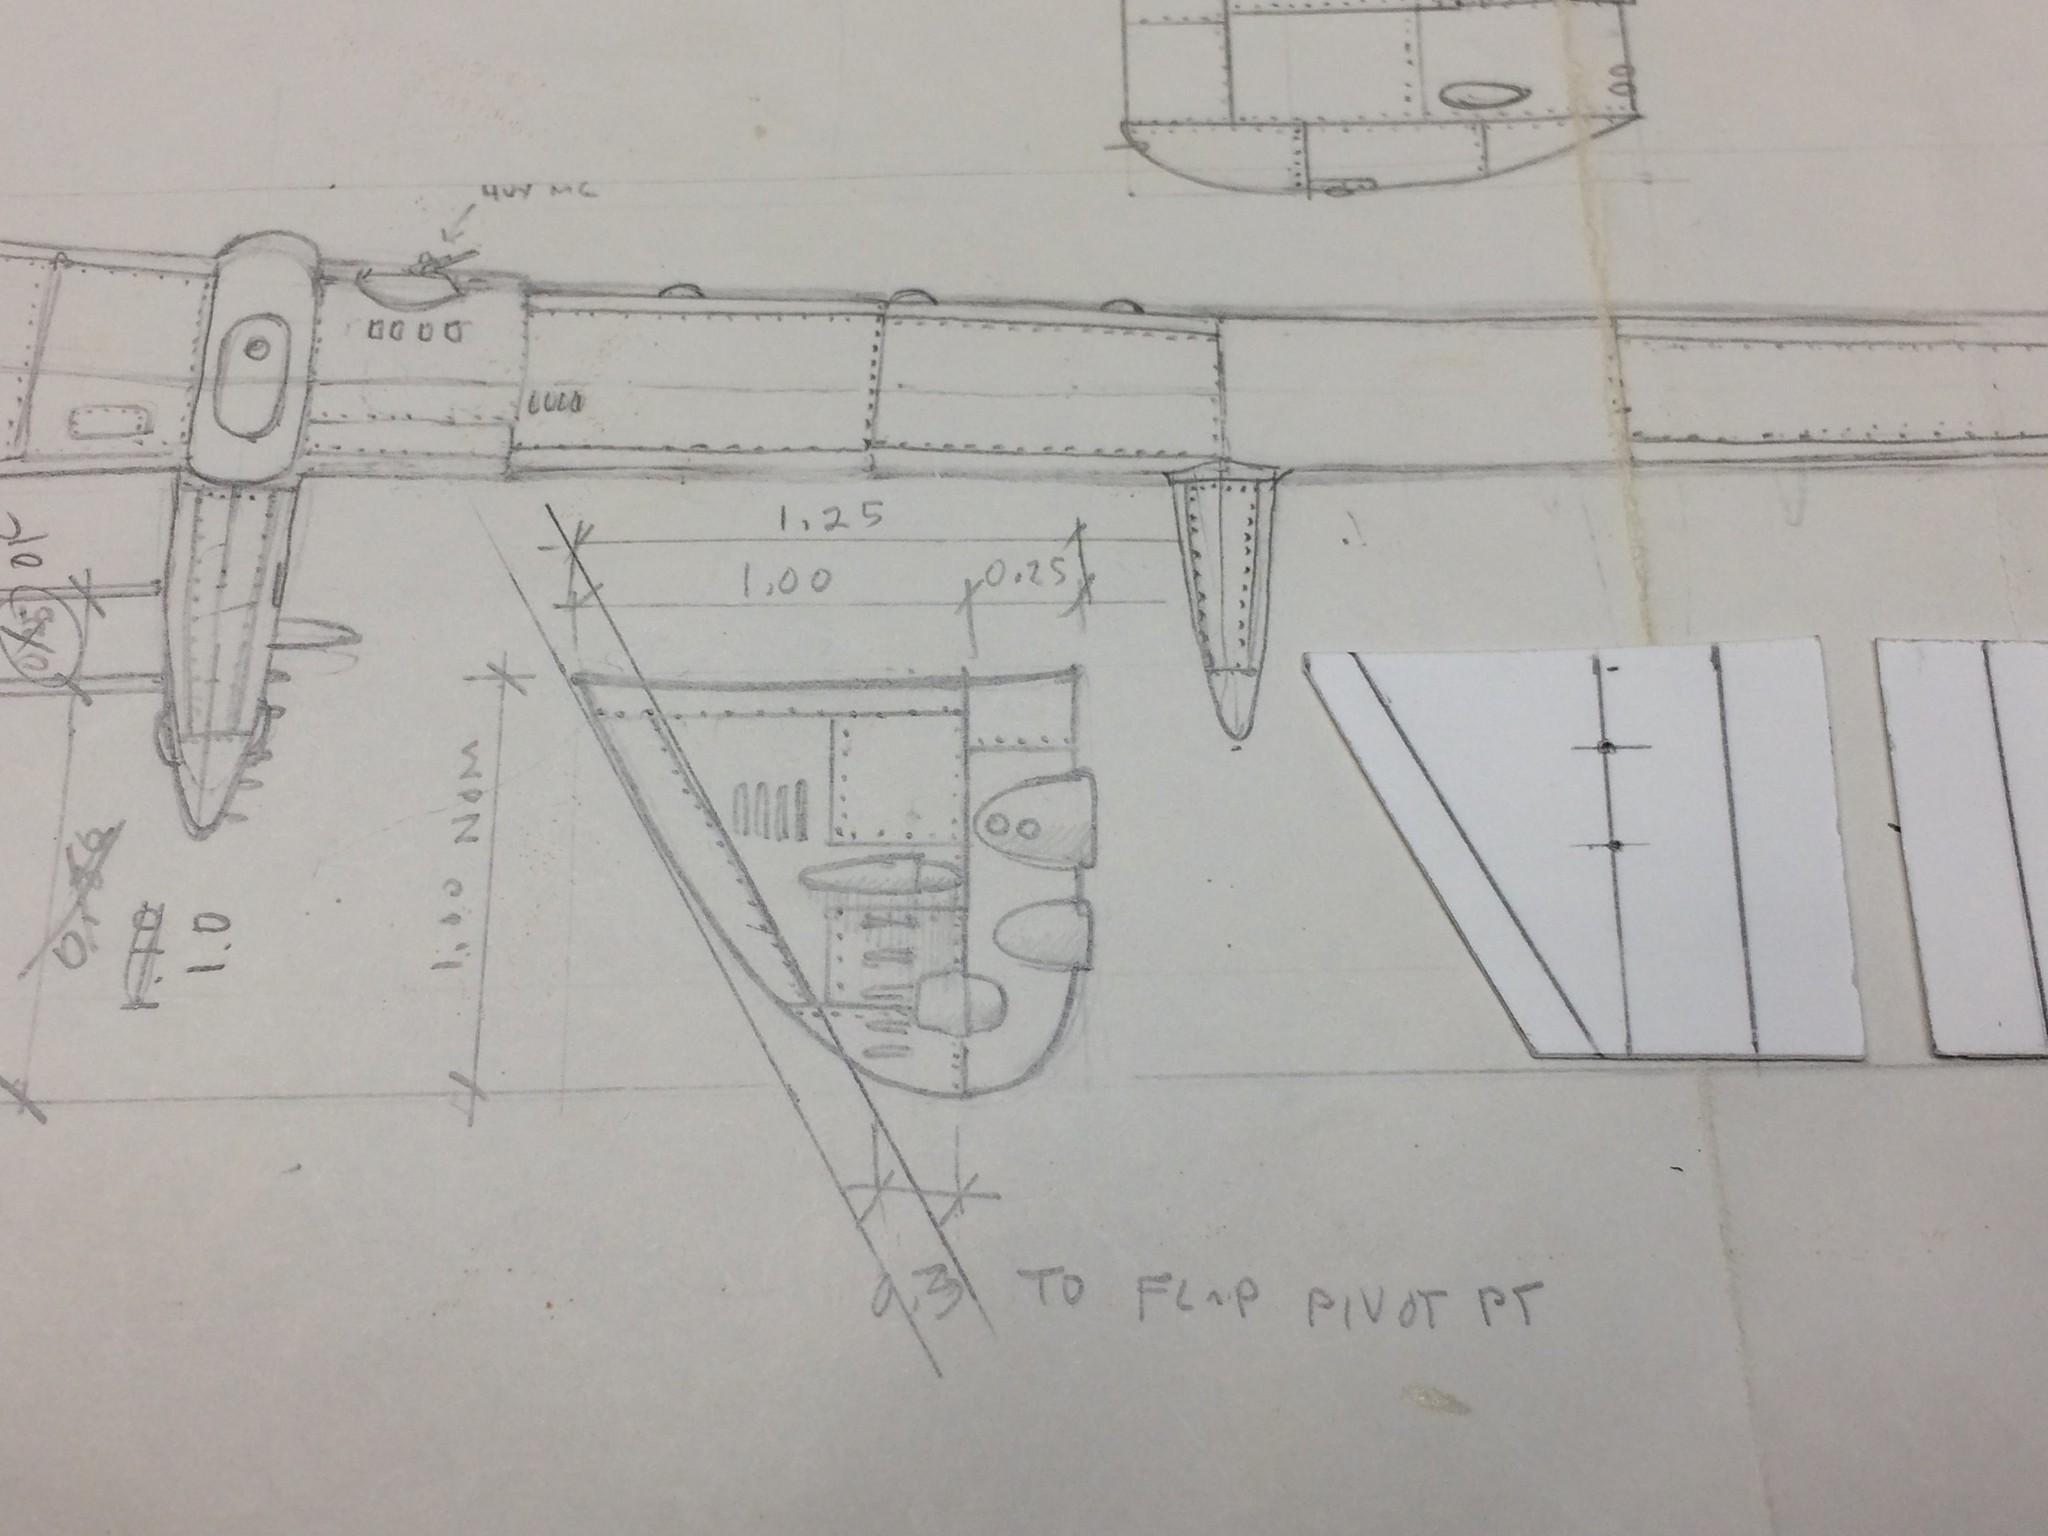 [/url]
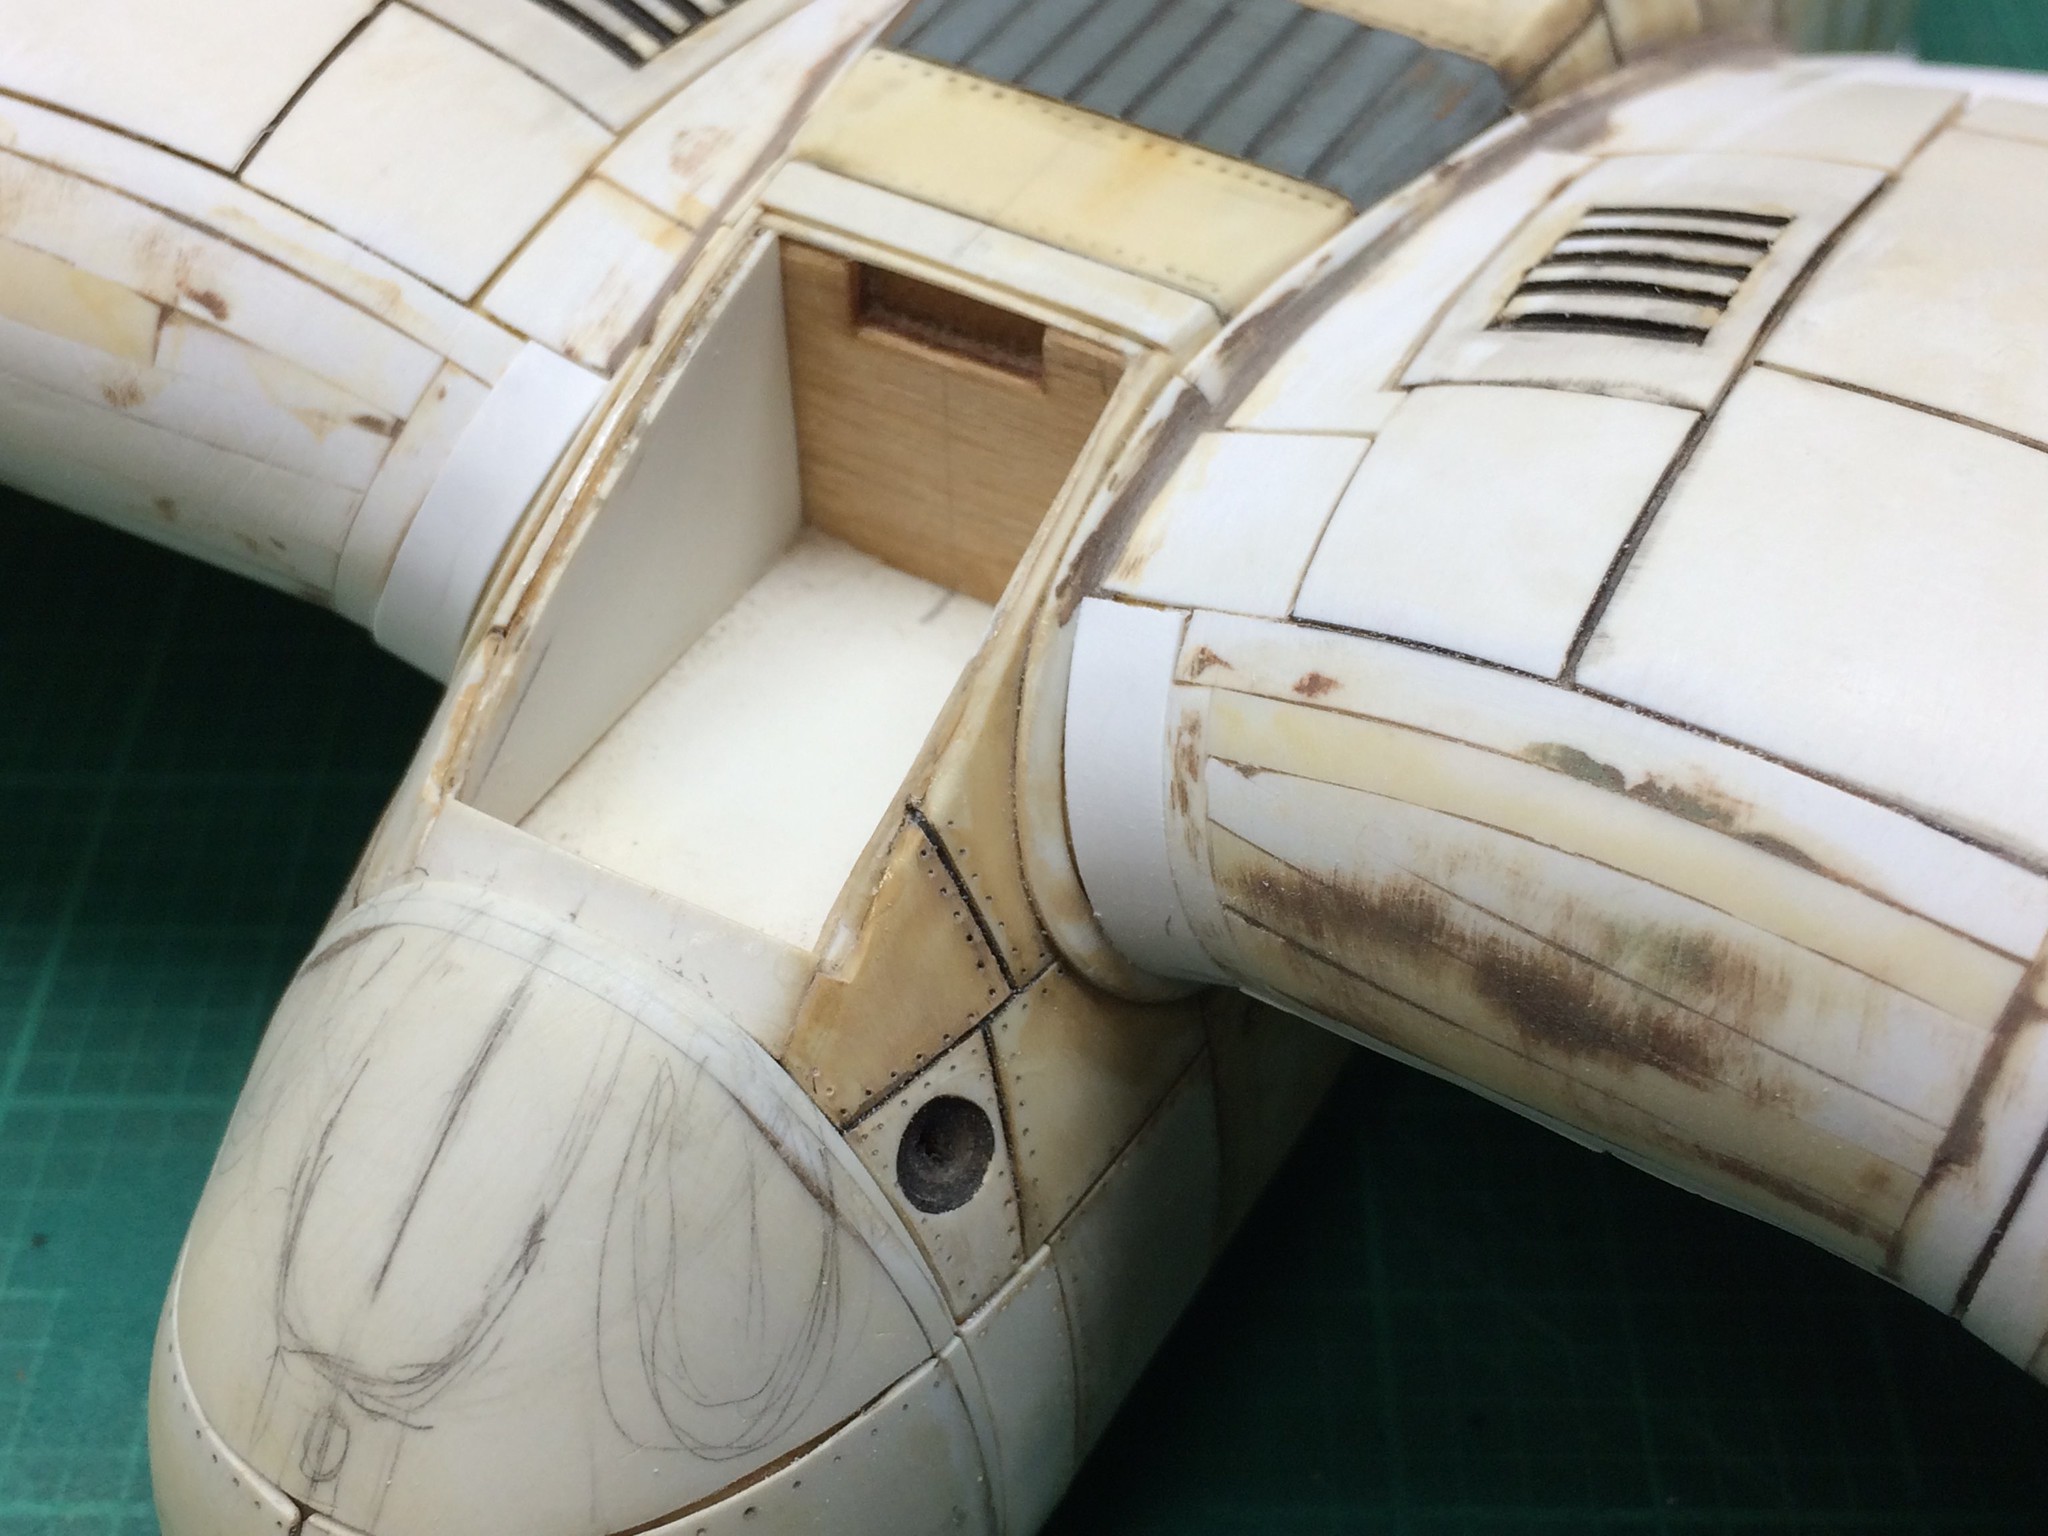 [/url]
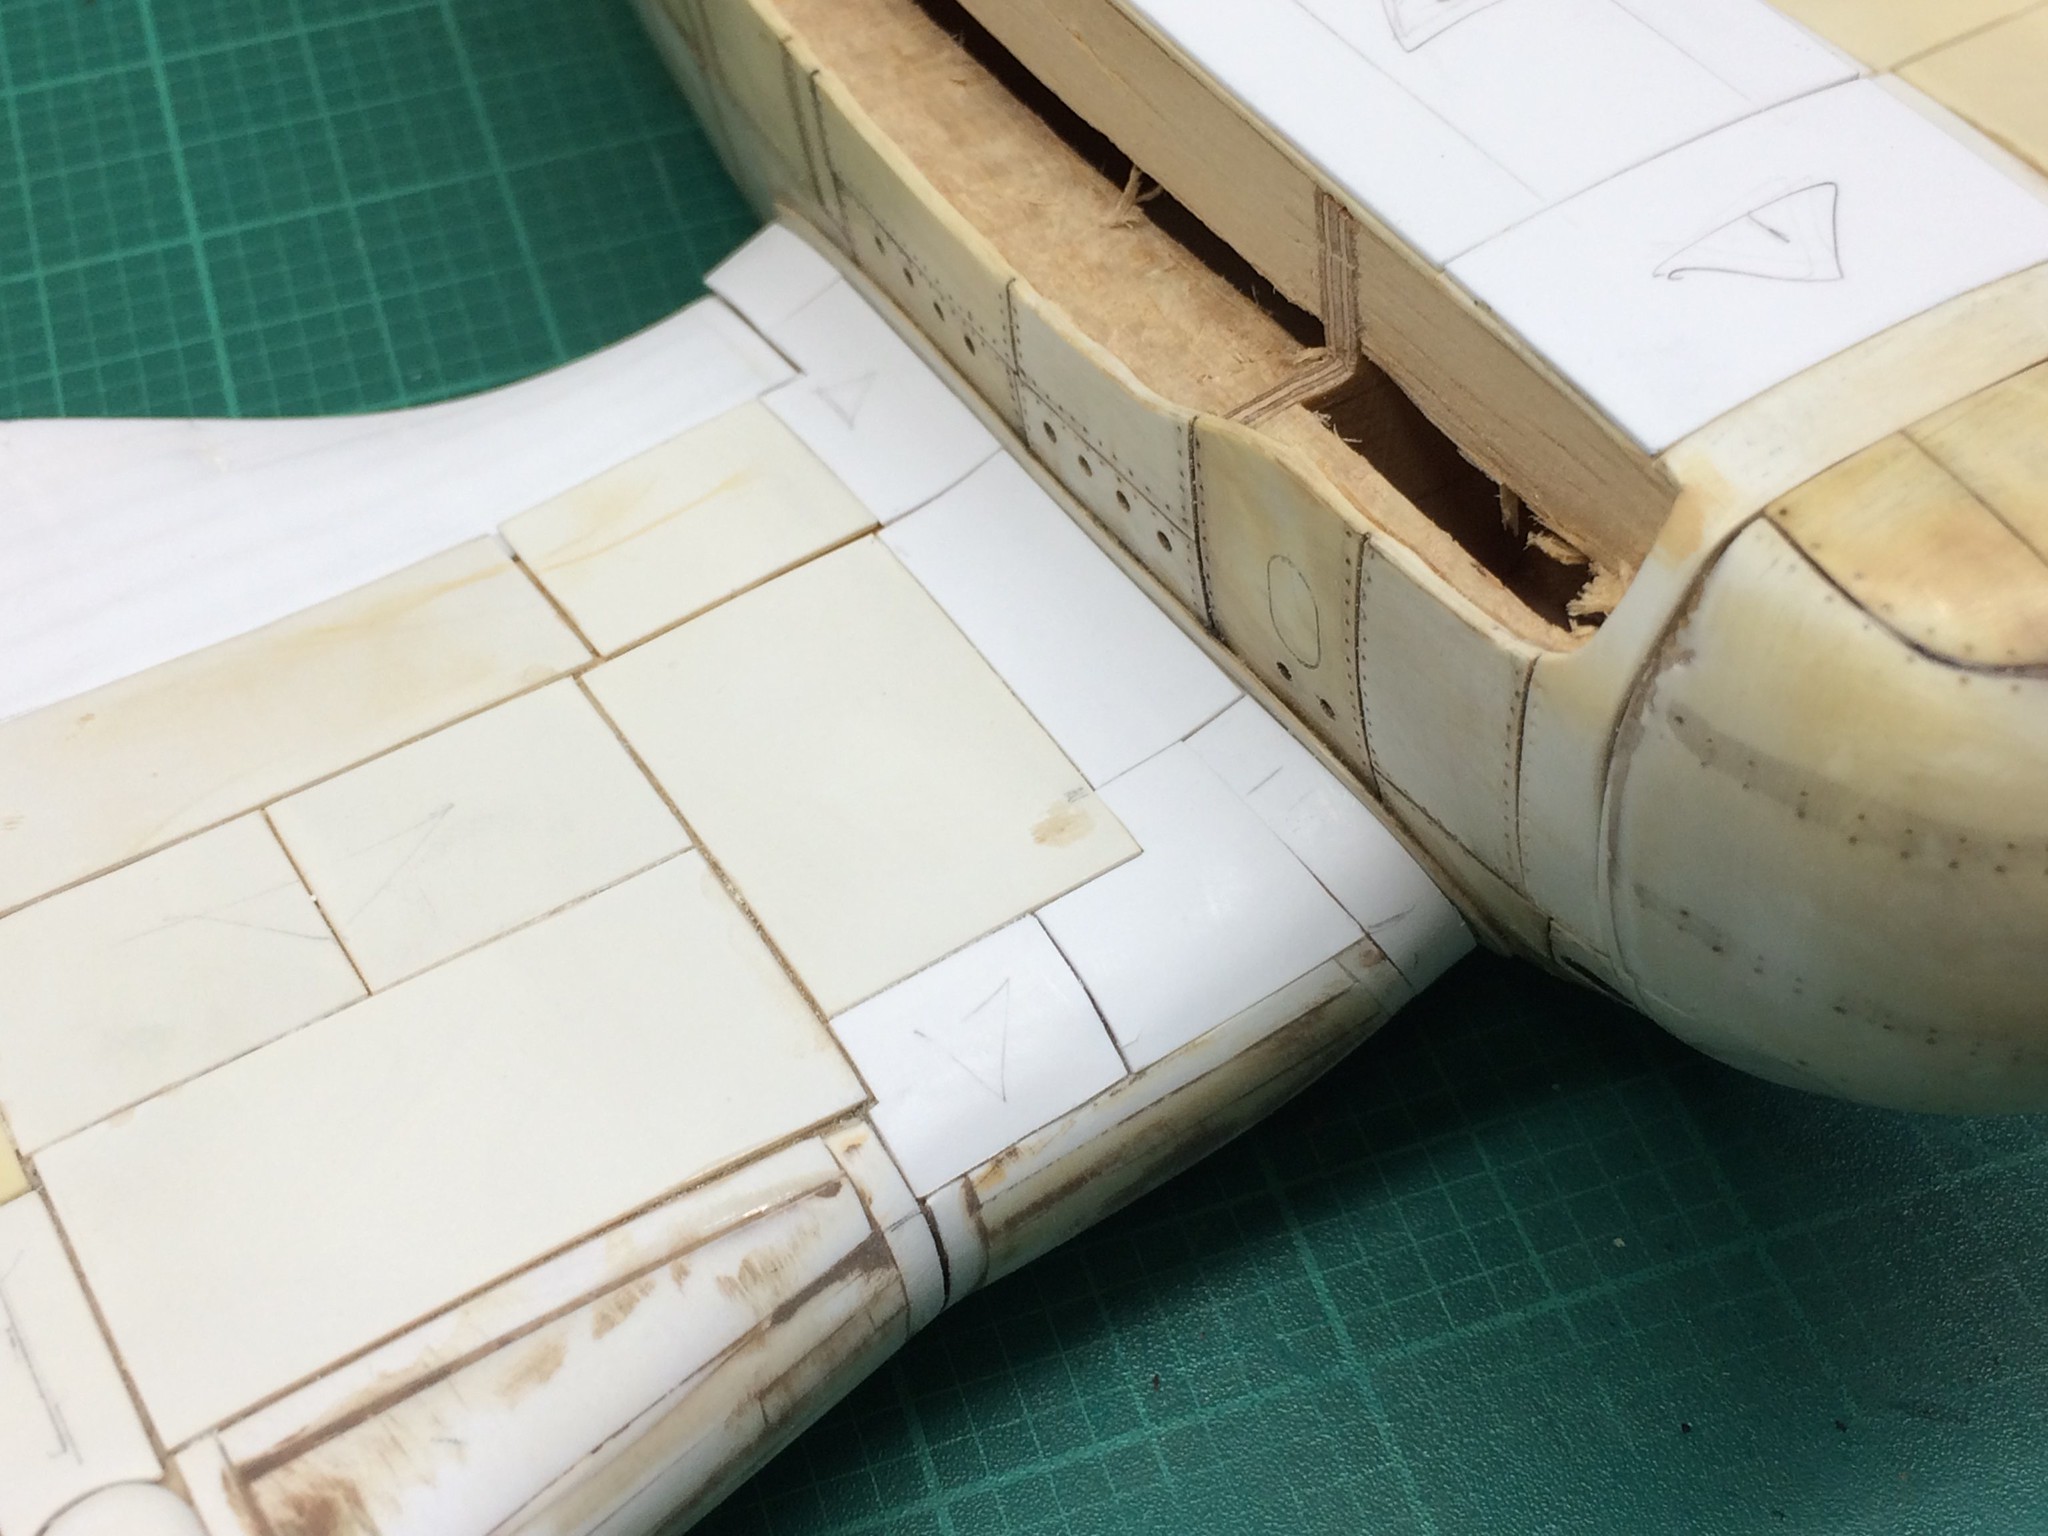 [/url]
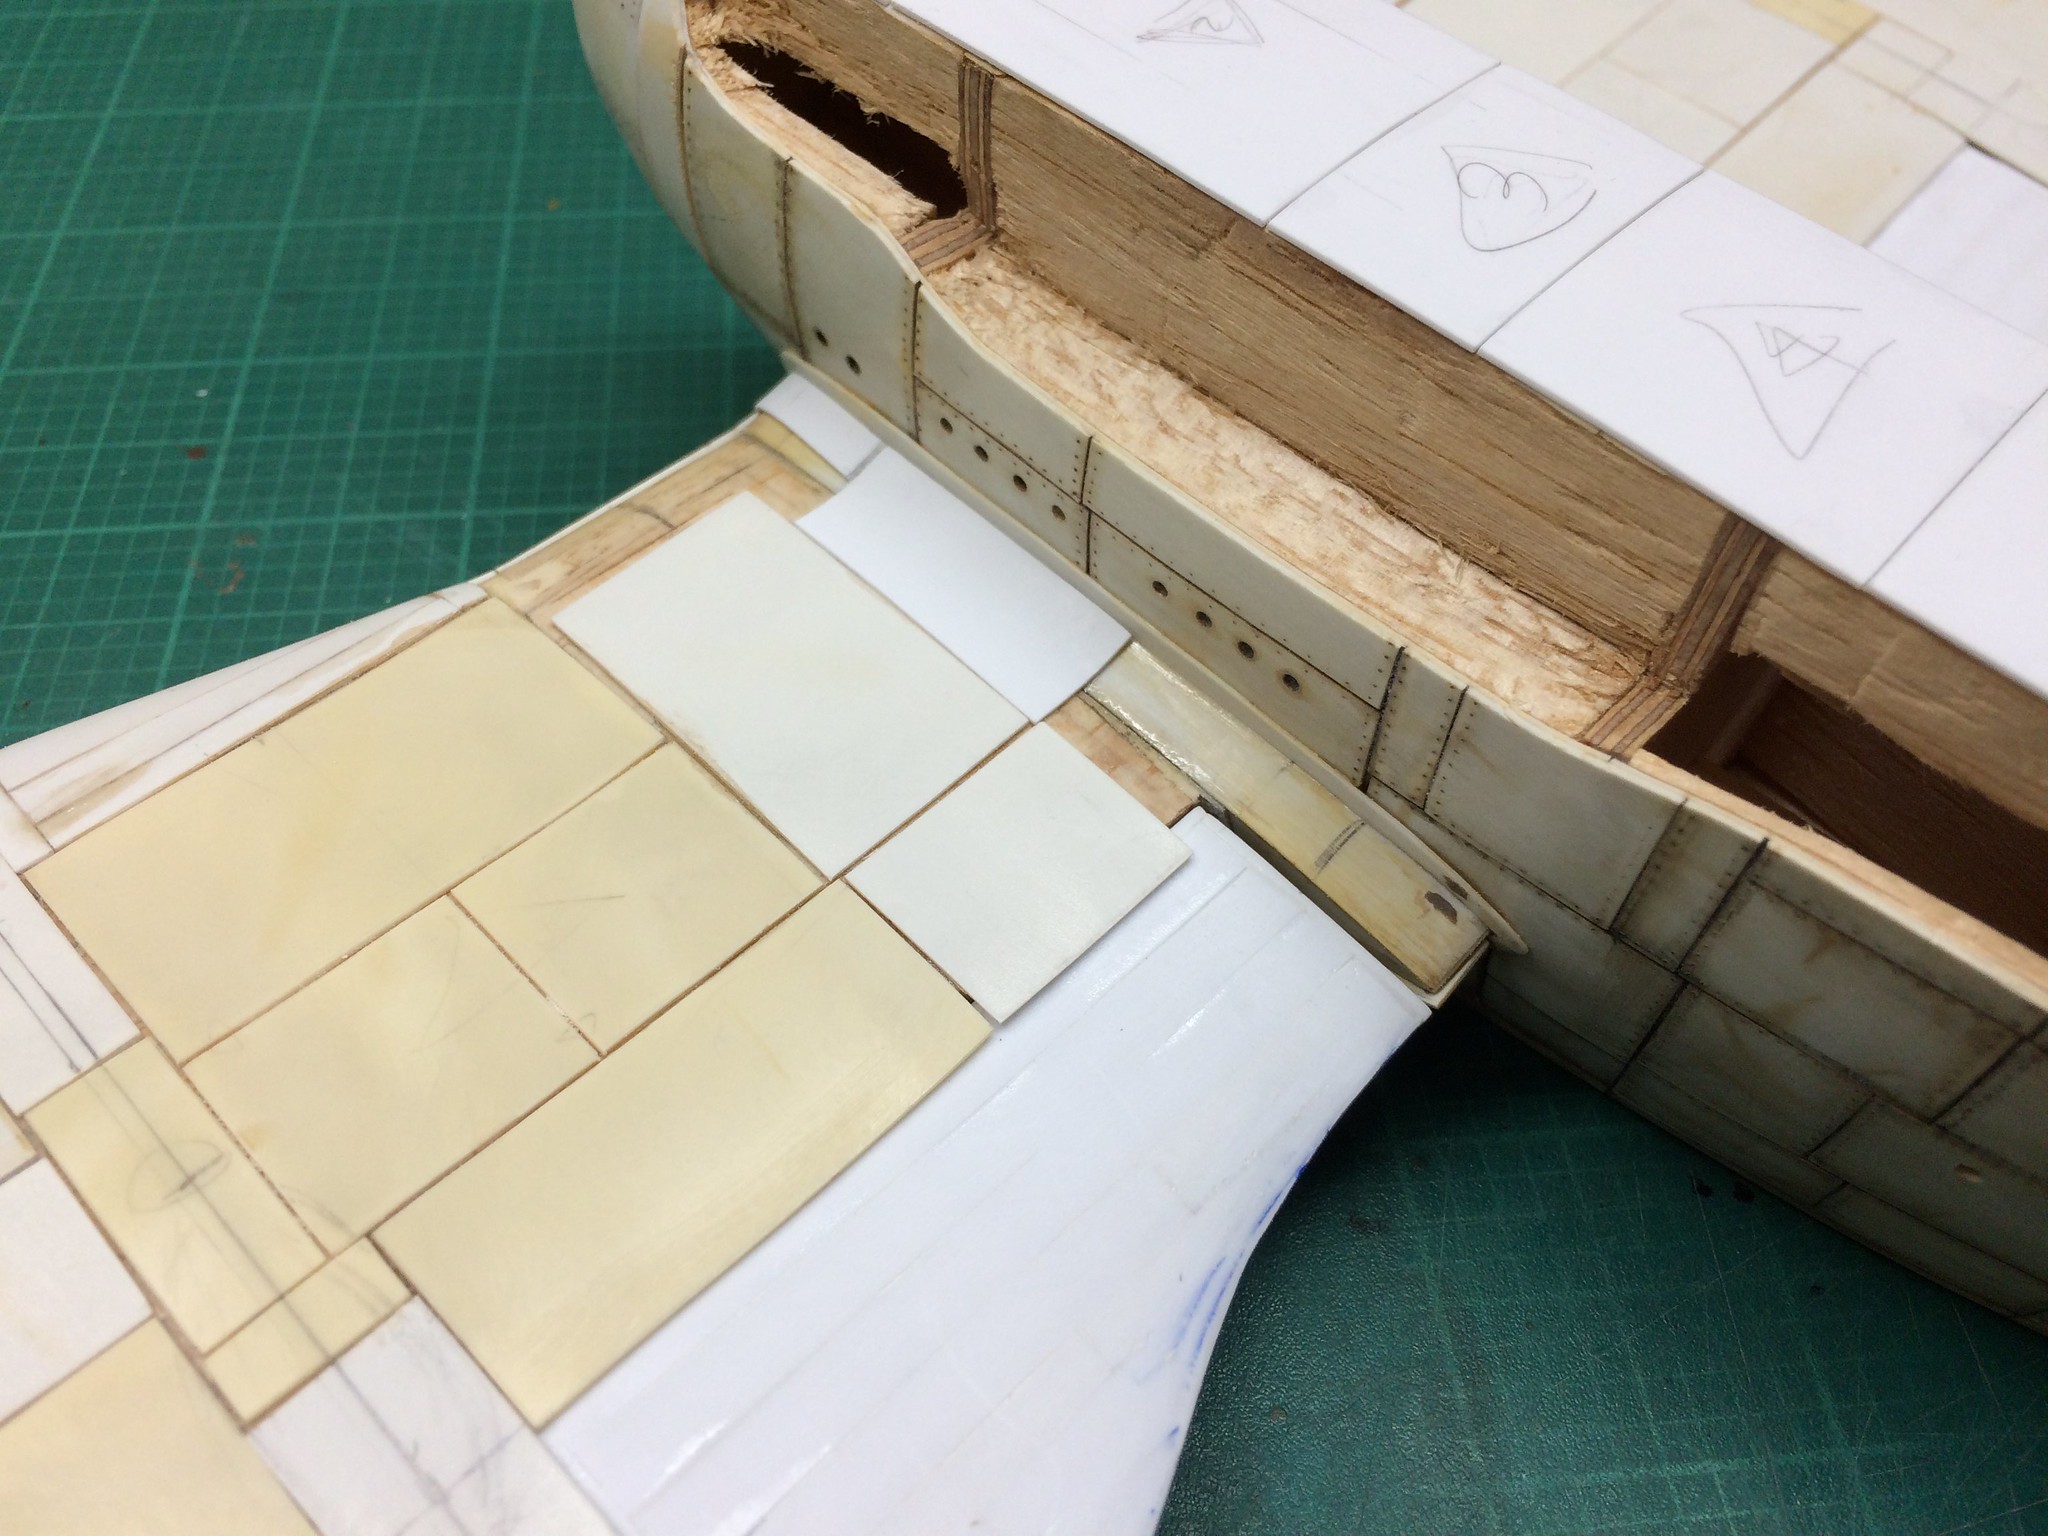 [/url]
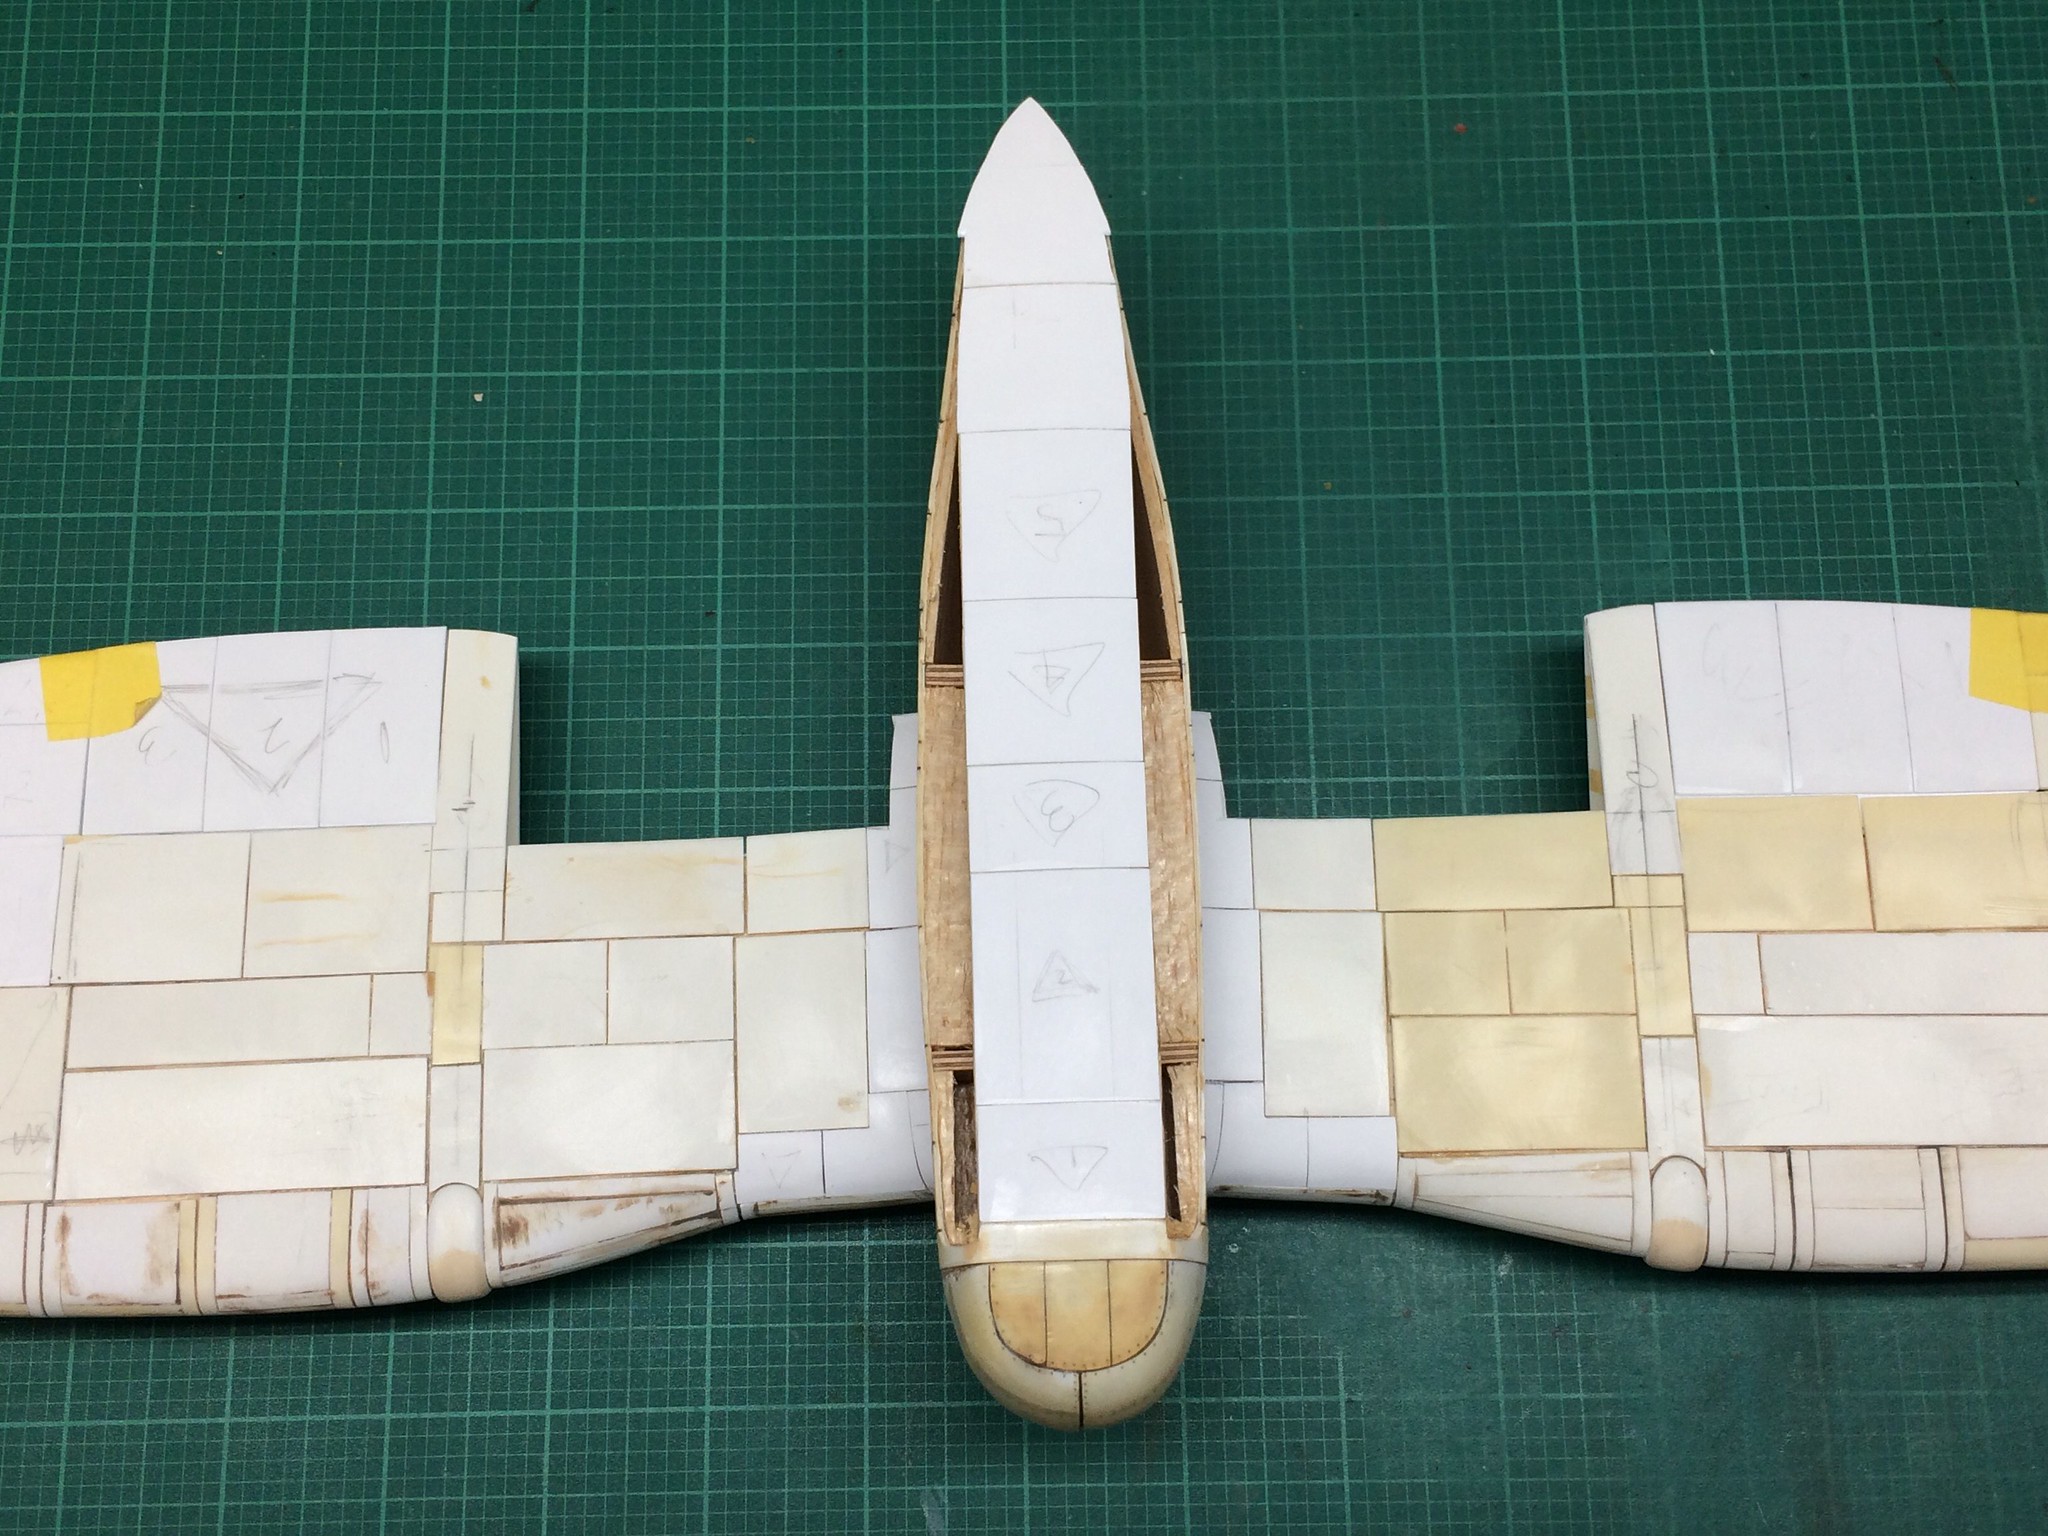 [/url]
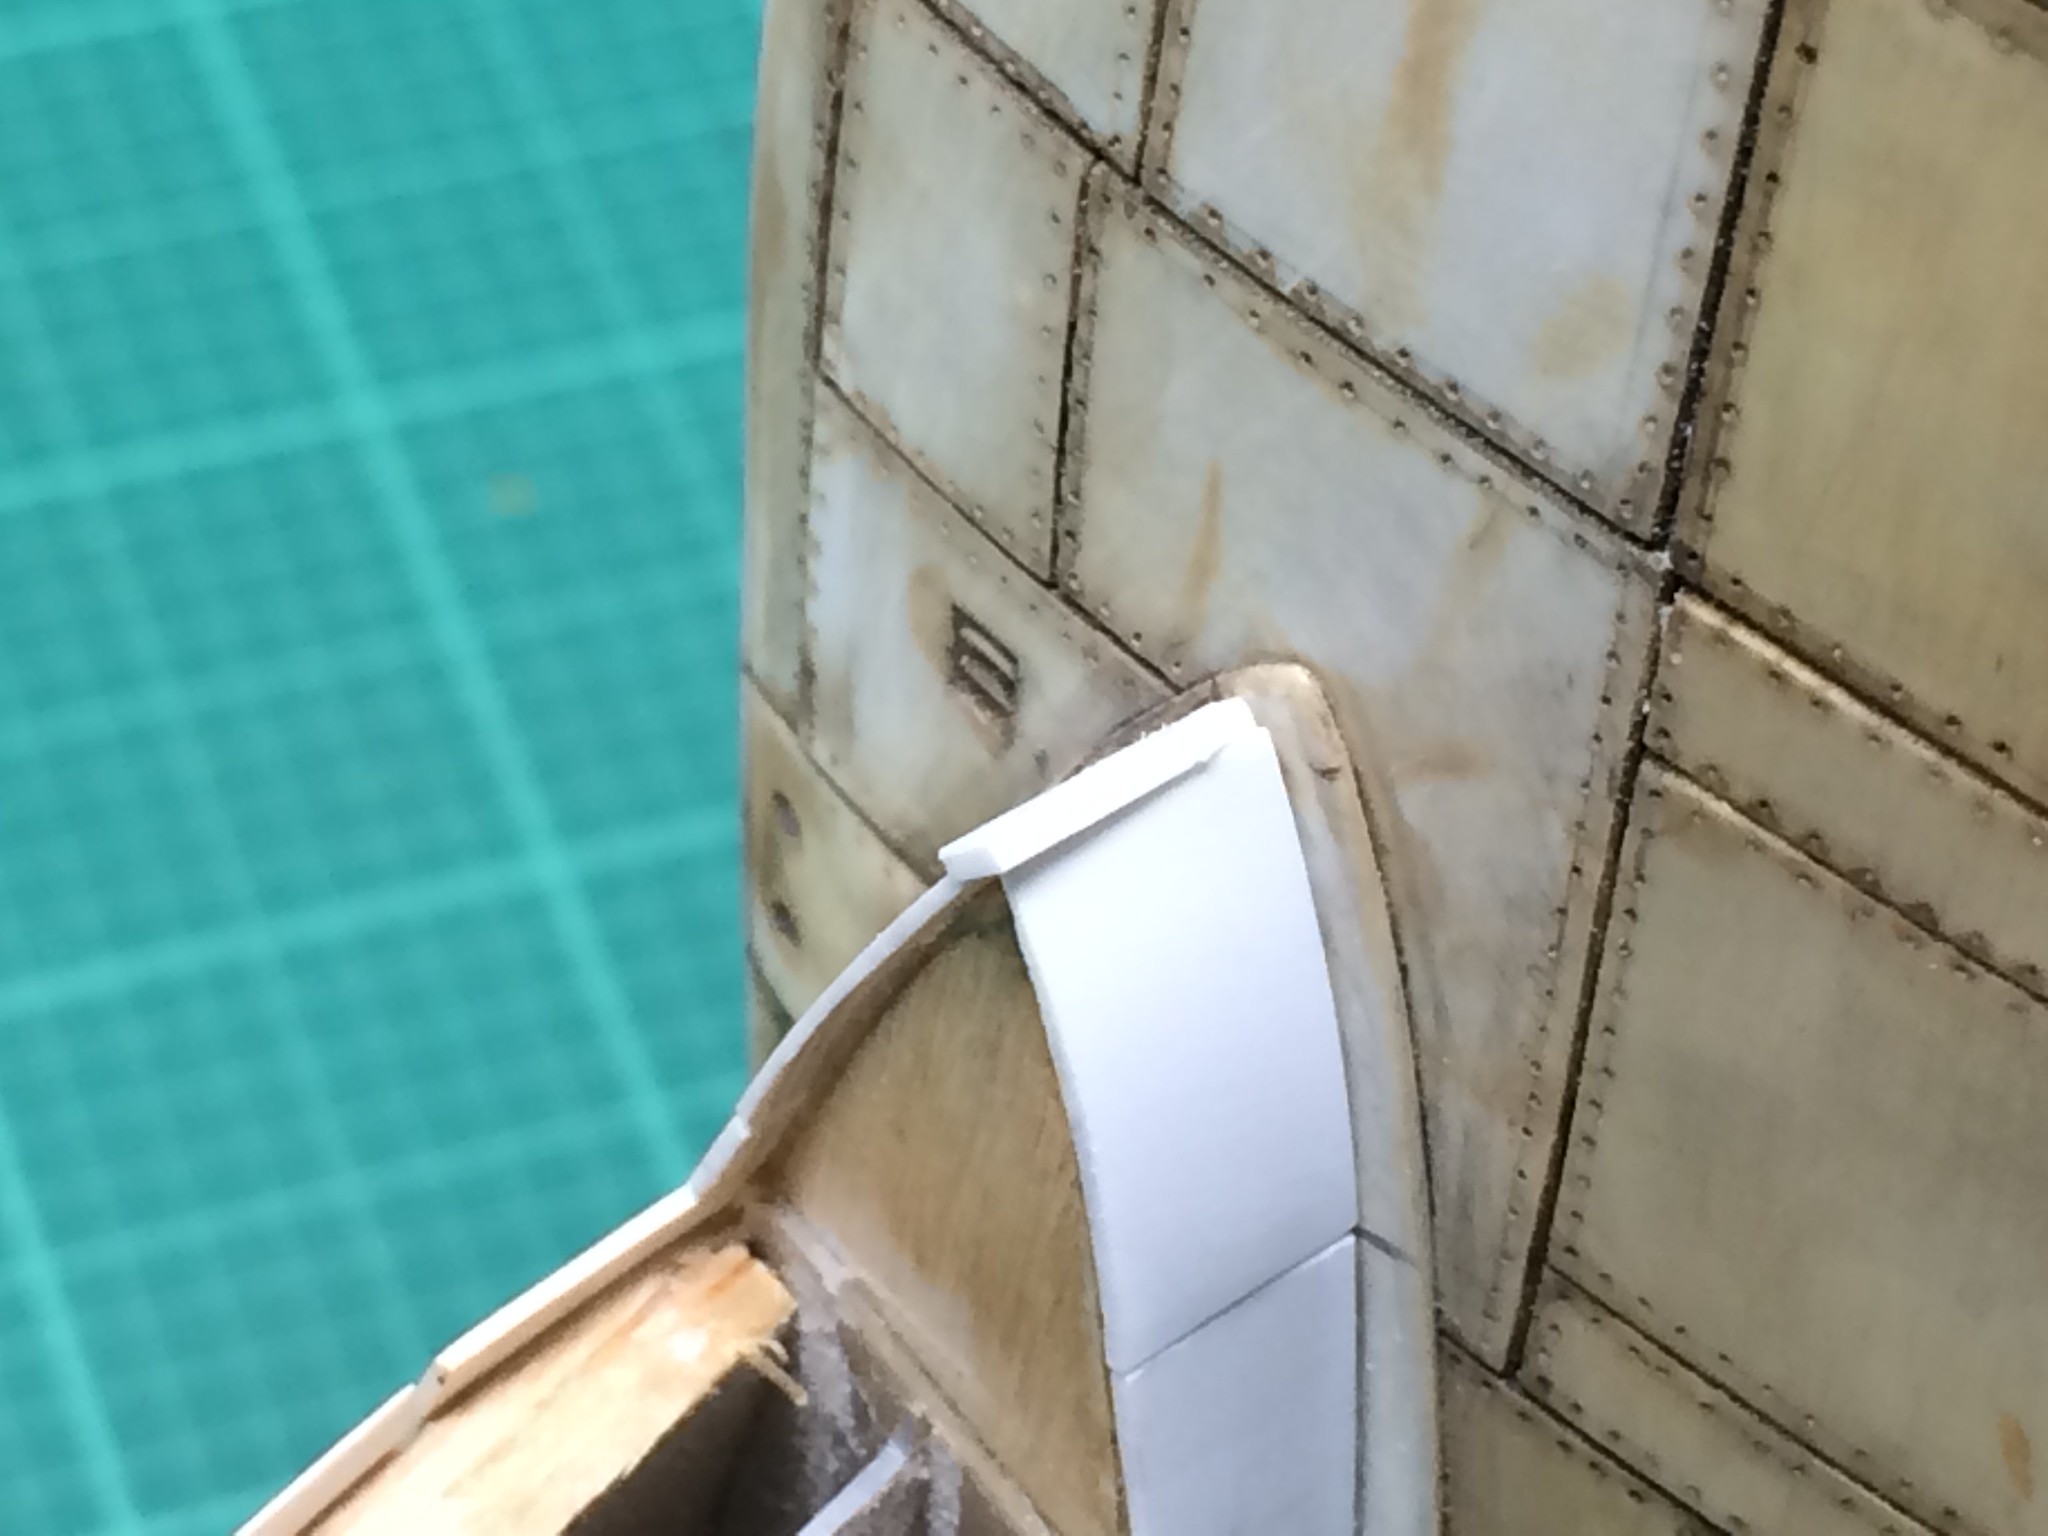 [/url]
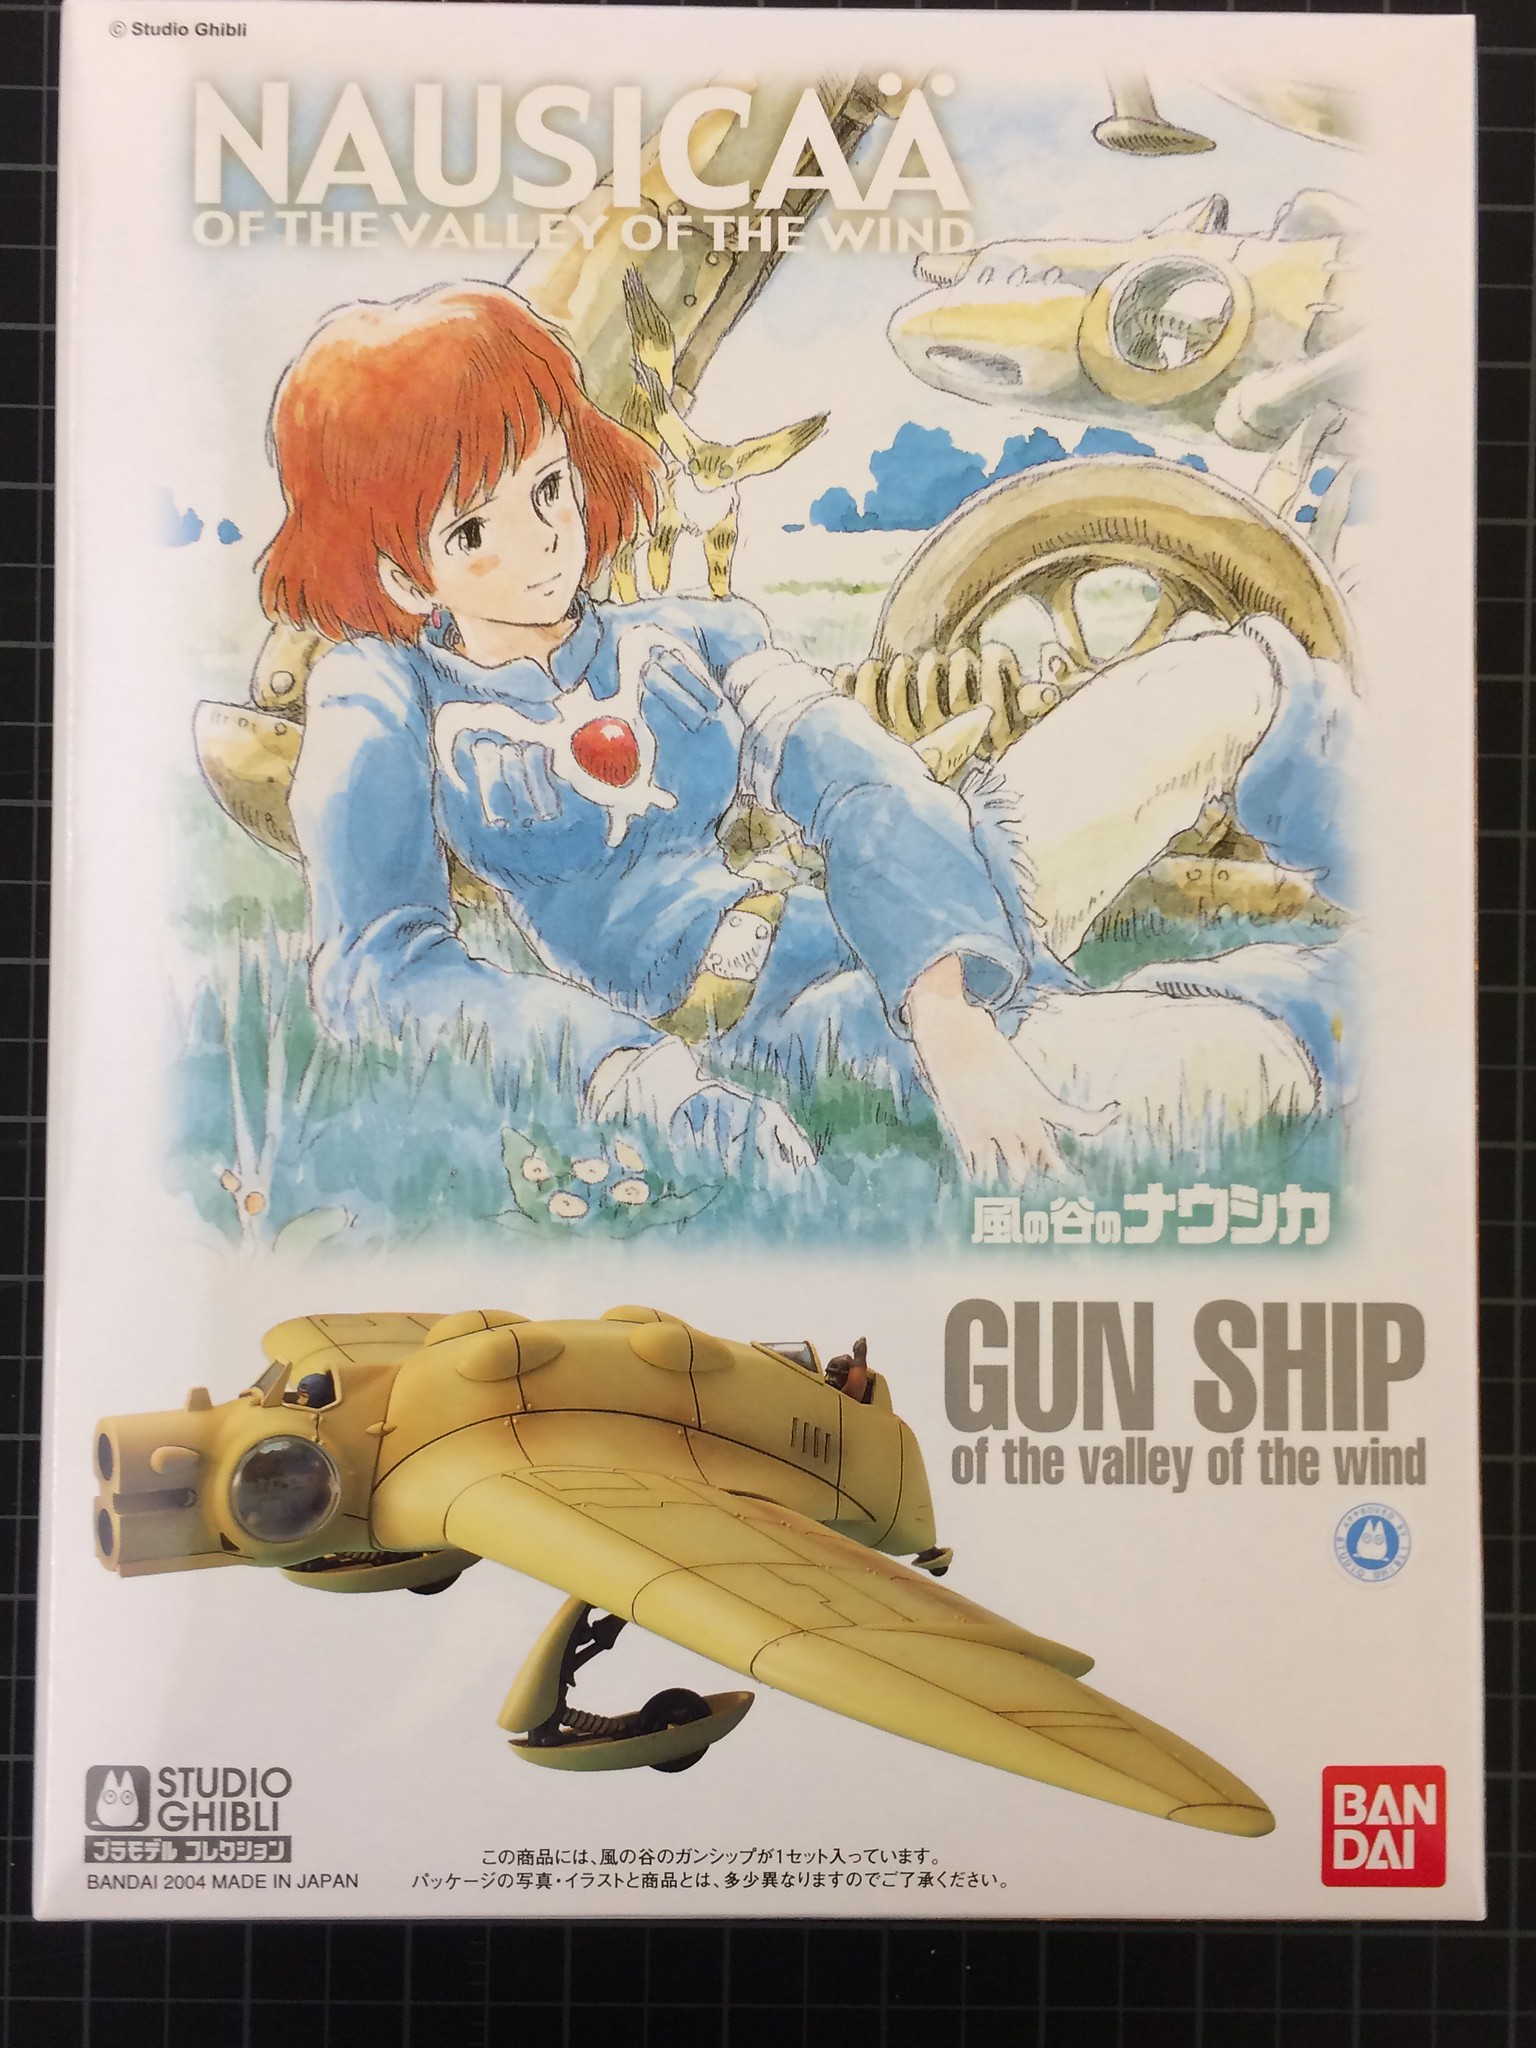 [/url]
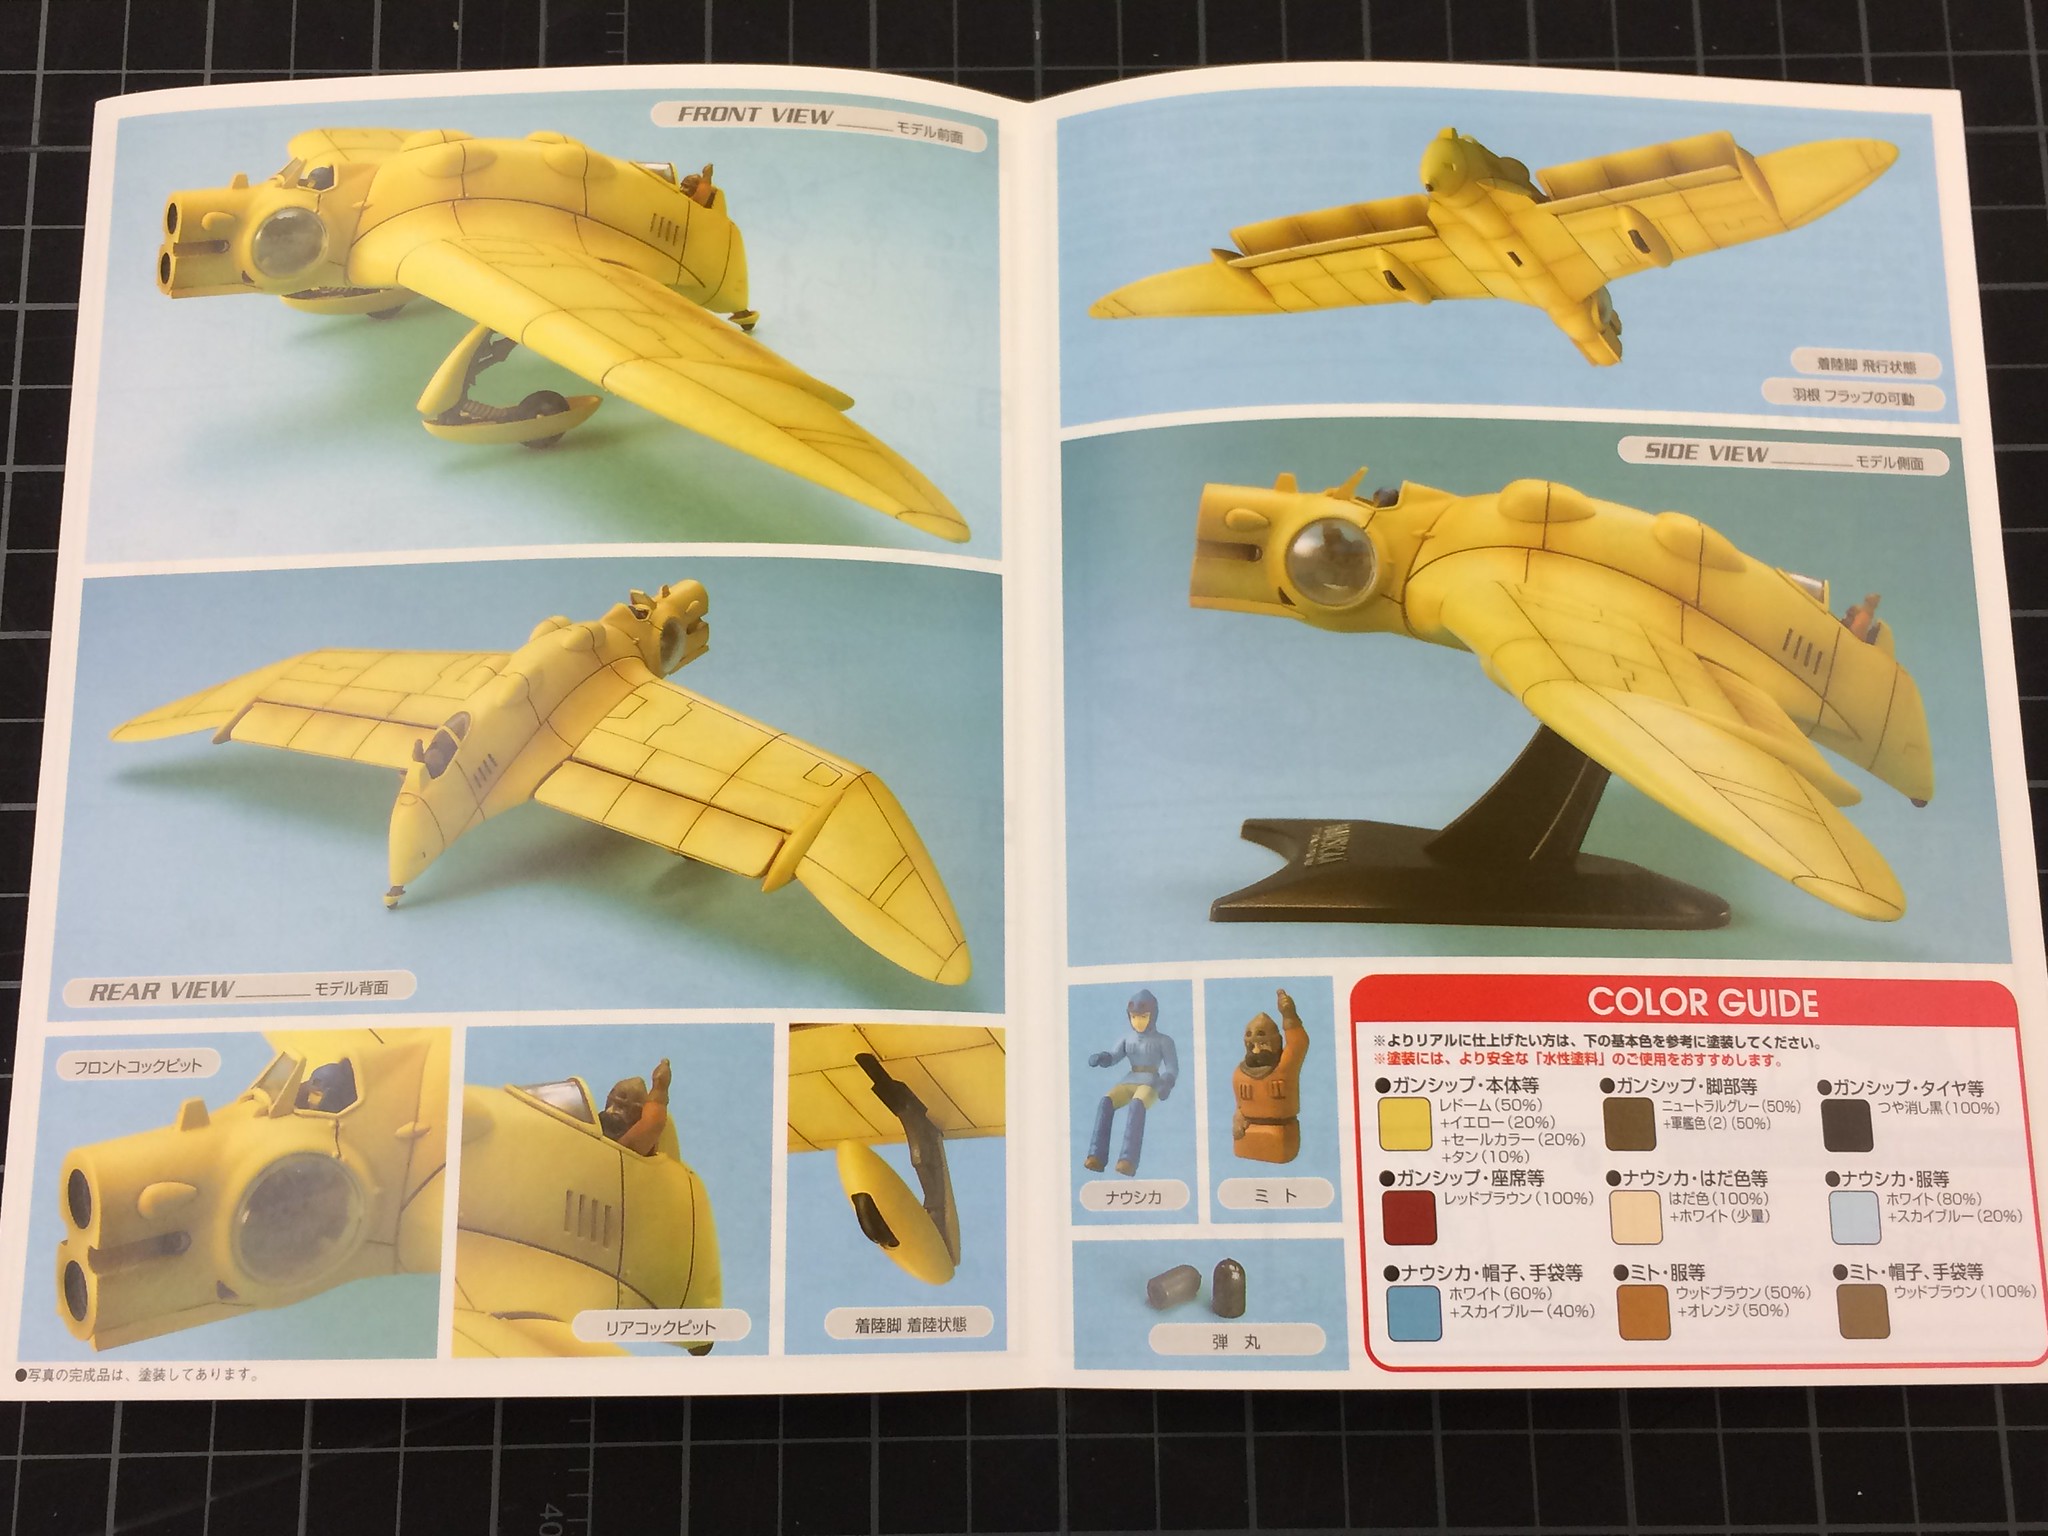 [/url]
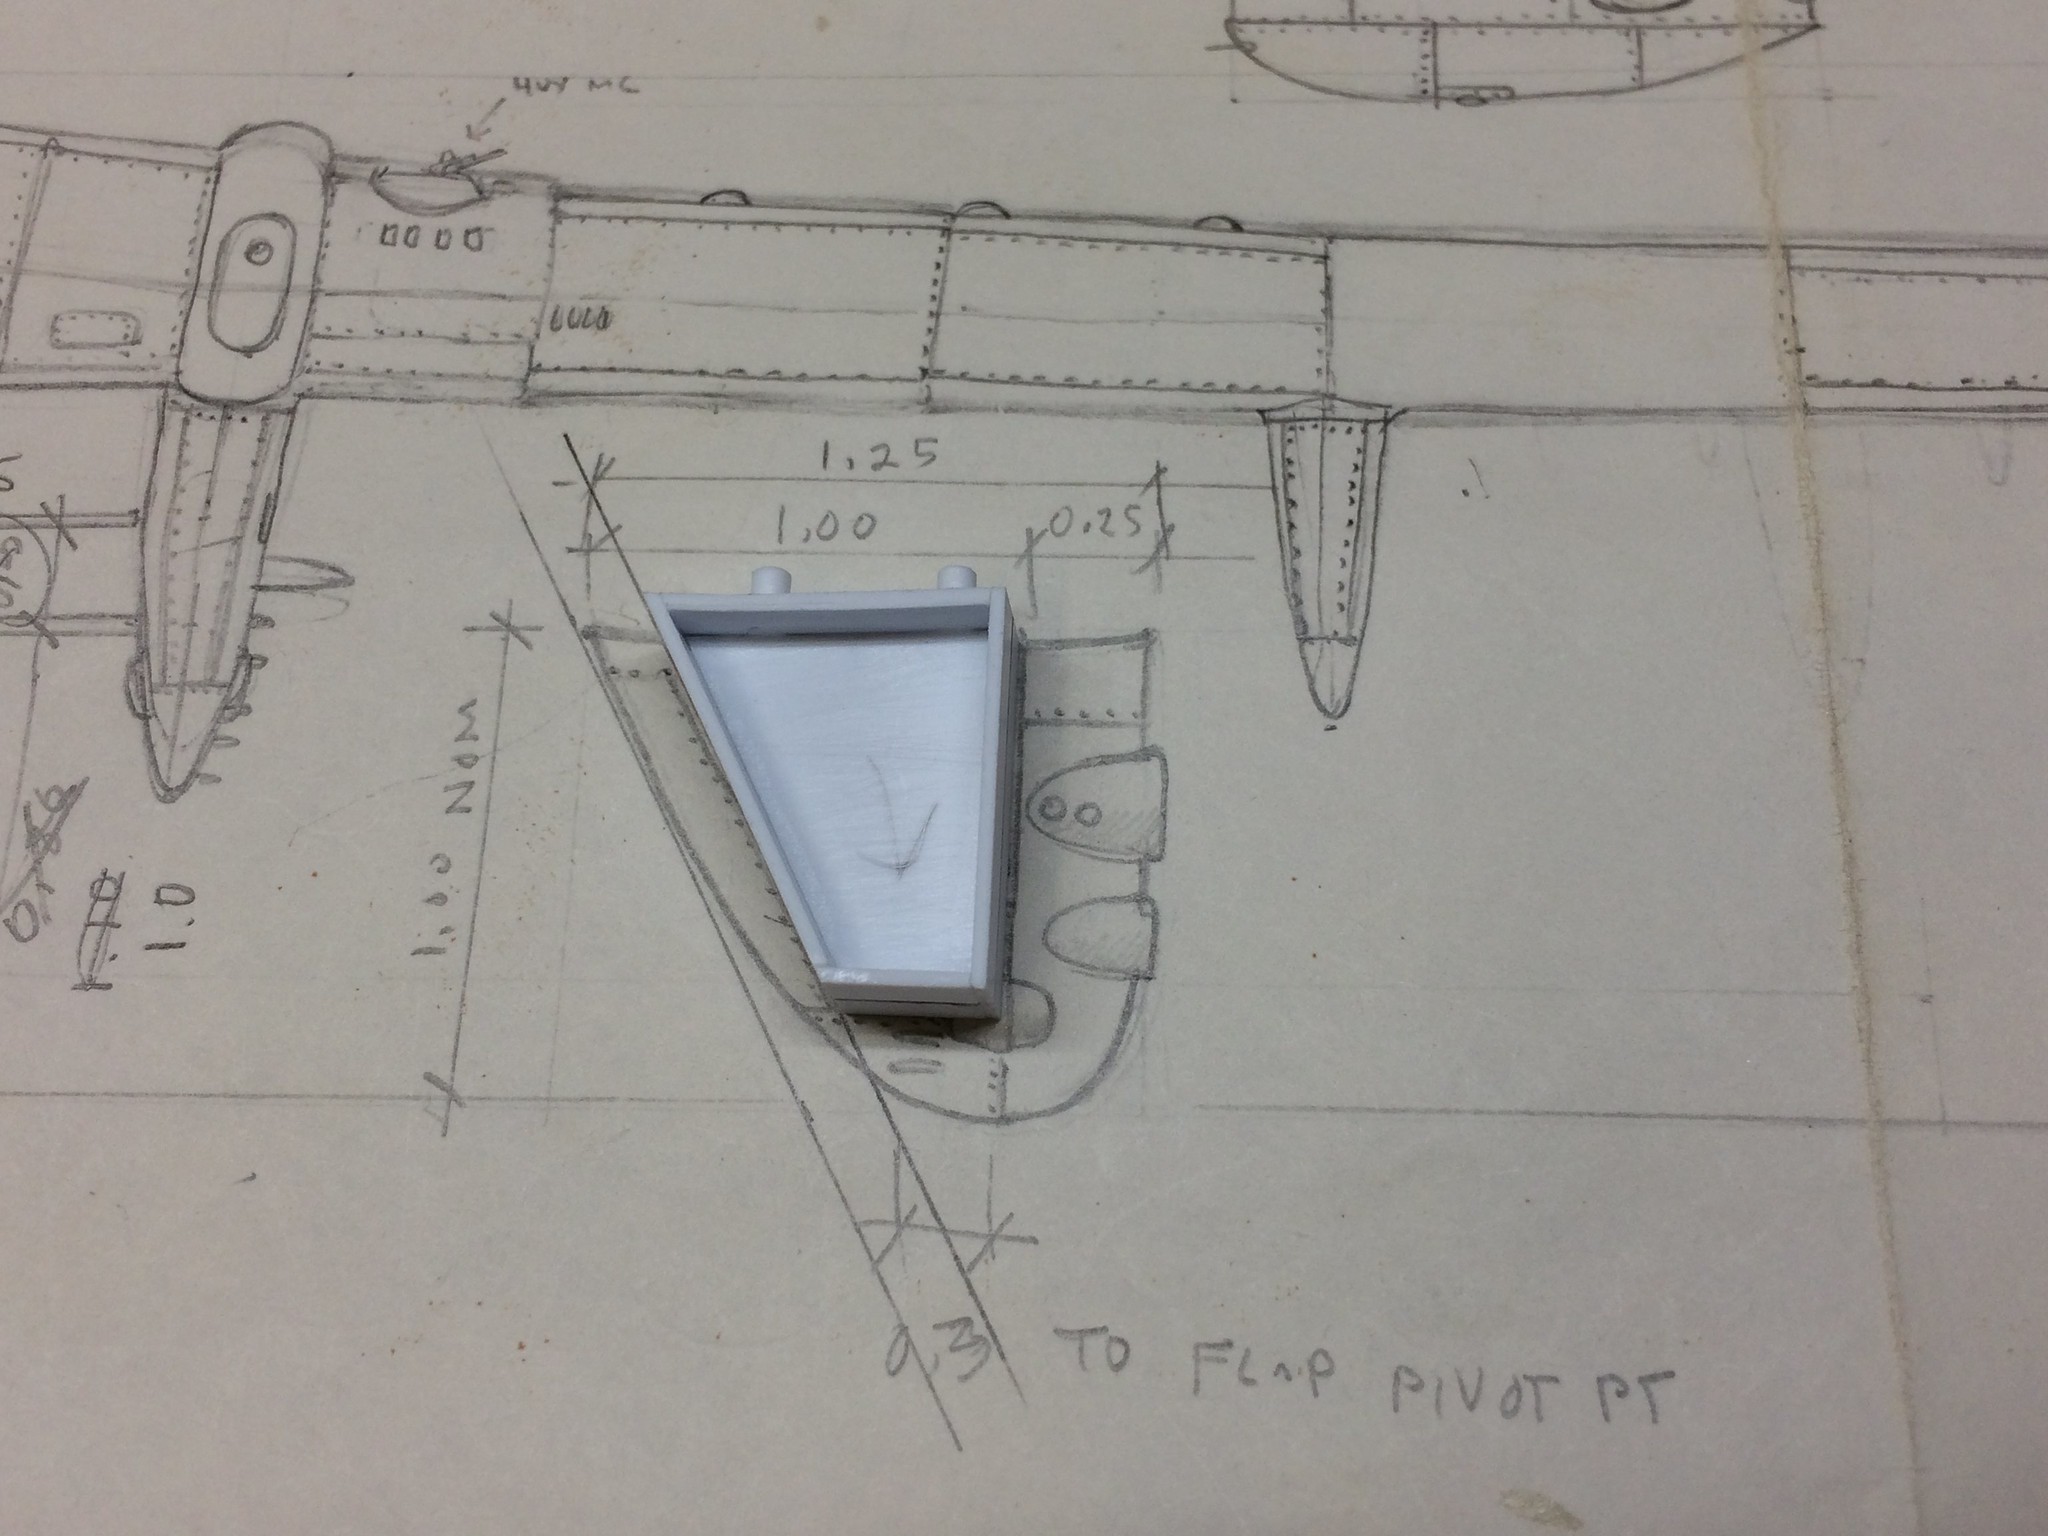 [/url]
 [/url]
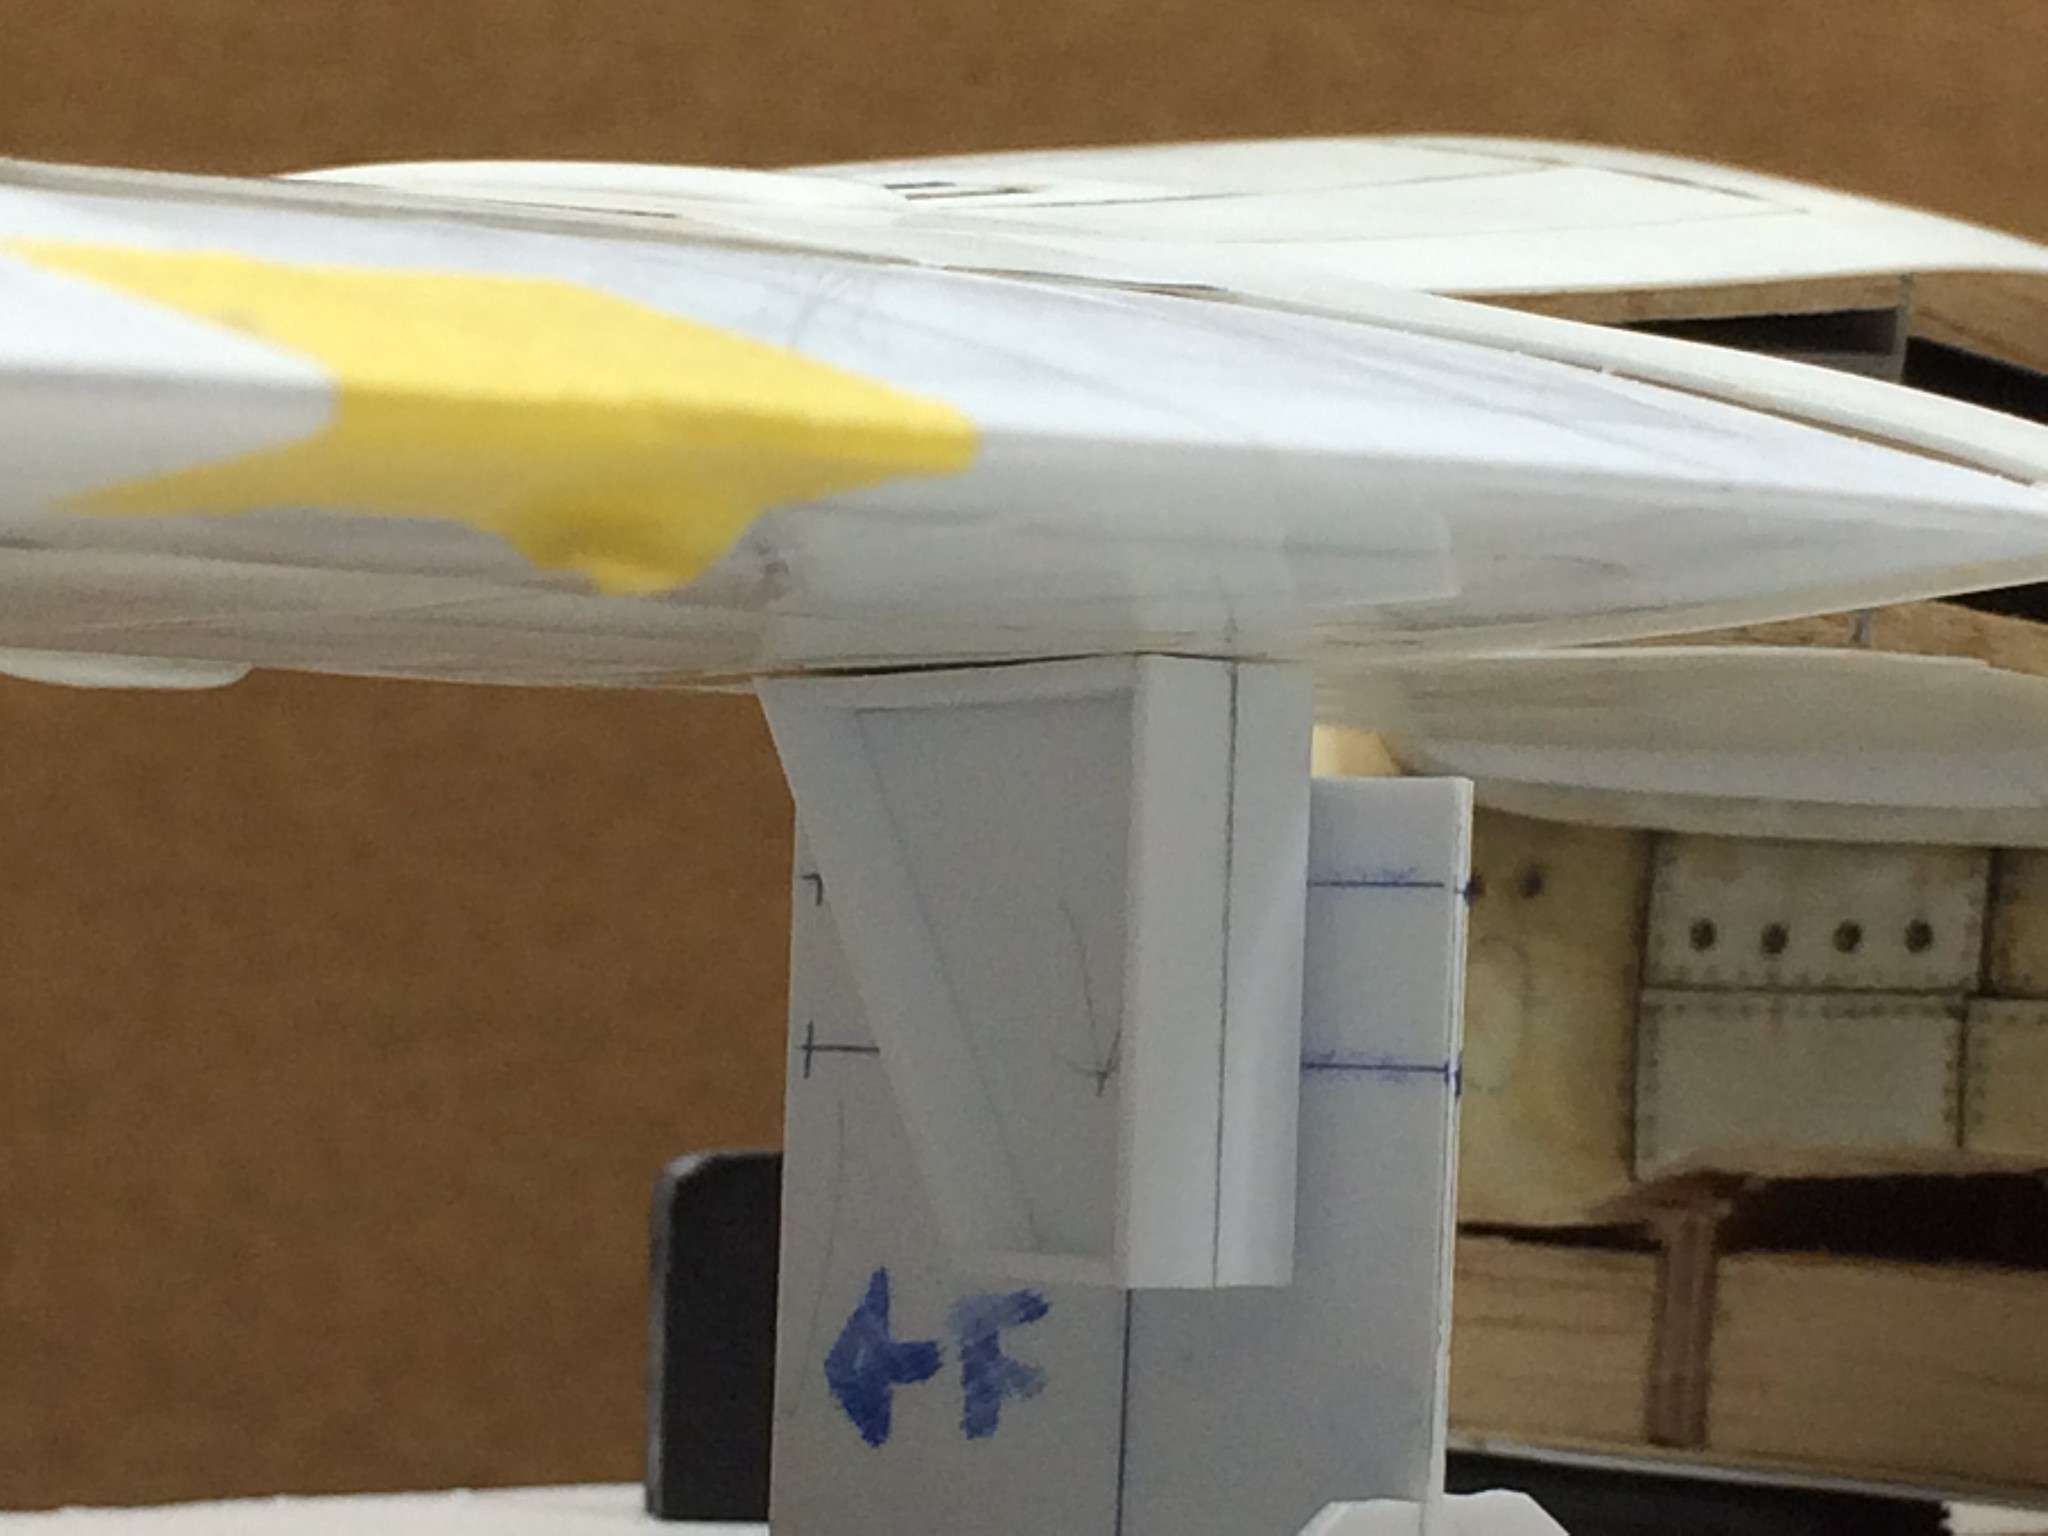 [/url]