BTW does anybody know what I should use for BMW OEM red? I realize they use a few different shades, I just want something that will match the most common shade. My son-in-law is no help. He just says “it was red”. And he’s a Beemer salesman too [:^)]
That engine rocks, Mike!
Wow! Amazing stuff going on. I’m hoping for some warmer weather so I can get out in the shop. Startin’ to have plastic withdrawals hehehehe.
Modelcrazy,
I found a reference for your BMW on the red paint. It seems there was only one color (only one I was able to find) offered on the E3/M30. It is called Misanorot, and the code is 236. It is a nice red ( I googled it). You may be able to get some touch up paint from a dealer if you want to match it. ![]() It also looks close to the Wicked Red from Createx. May not be exact but it does look fairly close to me. HL carries it.
It also looks close to the Wicked Red from Createx. May not be exact but it does look fairly close to me. HL carries it.
L8TR,
Eric
Thank you ewheeler.
I sent my son-in-law, the BMW salesman, a text to see if he could pick up a bottle of touch-up for me.
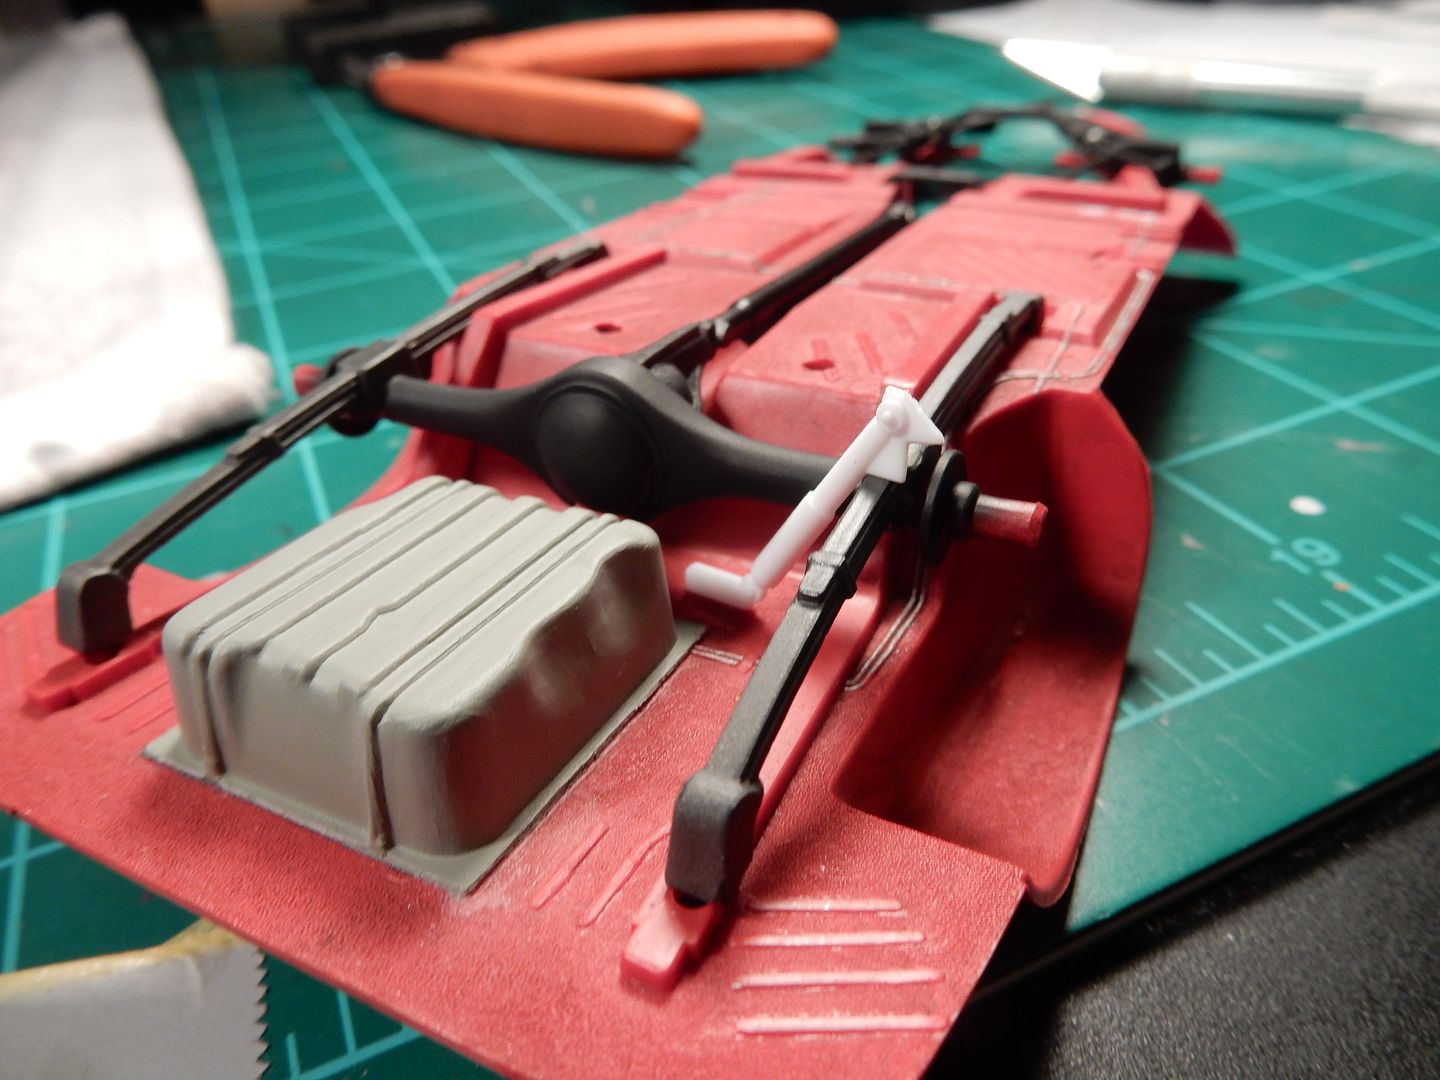
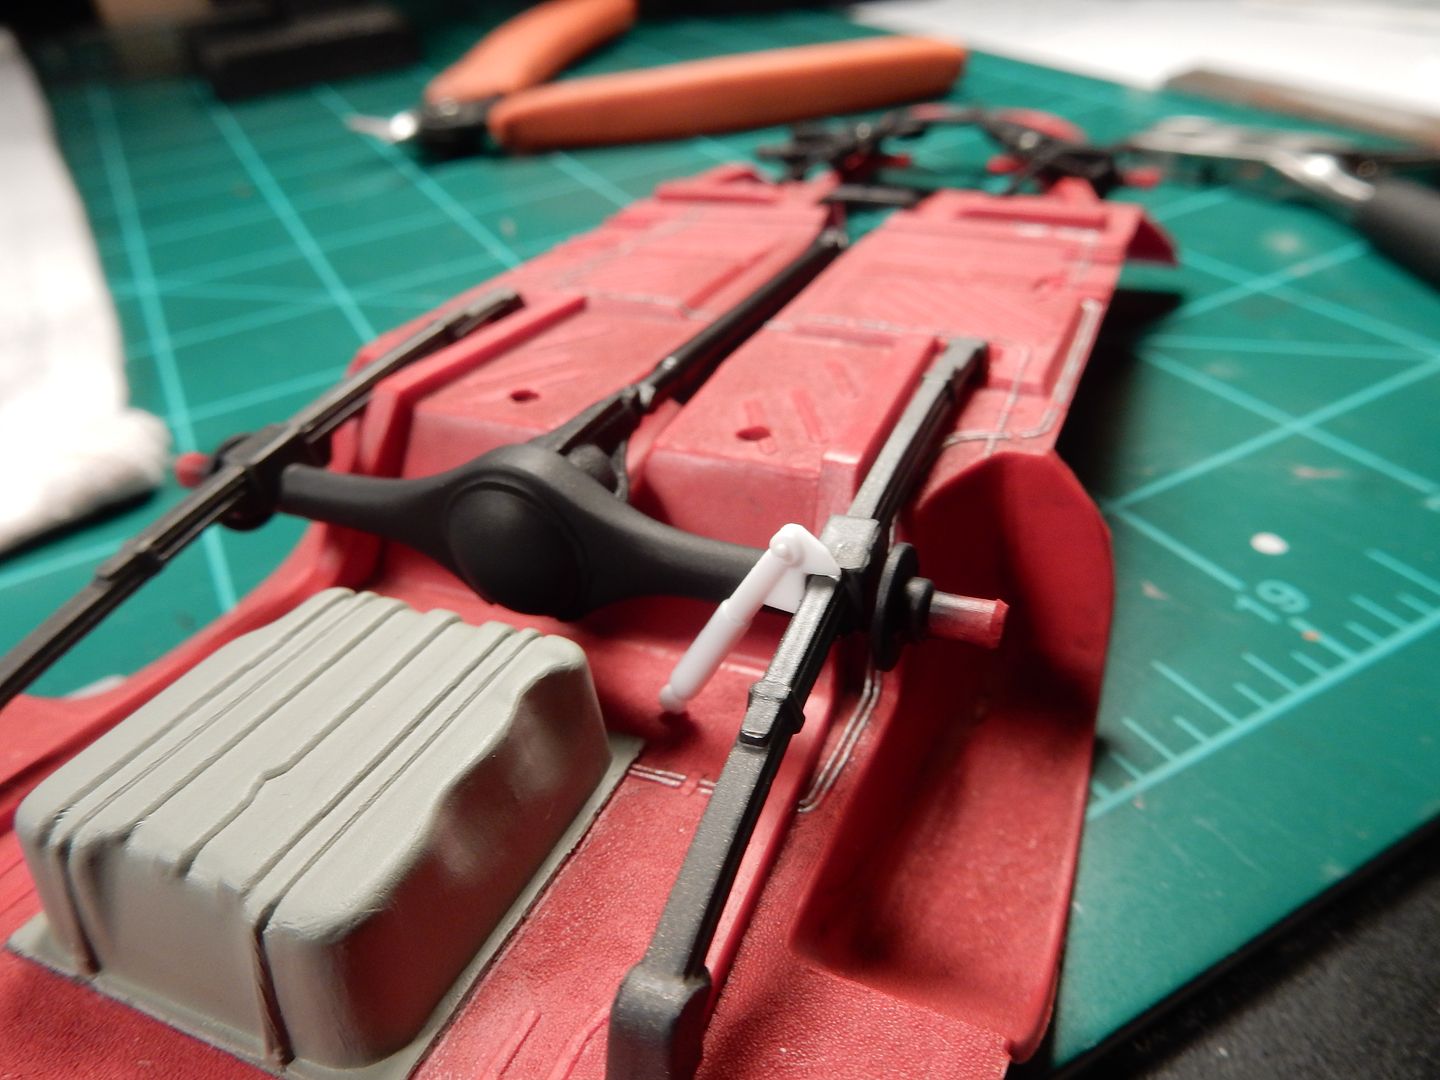
One of the things that I find most surprising about the chassis of this kit is that despite the accuracy of detail spent on the basic chassis piece ( fuel and brake lines, contours and shape of the fuel cell and other details that I haven’t seen on a lot of other kits) is that Monogram totally dropped the ball on the rear suspension/ axle area. Where’s the shocks? I had to go to my donor newer Revell Challenger kit for those and they where way too long.
This is how long they are…![]()
So I went to work again. We start here: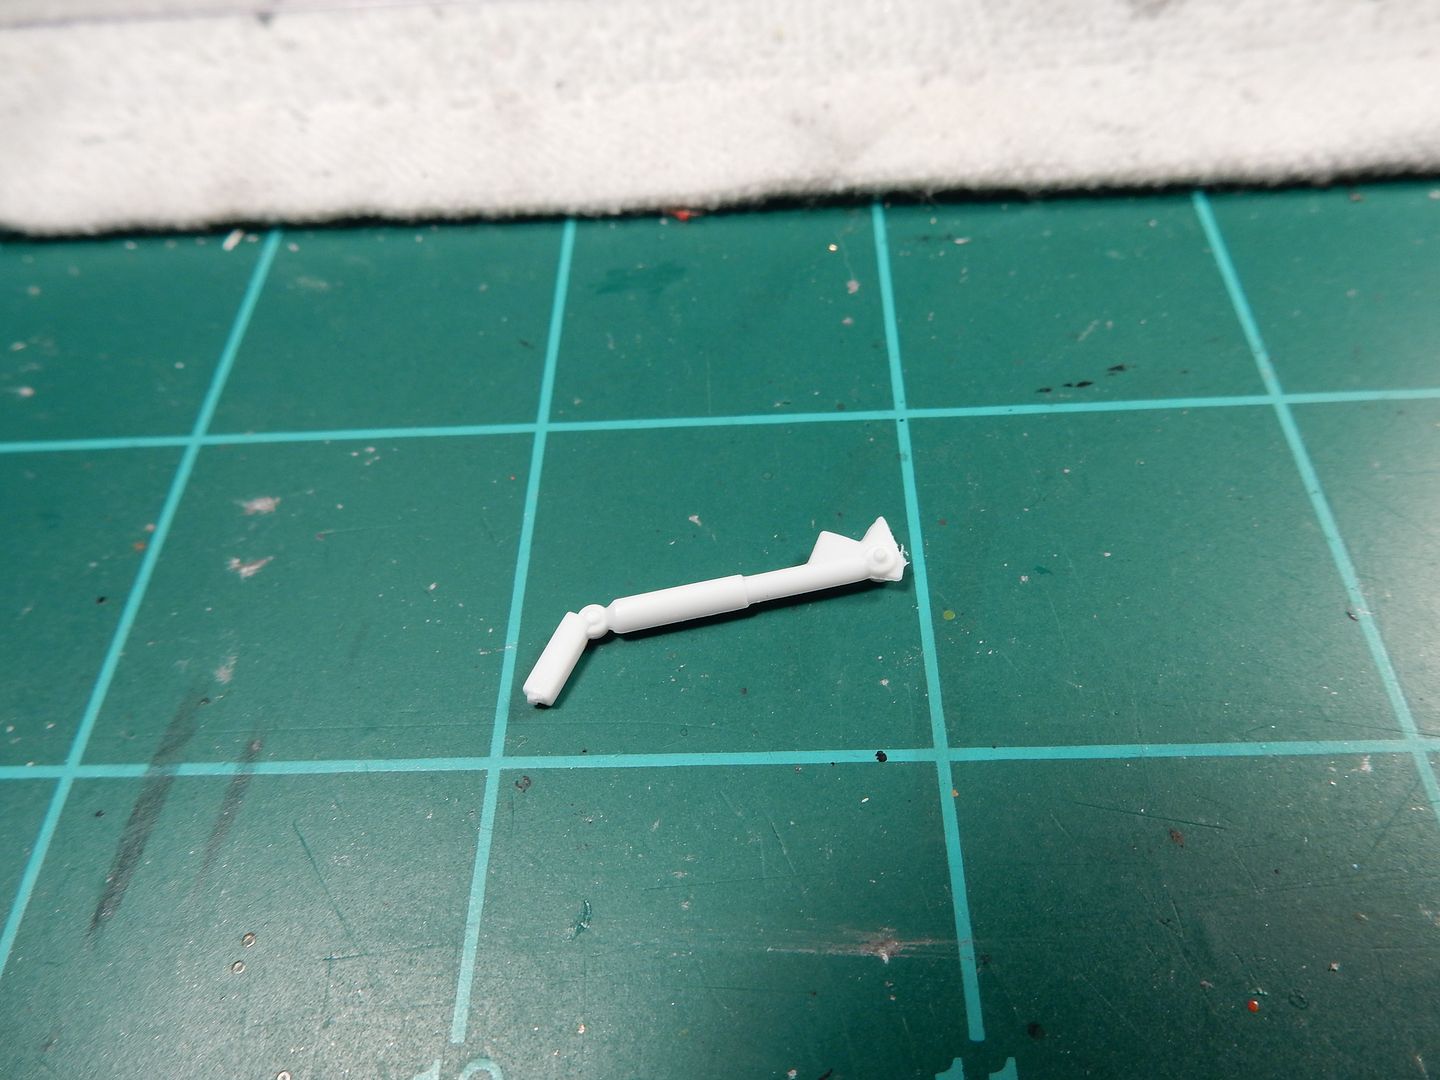
and cut it at the shock sleeve area like so:
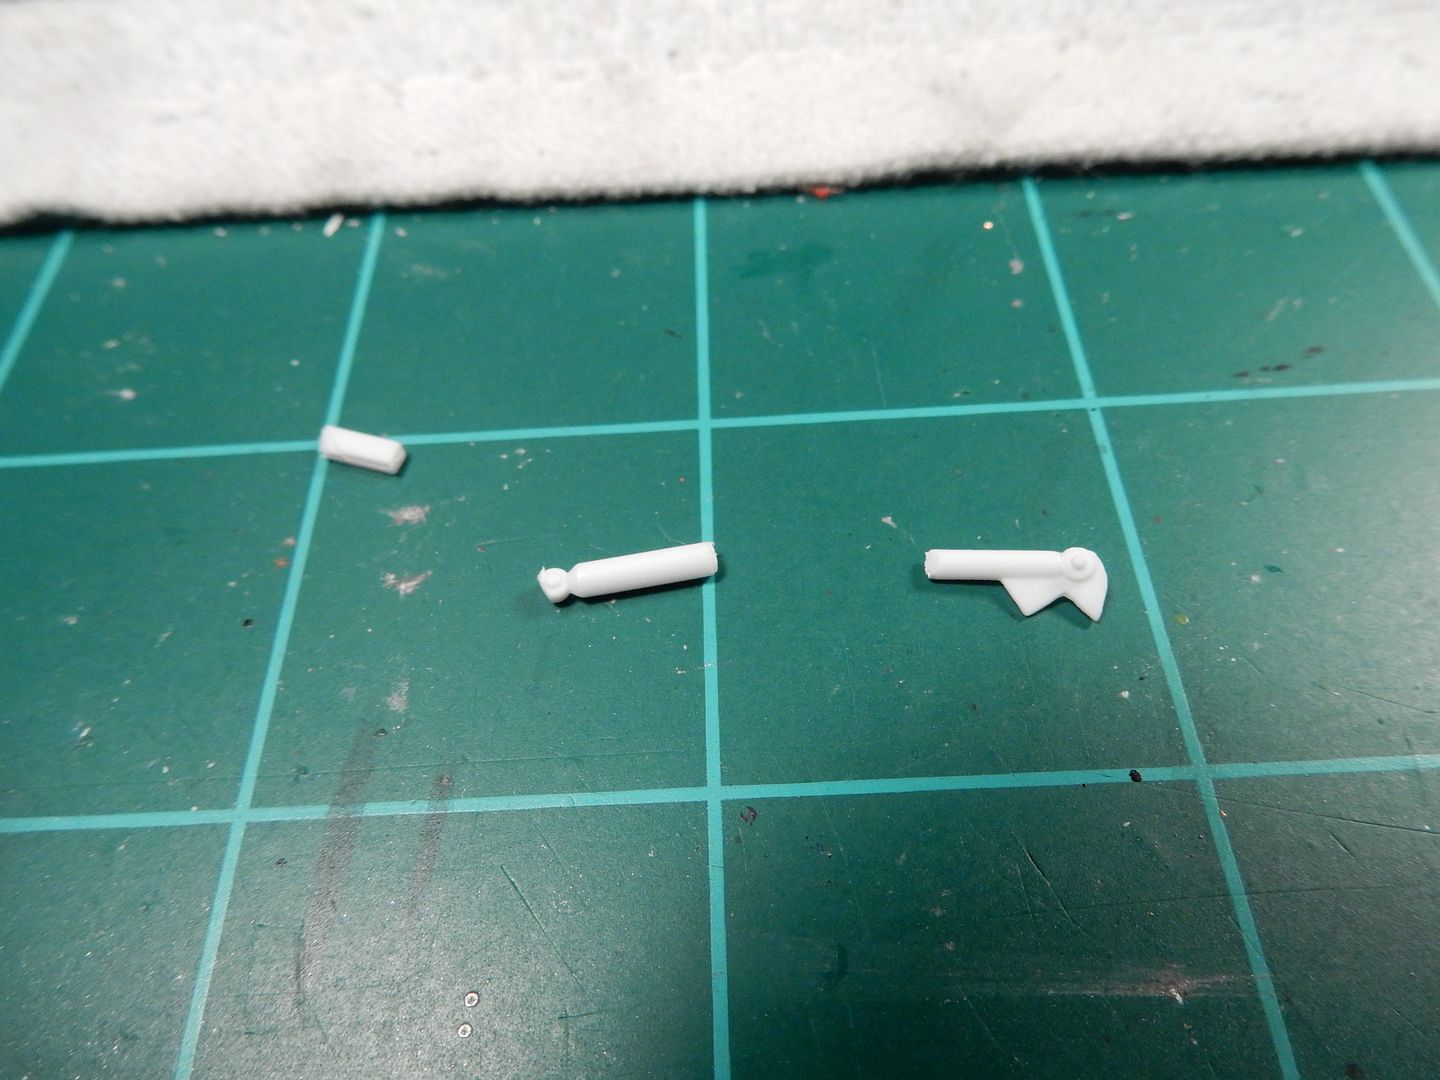
I cut a little over an 1/8" off of it and drilled into the two halves

Then took a pin that I had laying around and glued one end into the lower part of the shock

and cut the other half of the pin off to leave about 1/8" protruding out of the lower half and slid the top half of the shock onto the pin and glued 'er in place…
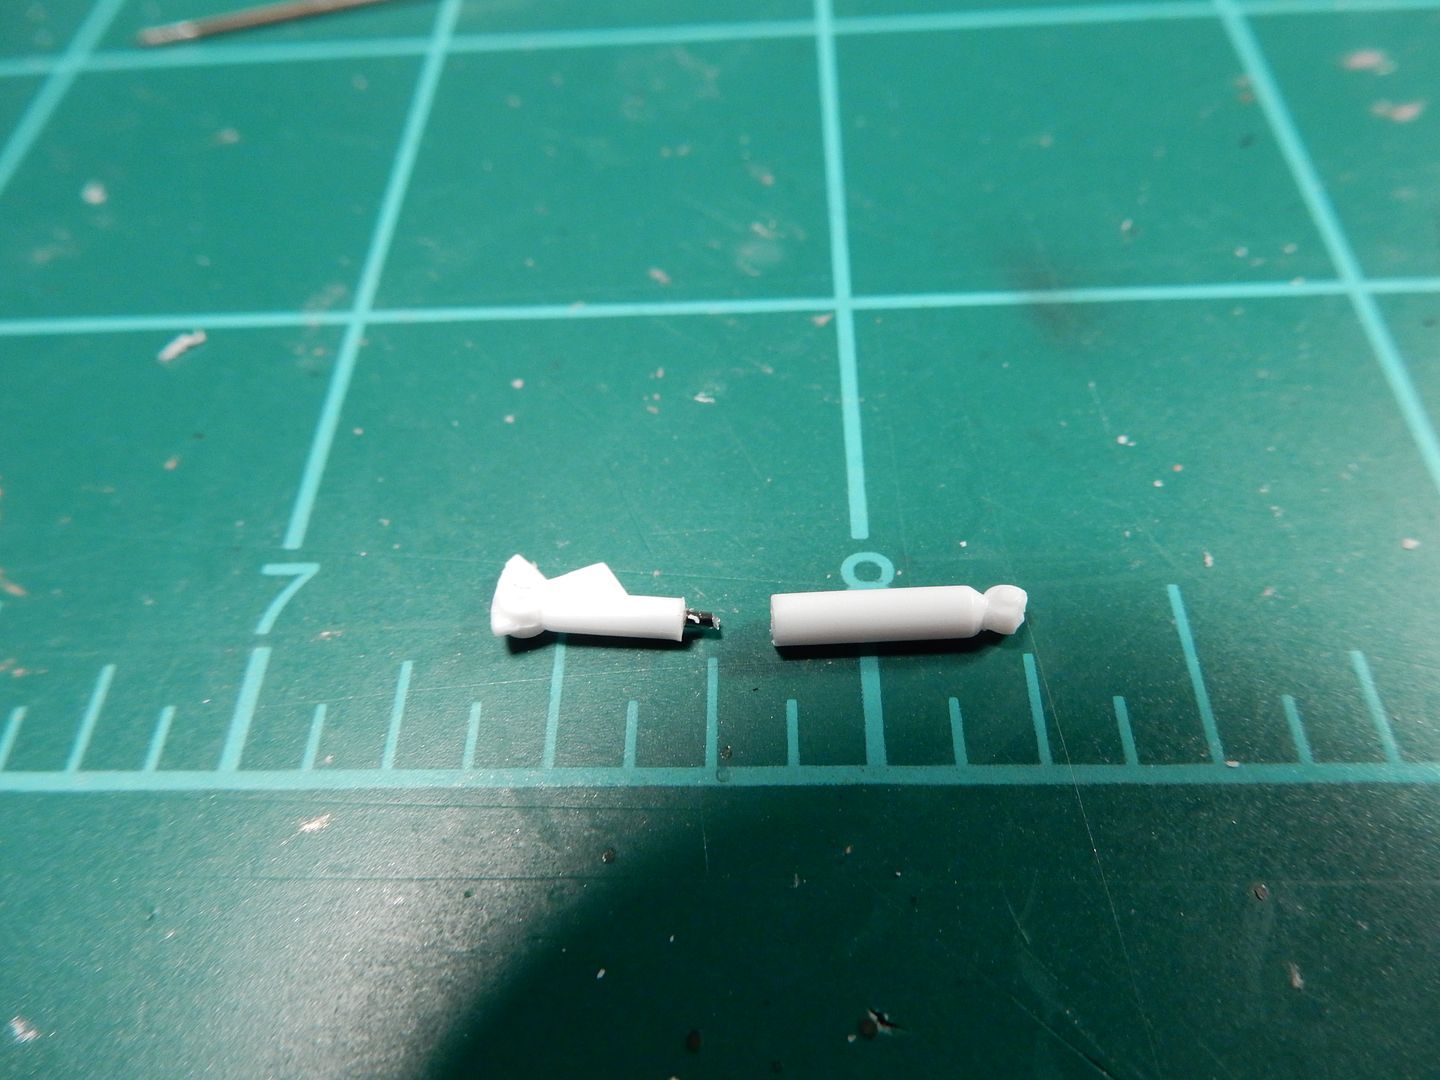
and presto! Shorter shocks…

I think I can live with the length now. A little more clean up tomorrow on the shocks and some top side mount plates and it’s off to the painting process…
Nice catch there Joe.
Yup, super shrewd…coolio!
Looking forward to this build and seeing these wonderful cars. I’ll be adding a 1966 Shelby.
Tim
Hi Mustang,
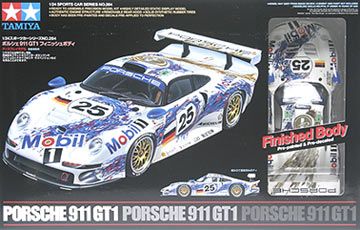
Could I join this GB please. I am in progress with a Tamiya 1/24 Porsche 911 GT1 EVO. I bought the kit some years ago with the pre-finished body, and it’s been annoying me ever since, so I thought I might as well build it. As the body is pre-finished, it looks to be well advanced, but there is a lot of detail inside and on the chassis and engine assembly to get right. I’ll post photos if you like.
If it’s too far gone, no problem, I’ll be into the next kit soon enough. Hopefully I can get back to double figures again with completions this year.
I’d also like to sincerely apologise to those who noticed my absence from the last months of the 2014 Automotive GB. I had some significant and unexpected life changes and I guess I dropped the hobby for several months. Good news is that I am back into it now. Thank you to everyone for supporting that GB, and the ones that I ran previously. I am very glad that this GB looks so successful.
Cheers
Tony
Hey Tony, glad to hear that things are on the upswing. No need to apologize, there are more important things in life than hobbies. That was an awesome GB, and one of my favorite badges. [:)] It’s great to have you here, looking forward to whatever you build.
Hi Tony.
I am glad to see you back with us. You were missed buddy!
Can’t wait to see the Porsche. ![]()
L8TR,
Eric
Come on in here Tony! Welcome back and I hope everything’s ok with you. I’ll get you on the roster buddy!
Many thanks for the warm welcome guys, I appreciate it. I’ll get a photo done in the morning and show you what I’ve got so far.
Cheers
Tony
Welcome Tony!
Hey great to have you back, Tony!
Some seriously impressive work being done here, boys.
Old Slowpoke has actually some proof of life.
Firstly, the engine and gearbox as they are now. More rear transmission work will be on the bench shortly as a next step. I just wanted to get the second batch ready, which is pre-assembling a lot of the body parts to ready them for the major painting operation, to allow proper drying time and not being in a rush when I actually want to get to them.
Engine:

Blue bits getting ready for primer and blue (plus some alu bits to come on the cockpit area as well, will have to see what my approach will be there - most likely after the blue so as not to influence the blue colour)
Man that engine and transmission looks friggin hot! Way to go with the detail and weathering on both assemblies there Seabe!!
You guys can flat make those engines look real.
Nice engine Seabe
Thanks again guys. Seabe, that Tyrrell is going to look great next to your other F1s. What brand and colour blue did you use for the body ?
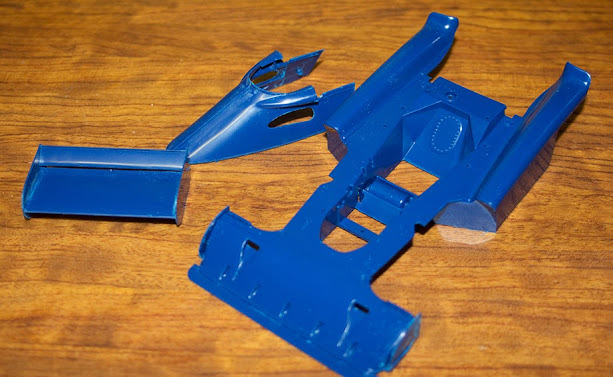
Here is the kit I started with for my Porsche 911 GT1 EVO
and my progress so far:
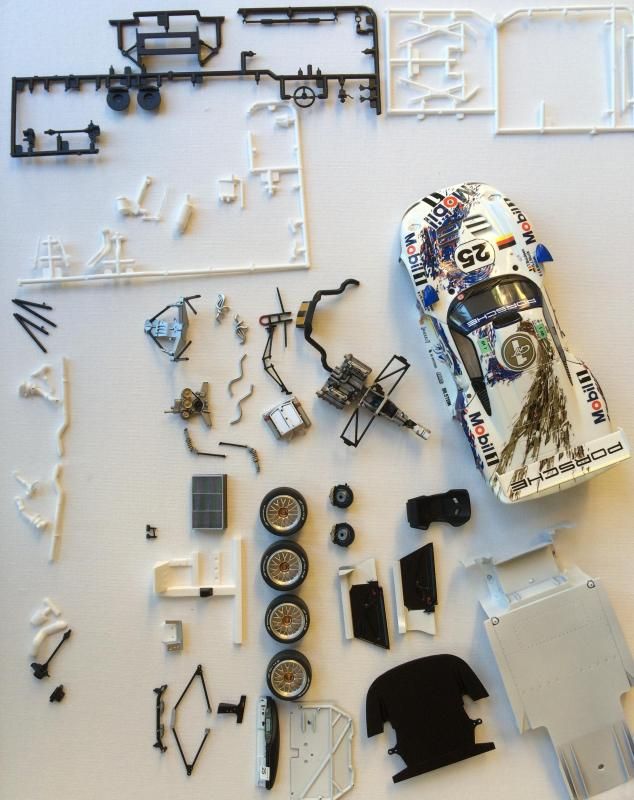
The body itself was pre-finished, as the box top states. It’s actually not bad, good enough to live with. Everything else is as you would find it in a normal kit.
I’ve stripped the chrome, and done some preparation of the parts to the left and below of the body. All of the other parts are shown and I haven’t really started on them yet, although some have been removed from the sprues. The engine and rear suspension assembly is complex, I am looking forward to seeing how it looks once assembled. Unfortunately it won’t be very visible once it’s assembled.
As always, I am thinking about building more than one of these in different liveries. Revell released the same subject in STP and History Channel liveries as seperate releases, and I have the STP one, as well as another one with these decals. There are plenty of aftermarket decals in my stash too.
That being said, my next build will be a Tamiya 1/24 Ford Sierra RS500, not sure of which liverie yet. You can jot me down for that one too please Mustang.
Cheers
Tony
Blue is just the plastic, still have to lay down the primer. Which is why there’s still some scratch marks from cleaning up mold and glue seepage lines. Plan is to simply use TS15 over white primer.