Thanks Mike. I want to get the odds and ends on before final dirtying. I want to try using oils some more. I don’t have the right touch yet. I don’t leave enough of the oil paint on the model. Gotta practice that some more. It has been quite a bit of fun trying out new techniques.
Sorry i didn’t get to this earlier, but as was mentioned above, we used to use anything as a tie down for attaching kit to our vehicles. As long as you don’t foul the turret, hatches or block periscopes, kit used to get tied anywhere. On one occasion, we used our empty MILAN missile boxes and secured them to the sides with wire and put all our sleeping bags in them.
But ye, quite often the kits have you just attach kit to the vehicle as if its held there by magic.
Lol! Yeah mud is a great ‘cheat’. I’ve used it to cover up molding pin marks on the undersides of fenders I didn’t want to spend days puttying and sanding. And a few bigger issues here and there I won’t get into!
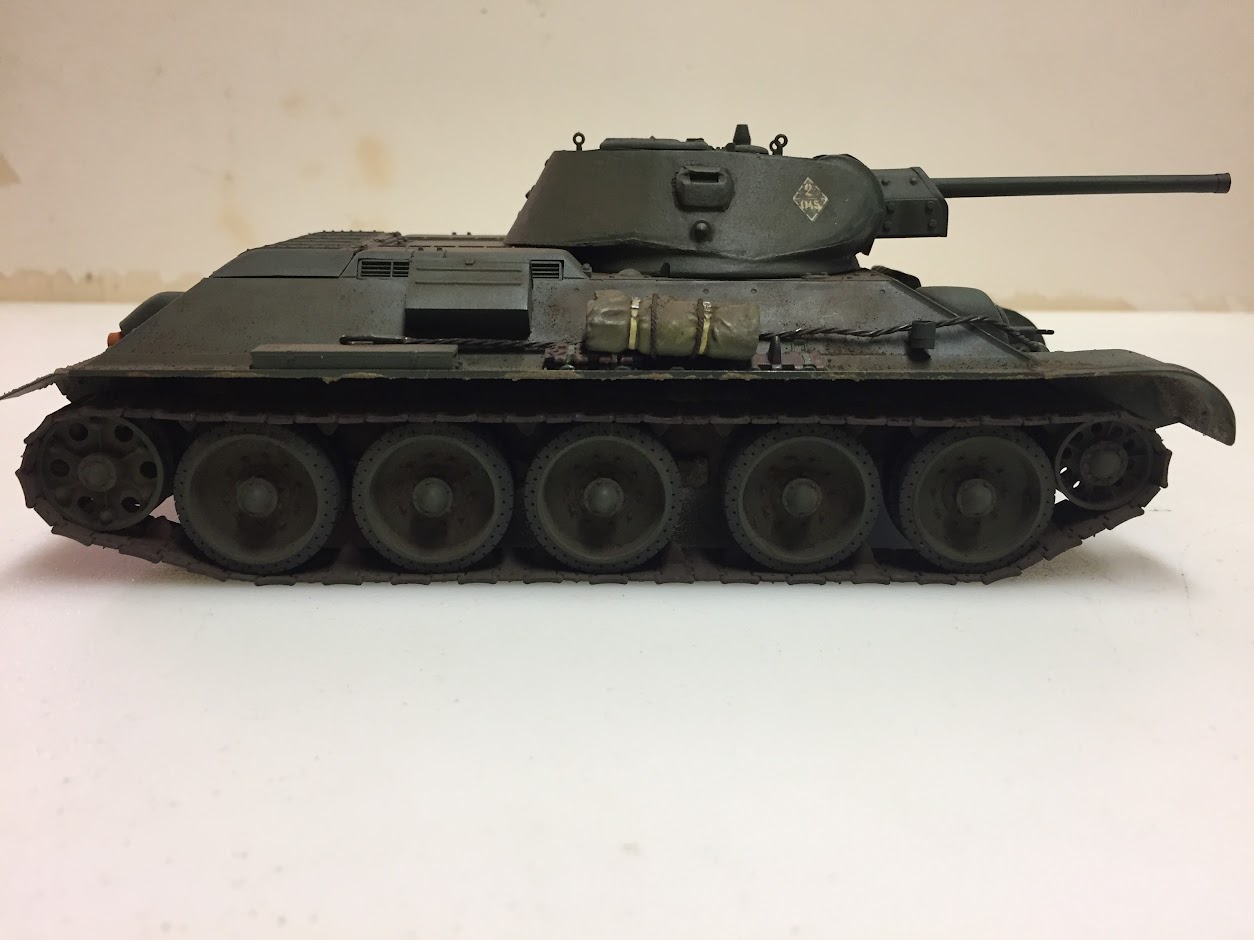
So I am calling my T-34/76 done. The scale rope I was waiting for came in, and that was all I needed to finish it off. Here are the pics:
Several firsts on this project. First aftermarket anything with tracks and rope. First workable tracks. First real attempt using oil washes. First attempt at painting fabric, the bedrolls. First time making tow cables.
I am pleased with how the bedrolls came out, and used techniques learned on this very forum. I am also pleased with the overall project. Need some more work on dot filtering, as I keep pulling up too much of the oil, and it ends up way too subtle.
The next time, I will make fabric stowage using green stuff or tissue paper. The plastic bedrolls don’t conform to the model, and I think I can do better.
This is my second 1/35 scale armor model, and I really enjoyed this one. I have a Tamiya 1/35 KV-1 in the stash, and that will likely be my next armor project.
This is a close up of the barrel. Hey Mike Brindos, I used Tamiya Weatherline to darken the barrel so it doesn’t look like a burnt match stick. Much more subtle, and looks much better than my first attempt. Thank you for that suggestion.
Great Job D!..you really did a nice job. The CA glue worked out well holding down the tracks to the road wheels. For your second armor build you did an awesome job sir. [Y]
That is scale rope from a company called Syren. GMorrison gave me a link to the site. If you look further down to the techniques heading, I think, there is a thread called “making and painting scale rope”, and the link is in the thread. It really is a quality item. Used by the ship guys for rigging.
Thank you, I appreciate it. A few more of these and I will be ready for more complicated camo schemes, and maybe even tackle one of the Dragon kits I purchased.
Dwayne, This is a fine build of armor. Great job!!
I’m not too convinced I’ll conquer the armor weathering/finishing learning curve as well or as quickly as you obviously have. I’ve broken some parts and am waiting for Tamiya to get a fret in stock so I can order it. Several more weeks of patience … [^o)].
Thank you kindly. I still haven’t tackled PE, so I have that to look forward to. I have several older Tamiya armor models to practice weathering on until I tackle the more involved models. Good luck with the patience…not my strong suit.