Takom Objekt 279: UPDATE! The Goon Squad and a new doog

Hello again, old friends, and hi to all the new people I haven’t met yet!

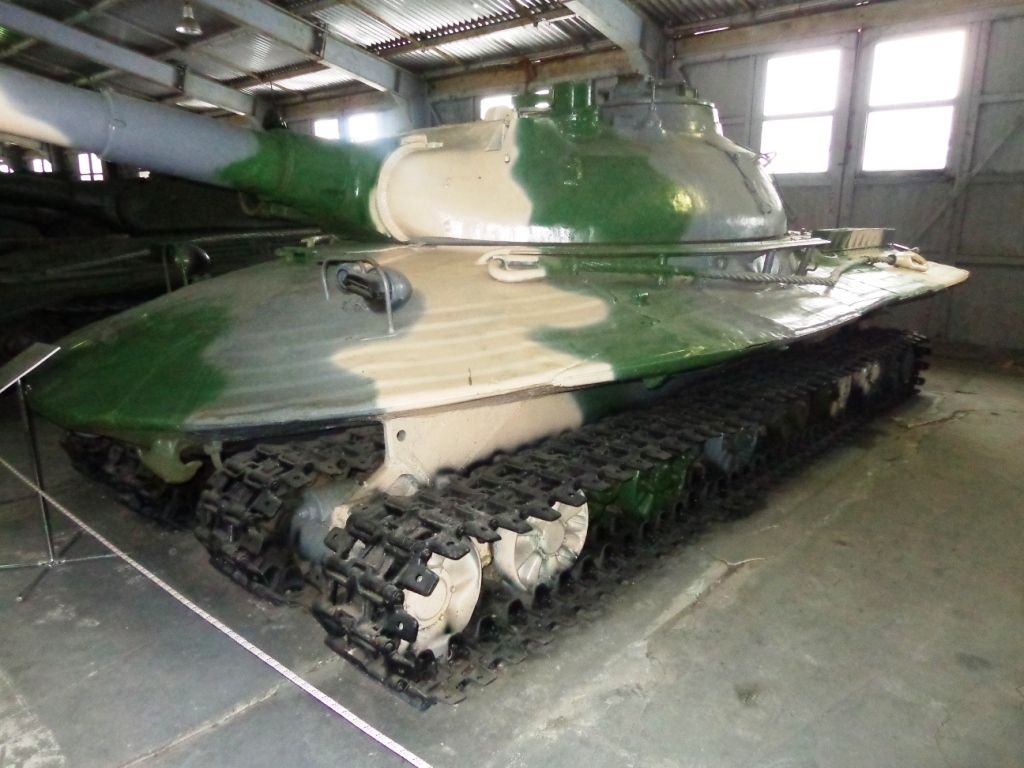
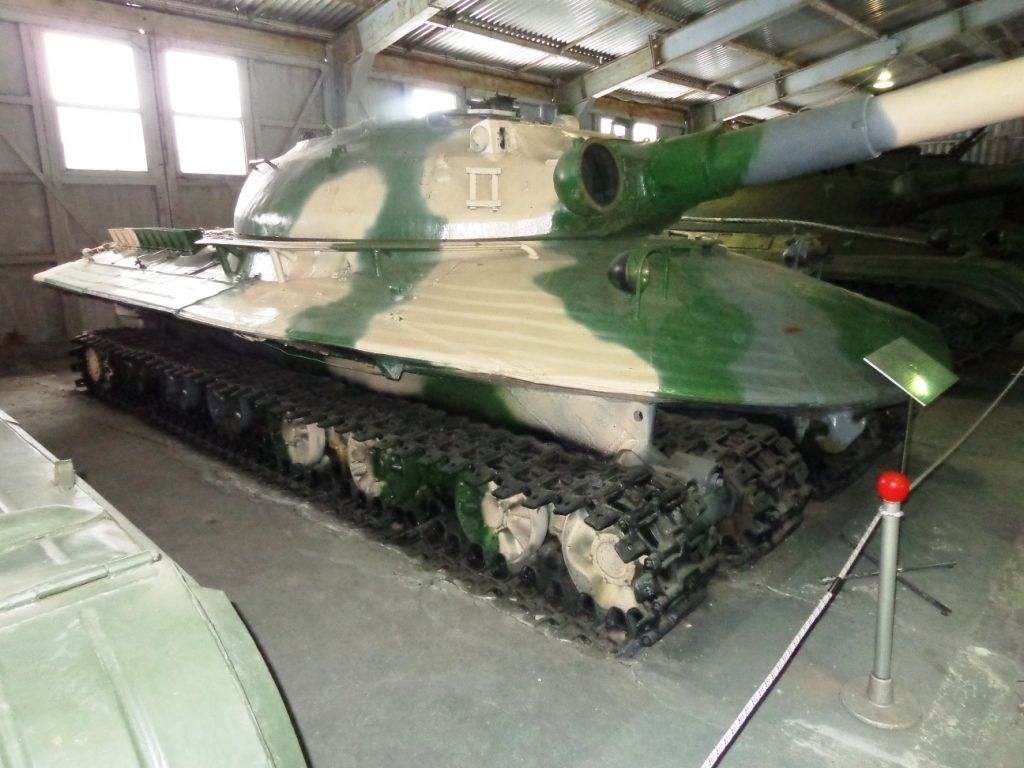
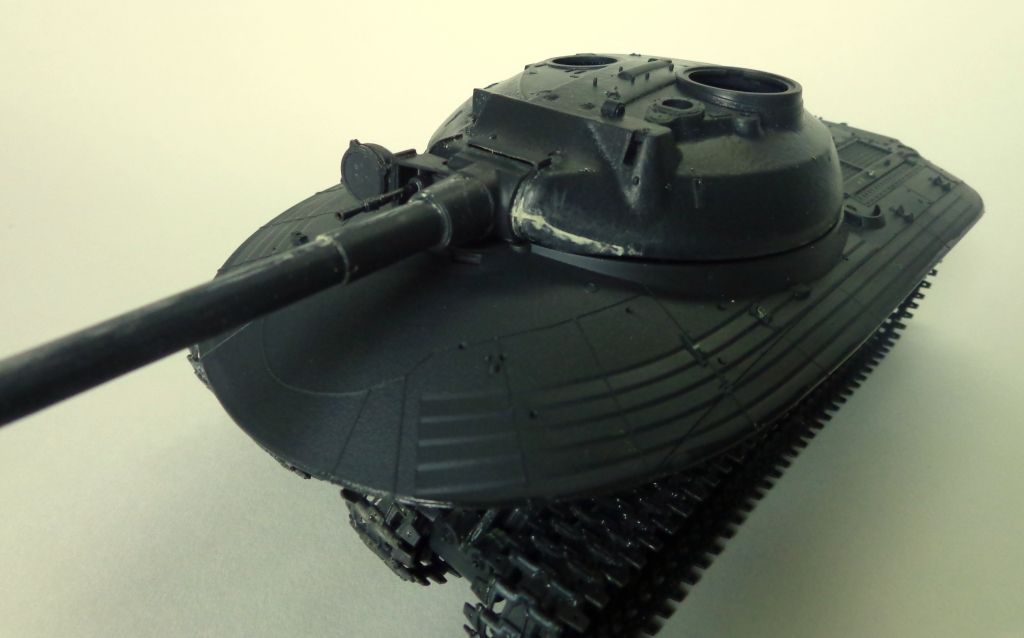
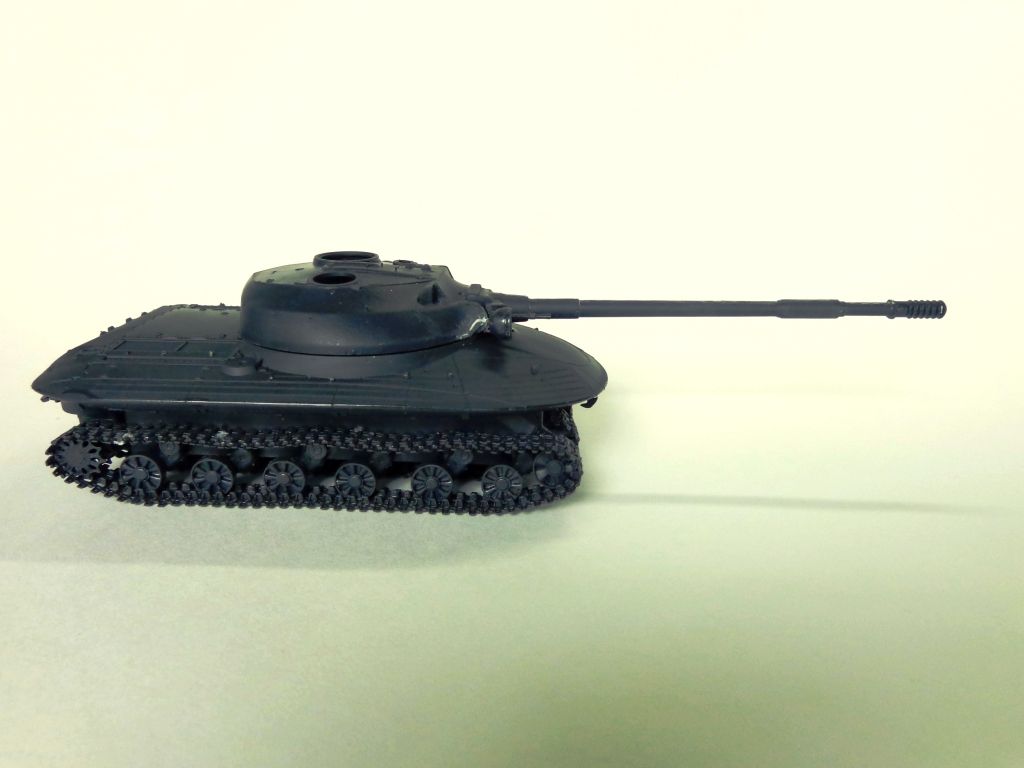
Well, after going through the house-loan process, going overseas on business to Russia, and building a new house down here in North Carolina, I’ve finally gotten everything unpacked and where it’s supposed to be for the time being…and I can finally get back to the bench. When I was in Moscow recently, I met up with my friend Adam Wilder and he graciously took me to Kubinka armor museum, where I saw this remarkable tank. I’m going to post a post of the photos from there soon; in the meantime, I was inspired to build this beast…here it in in its latest paint job.

I went with the Takom model, even as there are three (?) different offerings of this model now.

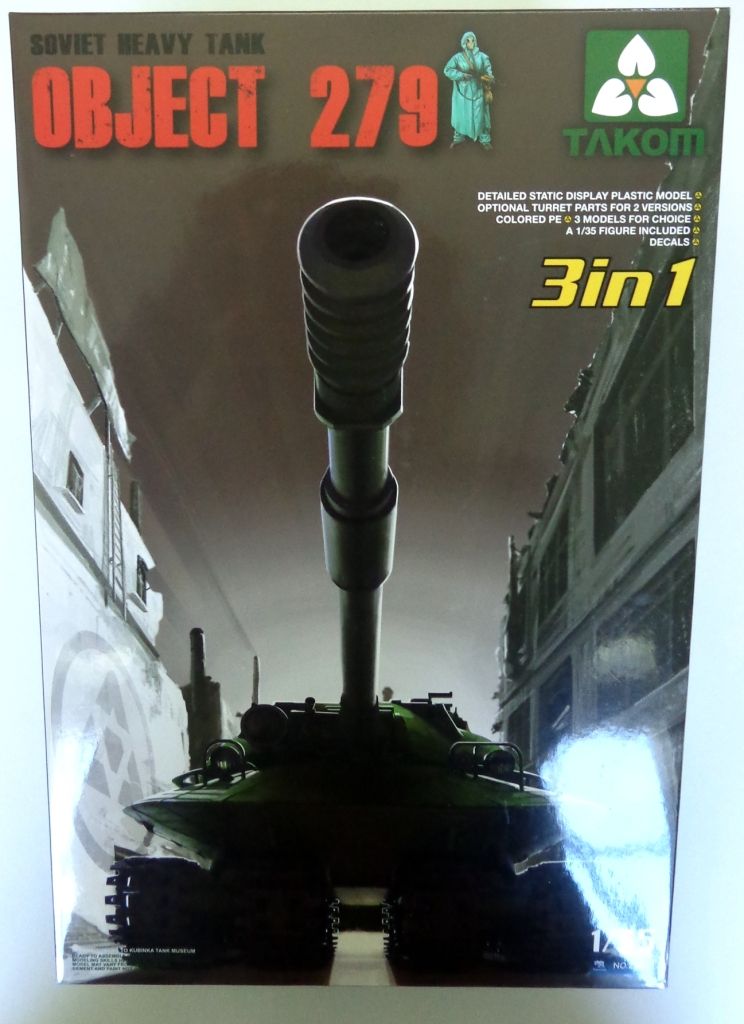
It says “3 in 1” because you can build it in three different turret / gun / suspension combinations. There was a long gun, a short gun, and then you have the choice to build the EXACT Kubinka model where the hydro-pneumatic suspension has been drained and collapsed.

You get a nice instruction booklet, some PE, some clear parts and some cable. Oh, and the figure…

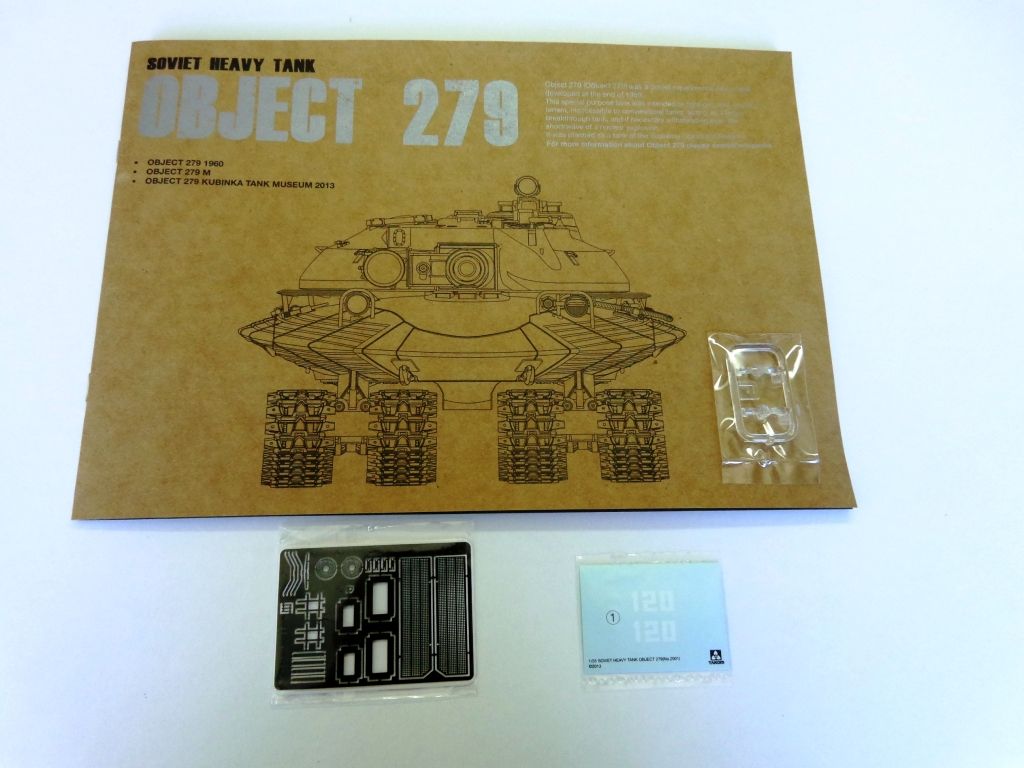
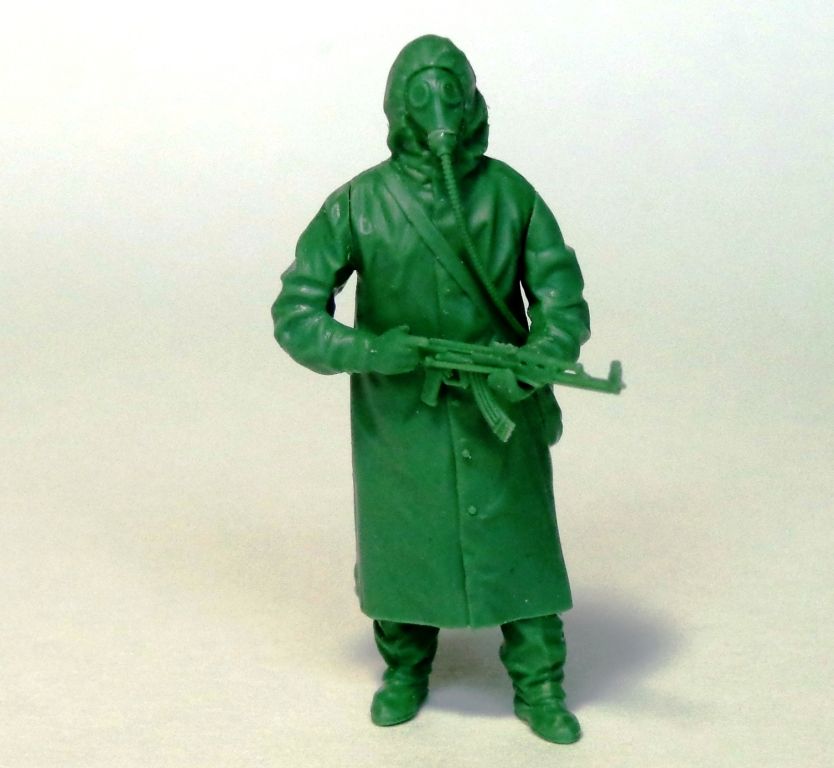
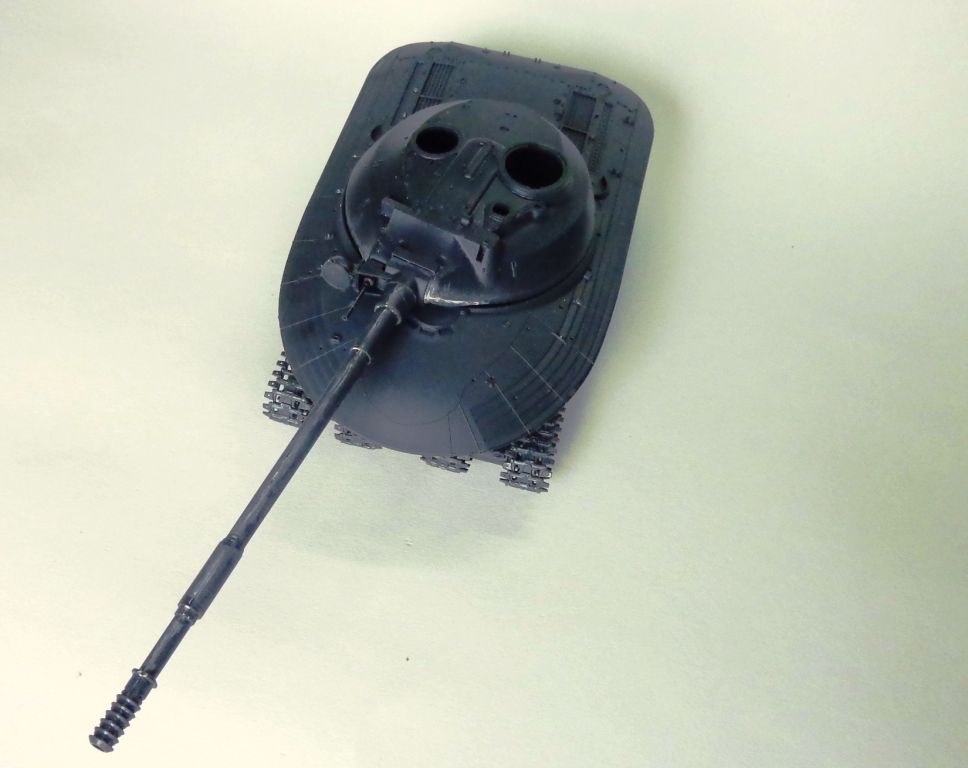
That figure is a reason alone to buy this kit! How cool! He’s in a full NBC suit, as this tank was designed to withstand the blast wave from a nuclear explosion, so the getup confers that purposeful design.

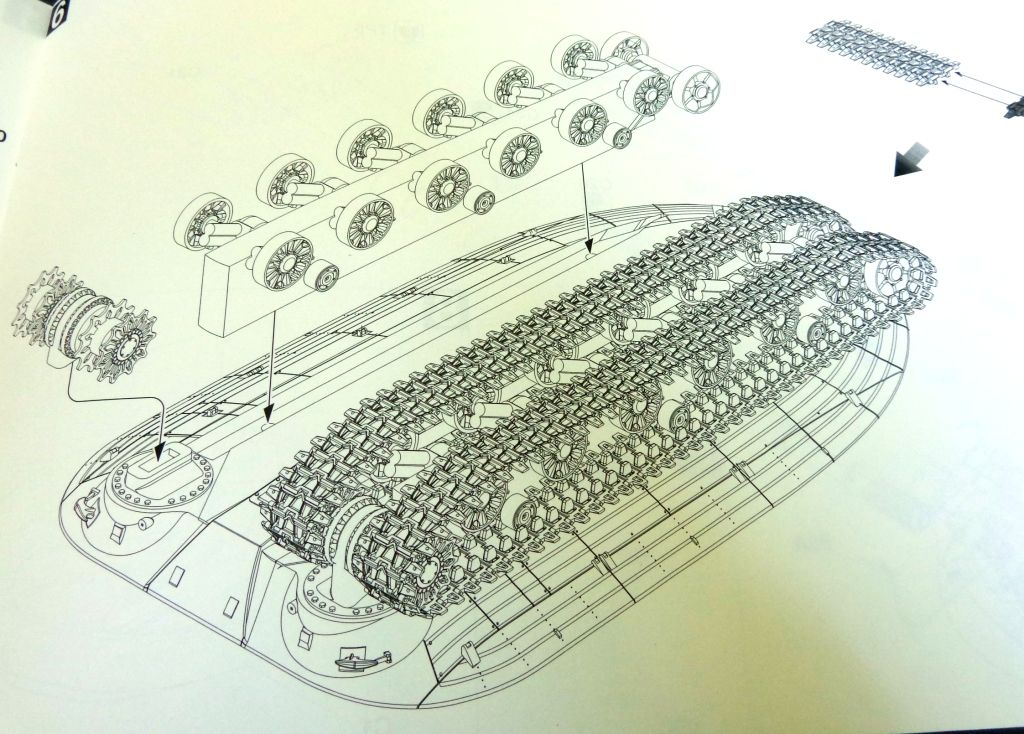
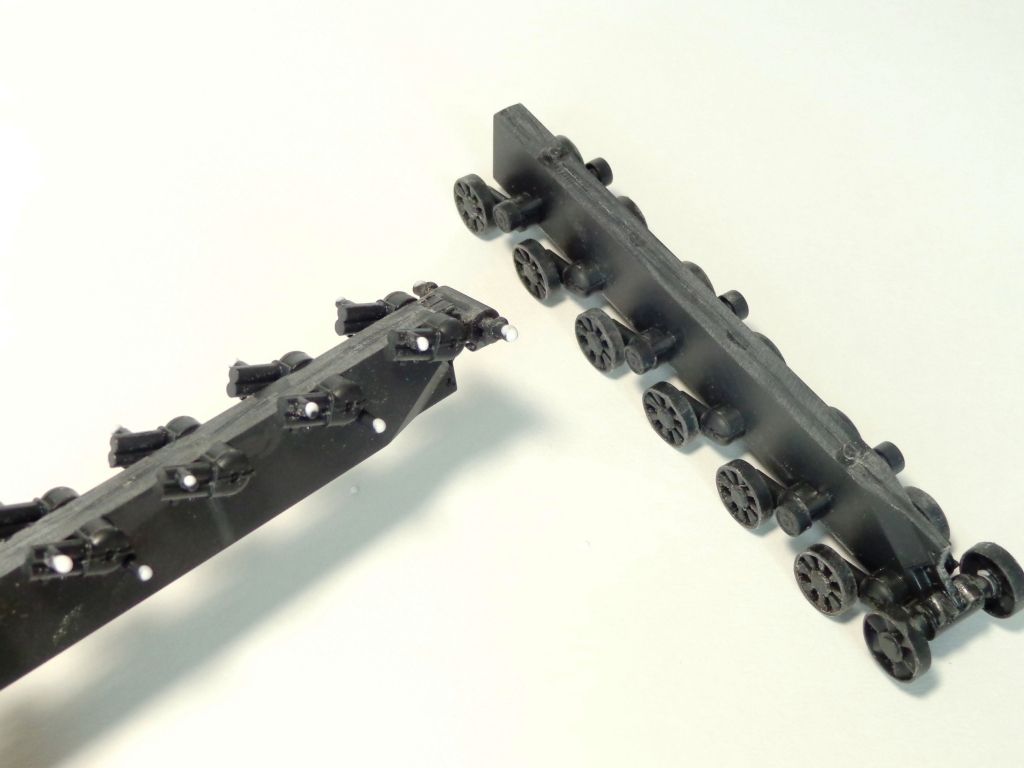
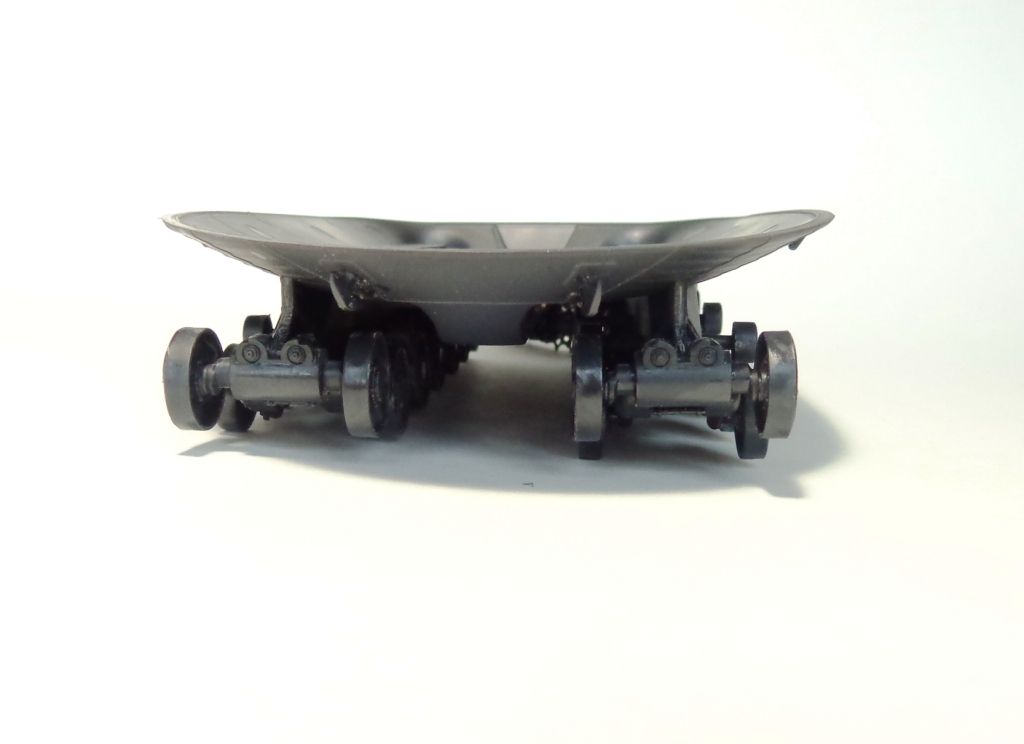
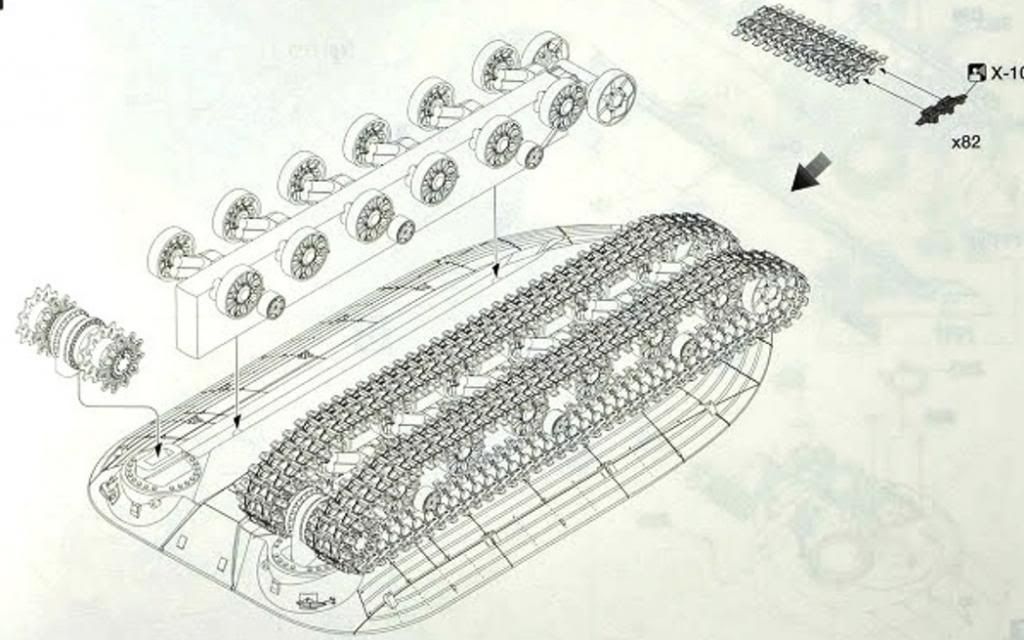
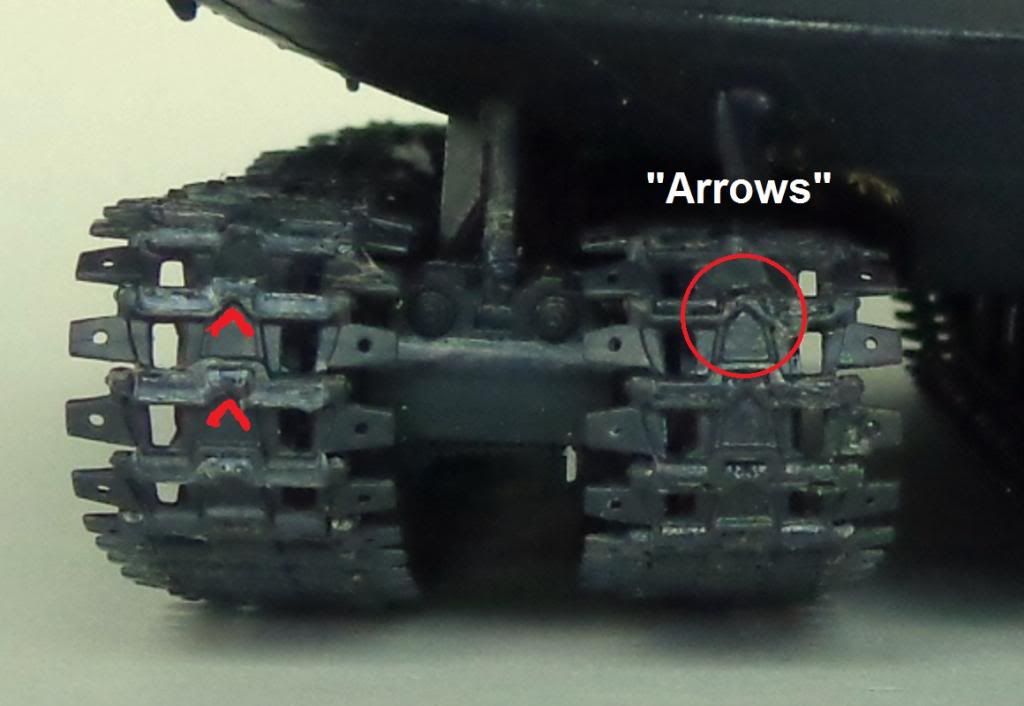
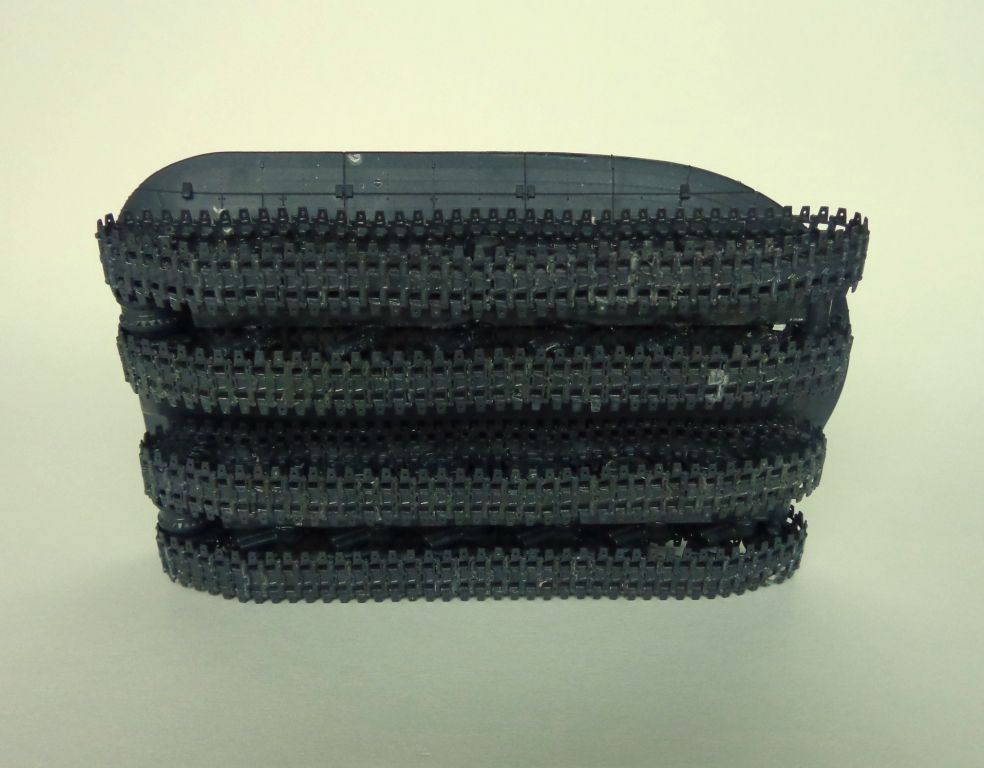
This tank has, of course, FOUR tracks! That’s a LOT of track links–yes, they give you indy links to deal with! The wheel mounts are affixed to two blocks which fit into channels in the hull. Thankfully, this will allow them to be assembled and painted separately.

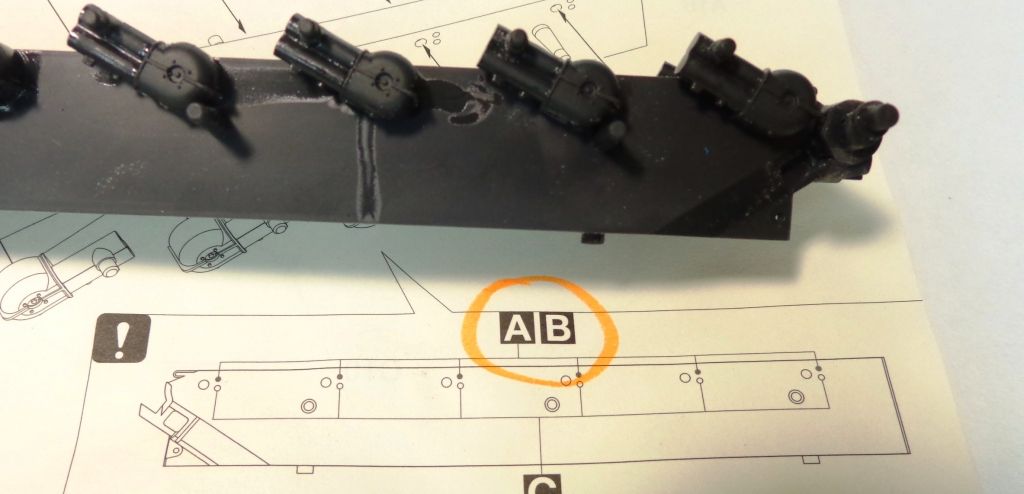
Careful here! Here’s where you choose how to position the suspension. I choce “A”, which means that the tank will be shown in “operational” stance, with the suspension active—not flat, as in the museum version.

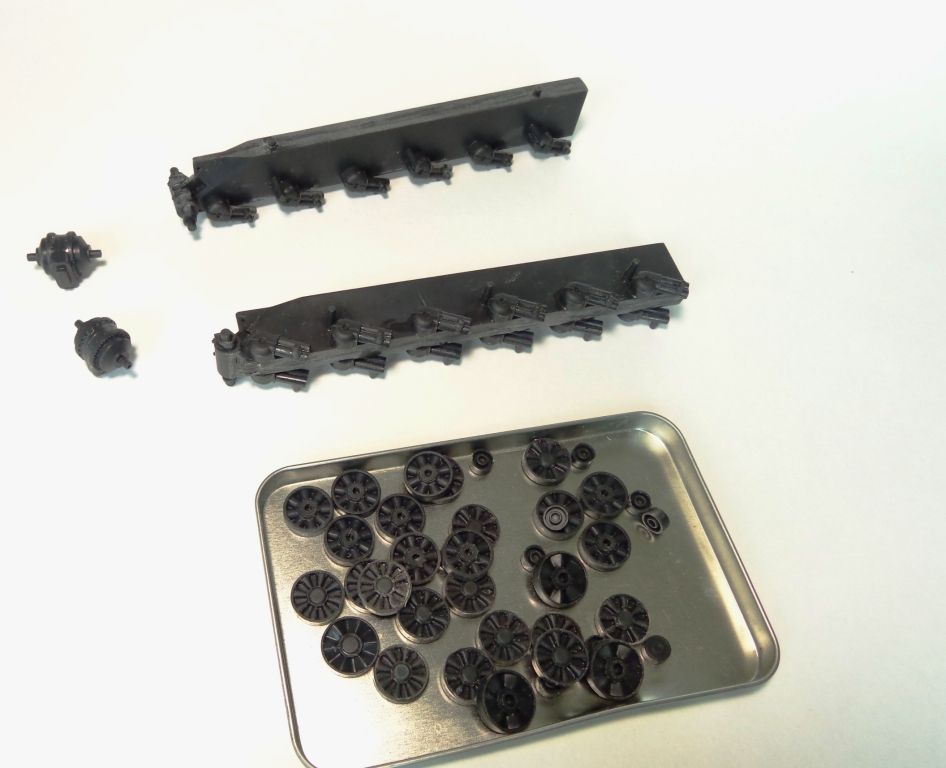
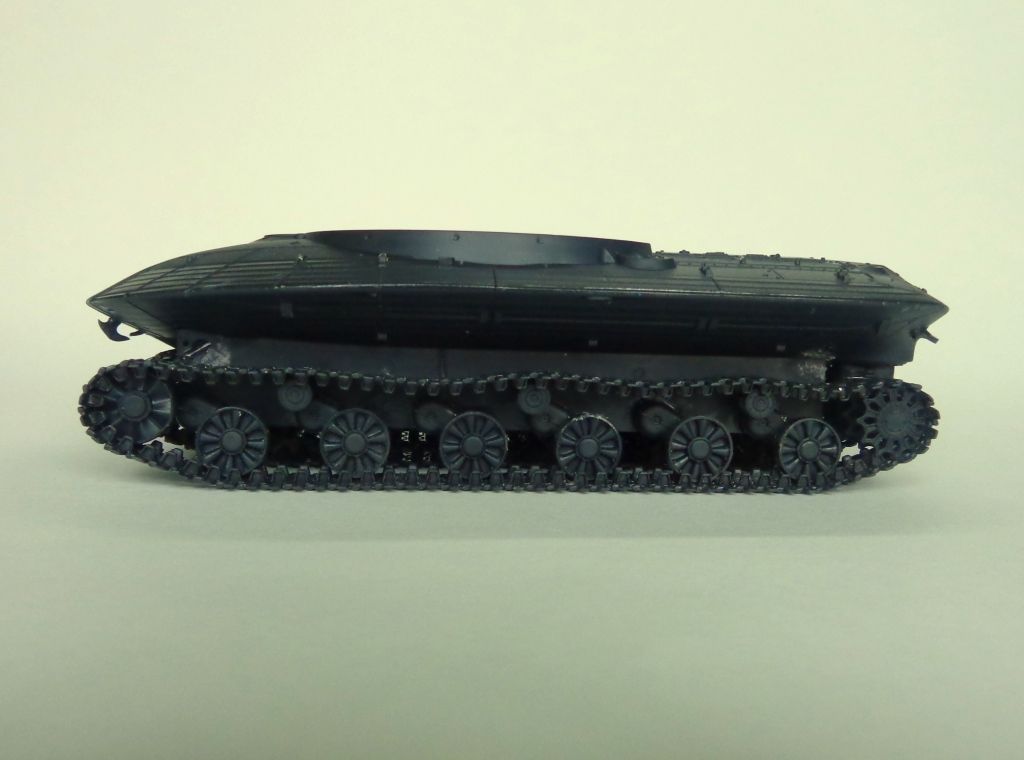
The wheels are temporarily put on with white glue for the sake of track-forming.

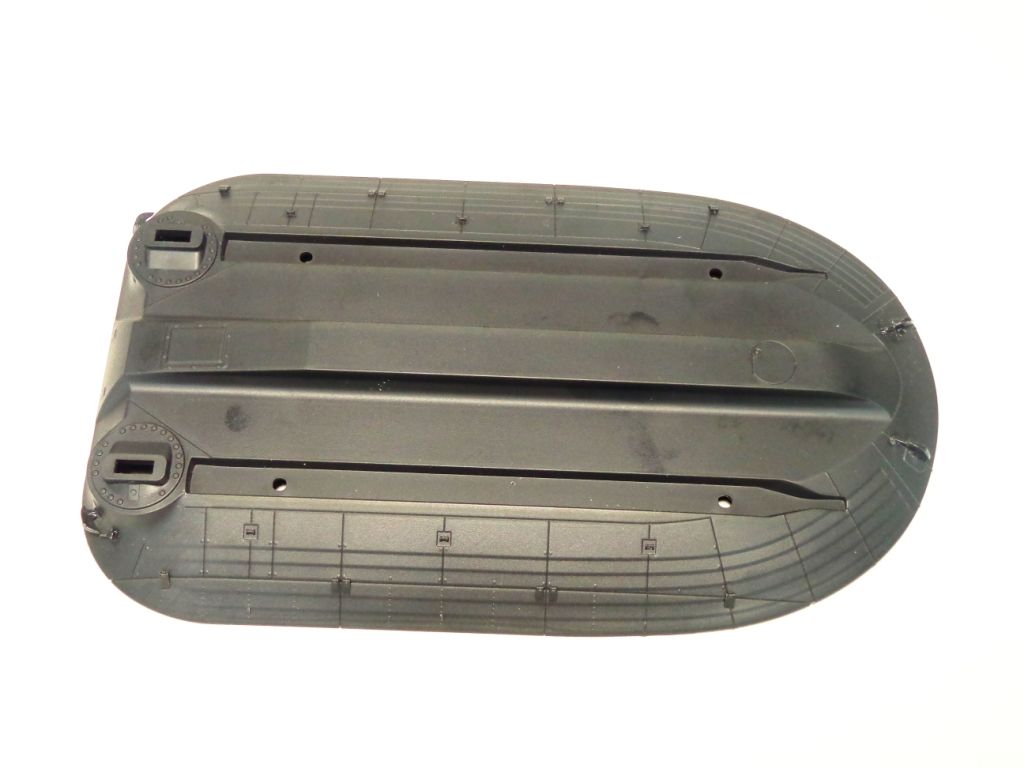
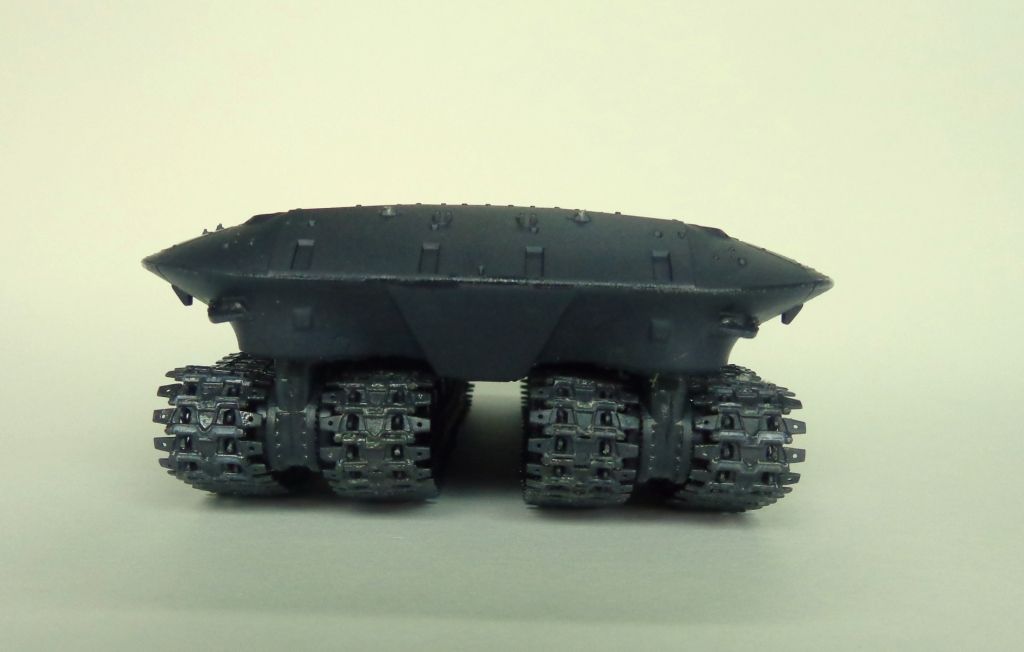
The weird, bathtub-like hull.

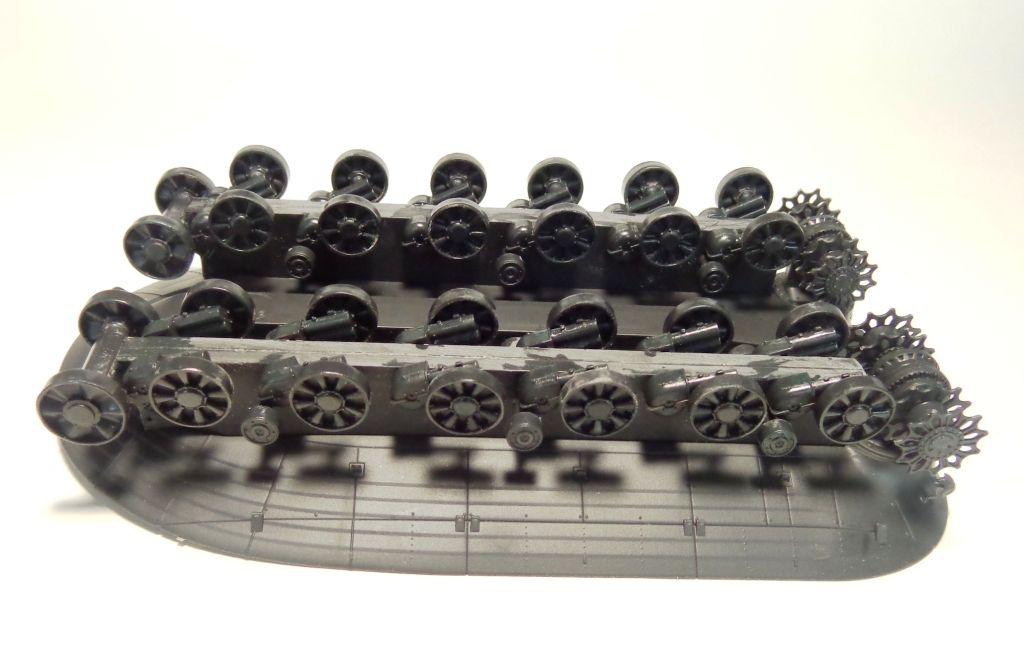
The wheel assembly temporarily attached with the tabs in place–this can easily be removed to form

the tracks.

That’s where I am for now! Stay tuned! [:)]

Welcome back… this is gonna be a unique interesting project I think.

Hey Karl! Its great to see you back in the Armor forum again with another super blog! We missed you buddy! Verry interesting subject this time and I’m glad you went witht he Takom as I (and I’m sure others) know very little about this kit. You’re right, the figure is uber cool and perfect for this vehicle!! Looking forward to another great work of modeling art!

Hey…

Carl builds the armored “Hoveround”.

Gonna be interesting to see what kind of tracks that doog leaves with this’un.

!http://www.humorhound.com/wp-content/uploads/funny-butt-scoot-dog-gif-11.gif

Always good to have 'ya back buddy!

Hello Karl!

That sure is an extraordinary subject! I’ll be watching, good luck with it and have a nice day

Paweł

Welcome back Karl, you lucky so and so. I am sure a lot of modellers would give anything to get to Kubinka. Looking forward to this build, nice figure as well.

And look forward to those museum pics.

welcome back,I’m sure this will be impressive

Thanks so kindly guys, for the warm welcomes back and the comments! I"m about to post up the Kubinka link and some teaser photos. Hope you enjoy them! Check the Armor forum!

Updates as soon I get something to show. I’ve got to make four sets of tracks! That might take a few days!

Thanks again–it’s nice to be back. :slight_smile:

Pulling up a chair for this one Karl! Nice start to the monster.

Thanks, Bil! Nice to hear from ya, buddy! Hope all is well!

I have been seeing this kit in the Squadron catalog for a while, but outside of an FSM preview build I think this is the first time seeing it get built up. Gotta say it has to be the ugliest tank I have ever seen, but where I come from “ugly is interesting”. [:D] So with that said, I too will be watching with interest!

Brian

He’s Baaaaack

http://www.forexlive.com/wp-content/uploads/2011/11/hes-back.png

Welcome Back, always good to see the “old timers” back here

Rounds Complete!!

Ha ha–that’s cool, Mike; Thanks!

Brian, yes, it’s a bulldog. I’ve seen a couple review build-ups, But I hope to do it justice with some attention to making it a presentation, not just a model. :slight_smile: Stay tuned!

Hi guys,

Well, I am happy to report that the monumental task of building up four separate sets of track is finito! Whew!

It’s a complex affair, but not impossible if you plan it carefully. The task is complicated by a weird arrangement of the sprockets vs the wheels-idler. The wheels and idler mount on a sponson which is separate from the sprocket mount. That arrangement makes it a little tricky to do my usual method of track-building, but I managed to get 'er done anyway. Here’s the layout:

I decided to glue in the sprockets mount FIRST, then I glued on the wheels with WHITE water-soluble glue like Elmers. The sprockets snapped right in, so I didn’t have to use glue on those. I decided to first do two lengths, let those set, and then switch those to the inside of the suspension, and do the other two lengths. This actually worked pretty well, as I couldn’t see any way to do the inside tracks without removing the sponsons. I’ve seen some build-ups on the web, and some guys have done the track in lengths, with separate links held off for the sprockets, but I never liked this method.

Here’s the four finally finished: **WARNING!**MAKE SURE that the little “arrows” in the track links point UP in the front of the tank! It’s VERY easy to put on a run backwards, as I discovered TWICE! [:(]

This is the rear of the tank, so the “arrows” are pointing down, as they should be.

Putting sag in the tracks was a little tricky because the shape of the hull didn’t exactly help with keeping tissue balls above the tracks, but I managed to get some in there;

Underneath…I got a little aggressive with the glue and it lifted some of the adhesive off of the masking tape; this will clean up easily with a brush slightly wet with some lacquer thinner,

There’s a nasty gap where the turret halves join that has to be filled and sanded:

The general layout of the tank—man, that’s one looong gun.

Working on putting the details on the turret and hull now. Updates soon! Thanks for looking in, all! [:)]

Its looking good Karl. Nice job on getting the track sag, indeed that couldn’t have been easy, but it looks good to me.

Looking very good so far Karl. This is sure an odd one!

Nice work on the tracks Karl, definitely more than your ‘usual’ share of links on this one eh? [;)]

Karl what a beast that thing is and thanks for the pics.

This photo is just epic! They must have used half the ore from the Baltic just to make that many tracks! [:D]

Brian

Thanks for looking in, guys!

Bill, yes, it’s a bear to snip off and clean up all those links! LIke doing two kits at the same time—quite the challenge!

Brian, you have to really love road wheels and tracks tackle this baby! Not that I really DO, but the end will be worth it. :slight_smile: