Have those little butterflies all over the closet floor.
Thanks for the tip.
I use the flat middle of lids from salad bar boxes.
was an old school technique to put some kind of temporary backing with a release agent behind(actually in front of) opening and fill with clear epoxy. Never tried it.
I used clear epoxy on a 1/100 727, it was viscous enough for those small windows to just pour from the backside and sand flush on the outside after curing. The best clear plastic I have found is old CD cases. It is thick enough to glue in with it protruding to the outside and then sand and polish to contour. Best to make the windows a little larger and mask to the proper size.
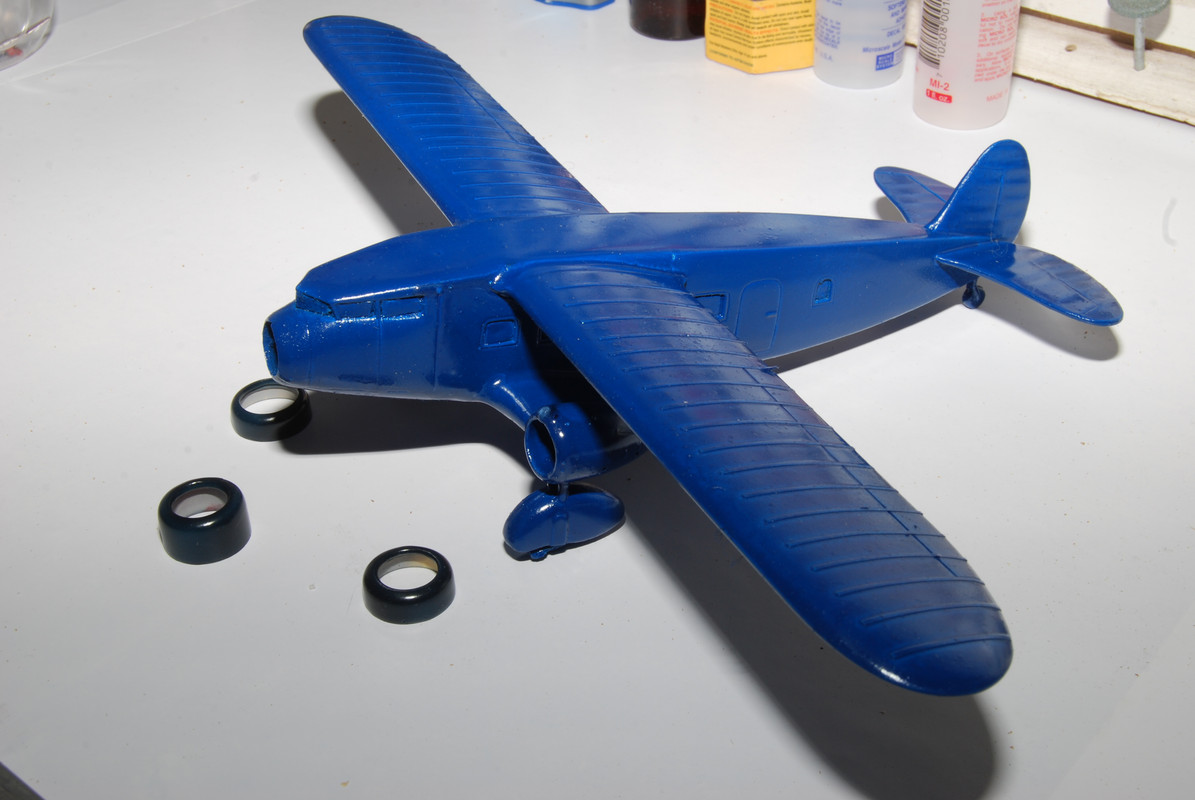
Got a couple of color coats on. This is Testors dark blue from a spray can. I often do the first color coats from a spray can if a color is close to what I need. The final coat will be a darker blue (I have it already mixed for airbrush) and will put it on when I am sure I have all the hairs, dust and defects sanded out. The final color is a very dark blue, like the engine cowlings shown in front of the model.
I have added striping tape for the rib cloth strips. The kit wing is perfectly smooth on top. Yet I believe the real plane had fabric covered wings.
It is a basecoat. I wanted to use a spray can to avoid mixing up so much stuff for airbrush. The entire plane will be the very dark black that is on the cowlings in front, except for a red ring on the front of the cowls. It is an old AA scheme- will need to make some decals. The lightning stripe is red and white, rather than the later red and black, so will have to create them from scratch rather than copy decals from a newer plane.
You can also by them in packs of 50 or 100. My wife runs a very small video business. That glass is pretty thick for models, and very brittle. If I need transparent stuff bigger than that PVA window material, I prefer the flexible acetate or celluloid. Plastic from blister packaging is good- I get enough from stuff I buy to always have some stock.
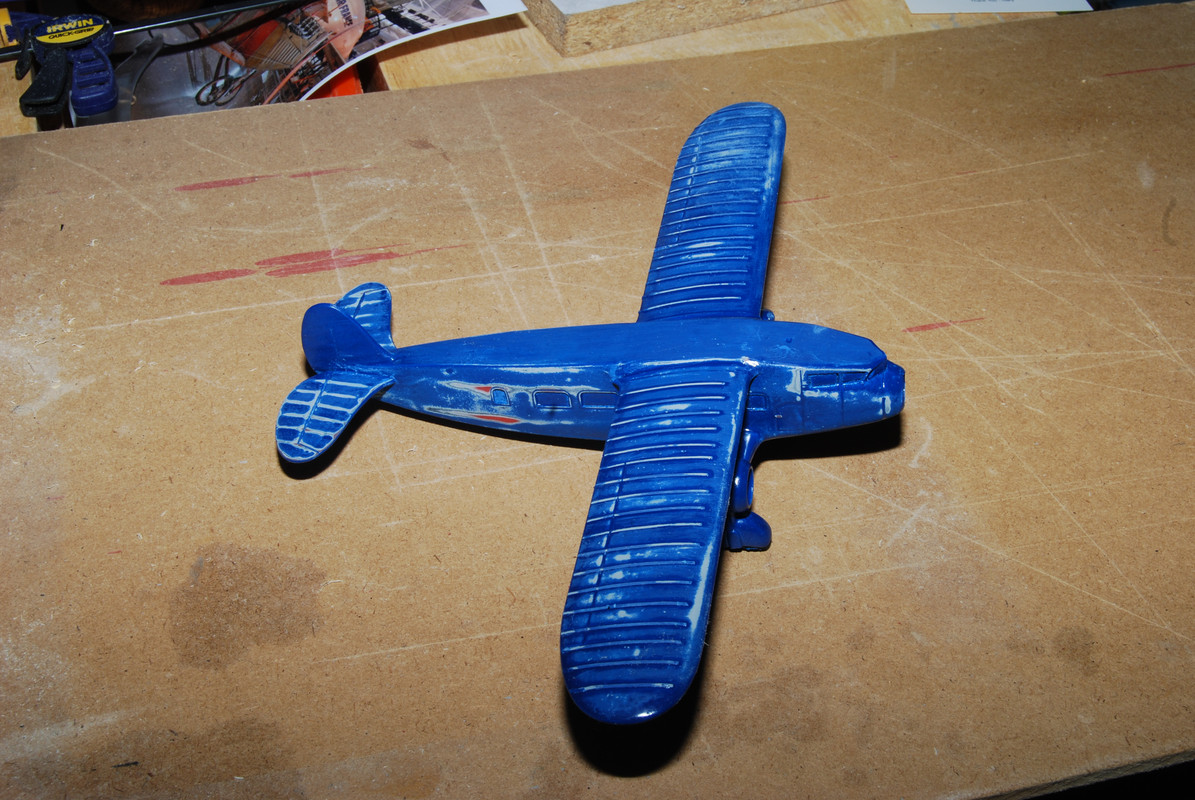
Got the preliminary color coats sanded out and about ready for the airbrushing.
Had to sand off a lot to get rid of the flaws in the spray can layers. Don’t know if I’ll do that again- I think I will just start with the airbrushed paint over the primer next time.