Second Annual Berny Memorial Group Build

Ken, I’ll have to look for one of those myself. Looks useful.

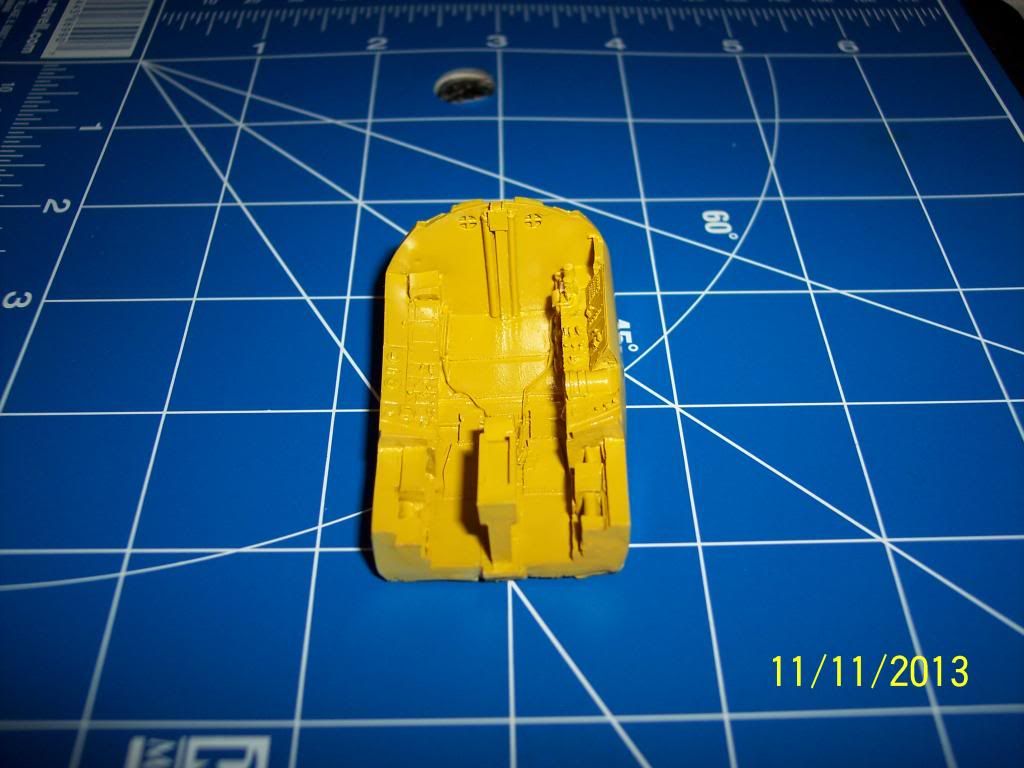
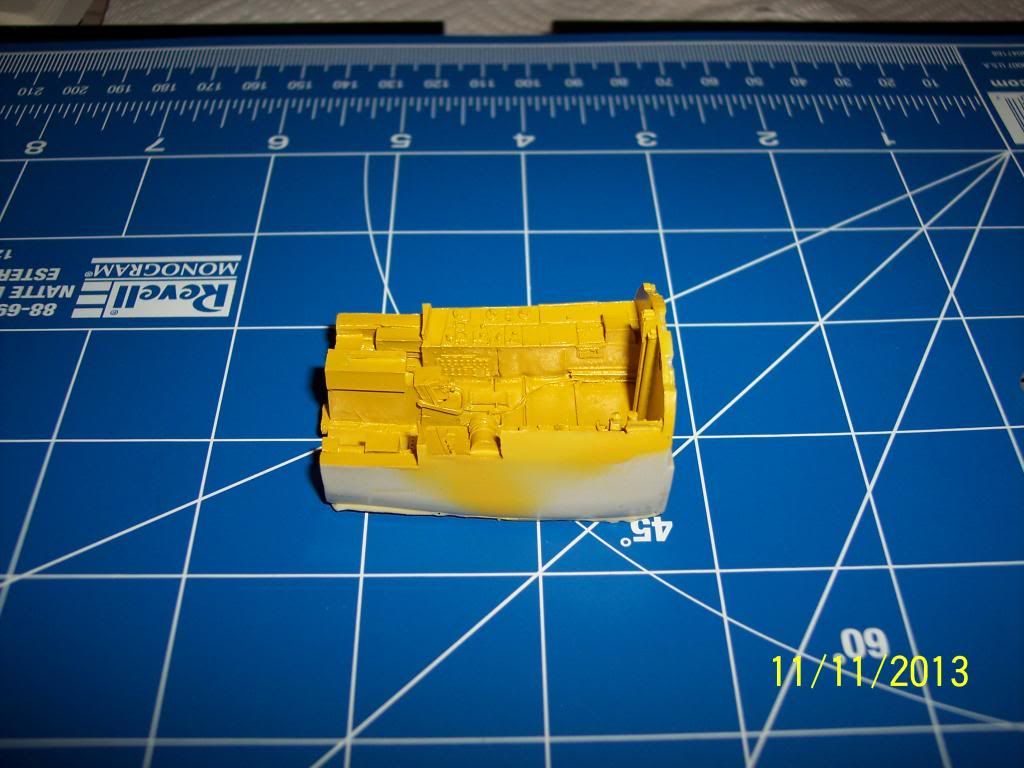
In the meantime, not a whole lot of work done on the Growler. Just a bit here and there. I just got off another 6 day work shift. Long days and getting home with just enough energy left to wave my dinner and zombie out on the couch. With my finances the last month or so, I can’t afford to turn down any available OT. So here on Sunday, it’s now time to worry about the laundry, dishes and other domestic chores. And a nap…

I finally got control of Mom’s stock fund, and that was the battle I have been fighting. File this paper, get this notarized, special stamps, out to the county for proper forms, transfer denied due to some error, refile, etc.,etc. Now to sell the stocks, I had to register on the web-site and now wait for a confirmation letter with a confirmation code before I can go further. I am so sick of this f*cking waiting.

Now the next battle will be to sell the house so the value can be split. My sisters kid has been freeloading in the house and it may be necessary for me to perform an eviction to force the issue. I’m going to be very popular with my family this Holiday Season, aren’t I? Guess I won’t be getting any Christmas cards this year… [U]

It should be a good time to sell as the inventory of available homes is very low, and Fed’s have lowered the rates again…

In the meanwhile, still no letters with my Stuka masking set from downunder, but it’s only been 5 business days I guess.

Thanks everyone for the compliments on the palette cups idea. One other thing I forgot to mention about them is that since they lean forward, it makes it nice for getting just the right amount of paint in the brush. Just as long as you don’t put a lot of paint in them and you have enough of the bottom still exposed.

Hey Jim, sorry to hear that you are having to put in all that overtime, but glad it is available to you. Also good news to hear that you are making progress on your Mom’s estate. I hope that your Mom’s house is still in good shape when you evict your Sister’s kid. One thing about freeloaders is that they are also not very good at taking care of things. Anyway, I hope your Stuka masking shows up tomorrow!

Ken

Hi Everyone,

Here is tonight’s progress on the cockpit. Tonight I sprayed the green zinc chromate.

First the ejection seat rails and the armor plate:

Next is the front of the ejection seat:

And next is the rear of the ejection seat with the air bubbles all repaired:

Next is both sides of the control stick, with the air bubbles also repaired:

This is good ole enamel, so I will let this dry for 3 days before doing more with these.

Ken

Ken: Yes, nice idea there on the palette cup, will have to look for one too. The cockpit is really coming together now, you have to love bubbles in the resin.

Jim: Good to hear again you’re making at least a little progress, gee why can’t anything be easy…

Hi Everyone,

Dag nab it!!@ [bnghead] While looking for some more source information for reference while painting the cockpit, I found that I messed up.

Back when I first got started on this, Don and I were looking at the pictures in the Detail & Scale book on the F-84 while I was getting the colors from him. He wasn’t sure about the side panels being black like they were being shown in the book but he said maybe they were.

Well tonight I found in a F-84 manual that is for the models B-D, though the pictures are in black and white, you can definitely tell the side panels are a light color. That is enough credence to Don’s memory that they were in fact yellow zinc chromate. I have seen in other color pictures where some models of the E had green zinc chromate wheel wells and some were yellow.

Don had also told me that the G model had green zinc chromate wheel wells as well as the cockpit. I am just guessing but maybe Don’s E model was an early model that was still being painted like the earlier D models. Maybe some later E models were painted like the G models.

Anyway, since the base coat was a flat color, there is no way of getting the black paint off of it. I called Don and explained what I had found. When I bought this cockpit I had also bought one for him. I asked him if I could stop by tomorrow evening on my way home from work and pick his up. I ordered a replacement from Sprue Brothers but it won’t show up until Thursday at the earliest. This way I can save a couple of days.

Ken

Hi Everyone,

Well I picked up the cockpit from Don tonight. I had forgotten that I had a haircut appointment right after work tonight so I couldn’t stay very long to talk.

So the new cockpit is soaking in Bleche-Wite to remove any residual mold release agents. I was going to work on painting the details on the ejection seat but could not be sure of the color of the seat belts. It was too late to call Don so I will have to give him a call tomorrow to find out. My guess is olive drab. I am also going to find out the color for the seat cushion.

Ken

Holy cow Ken; you definitely are doing your homework for this build. Sounds like this may be one for the museum! I finally got a 3/4 shot of Hauptmann Marseille’s workhorse for the “Honor Roll”.

Mike: She looks fantastic! Kudos sir!!!

Ken: I’d guess olive drab too but I not at all sure.

Mickey: That’s a real good shot of your bird there! Looks good!

Ken: You sure are a stickler for detail (or punishment?) Of coarse, it’s not like I don’t go out and spend an extra 40 or 50 bucks on decals and photo etched parts for a $20 kit, spending hours searching the net for references and photos… then ask myself: Is this relaxation?

Answer: Sure! Anything that takes me away from the real world for a short time!

Anyway gang, it’s still been work, work, work. I guess I should feel lucky as there are a lot of people who don’t have a job now.

In the meantime, still no mail for me, so plug away at the Growler: Decals, decals, decals:

The port outside tail fin and the starboard inside are seen at the top. A few details on these yet. Plus here are the stabalators with decals:

Even the ECM pods get PE parts and yes, decals too!

Jim: She’s coming right along- nice work!

Thank you Mike for the compliments! And kudos to you once again on a fine job building your Bf 109! I have updated the front page. That is a great picture!

Ken

Hi Jim,

How you are able to find the time to get that much done with all the overtime you are putting in is beyond me! Great work once again, the detail looks amazing, and the decals are nice and smooth. [Y] [Y]

I hope you find something in your mailbox soon!

Ken

Hi Everyone,

I apologize for not being on here last night. I stopped by Don’s house after work yesterday and it went a little longer than expected.

First he had made a copy of some slides for me and wanted to show them on his computer first to explain a few things. (This is just so great, getting the details on the plane straight from the pilot that flew it! With pictures!)

Anyway, his computer was acting up. Well, that being that I do work on computers for a living, I kindly offered my services to fix his computer. By the time I got home and ate supper, it was 9:30 PM. I still had the cockpit soaking in the Bleche-Wite from two nights previous, so I scrubbed on it, rinsed it off, and blow dried it. When that was all said and done it was time to hit the sack.

Anyway, once again Don has proven that I can’t rely on the stupid pictures in the book or on the internet. The seat belts were a dark green and the seat cushion (which really isn’t a seat cushion, it is a survival pack!) is grey!

Ken

Hi Everyone,

What a busy day, but not all toward building the Hoosier Hotshot. First I had to get up early (at least for a Saturday!) and get new tires mounted on the back of my truck. It is a 1 ton, a dually, so that meant 4 tires total. A lot of money. That took two hours out of my day.

So I return home and get back to the workbench. I sprayed the acrylic yellow zinc chromate on the cockpit tub. I still hate spraying acrylic paint! So here is how it turned out:

After I was done with that, I knew it was about time to drain my air compressor tank. Now this is a big unit that sits in my garage. It has a 7 HP 240 Volt motor on top of a 60 gallon air tank. It cycles on at 120 pounds pressure and off at 150 pounds pressure. It is made for heavy duty use, but if I had to guess, I would say I probably have only put about an hour of actual operating time on it since I bought it about 7 years ago. (Seriously! I always leave the power turned off so I KNOW when it runs and for how long it runs! And I turn the air valve off so it can’t leak air and bleed off when I am not using it. With that big 60 gallon tank it lasts me forever before I need to turn the power back on.)

So I kneel underneath it and turn the drain plug open and some water starts coming out as expected when suddenly all of this oil starts coming out as well! Nice!! So I start doing some research and it turns out that my particular model apparently has a known problem of blowing valve plate gaskets! Sweet! Of course with the age of mine, it is long past warranty even though as far as usage, it is still brand new!

If you are curious as to what the brand is, it is a Sears Craftsman Professional model number 919.184191. So I have ordered the new gaskets, but according to the website, they won’t be here until November 18th.

One thing that was interesting was that when I went to order the parts, the website (Craftsman website) said the gaskets would not match the original parts. I am guessing that they found a problem with the original gaskets and redesigned them. At least I am hoping that is what they mean by that!

So now I cannot spray paint until the parts show up.

Ken

It’s always something, isn’t it Ken? You would think for once, they could design things correctly the first time. The last two vehicles I own have had recalls for some design flaw or safety issue, and I currently own a Dewalt cordless drill, that stinks and blows smoke when ever I use it because it leaks lubricant into the motor-something they corrected on later models…

Most of my day was some housework, and playing a game I got for free on the computer called Blood Rayne. You play the part of this very attractive female half-vampire who goes around chopping up all the bad vampires. She also feeds on the baddies in a way that’s almost ‘R’ rated. I think it was definitely designed for teen boys. What can I say? Came with a 5 buck movie I bought…

The yard is full of fallen leaves and I couldn’t do much about that- I have been having some serious issues with my back again and my sciatic nerve. Most standing or walking is hard right now, and I barely made it through a trip to the store today. I might have to start using that electric cart as embarrassing as that may be.

I did sit for a bit at the workbench tonight and managed to apply a total of three decals! Wooo! Big progress. Also messed a bit with PE parts for the landing gear. The two things that I hate doing are decals and PE parts. Decals because of what can go wrong and PE parts because they are just… PE parts!

Well, think I’ll play with my vampire girl a bit before bed. No dreams about her, though. She is, after all. a vampire that kills and feeds on other creatures…

It wouldn’t be so bad if they would recall the items that they know they screw up on and make them right. To this day will still not own another Ford product for what they did to me and their engineering screw up on the engine design for the Escort/Lynx. That is the one thing these companies don’t take into consideration when they do screw people over like this. How are they going to expect repeat business?

I am very sorry to hear about your back pain Jim. That is not good at all. Will your insurance cover you going to a doctor for it, or have you already tried? There are several different options available now days.

One thing good about the decals and PE parts, every one you add makes the model look more finished!

Ken

I would like to wish all of our United States Veterans a big THANK YOU! [:D[[] for a your service in our United States Military. And a special THANK YOU! to you Russ and Mike. I think you are the only U.S. Veterans on this build, but if there are others, please don’t remain silent and let me know!

Ken

Hi Everyone,

So I took today off to honor Veterans Day. I was planning on getting some detail work done on the Hoosier Hotshot cockpit tub. As I was studying the pictures and looking closely at the cockpit, I decided to put a coat of gloss acrylic clear over the flat acrylic yellow zinc chromate. That way I could put a wash on to bring out the details.

Since my air compressor is out of commission, I packed up my paint, airbrush, and everything else I thought I would need and went over to my Mom’s house so that I could use my Dad’s air compressor.

I set up everything and got ready to paint, put some clear acrylic gloss paint in the cup, and tried a few shots just to test, and nothing came out! Crap! It is clogged! So I took the cup out and squirted some acrylic cleaner that I had brought with me into the siphon hole to clear it and tried again. Still nothing.

So I ended up coming back home to get the stupid wrench that comes with the airbrush so that I could take the thing completely apart and do a full cleanup. That stupid acrylic yellow zinc chromate had clogged up my airbrush again!

After putting it back together, I ran lacquer thinner through it (that I also picked up while I was back at my house getting the wrench). Everything was working good. Time to refill the cup with the clear acrylic gloss paint and start again.

I pulled the trigger and nothing but air! Crap! What is going on! I didn’t think you were supposed to thin Model Master acrylic paint! Just spray it straight from the jar! I didn’t bring any acrylic thinner, so all I had was acrylic cleaner. I used that to thin it down. I got it to spray. But it looked real rough when I first got done. I just got done looking at it again (it has been about 3 hours now) and it appears to be smoothing out. That is kind of weird being that it is acrylic, but I swear it does look better now than what it did.

Anyway I did some searching and I found a discussion on this very website about using Model Master acrylic paint:

http://cs.finescale.com/fsm/tools_techniques_and_reference_materials/f/18/t/135114.aspx

I have just ordered some Liquitex Flow Aid and Liquitex Slow-Dri Fluid Retarder from Amazon. From the sounds of it, it may make using the acrylic paint a whole lot easier.

So, here is how the cockpit looks now:

Ken

Hi all!

A bit belated, but thank you to all veterans!

I surprised a co-worker today by walking up to him and shaking his hand, and thanked him for being a veteran.

I also went out to the cemetery Sunday and planted a handful of small U.S. flags around my dad’s marker.

Ken, I have little experience with acrylics. I find it hard to get used to the fact that it seems to go on heavier than an oil base enamel-I guess the water is ‘bulkier’ or something than petroleum based thinners. I have thinned them using their brand thinners or sometimes a little rubbing alcohol/distilled water mix. Other than that, I’m a died-in-the-wool user of Testors MM oil based enamels. If I had my choice, it would have been Floquil military enamels, but Testors chose to buy the brand and discontinue that particular line. Best way ever of eliminating the competition!

I totally agree with you Jim about preferring Model Master Enamel over the acrylic. But that yellow zinc chromate only comes in acrylic, so I was forced into using it. It will be useful for when I want to use it as a base if these products from Liquitex work as advertised. Then I can use the enamel as a wash like I am about to do on this cockpit! We shall see.

Ken