I wish I could get better pictures, that really show off the pre-shading of the panel lines. I took quite a few and then the camera batteries died. So, these are the best. I have to run to the store later on. Hopefully, I can get some outdoors, with natural lighting.
I talked myself out of doing a wash, I didn’t want it to look dirty, so I left it alone.
All in all, It wasn’t too rough of a build. Sanding and filling but nothing over the top. Getting the parts off the giant sprues, without ruining them, was a challenge.
For an older kit, the outside is pretty detailed. The inside office, not so much. I can see someone doing a lot of scratchbuilding, to liven it up. I am now wanting to do an X-Wing, sometime down the road.
As for this GB…I didn’t know Berny, but I hope he would have approved, of what I have done. It was a break from the norm, not the usual aircraft or armor build. I had fun working on it. I hope you guys forgive me for all the posted pics showing some less than exciting progress.
Ok, Eric, shut up already…let’s see some not so great pics [:P]
Eric: Wow, she looks great!!! Nice reminder of what nice models you can build out of the old kits we used to slap together back thirty years ago without paint and using half a tube of glue!!! The pre-shading and solar panels came out beautiful!
Len: Congrads on a great deal there on airbrushes!
Jim: Nice clean job! I’ve used a few airbrushes, my favorites is the standard Paache and my Grex, but pretty much any ‘name’ brand airbrush will give you years of trouble free service.
I think it turned out great! Nice job! [Y] [Y] And you can always post more pictures when you get fresh batteries.
Yes, I am sure Berny would approve 100%. He said that you should enjoy what you model, no matter what it is. I know he modeled quite a wide variety of different types of models, hence the reason why anything goes on this build!
You know Eric, you can always stick around with your next project, whatever it is. We don’t have a limitation of only building one kit.
So do you have a favorite picture to use for the “Wall Of Fame”?
I didn’t get a whole lot done tonight, but at least I did get to visit the workbench.
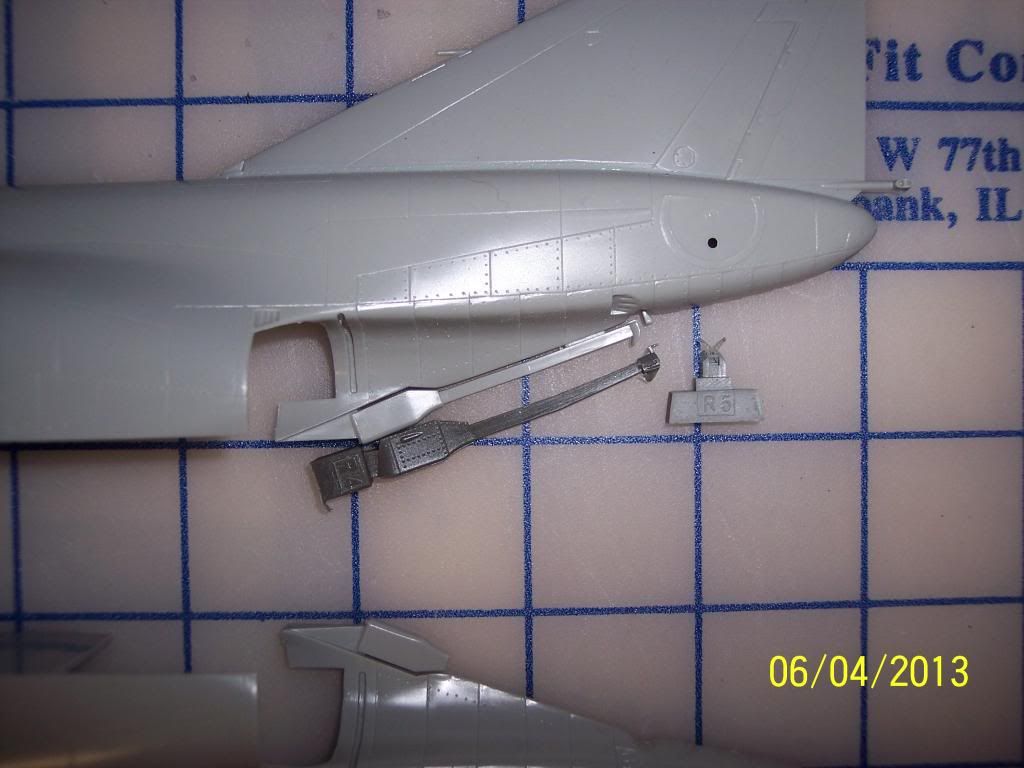
One of the aftermarket add-ons I purchased for my Phantom F-4E was the Eduard Brassin Exhaust kit. And along with the exhaust they added as a bonus the tail hook and mechanical up latch shown here:
As you can see, much better detail than what is offered by the Hasegawa kit. Anyway, this of course necessitates cutting off the old tail hook which is what I did, shown here:
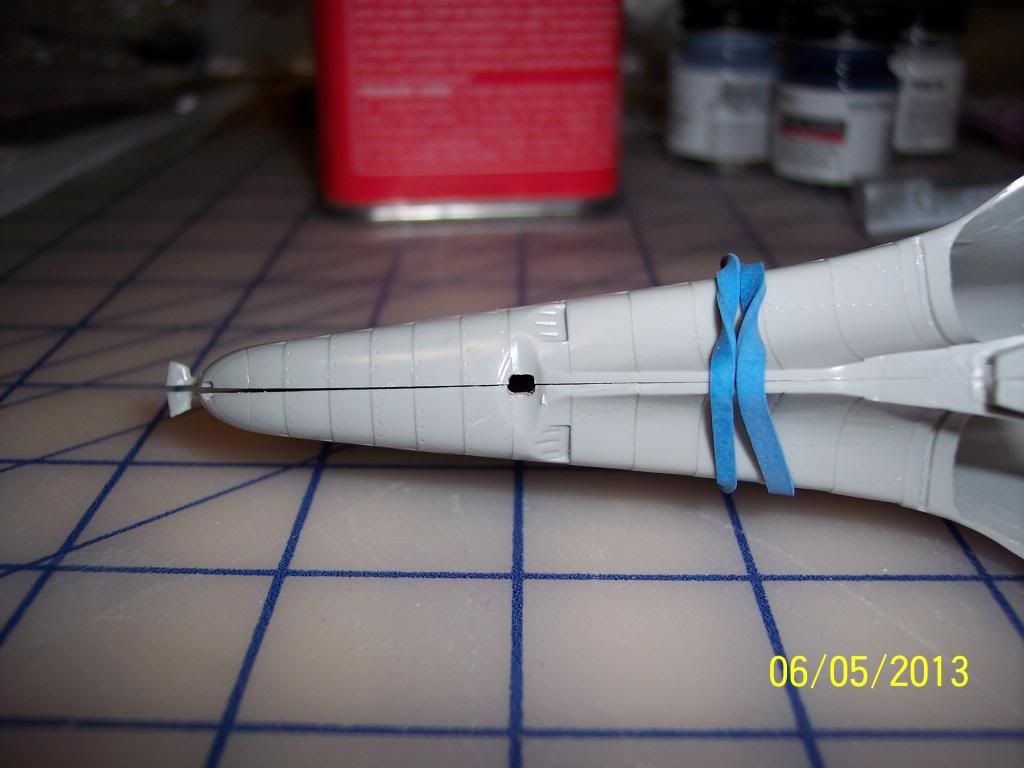
Tomorrow I will tackle the mechanical up latch which is going to be a little more complicated with that curved surface. I will need to cut a hole (hopefully square!) where it is supposed to mount.
Eric, the kit looks great! I would agree with not adding a lot of weathering. After all, this is Lord Vader’s personal fighter and if his maintenance crew left so much as a spot on it, they would no doubt feel the full effect of the ‘Dark Side’!
Someday I would like to do a 'Sci-fi kit. I just don’t know what subject I would want to do.
As to an airbrush, I’ve kind of had my eye on the Badger Anthem. Has has good reviews, simple design, easy to clean, needle/tip made to spray a variety of mediums, and great for modelers. They will replace the needle bearing inside for the lifetime of the brush, with the owner only having to pay shipping.
Ken: Nice! That replacement tail hook and equipment is lightyears ahead of the old one in detail.
Jim: If you ever want to a SW specifically I’ve heard nothing but good stuff about the new FineMolds kits. A bit pricey but recently Dragon had a couple marked way down on their Memorial Day sale (not sure what starfighters have to do with Memorial Day though). Or just take an oldie but a goodie like Eric and dress her up.
The tail hook and mechanical up latch was just a bonus to the exhaust kit, which was pretty cool. It does add a lot more detail. And there is more. I didn’t mention the photo etch that goes along with the mechanical up latch! I just have to figure out how to bend it and apply it!
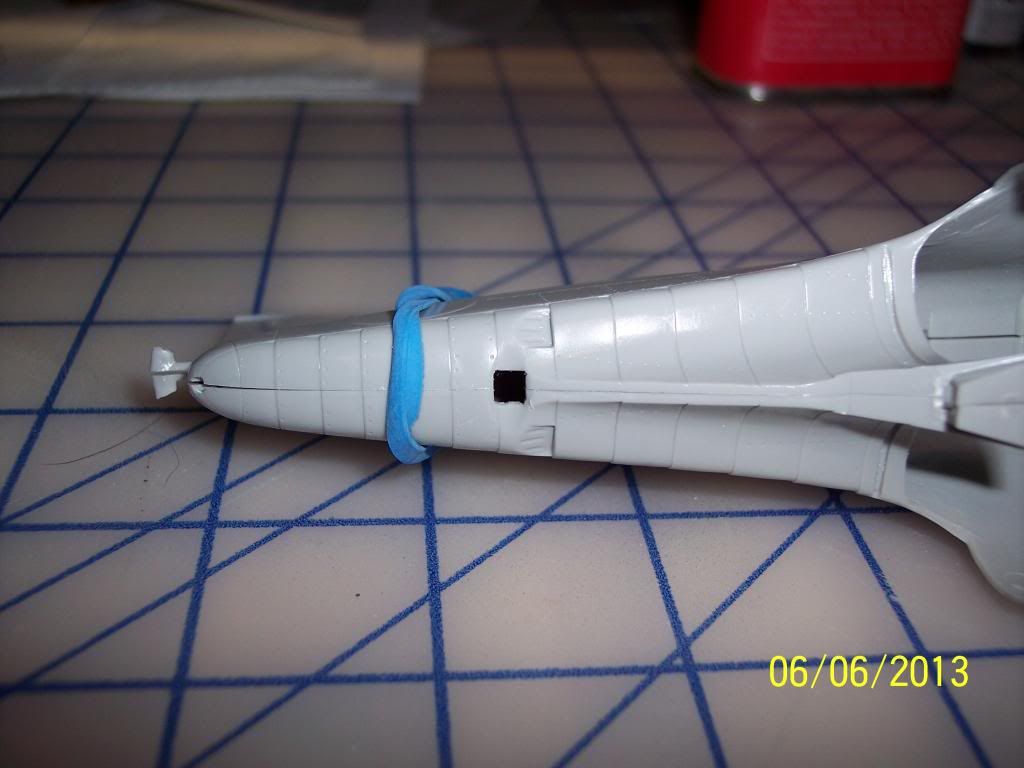
Once again I was only able to spend little time at the workbench this evening. I got a good start on the hole for the mechanical up latch. Here is how it looks so far:
Obviously I will need to take it slow on removing the plastic. It is much easier removing it than it is replacing it! [:)]
Ken, I still look forward to seeing the finished product.
Last night wasn’t real productive. Mostly, I reassembled the airbrush and then gave my desk top a much needed cleaning. Mostly, I was distracted by a special on one of the public TV stations showing a performance by Bachman and Turner (formerly BTO-Bachman-Turner Overdrive)
I did do some dry-fit testing on the Tiger.:
I figure I have to finish the drive area before the fenders-no way to get the wheels on under them. And I can’t get the ends of the track together unless I do it before I put them over the wheels-and I can’t glue the idler and drive sprocket in place before the track!
I guess I also will need to make the top of the track sag. I read somewhere that I can add some pegs or pins to hold it down behind the fenders. Not sure what to do if there weren’t fenders. I read some tie them down with fine thread, but I can barely see this as it is!
BTO! I remember them. “Let It Ride”, You Ain’t Seen Nothing Yet", “Takin’ Care of Business”, “Hey You”, and “Roll On Down the Highway”. Yep, driving to the beach during my high school days listening to them!
Well if anyone can thread that needle, it would be you. You still amaze me with the detail you are able to do at 1/72 scale. It is looking really good Jim, even for just a “fun” project. [Y] [Y]
Jim: I’d just leave the wheels and tracks off and paint them separably. At least it works for 1/35th. Then drill a few holes in the sides and slide wire in (I use straightened paper clips) to hold the treads down. Or if you want to add the skirts you won’t be able to see the top runs of the tread anyway so don’t worry about it. Just tack the skirts on using a little bit of cement for painting and pop them off to put the treads and wheels on.
Hey Eric, the armor guy! This is what’s unique about this build! Anything goes as long as we all enjoy participating! Too many times we aircraft guys stay on our side of the street, and armor guys stay on theirs. I do believe somebody said Berny started building mostly armor at first. As a first and foremost aircraft guy, I hope you don’t mind if I pick your brain just a bit.
There is enough slack there that I will need to take up some of it across the top as it tends to be a little loose around the bottom. Not enough that I could glue the top track all the way down, though. I think the paper clip thing will be the way to go.
The tracks don’t appear to be vinyl as the seemed to glue up real solid with liquid cement. I’m curious about what color to use. Kit calls out for just black and I was thinking more along the lines of one of the darker Testors non-buffing metal finishes-as long as it doesn’t eat the track.
If you are going to do some weathering on them, I would paint them steel first, then paint the black over it. This way you can chip off, and show the steel underneath. You could also use Tamiya Gunmetal, if you have it, for the top coat.
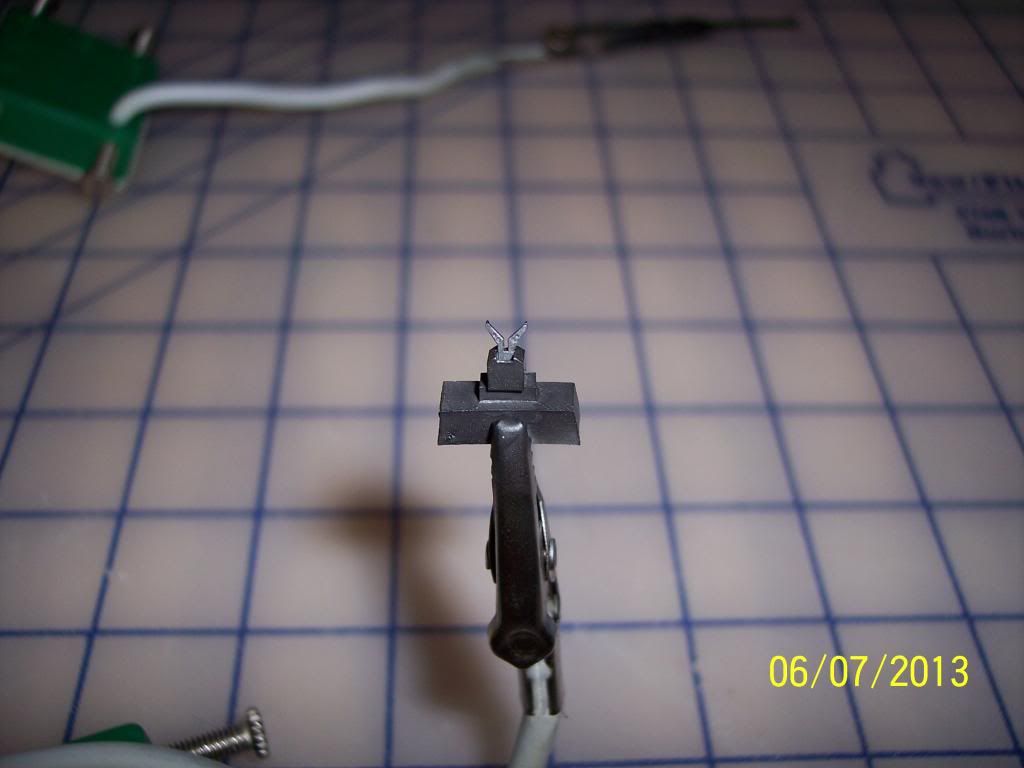
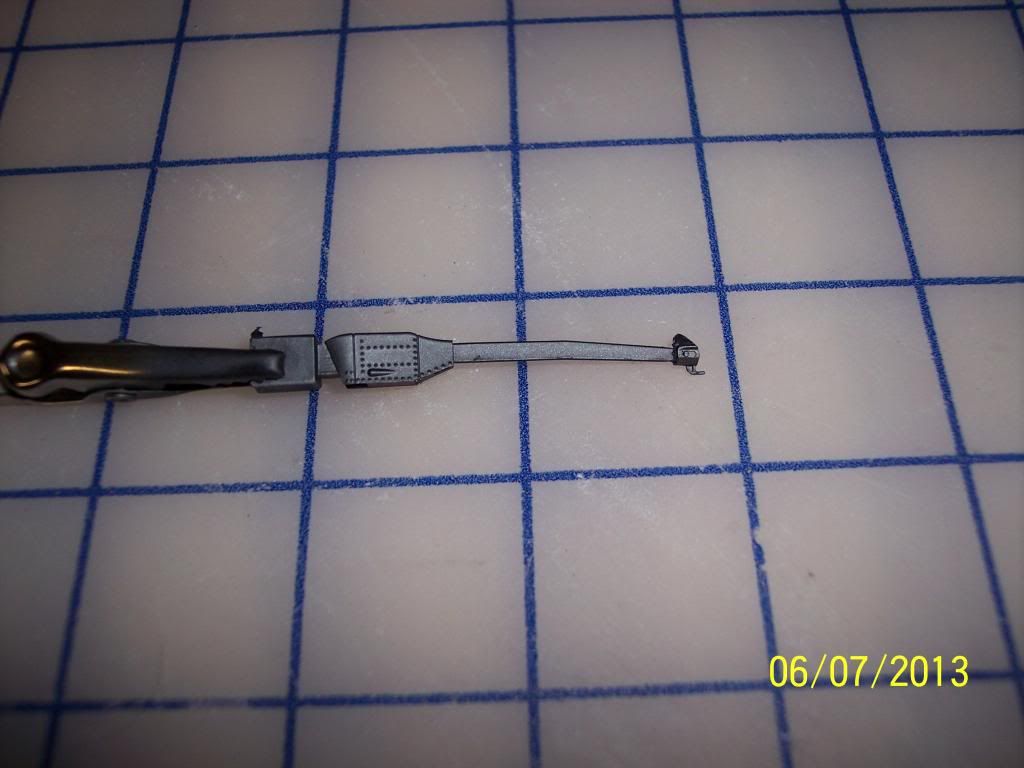
I painted the mechanical up latch. I also painted the tail hook since I had the paint in the airbrush already. I used Model Master Metalizer buffing Titanium. I like to let it dry overnight before I buff it. Here they are:
So I will be buffing tomorrow. I have to work tomorrow as well, so I am not going to get as much done at the workbench as I had originally hoped.