The Tanks are made of 2219-Y87 aluminum alloy. Not certain how to get the color correct? Any ideas? It is a yellow-green anti corrosion coating

1 Like
Wow what an ambitious and awesome project. Bummer about the dripped CA.
Ya, thanks. looks like a drop of deboneder on a q-tip is working. If not, I can always reprint it. I will post pics of that process if it works.
looks like a greenish base with a yellow (drybrush) any ideas? And seams that stand out
I think Zinc Chromate (yellow) would work here. Its a common anti-corrosion paint used on WWII aircraft. Wonderful project. I’ll follow the thread as long as you keep posting.


The “Ullage” motors for stage separation are at the top of the stage, so it can push away from the stack. I believe you are referring to exhaust nozzle for the turbogenerator pumps that flow fuel into the engine. Those pumps use a portion of the main fuel to spin the pumps up. The exhaust is dumped into the slip stream (There’s additional physics involved in the exhaust helping keep the rear of the stage from building up either fuel or oxidizer while operating.)
The Retrorockets are 8 solid-fuel to retard stage 1 after it had been jettisoned to increase the separation before any unintended rotation could cause reconnect.

WOW, the size of this build is amazing. I look foreward to seeing your progress on this one.
A note, green zinc chromate is made by adding black to yellow zinc chromate, if you want to try with just the one bottle.
1 Like
Thank you, I did not know that.

DISASTER
One of those small obnoxious winged creatures decided to make its presence known and taunt my furry little kitty. However, Max (the cat) decided enough was enough and was going to teach said little obnoxious fly a lesson and have it for a late night snack. To my dismay in its attempt (obnoxious fly) to get away from its predator flew past me while I was holding my glue up waiting for it to set and so did Max. All I can say is that I hope the fly was tasty for him.

@Kenaslan that’s unfortunate for sure. We have all been there. While disappointing, it does look like it could be repaired with a bit of effort. I’m sure it won’t stop your progress, although it may be delayed a bit. Good luck.
I decided to just reprint that section. Instead of doing a glue up I assembled everything in the slicer and printed as one piece. Then once the paint arrives I will attempt to airbrush it. It is difficult to do much as my left hand is in a cast and not of much use right now.
For anyone that is interested in also building a saturn v you can purchase the stl files from CHRONIC3D.COM. you can get the ULT on printables.com. the LUT stl flies are done by wglasford he even has working lights on the model. Also considered joining LUTGroup@groups.io | Home to get the original NASA drawings. My hat is off and I will be eternally thankful to all the people that have spent 1000s of hours putting together all the stl files.
My latest attempt with the hydrogen tank. After the glue up was finished it didn’t fit. So I assembled it completely in the slicer and found the problem is it’s 1/32 too big on both the x and y axis. Scaled to 98.8% will see later today if I need to scale it some more


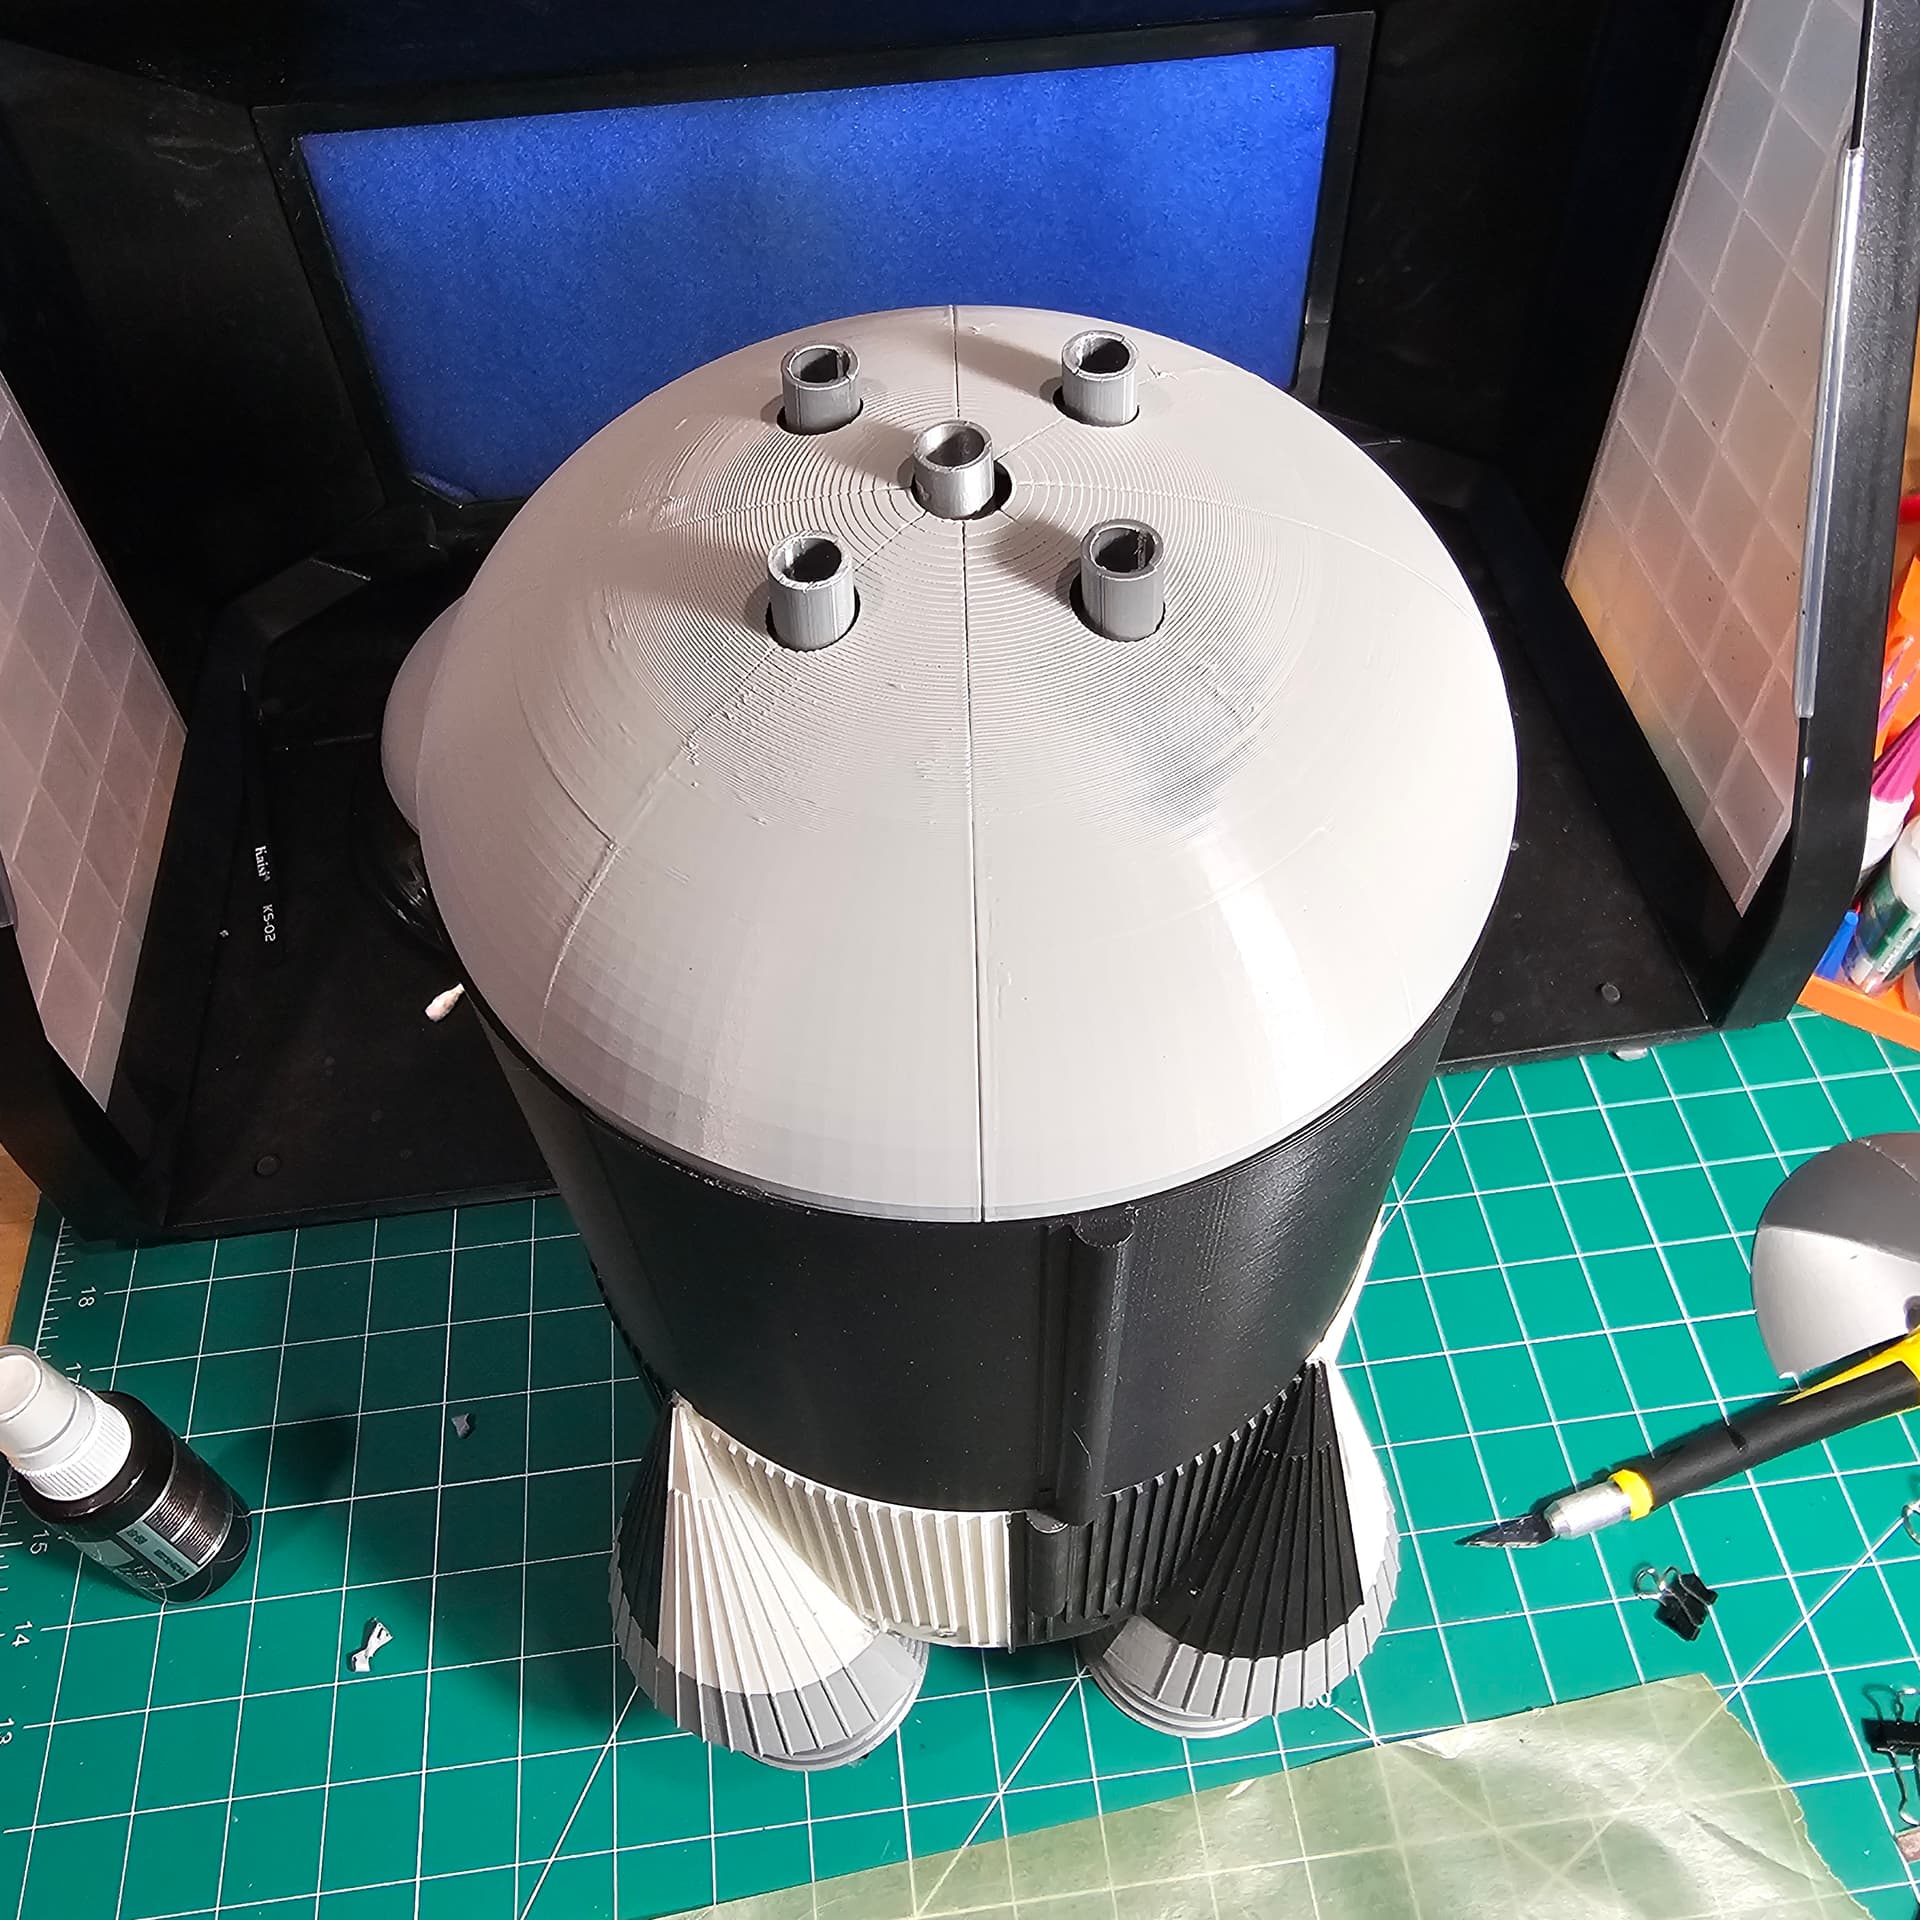
I am in need of some advice. I have finished the Helium tank and want to pant the brighter yellow seams. I cant figure out how to tape off a curved surface and keep it the same all the way around. I am thinking of just yellow, then airbrush over it with the zinc Chromate.

Maybe mask off the white with thin tamiya tape - looks like it’s all straight lines. Then spray the zinc chromate, pull off the masks and do a light coat over the whole surface.
Tamiya makes a tape for curves that probably would conform well on that surface. It’s a white tape, couple of mm wide.