nice start mike , the sweeps actually have a nice worn look about them .
I was gonna say the same thing. The tracks look very convincing.
Steve & Steve,
Thanks.
I’m hoping to get to the Cottage Industries stuff I just picked up from my mailbox but first I have some chores to do.
I am sure, having just given a cursory look to the contents of the box, that I’ll not be as precise as RacerToo (Steve) in my using the carriages within. I’ll just use them as they are. My skill set precludes my doing the kind of scratch building demonstrated by RacerToo - so does my patience boiler (gets dangerously close to exploding when I’ve bitten off more than I can chew). I’ll reserve judgement regarding the metal parts in the kit until I’ve looked at them more closely.
To be continued …
Amazing work Mike! Your basic construction and attenion to detail is award winning work.
The CSS Alabama and the USS Kearasarge are two kits on my “wish” list. Your Cutty Sark also looks great. I presently have Revell’s Cutty Sark and USS Consrtitution in my stash, on my to build list now that I’m retired. I completed Revell’s 1/96 English Man O War several years ago so I’m ready for another challenge. In the meantime, I’ll be following your build closely!
You know there’s a whole debate about how the Revell Alabama makes a more accurate Kearsarge etc.?
Look on Shipmodelforum.
Nice work here.
Bill
Tom,
Thanks for the overly generous compliment.
In fact I try to hide most of my sloppy work and build errors when I photograph the model for posting online. That having been gotten out of the way, I do like ship models so I’m going to attempt this build, warts and all, to the finish.
Bill,
I’ve not read that specific debate but am aware that there’s controversy regarding which kit is more accurate. Do you have a link to that specific thread?
Since I determined a long time ago I was not going to modify the hull (freeboard) of the Kearsarge to represent her during the Civil War I thought I’d be OK just building the kit as she looked (more or less) in the post war era of her life. That gives me some leeway. It also presents the problems concerning her rigging - at some points after the war she was ship rigged, at others ketch rigged, etc. In fact - I don’t really care if what I put together is a combination of different eras during her post war service.
I’m simply going to enjoy the process and hopefully have another ship model to display in my little condo.
Well, I’m enjoying it, too.
Bill,
Do you have pictures? (RE: your Kearsarge)
"I have completed all of my work on modifying the Revell kit to closely match the drawings in the Bowcock kit, including using the Scale Decks wood deck and pivot gun rails, surgically altering or scratch building various deck furniture, using the set of guns by Cottage, adding crosstrees to the head, planking over the false windows at the stern, and have cut wedges out of the mounting stubs to the masts to provide an 8 degree rake. I have also opened and relocated gun ports and scuppers to reflect Bowcock. I believe that I will ultimately have a close approximation of this historic ship!
Bill"
Small update:
I’ve not been working on modeling much … weather was (until the 119° on Monday at McNary Field - our local airport) really nice so I’ve been mostly outdoors walking in the park.
Also, what few modeling skills I had at one time seem to have gone the way of the Dodo. I’m having problems with fine detail - just can’t hold brush steady; getting glue all over the place; etc., etc. Nonetheless, I’ve managed to put together some of the Cottage industries cannon as well as complete the Kearsarge boats using their wood decks for same.
Kind of sloppy - some touch up work to be done for sure - but here’s the latest:


Looks great, Mike! Keep ‘plugging along’. You have another winner.
OK, I apologize for taking so long between updates.
I suppose it’s that, when I’m feeling well and the weather is cooperative, I just forget about what’s on my “bench”. Under those circumstances I’m usually outside enjoying my predilection for nature and landscape photography along with easy to moderate day hiking.
Lately I’ve tried to get back into working on the model … I do enjoy that time … but, alas, my normally sloppy technique has erroded to nearly unacceptable to me. And that is saying a lot since I put up with my sloppiness more than I should.
However, I am pushing on.
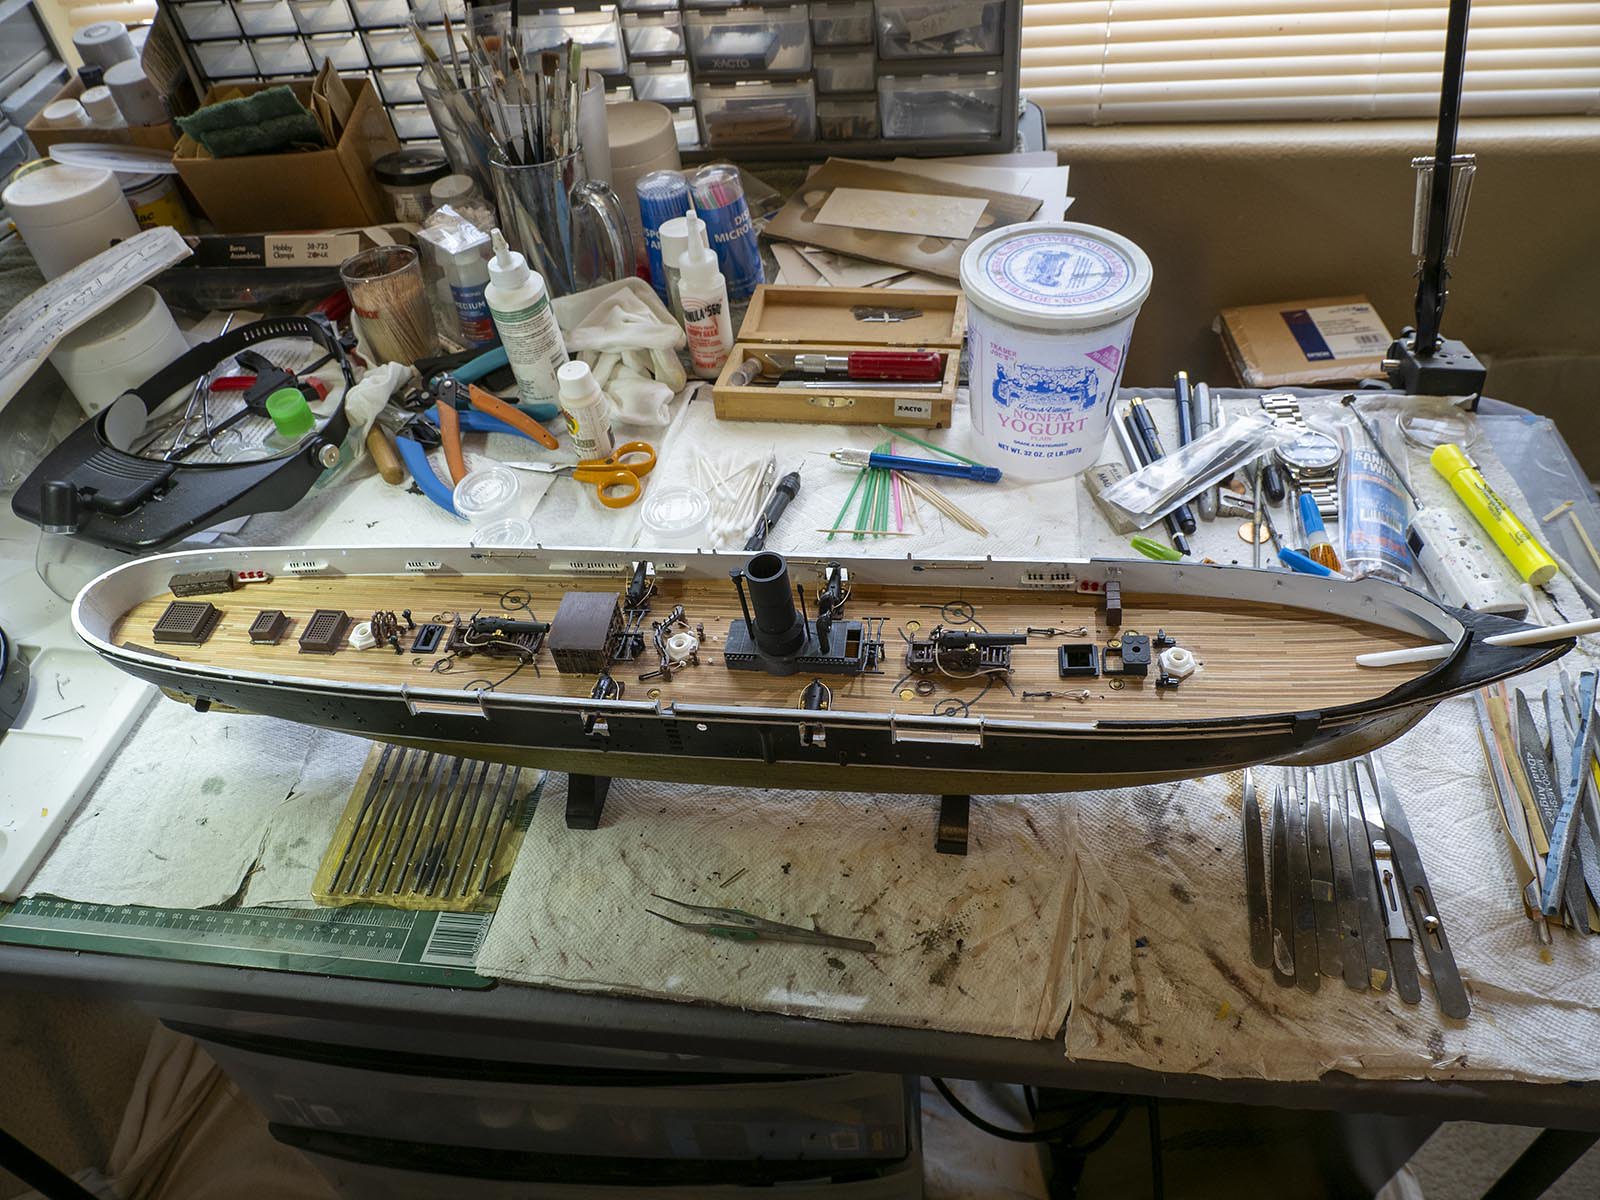
Here’s what she looks like with most of the bits and pieces of deck furniture and hardware on the main deck complete.
The difference in color between the aft section and the rest of the deck is due to the difference in color temperature between the two LED lamps I used to light her for this quick update.
Note:
A) I mixed using the supplied, white padeyes and some brass eyebolts I had on hand.
B) I broke a couple of ram rods so I made my own with brass rod and Tamiya tape. I used the brass eyebolts I had on hand to secure them to the inside of the bulwarks (if that’s the correct description?).
C) I destroyed one of the pinrails. I made another from styrene but could only find some brass belaying pins that were a bit too large. It does show if you’re comparing them. I’m not too broken up about it … I wish I’d had enough of the larger, brass ones to replace all the belaying pins - I just think they look nicer. Thinking back on what I’ve done I feel it would have served the model better to just have use some brass rod of the proper scale and painted them black before installing them as I did with the larger, out of scale pins.
I will be working on the forecastle deck next.
Before I get to the ship’s boats and davits I’ll have to think about attachment points for the standing and running rigging. I can see myself getting into lots of trouble without some forethought on that subject.
OK, another small update.
Here you can see just how much I’m screwing up. I’m at the 3 steps forward, one step back stage. It seems like I break a part every 3rd or 4th attempt to attach it. I’m also unhappy that I no longer can control the shaking of my hand and fingers when attempting to do some tasks that require delicacy. However, it is what it is.
I usually notice errors and omissions when I post pictures and today is no different. I forgot to paint the molded in lanyards on the mast tops. I’ll take care of that soon. I still need to figure out how to rig the futtock shrouds … they’re not part of the rigging diagram supplied by Revell but they were most certainly there.
I’ve rigged some shrouds for the foremast and will start the ratlines when I’m done rigging the mainmast shrouds.
Note the Tamiya tape on the ends of the rope for the ship’s boats. It’s there just to keep the line from coming out of the those @$%# tiny openings in the davits. The boats will be attached near the end of the build.
For neat, fine detailed work wait for Racer Too’s next post on his build. He’s doing what I can’t do - fine, detailed work with some scratch building. Way above my pay grade.
At any rate this build gives me some enjoyment on rainy days where I’m not in the mood to go to the gym.
One major mistake may be how I rigged the opening for the large guns on the starboard side. I did it based on the Revell instructions. It looks like the cannon would blow the lines out that are holding the doors … I’ll just have to let that one go unless someone can tell me why it might be correct?


Lower doors on guns only had a rope to pull it up which just hung down when door was open. Close lower door, then upper. Upper keeps the lower door in place when closed.
At least that is the normal way they were done from my experience.
Bob
Bob,
Thanks for that. I’m familiar with that from having built the USS Constitution about 10 years ago.
On this ship (not sure if you can make it out from what I posted) there are two types of openings for the guns. The smaller cannon have two doors as you describe and with which I’m aquainted from other ship models. The larger cannon however have just one large door each. The instructions clearly show how it’s rigged. It just doesn’t make any sense to me.
Here are the instructions - see page 14, number 43:
https://www.scalemates.com/products/img/4/7/7/103477-85-instructions.pdf
Maybe they altered the door rigging when getting ready for a battle?
Hi Mike,
Looking great so far[Y], as far as the large gun doors maybe It’s as simple as maneuvering the gun barrel between the ropes?.
Michael D.
Michael,
That’s what I was hoping it was.
Note to all regarding this thread:
Last week I had a couple of small strokes. Went blind in right eye for a few minutes the first time, lasted about 2-3 minutes, then all my vision returned.
My regular doctor (after I’d seen my optomitrist) recommended I get to an emergency room to have some tests done. I went and was given ultra sound, an MRI, and a CT Scan. Tests showed I’d had strokes in my brain and, perhaps, directly in my retina. I was admitted overnight (Friday), given another ultra sound, and saw my surgeon (Saturday). He said I should be scheduled for surgery within the next week to two weeks.
So, don’t expect much from me for a short while. The surgery won’t take too much recovery time - he told me usually his patients can leave the hospital after a night or two.
For the moment I’m just fine. No pain, no problems with my vision. So no real excuse not to keep on working on the Kearsarge … I just don’t have much motivation as of the moment. After my surgeon reams out my right carotid artery (70% blocked) and I’m home after the surgery, I’ll no doubt get my motivation back.
Meantime it’s life as usual.
Hi Mike! Great work on the Kearsarge! [t$t]
We’ll send some prayers for you to the man upstairs that all goes well.
Jim [cptn]
Stay Safe.
Best wishes on the short stay in the hospital. Will keep you in my thoughts.
fox and goldhammer88,
Thanks for the kind wishes.
I’m sure the operation will go as expected. My surgeon is 1st class. I’m just anxious to get it over with.
I’m hoping that Michael D’s thoughts regarding the lines holding up the large gun ports is correct. It did take me a little while to rig both of those ports in the manner that is shown in the instructions and I’d hate to tear it all out and rerig them.
My shakey hands are certainly not what they were even 9 or 10 years ago so I’m wondering how I’ll manage with tying the ratlines with clove hitches - we’ll see.