I hope to start on the King Tiger late Feb/early March. I’ll be doing a KT of s.SS-Pz Abt 503, destroyed outside Potsdamer Banhof. This is one of the vehicles on the Berlin '45 decal sheet from Bison.
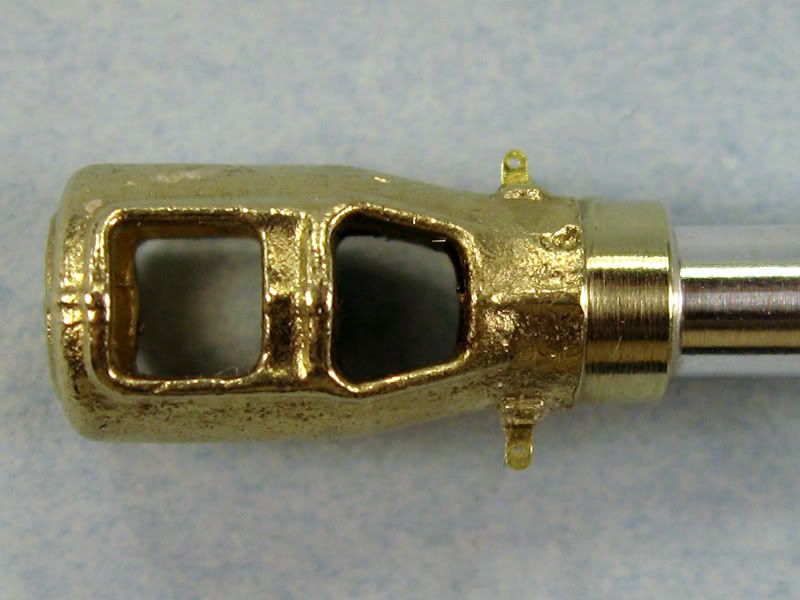
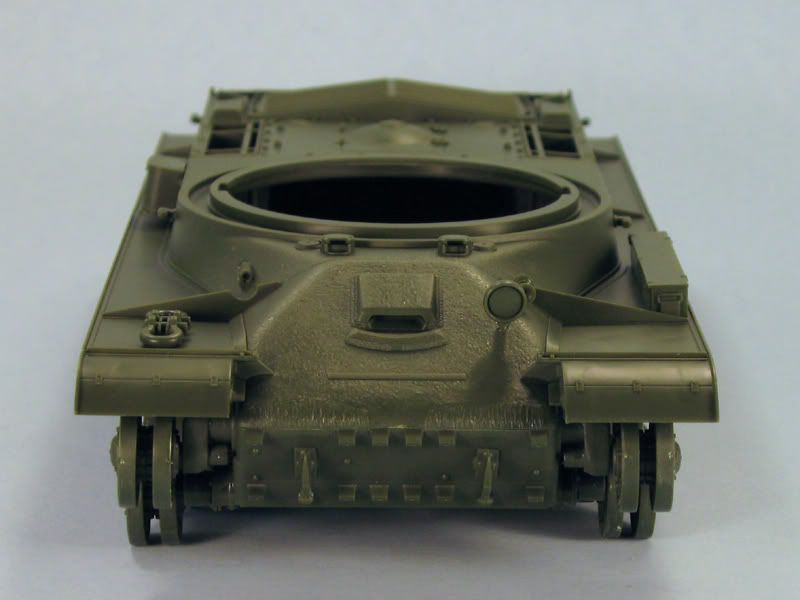
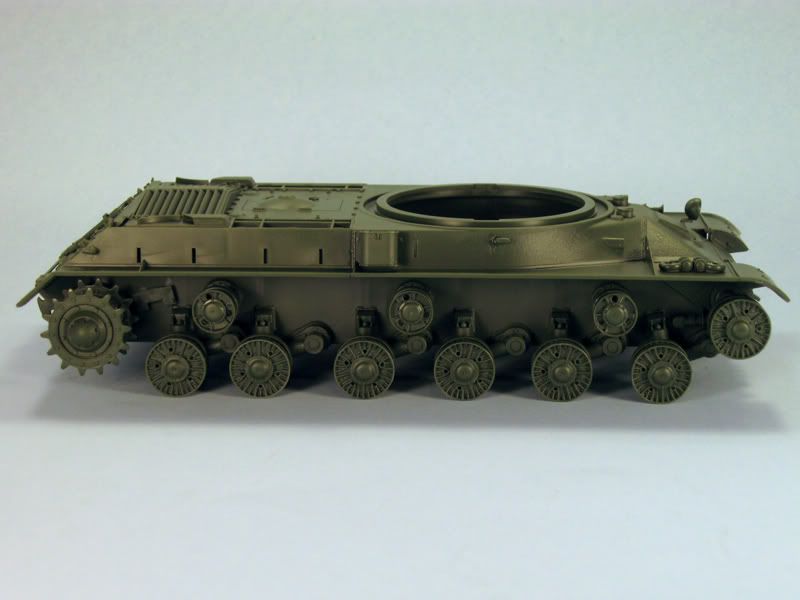
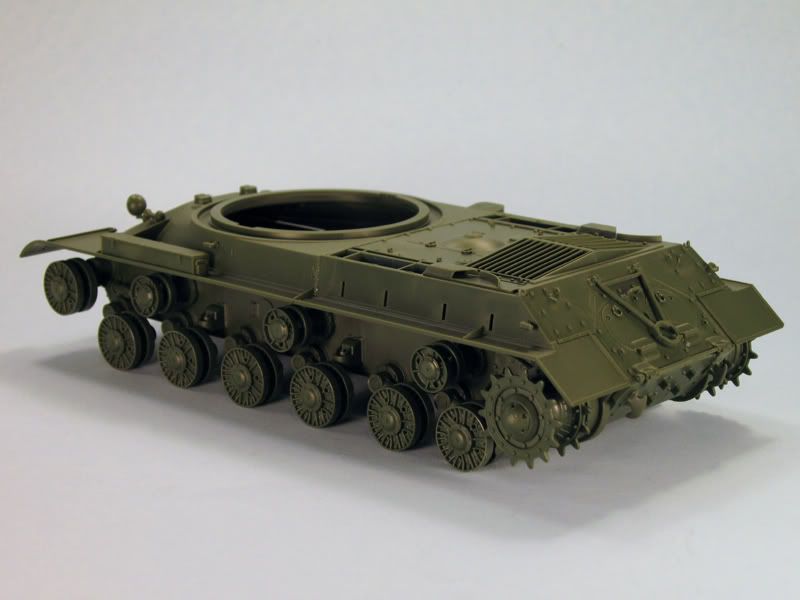
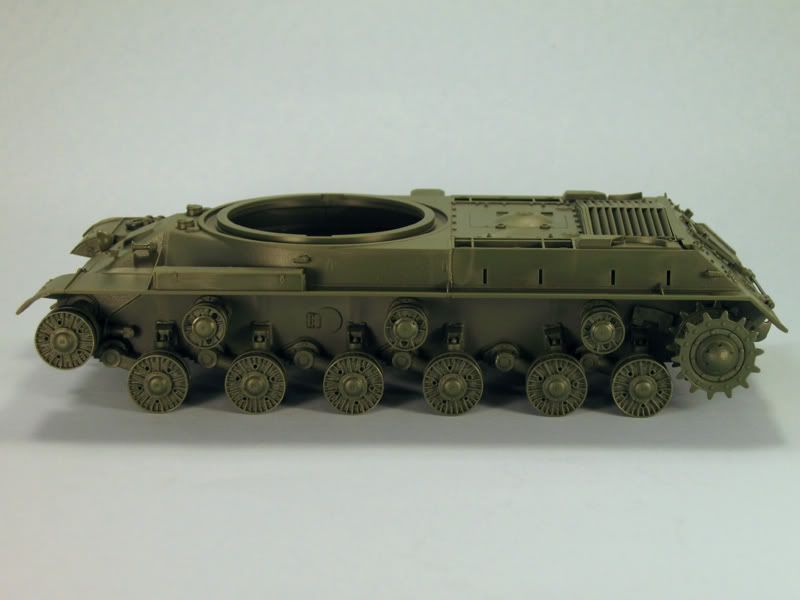
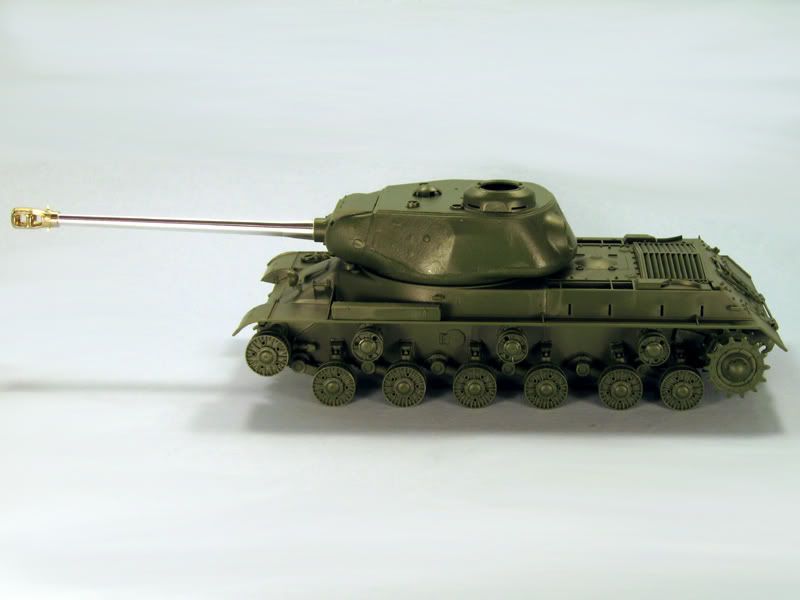
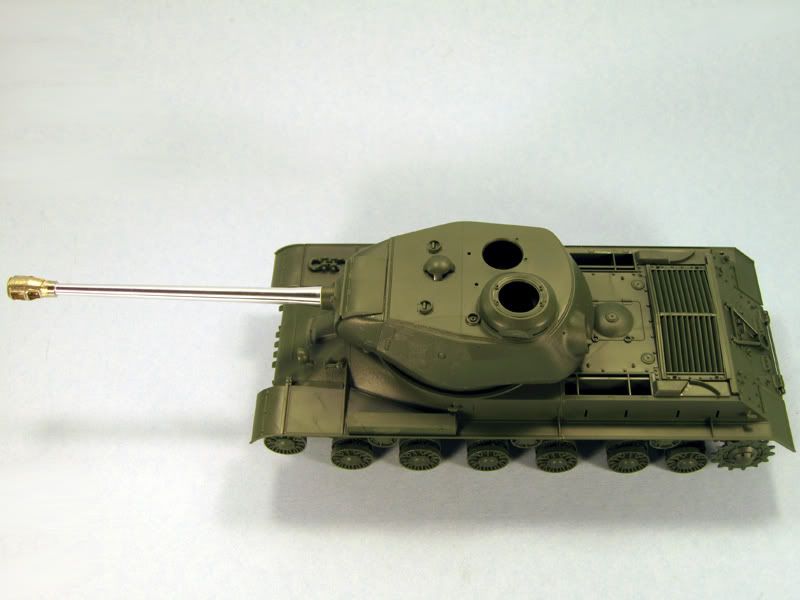
My Tamiya 1/35 JS-2 is back on the work bench. The lower hull is complete (except for the individual track links) and I’m working on the turret which should be finished tonight. I’ll work on the tracks in between paint coats and the decals. I went with the Aber 122mm D-25T Barrel and the Aber Grill Screens for the engine deck. I have two pegs I need to finish fabricating to attach to the base of the muzzle break, and I need to install the engine grill screens.
Finally! Photobucket has been giving me issues all day, finally got some pics uploaded. I didn’t feel too red hot when I got home last night so I didn’t install the hatches and handles on the turret yet, hopefully tonight. My goal is to have this thing in the spray booth this weekend. [:P]
Scott: That’s Tamiyas new offering, right? Great subject, looking good so far…adding the first coat of airbrush is one of my favorite steps, looking forward to seeing it! By-the-way, what did that barrel cost?
Yes, it’s the Tamiya kit. The barrel (and grill screen set) from ABER were given to me for free as review samples over at Armorama, which of course I have reviewed. The barrel retails for $25.95 and the grill screens $11.95. If you click on the links posted above you can see my reviews of them. [;)]
Well, finally returned from IPMS (2nd place for me!) and have now started my little 234/3, and added some scratchbuilding! This is my first 1/72 vehicle in a LONG time. If I have done anyone before, that is…
Anyways, the box:
The content were the instructions, the usual Italeri “attention” sheet, and the decal sheet. Not to forget, ONE single sprue:
I got the option of doing a “skillfull” version, or a “fast and sturdy” version for wargaming… Skillfull for me!
I did step 1 relatively quick… it is nearly a 10 step kit. I did take some inspiration from an unbuilt 234/1 in 1/35 by DML that I have, which shows a rail crossing underneath got bolts… I replicated this with some scratchbuilding:
Well, new update. Interior. Now with more scratchbuilding… Yes, in 1/72…
The two panels you can see running on either side was to cover up some nasty holes where the suspension parts fitted in… You can see a pair of them in the engine room:
Here’s the rear steering area… made some gauges as well. Also a box with hinges and everything just to fill out the open space:
Here’s the front steering area. Had to scratchbuild the entire panel, as well as the usual gauges. Also a battery on the side:
Detail picture of the battery. Darker light for seeing the details a tad better:
Also, the gauges were cut out from these parts:
They are some spare (4 of them all in all) which is made for the “fast and durable” version, where these rods replace the entire suspension system. As they change the size all the time, perfect for using as gauges!
Too little activity here around now… Come on guys!!! Atleast let the new one in aswell!! [:D]
Perhaps…
Anyways, came a long way yesterday and today… Interior painted in light grey, which is a tad more off than the offwhite used in German AFV interior. Washed it with burnt sienna oil, and took a foam dipped in black grey and made the chipping… The detailpainting such as highlights, gauges, seats and bare metal…
And then ofcourse, I tried my brand new MIG Pigments for the first time ever, and the result, I’m very happy!
Back to front:
Front to back:
Top to bottom:
Detailpicture, front to back:
And to show how damned small this thingy is;
Got to admit, this is by far the most prettiest result I’ve achivied… Now let’s just hope I’ll get the outside to look great as well…!