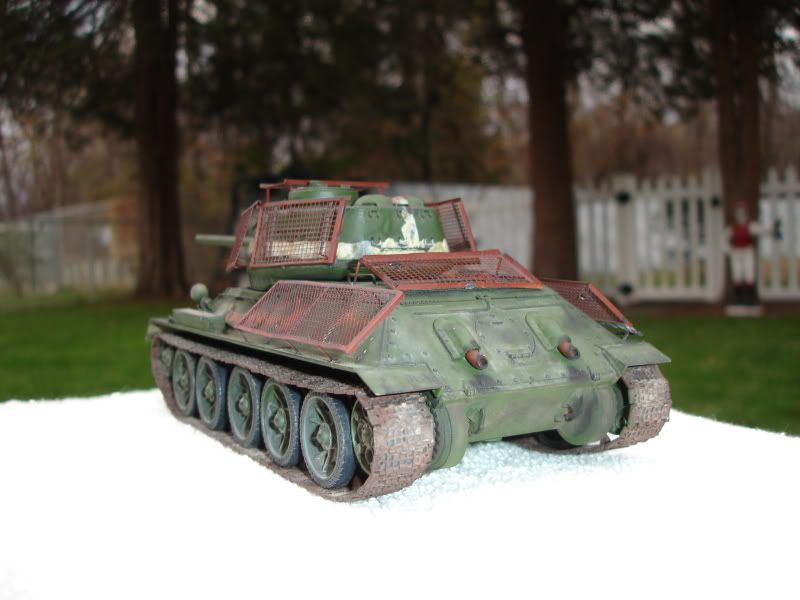
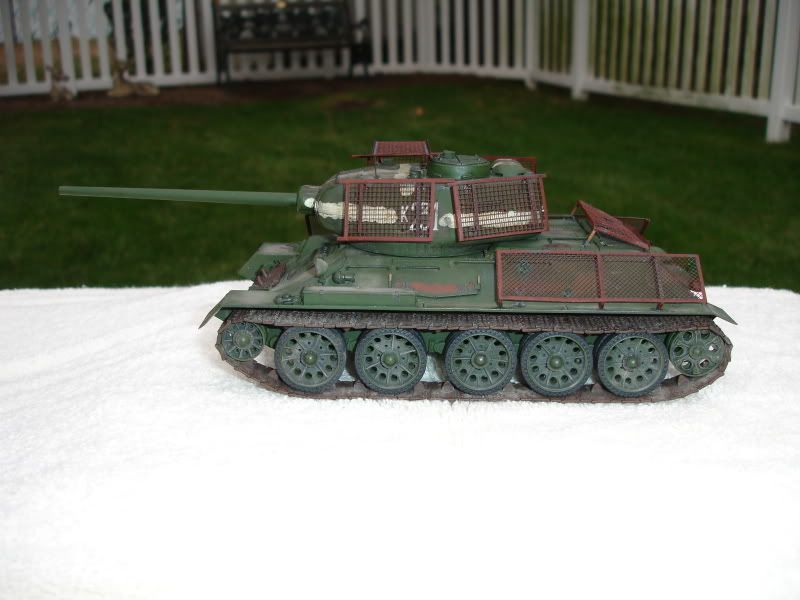
I got my Berlin Street Fighter done today.It was a faily simple kit.It was my first use of magic tracks,they were OK ,I got them together but I didn’t see the magic,of course I like Friuls better,but who wants to use them on every kit,too much $$$.but the MT’s were ok.The PE screens went OK also,as far as the microscopic PE clams and such are still too small to deal with,maybe on a future kit.I washed and weathered it,didn’t bang it up too much,figuredthey didn’t last that long.Overall I was fairly satisfied and I enjoyed being part of this build,hope to see a lot more good stuff before it is done.
Great finish on the build, Anthony. Only thing I’m thinking of is maybe some more steel-colored drybrushing on the bedframes? I can see some in one of the pics, maybe it’s just really subtle.
I’m going to steal an idea that Dave (razordws) did with the Weekend Madness GB and post a finished pic of each completed build in the first thread on page one so it will be easy to see a recap of the fantastic work going on here. I probably won’t get around to doing that until this evening though.
Now that the Weekend Madness GB is over and I can come up for some air I’ll get back on the JS-2 now. [:-^]
anthony2779: That bedspring armor is the crowning touch to a real jewel…great build! It’s getting me fired up to start my T34/85…I brought the kit out of the stash over the long weekend!
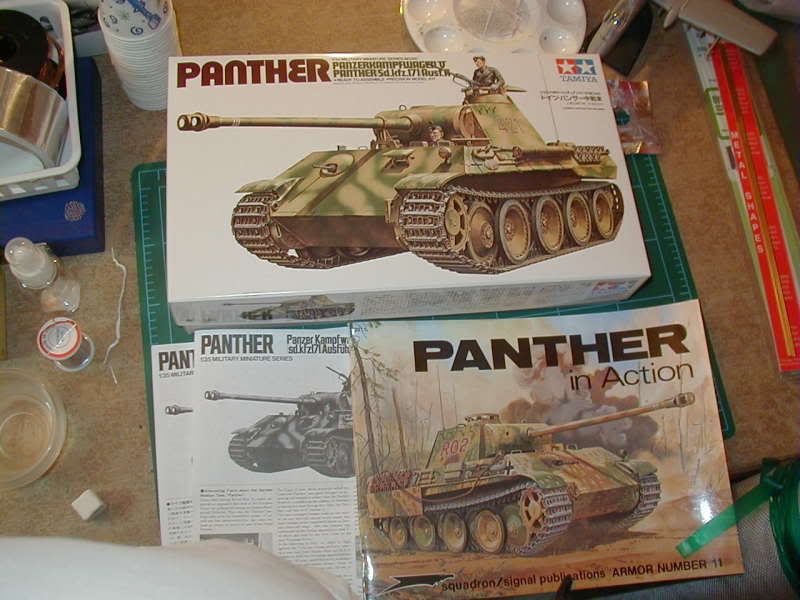
Finally have some time to actually start building my Panther. I have been humbled by the quality of workmanship and skill i have seen posted in this group build, but have decided to forge ahead anyways
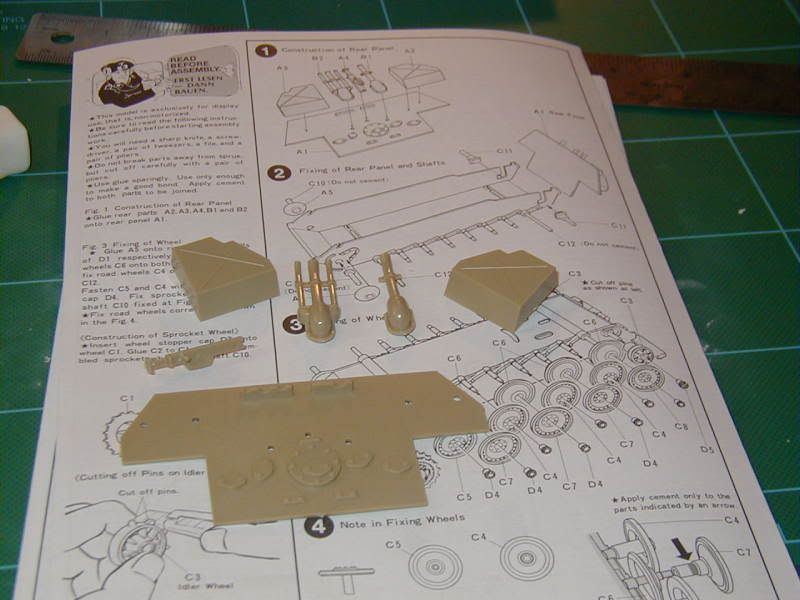
Fresh in the box and my reference material.
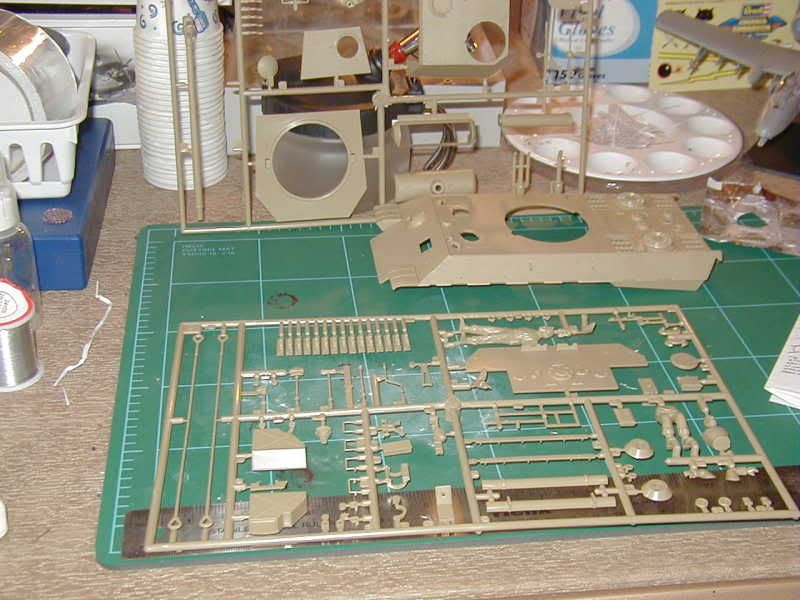
Unsullied sprues, ready for the tender touch of cutter and glue.
I started with the rear panel, per the instructions, gluing into place the exhaust, jack, and supply boxes.
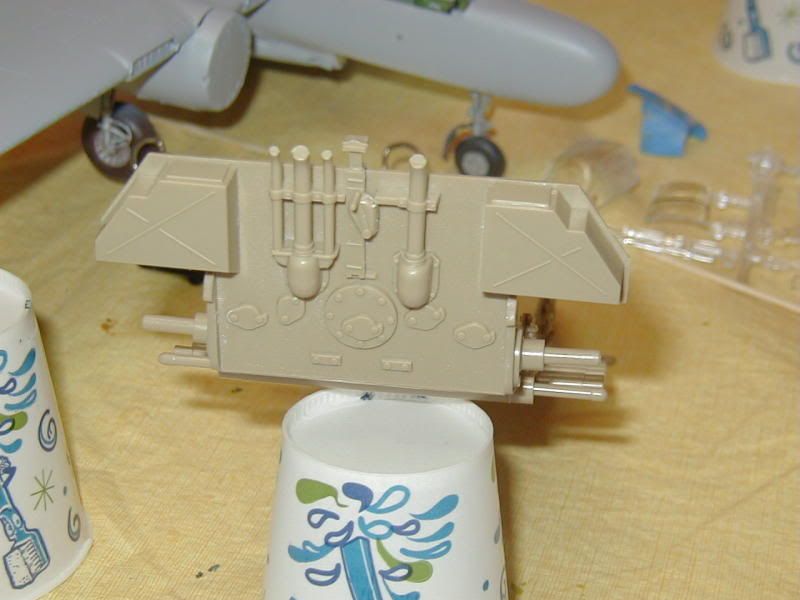
Back panel in place.
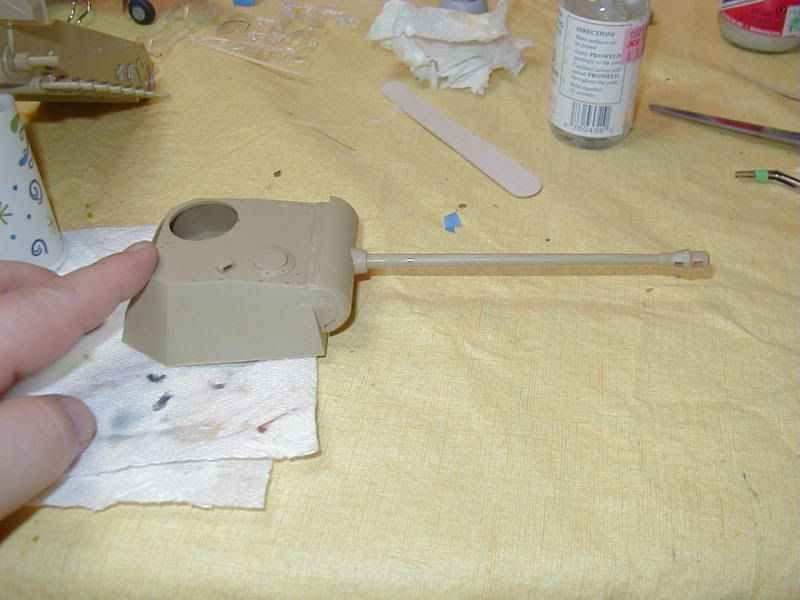
Partial turret completed. There is a slight seam on the barrel that I will need to clean up.
Essentially I am avoiding working on the road wheels and idlers for a bit and putting together the sub assemblies. Also still working on a solution for screens for the cooling fans. Screens I think I can do, but not sure how to handle the frames yet.
Good effort on the pe. I like the mangled tool-box. It looks like you might have a problem with the air pressure on your AB, it’s splattering. Try turning up the pressure a bit.
Cool Stick Man. Everyone’s compressor works differently. I was talking based on mine, which isn’t fair. If mine is too low it splatters like your does. I don’t think it can be too thinned down. Of course, the AB can have a great deal to say about it also.
Oh youed be suprised my paint was realy thin after I had done the preshading I did’nt take it apart and clean evrey bit like I normaly do after every coat I just ran some water and thinner through it since I was going to paint again in like 30 seconds so whene I started spraying not much was coming out so I assumed the paint was to thik so I added tons of water and buy the time I had figured out that it was just a bit of paint dryed on the end of the nosle I only realy had coulored whater left so I added more paint to the mix but not quite enogh and it splatered a bit but it’s nothing I can’t live with.
I’ve also started the weathering and I think I’m going to go with the red star decals unles I’m told otherwise soon.
stick man - Looks good, I built that one earlier this year. Look up Biffa’s (Ron Goins) Russian Armor Weathering tutorial in Armorama, I have the linky:
I also get that splatter patter out of my AB almost ALL the time, been banging my head (well, figuratively of course) as to why… maybe the amibent air is too cold (I AB in a non-heated attached garage)… I will crank up the psi, see if that helps…