Glad it worked for you, Phoenix. I have found Vallejo putty to be especially good for this method, and easy to work with since it is water based. I have also used Tamiya putty but that needs lacquer, and is a bit more difficult to work with.
You probably will need to do one or more applications of Vallejo, since it shrinks when it dries. But yeah, prepare to get your fingers messy- Good thing is you can wash up with soap and water.
You’re the king of the links Rob. Thanks for sharing that and thanks Tanker-Builder for creating that post. I’ll have to give it a try the next time I have some seams or gaps to fill.
There are many ways to tackle the issue of fillers. Finding one that works for you is the issue. It has taken me several years to find a method that resonates with me. Then, depending on surrounding detail and such, it may be best going another way. I find myself adapting to the situation at hand.
Perfect Plastic Putty works well for things like wing joins. Apply it then wipe it smooth with a moistened cotton bud. Easy work and it does a good job. No sanding required.
For other small joins, I use Tamiya Liquid Surface Primer. It comes in small jars, like the glue. You brush it on. It usually requires two applications to get a perfect filling. I like that stuff too. It sands and feathers nicely.
I use sprue-goo too but it shrinks. Depending on the thickness it might require a second application. But the stuff is strong, sands like plastic, and often the color will match since it is made from melted sprue. I like to use it as an epoxy adhesive as well. It literally melts the two pieces together. It is a strong bond. It also works well to repair delicate pieces that are broken or even a short shot. I used it to repair a section on my Nautilus that was short shot.
For deep imperfections, I will use Tamiya Putty or Sprue Goo. If minor defects remain I use CA or Tamiya Liquid Primer to smooth it all out.
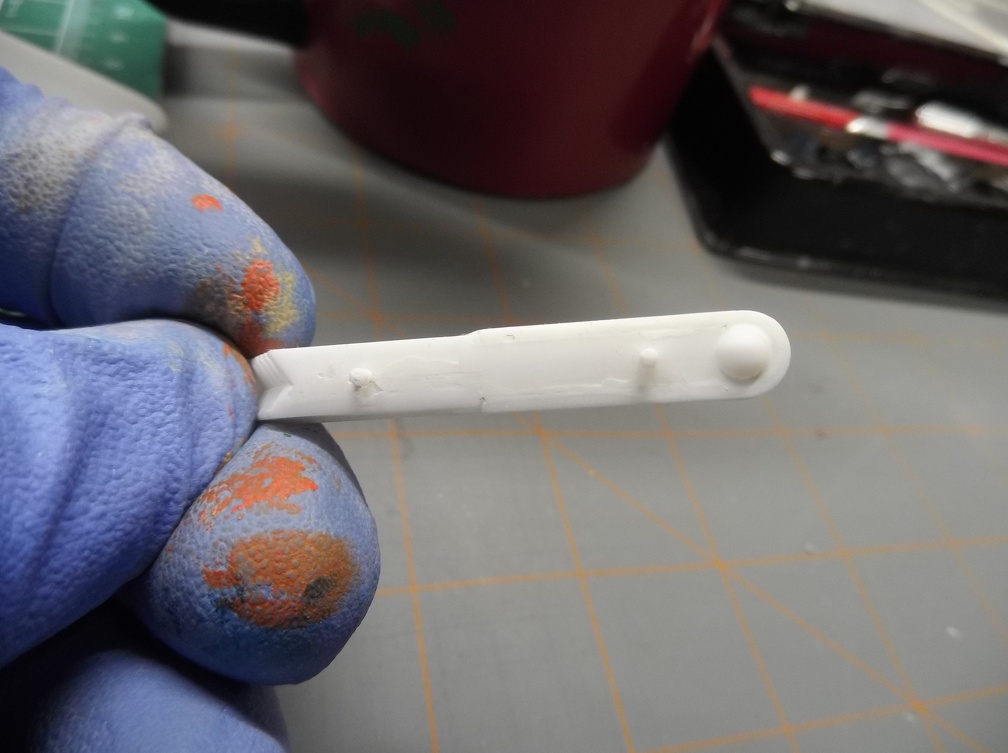
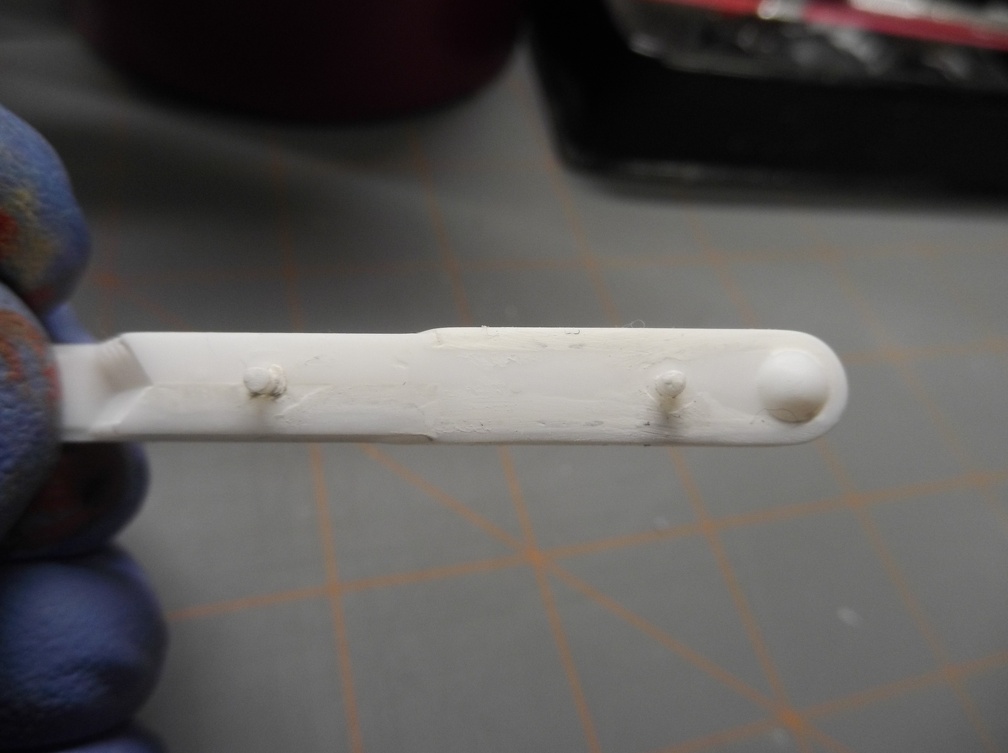
It’s beem a little while since my last post. So quick update.
Priming revealed two things. One, the main hull needed more sanding and filling. Two, I unknowingly added lots of flat spots on the half spheres on that were on the lower sides of the nacelles. They look more like poorly done dodecahedrons than spheres now.
Thought about attempting to fix them but decided not to. In most viewing angles you’re not going to get a good look at them. Chalking it up as lesson learned and to be more careful of in the future.
Confirmed that if you use a paint dryer to cure Vallejo primer it can be sanded. I’ve never been able to sand Vallejo primer even after air curing for weeks. It always resulted in peeling or rolled edges, however. Letting it cure for 24 hours at 120F and sanding was no problem at all.
Parts needs another coat of primer now that the second round of filler has cured. Once that is done will start with a base coat of white grey. Black grey for the nacelle fins and some sort of silver/steel/aluminum for the shiny bits. Most of the rest of the color and detail on this model will be done with the decals.
Don’t have any new photos to share as it’s just been priming and base coats.
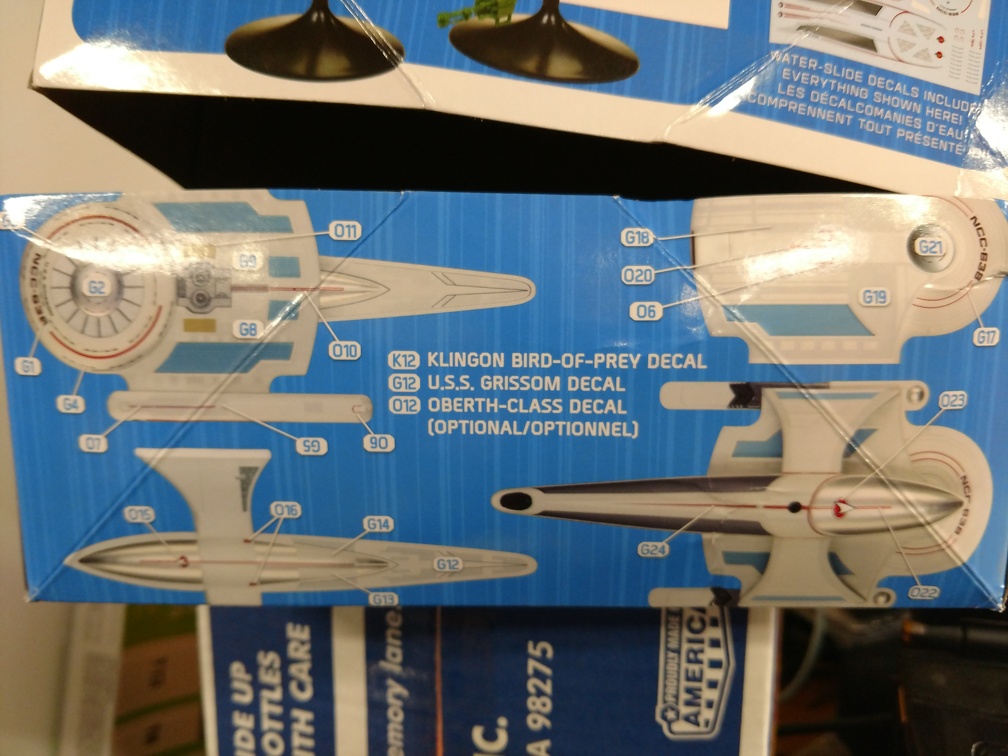
The box instructions indicate an aluminum color for sections of the secondary and upper hull, but I’m not sold on that look.
I’m thinking of doing all the secondary colors as a blue gray. I think visually it will flow better.
There’s also those teal sections. I don’t have that specific color. Will have to experirment with what I’ve got and see what I can get. Possibly some sort of blue/green mix…
Oh well, she’s looking good! It’s hard to judge colour on any sort of TV/movie models considering how they can look totally different under different lighting. I like the blue-grey though, it sounds like it would look much better than the aluminum.
I think it’s true of all builds, but perhaps because the ships of Star Trek are so iconic and clean in their look, being a little off can have a disproportionate impact.
My goal is always to have fun. If colors match great. If not, then I learned something new!
I ran across this qoute that I felt reflected what modeling is for me.
Happiness does not come from doing easy work but from the afterglow of satisfaction that comes after the achievement of a difficult task that demanded our best.
-Theodore Rubin
This hobby present all sorts of opportunities to elicit the best in our capabilities and there’s nothing quite like that moment when the build is finished and can step back to witness the fruits of ours labors.
Apologies for going off track and waxing philosophic. To many paint fumes from mixing colors. [:D]
I think the blue grey will go better as well. The aluminum is just to shiny for my liking. Thank goodness for artistic license!
Being male I could also plead color blindness. [:P]
Quick tip, having eyeglasses that are tinted to relieve eyestrain from staring at computer screens all day are horrible for painting. They add yellow to everything. I learned my lesson and will never being getting tinted glasses for every day use again.
I learned the hard way not to brush paint with Vallejo Model Air. It does not apply well.
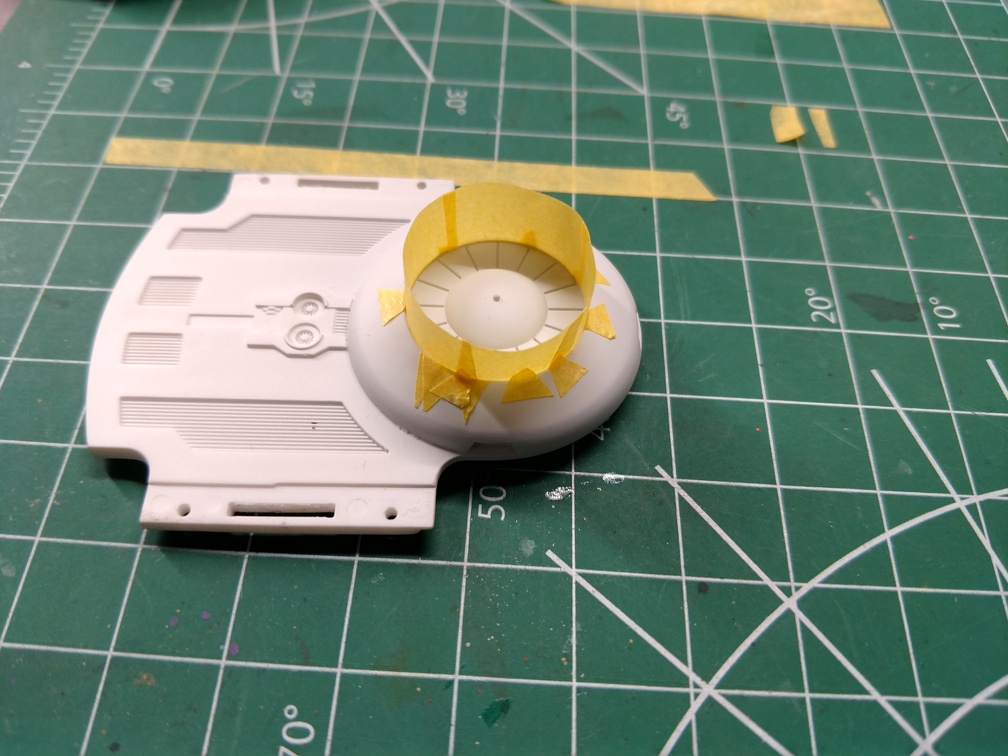
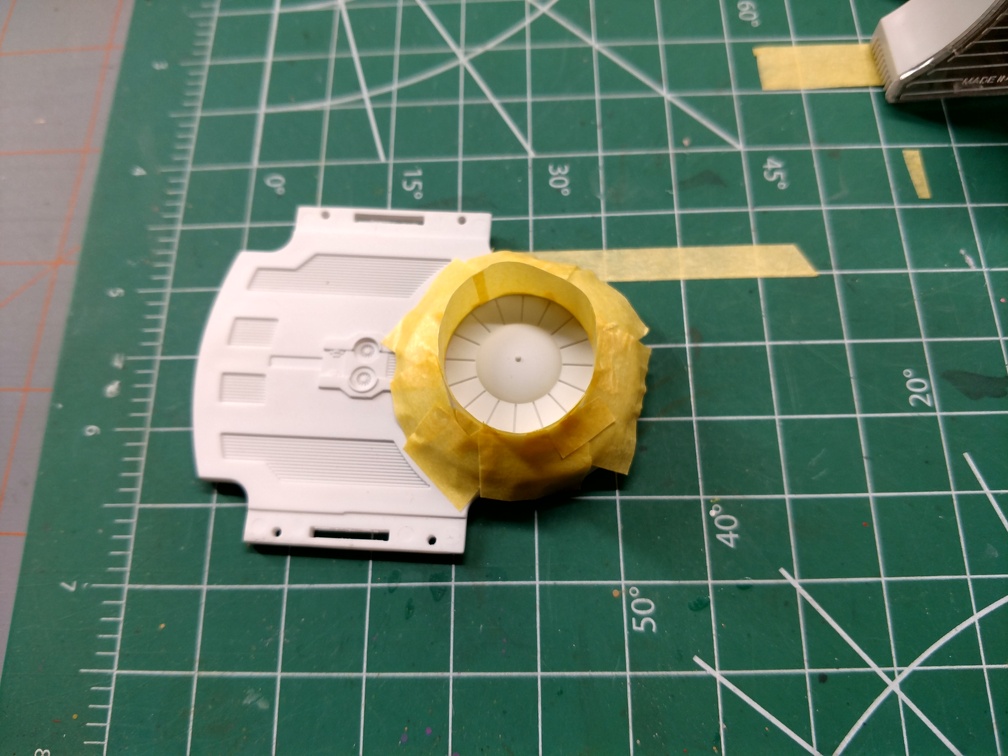
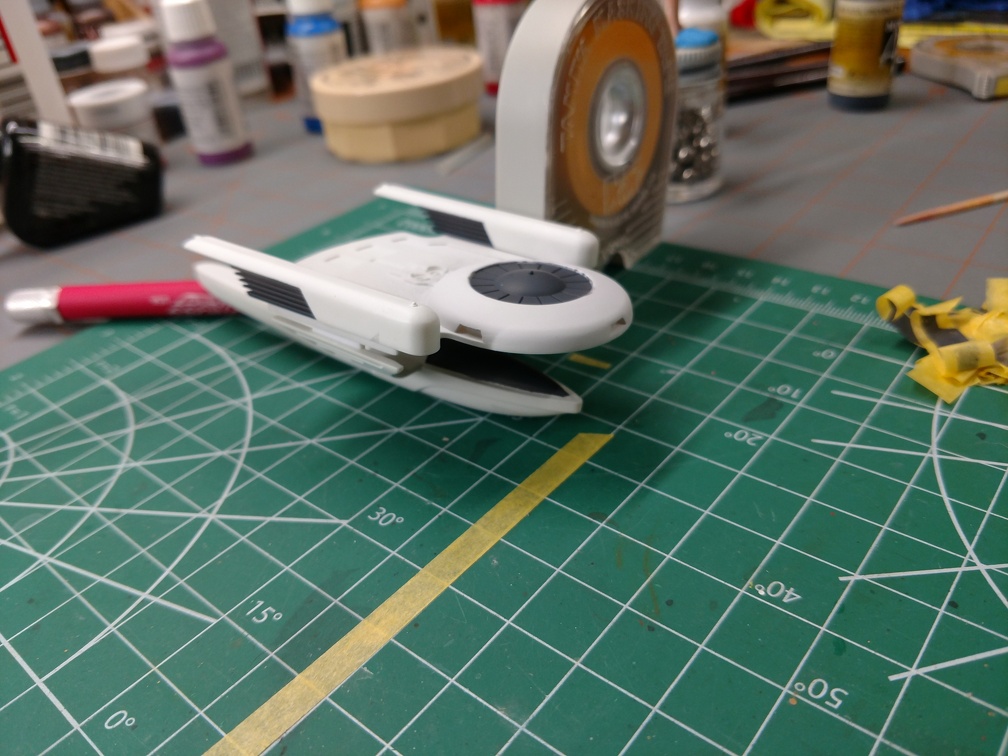
Rather than tediously add lots of little pieces of tape to conform to the outside edge of the upper saucer I got the idea to insert a cylinder and then use the airbrush inside it.
Added a some tape around the edge to reduce overspray.
Not sure how well this will work. Fingers crossed!
Listen Phoenix, It’s as close as your workbench! Do you have a Bottle of Glue that’s about three quarters used up? Good! Now take as much sprue as you can find. Put it in a large Ziploc bag. Put your hands in there(One to hold and the other to cut) and cut, The Sprue into 1/8" pieces. One very important thing to remember though.
Do NOT mix the color of sprues in the bottle. That will give you fits. One color and from one model.That is how I maintain consistancy. Now that done, You can adjust thickness also, By adding more sprue. I keep six bottles of it available. One in Clear, One in Light Grey, one in Black, One in "Daytona Red"A Revell Color that comes from the re-release of the 57/58 Cadillac Eldorado Brougham(Now by Atlantis). It’s good color easily matched for continuity. Then White and lastly Moss green. It’s a RailRoad color so you may want to keep another color handy.
I try to keep them Three quarters full, at all times adding a few drops of glue from time to time to freshen it. Stir well every once in a while and the stuff will last! Make sure to Cap the bottles tightly after use(Don’t break the cap) but make sure it is tight. Remember, it’s cheaper than the Putty, and will definitely do the job. Use the clear to build edges up where the canopy or windows don’t quite match up!
The Clear is the only sensitive one. You Must use the clearest sprue at all times. Hold it to the light. If it is pure it will look a slight bit “Icy”. If it isn’t, it will yellow slightly in the bottle. This one also, keep in a drawer or dark spot in your work area! Drop as many pieces in the bottles to achieve the thickness you want. Seal the bags and keep the remaining for later. Don’t forget to add to the bags from time to time. keep these labeled and in your work area, easy to find and then You’re “Good to Go!”
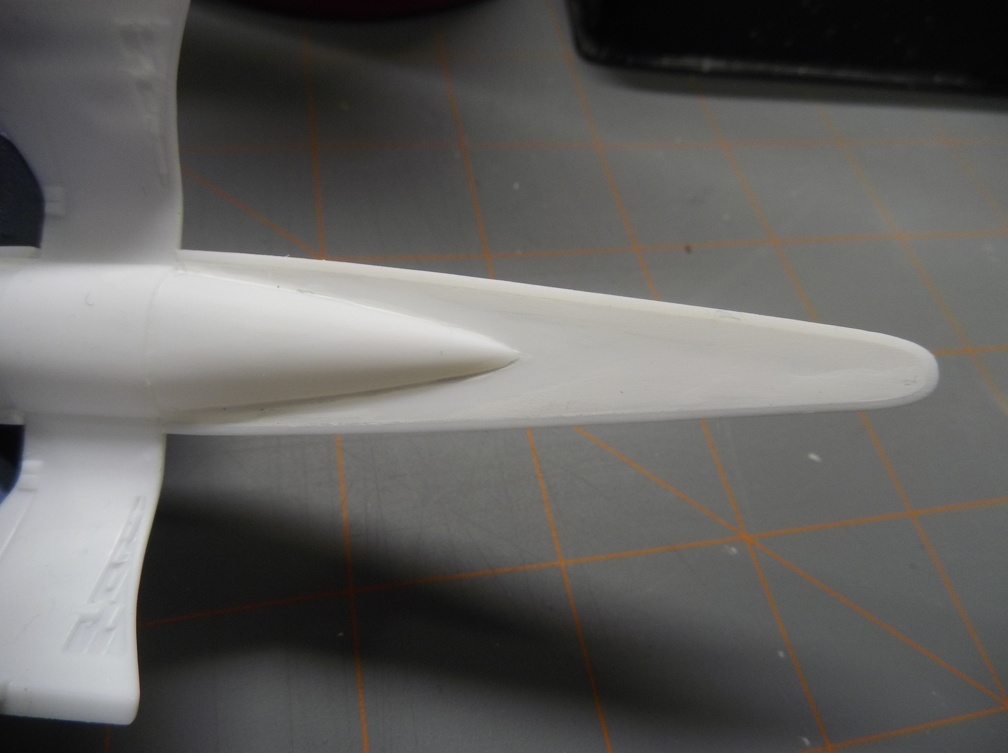
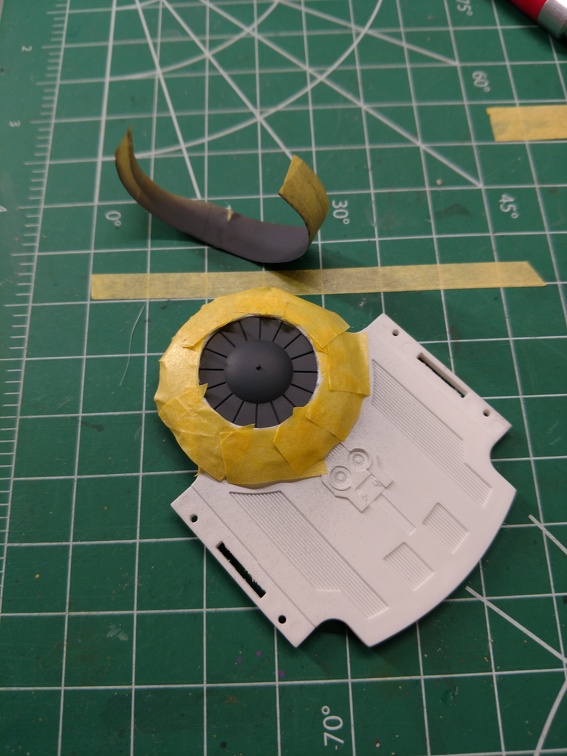
I think the experiment while not a resounding success turned out well enough.
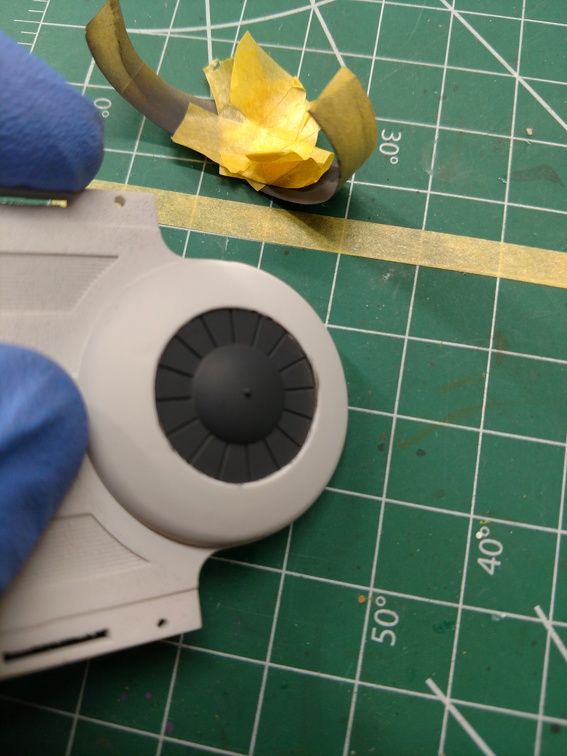
Some minor fixing needed to address where paint bled underneath the mask along with some overspray that’s hidden under my thumb. However, nothing major which is great!
Unfortunately the masking on the lower hull wasn’t as consistent as I had thought. It’s always such a pain to mask the line where a curved line meets a flat plane.
However, it’s again just some touch up and it should be good.
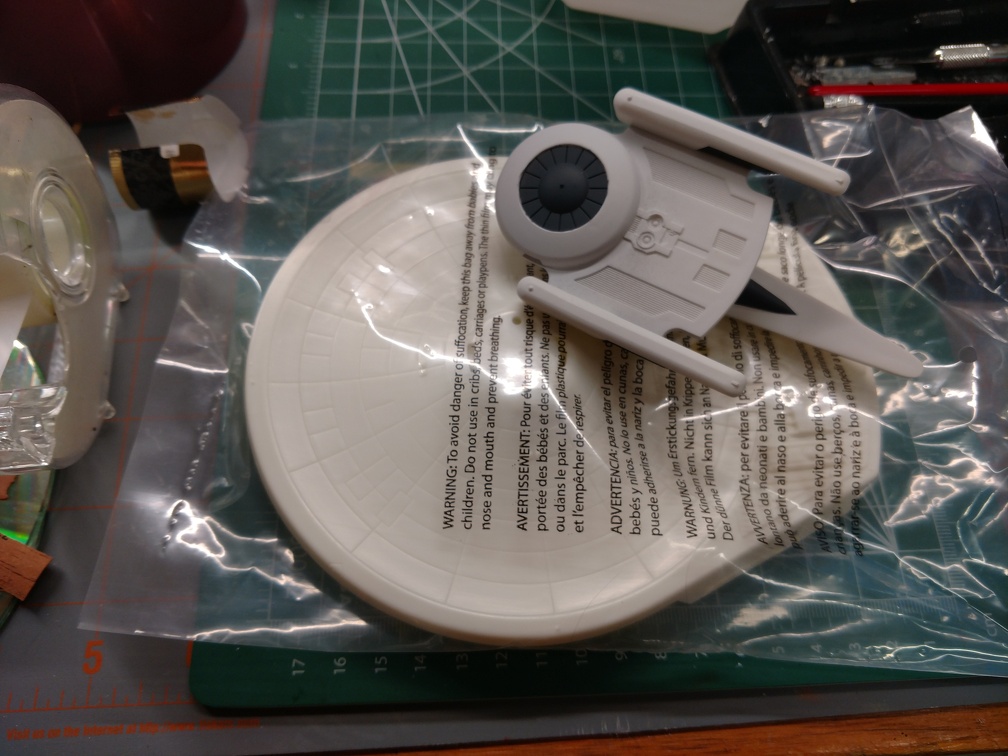
At the same time I picked this up I also acquired the Reliant in the same scale. Seeing how tiny this ship is I was really curious to see how the Reliant would match up.
She’s looking good! It’s a pain to mask a kit that small.
Yeah, she’s a small ship. The old FASA ship’s manual gave the ‘Gargarin’ class ships like her a crew of 78. It’s probably been reconned at this point though but still she’s a small ship.
Also she’s got a weapons rating of 0.5 as compared to the Klingon Bird of Prey’s 21.4.
The included Bird of Prey was a big clue but it just sailed over my head. Star Trek III & iV pretty much established the size of the Klingon vessel which I think they said was crewed by 15.
With such a disparity in capability it’s no wonder she was taken out with one shot.
Of course that got me thinking about the “Undiscovered Country” and Chang and his propensity to quote Shakespeare in the original Klingon. Imagine what the comm chatter would be like if Chang and Kahn got into a fracas. I’m thinking Shakespeare in the park, except with photon torpedos and phasers!