I just perused this thread/GB and gotta say there is some fine craftsmanship and ingenuity on display! I started a project this past Friday so I’ll catch you up on my progress so far.
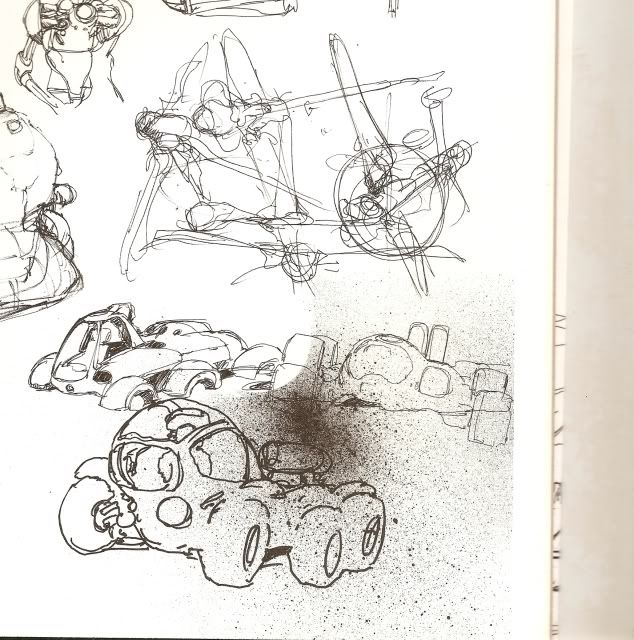
It’s from the Ma.K. genre and is based upon a sketch by the creator of Ma.K., Kow Yokayama, which AFAIK has never been fleshed into a model yet?
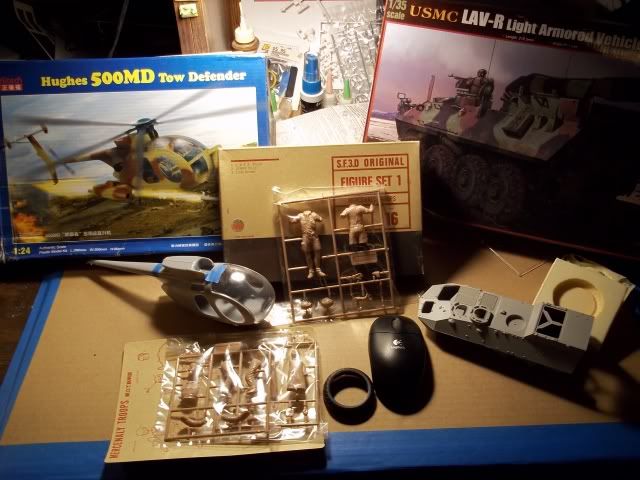
A quick rumage through my stash identified some victims, um donor kits.
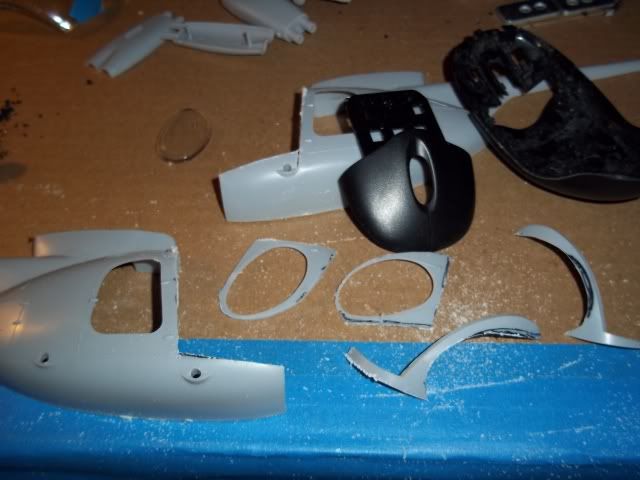
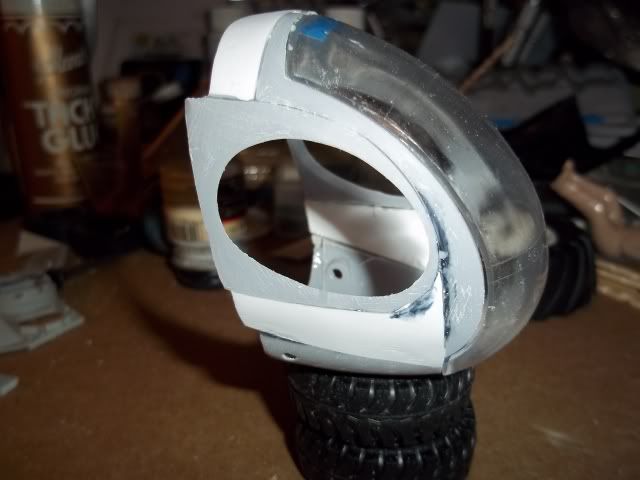
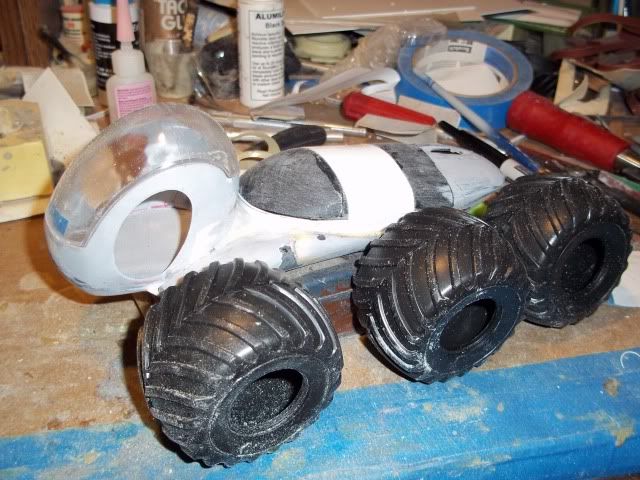
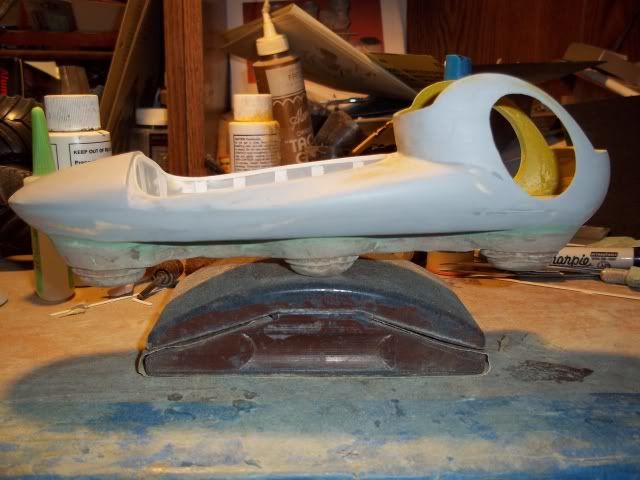
Started by chopping up the copter and reorienting the side windows while closing the gaps in the cab structure that resulted from the removal of the fuselgae/airframe.
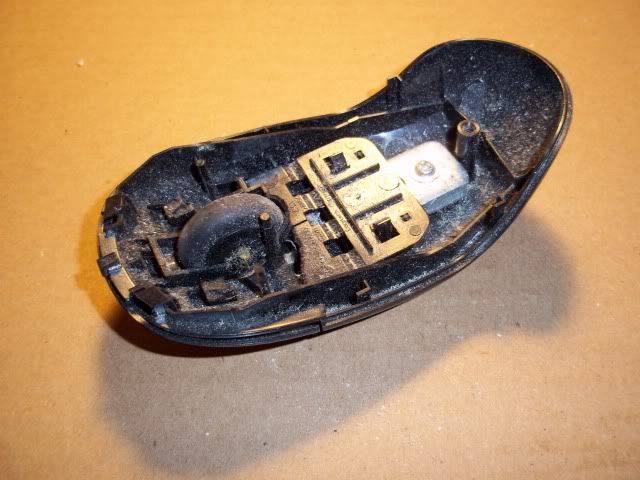
A mouse came within my reach and fell victim- okay, became a donor.
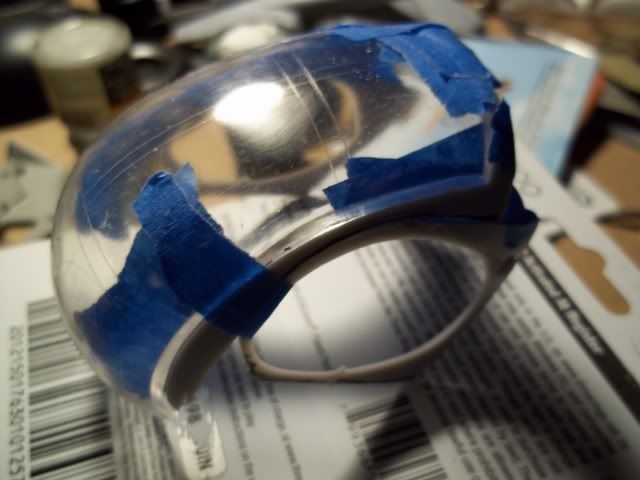
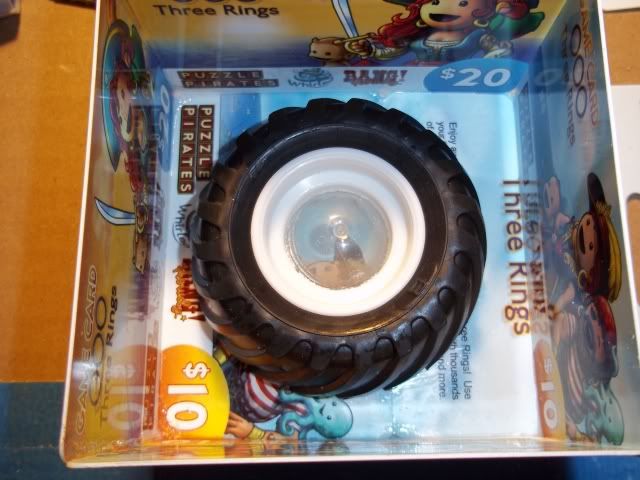
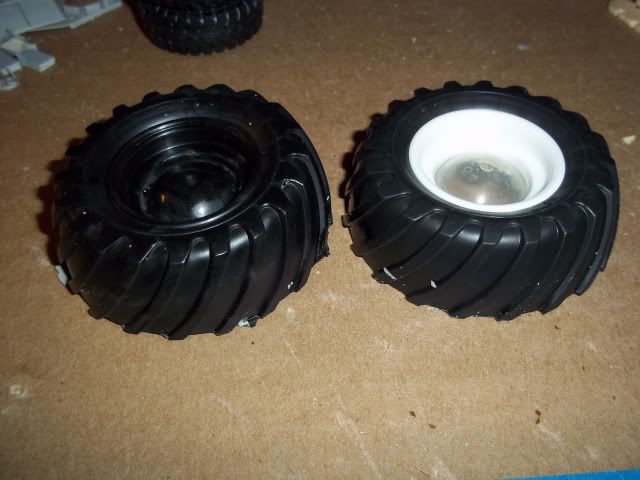
Some tires/wheels will be needed so were cast.
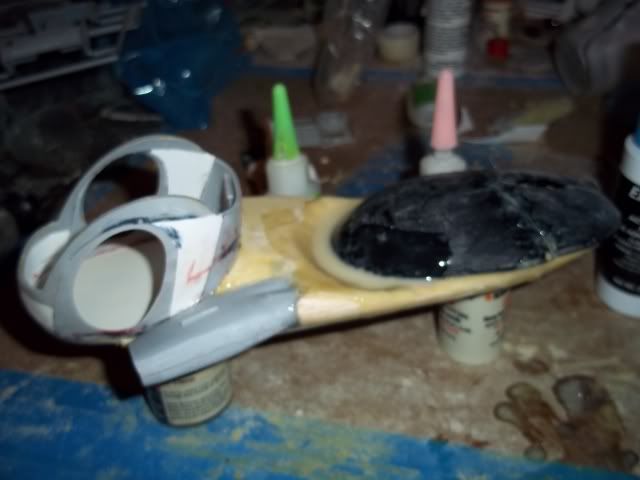
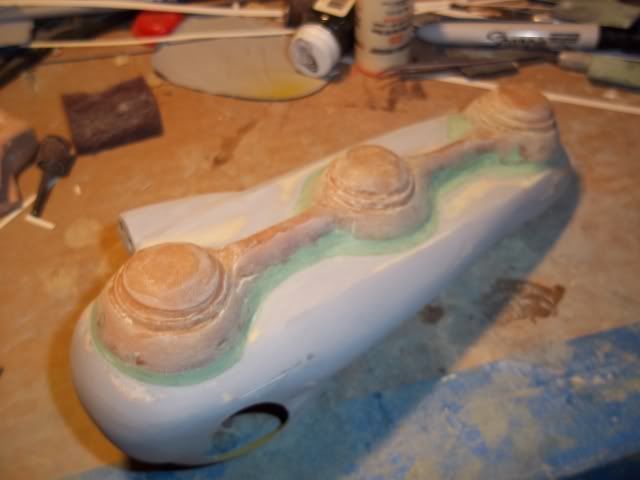
The base structure was fashioned from wood which was skinned with resin. Very little wood was left after whittling it into shape and then sinking the recovery bed into it, There’s about as much resin/styrene as there is woodt.
A backbone to hang suspension off of was sculpted with Sculpey C;ay which bakes hard.
Knowing that a trademark of Ma.K. is mechanical representation even when it doesn’t make engineering sense I’m setting about to have some on the suspension/drivetrain since the body is unusually devoid of such.
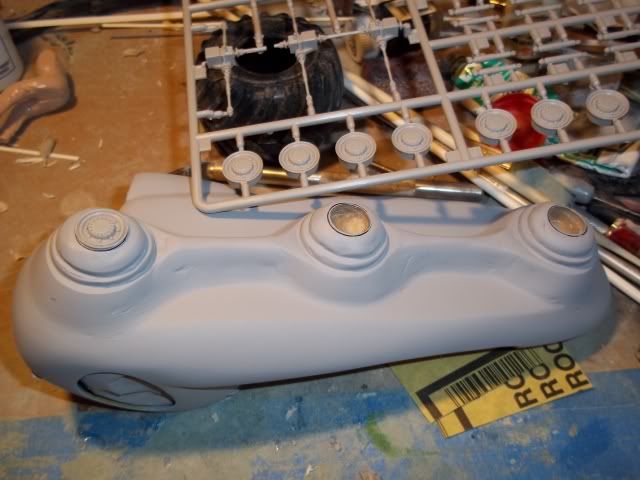
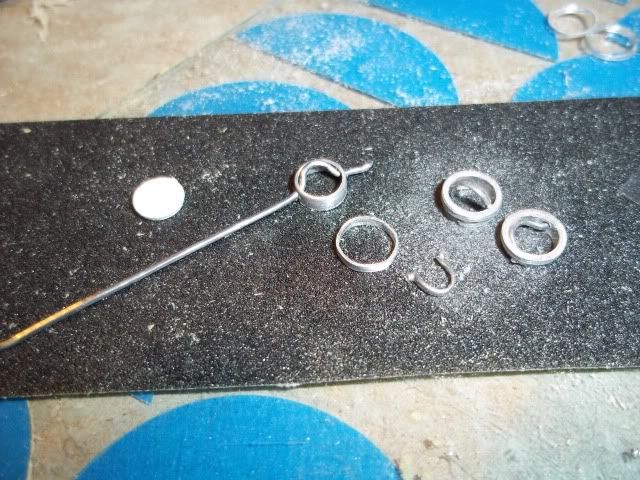
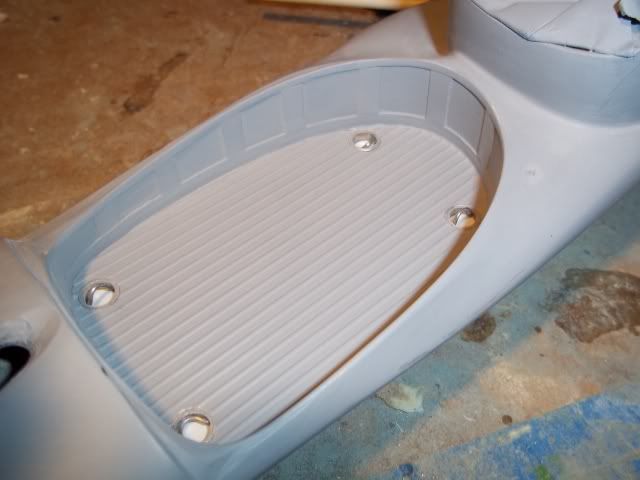
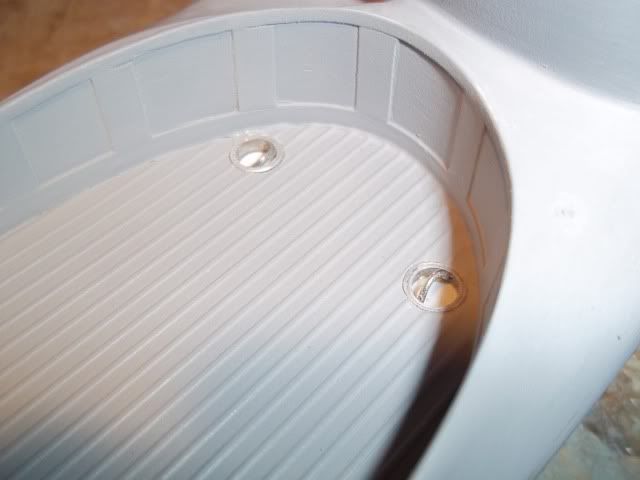
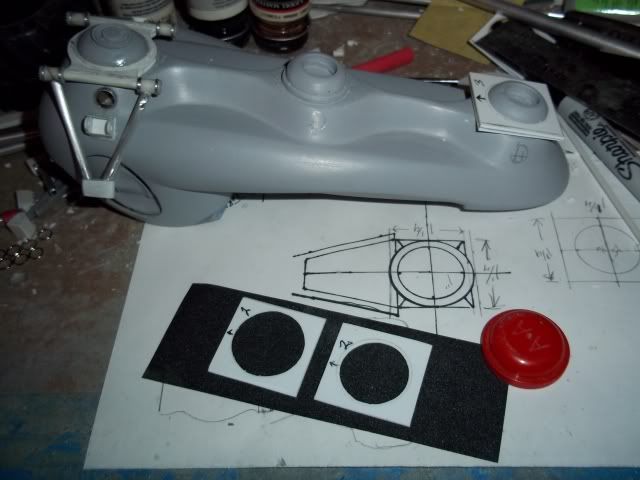
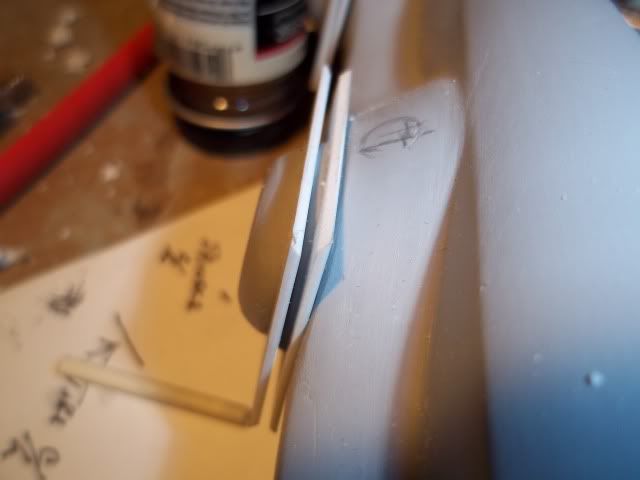
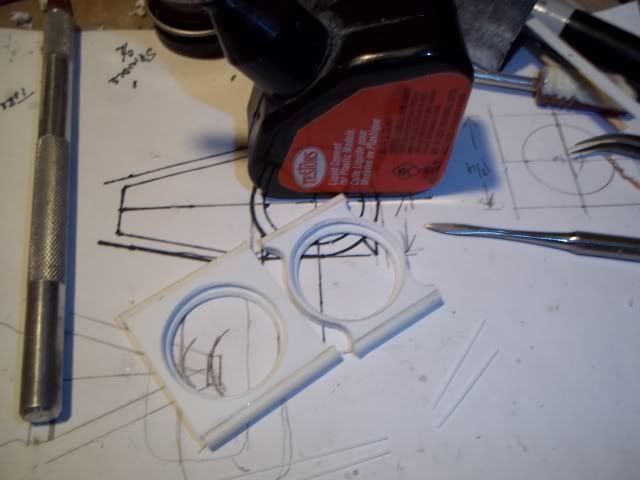
The cargo bed needs some tie-downs. Could have just been like ‘grab handles’ but I wanted them recessed into the floor. Set about to make such. Needed an upper lip too so they could sit more flush.
And that’s where I am. I have a “body” sorted so now I can get to the fun of filling the cab and making the suspension and such.
Great to be a part of this GB and I look forward to some fun!
EDIT
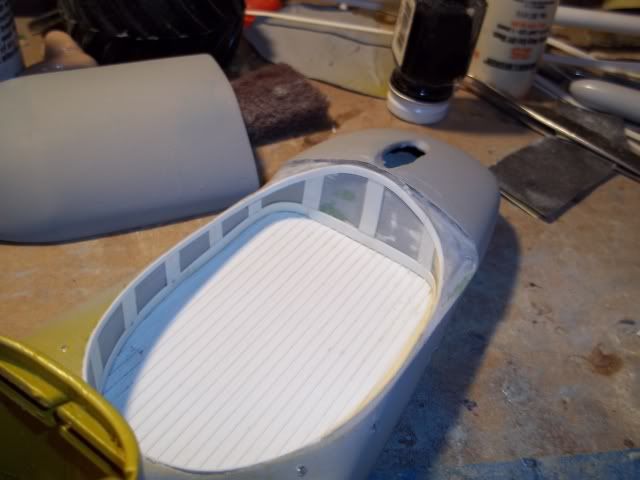
And here are the four tie downs sunk into the bed and still operable.
I tried to match the paint scheme in the instructions but by the time I matched about 80% of the wings camo I gave up and improvised my own over the fuselage.
When I finish this coffee it’s time break out the solvaset, scissors and decals.
I can see how your scratch built project will require more than a weekend to complete, excellent work thus far and looking forward to the finish line for your lunar buggy!
Kermit,
Another project? P47’s are a good subject to add scratch built modifications, first off the gun barrels can be swapped for hypodermic needles.
ruddrat,
Your biplane is looking good, excellent scratch built rigging fasteners.
Casper the Chihualualua,
The Me 262 is turning out great, for many decal time is a relaxing way to wrap up a good build.
Last but not least:
vetteman42,
I will follow your build as in the stash is Edwards FW 190A in 1/48 scale. It was signed up for Daywalker’s GB but Chwat and time issues (work, life) never gave it a chance to materialize on the bench on time.
Turned barrels? I like to have a assortment of hypodermic needles for gun barrels, I never paint them just anneal them with a lighter until red hot. This gives them a good color (blueish gunmetal) Pharmacies have smaller sizes, veterinarians carry larger ones. The good thing is they do not sell them as such so more than likely (if you explain the use) you will get a bunch for free or next to nothing. I paid 1.60$ CDN for about 20 last time at the vet.
Took a few days to debrief from Weekend Madness, looking forward to continuing (finishing) Chwat. Next off is better skirt armor hangars out of aluminum. Currently Chwat is suntanning on the kitchen window ledge. (Trying a natural way to fade paint)
Thanks “SF”! Now that I realize the folly of thinking I was going to do a simplified version over one weekend I have slowed down and will throw some more at it.[;)]
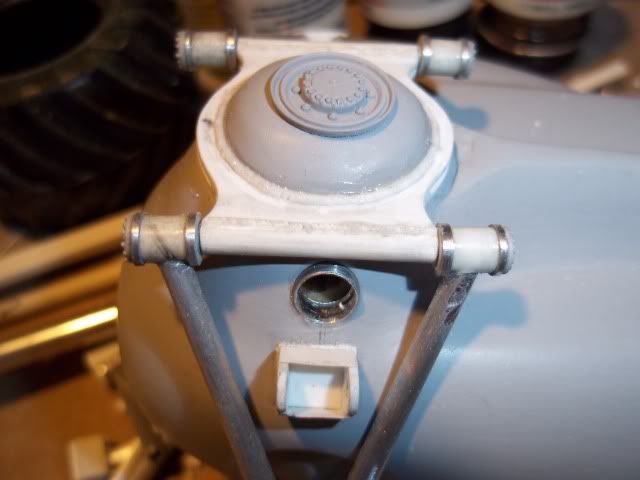
Needing attachment points for the lower control arms came up with a platform that fits the backbone already in place. Added some weld beads since this is where the detailing will start coming out. No pre-planning here, just winging it!
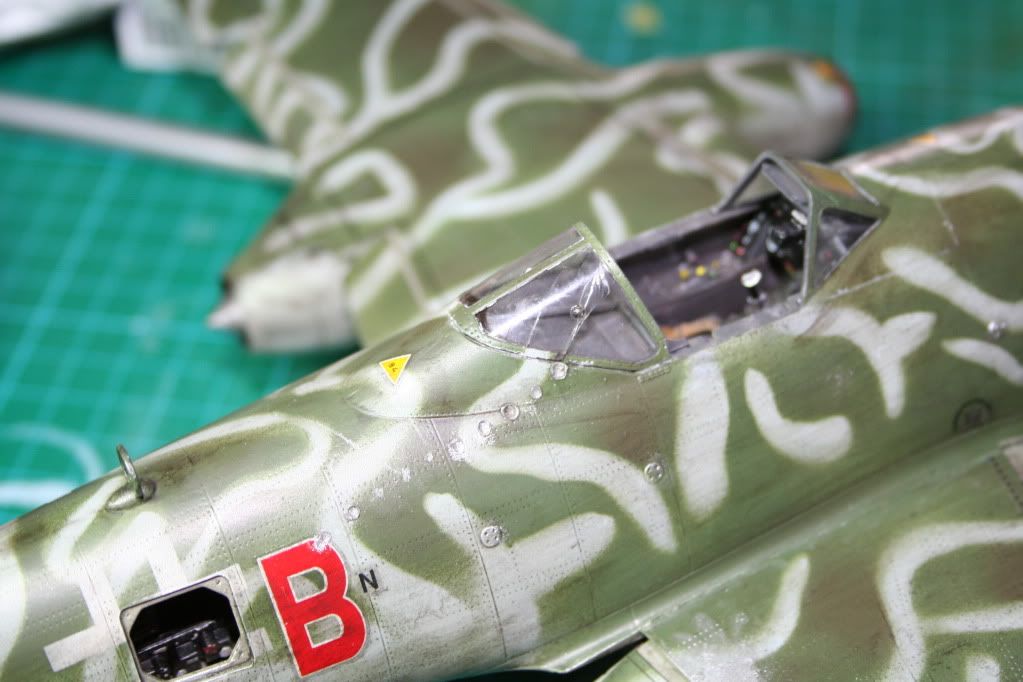
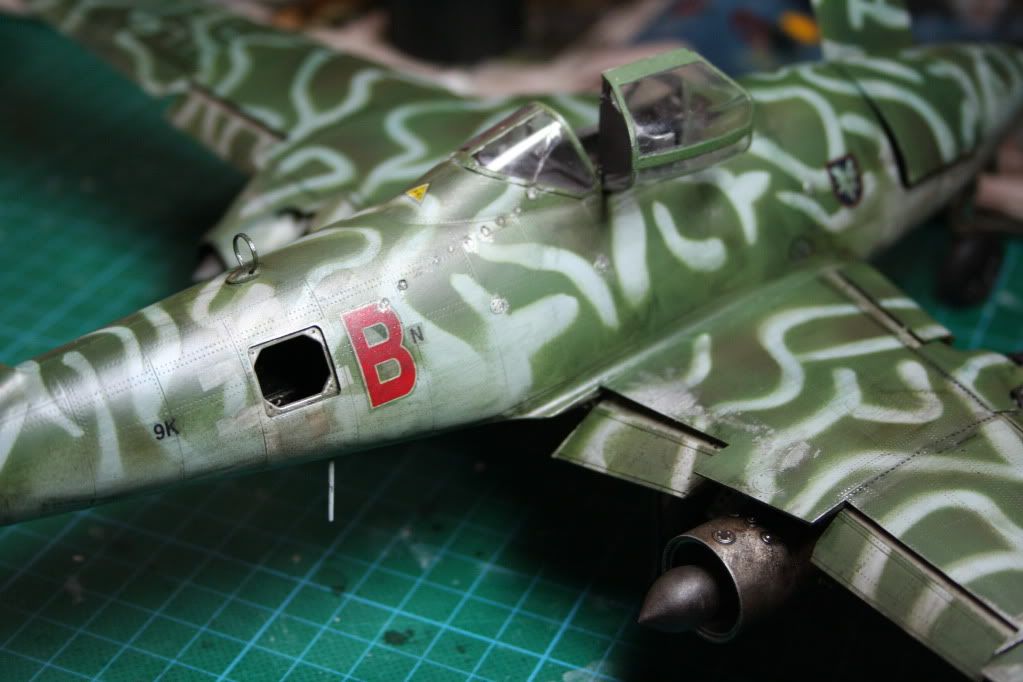
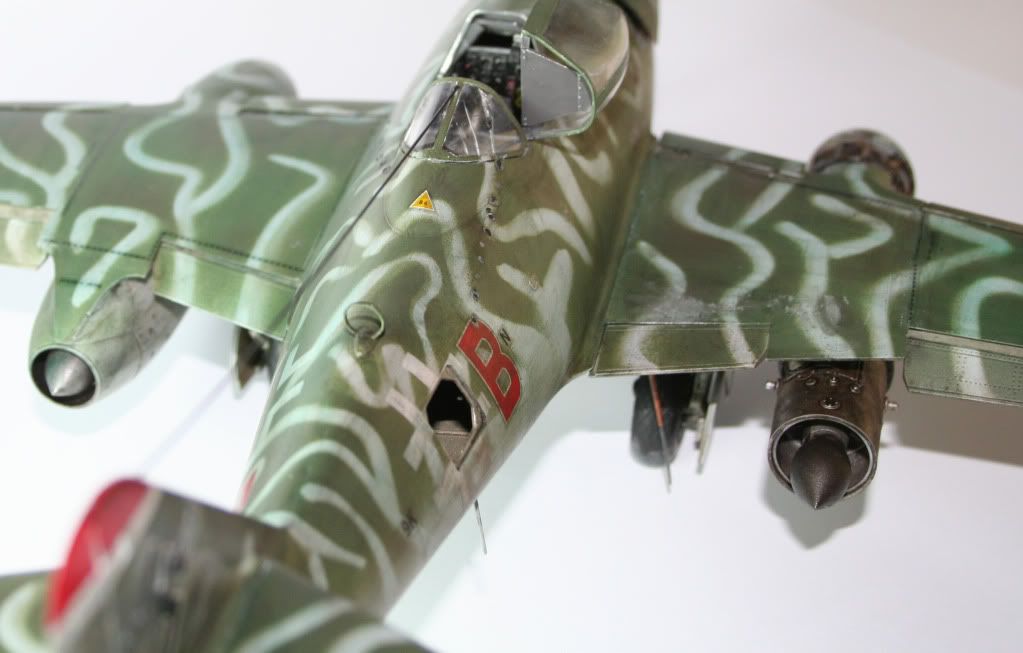
I finally applied the oil wash after chipping away at the paint with some silver. I wanted to weather the aircraft for a plane that had seen some intense combat and was a little dirty.
Then imagine my disappointment when I removed the canopy masks to find that the rear canopy section had cracked under the mask.
Well I thought I may be able to blend this in with my combat scenario so I grabbed a round headed pin and a candle and simulated bullet holes strafed across the fuselage and piercing the rear canopy. I also added one on the tail to help disguise a swastika stencil that had not quite gone according to plan. After all the front of the box for this kit shows the ME 262 being pursed by more than one B-17G
This may not be entirely historically or technically accurate but it has allowed me to turn a disaster (canopies can often make or break the final product) into an active, fun display!
Future may have filled the crack and returned the clarity to your Me 262’s rear window Casper.
The reason more modelers do not do battle damage on aircraft is the aluminum panels are very thin so they need to be thinned accordingly from behind in the pre assembly stage.
I would dab a bit of black in the 'bullet holes leaving a fine halo of silver around each one.
I thought about that but here in Australia we cannot get Future. I have found Pledge but I do not think it is quite the same product and have certainly never gotten the results other modellers have shown with Future. As I mentioned with the bullet strafing, I know it’s not really accurate but it was a fun way for me to turn around an accident.
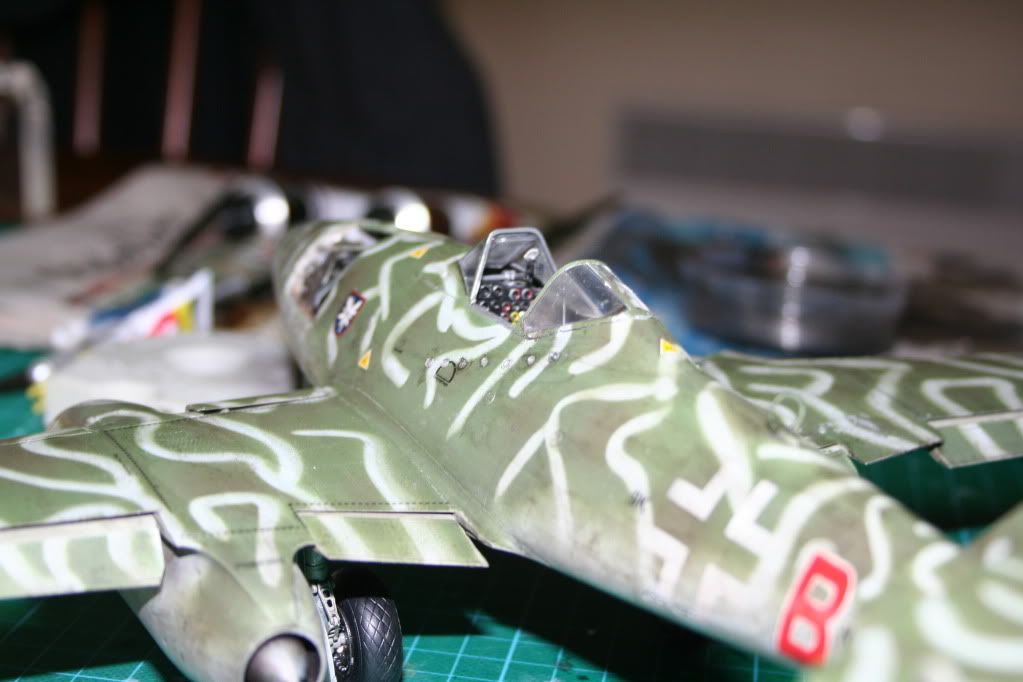
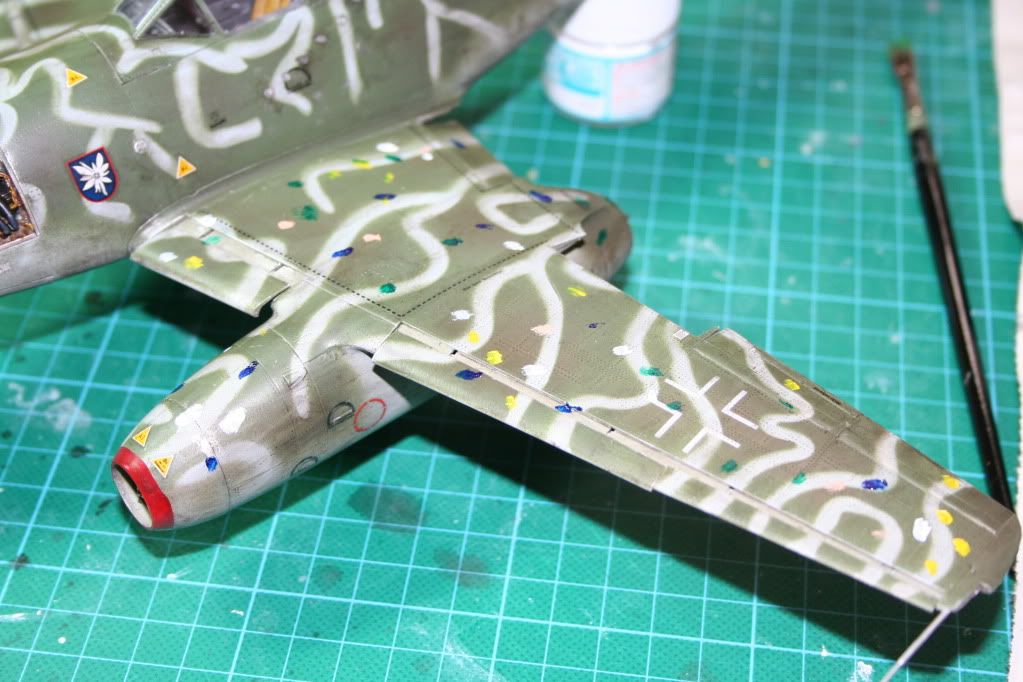
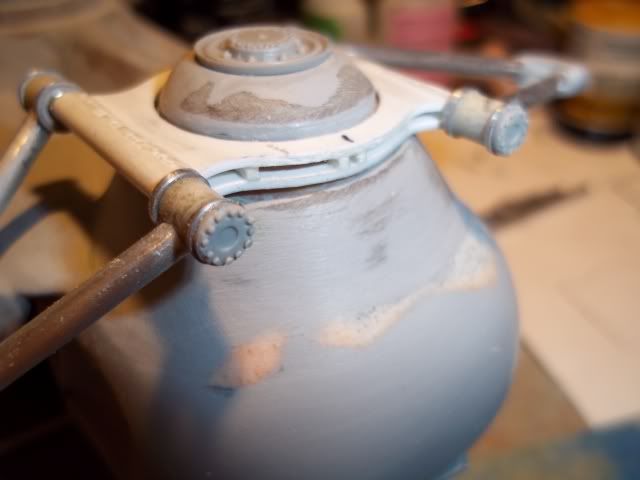
So I thought I would try out the ‘dot’ technique I have read so much about;
This was my practice run and I was quite happy with the effct
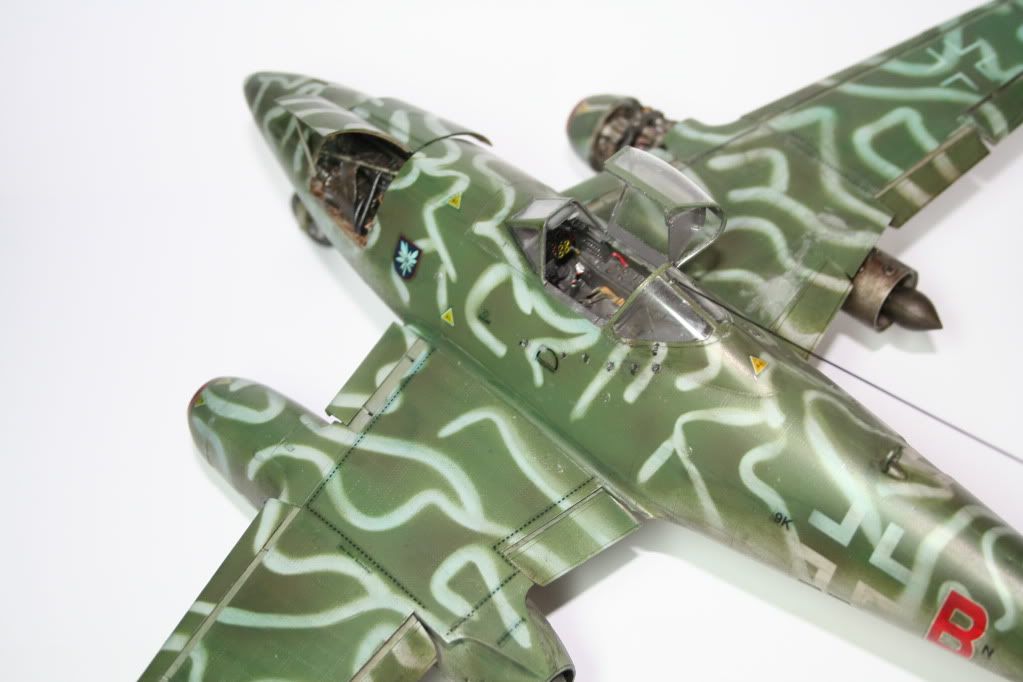
Needs a bit of finesse but I went onto the whole model. There are some areas I am still touching up but once I have a flatter look to the highlights I will let the oils dry for 48 hours and apply the dull cote to flatten the look.
MrSquid2U wow I am impressed with your scratch work indeed, would take me a year to get as far as you did in a few days. I want to list your build on the front page but ummm well [:$] I am a bit confused and dont know what its called. If you can help me out with that I will get it listed ASAP.
Supressionfire shhhhhhhhhhhh I just got my little bench lathe back from storage and am lookin for an excuse to play with it [:D] I have some needles too but they are hard to get here even from a vet or Doctor that I have known for years. I never thought of annealing them though, that’s a great idea and they are 304 stainless that does turn a perfect shade of blue and dark purple. That weekend madness was wild wasn’t it, I can understand why one would need to decompress a bit after that. Just watching it had my head spin[8-)]nin.
Casper I read somewhere that future is in Australia but its under a different name and its not Pledge, something like Mop N Shine I think it was. I read that a month or so ago somewhere, I will see if I can find it again and let you know. Your 262 just keeps looking better and better each time I see it [Y][Y]
I have a bottle of Johnson’s Super Shine, which was claimed to be close to Future. I believe Pledge One-Go is quite similar to it. I’ve been able to get serviceable results by brush painting, but I think they may have discontinued it.
I do have a bottle of genuine Future, which I bought at a Swap meet in Melbourne. I’m sure I heard that one of the model shops/mail houses here is carrying it.
I had heard this a while back but went to the makers website to verify it. Due to a merger, “Pledge with Furture shine” is supposed to be the new name of the same formula, Future. I don’t use t myself, but that’s what they say?
Thanks for taking my suggestion as such and not critique, besides its fun to customize and such. The ‘Pledge with Future’ is more a acrylic clear gloss that someone thought of using on floors, really a amazing, self leveling product. For canopies I completely submerse them and set on a lint free towel to wick way the excess, perfect results every time!
The dot filtering technique looks great, that is one I have yet to try (or brave enough to do so)
Thank you SF. Probably no working springs- I’ve found they just add more trouble than the function is worth. But something will be represented there.[;)]
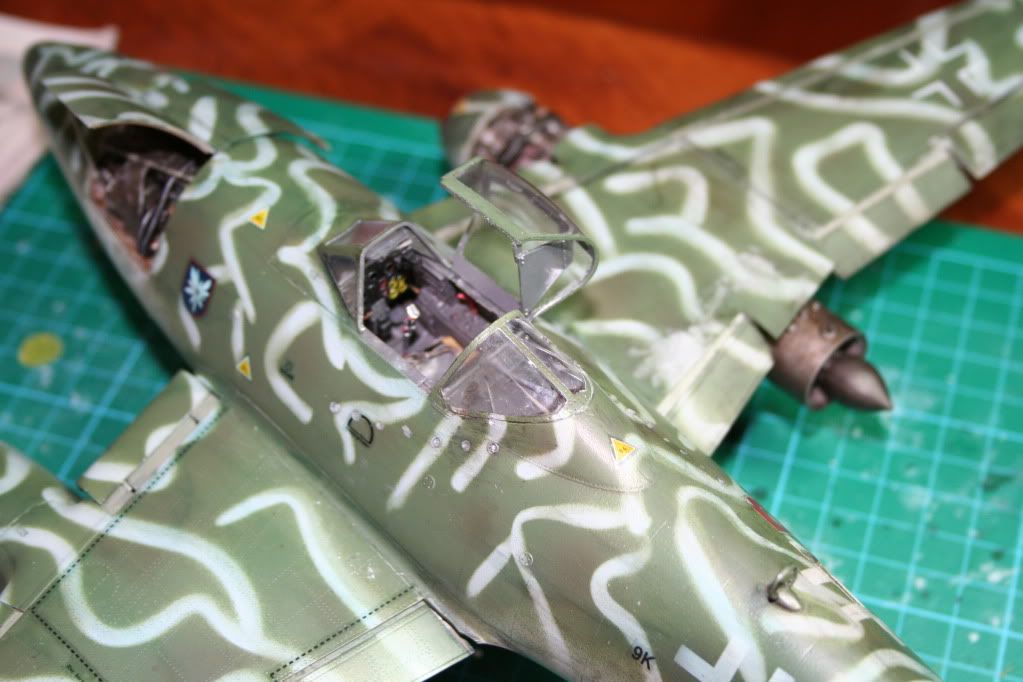
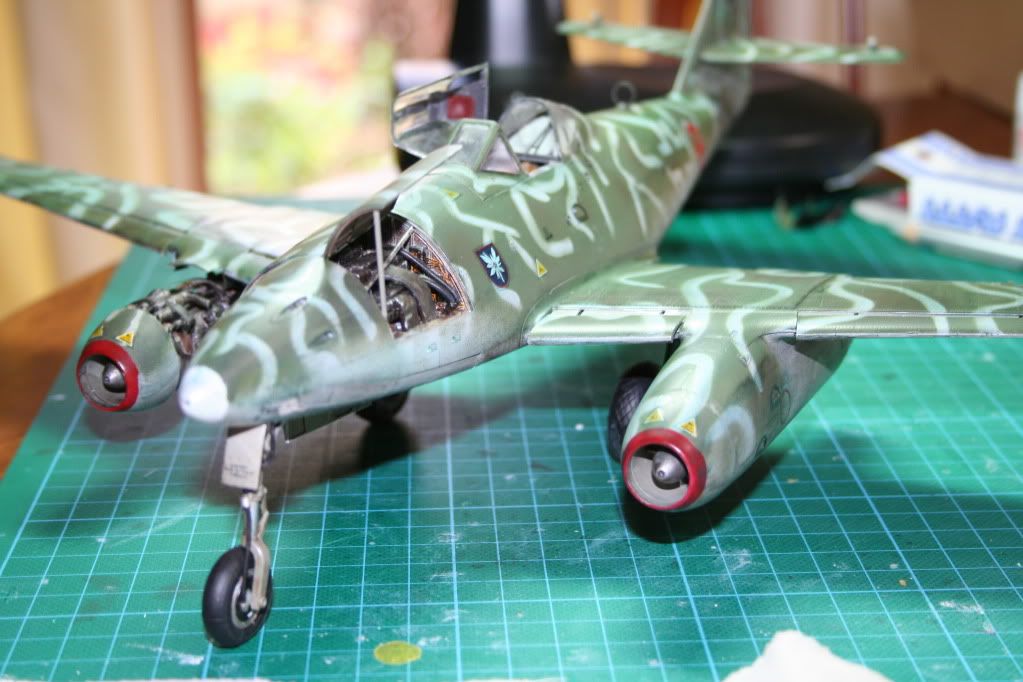
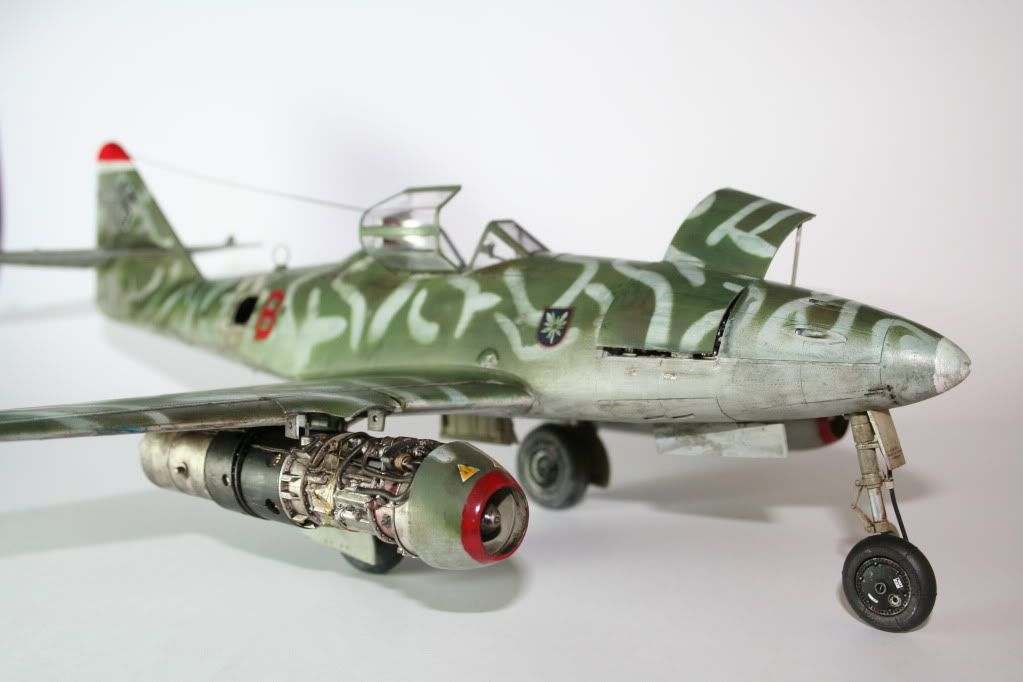
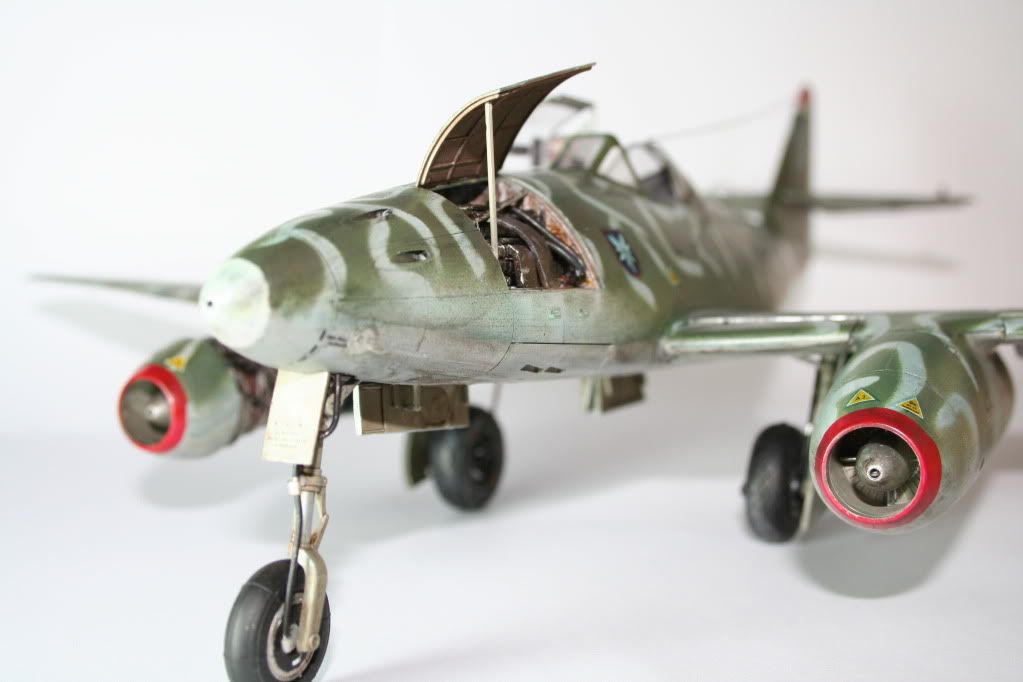
Ok, I’m gonna call my Trumpeter ME 262 done! A couple of blunders and mistakes but this is still early days for me and I thank the camera for being able to help present this bird the way I want [;)]
Cheers guys and thanks for everybodies feedback and encouraging words.
Since this thread asked for some details if scratchbuilding was done I slowed down as I continued, to snap shots of what’s being done.
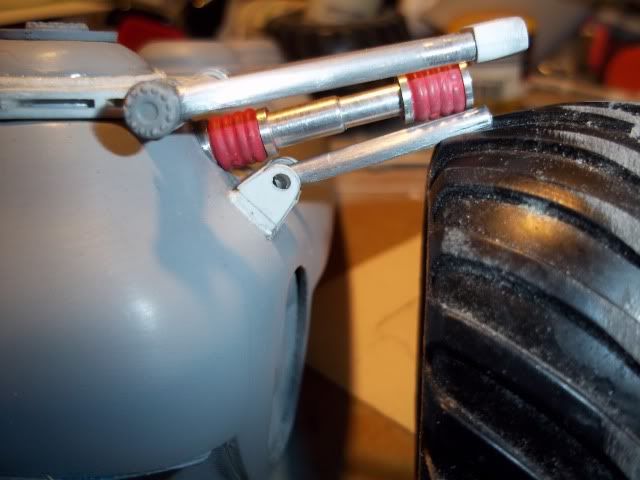
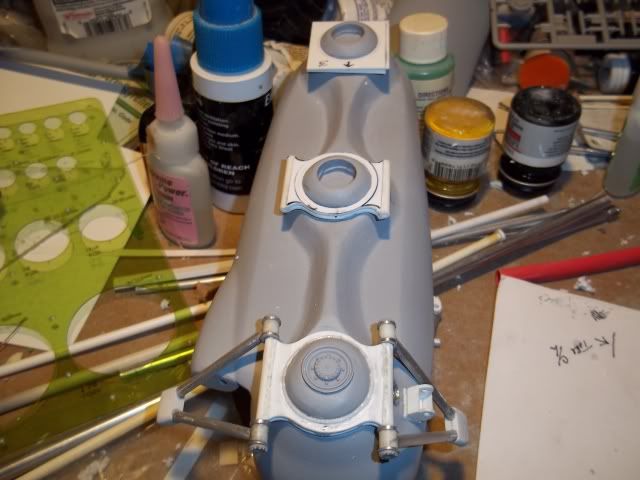
Working on fleshing out the suspension-
More details,
The A-arm supports start as styrene cut to width and then two different diameter holes hogged out by Dremel.
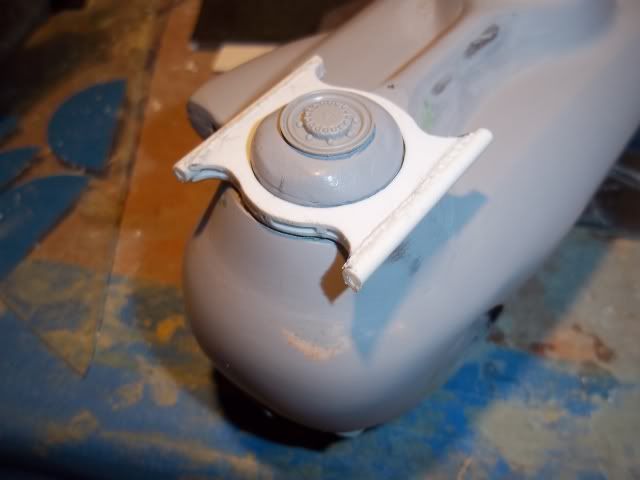
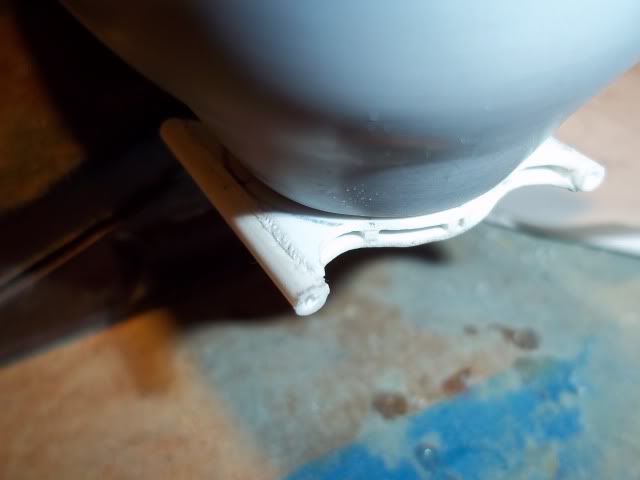
They sit upon two different ledges on the backbone- those center humps. Know where the hump came from- a lil gumball machine container cap. It’s the red plastic piece visible there. It was simply pressed down into the Sculpy putty prior to baking. That caused the two ledges and only later as I was staring at em did I think to make a saddle mount for the A-Arms.
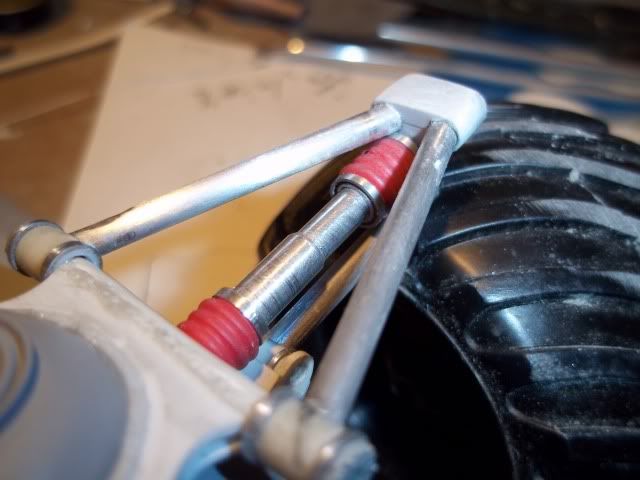
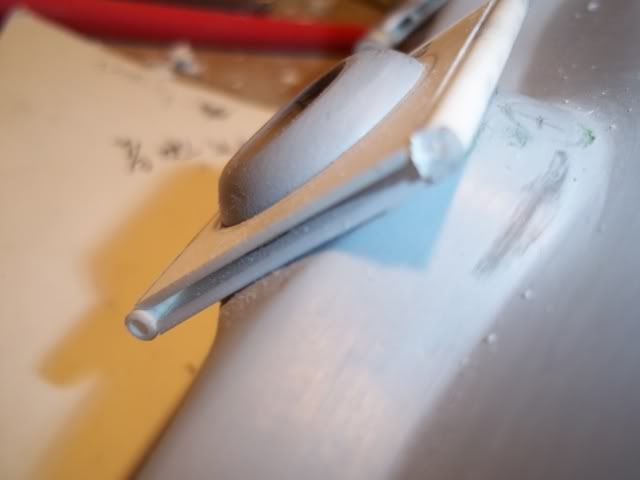
Here’s what it takes for the upper control arm-
Here’s some components for the driveshafts and CV joints. That’s standard electrical shrink wrap tubing which mimics the CV covers.
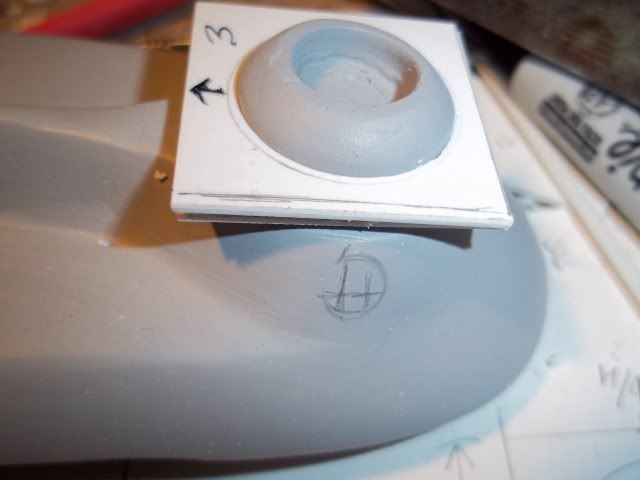
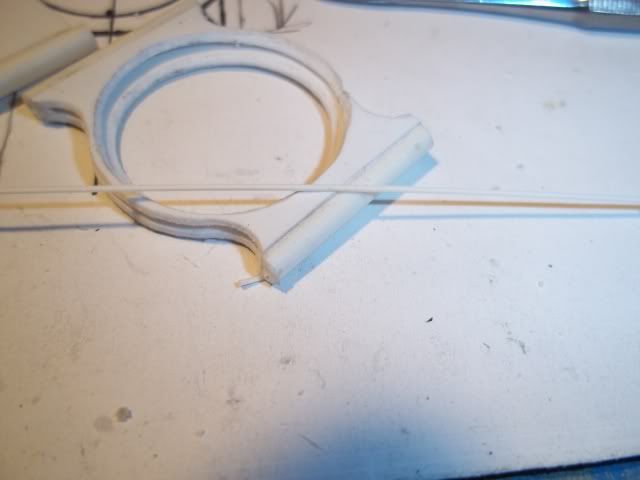
After the “A-Arm platforms” are squared up I then bevel the outer edges to receive the tubing running the length which later accept the arms.
Once the tubing is in place I re-contour the pedastals.
From front to rear are a completed saddle mount, a roughed in one and then the rawest form- two squares waiting.
I hope that might help someone in a similar situation to attack their target!
Dam Mr. Squid that almost looks like R/C suspension and not a static model! Major props for the meticulous detailing of the control arms & drive lines.[Y]
Casper,
Your Me 262 turned out excellent! The great thing about modeling is (for me anyways) the current project is my favorite and best to date!
Well I took a week off from the bench, needed to after the ‘weekend of madness’ to debrief. Have a side project on the go making barn board picture frames for X-mass gifts. Should be able to do most of that at work and get back to finishing Chwat this week hopefully.
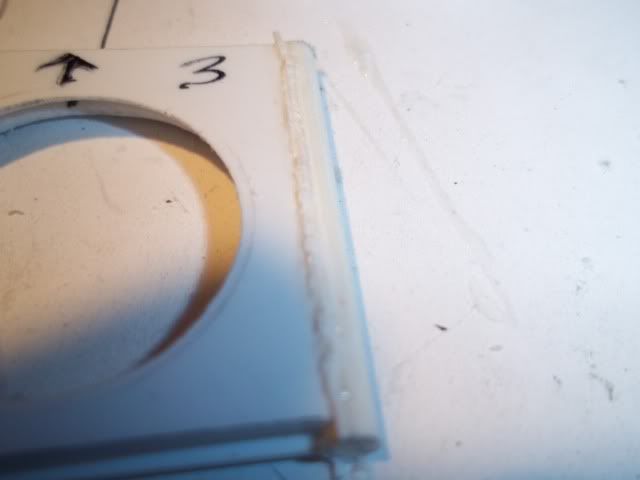
I made sure to leave a gap for the bead to nestle in. Real world heavy welds are sunk into troughs created by beveling or the angle at which objects rest together for better penetration anyways.
First I lay a bead of liquid cement.
Then lay in some styrene stock.
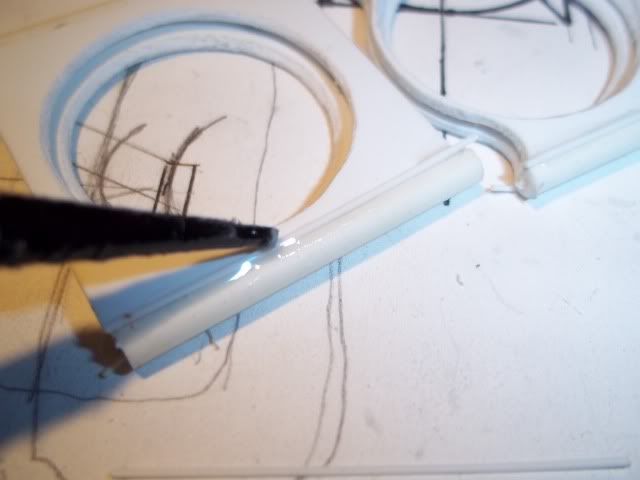
Recoat the stock with more liquid cement.
Wait five or ten minutes (it varies) until it has softened and then work my way down the bead with a pointed object to leave the ‘pattern’. That’s it, let it dry or look at it again in awhile and touch it up- the styrene will be softened for a good amount of time.