Well at least you have a choice. My Revell has them molded on so I couldn’t remove them without some surgery.
I spent the day yesterday at the 8th Air Force Museum just outside Savannah Georgia. Cannot put into words the experience. Spend a day there if you can. HIGHLY recommended. Took dozens of great pics. The P51 in the museum is hanging from the ceiling, so wasn’t able to get what was asked. I did get some shots of the tail and rudder section, but it is tucked in closely to a Stearman next to it, and they are not “close up” by any measure. They had three Allison engines on the floor, got great close ups of them. Will get it posted in the next few days when I dump my camera. They also have a Bf109 hanging from the ceiling along with a newly restored B17 in the room, The City of Savannah, that is just beyond beautiful. VERY enjoyable day. Spent some time talking with the veteran pilots who were there giving first person accounts of their experiences. They did this museum right. Unbelievable experience. Sorry for the formatting here, posting on my Surface and the rich text will not become “rich”. Cheers, Bob
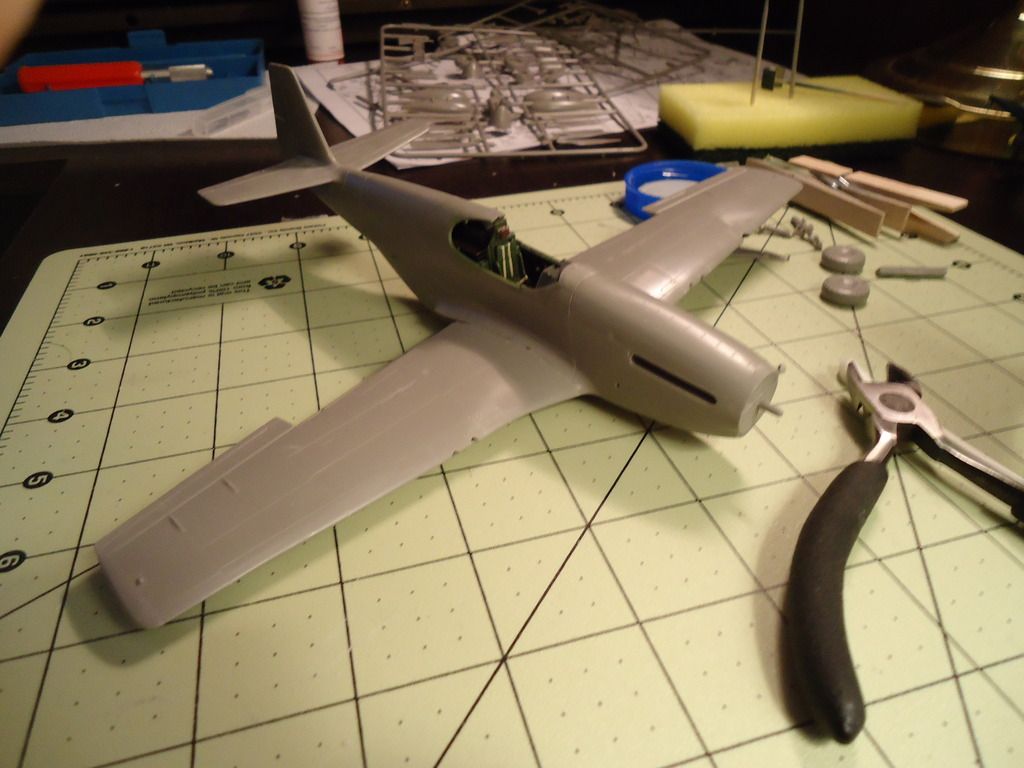
Hello all, I figured I’d drop in with a quick update as I won’t be doing much modelling for the next couple weeks due to work and family obligations. I finally managed to get the red painted on my birds. Going over the OD proved to be a real pain. 2-3 coats of red in and I could barely tell there was any red on it. Then I hit it with a real light coat of white and that made all the difference in the world.
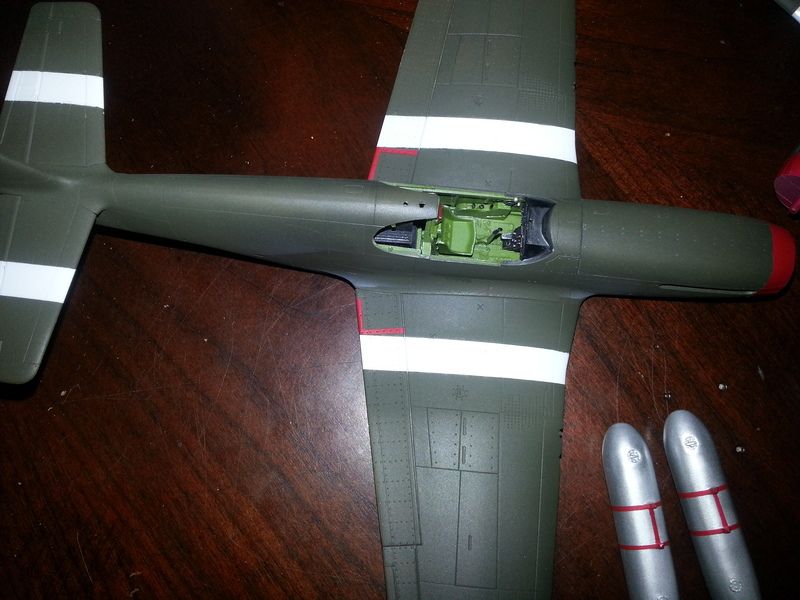
This is the first time I’ve really tried to replace any decals with paint and I’m pretty happy with the results. I need to straighten up the red on the upper cowling and knock down some light ridges but that will be easy. This is also the first time I’ve used Alclad and I’m thrilled with the results. Anyone building the 51B will notice that there are no ridges along the nose and tail of the drop tanks. Based on the few reference photos I could find they don’t seem to be there. So I sanded them all off. I like the streamlined result anyways! I also painted the red bands on the drop tanks. The upper stripe that runs longitudinal on the drop tanks didn’t turn out great on all of them, but they really won’t be visible, so I’m not overly concerned about it. In any event, pictures-
This one probably shows off the “step here” markings the best
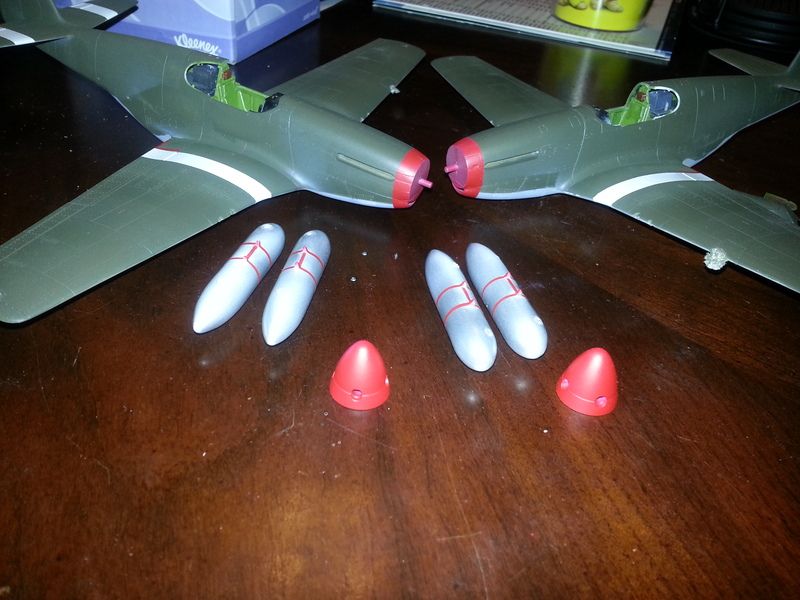
Here are both birds with the spinner caps.

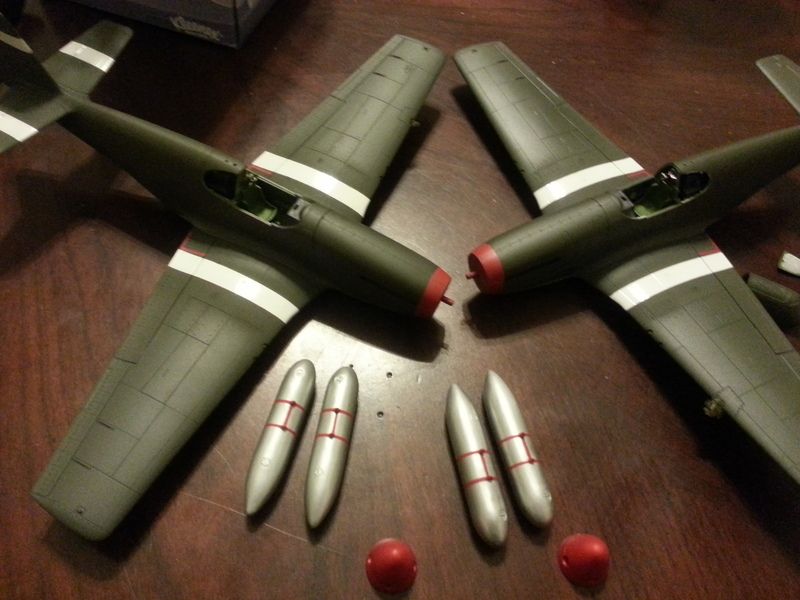
I also have the prop blades mostly done. I painted them insignia yellow with Tamiya gloss black over. I then went back and lightly sanded each one and then polished with Novus and they shine quite nicely. I need to touch up the yellow in a spot or two where I sanded down to the primer, but I may just opt to cover that up with weathering as props tend to get beat up pretty well, particularly on the edges. I’ll toss on the prop blade decals hopefully this weekend and then attach to the spinners and hit with some flat to knock down the shine. That’s probably it for me for a little while.
Groot
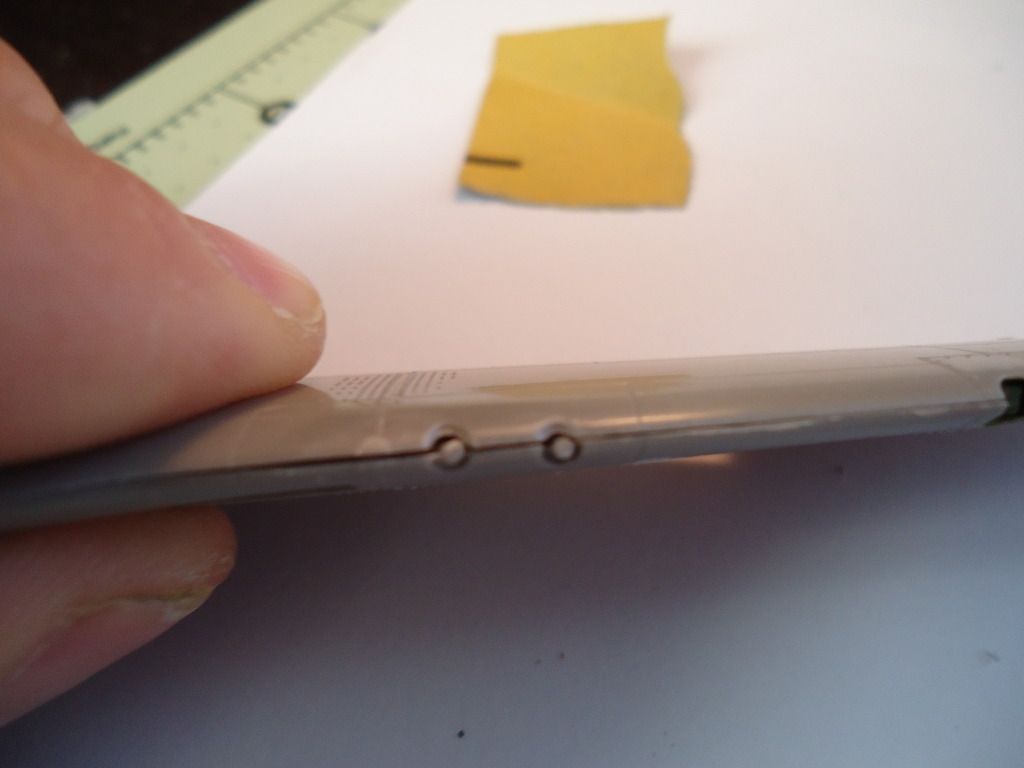
P.S. I think I’ll probably go back and drill out the vent holes in the cowlings. I’ll be doing that after I clean the coffee table!
Moving right along Groot. Don’t worry about taking some time off, we’ll be here.
Hi. Would like to chime in with the old Bandai 1/24 P51D. I noticed no-one was building one. I’ll be doing the “Millie G” which is still flying, of course, in Tulsa, Oklahoma.

I got you down Wirraway. At 1/24, that’s going to be one big horse.
Steve
" that’s going to be one big horse.
a Clydsdale maybe? lol
Theuns
I’ll try to have an update by tomorrow night. Didn’t realize how far I got from my last posted pictures.
Groot - those are looking great. I tried to paint my drop tank lines, and I failed miserably. Gave up and used the decals. Fortunately they came out OK, but yours look better. Well done, sir.
-BD-
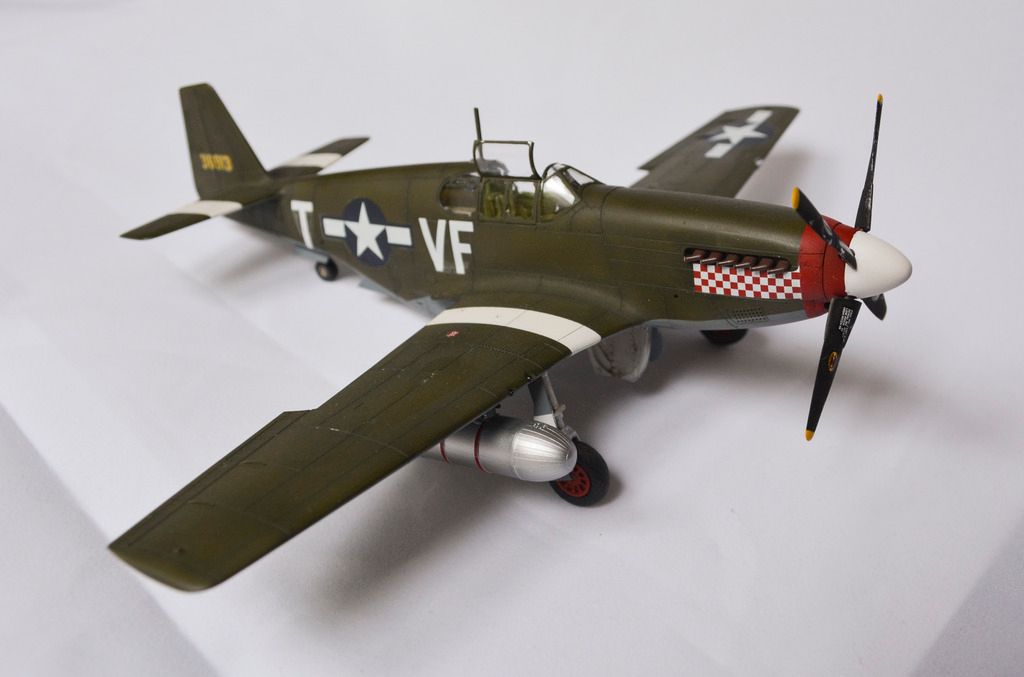
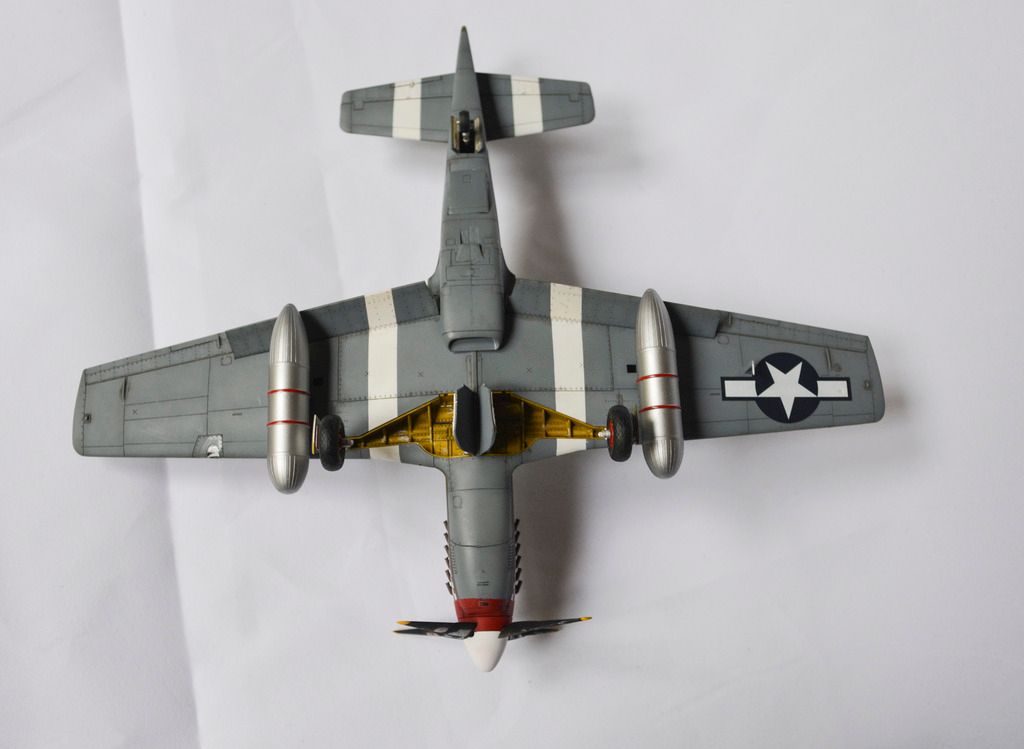
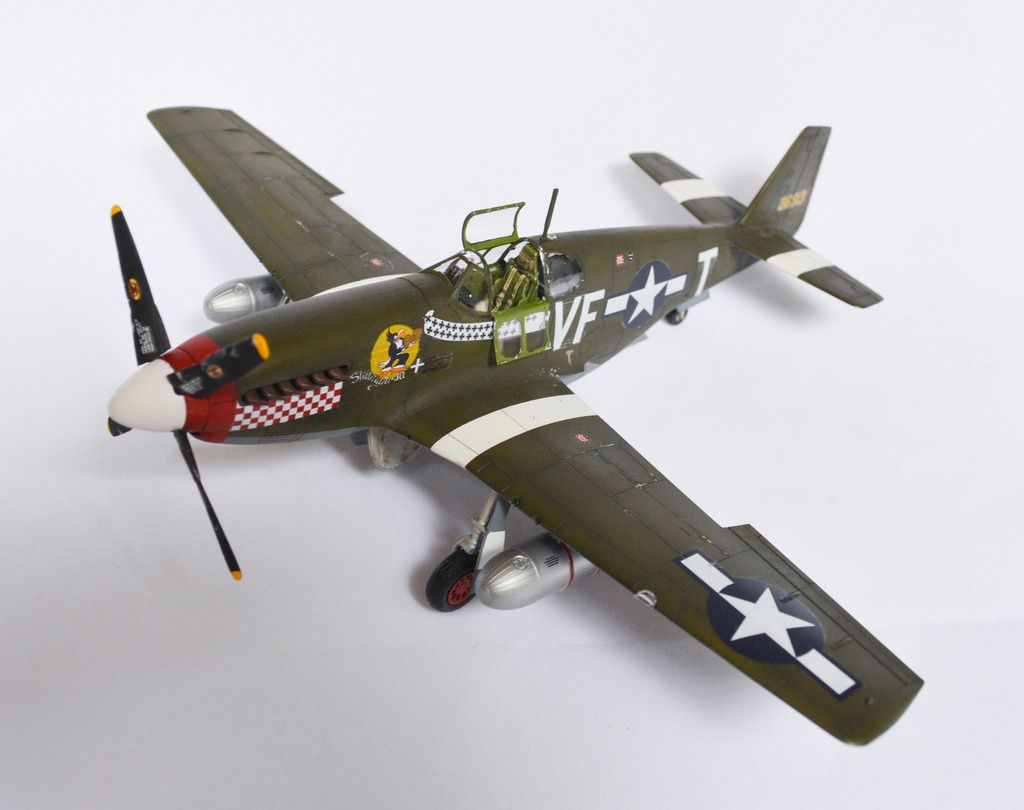
I’m calling this one done. I may go back and weather the exhaust stains and gun smoke streaks, but after doing a lot of looking, I see few WWII aircraft with noticeable exhaust streaks when parked before a mission (as this one has drop tanks attached, it would be prior to a mission).
Anyway, here is the 1/48 Tamiya P-51B Mustang in Don Gentile’s Shangri-La markings. I really, really enjoyed this build. I had fun painting the stripes, and I tried out some new techniques (masking part of the canopy glass while it was already installed, toning down the brightness of the stripes with a mist coat of buff).
Te kit is mostly stock. The only AM piece is the harness, which is an Eduard PE piece. I think it was sorely needed and completes the cockpit.
Enough talk - you’d all rather look at the pics than read my rambling, I’m sure. I took these shots with my new camera, so for a change you aren’t getting cellphone shots, and since it’s the finished product, I actually took the time to color correct, and these photos are accurate to what the model really looks like.
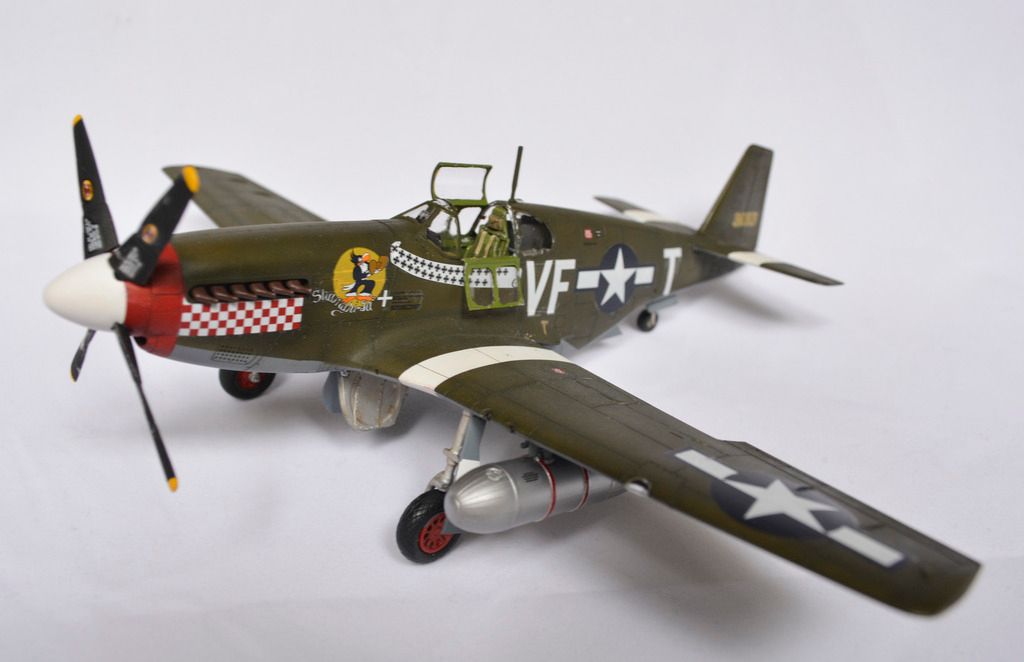

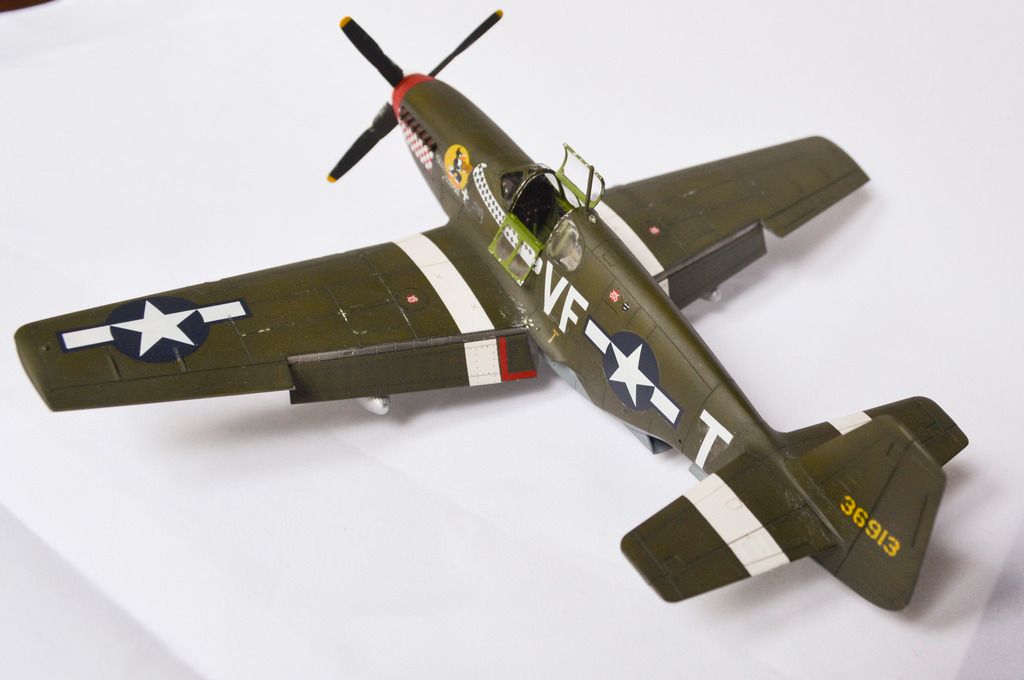
I think I like the fourth photo for the front page, since it shows the flaps down, whereas the front quarter views just look like part of the wing is missing.
If I do end up adding exhaust streaking (did they clean them on the ground after missions?), I will re-shoot a photo for the gallery.
Thanks for looking, all!
-BD-
really nice work- love the dropped flaps. well done !
Super build ![]()
Theuns
Beautiful build Brandon.It really turned out great [Y]
Thank you for participating, you really did justice to that classic pony.
Cody will get your pic up as soon as he can.
Steve
Looks great Brandon!
-Andy
Well done sir. looks great and the photos do the bird justice as well.
<Matt
Great looking work Brandon!
Steve
Great work Brandon, pic is up in the gallery!
A lot of nice work going on here! I’ve got a quick progress update for your viewing pleasure…Cut out the molded gun barrels after trying (in vain) to drill out the center to add a little interest to them. Before…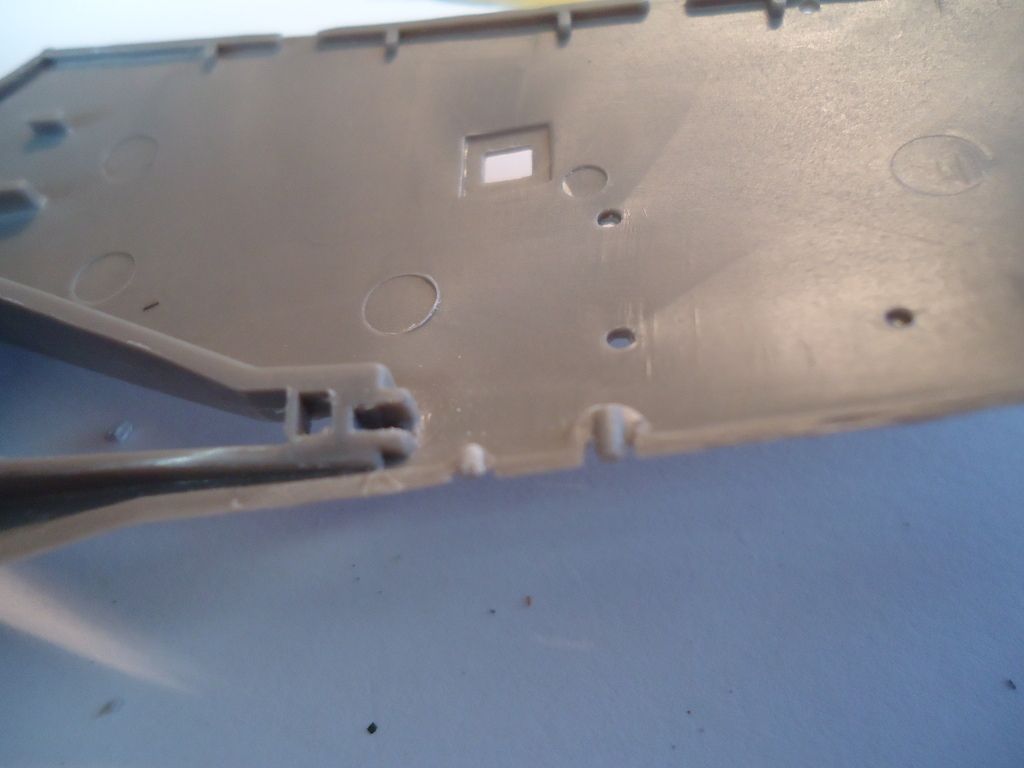
And after…

I just plan on cutting a length of brass tube, won’t be much but should look better than the mold would have.

And here she is with the wings on. I’m pretty happy with the fit. Shouldn’t really require any filler in the wing root which is enough to brighten up any day! (hey it’s the little things in life[:)])
-Andy
That is a nice fit Andy. I wish I had such good luck with the cowling on my Revell. Oh well I’ll get back to it before long.
I like the idea regarding the guns, should look nice.
Here’s my over due update. All have had future applied to them. The B is at a stand still until I get copies made of the decals. A-36 will start decaling tonight or tomorrow.
B:
(http://s168.photobucket.com/user/MilsimPlayer/media/IMG_5069_zps7zk9edd5.jpg.html)]
(http://s168.photobucket.com/user/MilsimPlayer/media/IMG_5067_zps0hjw3uy9.jpg.html)]
(http://s168.photobucket.com/user/MilsimPlayer/media/IMG_5068_zpsoxrb0olx.jpg.html)]
(http://s168.photobucket.com/user/MilsimPlayer/media/IMG_5070_zpsk7yhj66s.jpg.html)]
A-36:
(http://s168.photobucket.com/user/MilsimPlayer/media/IMG_5062_zpsrtlnhsr4.jpg.html)]
(http://s168.photobucket.com/user/MilsimPlayer/media/IMG_5066_zpsi5bzkgc3.jpg.html)]
(http://s168.photobucket.com/user/MilsimPlayer/media/IMG_5064_zpsedfbjxze.jpg.html)]
(http://s168.photobucket.com/user/MilsimPlayer/media/IMG_5065_zpsts7kgu2o.jpg.html)]
(http://s168.photobucket.com/user/MilsimPlayer/media/IMG_5063_zpsaklrfwxo.jpg.html)]