Killer work Joe. Love those wheels!!
1 Like
Thanks Christopher. It’s really too bad that he’s not making model car wheels anymore. Love this guys work
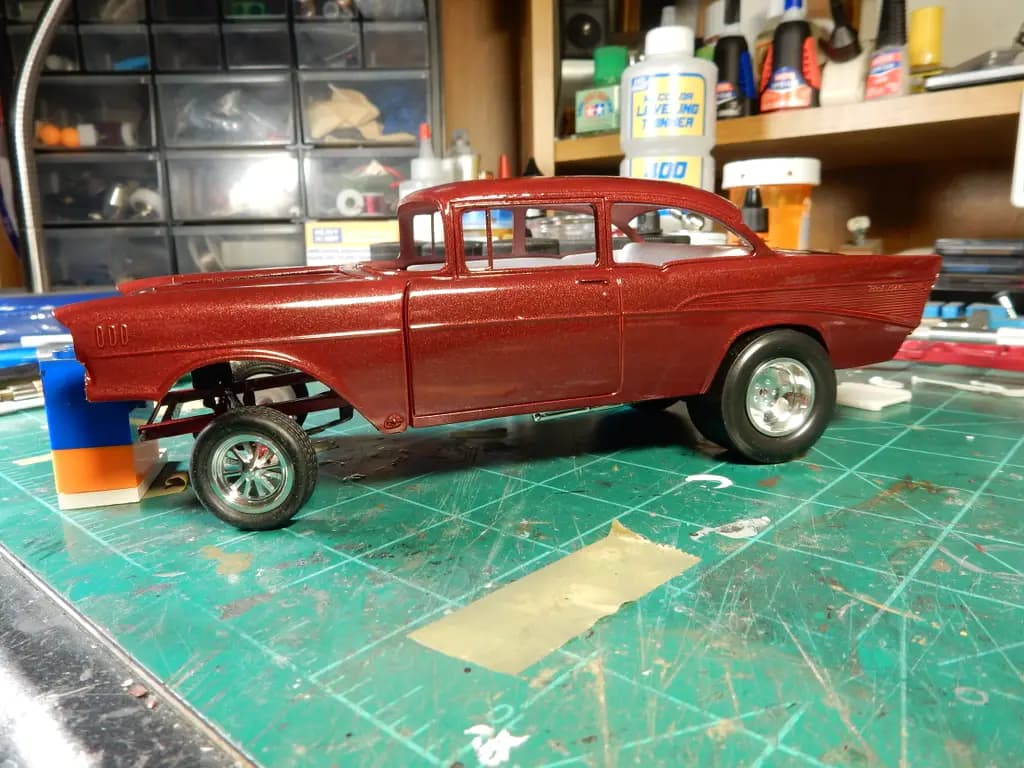
Little bit more progress done today with getting the frame attached to the base underbody and picked out the rear brake line details.

5 Likes
I’ve managed to start Car #1’s interior. We’ll be going with black on this one. I started by painting everything in there in flat black, then masked off the floor and comfort weaving on the rear seat and shot a coat of semi-gloss black to add depth and detail to the whole thing. I threw a set of floor mats in there for good measure and will shoot a light coat of dull coat on them to remove the gloss from them.
Next…I thought I’d have a little fun with this part of the build and robbed a center console from an AMT Pro Street Nova kit (I’ve got four of these things) I had in the stash. Fits perfectly and doesn’t interfere with the dash at all. Will be painting the base of the console in black and leave the chrome insert on top of the console in place.


5 Likes
Thanks for posting Joe. I am learning a lot. It’s looking good.
1 Like
The build is progressing nicely, as expected. I always enjoy following along your builds. So many good things to see.
1 Like
Thanks Peter. It’s definitely a trip down memory lane for me.
'Preciate the good word James. I’m hoping this all goes together seamlessly at the end of the build. I’ve test fitted everything a thousand times but you know how it goes when it’s “that” time. lol
1 Like
Picked out all of the details on the dash and used decals that I had in the stash for the gauges, a center console from an AMT 66 Nova with a bobby pin for the shifter lever and knob. Installed a PE accelerator pedal as the one in the box looked terrible. Used PE for the door and window crank handles as well as ash tray lids for the rear seating armrest area just to add interest. Still have the seats & seat belts to finish putting together.

6 Likes
Guys, I think I’m at a point to where I can call the interior of Car #1 complete. I received my seat belt material and additional buckles a few days ago and decided to give this one a semi-street look in there.
PE seat belt buckles are from Gofer, Model Car Garage supplied the ashtrays for the back seat armrests, window crank and inside door handles, accelerator pedal and ignition keys & bowtie key ring medallion. Center console came from the AMT Pro Street Nova kit, shifter & shifter knob are a bobby pin with a white head for the shifter knob and the floor mats & magazine are items I scored off of eBay. Instrument panel decals were sourced from eBay as well.
Interior was painted in various shades of black to add interest & depth. Base interior was painted with Model Master Acrylic Semi-Gloss Black. Seats got a coat of Model Master Satin Black and then a coat of Stynlrez Black Primer for the comfort weave areas. Floor/ carpet was coated with Stynlrez Black Primer.
Without roll bar so that details weren’t hidden from view:…

With Roll Bar in place:


5 Likes
Wow, great work going on here. Those interiors are nice and the am wheels are sublime.
Thanks @NucMedTech . ![]()
Getting started on Car #2 interior. This one will be in Velvet Red.
Before getting started…

and primed…

I ended up doing the same thing with the red interior that I did with the black in terms of applying flat coats over the comfort weave areas and onto the floor. The darker primer on the floor did its job as it’s an ever so slight darker shade of red there.

3 Likes
I also robbed another center console from another spare AMT Chevy Nova Pro Street kit that I had in the stash. I know I’ve got a third one somewhere but cannot find it a the moment. The chrome plating job on this console SUCKED as there were all kinds of air bubbles in the chrome plating right in the middle of the entire length of the console. So…it went into an oven cleaner bath all day today to remove the chrome plating and I’ll start from scratch on painting and re-applying another chrome strip down the very middle of it.
After the first dunking. It’s now been thrown in a second bath of oven cleaner. Chrome plating was THICK!!

Console and dash are getting the finishing touches put on them. Dash still needs gauges, steering column and wheel, foot swing pedals and the console needs some touching up here and there and a shifter installed. After that I’ll turn my attention to the window crank handles on the doors and finishing the seats up.
Here we are as of now after picking some details out on the dash and console:

1 Like
Those center consoles are such a simple addition, especially seeing as you already have the parts, but it adds so much to those interiors. Your painting and finishing inside is also sharp overall. I really like your idea of a darker primer for the floor and its effect on the shade for carpet. Very realistic.
1 Like
Thanks Frozin. I have quite a bit of fun with engine bays and interiors as I’m a sucker for details. Still need to work on my weathering skills though.
Managed to get a little further along with the red interior today. And then… ![]() …I noticed that there is no hardware attaching the seat belt to the seat frame/ floor. Will be resorting to some fancy foot work in that area. More to come on that.
…I noticed that there is no hardware attaching the seat belt to the seat frame/ floor. Will be resorting to some fancy foot work in that area. More to come on that.

Excellent detail, Joe @mustang1989. Love the key ring, the radio dial and dash clock are very nice. Looking forward to your solution on the seat belt hardware bolt downs. Nice work! Thanks for posting.