Nice interior detail!
Looking good,and thanks for all of the heads ups.
The difference between this kit and the old Tauro A7V are really remarkable! I built up the Tauro version thirteen years ago, but still clearly remember the horrible vinyl track segments and a highly rudimentary interior. I think it took half a tube of Squadron putty to get things up to par - I’m pretty impressed by what I see here, particularly since the Meng kit is a bit less expensive than what I paid on e-Bay at the time.
Thanks, guys!
Bish, yep–they snap right together nicely. ANd thy’re pretty durable when moving them around. A real nice engineering job here by Meng!
Thank you, Cliff and Tojo!
KnightsTemplar, yeah, the tracks are especially a HUGE improvement over the Tauro model, which I have as well in the stash, and which are, from all accounts, a real nightmare. I have yet to decide whether to keep and build up the Tauro eventually as a “closed” model–the interior is now too rudimentary to display what with this one on the market–or sell it for cheap. But there are so many cool WWI figures being released, I may do another small dio with some cool figures at some point. ![]()
Thanks Karl, they do look nice and real simple to work with. I am seriously considering this and the Tamiya Mk IV.
Graffiti decals? Elaborate please! Oh the possibilities!
Those look nicer than the old Woodland Sceneics rub-ons in HO scale.
I think I just figured the story out. This’ll be good! Don’t the Germans get little spikey things on their helmets? Just kidding.
ha ha, all in good time, Russ! I don’t want to give it away yet, but I thought it wold be obvious? Stay tuned! [:O]
Yeah, you know me, G…lol…I believe I DO have one of those helmet-guys! I may use him… [:)]
Hi guys,
Been busily working away on this,and it’s been a real task to plan the construction vs painting necessities. I have decided that I need to paint the interior first now at this point and then worry about finishing up the exterior. I’m going to go for an unrestored, rusted-out interior and a fresher exterior paint scheme, like you would expect of a monument in a park somewhere.
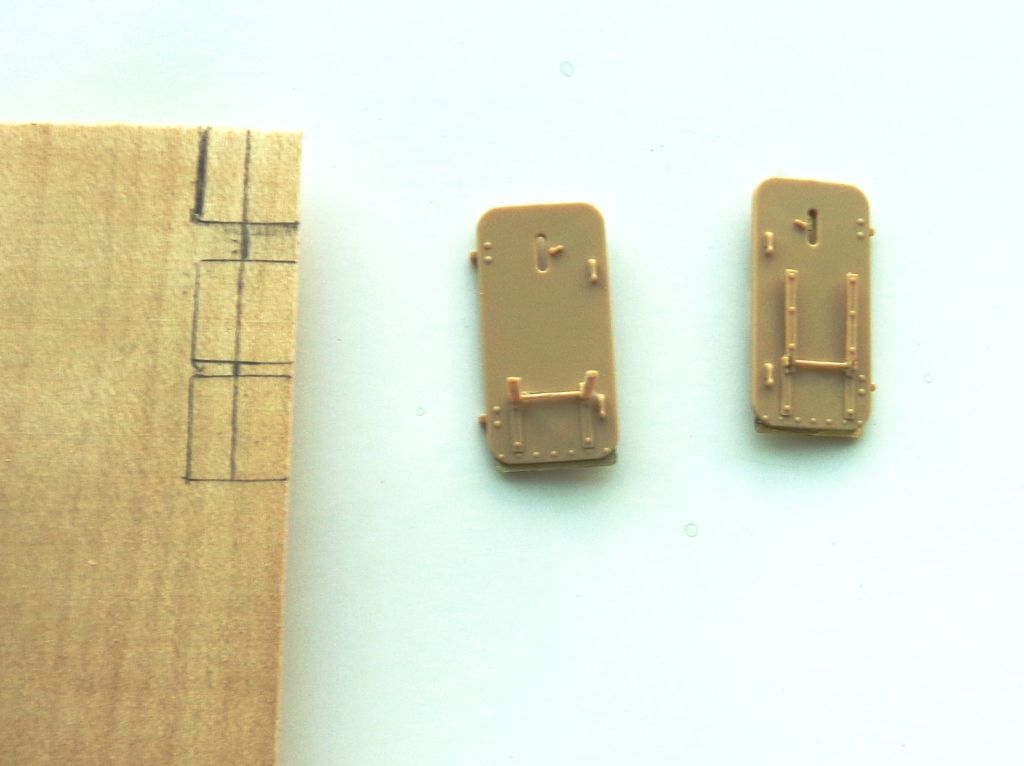
Finishing up the detailing, these door-seats look like wood to me, so I’m going to replace them wth real wood from a few detail sheets that I got from a friend. I removed the plastic “wood” with a Dremel and sandpaper. Ugh, that was tedious duty!
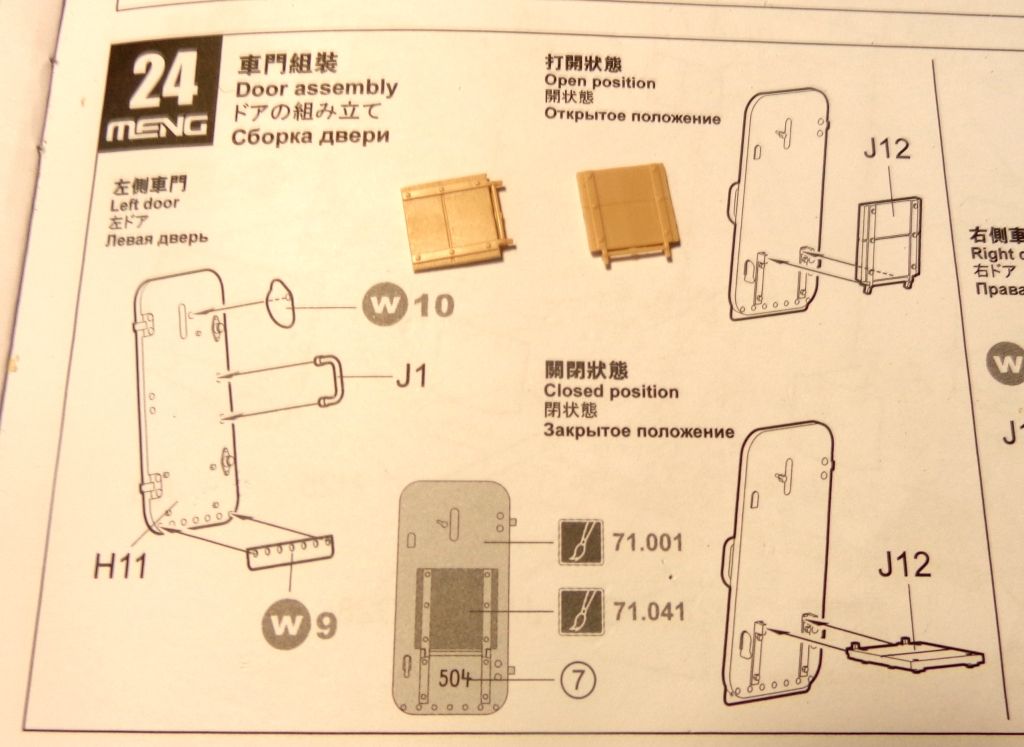
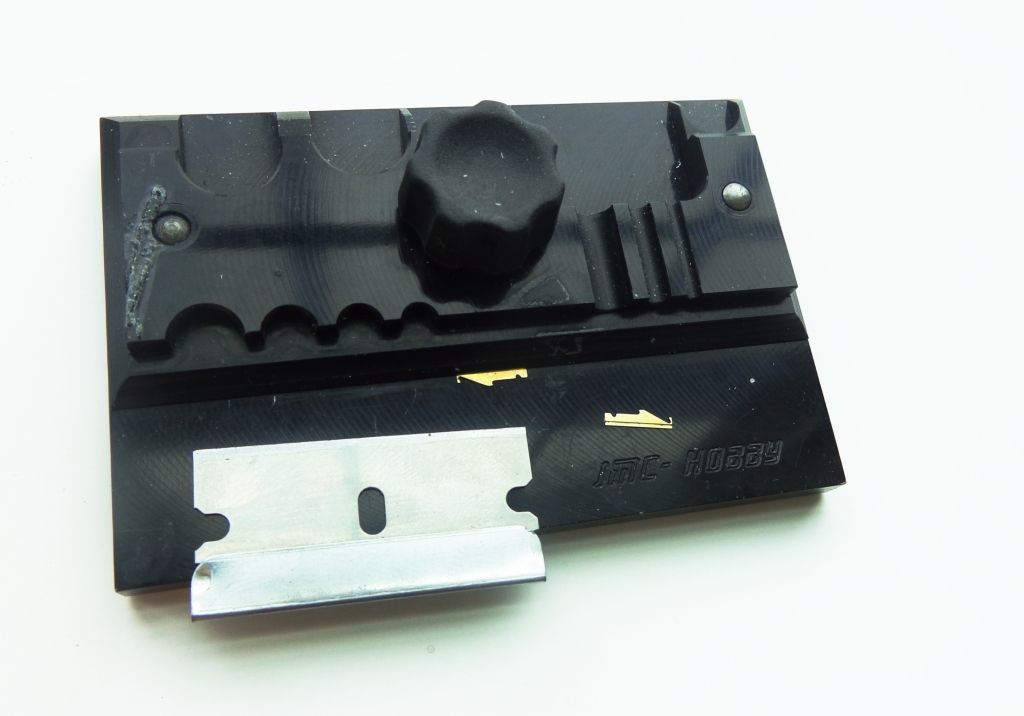
These little PE pieces that support the driver’s portals can be tricky to bend, but if you use a small bending tool with a razor blade, it’s not hard at all. Did I mention that I hate PE? [:D]
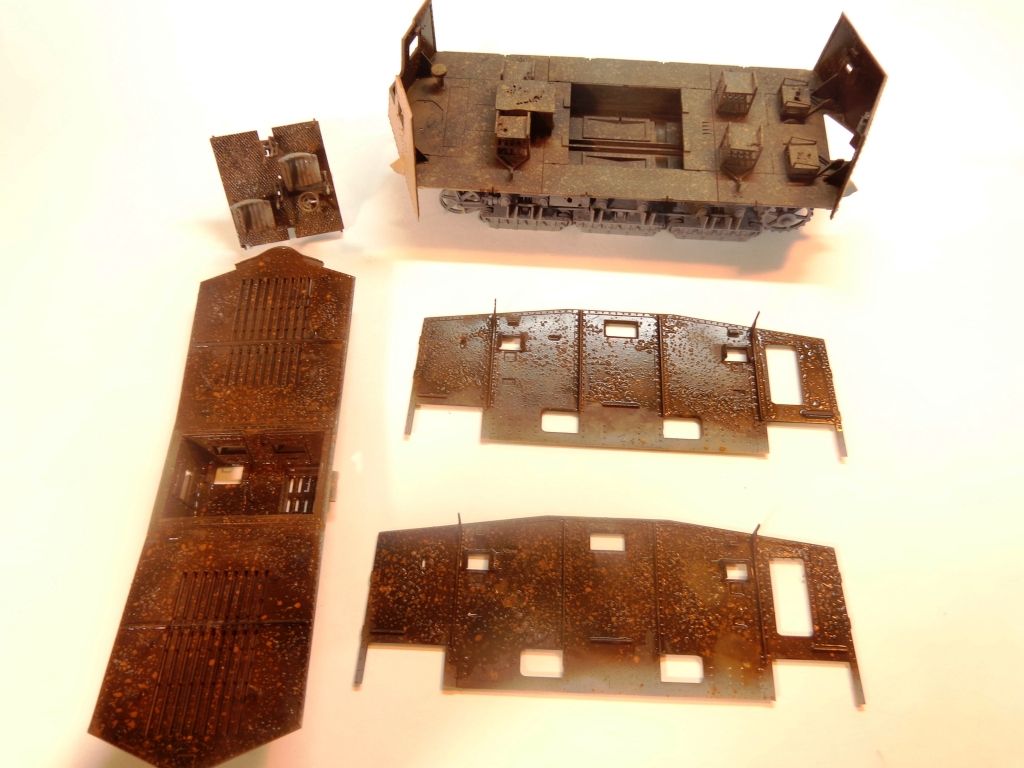
I’m starting off with a rusty base. First, a spray of dark brown over the gray primer, shot wit an airbrush.
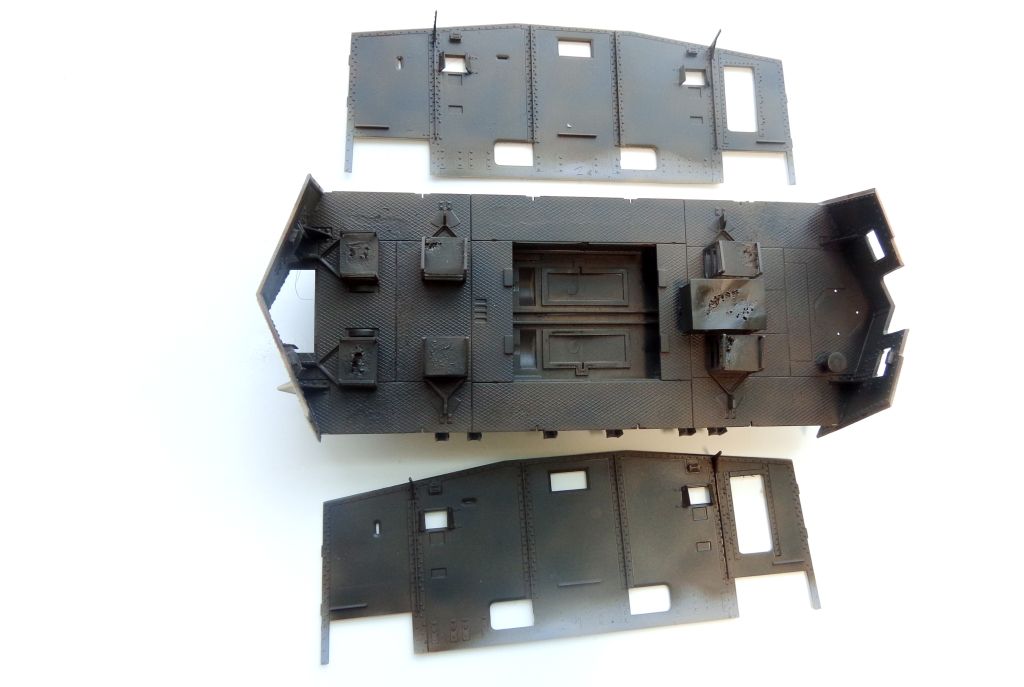
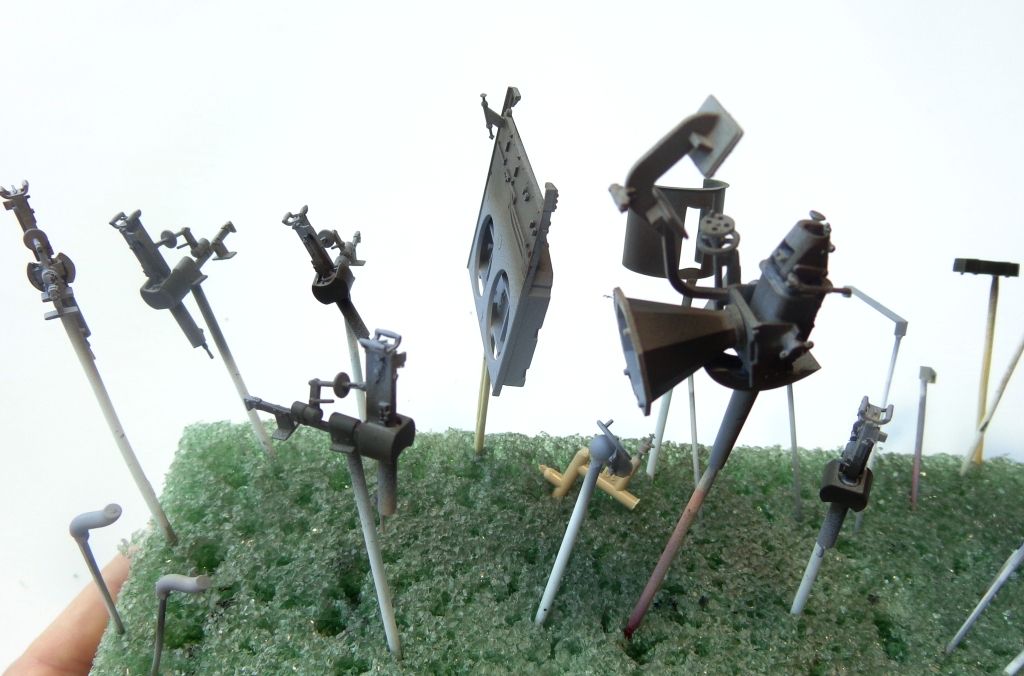
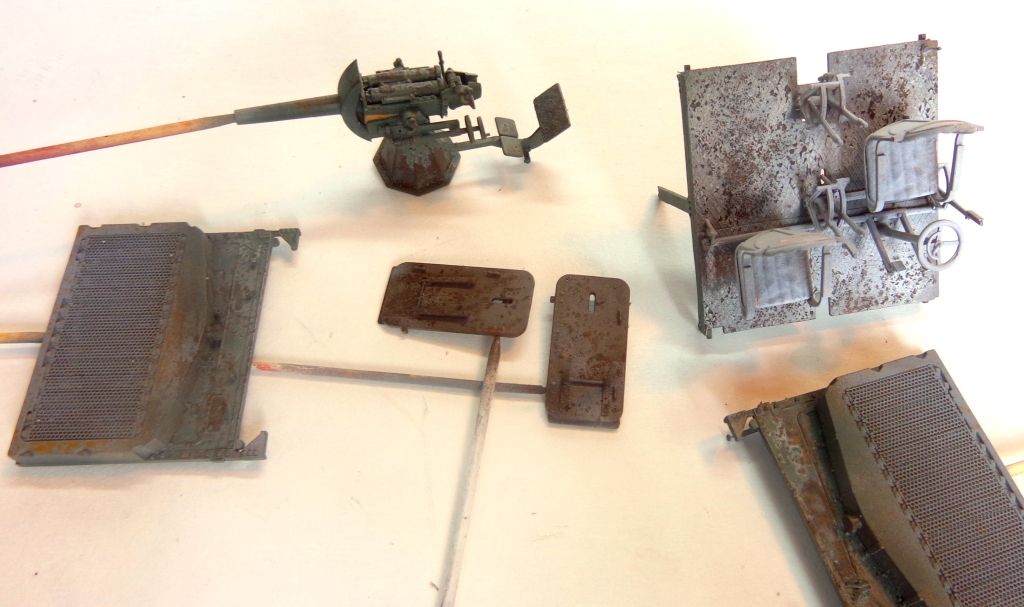
Parts forest…
I used Adam Wlder’s Nitro line “Rust Effects” to spatter some rust against the brown. This is so that when I salt and hair spray the parts, what will show through is not just bland brown rust.
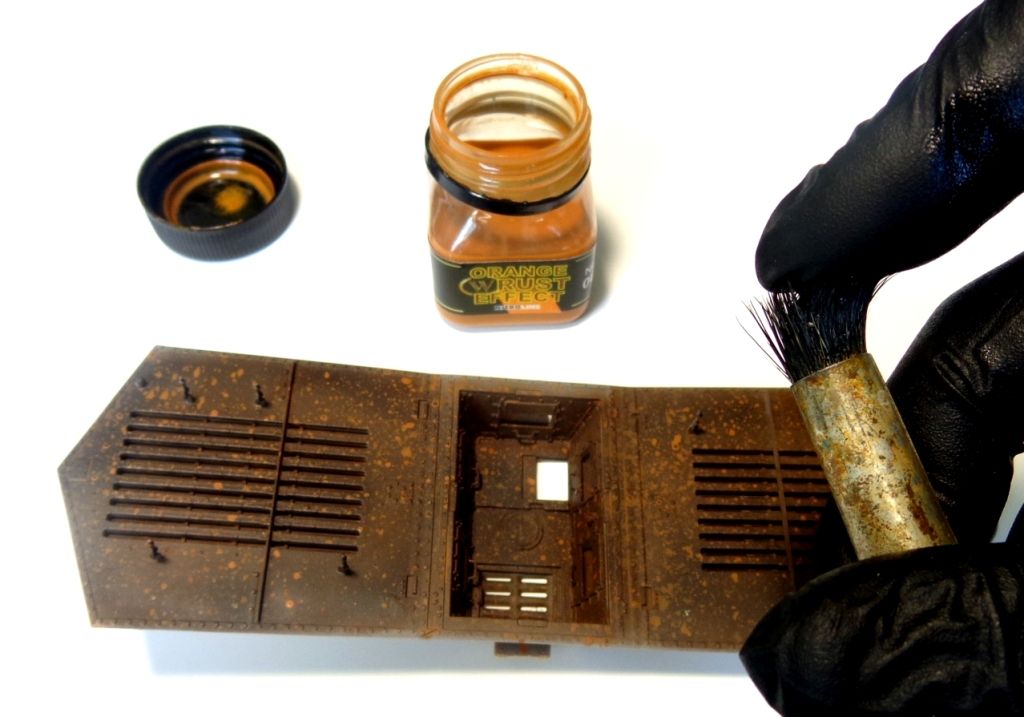
The results
And now, I have used a coat of hair spray and attached regular iodized slat by sprinkling it on the wet hair spray.
Let it dry before painting…
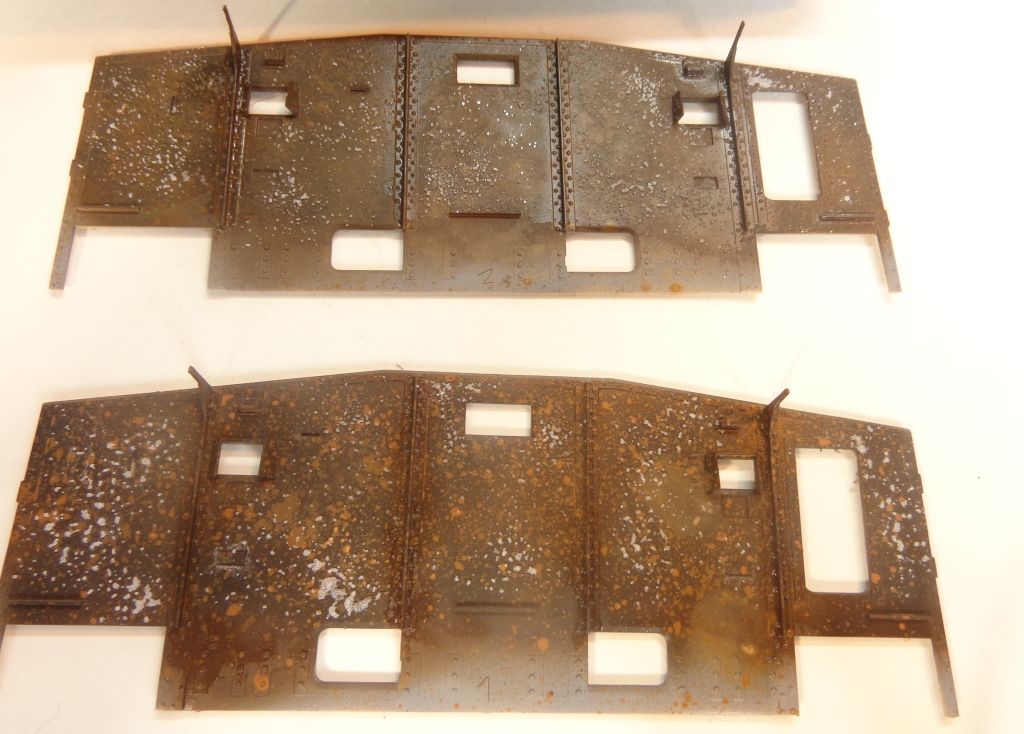
Next, I sprayed a light and varied coat of Model MAster flat White.
Some of the parts required different colors; I mixed up a grayish-green mix for some of these parts. There is no definite consensus on the actual colors used in the interiors of these tanks, so there’s a lot of leeway to play with.
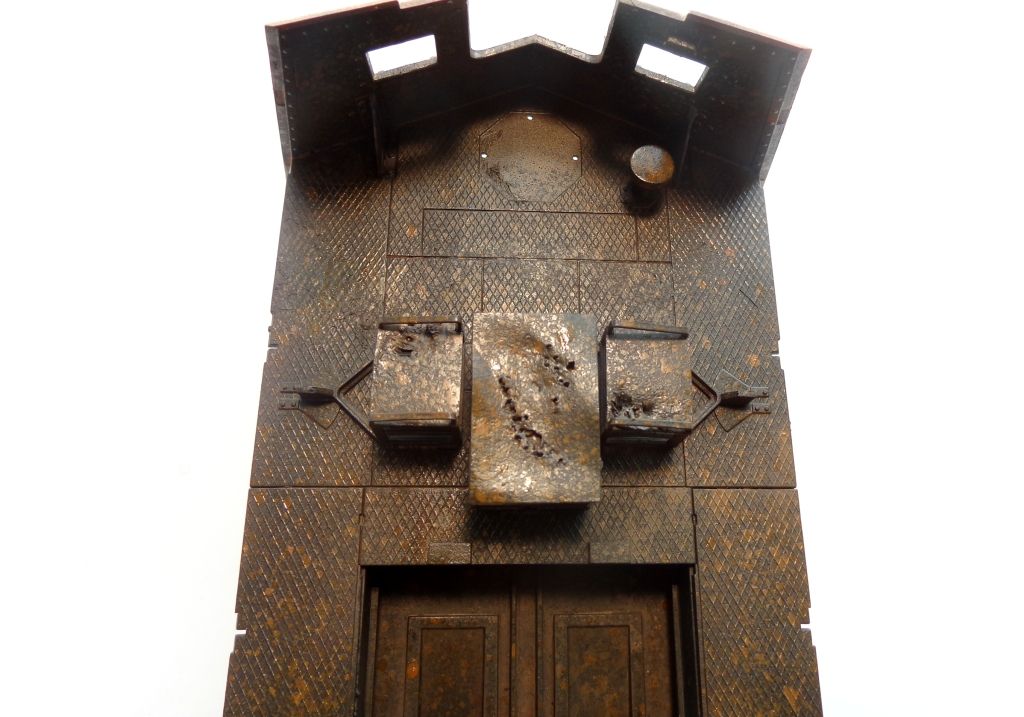
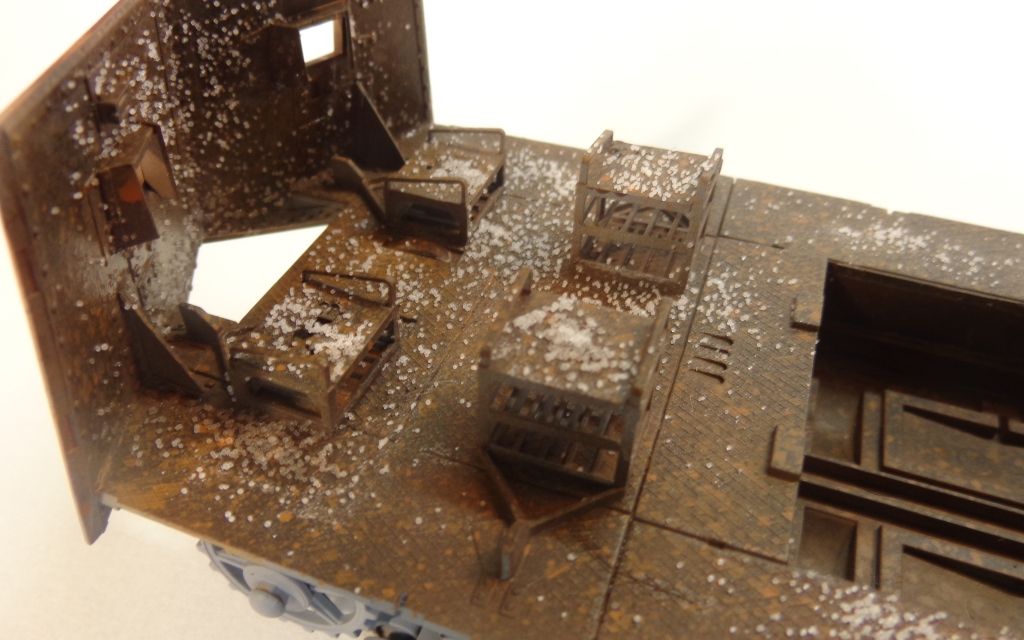
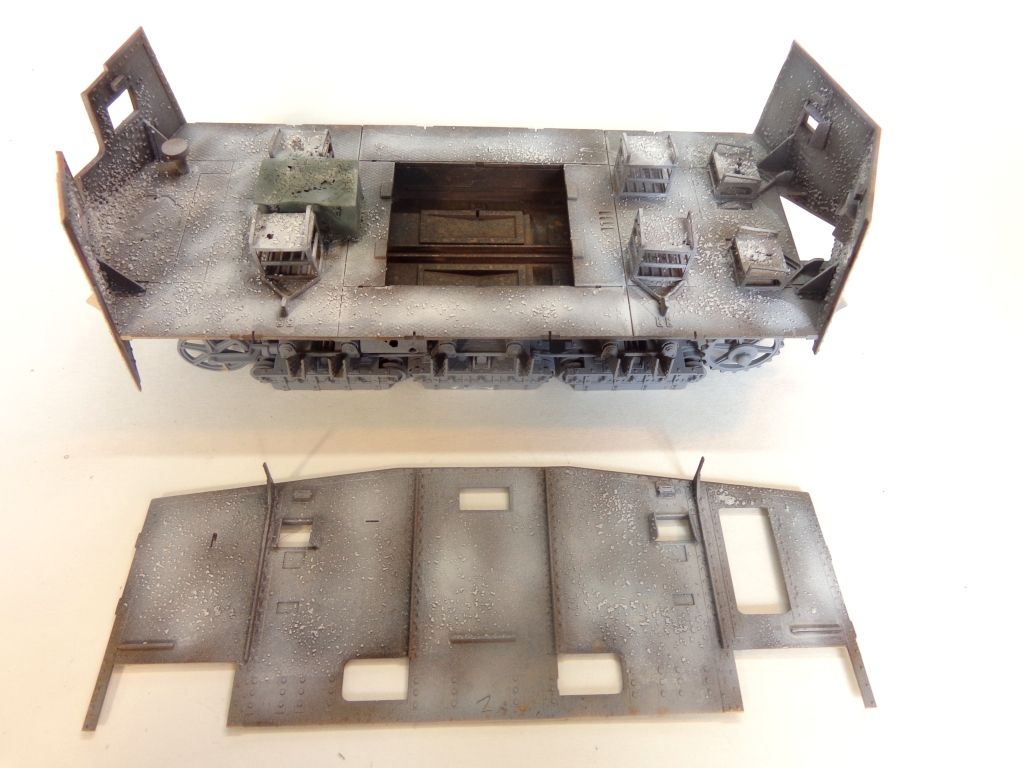
The hull interior: the lower wall has had the salt brushed off.

After scraping the salt off, here’s what I have so far. This is without any extra detailing or weathering.
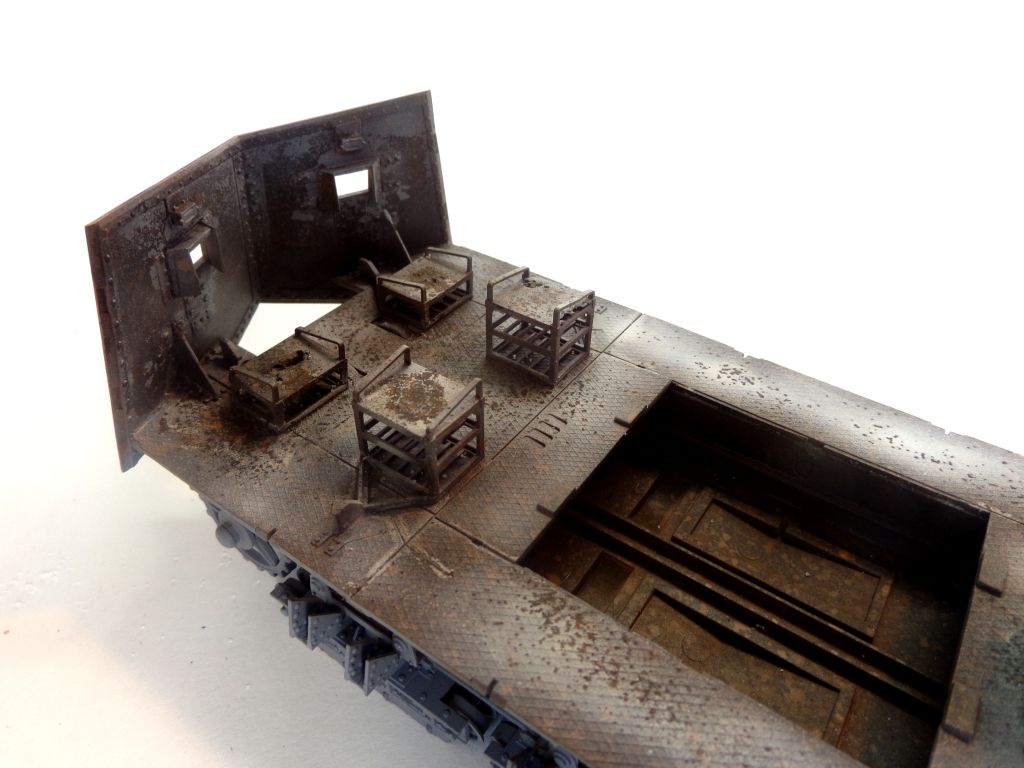
I will now go back and add some more white patches with a sponge and brush. Washes and filters, pigments and streaking to come. Then I can finally put the walls on and get finishing the exterior, which should be a lot easier than the inside!
Thanks for looking in, guys! Lemme hear from ya if you have any suggestions or criticisms! [;)]
He heh…
!http://i170.photobucket.com/albums/u244/heydoog/A7V%20Diorama/DSC05146_zpskeosru2r.jpg
“Parts and recreation”.
Looking good.
Hey, I found an old page here on finescale that has some credible info on the exterior colors.
wow… just wow man. Looks amazing. I only wish i could be half as talented as you ![]() (i need to learn how to airbrush) Keep up the great work!
(i need to learn how to airbrush) Keep up the great work!
Yeah, looks great Karl. I just rusted out two mufflers and wish they’d come out half as well as what you’ve got here.
That does look really nice Karl, love that rusty finish.
Cool beans, Steve! Thanks for that cool link! It’s always good to find info before yo’re actually looking for it! THANKS!!
TigerEP1, thank you kindly, ANd don’t worry–you can learn to be a superb modeler here. Heck, this is where I learned a lot of my skill!
Cliff, thanks for the king words, I’m sure your mufflers turned out fine. You put out some cool wrk yourself!
Thanks too, Bish. I appreciate you following along!
OK< got some more details to show…
I touched up the white a bit inside the walls, I didn’t care for those large rust patches. I just laid down some more salt and sprayed the patches…I think it looks more like what I had envisioned…

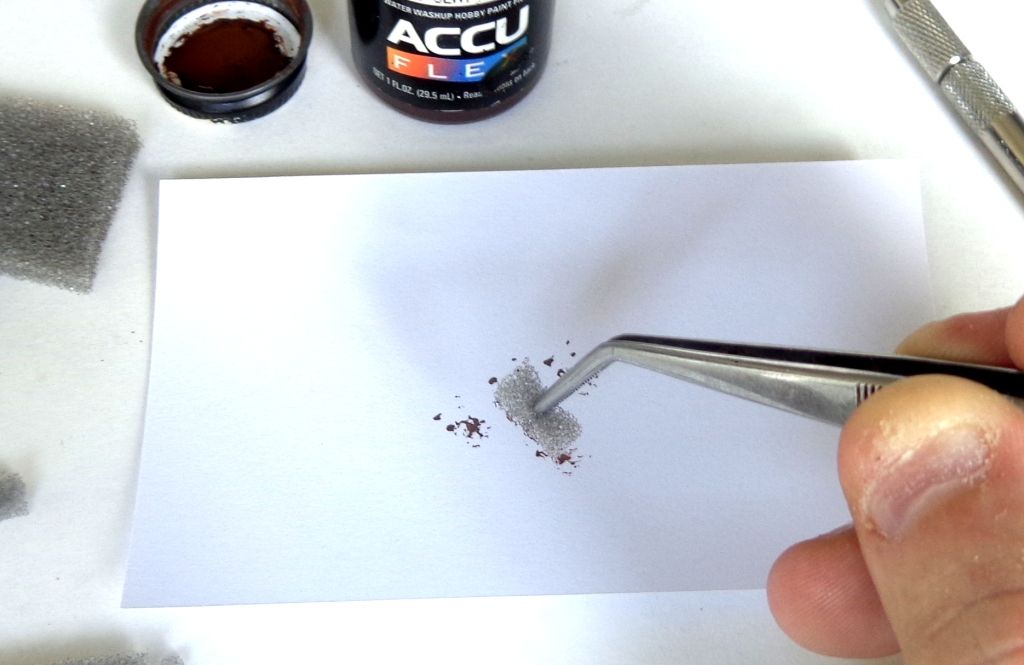
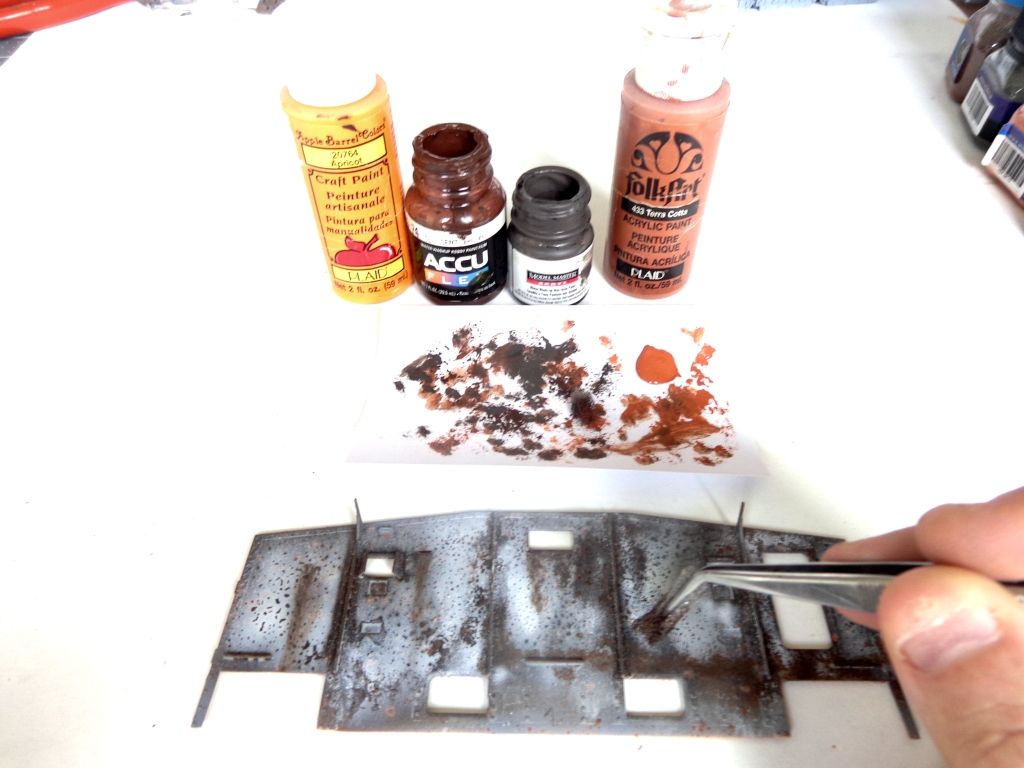
I decided to do some sponge chipping next. I tore a little piece off of gray packing sponge and dabbed it into a rust color…this is some ancient bottle of “AccuFlex something-Brown”–the label is worn away…
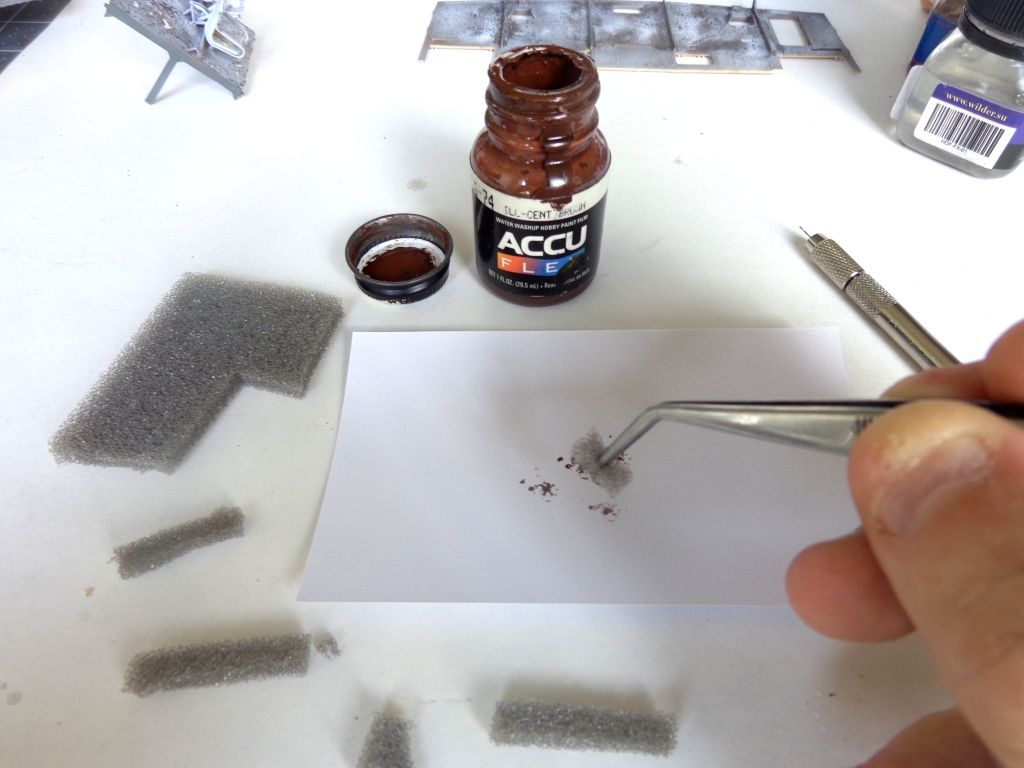
For anyone looking to try this the first time, make sure you do a little test before each pass to make sure that your paint is of the proper liquidity to transfer that way you want it too. If the paint is to thick it will be tougher to get a good pattern—test it on a piece of paper, As the paint dries in your bottle top or wherever you put it, add a LITTLE bit of water to it to thin it a bit and it will be easier to use.
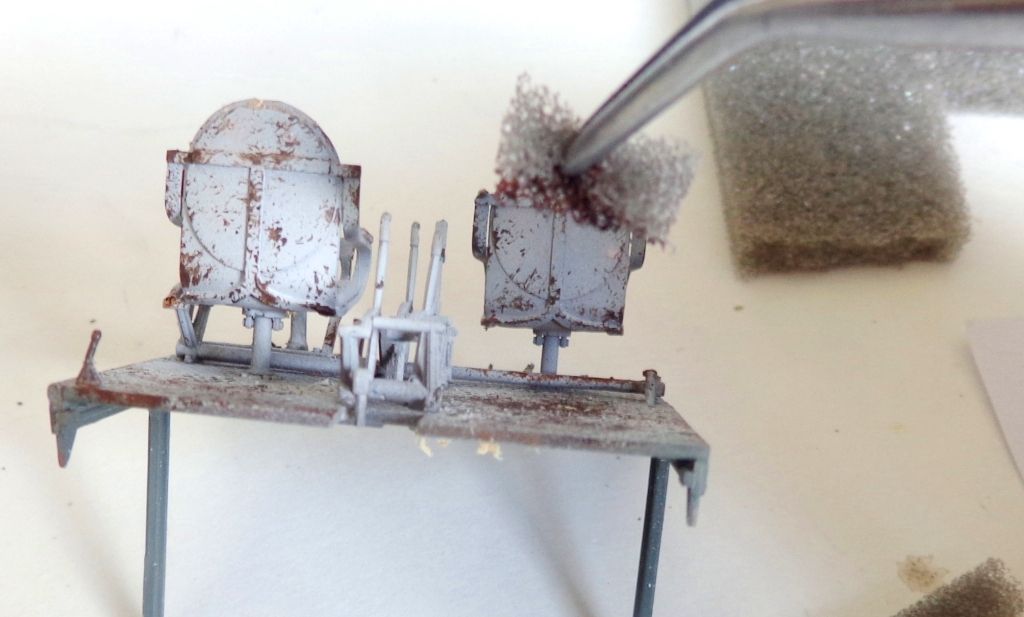
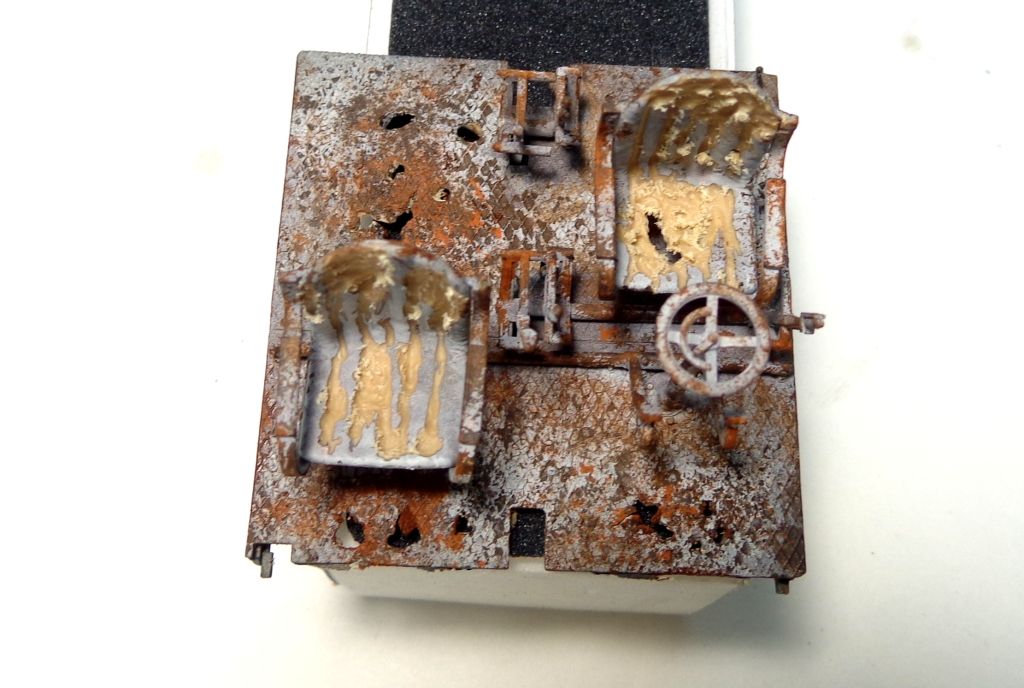
And apply it to the parts you want to chip…doing the seat backs…
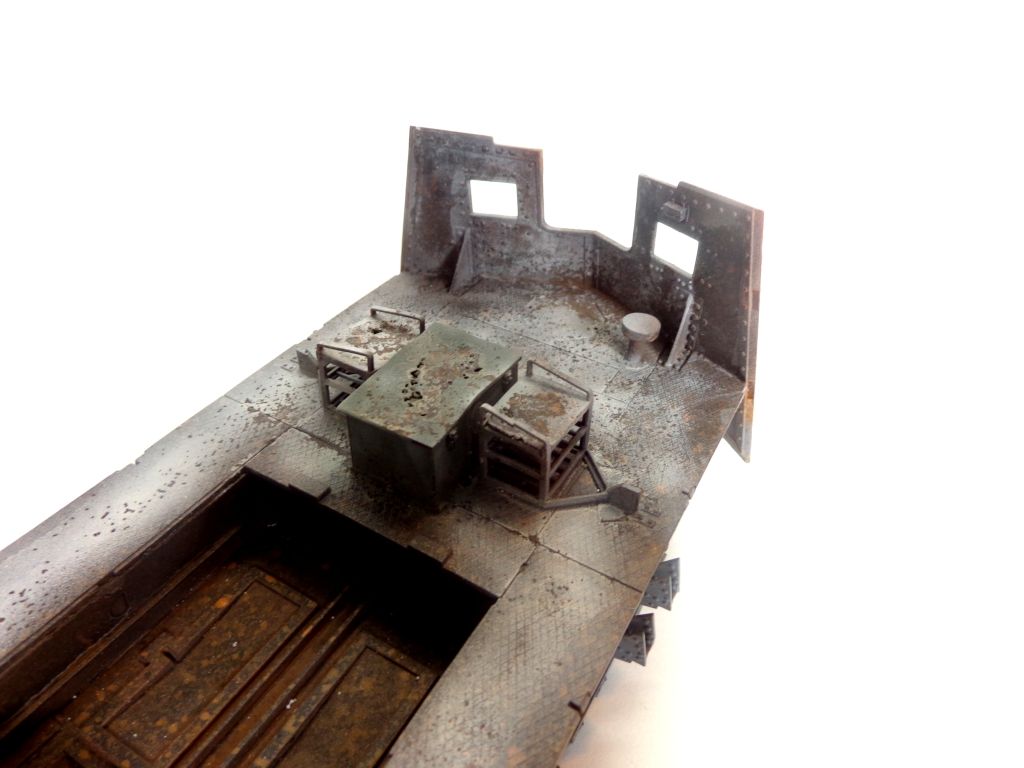
The driver’s floor and area…still need to do spot-washes…notice that I’ve used a Dremel tool to “age” the seats…
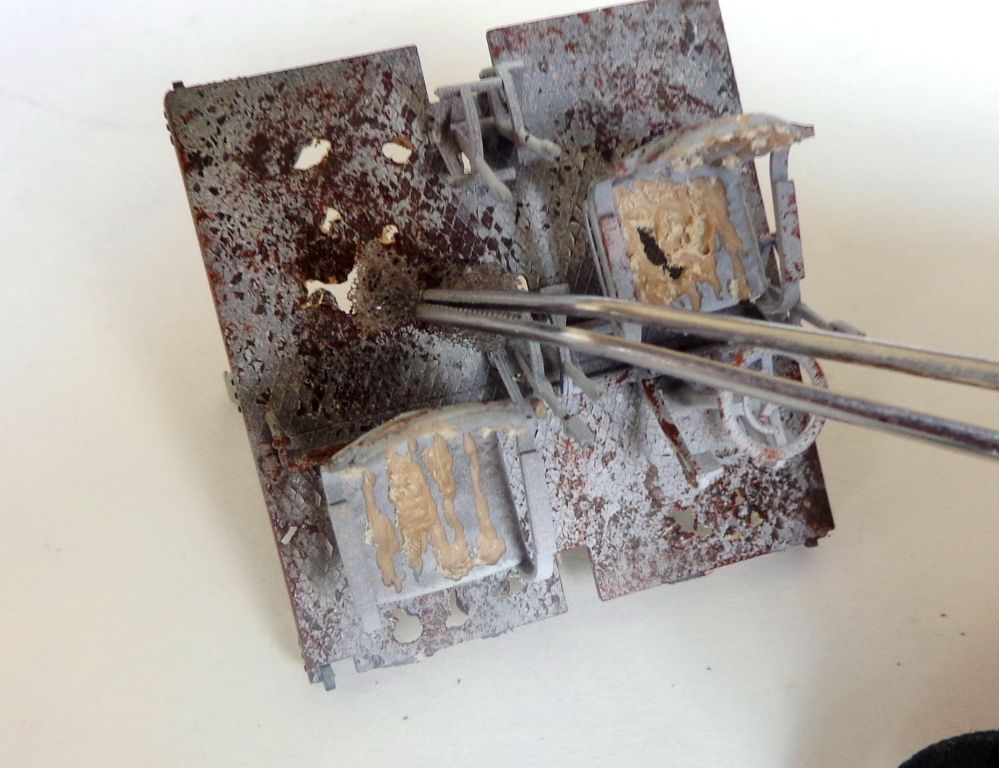
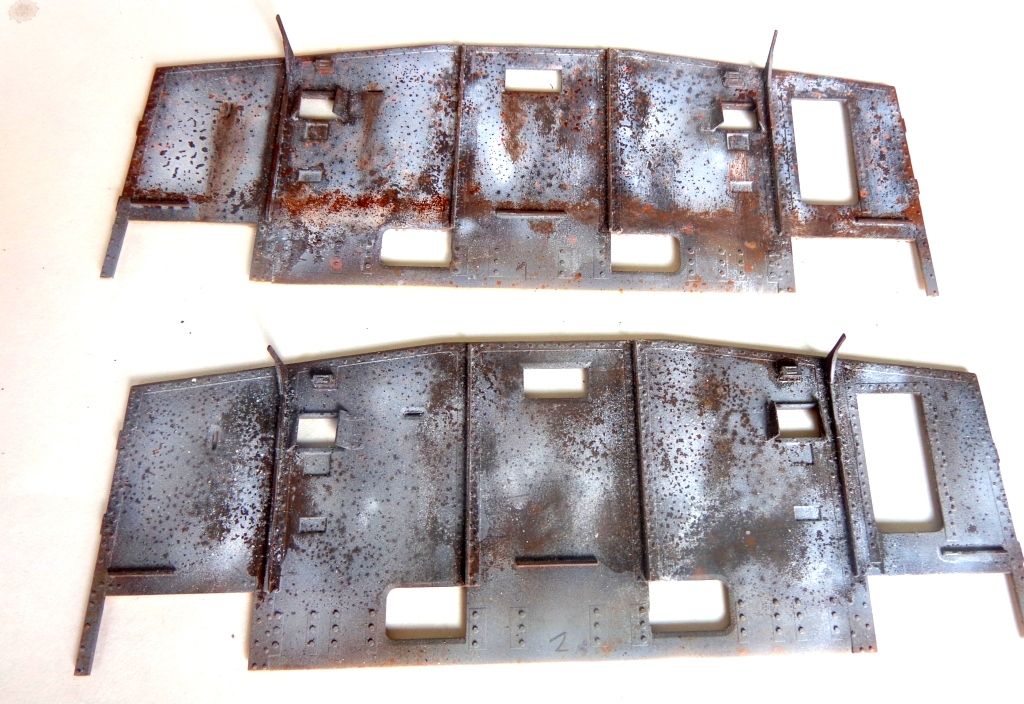
I have found that you can not only dab the sponge, but drag it along to make various effects. I’ve dragged it here down from some of the apertures to simulate rust streaks. Note the weird variety of colors and paints that I’m using. Basically whatever catches my eye. Mix it on the brush to get different tones and go to town!
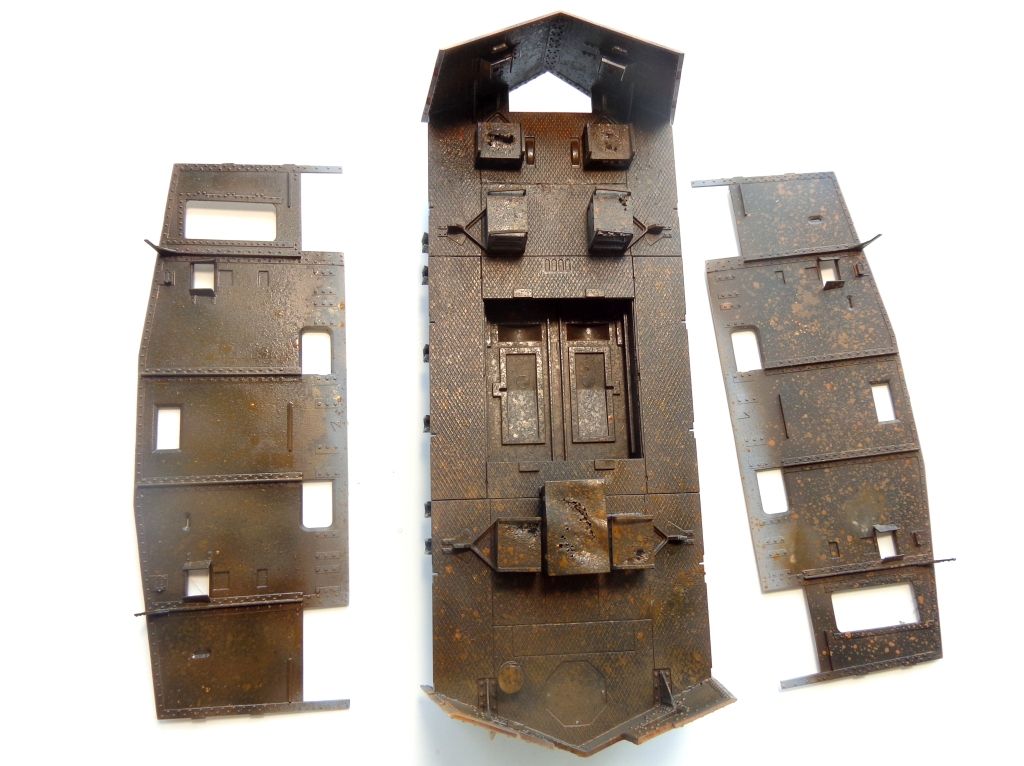
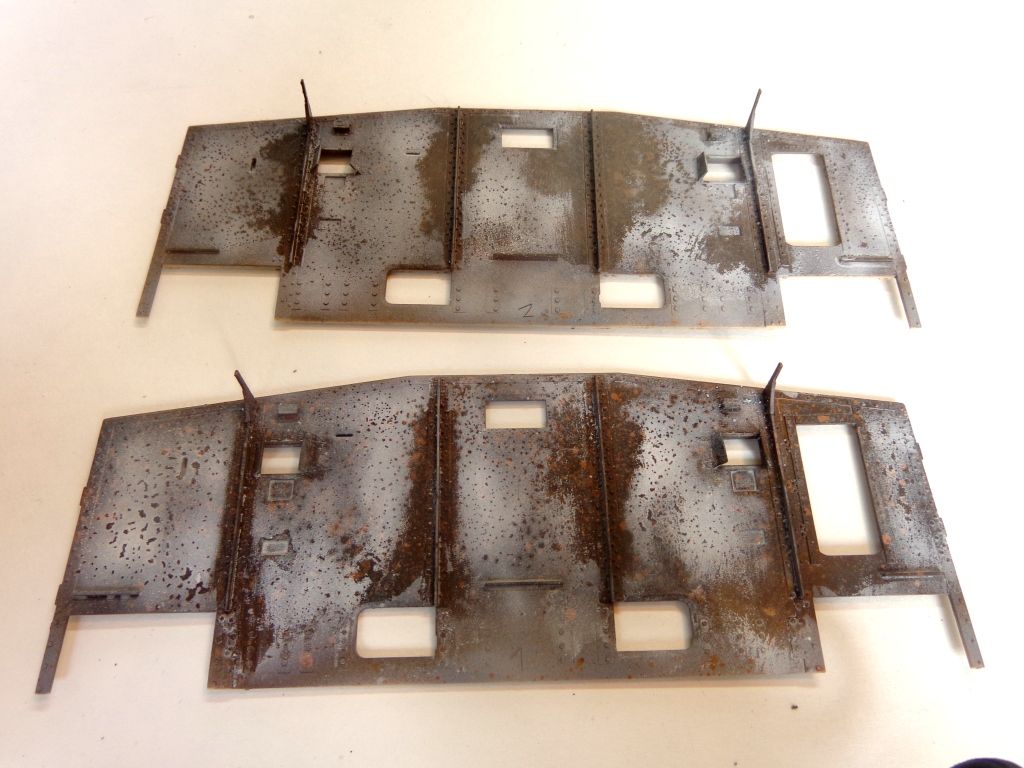
The top panels have been done, the bottom, not…
Close up…
 And some of the other parts…
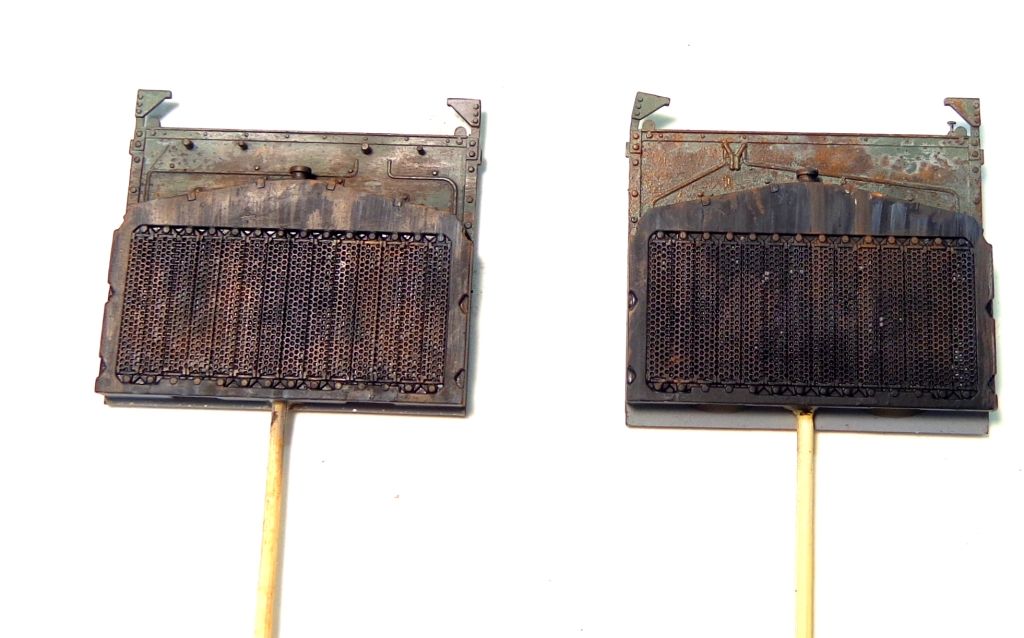
Radiators…
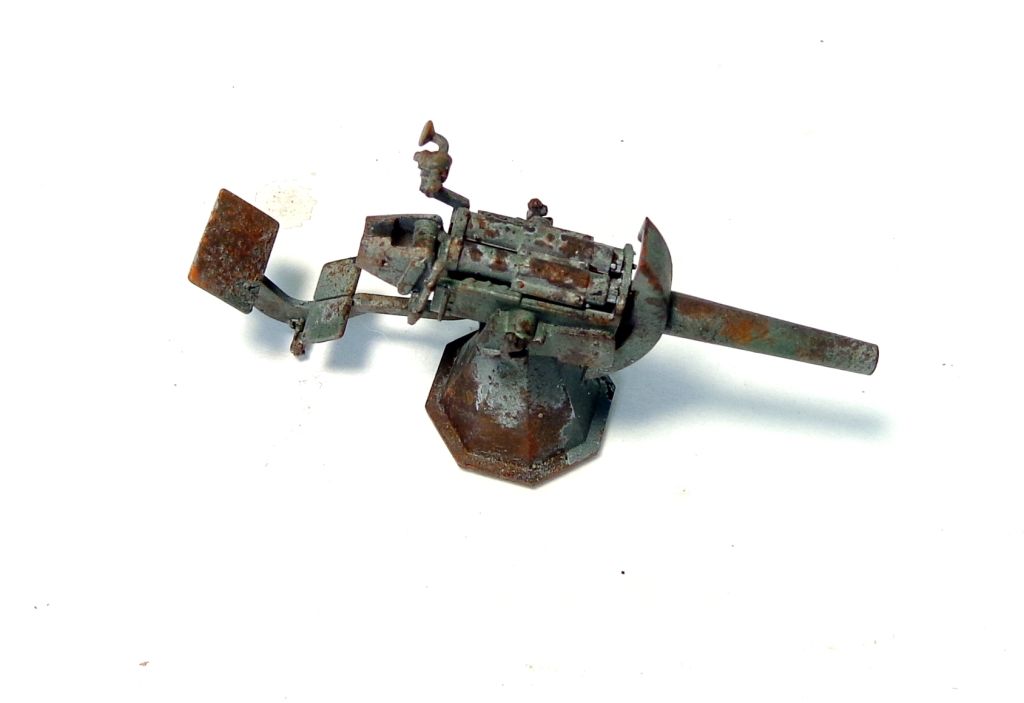
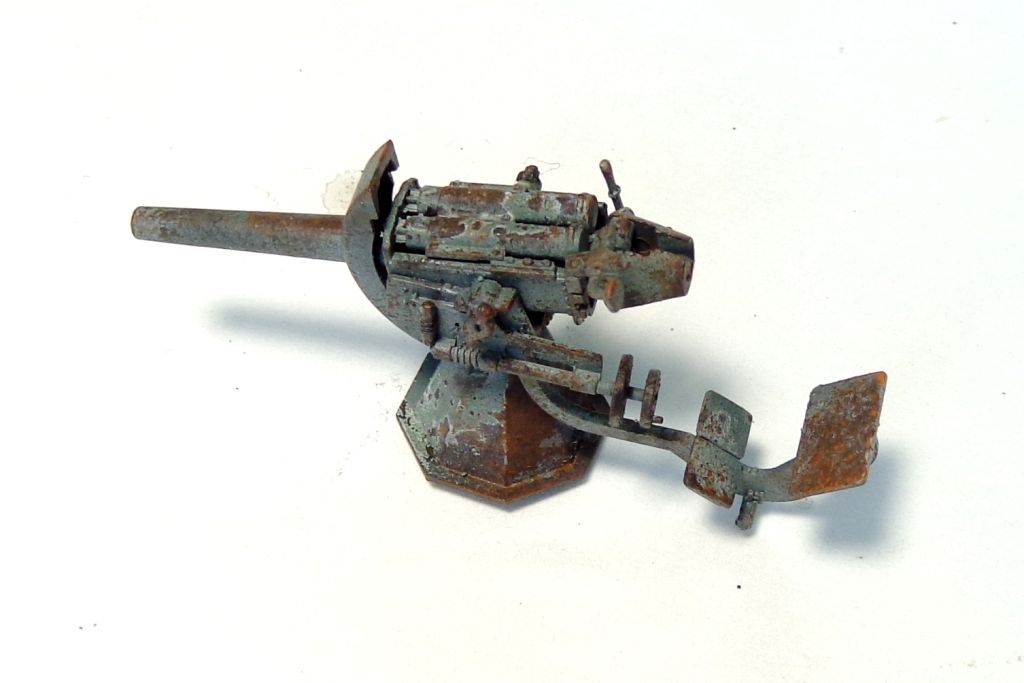
The gun…
The driver deck so far…the seats have yet to be painted…still thinking on these…I have to add some kind of stuffing…
Still LOTS to do on the interior. Lot of little detail parts to do and then I have to assemble it and make sure it all fits…
Stay tuned, and thanks to all for looking in! Comments and questions always welcomed! [:D]
 Wunderbar!
Excellent results…
Looks fantastic, Karl!