I look forward to seeing your DD here. Can you really complete it before the end of this GB?
Very true! You have steadier hands than I SP.
yeah, but I need a third or fourth hand in this hobby sometimes…
That’s some mighty fine decal work, Stik! Damn that stuff is small…[:|]
Thank you… you’re telling me about small… in the middle of the process was one of those “what was I thinking?” moments… but it all worked out with no cursing or flying schnellboots…[whstl]
I think I’ll get it done. I’ve never done a “state of the art” ship model, but the DML DDs are very highly thought. The paint job is measure 21 which is relatively simple and I’ll stick with the kit’s PE so I won’t have PE depth charges. We’ll live with it. I’m hoping it will be pretty straight forward and the part count isn’t in the stratosphere. If I’m wrong, it’ll go to the 1944 GB. But we need a ship in this build - allied gunfire (not to mention supply and communications) was vital to victory in Normandy.
Eric
That’s why I prefer building aircraft. There is at least some chance of them simply gliding across the room if I send them flying… [;)]
Time for another quick update. The 1/72nd Italeri C-47 is back on the workbench and is starting to progress. My last update was in June, 2013, so it’s about time to finish this up!
I’ve managed to clean up the parts and have given the interior a “basic” paint job. Still need to finish it up, but I’m not worried that much about the insides. Once this thing is closed up, unless you run a fiber-scope inside, you won’t see much.
Test fitting some parts.

I’m off tomorrow for Good Friday, so I might be able to get some work done on this thing. The weather and God willing!
Gary
Hey Gary, looks good! I hope you’re going to put the interior in there before you start gluing- I’ve started cementing the fusilege together and then looked down ‘um, there’s a cockpit sitting there on the bench… DUH!!!’
Nice work, Gary!
Cliff: Something similar happened to me when building Tamiya’s P-47 Razorback. I noticed that I forgot to put in the IP after glueing the fuselage together and sanding all the seam lines smooth. Luckily Tamiya kits are very forgiving and I managed to squeeze it in after shortening the mounting pins…
Thanks! I’ll try to remember about the cockpit… which part what was that again?? [:$]
Really, if I forgot to put the cockpit in no one would notice. It’s just not easy to see anything inside, and I’m building it with the cargo doors closed anyway.
I’m actually concerned about the windshield. It’s a single part and you have to mate it in both sides. Sounds like a recipe for screw-up. I’m thinking about cutting it in two and gluing the halves separately. The center frame after it is painted should cover the cut… if they match up okay.
Does anyone have some experience with gluing windshields like that? I can’t see any way of placing it after the fuselage halves are glued together.
Gary
Here is my fix. It could be better but it works.

(http://s67.photobucket.com/user/Scode68/media/Models/P-51/P4170004_zpsa4b1e30d.jpg.html)]

That looks sharp 68!
Cockpit blues have hit me more than once. And I look forward to mastering the canopy - that makes sense because it’s so visible. But matters like this show different approaches to the hobby. Unless you’re taking a model to a show or a club, it’s pretty unlikely that matters of detail are noticed by anyone except yourself - and the people on the boards who see photos. I admit that I don’t spent extra time on cockpits and wouldn’t consider buying after market parts for one because nobody is going to see it - including myself after it’s put on a shelf. Other model genres have different places to show dedication to detail. Both tank and ship modelers will go to remarkable extents to - almost literally - create the correct rivets. A real tank fanatic might well spend $50 on metal tracks. (I’ve got to try that just to try it - probably on some German thing with lots of sag.) Ship modelers often get two sets of PE, do a lot of scratch building (even I scratch brass masts) and track down fly tying line that’s almost impossible to see and requires a lot of time to rig a ship with. (And if you build waterline, some kind of base is almost essential.) Actually I’m glad that people will do the research and show respect for technical fidelity of the subjects they model. It’s those modelers that set a high standard for the hobby and create a market for better kits, better paints etc. But I’ll never be one of them.
Eric
Nice to see this one back Gary, I was beginning to think you had forgotten about us. [;)]
68, that’s looking very nice.
I’m enjoying building this Bronco Models 10.5cm LEFH18(SF) sparty for the GB. Here are the inside walls of the fighting compartment. I did some chipping on a metal box that looks like it might have been a firstaid kit or something. It looks like it must have slipped in and out of some brackets. I’ve seen some people do aftermarket of this and there may actually have been three small metal boxes, but I’m just working OOB. I also imagined that the ammo crates were wood. I could be wrong about that, but I liked the look. I still need to do lots more weathering and distressing.
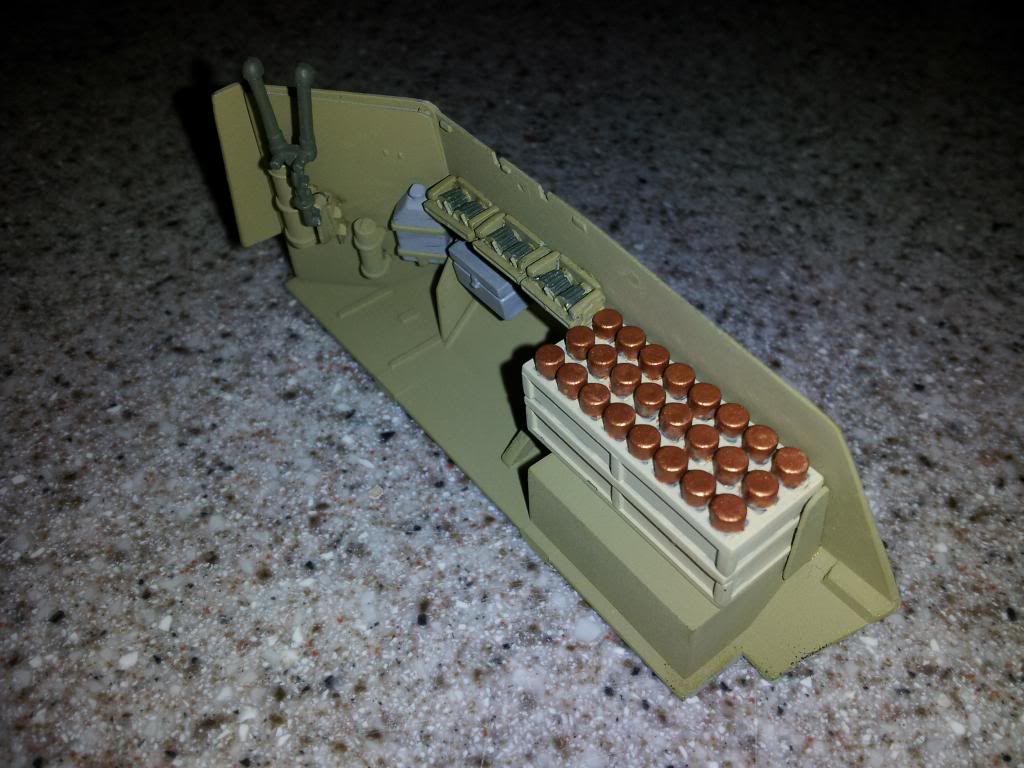
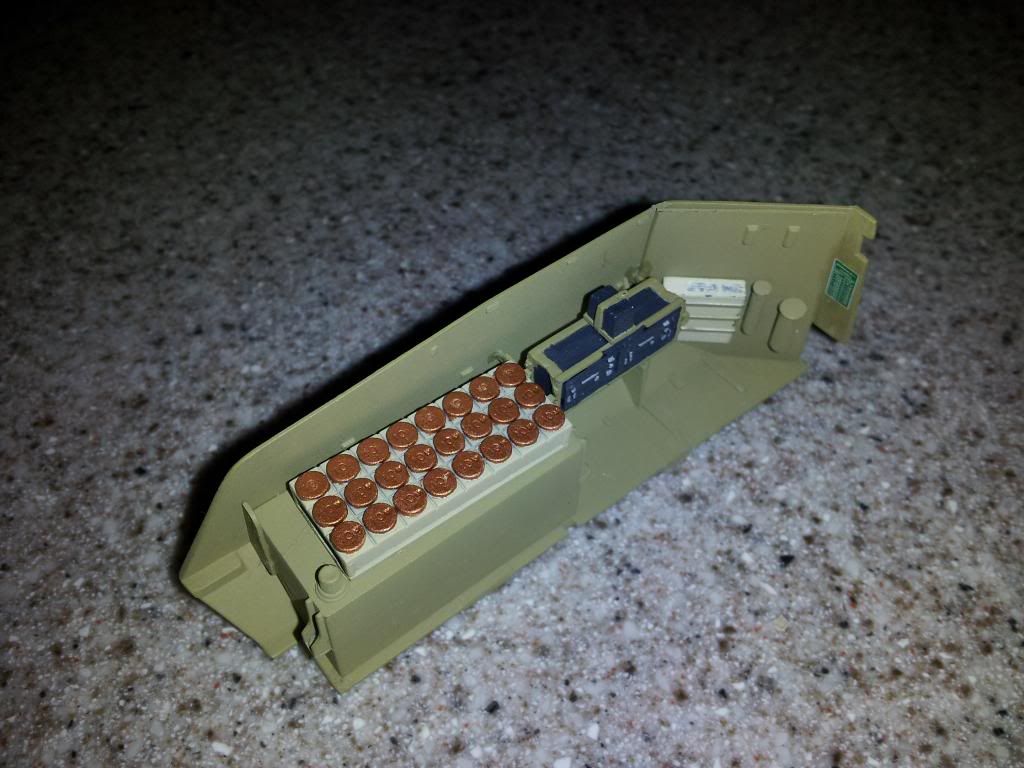
Nice work Barrett.
When you post pics, use the Use rich formatting link and then you will see the link to post pics directly into the post rather than just the link.
Looking forward to seeing more.
Thanks, in the preview, it shows the pics. I’ll figure out what I did wrong and fix it.
So, I managed to get the bogie assemblies built and installed on the M4 this weekend. I pre-painted the road wheels to make it easier.
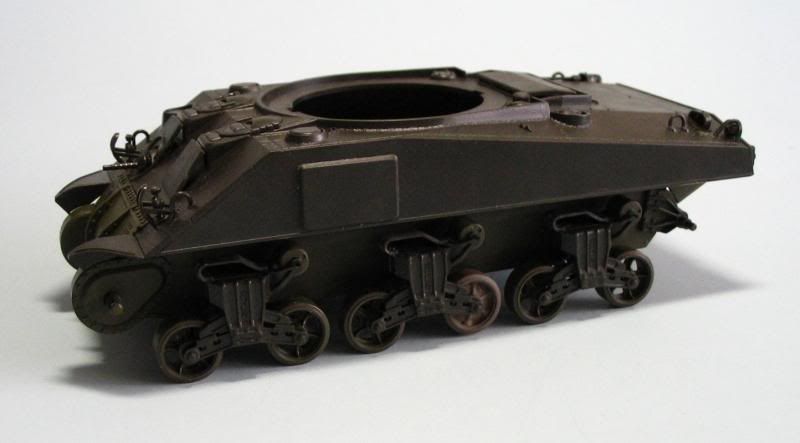
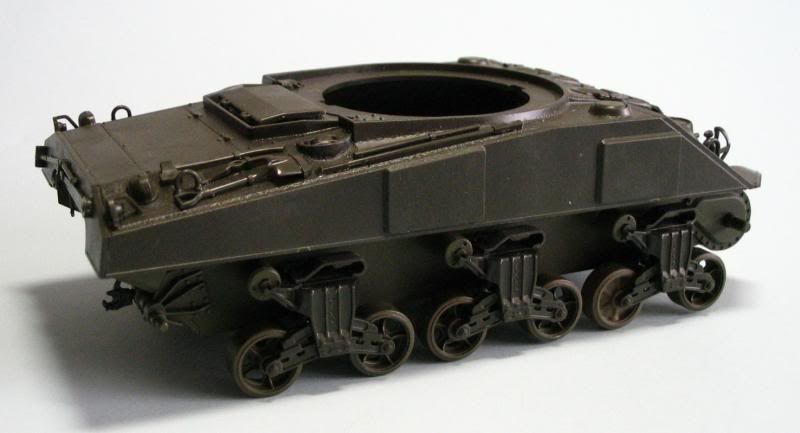
Did I mention how I hate painting headlights? Well, I do, so I drilled them out so I can install MV lenses later. 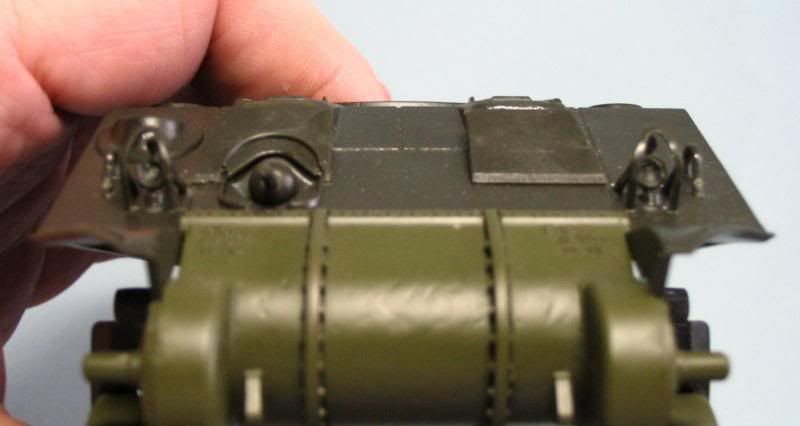
That’s all for now…I’m off to paint the hull. [Y]
Nice work Greg, what are MV lenses, not heard of those.