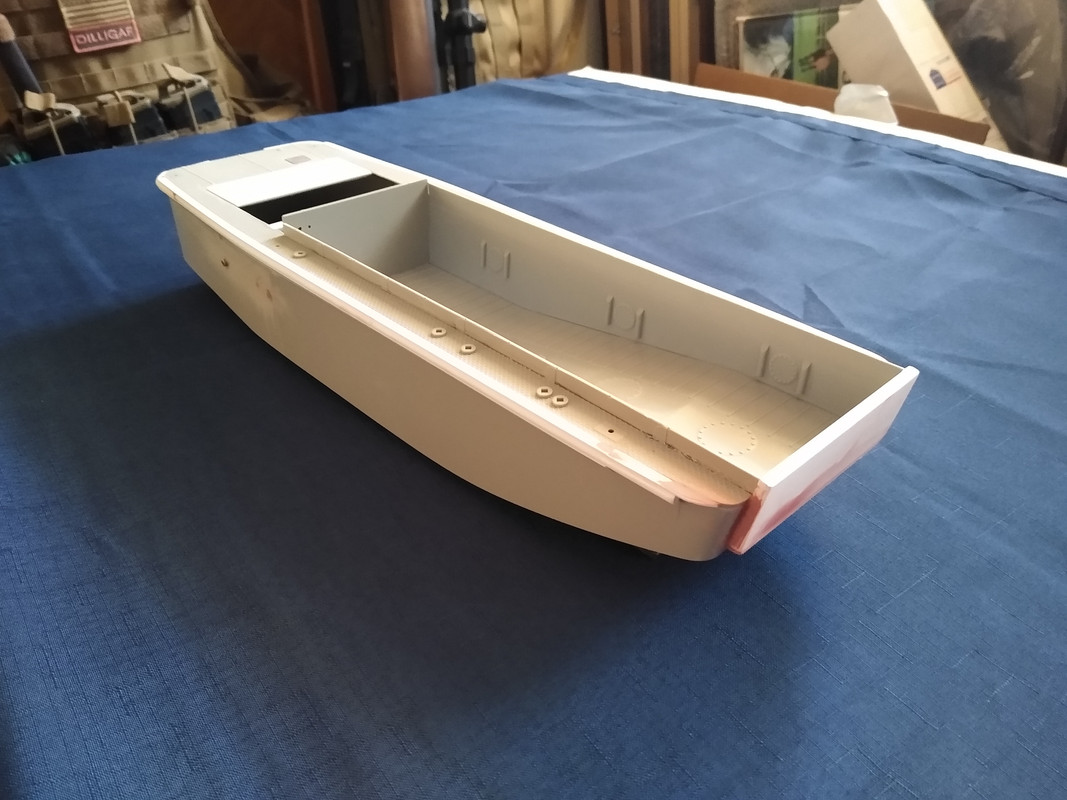
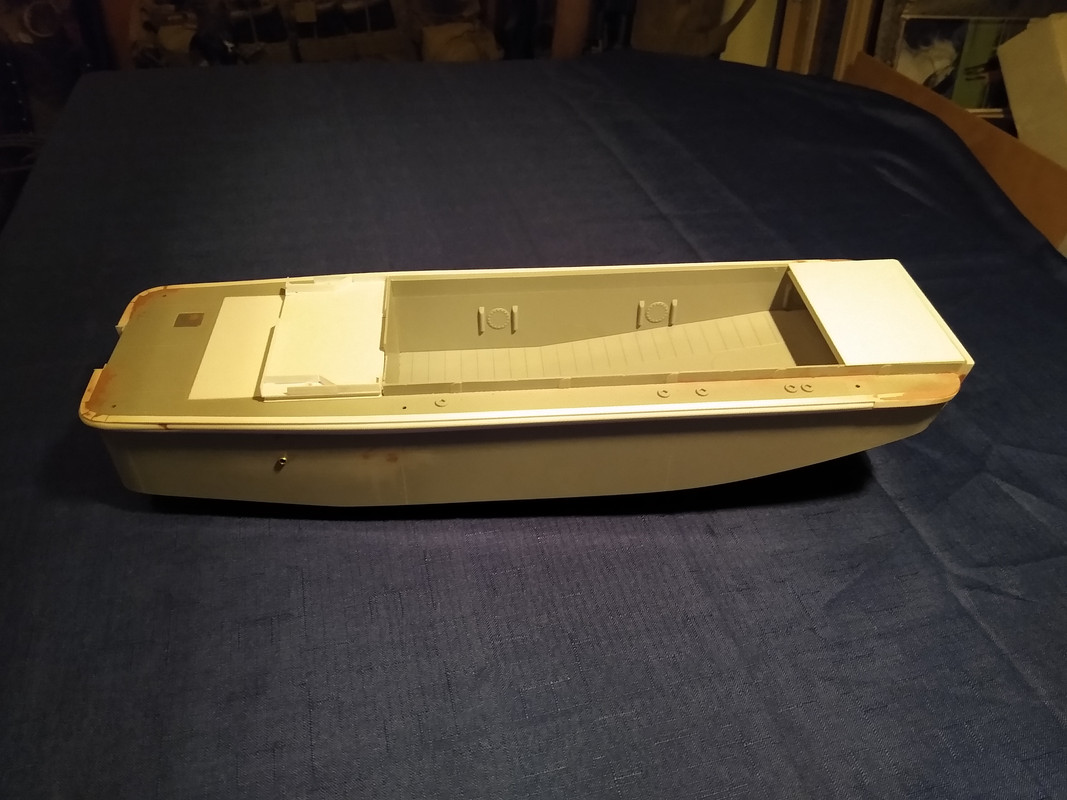
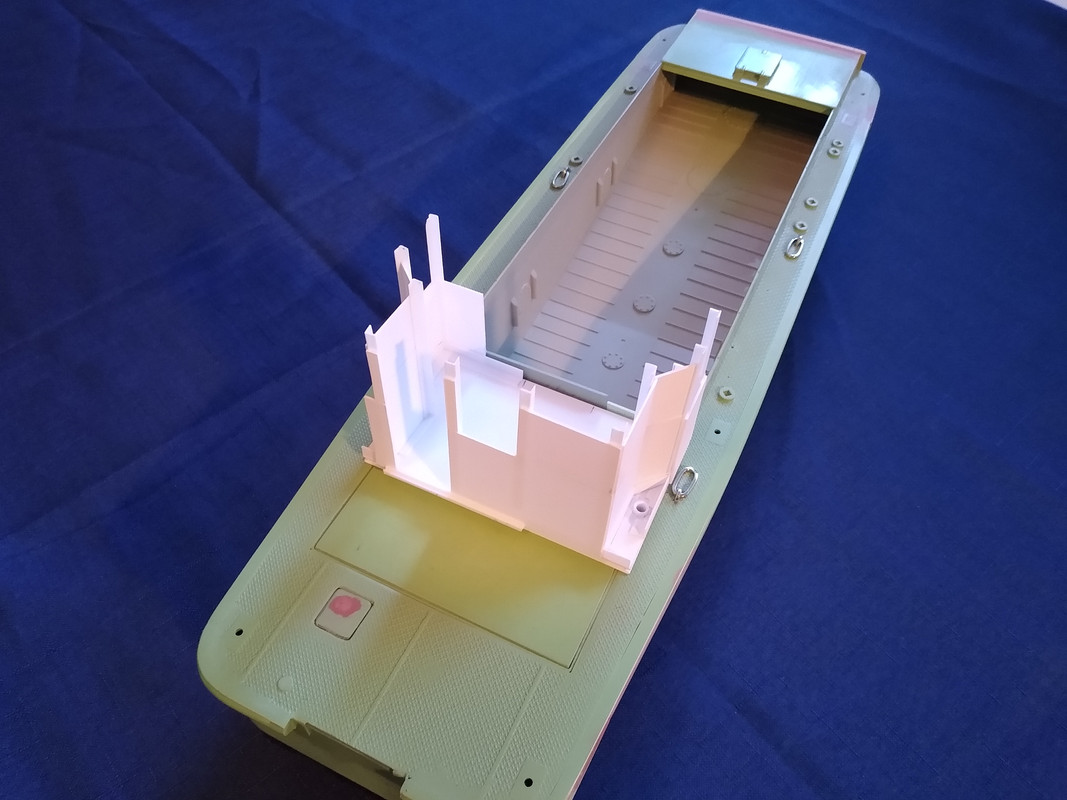
I assembled the well and installed the main engine exhaust pipes, then dry fitted the assembly to see where I will need to chop off the upper well walls. I will probably do those cuts after the well assembly is glued in, since the cut will be right at deck level, so before that happens I have to make sure there is nothing left to do inside the hull.
Rustoleum makes textured spray paints. The Terra Cotta one is perfect for non-slip coating in 1/35. I use it on armor models all the time. Just tape off the areas you don’t want it and spray away.
Thanks Redleg, I will definately check it out. I had considered the ‘flexstone’ paints but was worried that they would be too large in effect. The terra cotta should be more sand-like, which is what I’m looking for. I couldn’t get any diamond plate for the deck over the fuel tanks, so some texturing is required.
You could think about burnishing aluminum foil over something like a piece of screen or a plastic mesh. Not exactly diamond plate, but it might convey the effect.
I’ve done something like that to make quilted padding inside a big ugly AN-12.
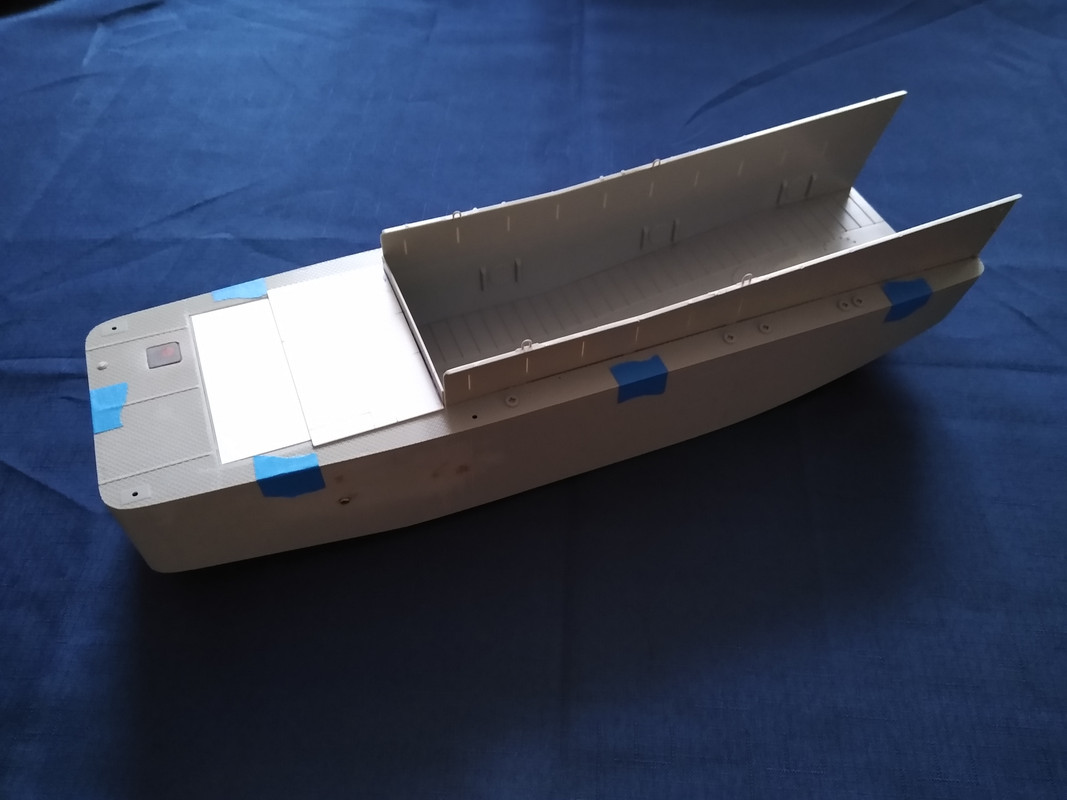
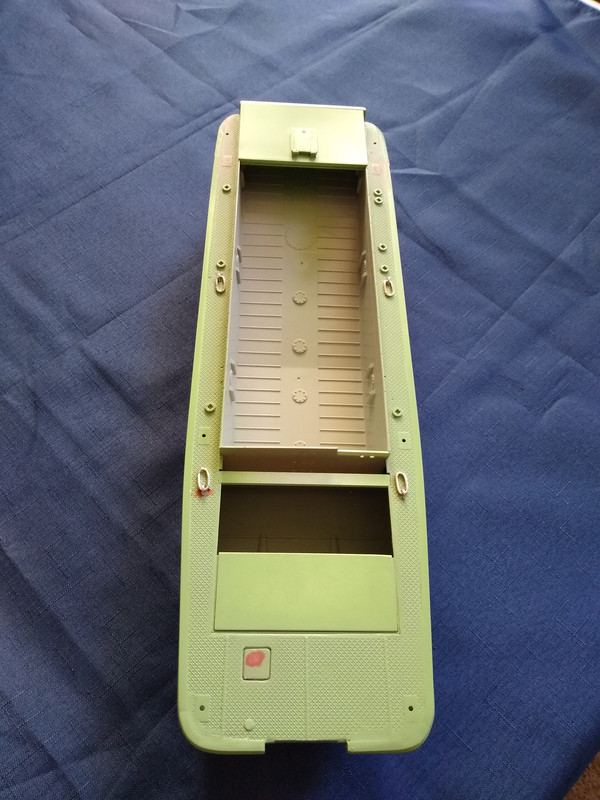
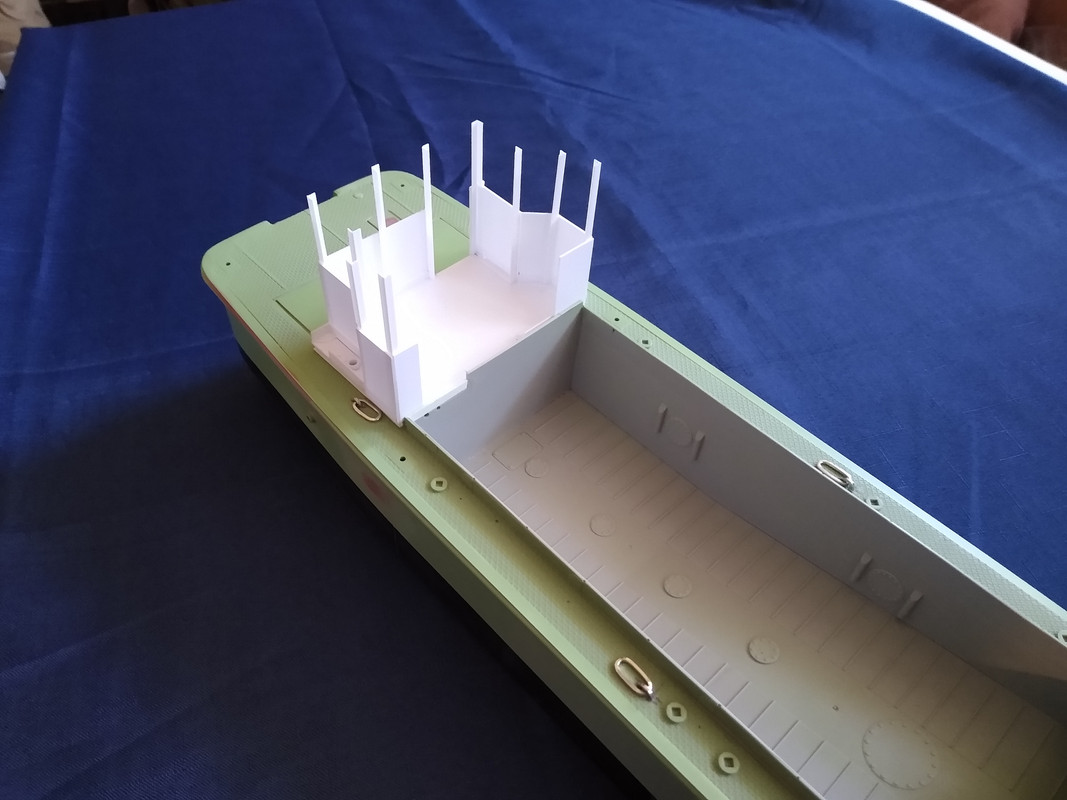
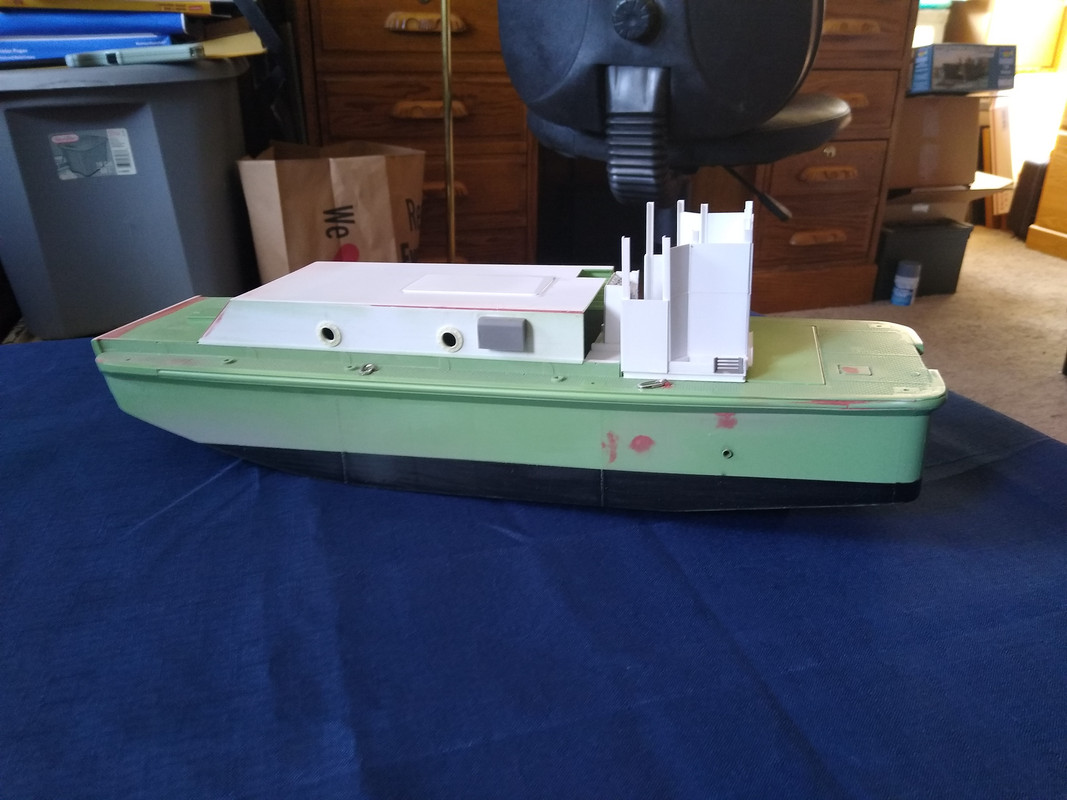
As we continue, I’ve attached the main deck and with the well assembly set in place, I’m starting the side blisters. These will extend the deck out a bit make for better footing when moving around the boat. I have still to chop down the upper well walls.
More progress on the blisters and side walls now abbreviated.
With the fixed bow closure in place, the boat is starting to look more like an LCVP; but give it time, it’s coming around. In the mean time, I am continuing with the side and transom blisters. I am also awaiting the delivery of a number of 3D pieces/parts, and have found I need a few more (standby Shapeways, an order is forthcoming!).
Now, that being said, I am somewhat disappointed in the fragility of some of these 1/35 scale 3D products. I ordered some detail items and they are ‘to scale’, which means really, really, really fragile. “Caveat Emptor” definitely applies here! Now, that particular item was going to be situated below decks so, I guess I’ll not make that area visible (though I was hoping to do so) Oh well, such is life. I will assume from now on, that I am just too ham-handed to use such products. (it would have been cool though.)
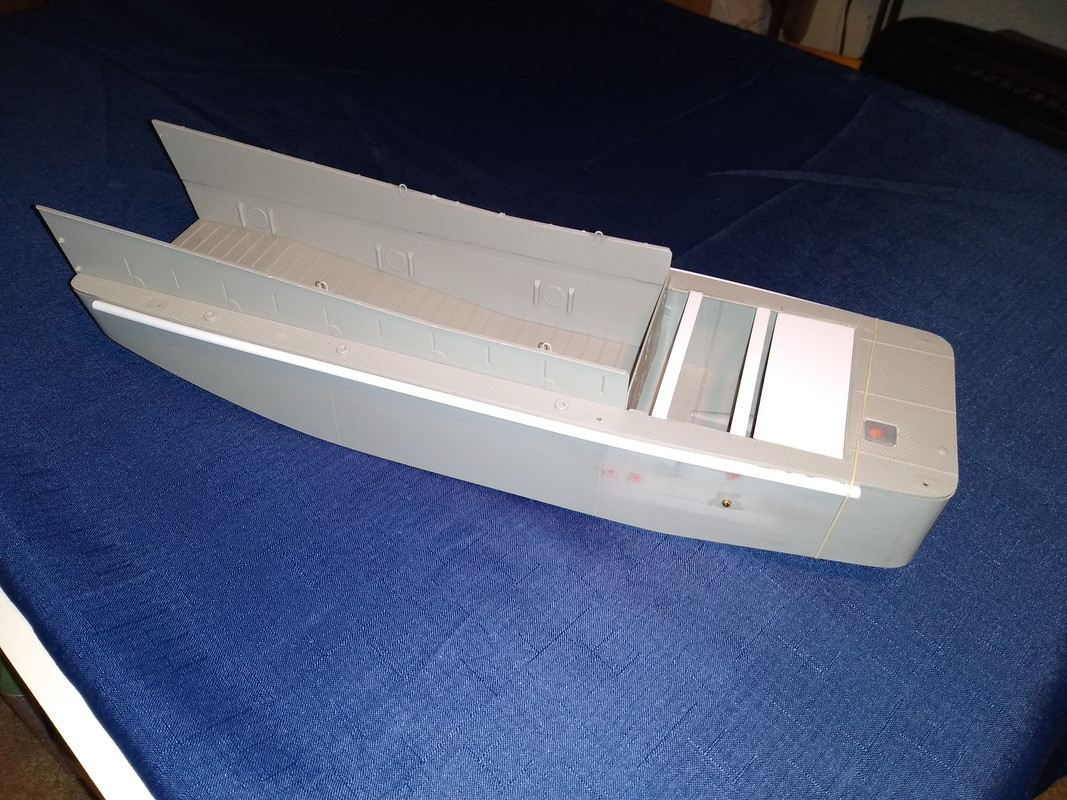
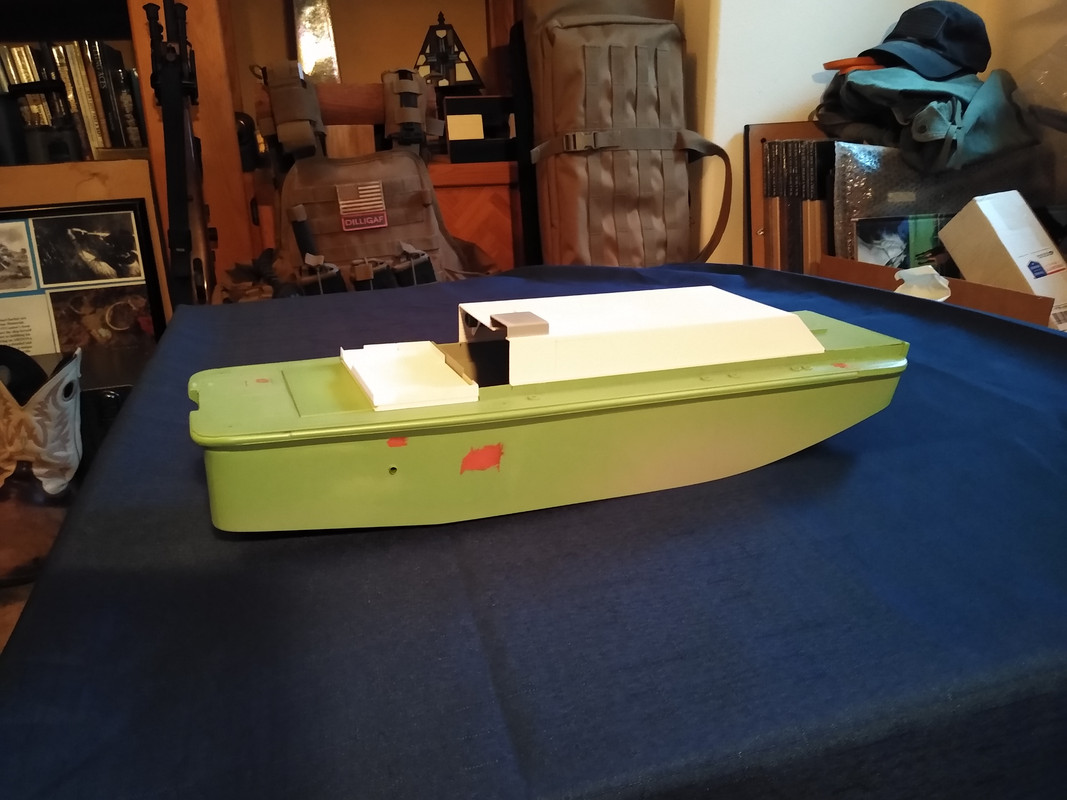
Started on the foundation for the cox’n flat / pilot house while awaiting mail order parts. Also finished up on the blister, structurally speaking, and started working on the fore deck.
While I was active duty, we always used to prime all bare metal with a light green epoxy. To simulate, I’ve coated things with a lovely ‘satin pistachio’. With the updating of this hull, I also updated the lifting rig instead of using the older style PE parts.
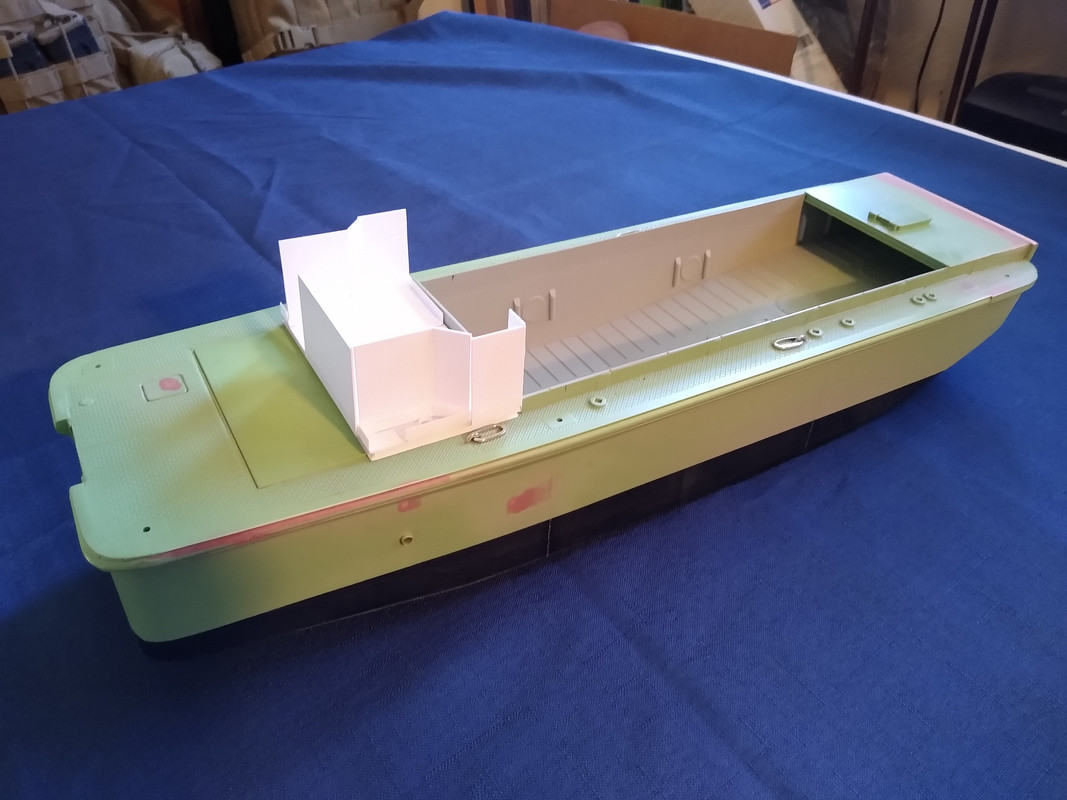
Also, the forward cabin assembly is coming together.
I’d been holding offstarting the pilot house, mainly because I really wasn’t sure how I was going to do it. I had the concept down solid, but undecided on the method; to piece it together, or to build each wall independently and then assemble them as units.
Anyway, after staring at the base for a little while, I just jumped in.
As you may notice, the pilot house portion under construction here is the section above the engine compartment. On the actual boat this part was removable for engine replacement, by unbolting the flange at the base. The forward wall where the helm is located stays with the boat but the front windows go with the pilot house structure.
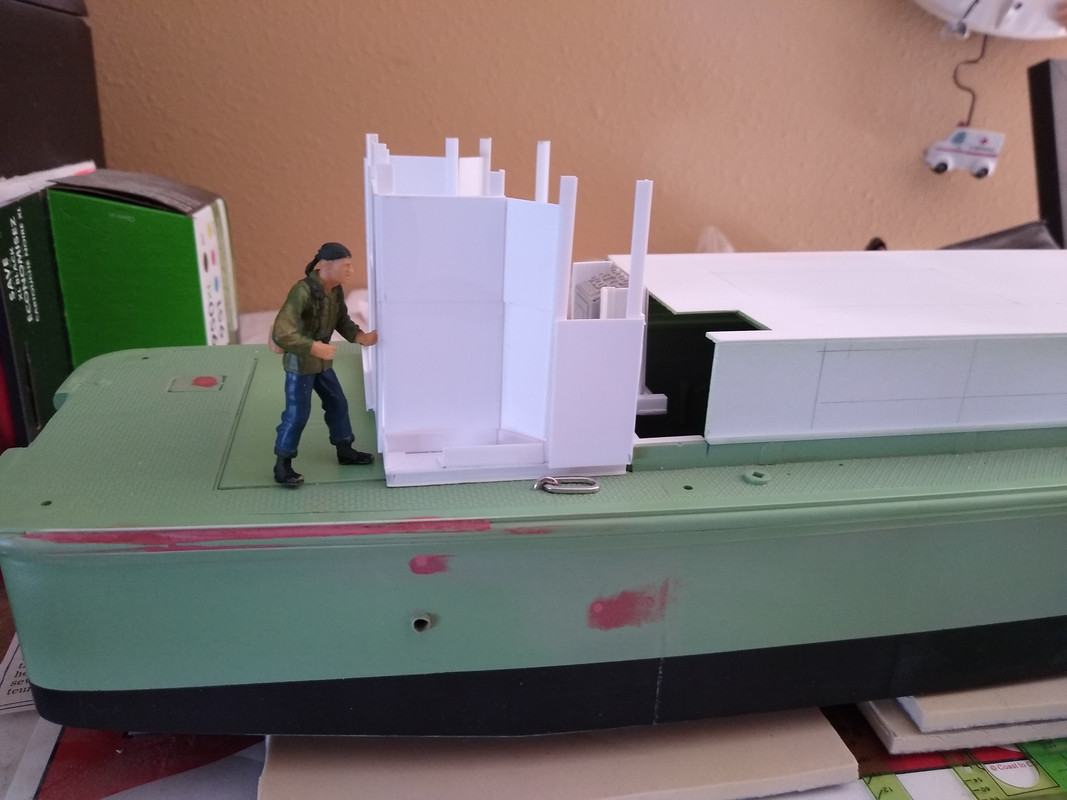
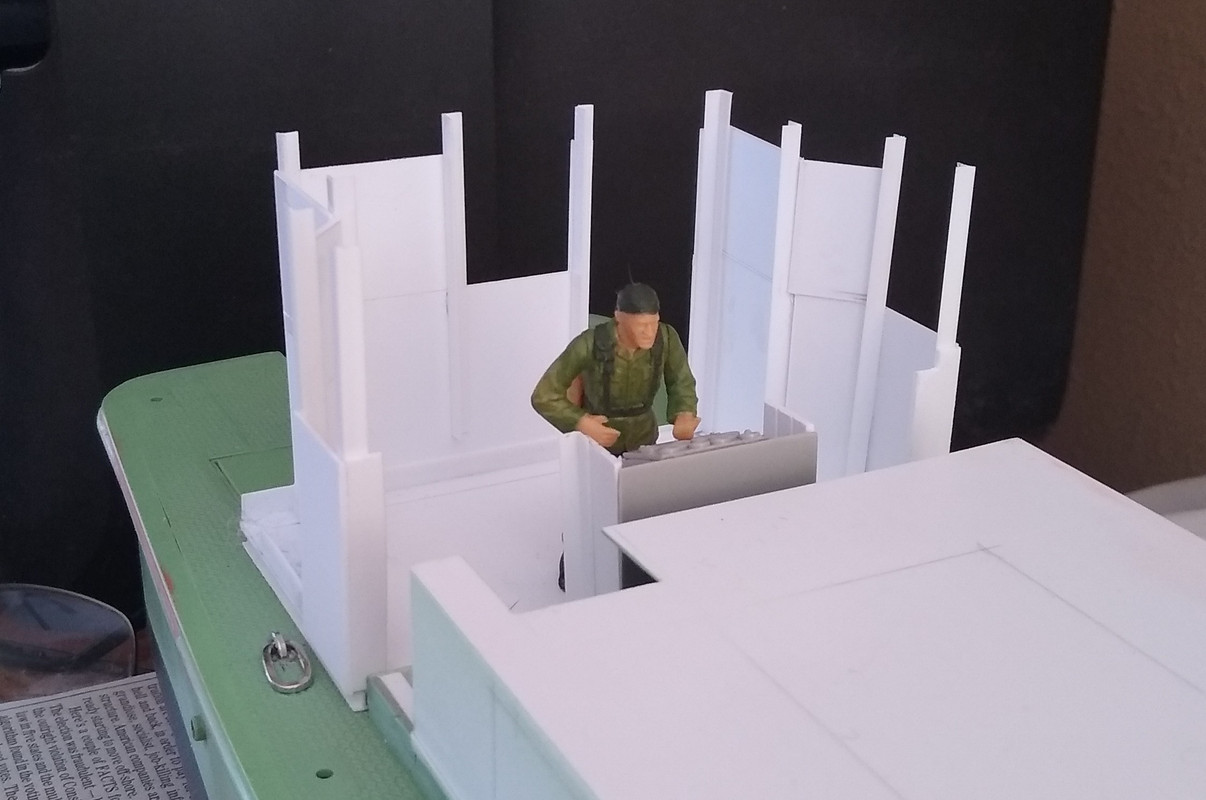
As with scratchbuilds and major kitbash projects, we sometimes get to put everything on hold while awaiting ordered parts and such. With that the case presently, I’ve contracted with a ‘to scale’ mini-me to do some touch up work in the interim.
I found him on Angie’s List, and haven’t checked on his license or references yet. I’m hoping he does decent work, but he’s only doing small jobs . . . !
Parts arrived this morning, inspiring continued work on the boat. Intake and air exhaust vents and port holes went on as well as the roof soft patch. I also did a bit of filler putty work, and when that dries I’ll be working on the cabin to pilothouse interface.
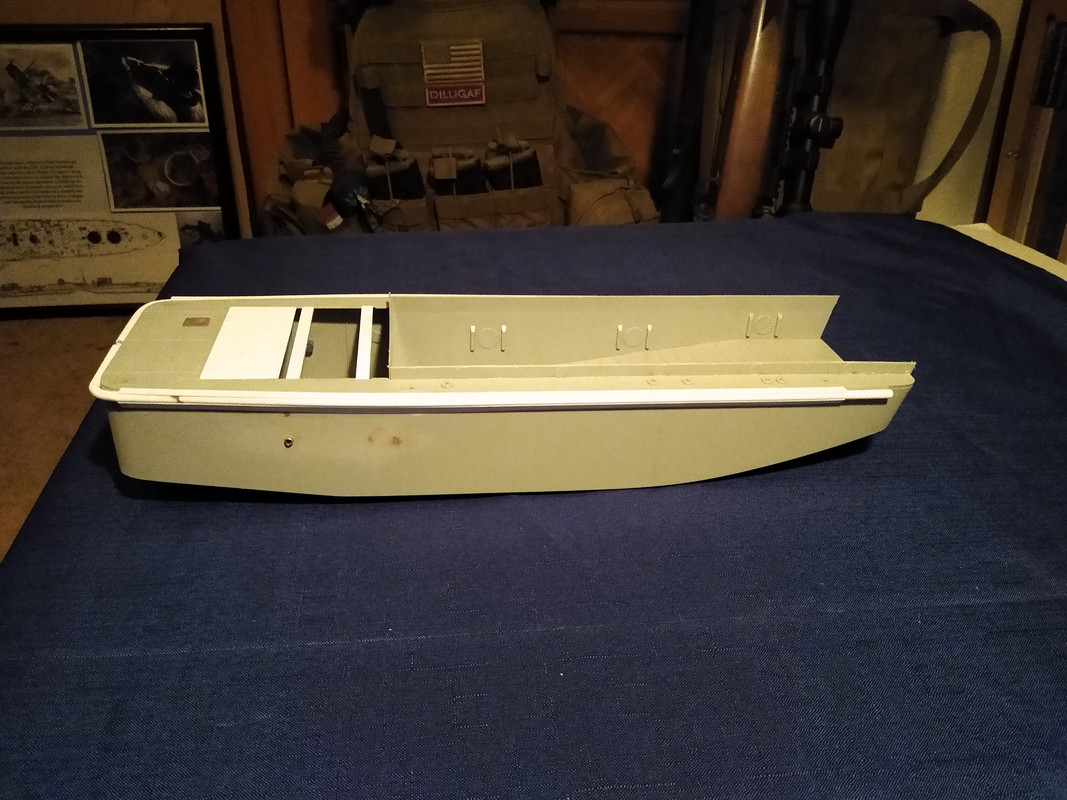
Additionally, one of the things we used to do on our dive boat builds was to reinforce the hull bottoms and bottom to side edge. Therefore I added angle iron to that edge and then added a closed towing chock on the bow.
Well Brian, it looks pretty good to me. I’ve just read through the whole thread and am left stunned by how some of you blokes can work such measurements out! Way beyond my math and skills!! Looking great mate.
Thanks Dodgy, but it ain’t that amazing really. If some company made a kit of your boat, don’t you think that you would notice if something was incorrect. Also, I just got some cheater rulers that are specifically for 1/32, 1/35, 1/48, and 1/72 scale. They make conversion work much easier.
Got mine through Masterpiece Models. Being only one state away, they got them here in record time. Surprised the heck out of me. Up to this point I’d been using my architect rule, which works for some scales, but not others very well. For the others, it’s break out the calculator and play with the numbers.
I still recall my Mechanical Drawing teacher; “Your scale is not a straight edge! If I catch you using it as such, you will be counting on stubby fingers!” Ah, the good old days, when threats were part of the curriculum.