Ju 87 Stuka GB

Thanks for tracking down that link for me, Bish. As we say over here in the wild west, 'That was mighty neighborly of you, padner" (Translation to proper British English: “That was very kind of you, sir”)

That gent did a great job. Thanks for the warning about the cockpit. That’s one of my favorite parts of a build, have to do some thinking over the weekend… That said, nobody looks at them but me (and you guys), you all know what I mean. [U]

That said, the kit doesn’t look lacking in exterior detail, though!

Your welcome Greg. It just so happened that that one came near the top of a goggle search.

And there’s nothing in the way of aftermarket for this kit either. there is plenty for the Hasegawa kit and a few for the Italeri, but zilch for Airfix. If I was building the Airfix kit, I think I would probably add the Aires resin pit designed for the Hase kit. So that would be an option if you wanted to go that route. But if not, I am certain it will look just fine. I don’t think Eagle is adding any extras, I am not sure what JW CDN has planned. Maybe you could bulk it out with a few scratchbuilt box’s.

Joe (Lawdog): You got some nice pre- and post shading going there! It’s always a joy to watch you painting a model!

Joe (Mustang): Nice fix on the bomb racks! She’s looking great!

Greg: I can’t wait to see you building a Stuka, mate! I really want to start working on mine, but there’s quite a ffew projects I have to finish first…

Well I hope you don’t leave it to long buddy. That big bird isn’t going to be a quick build I should imagine. I am really looking forward to seeing that one.

Greg LOL… Yeah I made sure of that! LOL

Doug

Thanks for the additional info, Bish. I was going to look later for accessories Won’t now.

I’ll figure out which way I’m going over the weekend. Maybe Clemens and I can start together. Hint, hint…

Thanks for the comments guys!! Greg I can’t wait to see your entry.

I have one more question now. I’m getting to the point to where I’ll be installing the siren on the port wheel spat. Anybody got any color references for that bad boy?

Judging by my track record so far in 2014, I wouldn’t suggest holding your breath, good buddy.

Did I once read somewhere the reason some Luftwaffe a/c had sirens was to instill fear and panic, or am I dreaming? No idea re the color.

Greg, indeed that was the purpose of those sirens. But not all aircraft had them fitted. Some pilots didn’t like them and it was left to personal preference as to whether they were carried.

and they did put up one helluva scream! I don’t blame the pilots really. When a guy is tryin’ to do concentrate and do his job, he can probably do it better without a naggin , whinin’ screamer beside him. lol

Any color pics or references of it?[:D]

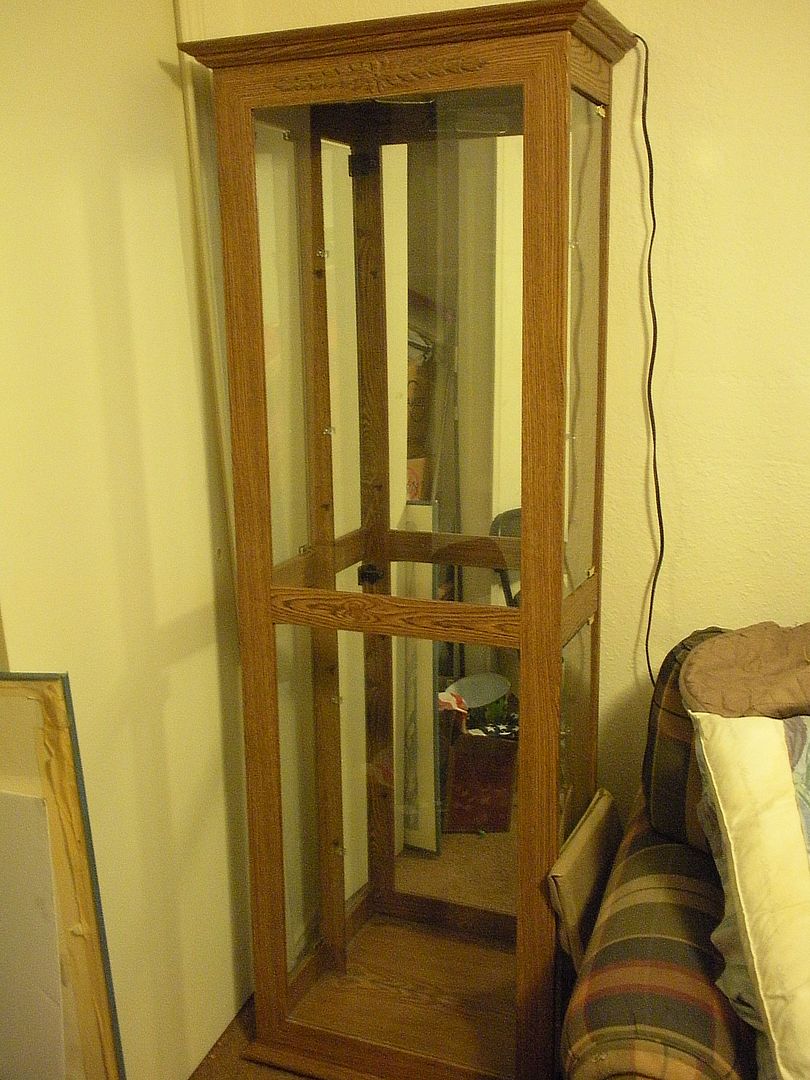
Picked this jewel up last night at an antique shop. It came with 4 or 5 glasss shelves and has a light in the top of it. Finally somewhere to put that 109 that’ll be built in the semi near future along with all the other builds I have. That was close as I’ll be out of room after this Stuka build! lol

Ooh, that one looks nice! Great find, buddy!

Ahh, thanks Bish. I find it very interesting that the pilots had a choice regarding the sirens. I just wouldn’t have expected that, and it surprises me. Cool!

Joe, great find, indeed re the cabinet. How deep is it? I ask because my 1/48th TBM barely fits in mine. These scale models take up more space than I’d ever imagined. My only surviving 1/32nd from decades ago is on display at my office. Never thought about having one at home. But one day…

Greg, the sirens were fitted in the field, it was just the mounts fitted at the factory.

This is how they arrived at the unit

It looks like this is one that has just been left, the cover looks as though its been painted yellow to match the nose.

I know what you mean, when you think of the military, and especially Germany in WW2, you imagine everything follows strict guidelines. But the Germans seemed to be very relaxed about many things often leaving it upto the troops on the ground. A good example is German armour camo.

Bish, yes, you read my meaning perfectly regarding the Germans. I would have expected no choices in the field. Or anywhere.

Interesting about the field installation of sirens. Ta for the additional info.

Time for another update.

First, thanks to everyone concerning your kind comments about the scratch-building on the cockpit. It’s not deserved, but thanks all the same! [:)]

Joe (lawdog)> Once again your finish and techniques are second to none. That’s going to be one heck of a Stuka!

Bish> Great work on that A2 and the figures! You just keep getting better and better at these dioramas.

mustang1989> I think I see you cut the grooves in the bomb attachments so the fins would fit. Nice work! And I wish I could find a cabinet like that! Score!

Tom68> Nice start on your first GB! That Monogram Stuka really can be built into a nice kit. Well done!

As for me, work continues on my Hobby-Gram Stuka. Yes, just to correct a few of you, this is a Hobby-Craft Stuka, and not a Monogram. They’re the same kit, just a re-box apparently.

First, once the cockpit was complete, I decided to add the “peil direction finder” just behind it. I used an x-acto knife and some round files to cut and file out a hole. Then, cutting a round piece from some plastic card, I attached a piece of a round toothpick covered in metallic duct tape and painted it. Not too bad.

I then glued in the cockpit tub, the IP and the front grill. Finally got a shot of the rear gunner’s station and the radios. [:)]

There were some panels on the outside part of the wings that shouldn’t be there so I filed them off, then glued the upper wings to the bottom half. No problems there.

The propeller hub was a bit “blunt” on this model, so I applied some putty and filed and sanded her into a more correct and pointy shape. Still working on that.

With everything in place, I tried some test fitting. Really nice! This is not glued together, only pressed together. The fuselage is held together by the front grill, which fits like a glove. There is a gap at the rear of the fuselage, but it presses together without a seam and once glued it will not need any filler. The wings and rear horizontal stabilizer fit so well, I won’t need putty for the joints, just on the bottom where there are gaps at front and back, but nothing serious.

And that’s it for now. I need to finish up the prop so I can install it and glue the fuselage halves together, then the wings and tail on. Then I can put a clear plastic cover on the Peil unit and finish it for painting.

On a following note: When I first started this kit, I had heard it was a poor kit, so bad one modeler threw it away. I expected a nightmare, but so far I’ve been pleasantly surprised! The fit on these parts is excellant, far better than some of the kits I’ve worked on recently. I will say, that if I run across another of these Hobby-Craft Stuka G-1s at a flea market someone is selling for $5, I will not hesitate to snap it up. It’s just the old Monogram Stuka, and I don’t consider it a bad kit (even though it’s not quite to scale and is sparse on detail). Just MHO.

Thanks for reading!

Gary
Wow! What an update! Looking good there GAF. I like the extra detail in the pit. Did Hobby Craft include all these goodies or did you scrounge them up? Good work.

Gary, thank you. Its taken me a while, I have had some pretty poor dio’s along the way, but I have been really pleased with how my dio’s are progressing now, both aircraft and armour.

That pit is filled out really nice, good job on those radio’s and nice work on the hub as well.

Nice progress, Gary! I like how you reashped that spinner!

GAF… Very sharp looking! Nicely done.

Doug