Sure, go ahead.
Kool…
Been working on the F-106, cockpit is together, but pics came out blurry. ITs such a cramped pit anyhow almost nothing shows up from outside.
Love the detail in the missle bay, but the fuselage fit is somewhat warped.
Any of you other sixers rescribing the panel lines?..thought about it but chickened out.
After how my last one went, I’m thinking for this F-106 I’ll keep the construction as simple as possible, with a minimum of fuss. So yeah, that rules out rescribing anything.
Woo Hoo!
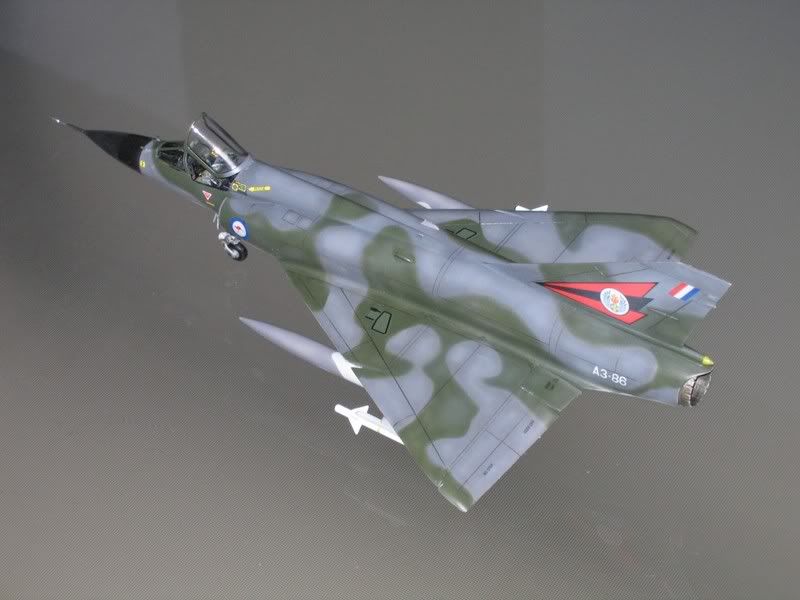
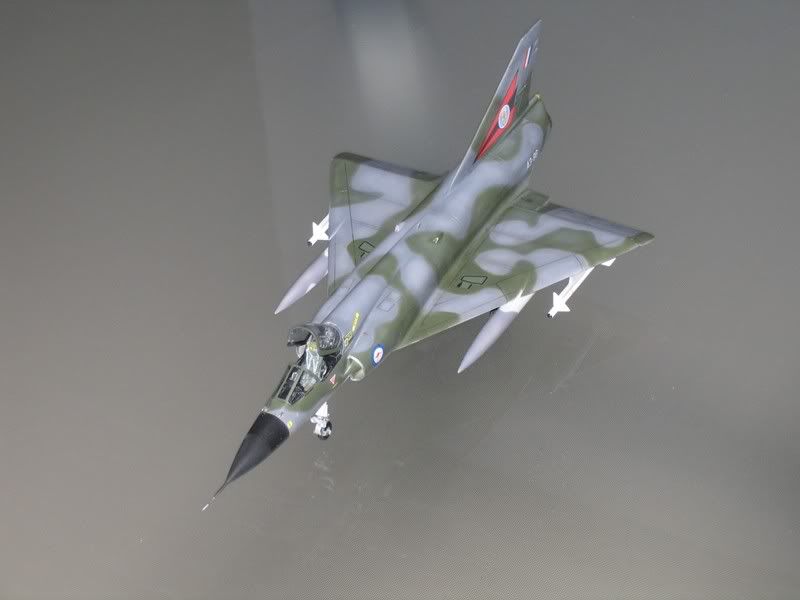
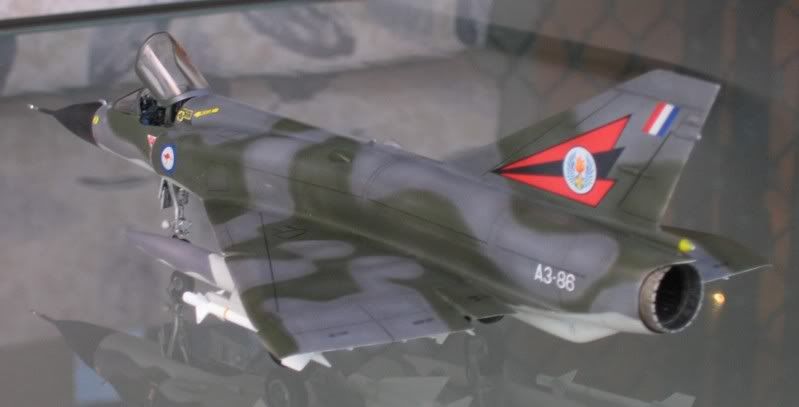
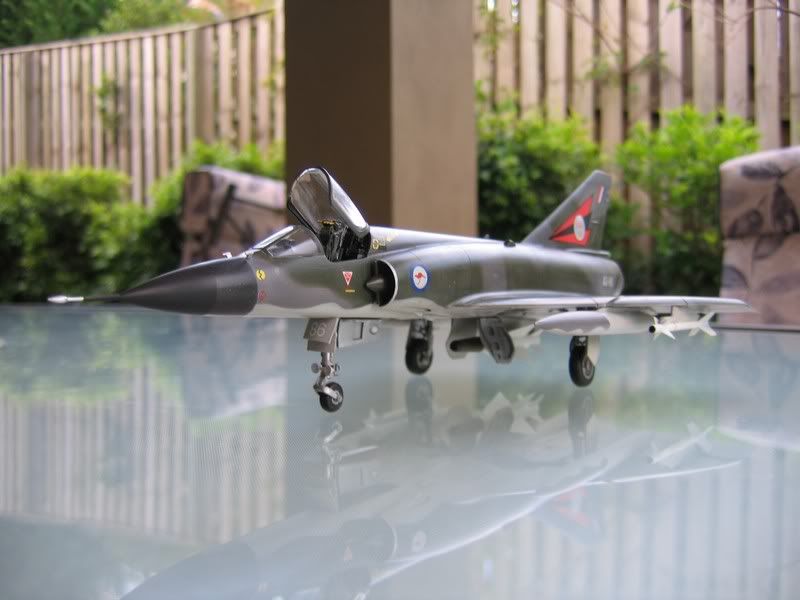
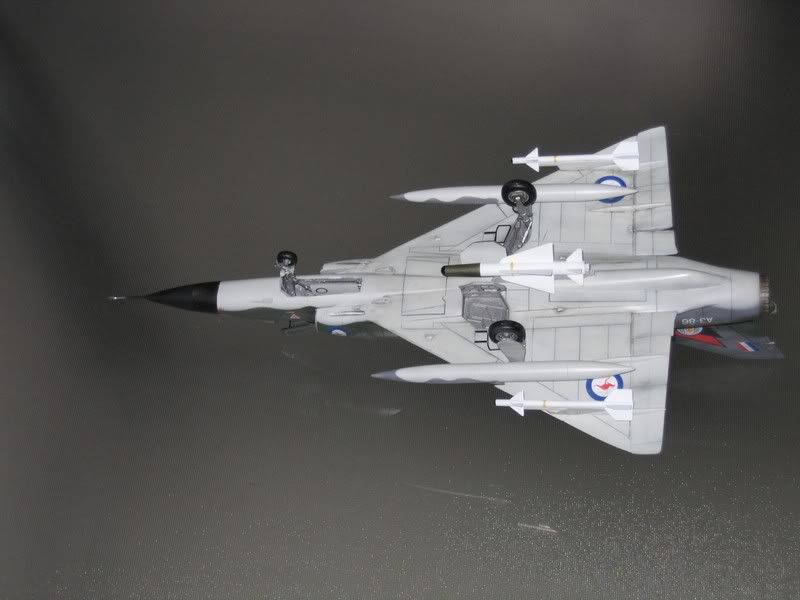
Finaly got the mirage finished!
I can’t really complain as any of the problems I had were all the result of me. I have to learn to be more patient.
My grandfather used to tell me ‘The longest way to get a job done is to take a short cut’
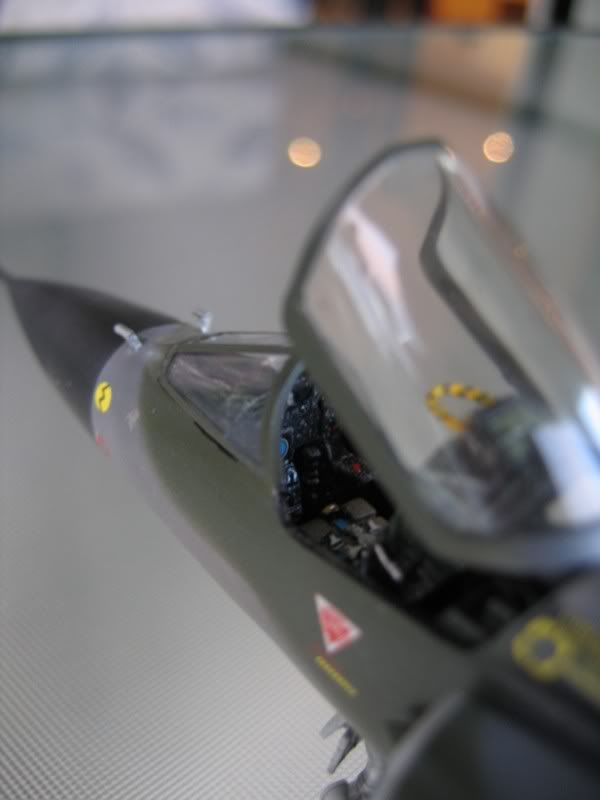
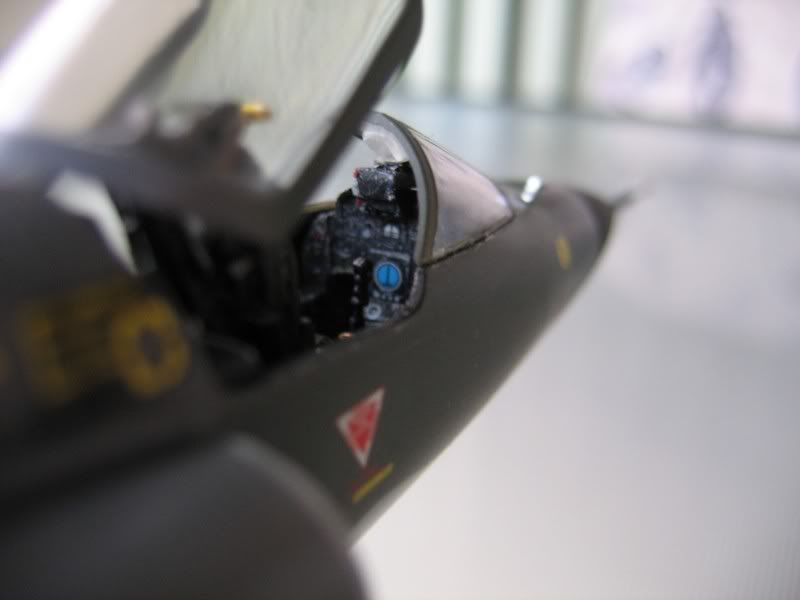
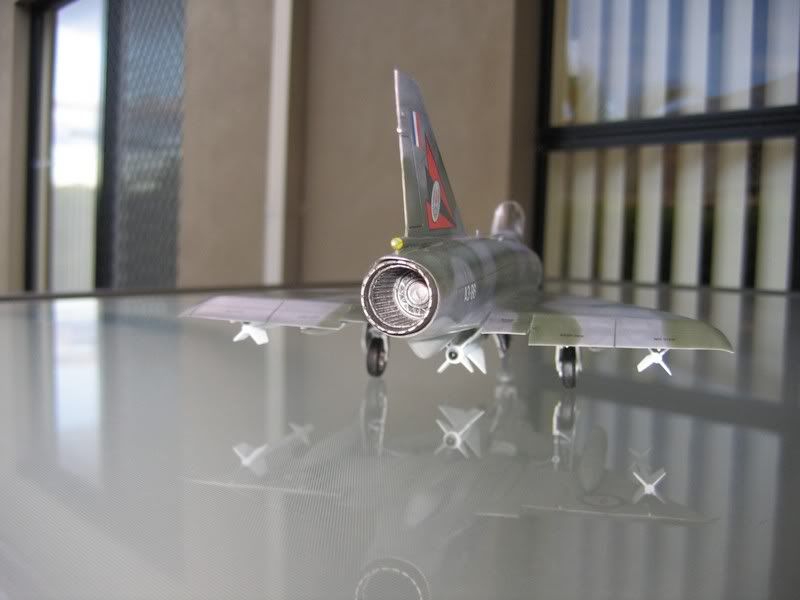
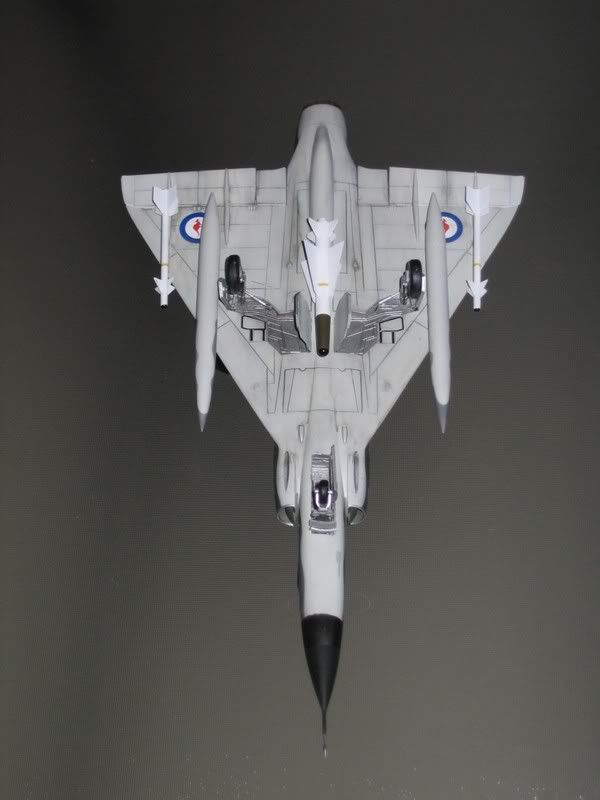
This was the Italeri 1/48 mirage IIIE converted to a RAAF IIIO. The basic kit was ok, but, as this is a model of the aircraft, A3-86, that my Dad had as his own I decided some upgrades were in order.
As Italeri supply this with raised panel lines I decided now was as good a time as any to learn the art of re-scribing.
I cut the flaps and elevons off and set them as they sit when the ac has shut down and the hydraulic pressure has bled off.
I scratch built the exhaust can using the parts from the one supplied with the kit and some plastic card and tube.
The cockpit tub and seat are fom High Planes. They were not too bad but weren’t for this kit and required a lot of work to make them fit. The instrument decals were cut from the kit decal sheet as the resin detail was a little too fine to distinguish the instruments.
The paint is Gunze acrylic and the decals are from High Planes as well. This is the first time I’ve used post shading and am very happy with the results. The decals needed toning down as they were a little too bright on the weathered aircraft.
This Aircraft was the one and only ac that my dad had his name on during his 20 years in the RAAF.
Wow, that is VERY nice.
The f-106 cockpit is officially finished, I’ll see if I can’t dig out a camera later today.
Excellent work Mark! Your Mirage looks fantastic! [:)]
Excellent Mirage!
Darn good camerawork too. I like the glass table/whatever you are using as a base…looks cool.
How did that rescribing go?
In other news…working on the weapons bay. Lots of nice detail here, but Im dreading fitting the fuselage together…the dry fits reveal major warping issues.

I’ve decided to do the weapons bay after I get the fuselage together and cleaned up. Right now I’m working on the top fuselage halves, filling seams and sanding. The tail is definitely a real PITA.
I think you have the right idea…
With the weapons bay open there are a lot of fragile projections to snap off…I should have done my filling and sanding first…
Oh well.
Thanks for the kind words.
CJ, The scribing went ok. I used a short metal scriber but as it has a conical tip, the deeper I went, the wider the line got.
I’ve read about an Olfa scriber so I might give that a try next or if I have need to order from squadron soon I might get one of theirs.
I will try to get models that don’t have raised panel lines in the future but there are a lot of them out there that don’t, like my revell f-105, so I think it’s a good skill to have.
Looks like you’re making good progress on the 106. I love that plane. I can’t wait to do one myself.
I wish everyone the best with all their builds!
I can’t wait to see how they all come out.
Good Luck
Mark
To all the F-106 builders here… what markings have you all settled on?
I picked up a Superscale sheet, 48-1011, with markings for the 49th FIS. Here’s a good picture of the aircraft I’m modelling.
Nice looking markings…
I think Im going with one of the the OOB choices but have not narrowed it down.
FINALLY got the top and bottom fuselage halves together last night after much frustration and cursing.
Do not attempt this unless you have some clamps available or have six arms. I finally had to draft my wife to “hold here and squeeze while I apply some glue…”
Tell me about it. I’m not looking forward to doing that again; right now I’m finishing up the seams around the upper fuselage halves while trying to figure out how to get the wing top attached to the lower fuselage without creating a massive stepped seam. The fit is terrible. Actually, from dry-fitting, the lower-upper fuselage fit doesn’t seem that bad by comparison.
Well, one problem solved. I spent last night building up the inside of the wing with .10" strip styrene and carefully sanding, so everything fits nice and comfortably. There’ll still be a gap to fill, but at least it’ll sit right.
Sounds good…
I’ve been wearing out a few sanding sticks while trying not to break off the weapons bay pylons. You dont know how smart you were to save it for later.
On a whim I went ahead and rescribed a ‘few’ of the wing surfaces to add some detail, but am not going to try and redo all of the panellines.
Nice to see some other F-106 Builders. Yeah I still need to prime mine. If you already haven’t try to leave the doors off.
cj95 just in case you do this plane again which i highly encourage… The missile bay is supposed to be zinc chromate green.
your build looks real good
and for every other f-106 builder…its alot easier the second time around…trust me.
Hmmmmm…Im basig my colors off a book I have where most of the the wepons bay shots seem to be more of an interior green color.
Thats also what the instructions call for, thought that is hardly conclusive.
You may be correct, but I’m gonna stick with what matches my photographs.
Anybody know the exact shade of grey for the body?
I asked that question but alas i forgot the answer at this moment so i will try to find my post about it so ill check back in in a few minutes hopefully.
Ok here is one post. At the end there is a link that proved helpful as well as different peoples suggestions.
/forums/650410/ShowPost.aspx
I’ll try some other sites i probably posted on but right now im going to jam on my saxophone with my dad. sorry.
good luck
FS 16473. I don’t know what paints you guys use, but I’m using Model Master Aircraft Gray.