Here’s a bit more to look at…
Here’s a bit more to look at…
White – stunning work! The figures are amazing, how you get such life in 35th scale I do not know! This will be a showpiece, I envy your research materials, dedication to subject, perseverence … and eyesight!
Only a bit to report – I got the cockpit masked and sprayed. The windscreen no more fit thanthe canopy did, so I gritted my teeth and got on with it. All panes were masked froms cratch with Tamiya tape, then I masked over the completed cockpit and back of the windscreen before laying on some XF-63 standing in for RLM-66:
!(http://i301.photobucket.com/albums/nn48/MikeTheModeller/Hobbycraft Avia S-199/DSCF7367a.jpg)
!(http://i301.photobucket.com/albums/nn48/MikeTheModeller/Hobbycraft Avia S-199/DSCF7368a.jpg)
Next up, satin white on the tail, and mask the stripes…
Cheers, Mike/TB379
Thanks “Thunder” for your comments man, I must point out that I have never seen any one, detal mask as well as you M8.[:D[ I can’t wate to see your masking work on the stripes. (If you choose to show it)… [t$t]
Hi White – thankyou so much for the kind words! [:)] I put off this job for a long time because I knew deep down it would have to be from scratch, and I guess Eduard mask sets have made me lazy!
The IDF Knife will be getting some attention in the near future, and I will definitely be posting pics of how I do the rudder masking. I’m off overseas for a couple of weeks at the end of the month and I would like to have this one finished in that timeframe. If I’d been on schedule I should have had the paint on by now, in fact, but real life always gets in the way.
Cheers, Mike/TB379
A smidgeon of progress, I got the white onto the bird today. I mixed flat and gloss white for a satin finish (Tamiya acrylics) and applied them by airbrush. The paint was too thin and ran a bit, so I’ll smooth it out with 2000-grit paper, sanding wet. I also put the spinner cone into white, so that the red will have equal luminoscity to the same shade at the tail. I sprayed the spinner a mixed flat red ages ago and it was okay but … dull. It really needed the white primer!
Okay, here she is:
!(http://i301.photobucket.com/albums/nn48/MikeTheModeller/Hobbycraft Avia S-199/DSCF7372a.jpg)
The white doesn’t show up much in this shot, but the other colours should be a good contrast.
Cheers, Mike/TB379
Hi everyone ;
I was thinking of having a go at some 1/72 scale Israeli Armor builds and I have come up with these four kits ;
Firstly Revell’s 1/72 Magach 3 [105mm] M48 ; The kit has markings for 7th Armored Brigade , Sinai 1973 .
Along side her the Airfix M3A1 Half-Track …

Also the 1/72 Revell M19 Transporter also with makings from the 7th Armored Brigade as well as a Italeri M113 A1 …

Revell’s paint instructions call for the Magach 3 to be beige in color , where as the M19 is in light Olive Drab .
I’m unsure what color scheme to do the M3A1 Half-Track and the M113 A1 ; I’m thinking probably light Olive Drab like the M19 but I’m not really sure ???
Anyway I’m hoping these four kits would be suitable for the time frame of around the Yom Kippur War .
Suggestions and advice are most welcome , I’ll make a start on the Revell M48 and M19 kits today .
John .
I did a little preliminary airbrushing on the M19 Transporter parts ;

I mixed Tamiya XF-62 Olive Drab with X-2 White 50/50 for a light olive drab base coat . I’ll start glueing the truck cabin and trailer pieces next .
Also a little work on the M113 ;

I mixed Tamiya XF-71 and X-2 , 3:1 for a light interior green on the insides of the M113 .
For a base coat on the outside I mixed equal parts of XF-57+XF-59+XF-20 , for a Yom Kippur War “Sinai Grey”

I found a couple of stowage racks to add to the sides of the M113 as well as a couple of upper rails .
I’m not sure which type of external exhaust to use , a solid piece or the flexible type ???
Lot’s of glueing tomorrow , I’m happy with the paint colors so far .
John .
WoW that’s a lot of little parts, look like fun. Here a photo link on the Yum Kippur War for any one that need’s it: Yum Kippur War Photos
Thank’s for the link on the Yom Kippur war photo’s , there are some awesome pic’s on that site .
Mike , I recently read a tip in a back issue of FSM on painting/airbrushing stripes on tail rudders etc ;
After airbrushing the white and then cutting your strips of masking tape to cover the area you wish to remain white , you then airbrush a couple more of coats of white first to seal the edges of the masking tape , this helps from any of the next “darker color” paint bleeding under the tape .
HTH ;
John .
Everybody’s looking good…
I’m still alive, just have had zip for modeling time lately, but hope to get back to the bench shortly.
Hello every one< I hope you all had a verey nice Turkey day. Here some of my progress.

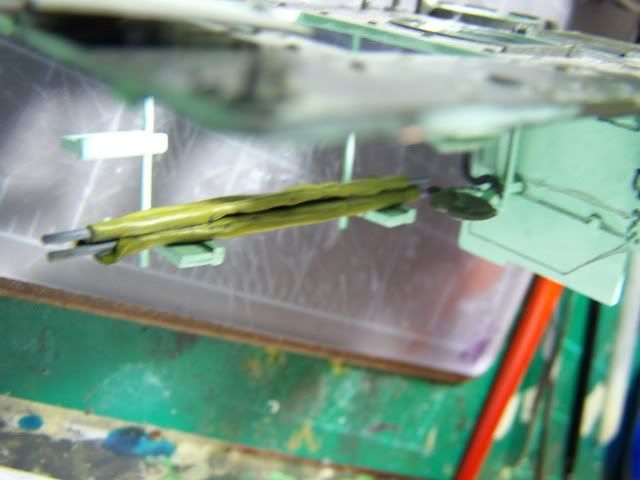
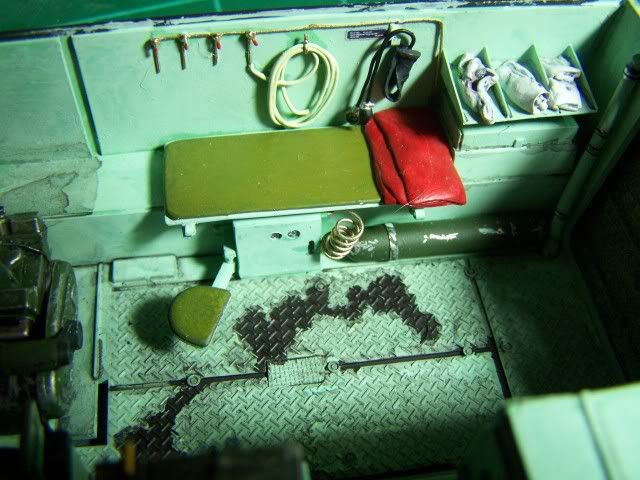
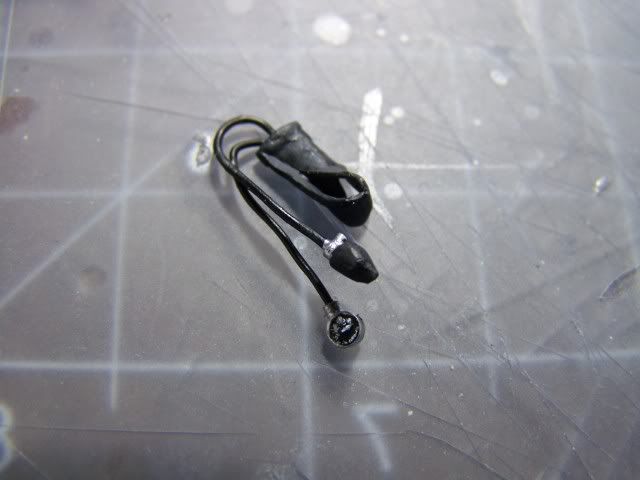
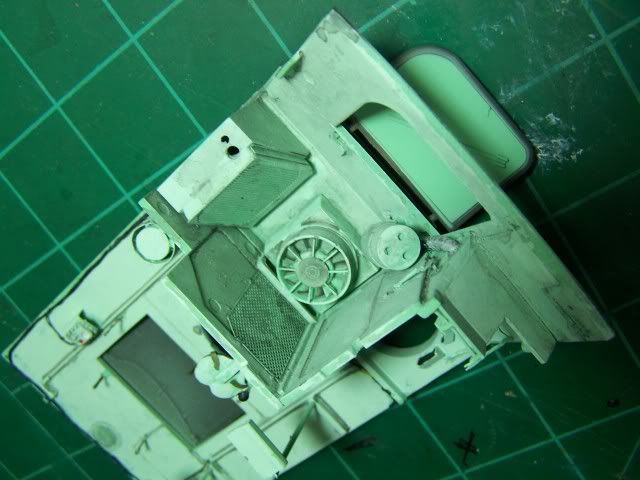
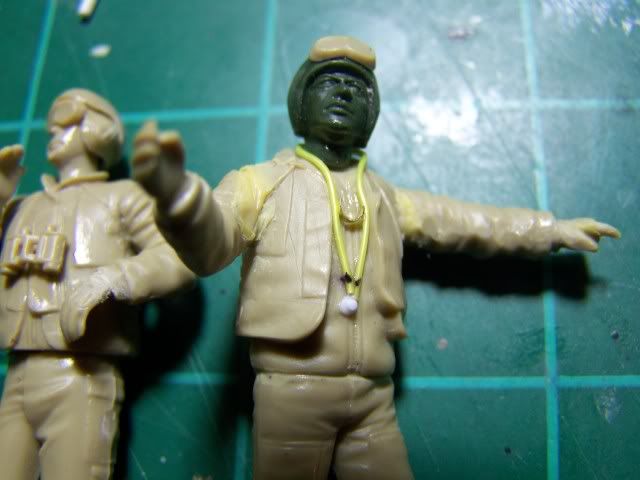
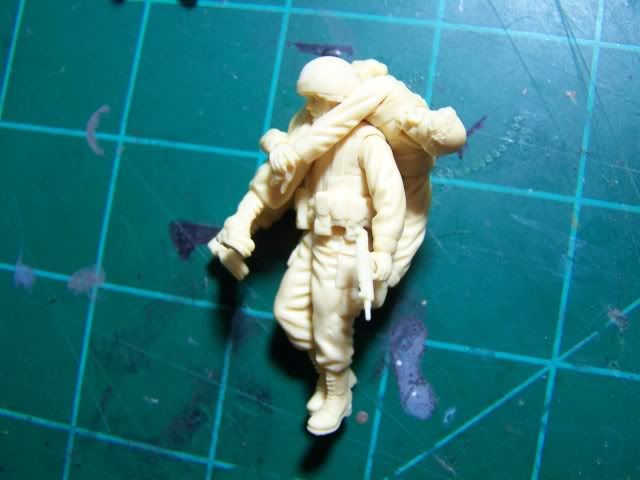
Here’s the figuers I’m working on and some progress photos of my Achzarit IFV.

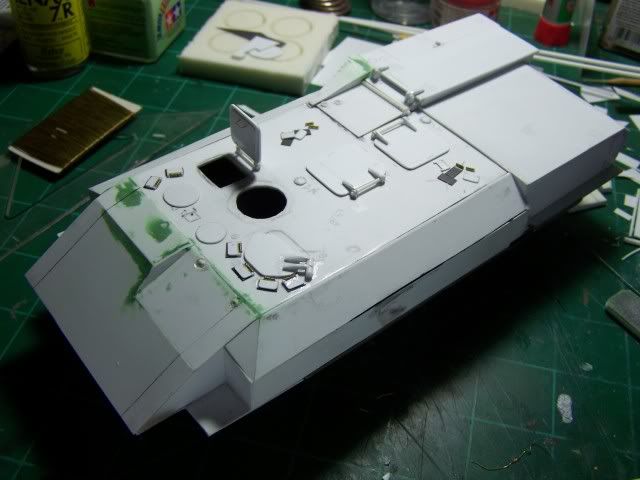

Here’s some more work on my Achzairt from 2 days ago.
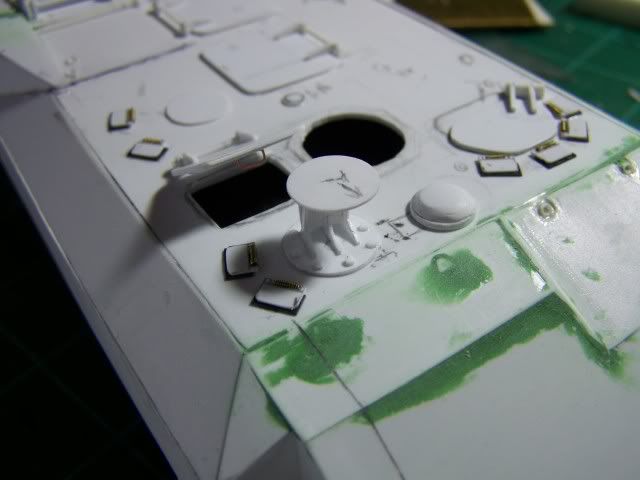
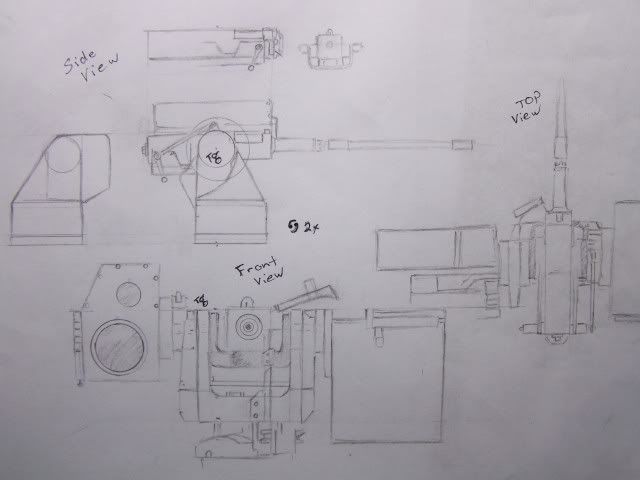

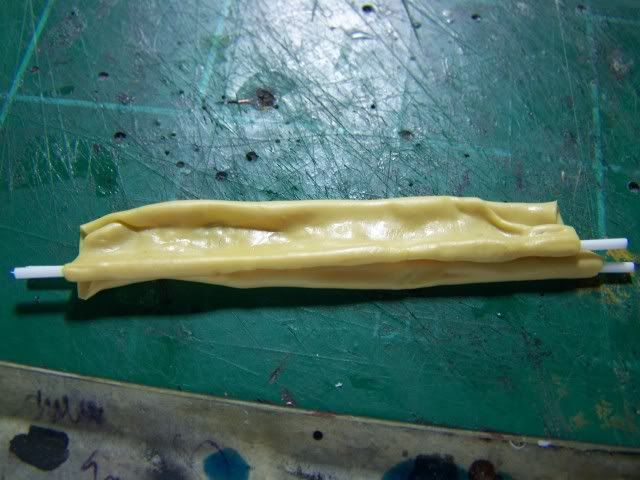
I’m woring on cuttting this over sized part down and I’ll have new photos of the thing later…

Now the LIC commanders cupola is next…
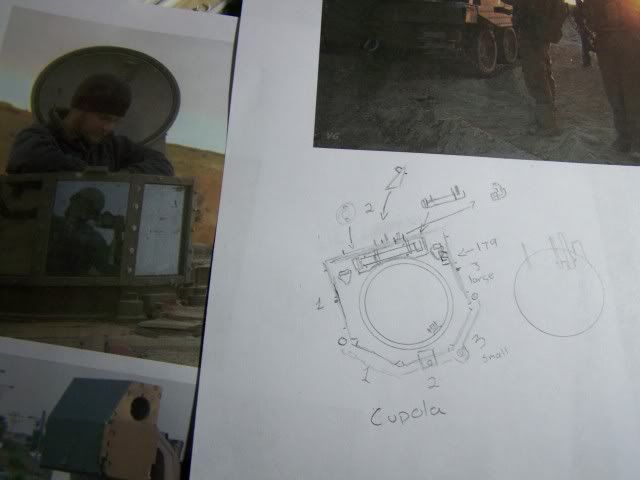
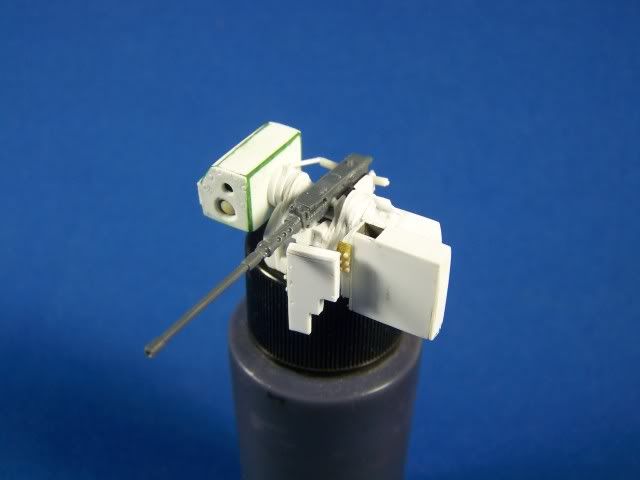
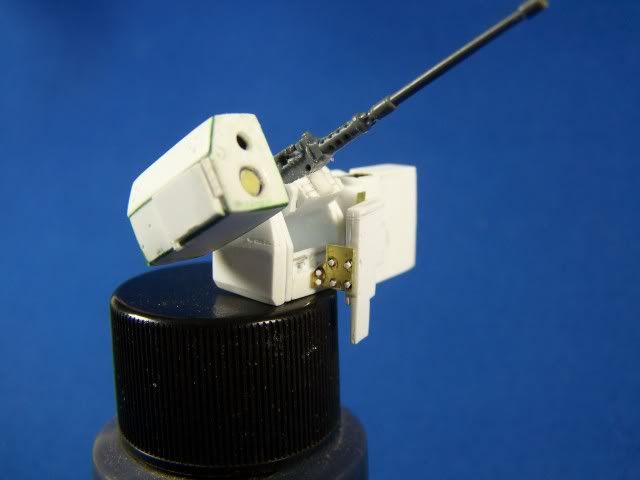
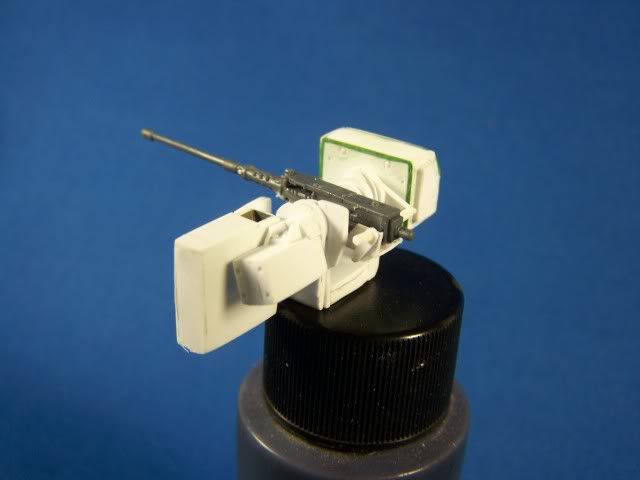
Hello every on and how hs your holydays bean? Fine on my end. Here’s some progress work on my set of RCWS. I now have three for my three IDF projects.

I’m close to the end of adding fine detail to this RCWS, so here’s what I look’s like so far…
Hi guys, kinda fell off the planet for a couple of months (ok about 5) been working on my Sufa a bit, finished getting the intake puttied and painted white just have to do the grey just on the inside. Nothing really photo worthy. should be there soon.
White, your build is amazing. I have dreams of onday scratching the interior of an ASLAV-25 and your a true inspiration.
Mike nice perservering on the BF -109errr S-199. I have a Hobby Craft A-4E/F that I’m not looking fwd to (I did the seat and the pit looks 60’s airfix or worse).
Andrew
Hay Konigwolf I have some photos of a full scratch-built interior., of a LAV that I will use to help in one of my LAV projects. If you want I’ll upload them to my open photobucket album and send you a link in (IM).
An thanks for your comments and getting inspiration from my work. Here’s some of my interior and exterior scratch work on an M3A3 Bradley.
Scratch work on one M3A3 Bradley OIF
Go here to see all the projects I have on going Vincent White’s full work bench
Vincent thanks for the links, would also love to see the LAV pics.
On a different note. My F-16 after making a start on it again I noticed a problem, the instuctions didn’t give the part numbers for the nose gear housing to use and I used the wrong ones (then discovered the correct ones after all glued and dried to other parts). I emailed kinetic and they sent me out a replacement sprue for the part I needed (for the cost of postage, great friendly service from them). I got that Thursday so should be able to start again (again) this next week sometime. Pics soon
Andrew
John – I used your tip of double-coating the white to avoid bleed-under when I finally came to grips with the rudder of my S-199 today. Then I mixed the insignia red from Tamiya acrylics, 25 parts XF-7, 2 parts XF-3 and 1 part XF-1. Even so, it still seems a bit dark, yet the bare XF-7 seems too bright.
!(http://i301.photobucket.com/albums/nn48/MikeTheModeller/Hobbycraft Avia S-199/DSCF0747a.jpg)
I also resprayed the spinner cone (over a satin white basecoat to aid luiminoscity, not that I can actually see any difference from the first time I sprayed it red, so maybe these paints are more opaque than I thought…):
!(http://i301.photobucket.com/albums/nn48/MikeTheModeller/Hobbycraft Avia S-199/DSCF0748a.jpg)
I have the paints to mix the camo shade, and I’ll sort out a lustre with satincoats of some sort, certainly 120.D in the museum today is high gloss. I’m hoping I might have this one done in the near future, and that’s a good thing, because…
I just received in the post Aademy’s M-51 Isherman and I must say it’s a very sweet looking kit! It’s rather calling to me, and if I can complete the Merk II from IDF I in time, I would love to throw the Isherman into the IDF II melting pot as well! Would that be okay, White?
Cheers, Mike/TB379
More progress to report today, I unmasked the tail stripes and found them very sharp, no bleedunder whatever. A tiny scuff in one or two places to be touched up later, that’s all. Here’s the unmasked tail:
!(http://i301.photobucket.com/albums/nn48/MikeTheModeller/Hobbycraft Avia S-199/DSCF0752a.jpg)
And here’s the remasked tail, ready for overall spraying:
!(http://i301.photobucket.com/albums/nn48/MikeTheModeller/Hobbycraft Avia S-199/DSCF0754a.jpg)
I thought I would have had the paint on today, but this kit seemed to chuckle ominously, and at the first opportunity reminded me in no uncertain terms that it is a Hobbycraft kit, not a Hasegawa…
I thought all I had to do was add the tiny bits and get her into colour, but…
The canon gondolas feature two pegs that go into holes in the wing. The starboard gondola fits, the port doesn’t (trim a peg, no big deal…) The canon barrels are so delicate they break as you’re handling them, such as to rub down filler in their visible gaps… (One barrel reglued, the other completely off and both it and the stub drilled to be reattached with a wire pin… No bets will be taken as to whether the other one survives the painting procedure without similar surgery.)
Tailwheel attachment – long or short? Fairing or not? Hobbycraft’s committee-effect struck again here, as the hole in the fuselage was so large the tailwheel strut waggled in the hole, but the hole in the optional fairing was so small the strut would not pass through it (shave down strut, drill out fairing…)
Centreline droptank: I’ve seen this model built with the tank and I considered it: the adaptor fits the fuselage holes perfectly, but… The four pegs do not match up with the locators on the tank AT ALL. Sigh… I could source these parts as unused Hasegawa bits from a 109 K-4, but… The '48 war was a defensive one, Israel is a small country, it stands to reason the longrange tanks were removed to increase manoeuvrability when the planes arrived, so it’s fair to depict the aircraft without it. The S-199 painted up as 120.D in the museum today is displayed without it.
So, at this point the canon gondolas are on, the tailwheel is mounted (short, with the fairing, mirroring Aeromaster’s research), and the droptank is omitted. I have the aileron balance horns and fuselage gun muzzles to add, four tiny parts which will doubtless give me cause to profane, but hopefully I’ll be painting again tomorrow.
I’m thinking of giving preshading a try, as a monochromatic bird it’s a perfect canvas for getting that show-through effect. So, first thing, I’ll load up some XF-1 and follow the panel lines. Then mix up Bondo’s formula for Israeli camo, add gloss to bring up a sheen (unless I do some experiments with satin topcoat first…) and lay down the colour.
Cheers, thanks for looking, Mike/TB379
Nice going mike.
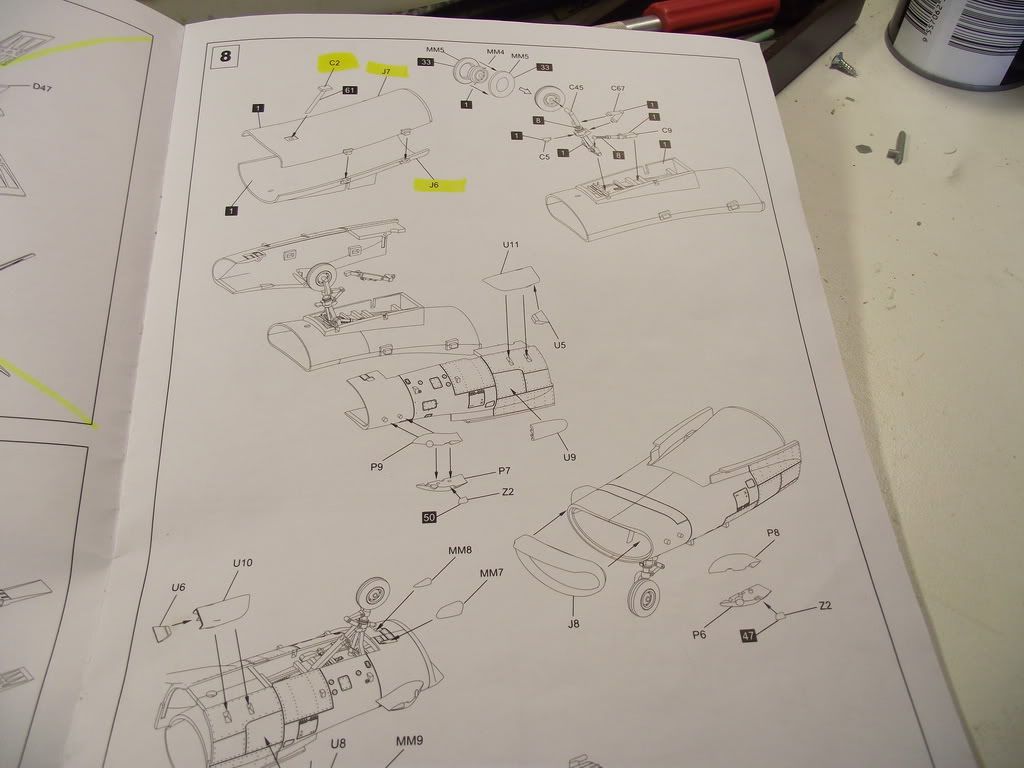
Well here’s a pic of the manual, no parts call for the nose gear housing, why I got confused is that most of the parts used for this section are on the one sprue, but the F-16I uses different ones
The manual
the replacement sprue on the right and the correct parts I should of used on bottom right.

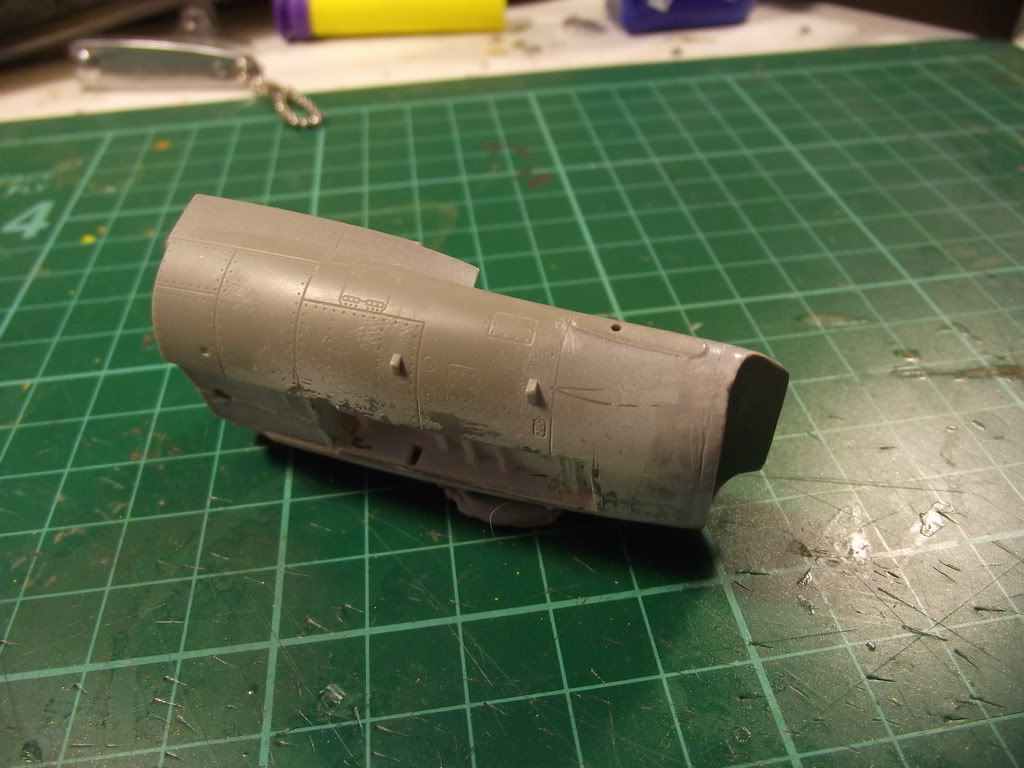
The bad bit. I was originally only going to replace the intake mouth and cut open and use the intake tube but since I got the whole sprue with part son it as well I figure why bother. I still need the vertical bar on the inside of the mouth but that shouldnt be to hard to remove.
Andrew