Lots of work today - crummy weather so nothing else really an option. Oh darn.
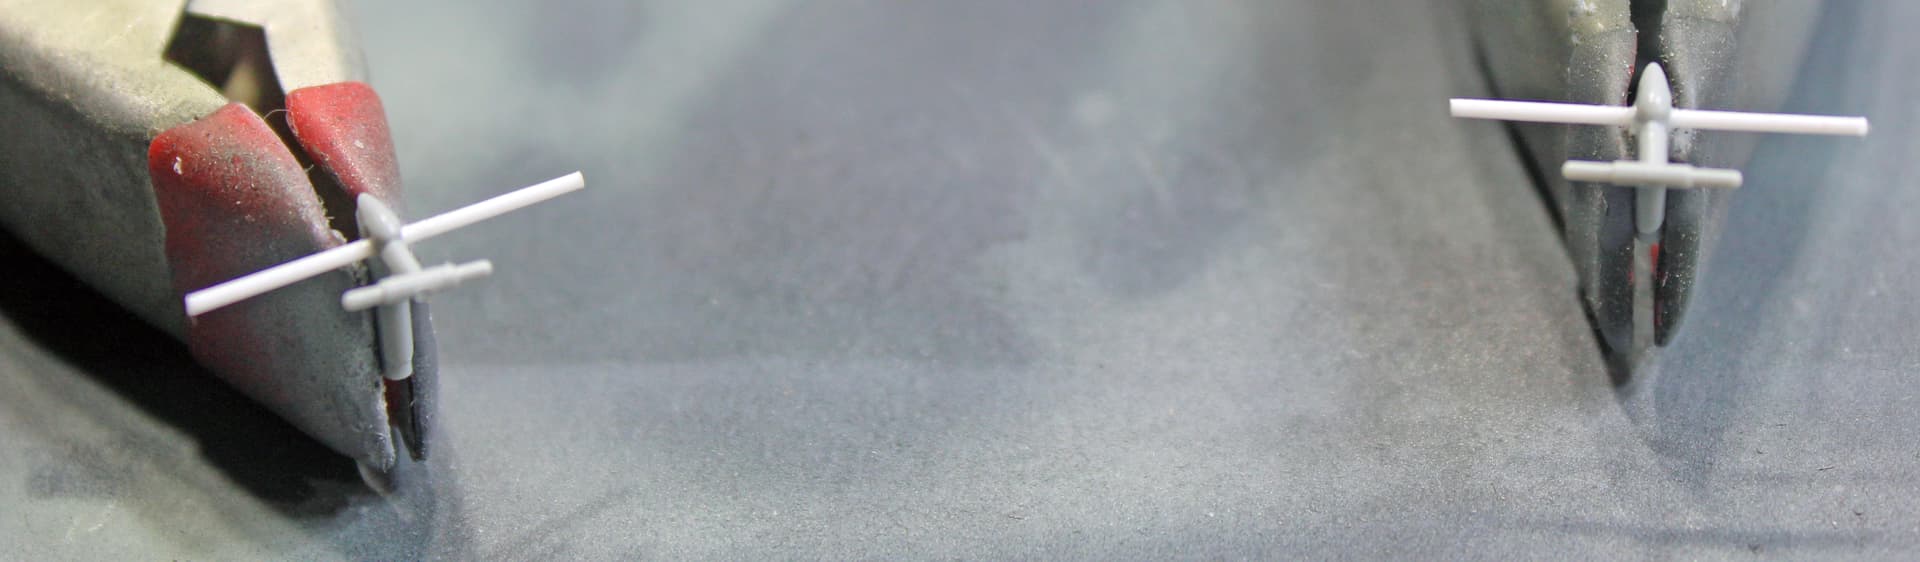
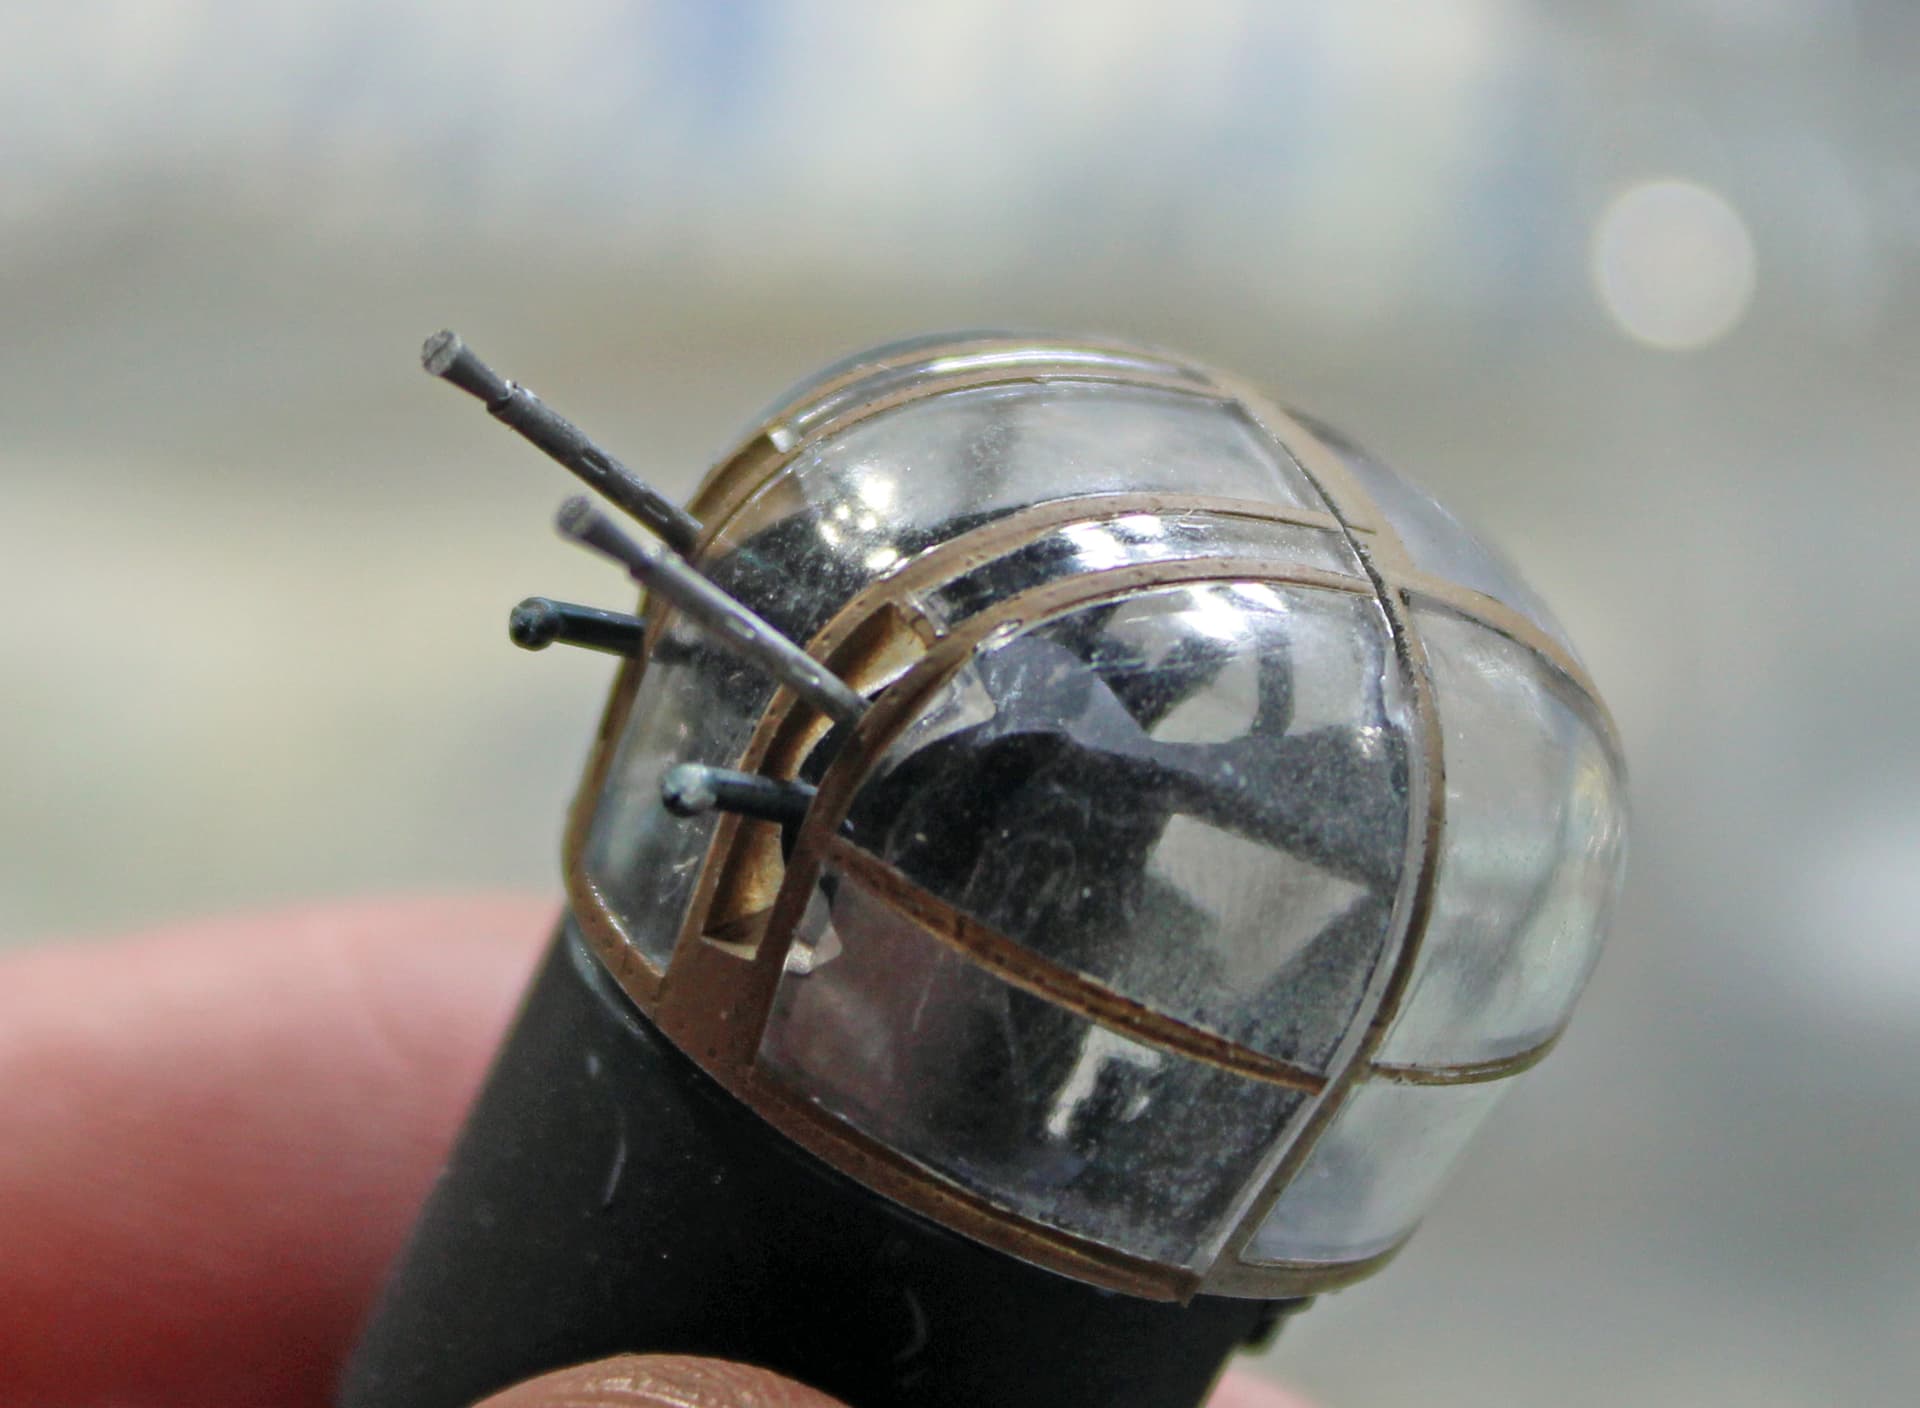
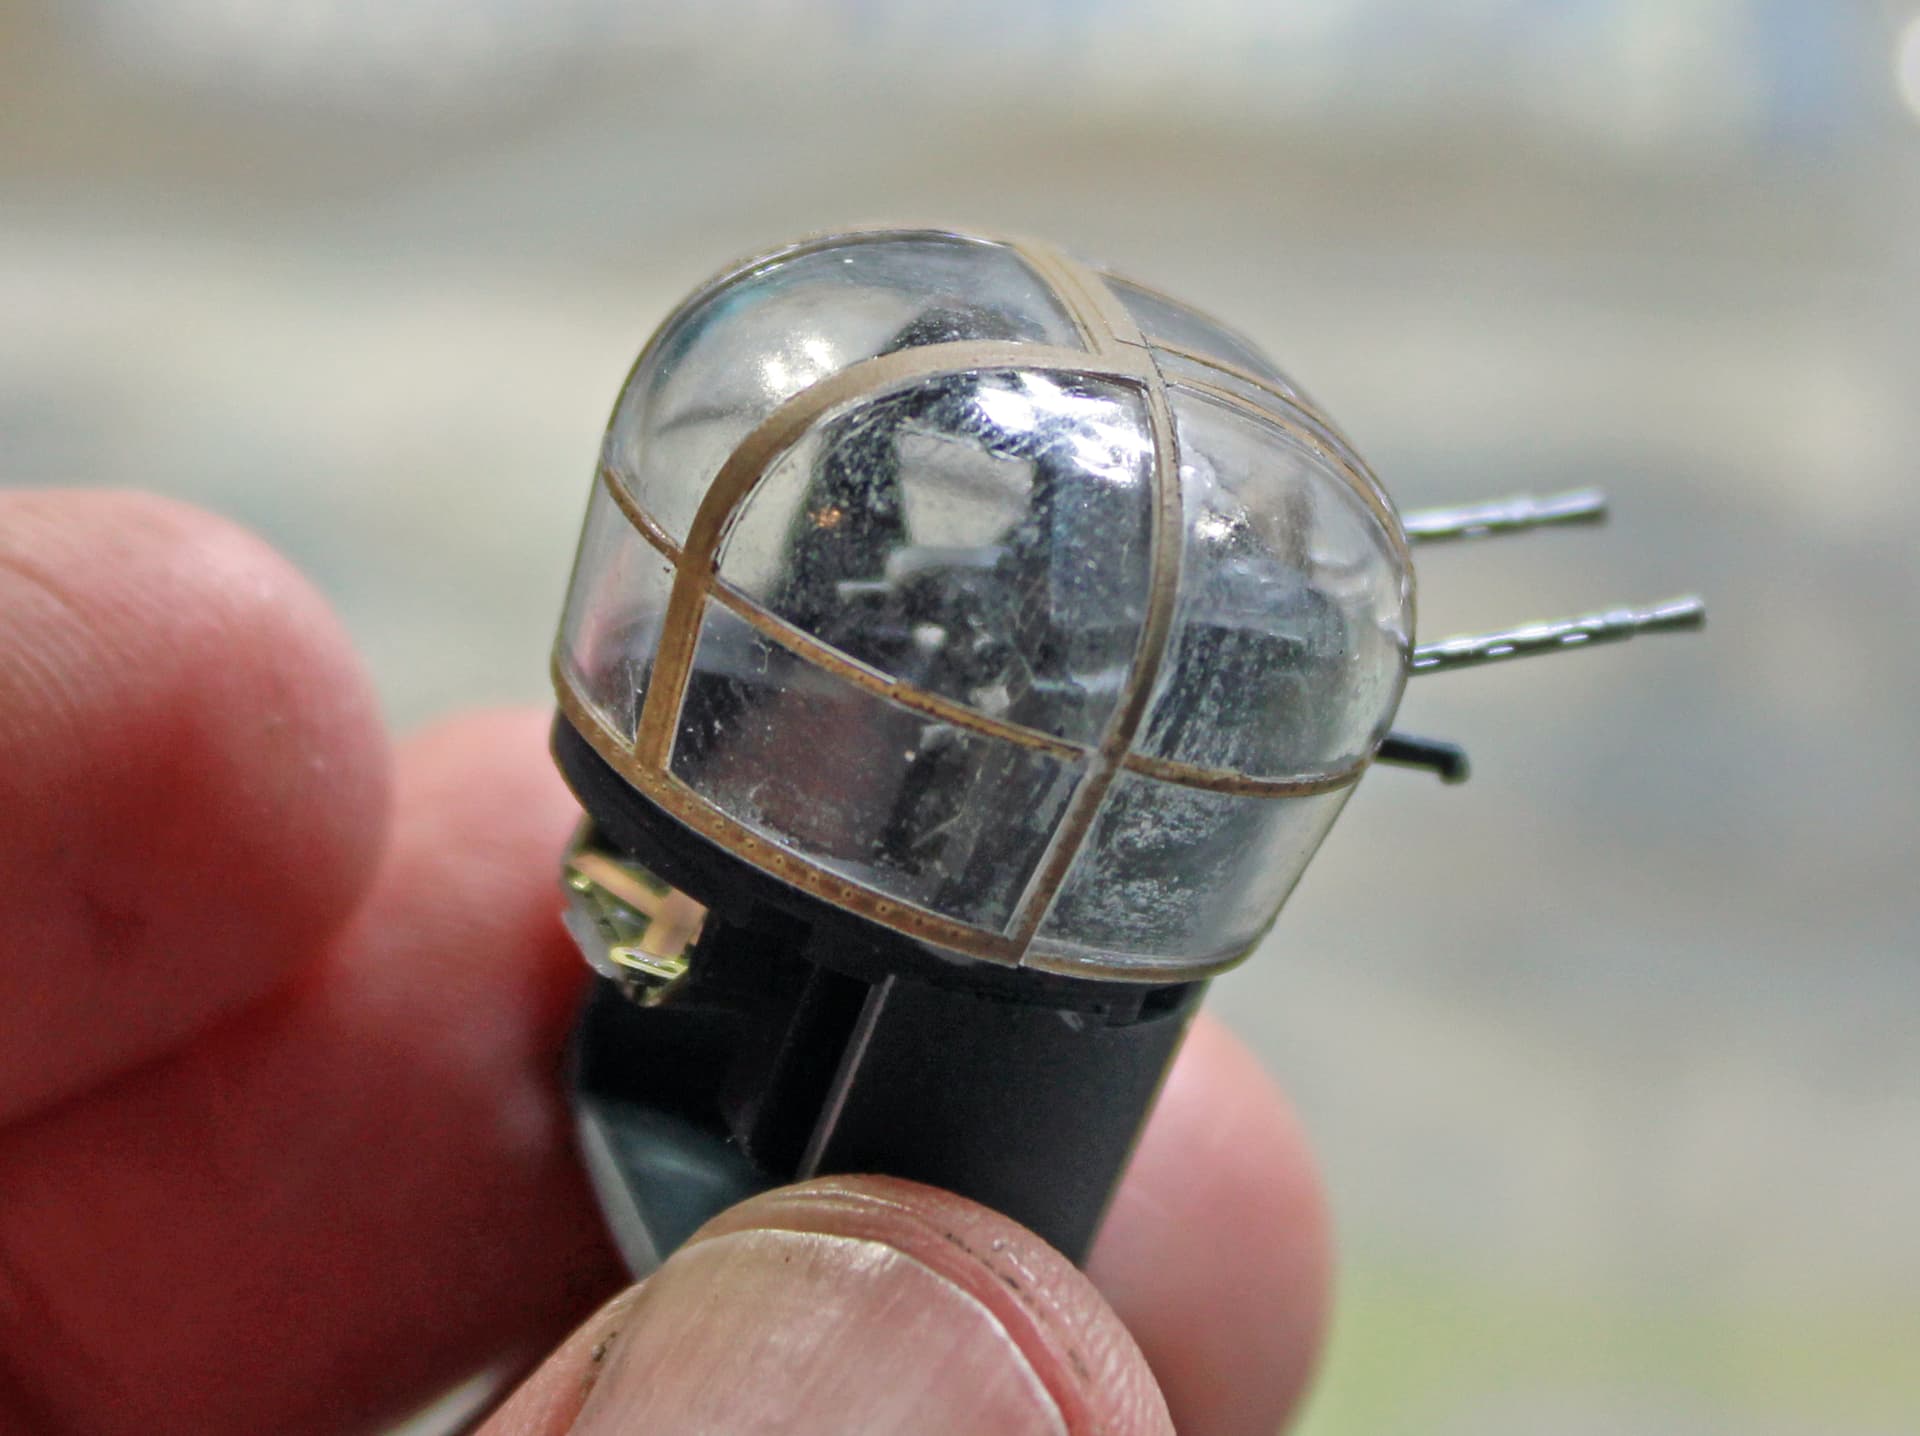
I started by returning my attention to the IFF aerials. I didn’t like the quick fix I implemented yesterday. So I snipped off the aerials, both my replacement and the original kit parts, and drilled a hole through the mounting. Then cut a length of .025mm rod. I am happier with this look since it is perfectly straight, up and down.
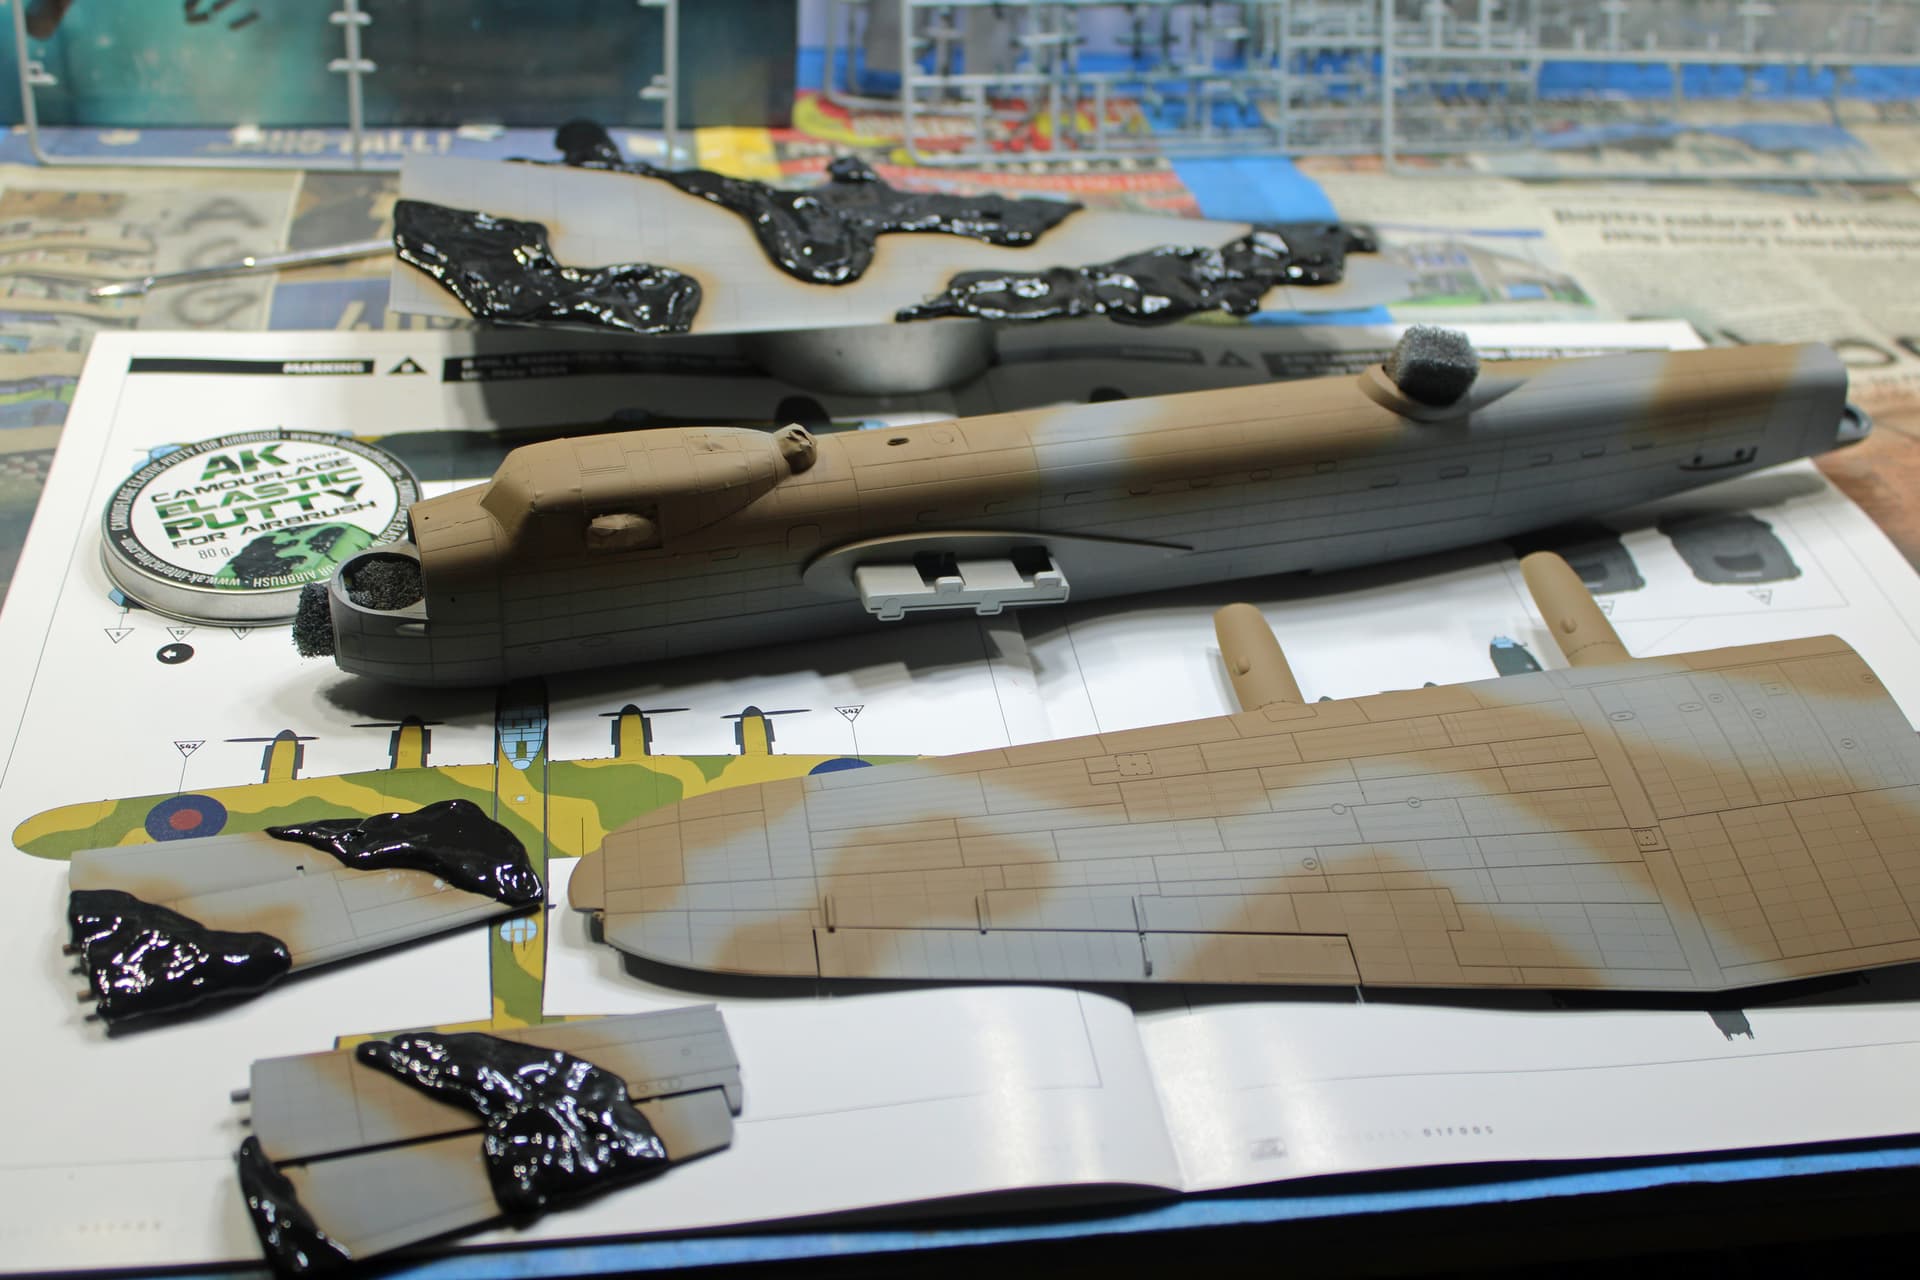
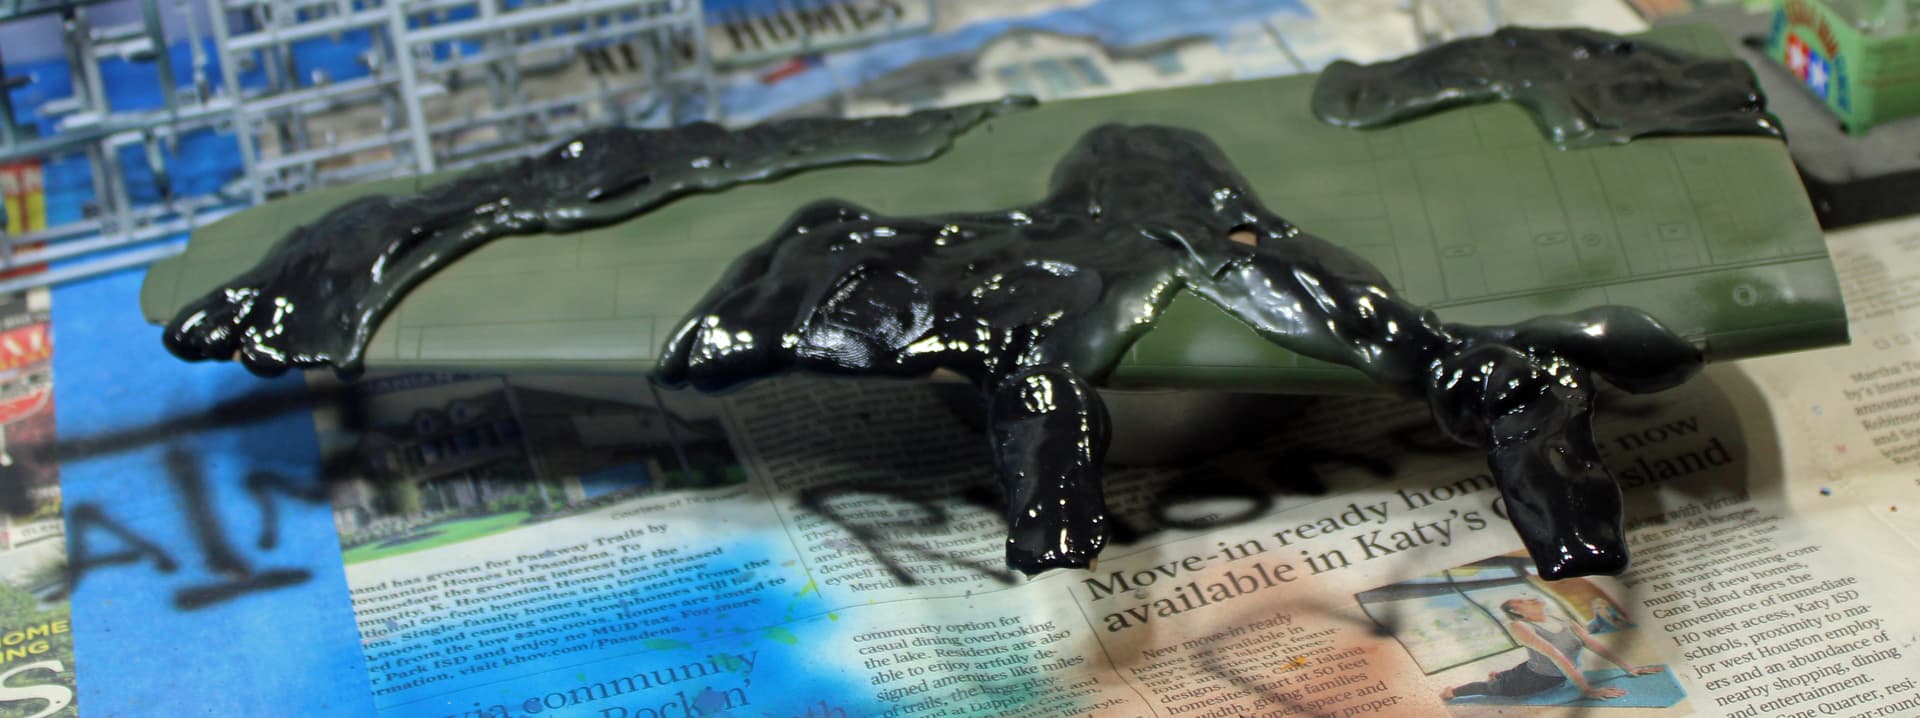
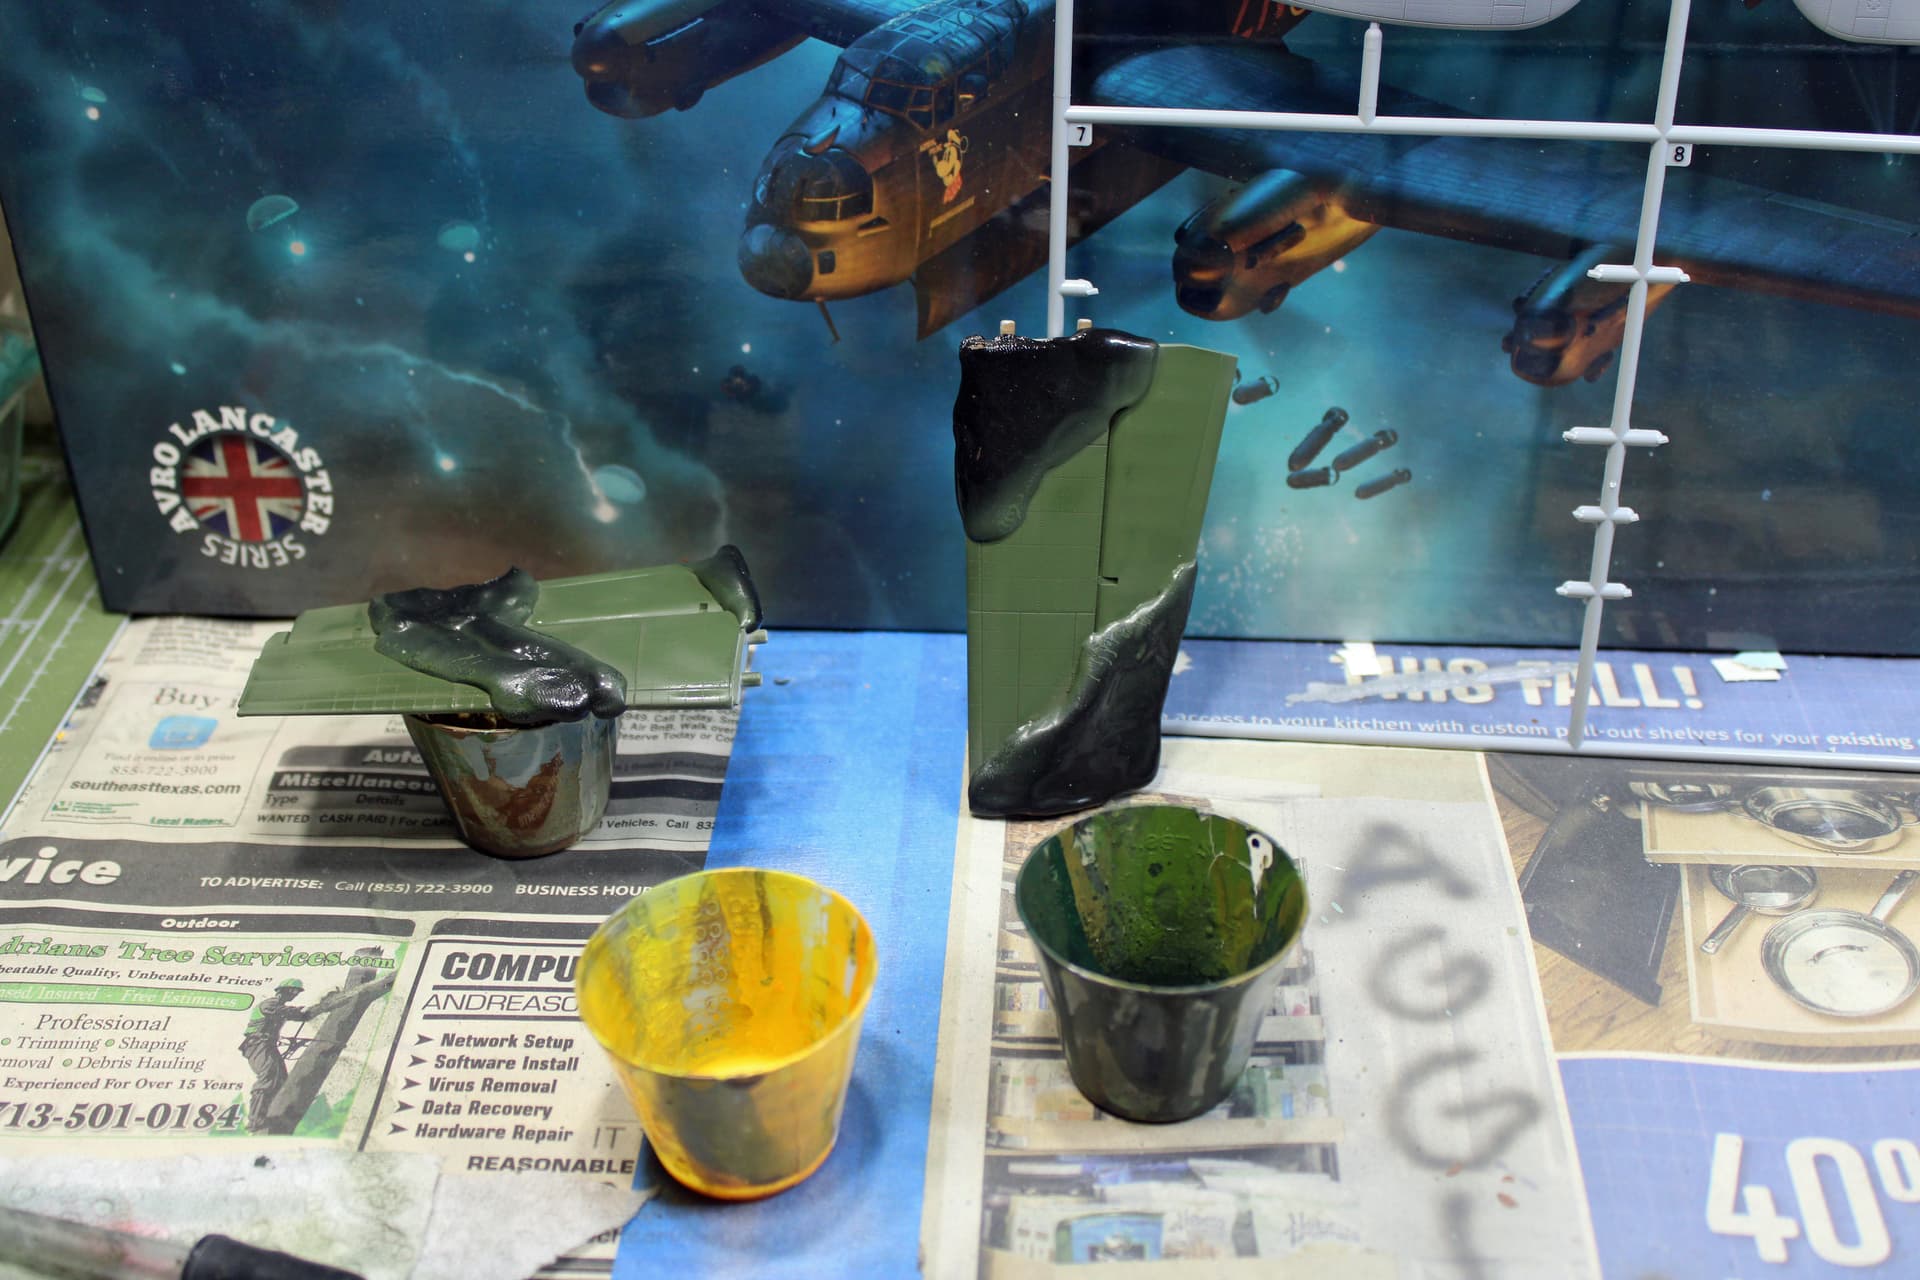
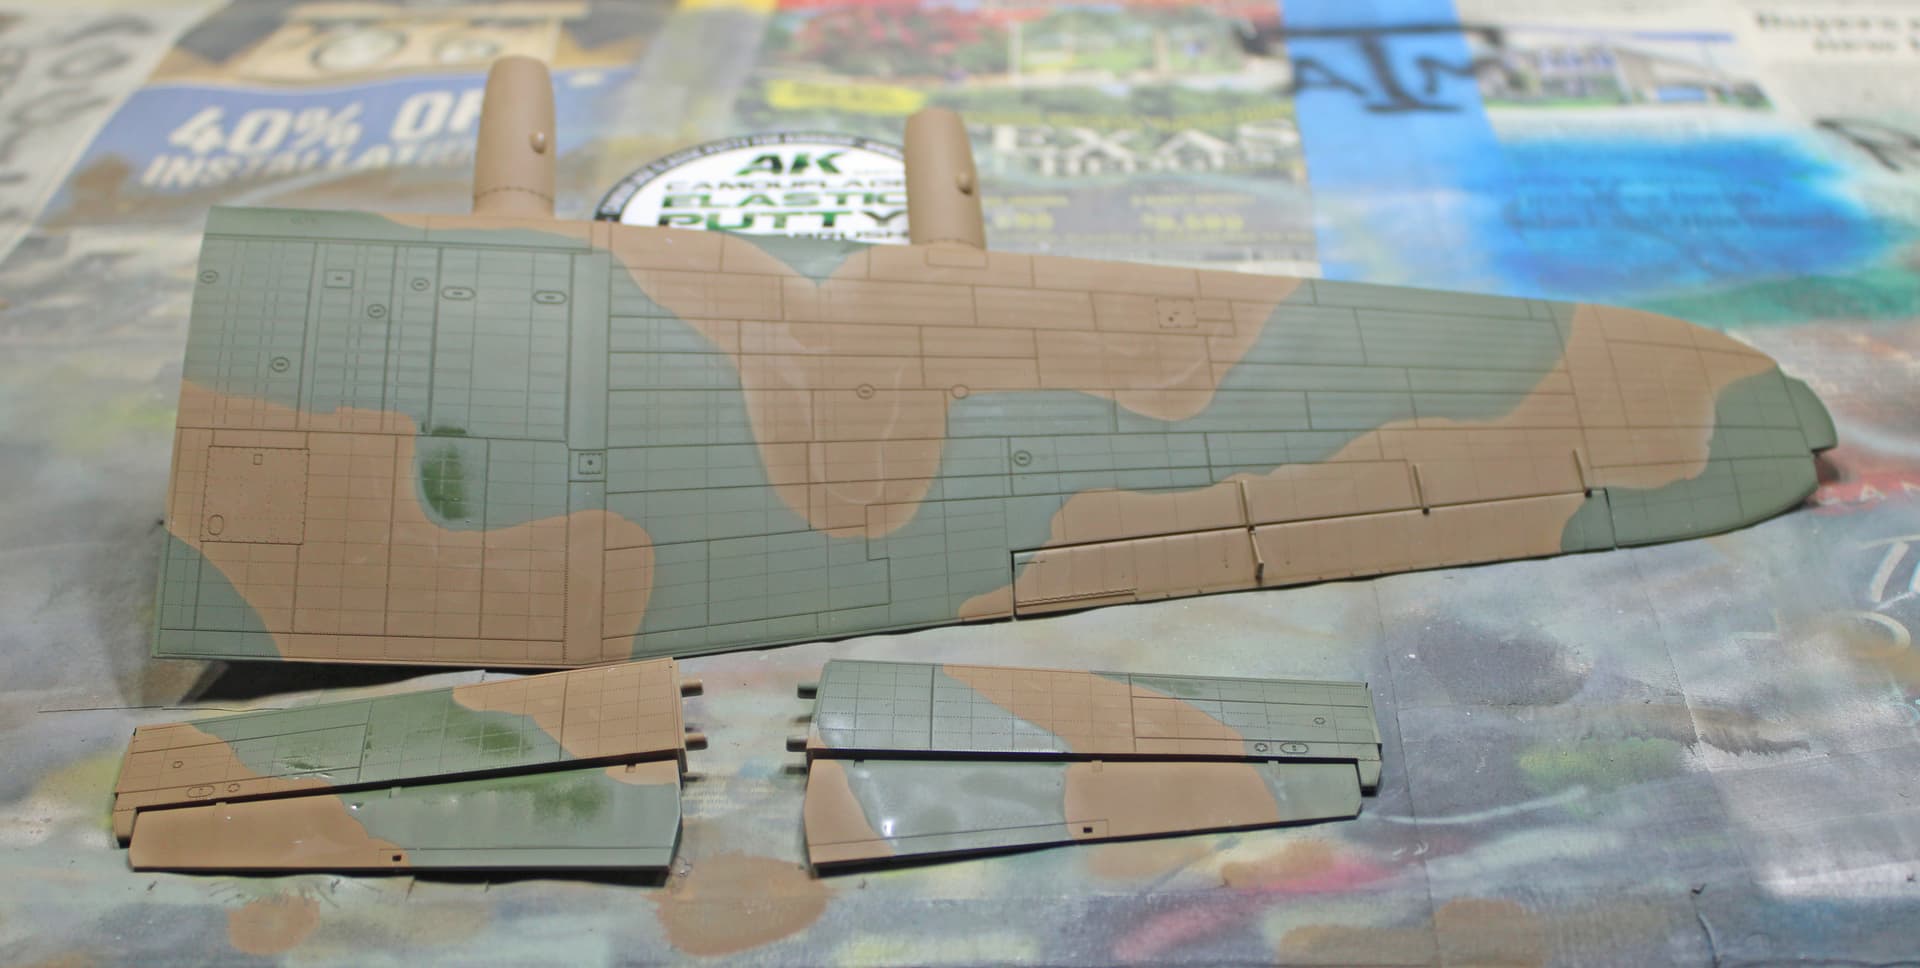
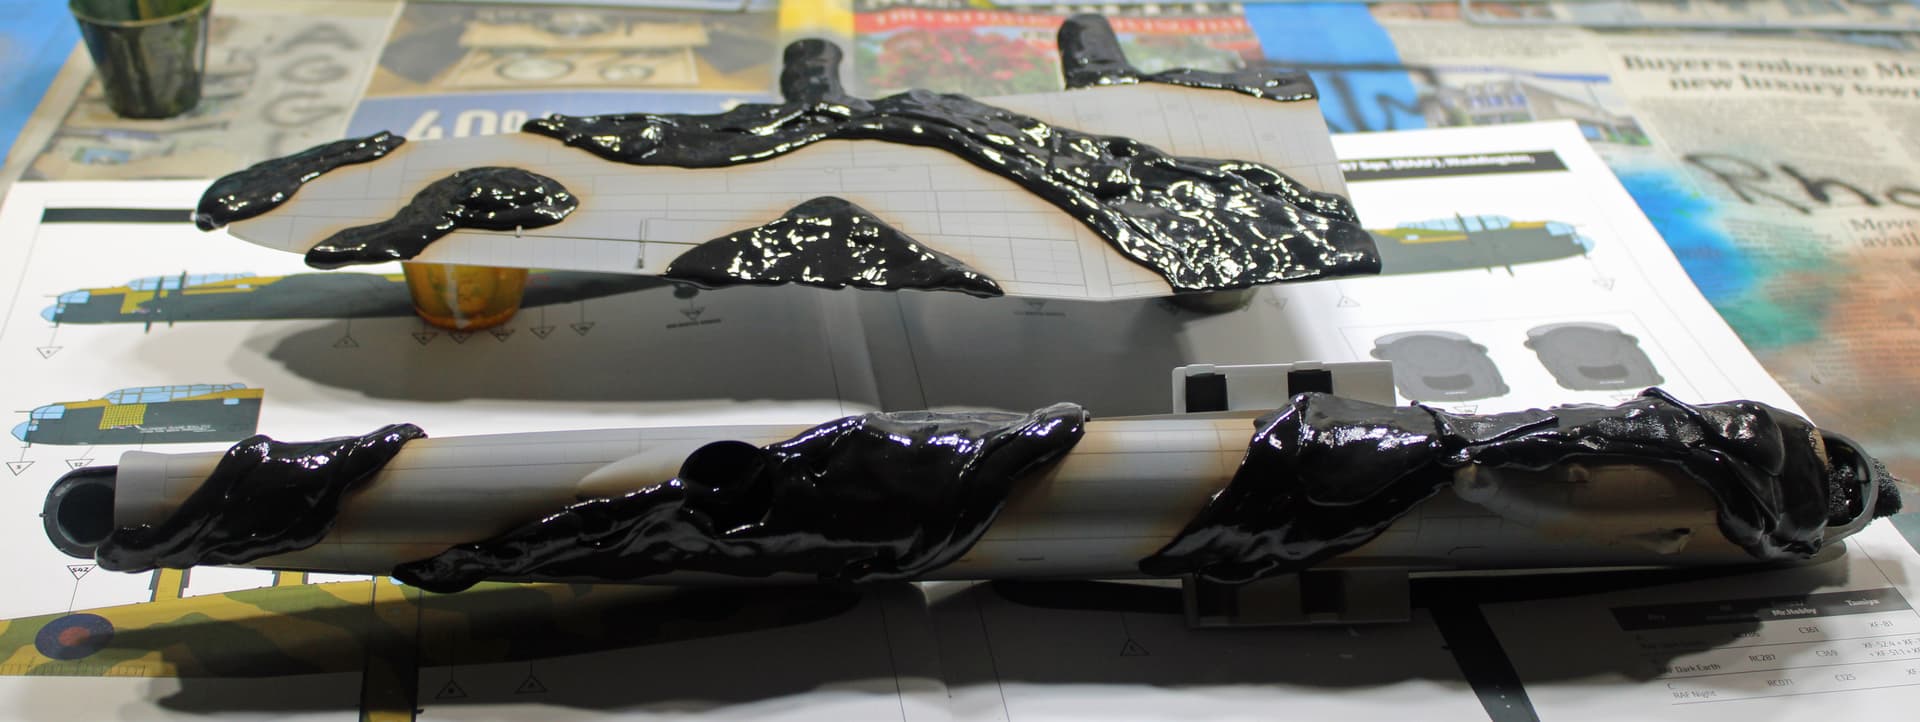
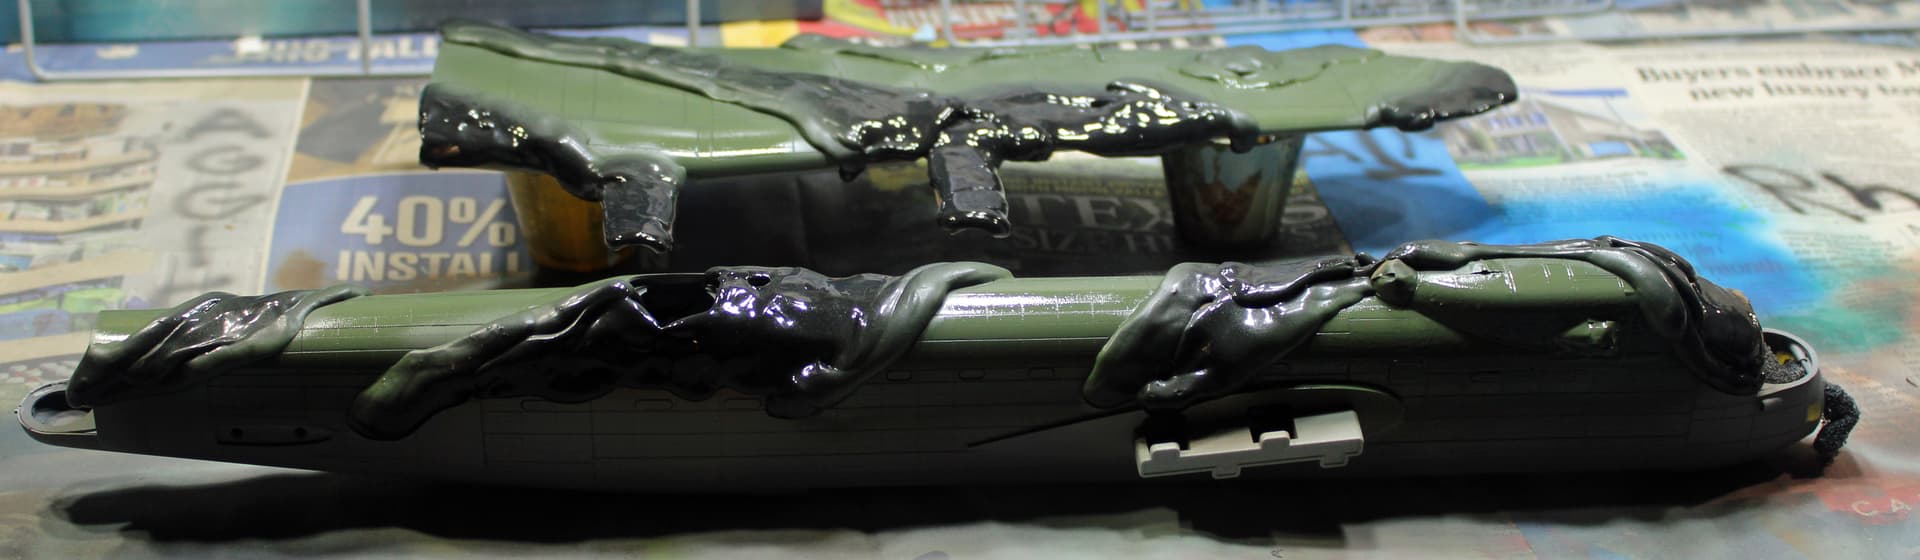
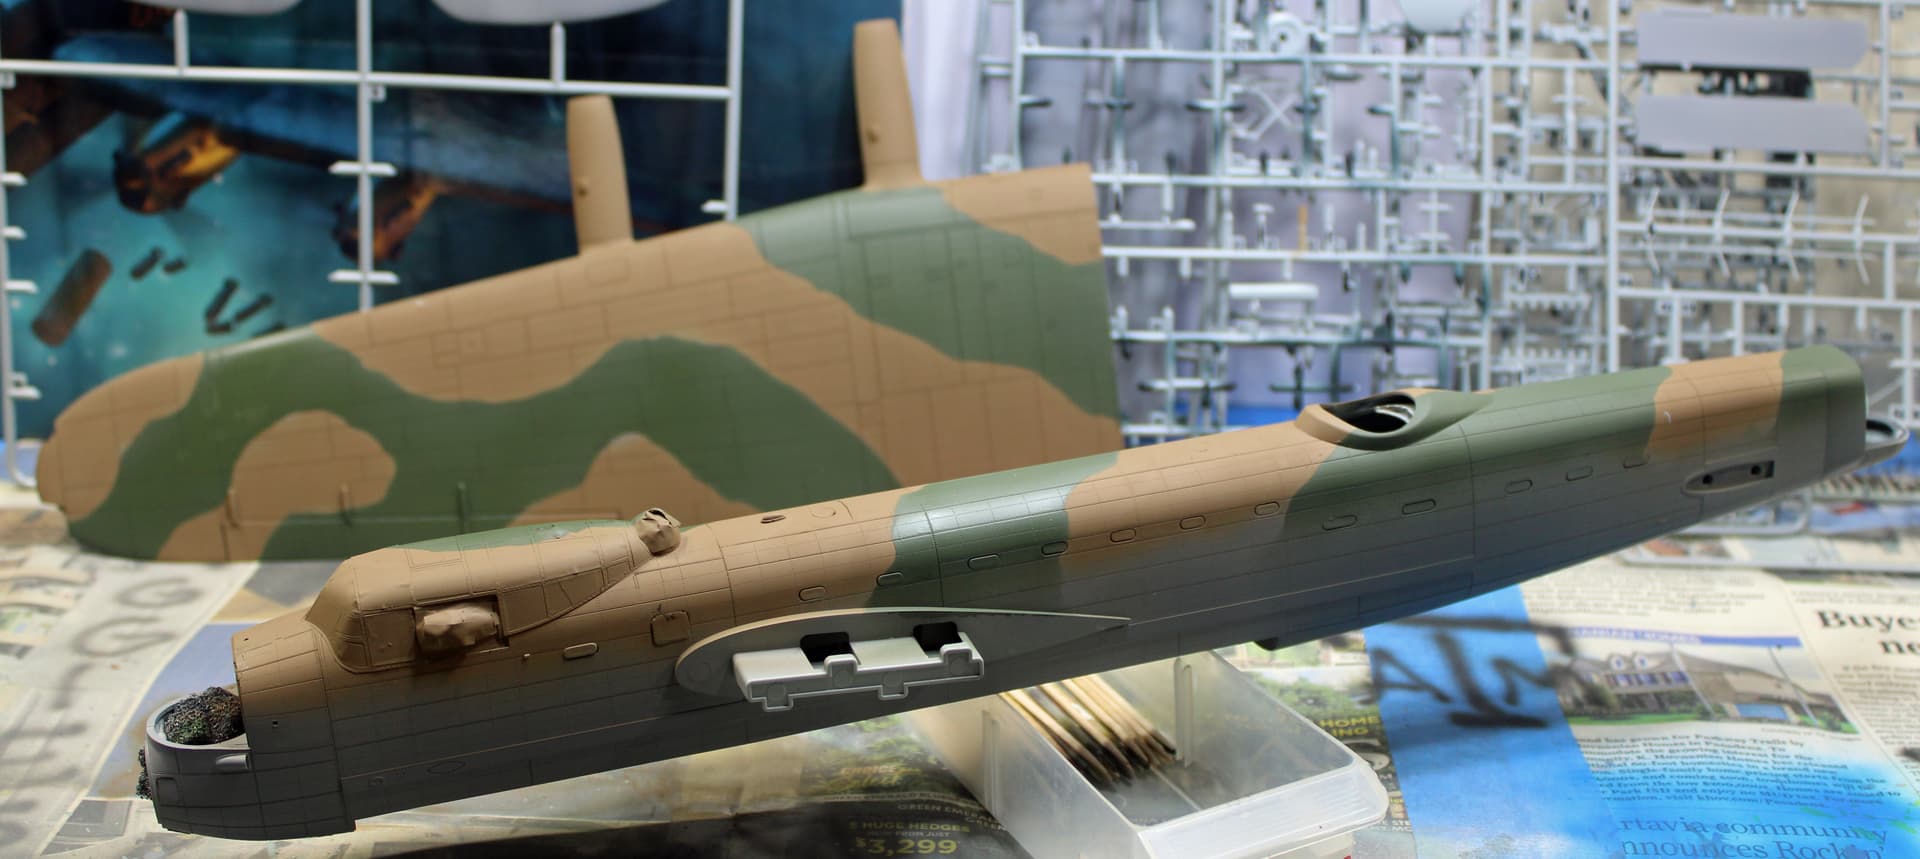
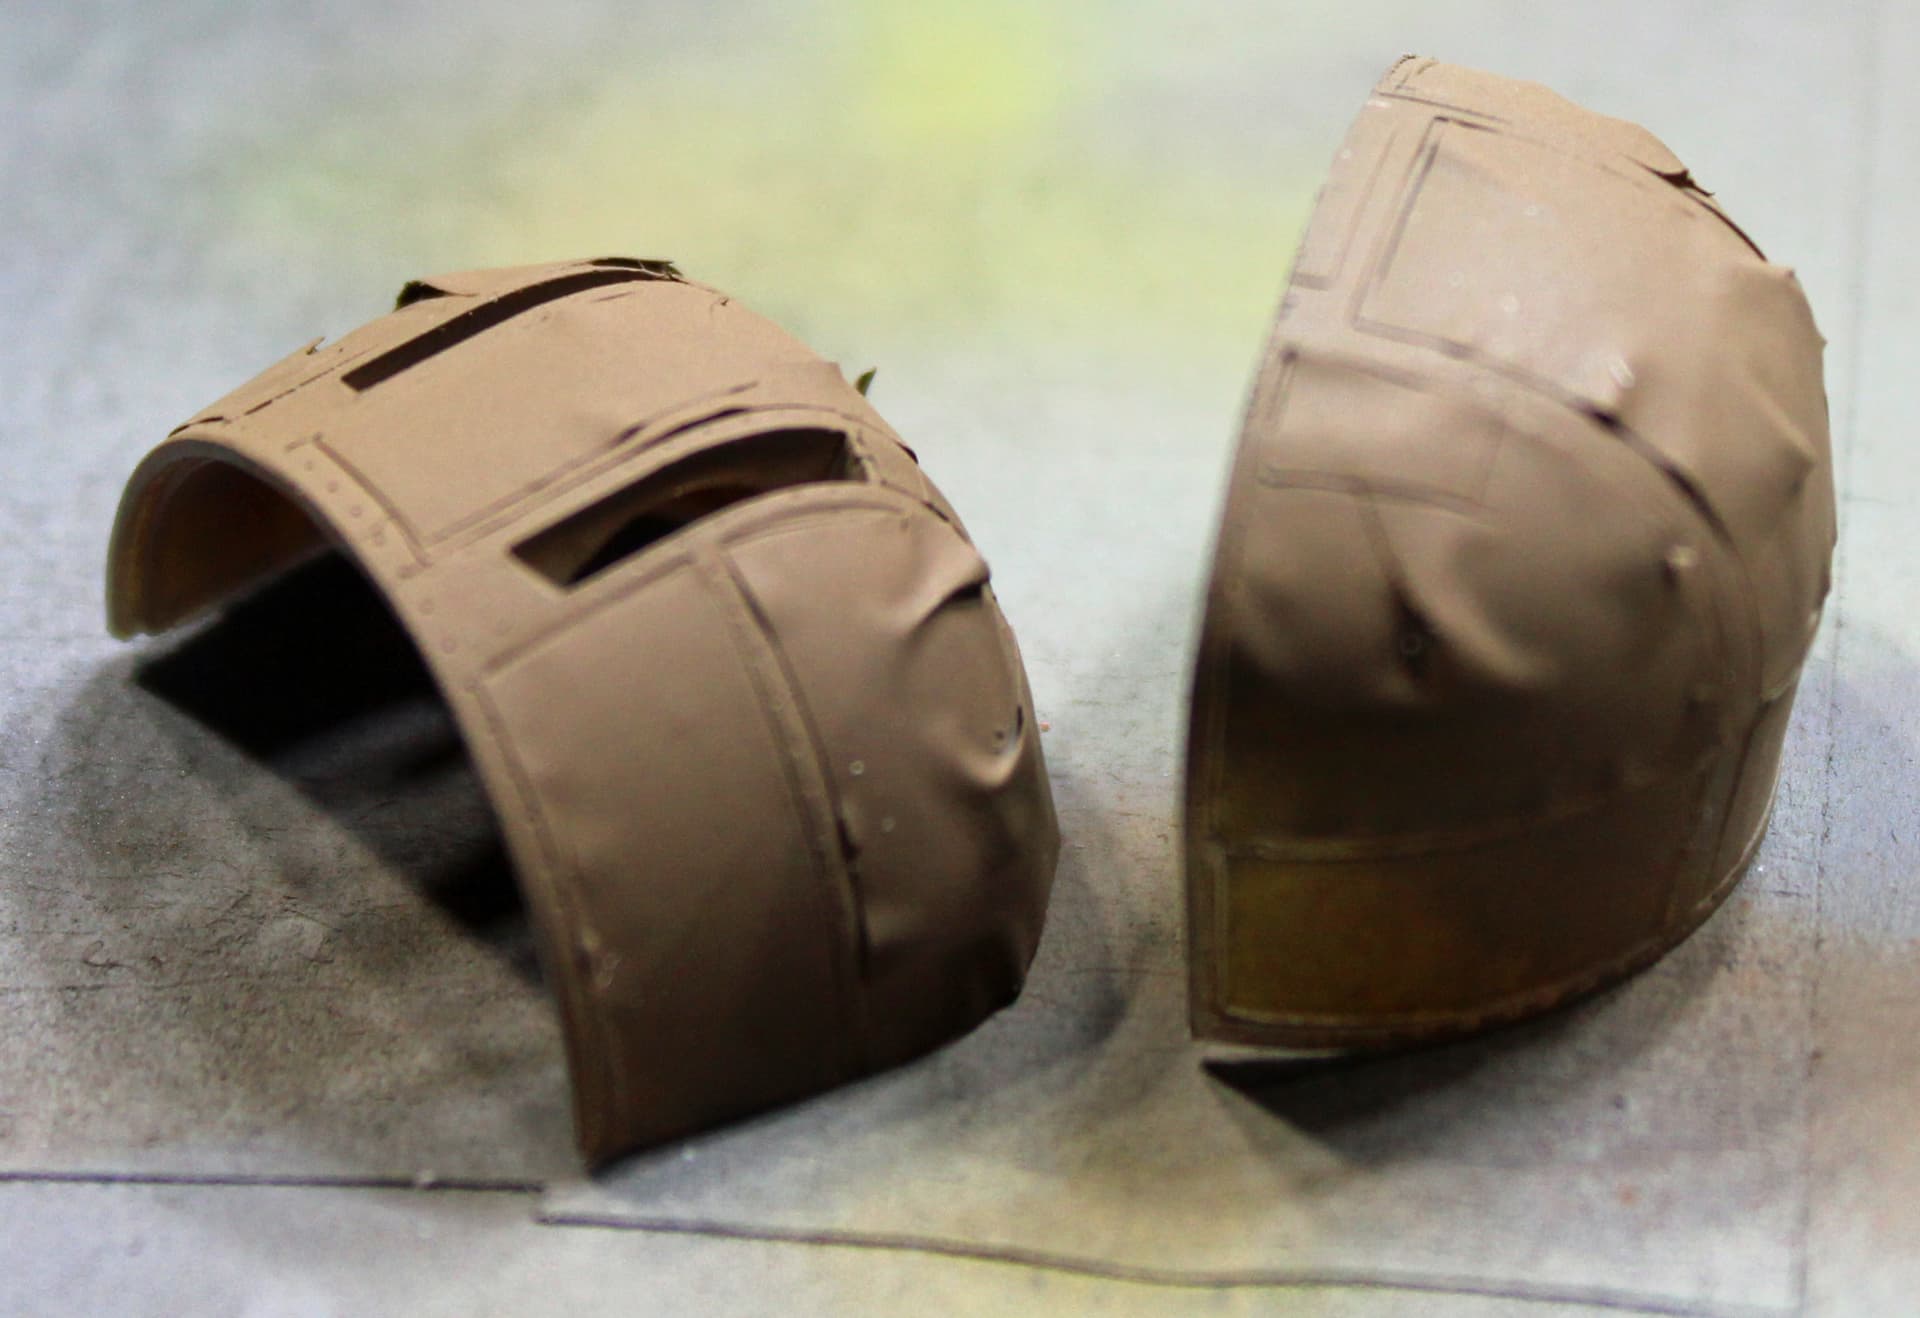
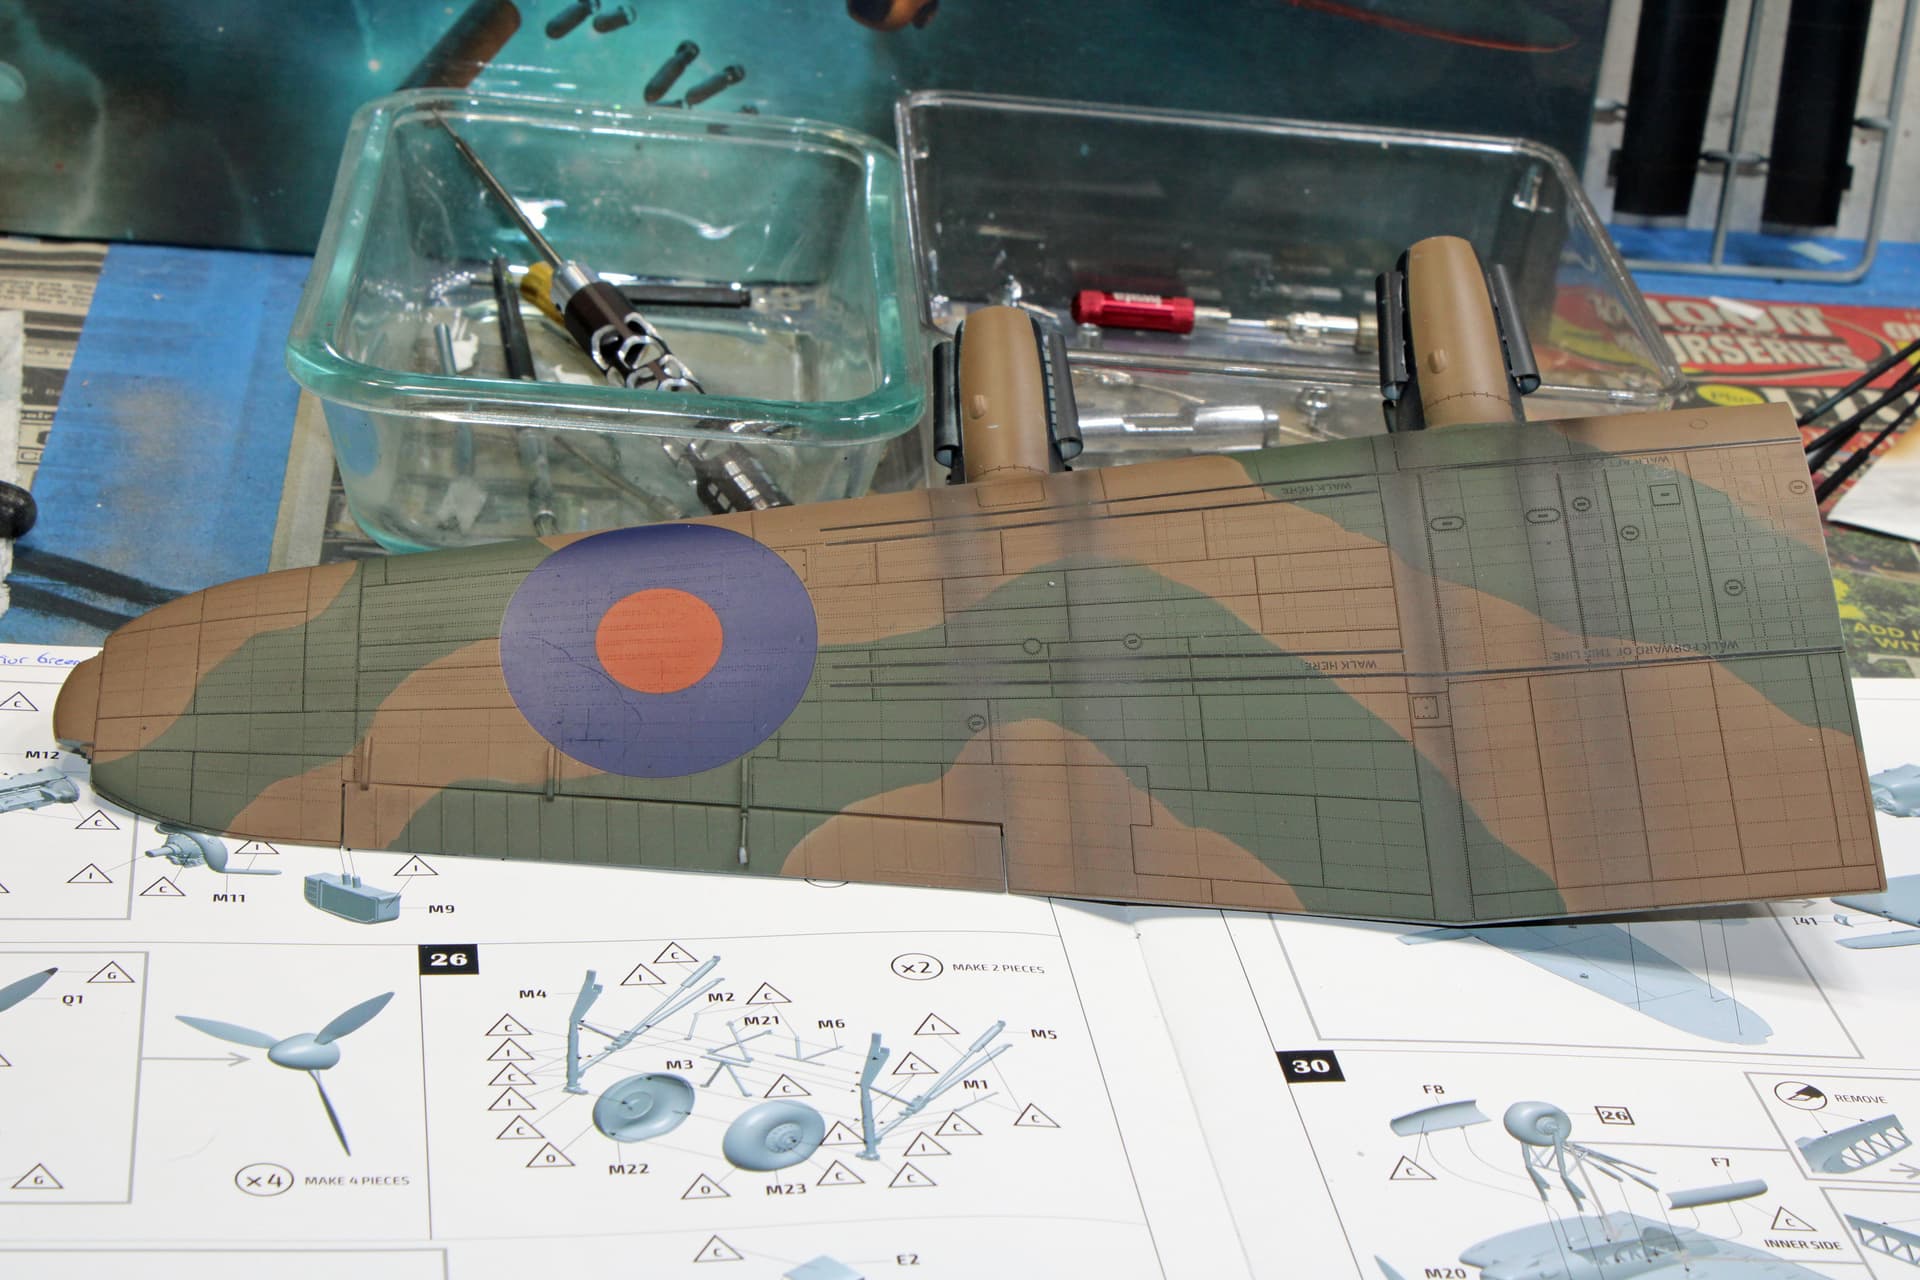
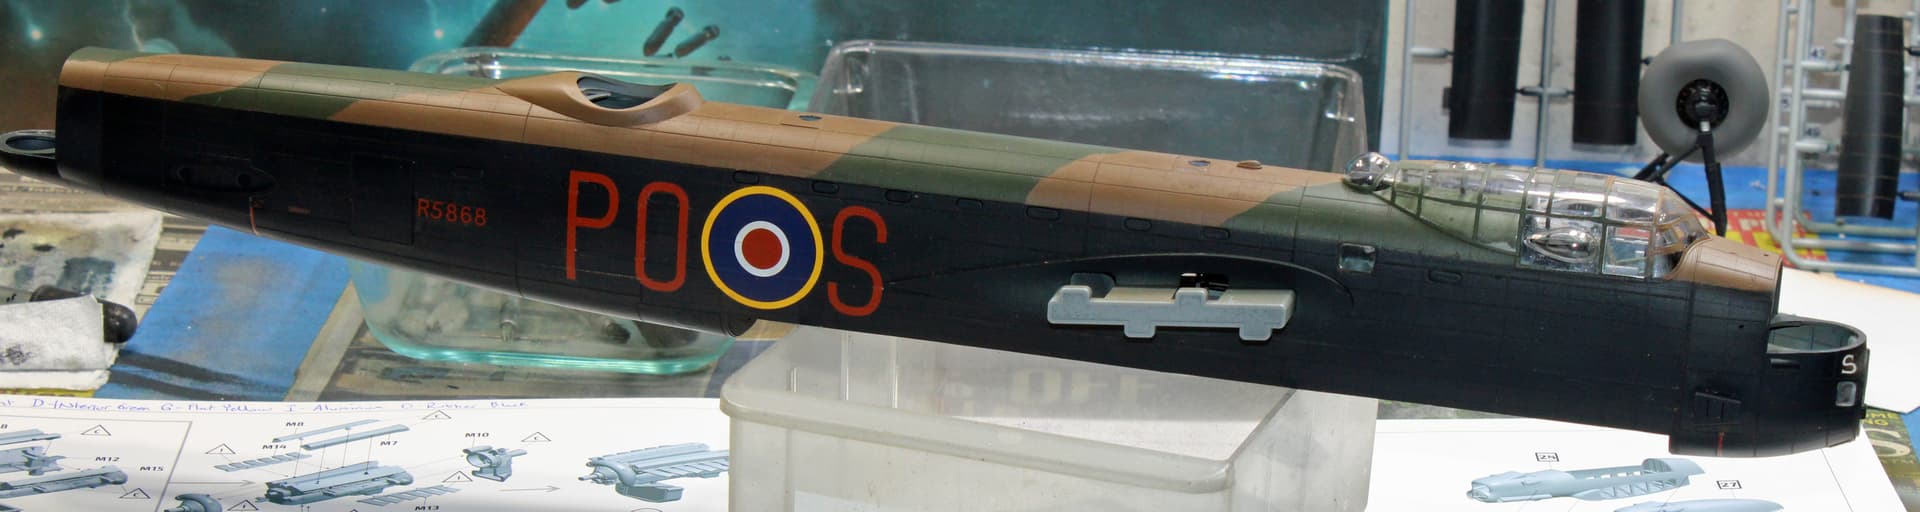
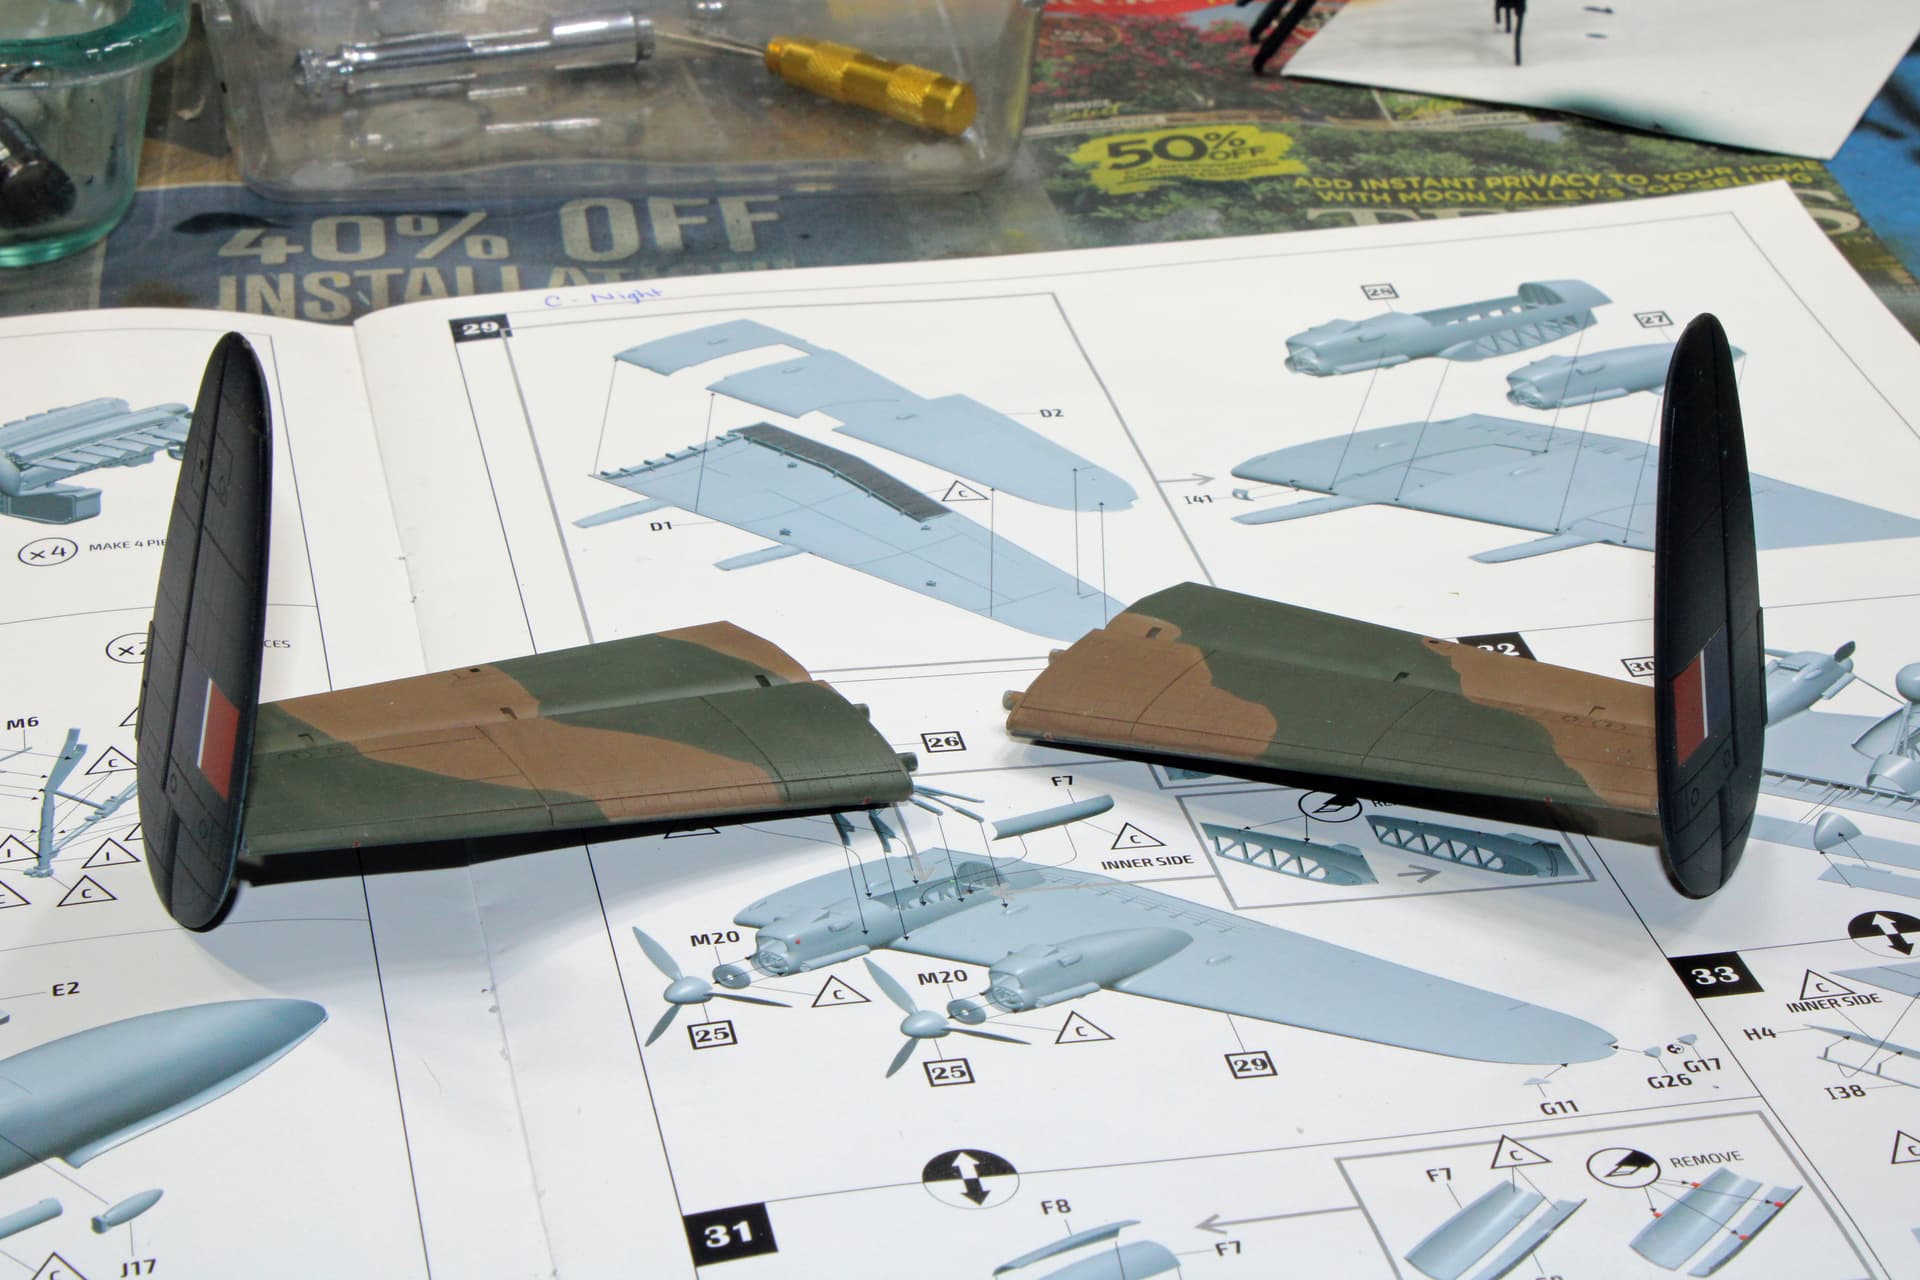
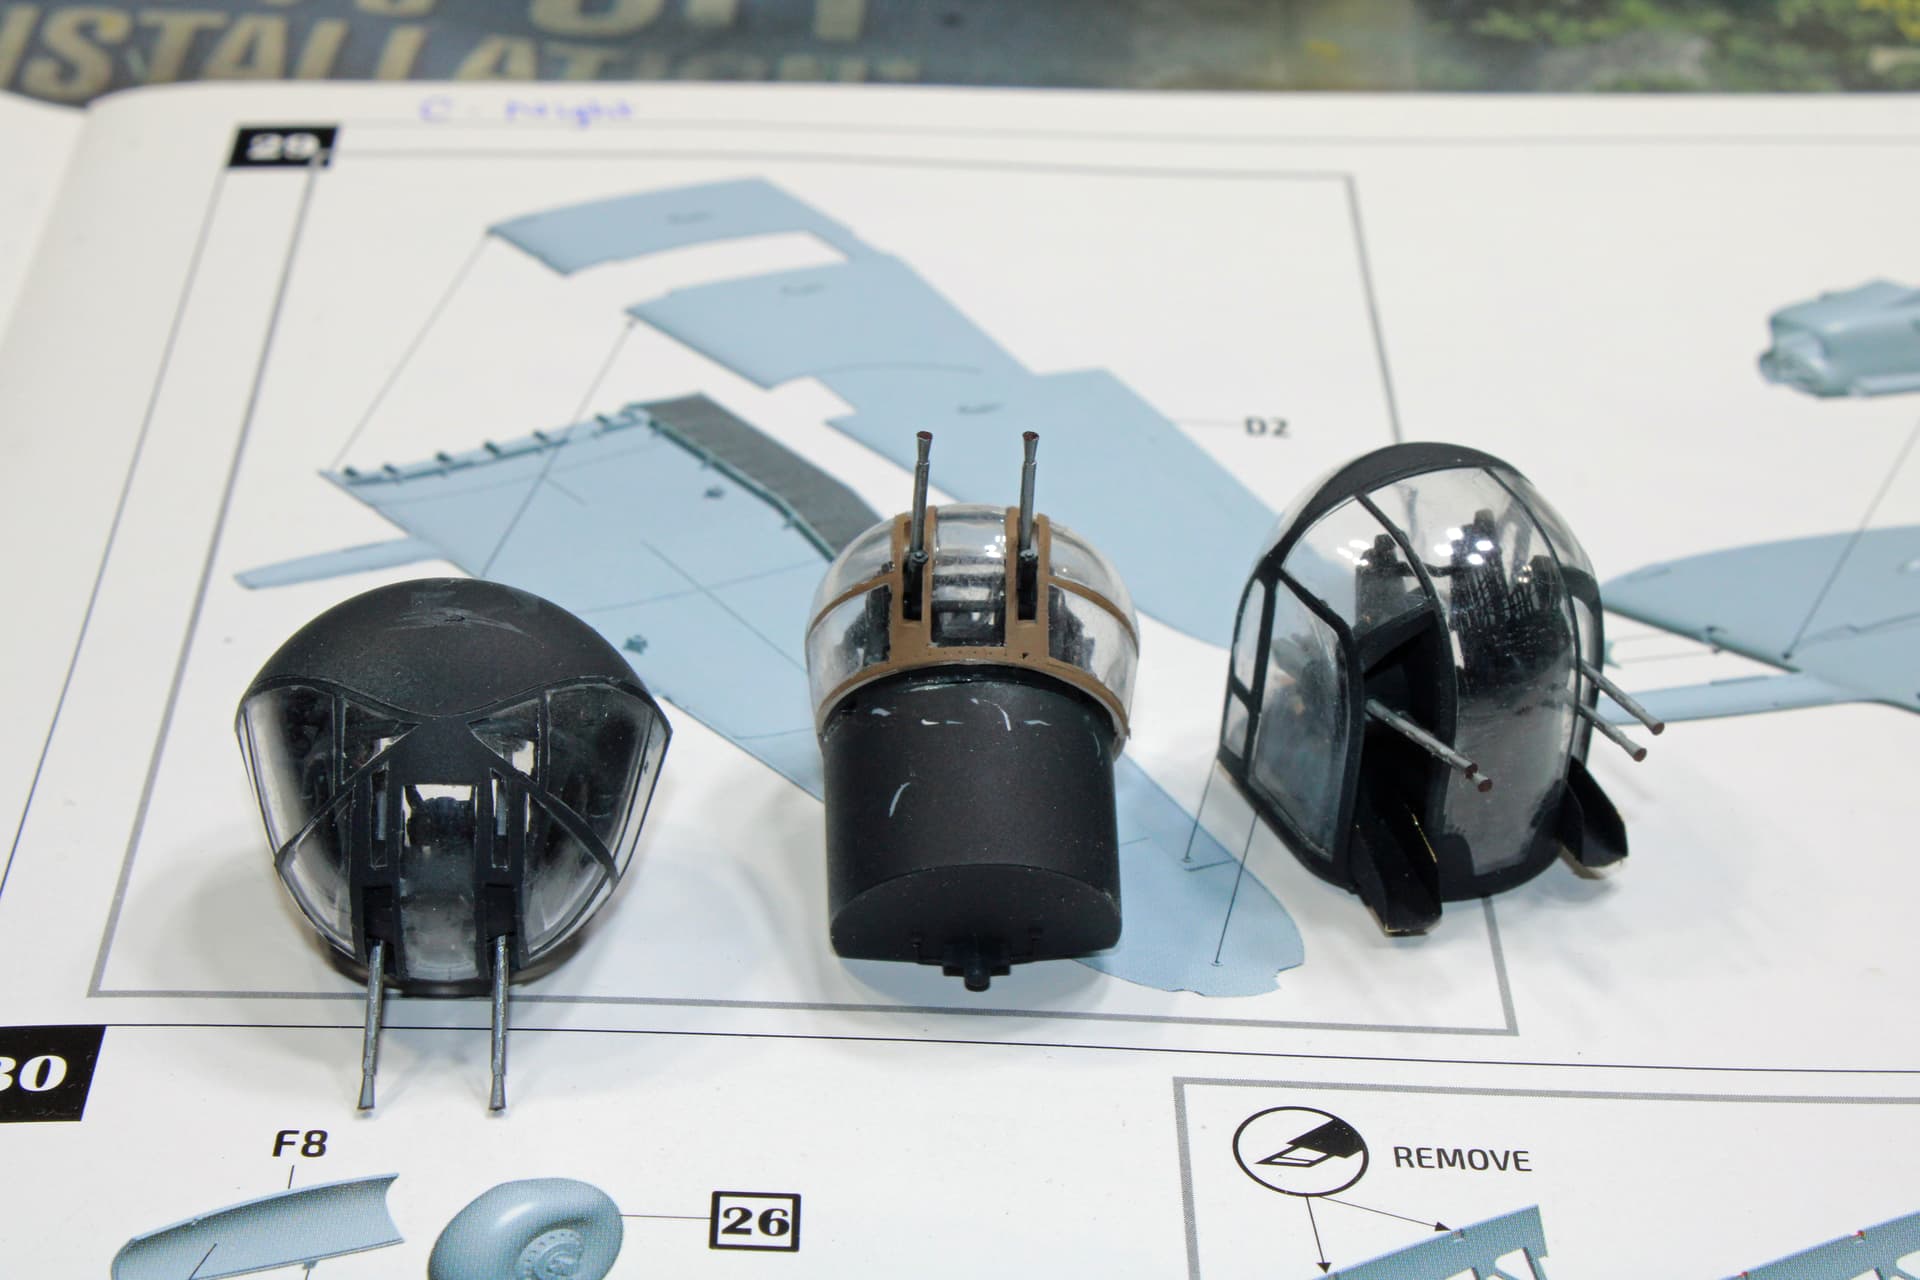
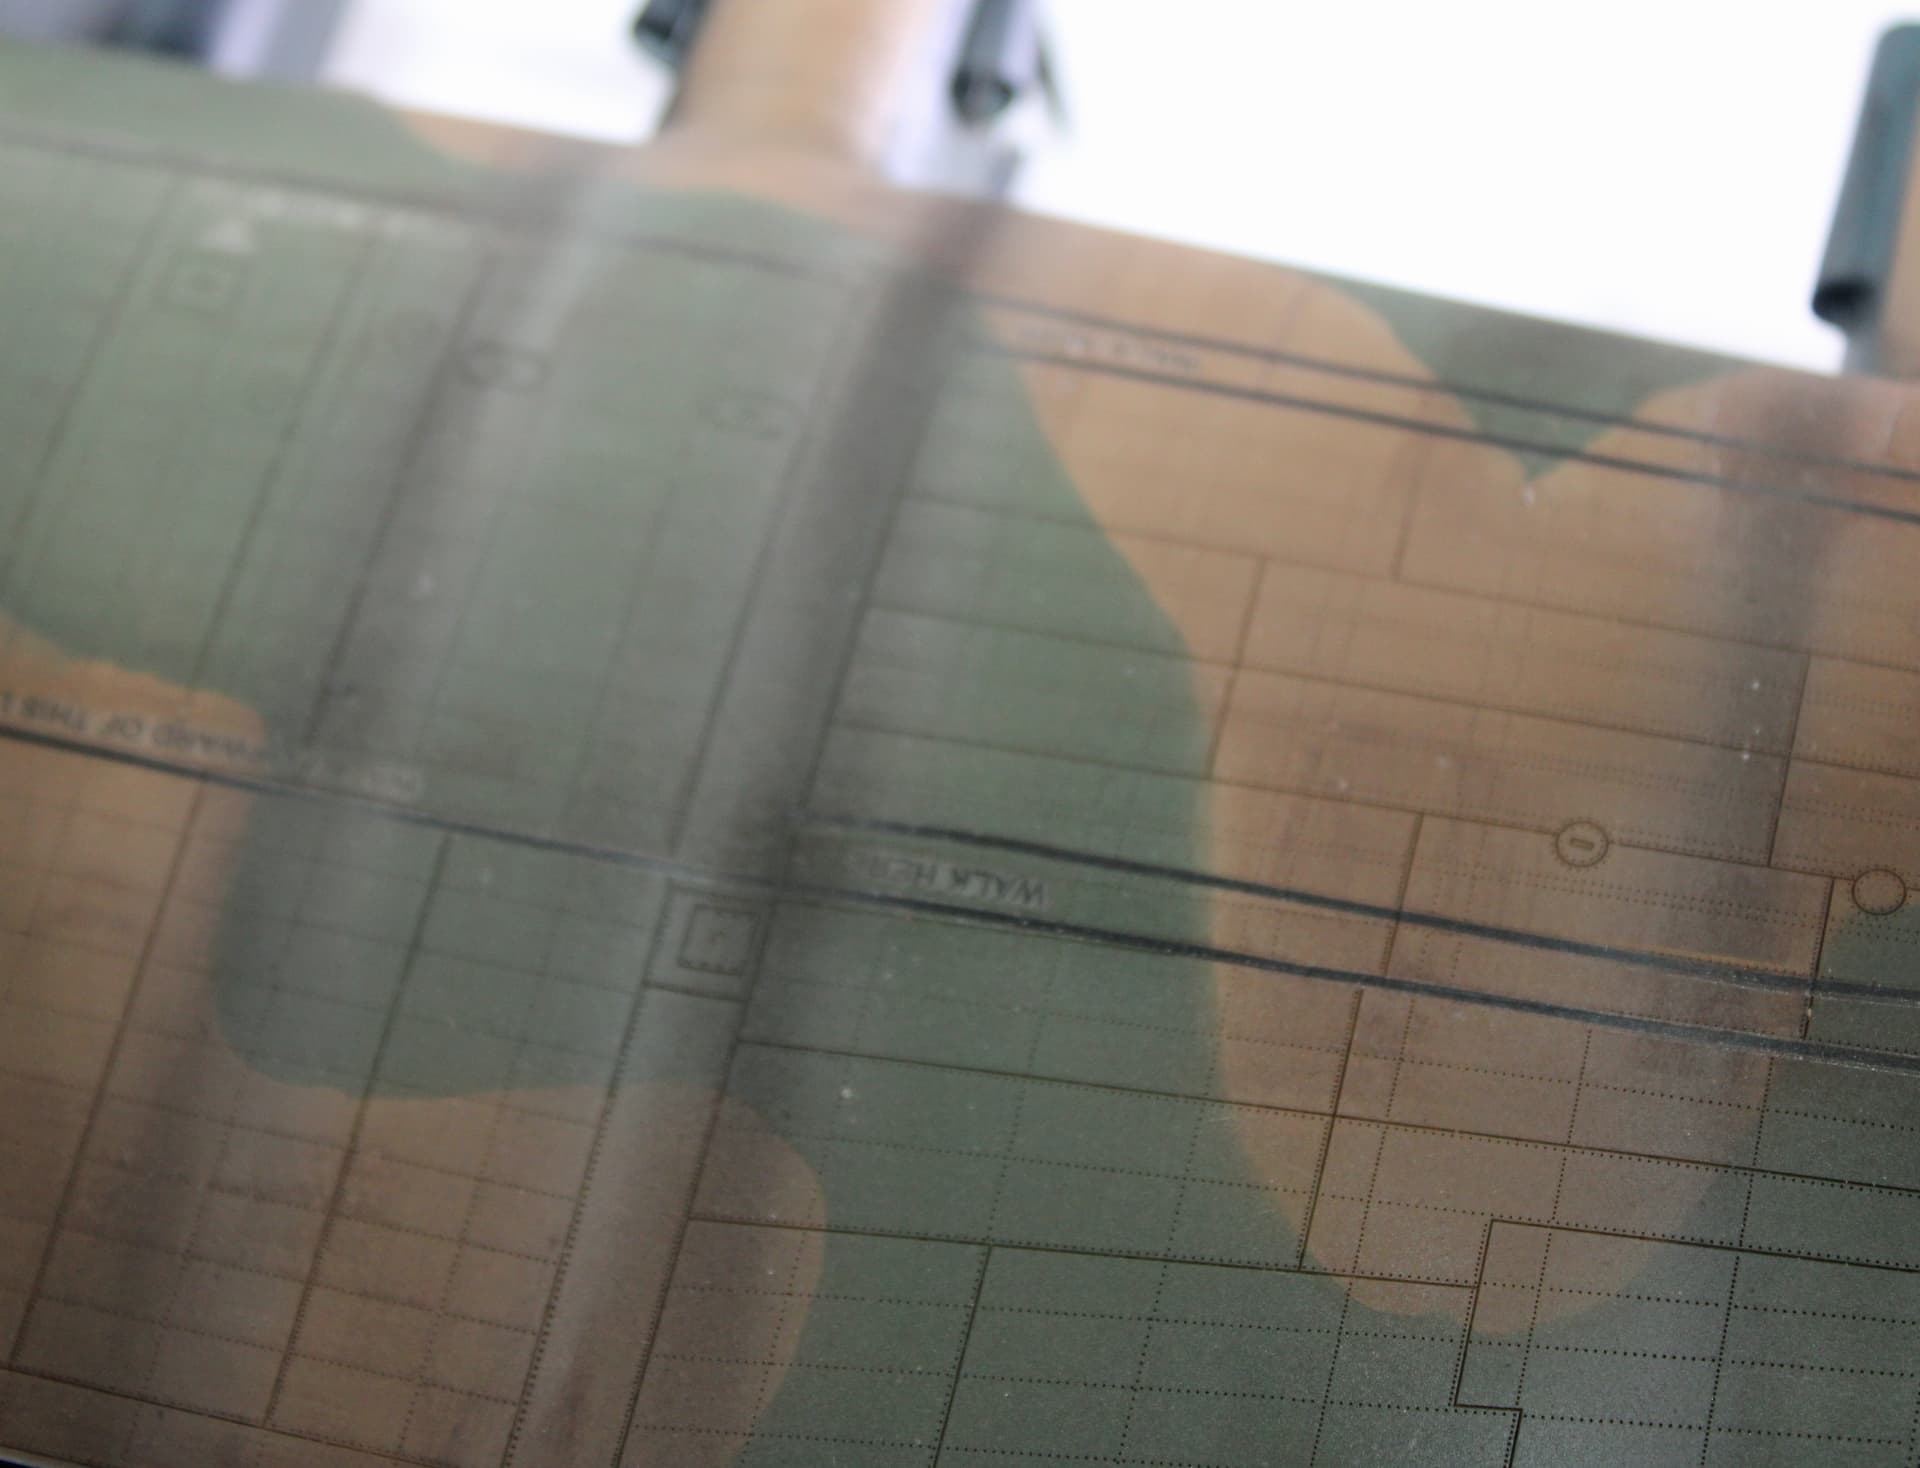
Then I sprayed AK Interactive 3G RAF Dark Earth. I hit the upper turret with this, then free-handed the camouflage pattern on the wings, stabilizers, and upper fuselage surfaces. I then opted for a hard-edge camouflage, so out came the AK Interactive plastic putty. Lots of snaking and then filling in the gaps. I had to do this in two passes - stabilizers and one wing on the first, fuselage and other wing on the second. Might be a good idea to get another tin of that plastic putty.
Excellent progress; one bite at a time, right? Great work on the aerial repairs. Look great.
I recently tried and failed to do the same camo (well, A-pattern Temperate Earth Scheme on a Hurricane) with that AK putty, but I found it kept slow-motion “dripping” off the model, and beyond that it left some kind of residue on the paint. In fact I think I can see the same residue on your dark earth tone on the wing? Maybe it dries up, or disappears under a clear coat?
And only you would need two tins of the stuff, with all the giant aircraft builds you do.
Looking forward to seeing this Lanc get its wings.
I’ve noticed that “dripping” you describe, especially when it’s hotter and more humid (frequently the case here in SE Texas). I don’t particularly like how it is really sticky if you happen to set your parts down on anything paper. But I’ve not noticed any residue left behind. What you might be seeing on the dark earth is some mottling I did to break up the conformity of the paint job. I’ll give it another look when I get back to the bench.
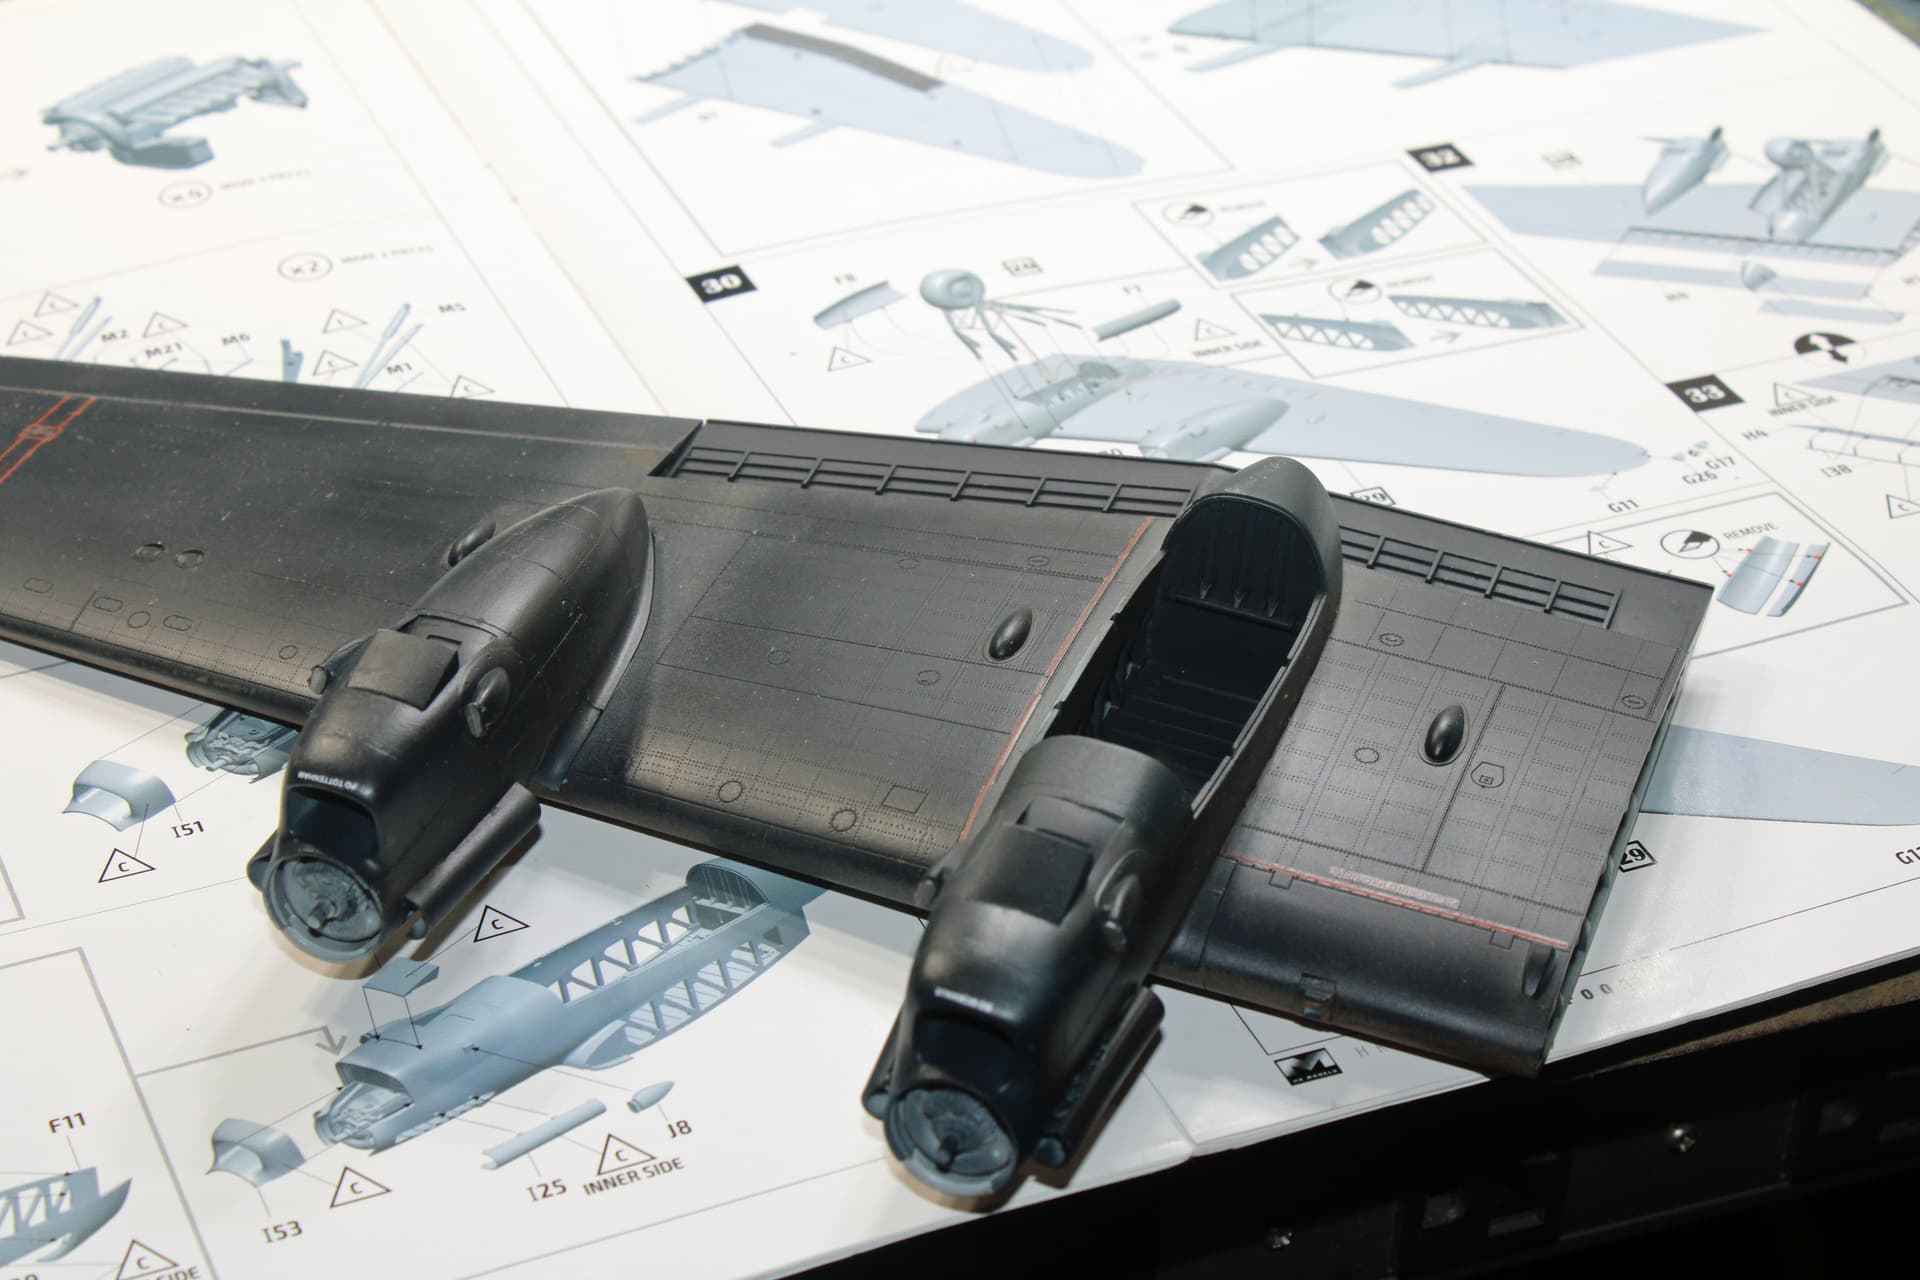
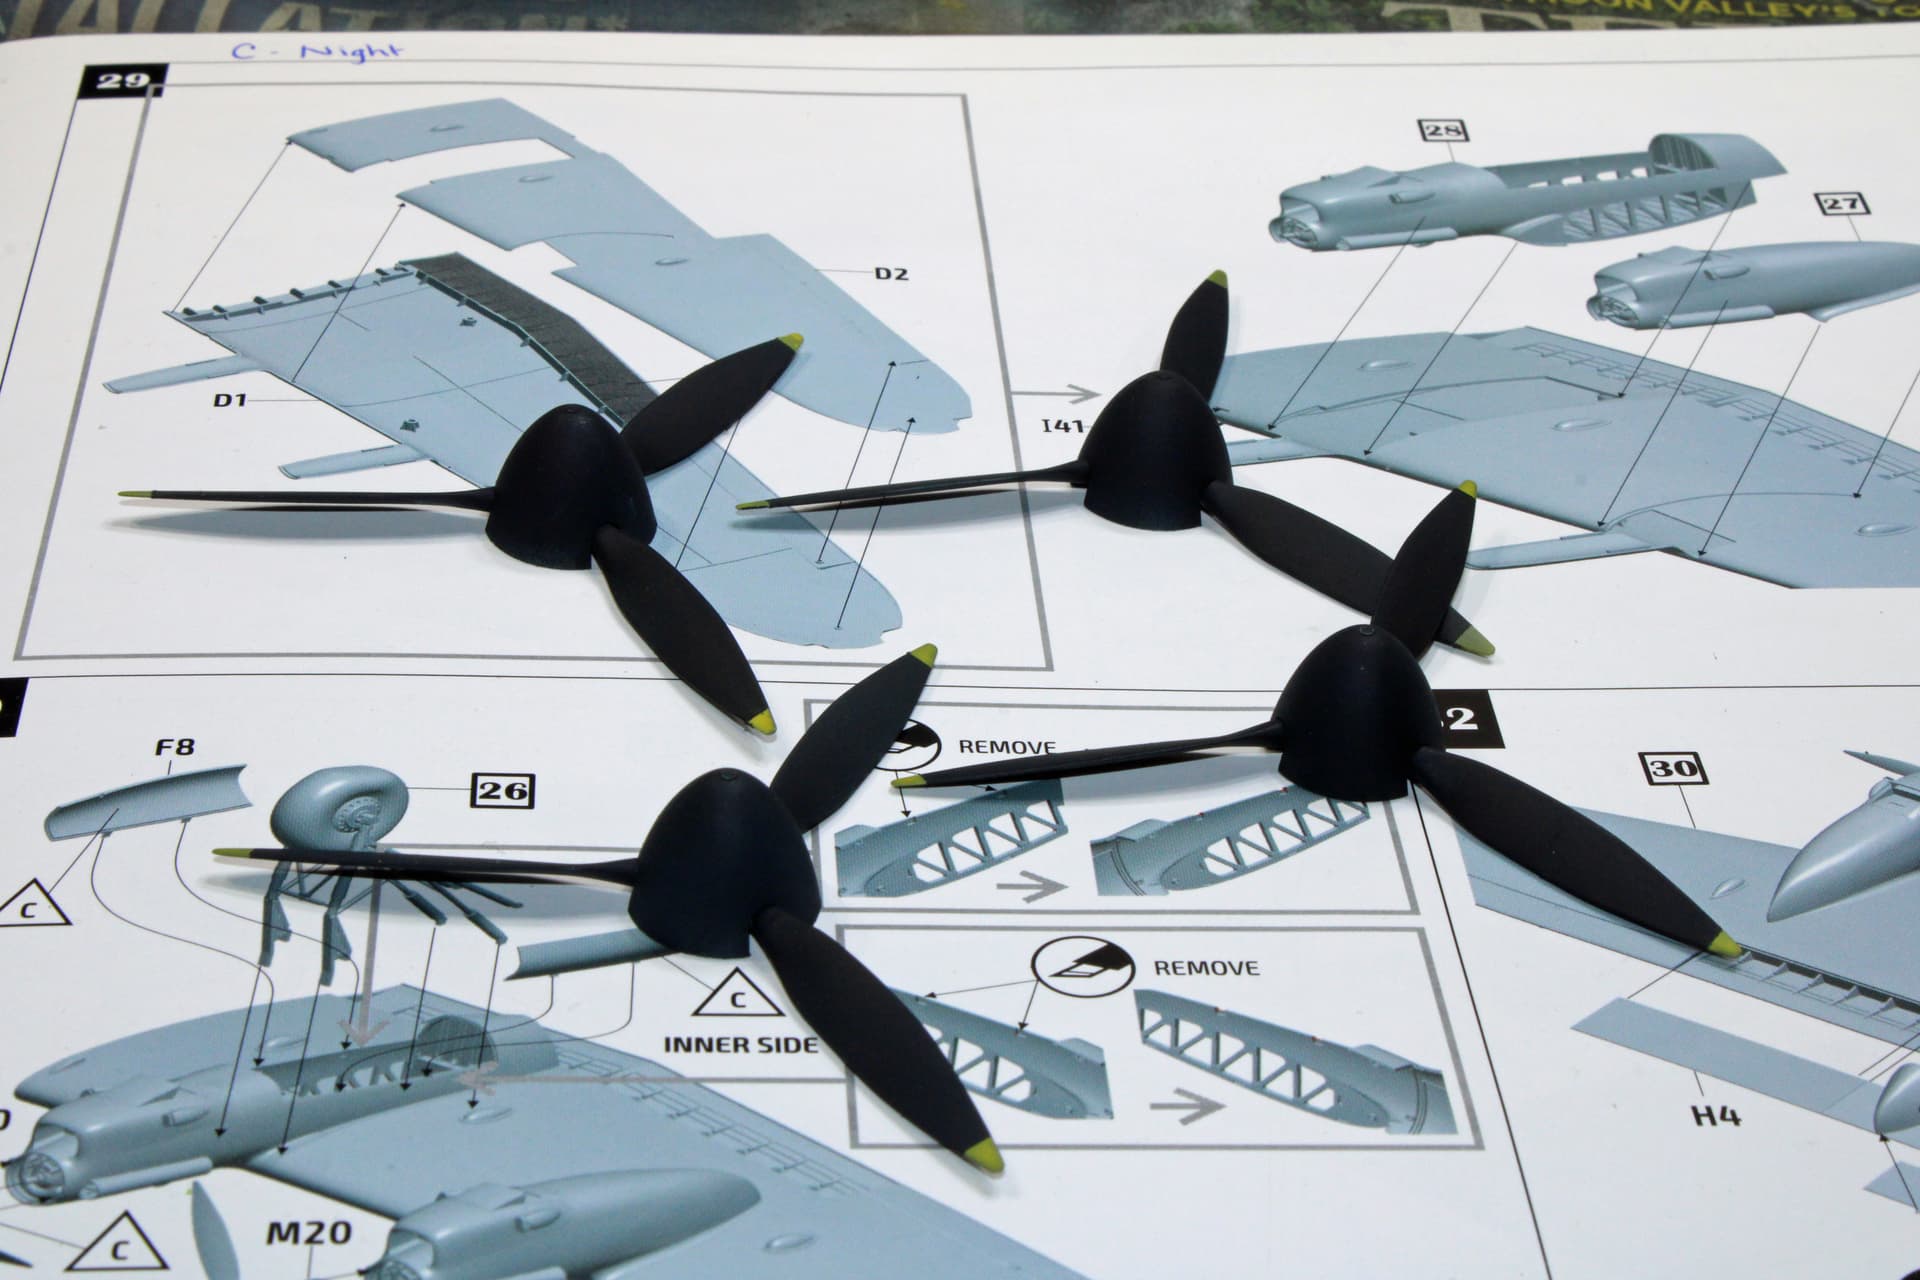
I understood that I had a lot of area to paint with AK 3G anti-glare blue-black. I fully expected to have many individual paint sessions, with mini-cleaning operations between them. I had good thinning ratios. Yet I found that I could not even complete a wing without the brush clogging. This pattern repeated itself throughout the day. I believe I ended up stripping down the airbrush a total of a dozen times during all this. After what I thought was the final paint session, I cleaned the brush and then noticed that I had not completed painting the props. The brush opted to simply not spray paint even though it sprayed thinner just a moment before. The paint might have been too thick, but it was still of the mixed batch I had used to complete one of the wings just a couple of minutes before.
While that was trying, what was really causing me problems was the anger I was working with. This is a hobby that is supposed to be fun. Yesterday was anything but fun. It’s not healthy for anyone to get so worked up over a fun thing. I’ve done some thinking about how I should go forward - I should definitely quit trying to get as much done as I tried yesterday. I knew it was going to be a large effort and I expected multiple cleaning sessions to keep the brush operating. I am not on any deadline with this build, so it’s okay to slow down. Another thing I’m thinking is going to happen is use a different brand of paint, which I will need to purchase regardless since I used up that bottle of blue-black paint (and with a Short Stirling in the to-build stash for this year with the same paint scheme). I’ve painted with MRP Paints on an earlier project and had no issues whatsoever, so I’ll likely purchase a few more of those for the Stirling.
Man I sure am sorry to hear about continuing airbrush difficulties. I too have had to learn the hard way (is there any other way?) about knowing when to call it quits for the day due to escalating frustration. In the wood shop, such an attitude can be a serious safety hazard.
Project pacing is another thing I struggle with; committing to more than can be accomplished in a comfortable session still burns me from time to time. Rushing is never worth it.
I have heard nothing but great things about MRP paints. I bet that once you hit on a combo that works, you’ll be off the races.
Sorry for your troubles. This is a fun hobby, but can be frustrating at times. I find that if I’m getting mad for whatever reason, it’s time to stop and come at it another day. Letting things percolate in my brain overnight (or longer) really seems to adjust my perspective. One thing I’ve never done is attempt to schedule what I’m doing for the day. I just pick up where I left off and work until I’m no longer in the zone, fatigued, or P.O.'ed! I do try to stop at a logical point however.
As to your airbrush issue, I’ve not had those troubles with the AK 3g paints. Maybe thin some more or bump up the pressure? I do use the AK retarder in my process which does keep the needle/nozzle from drying out while painting. Just my .02 cents, you probably know more about airbrushing than I.
Best of luck to ya, I’m sure you’ll overcome this issue and get reinspired!
I generally do a better job at gauging what’s going on while I am working on a project, but I think I simply wanted all of that black paint work completed. It turned out to be a bridge too far, even though I did get the job done.
I also have never had any problems with the 3G paints, even with this bottle of blue-black. I had painted the bomb bay surfaces early on in this build, no issue. I felt like I had the paint properly thinned, so maybe not having the retarder was a problem here?
Anyway, thanks for your encouraging words. I have put this behind me in that yesterday I fully cleaned the brush and verified that it functions just fine (not with paint but it does spray thinner).
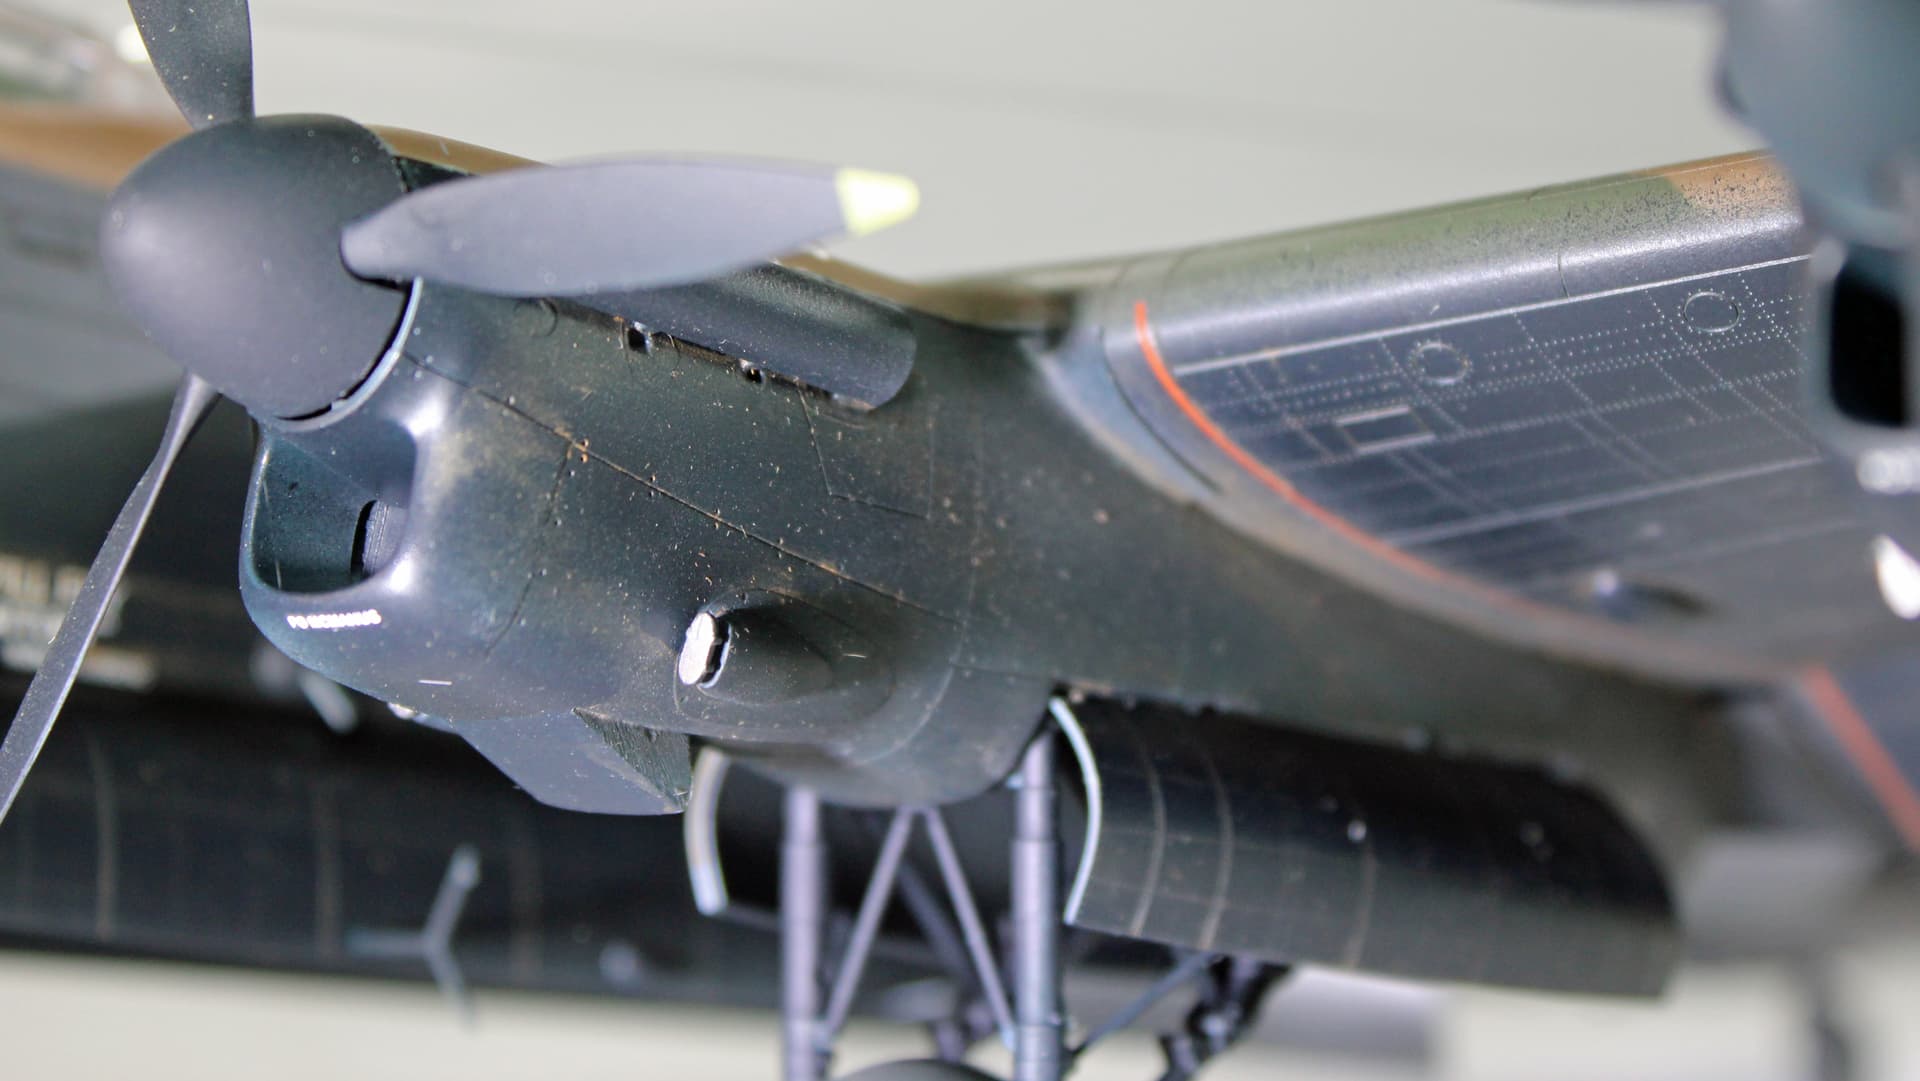
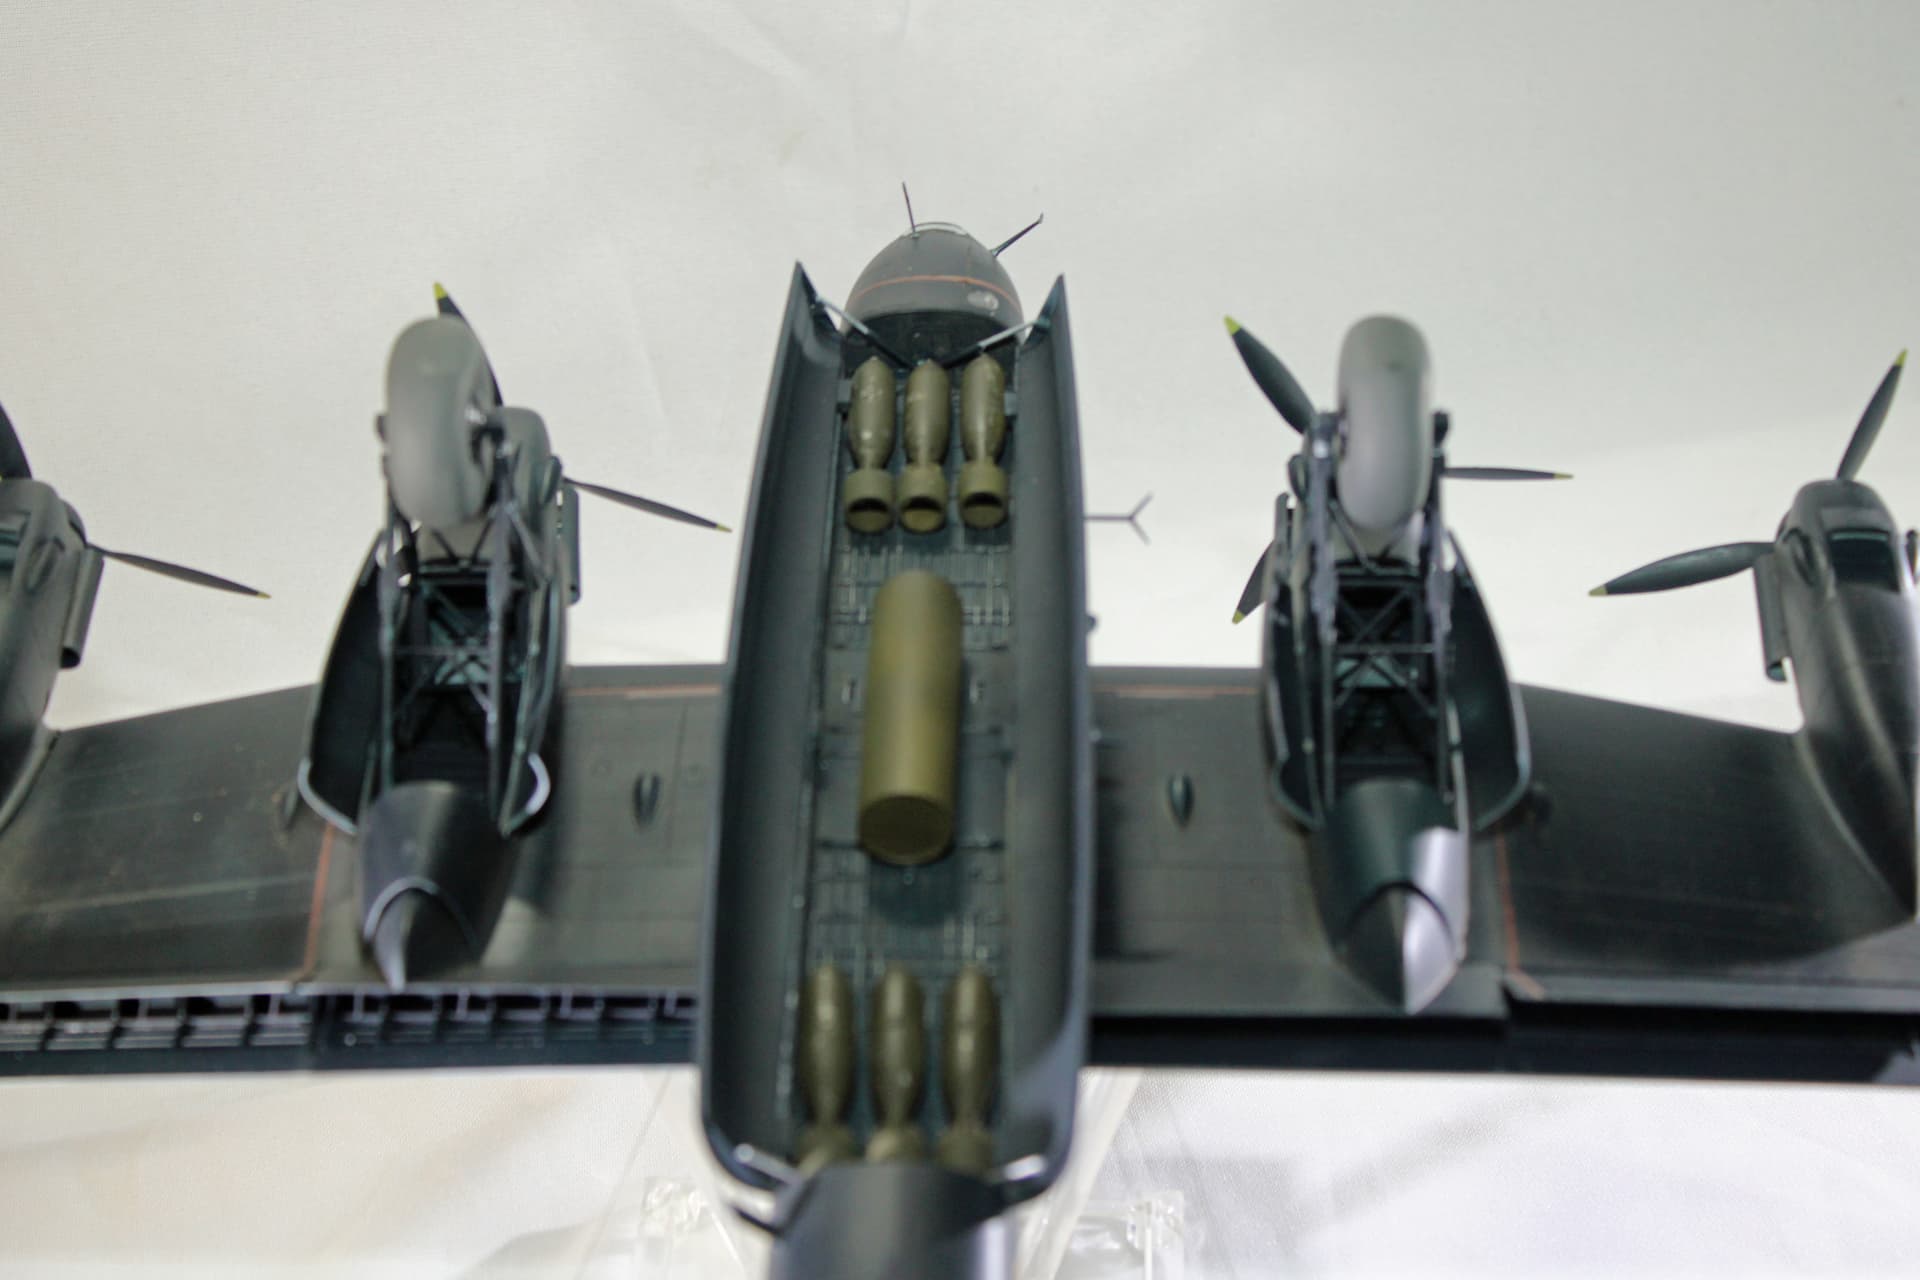
Over the last couple of days, I have put a gloss coat on this beast, painted ordinance, and started work on the decals. I’m going slowly with the decals, as there are a lot of stripes to add to both the top and bottom of the wings.
I made a lot of progress over the just completed weekend, to the point that I’ll consider myself in the closing stretch. The Lancaster should roll off the work bench this week if nothing life or work related interfere.
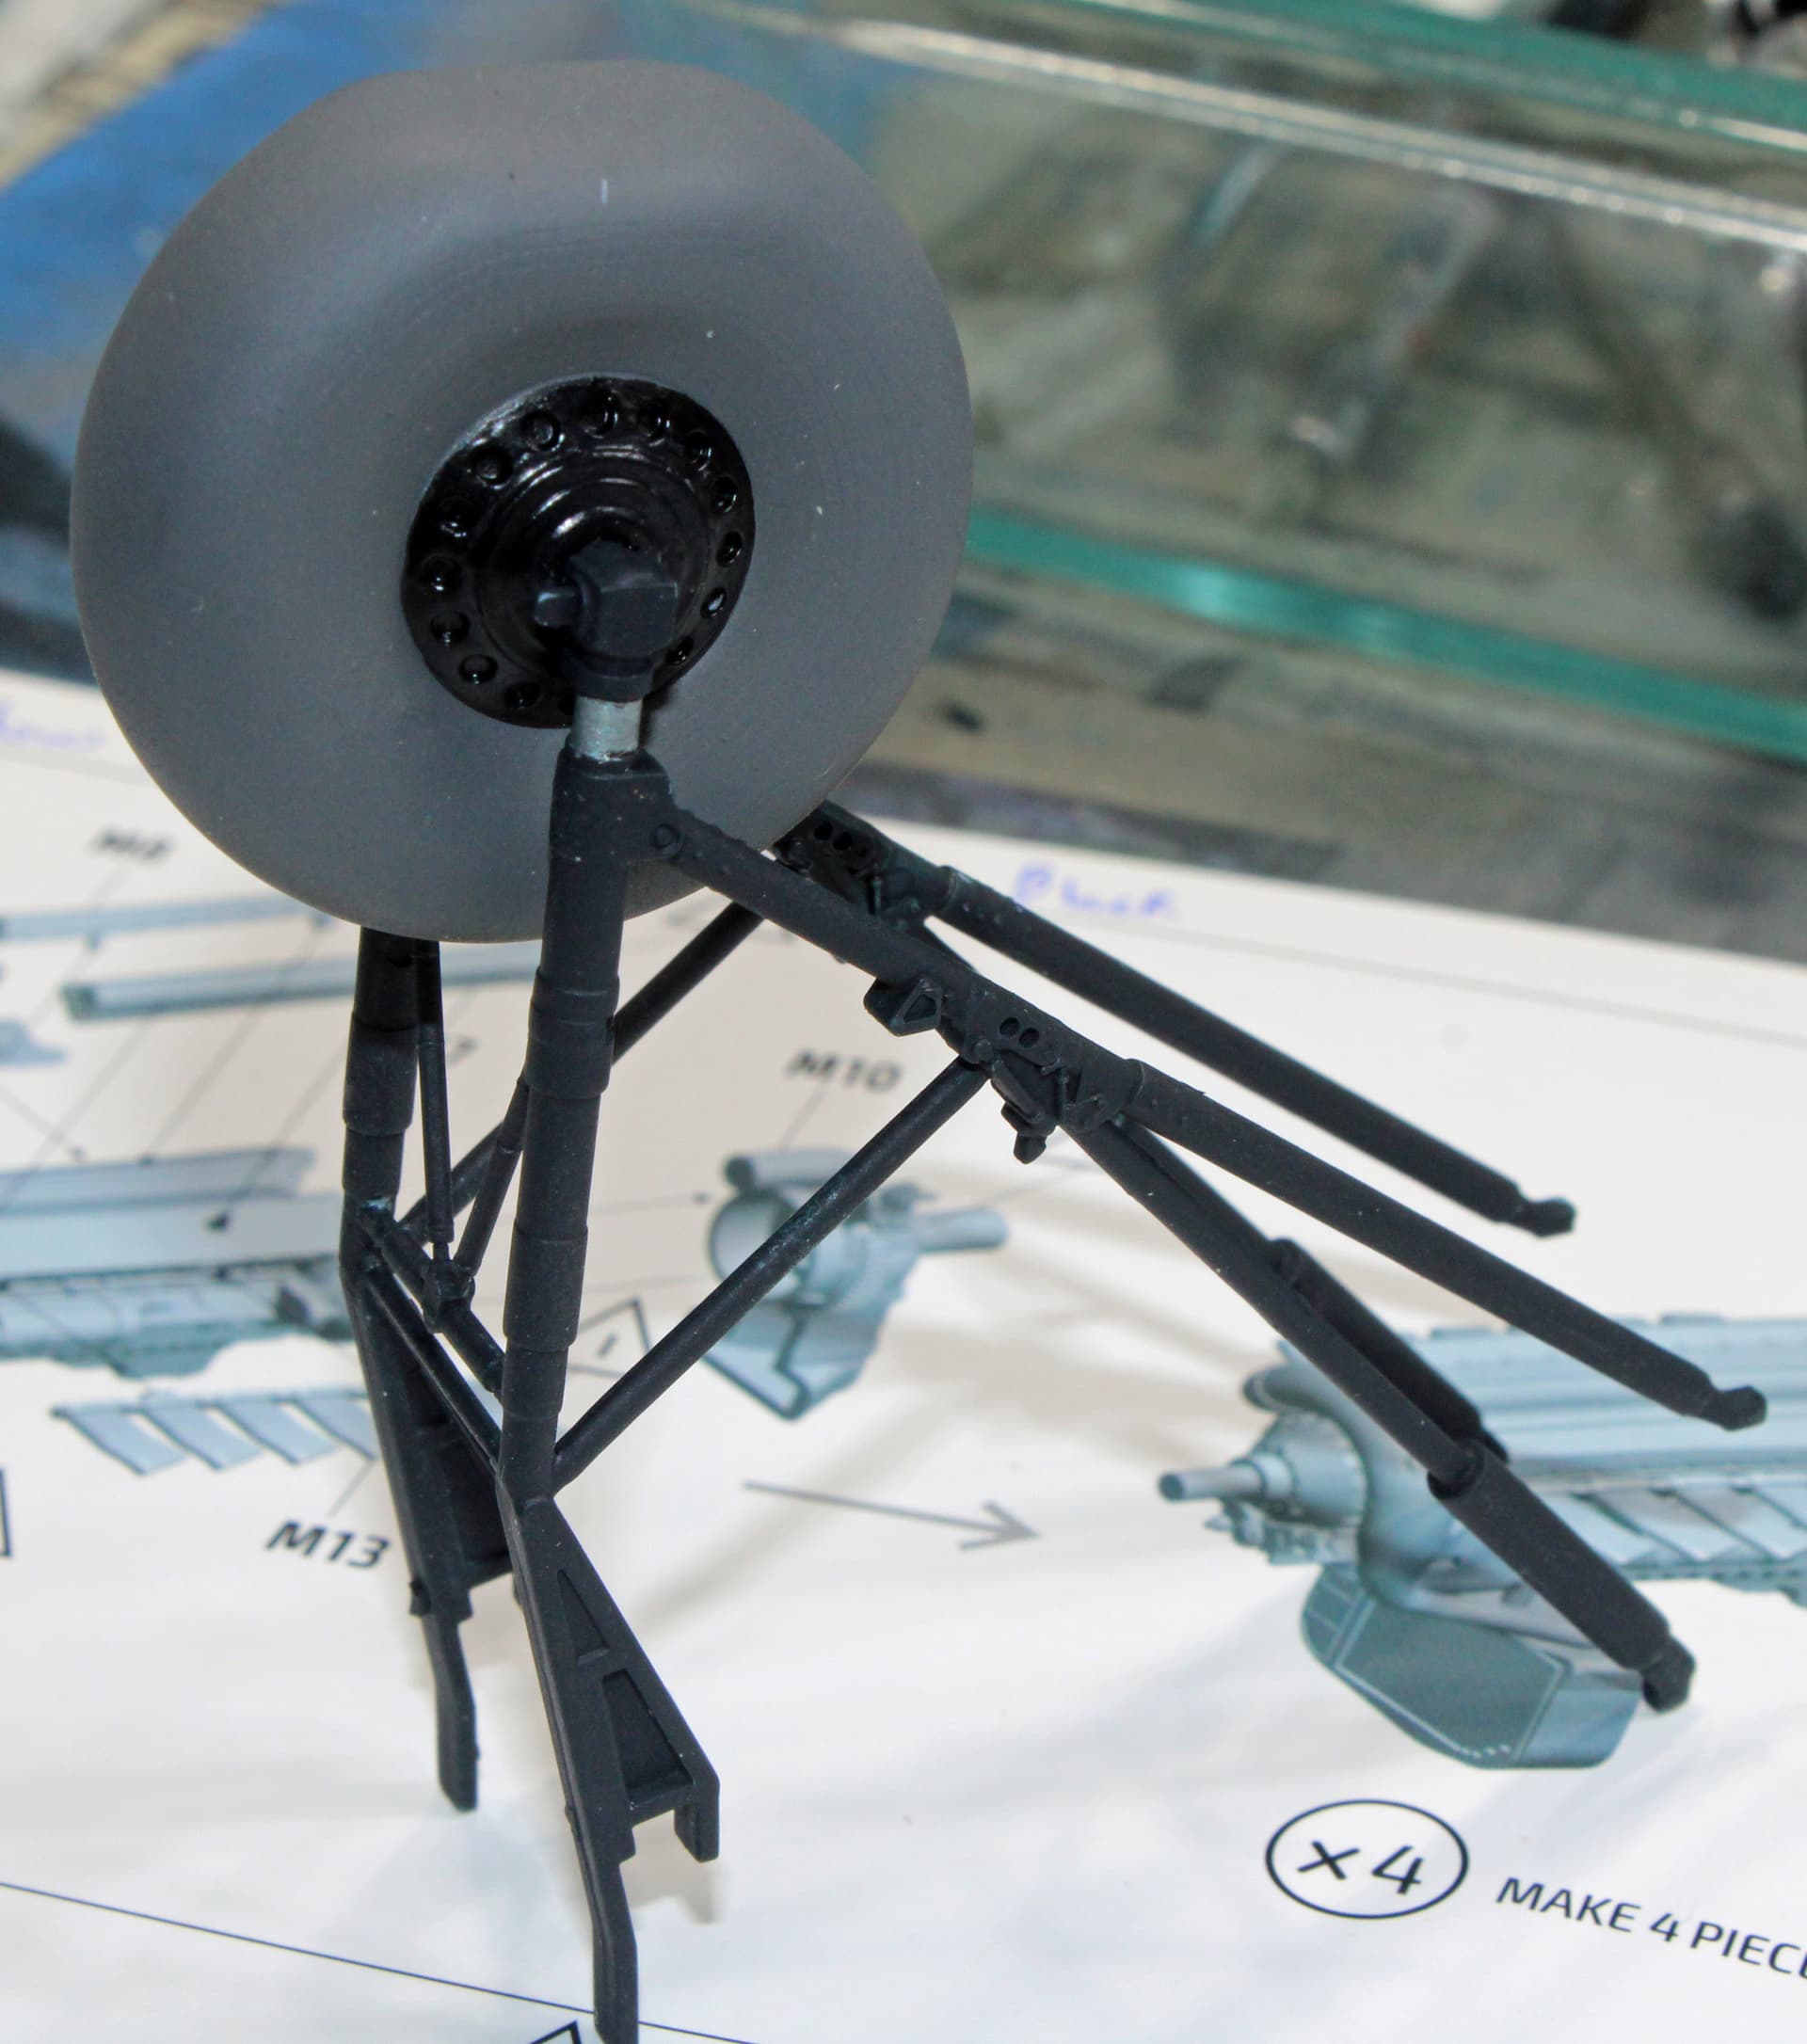
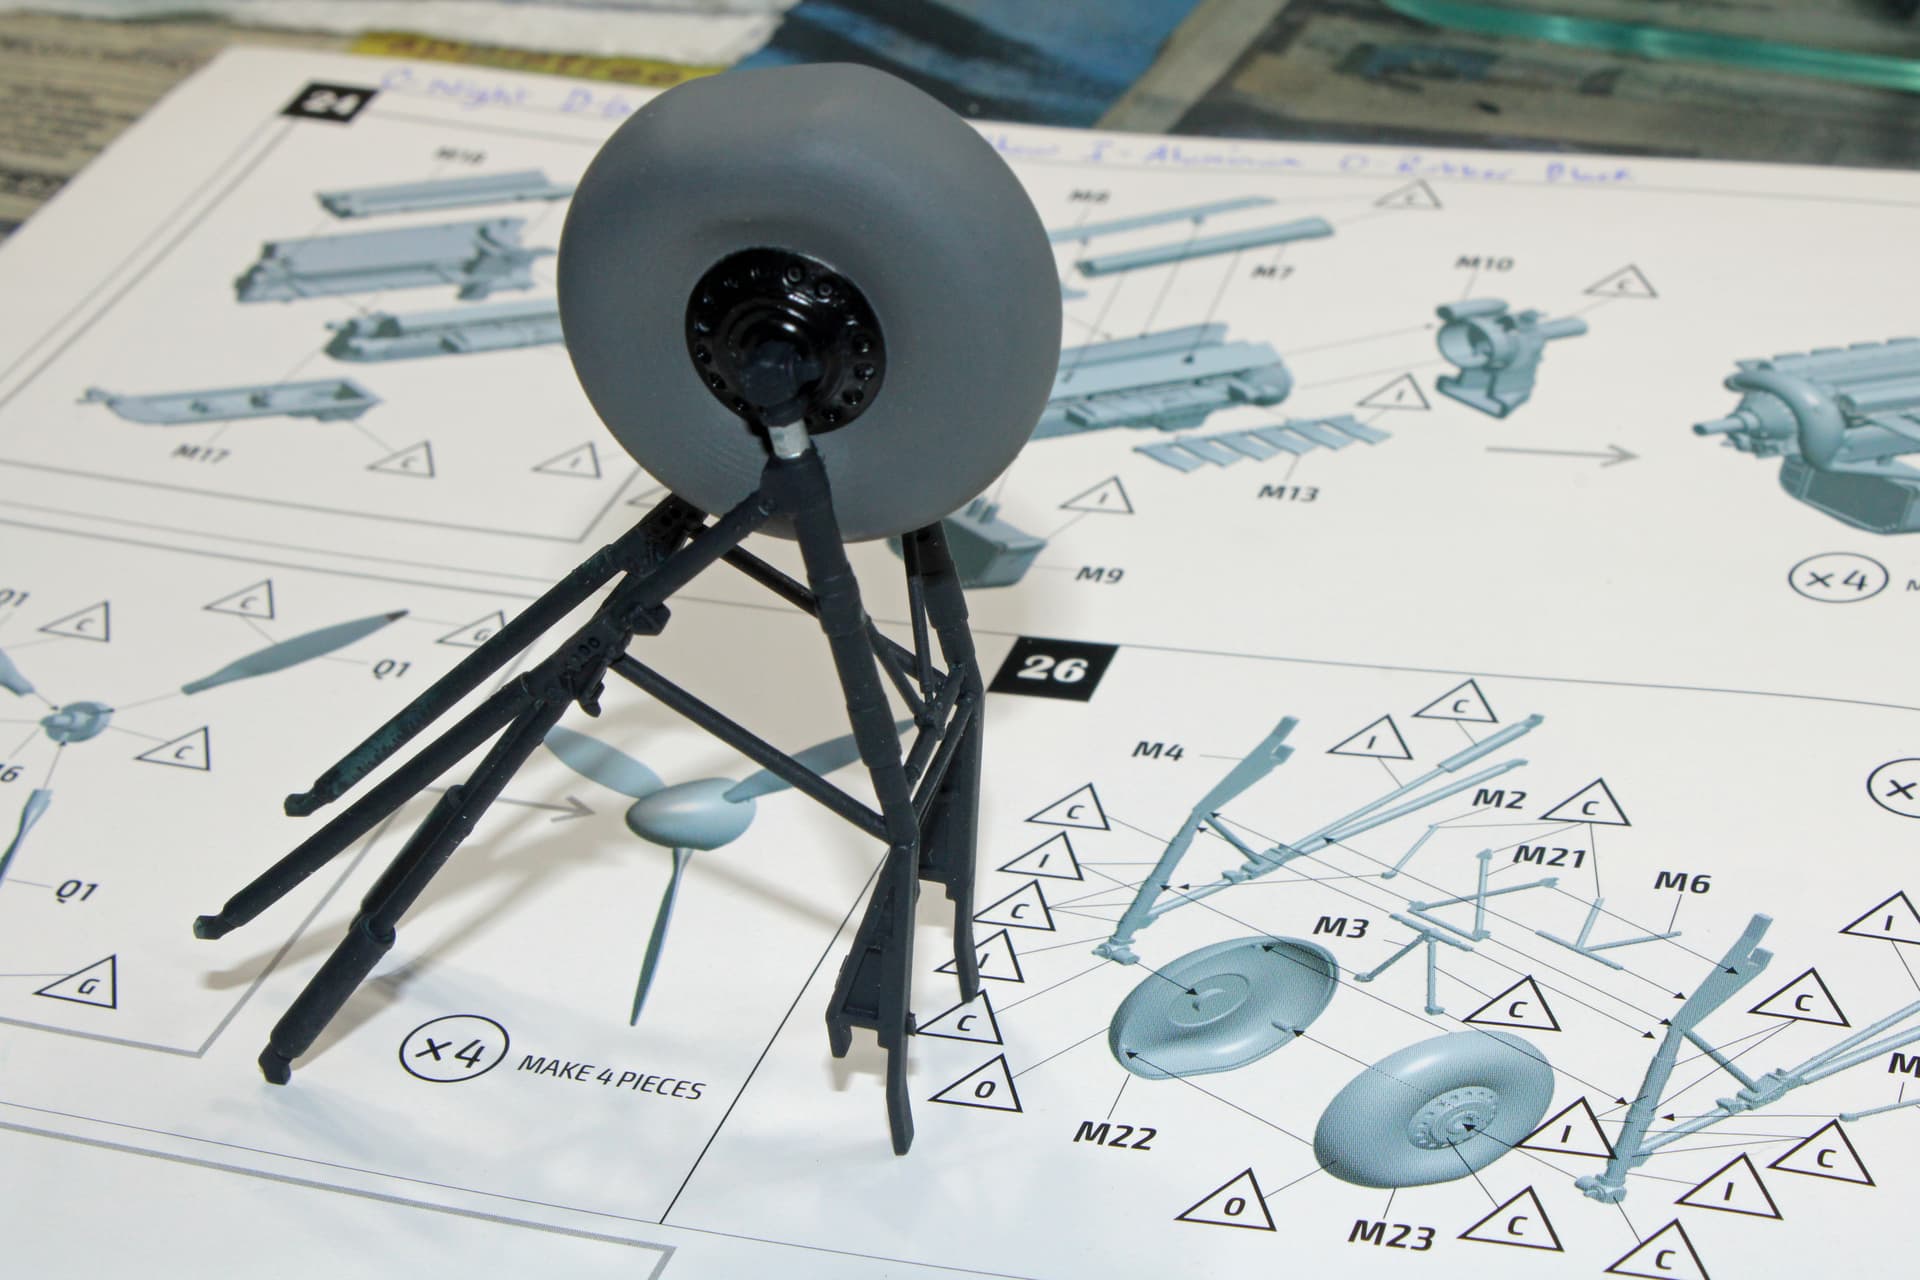
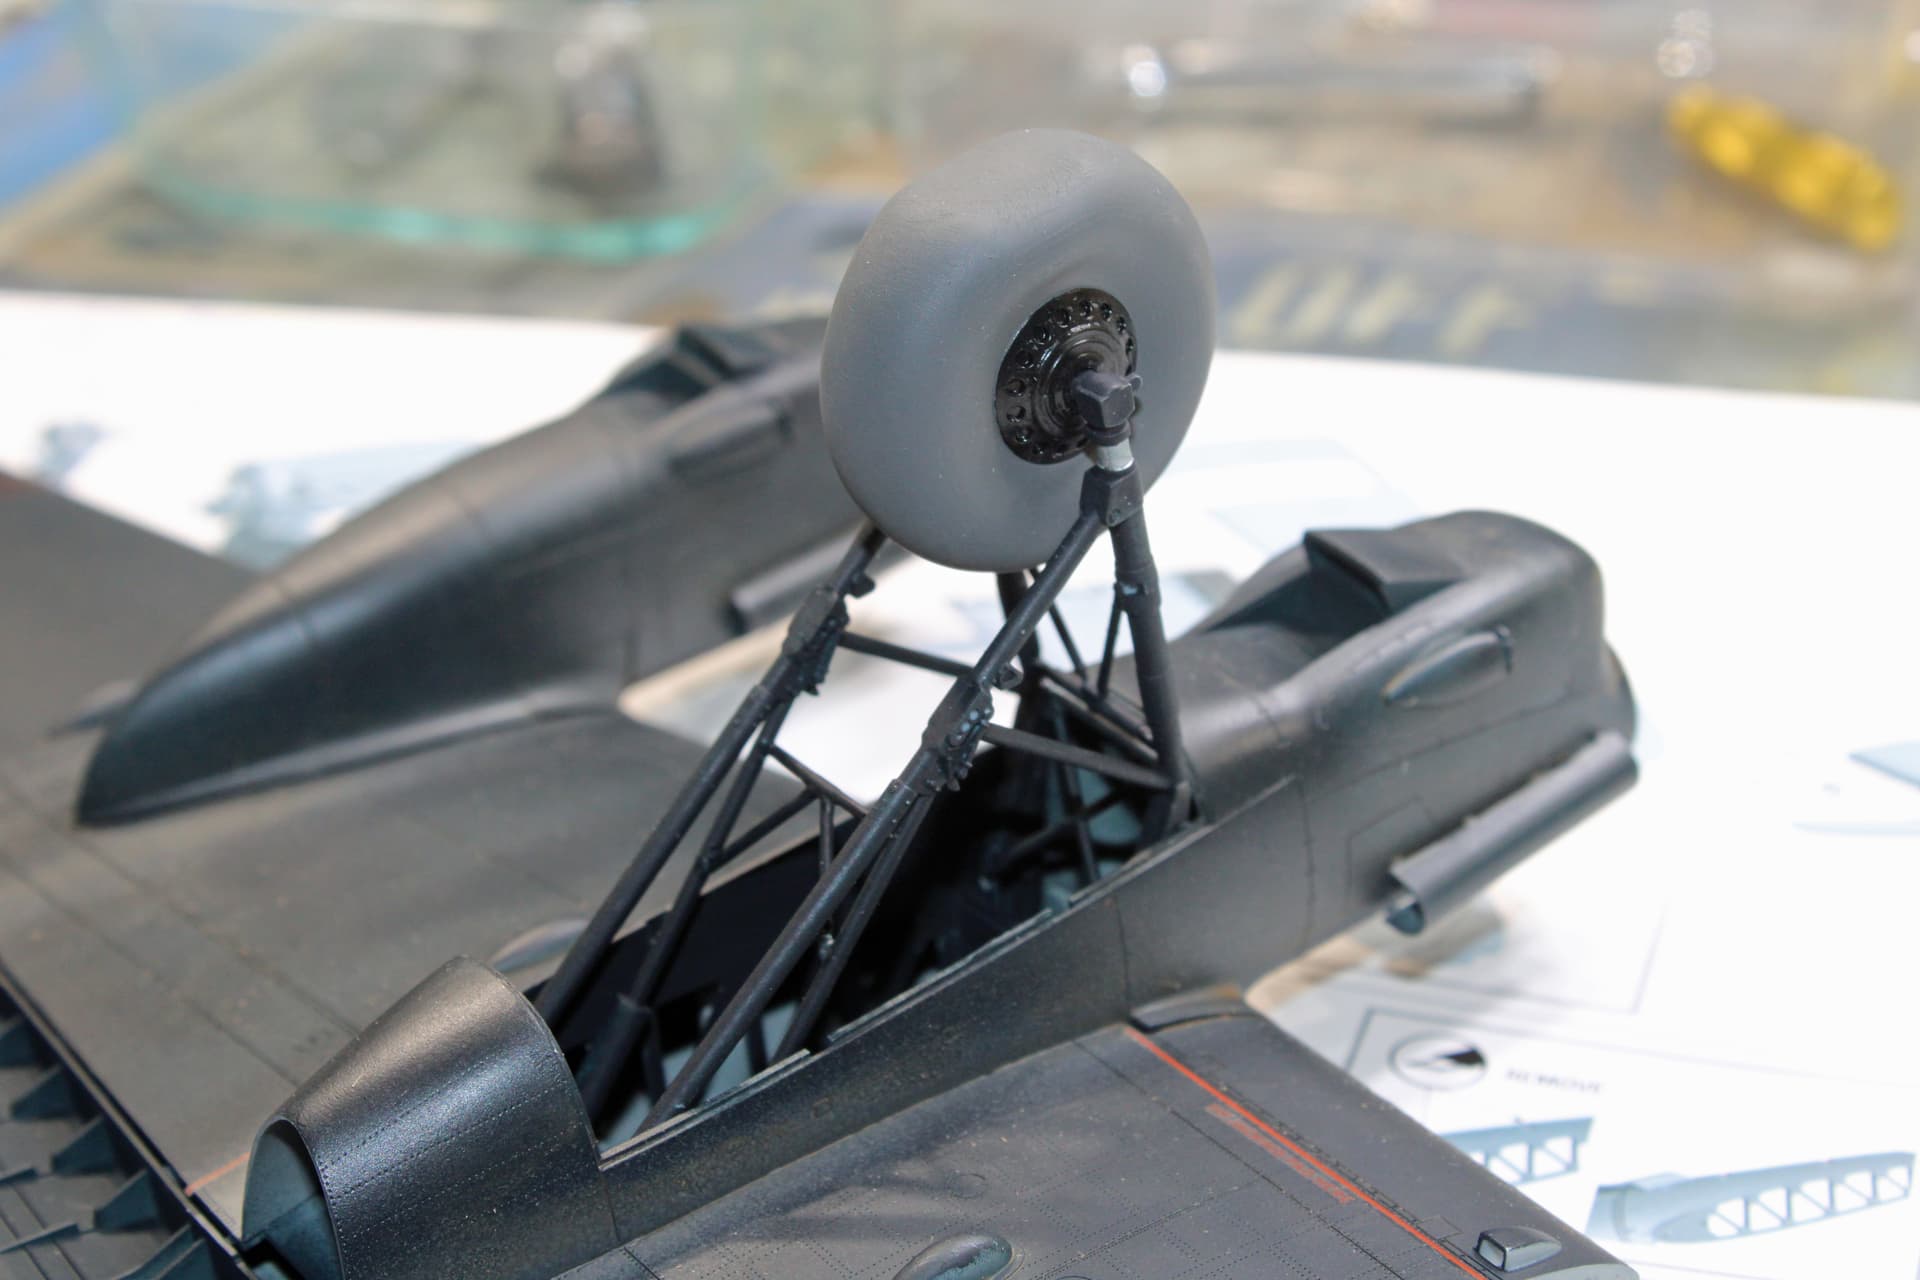
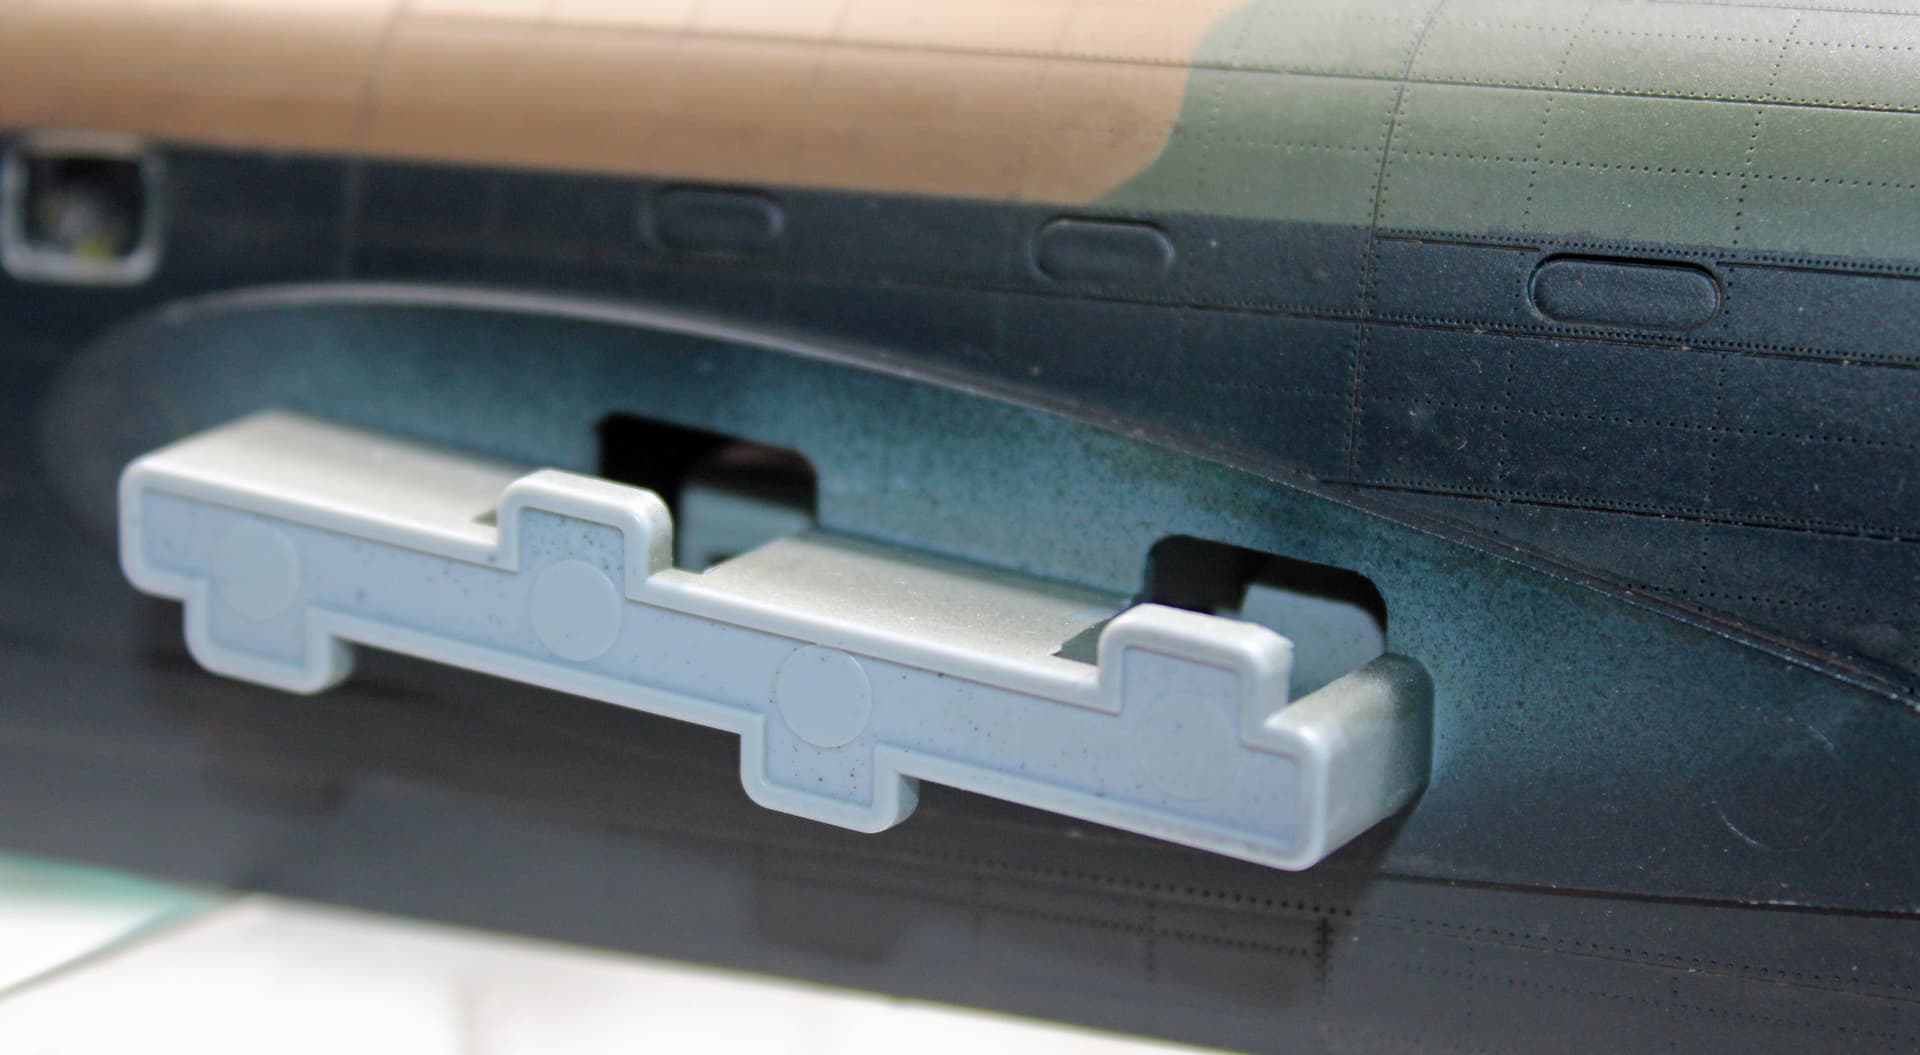
As I am so close, I am comfortable in proclaiming this kit a winner. It’s not perfect, however. I previously noted fit issues with the “solo” fuselage windows. Another problem with the kit is the instruction book. My biggest complaint is that some parts are depicted in the instructions as to where they go, but it is not necessarily clear how the part actually fits or aligns vis-a-vis other parts. Case in point - this morning I put together the complicated main landing gear. It goes together beautifully, but there are two parts that I believe are gear door actuators but it is unclear how to align them correctly. I’ll have to spend some time later dry fitting those parts to determine how they will actually meet the gear doors.
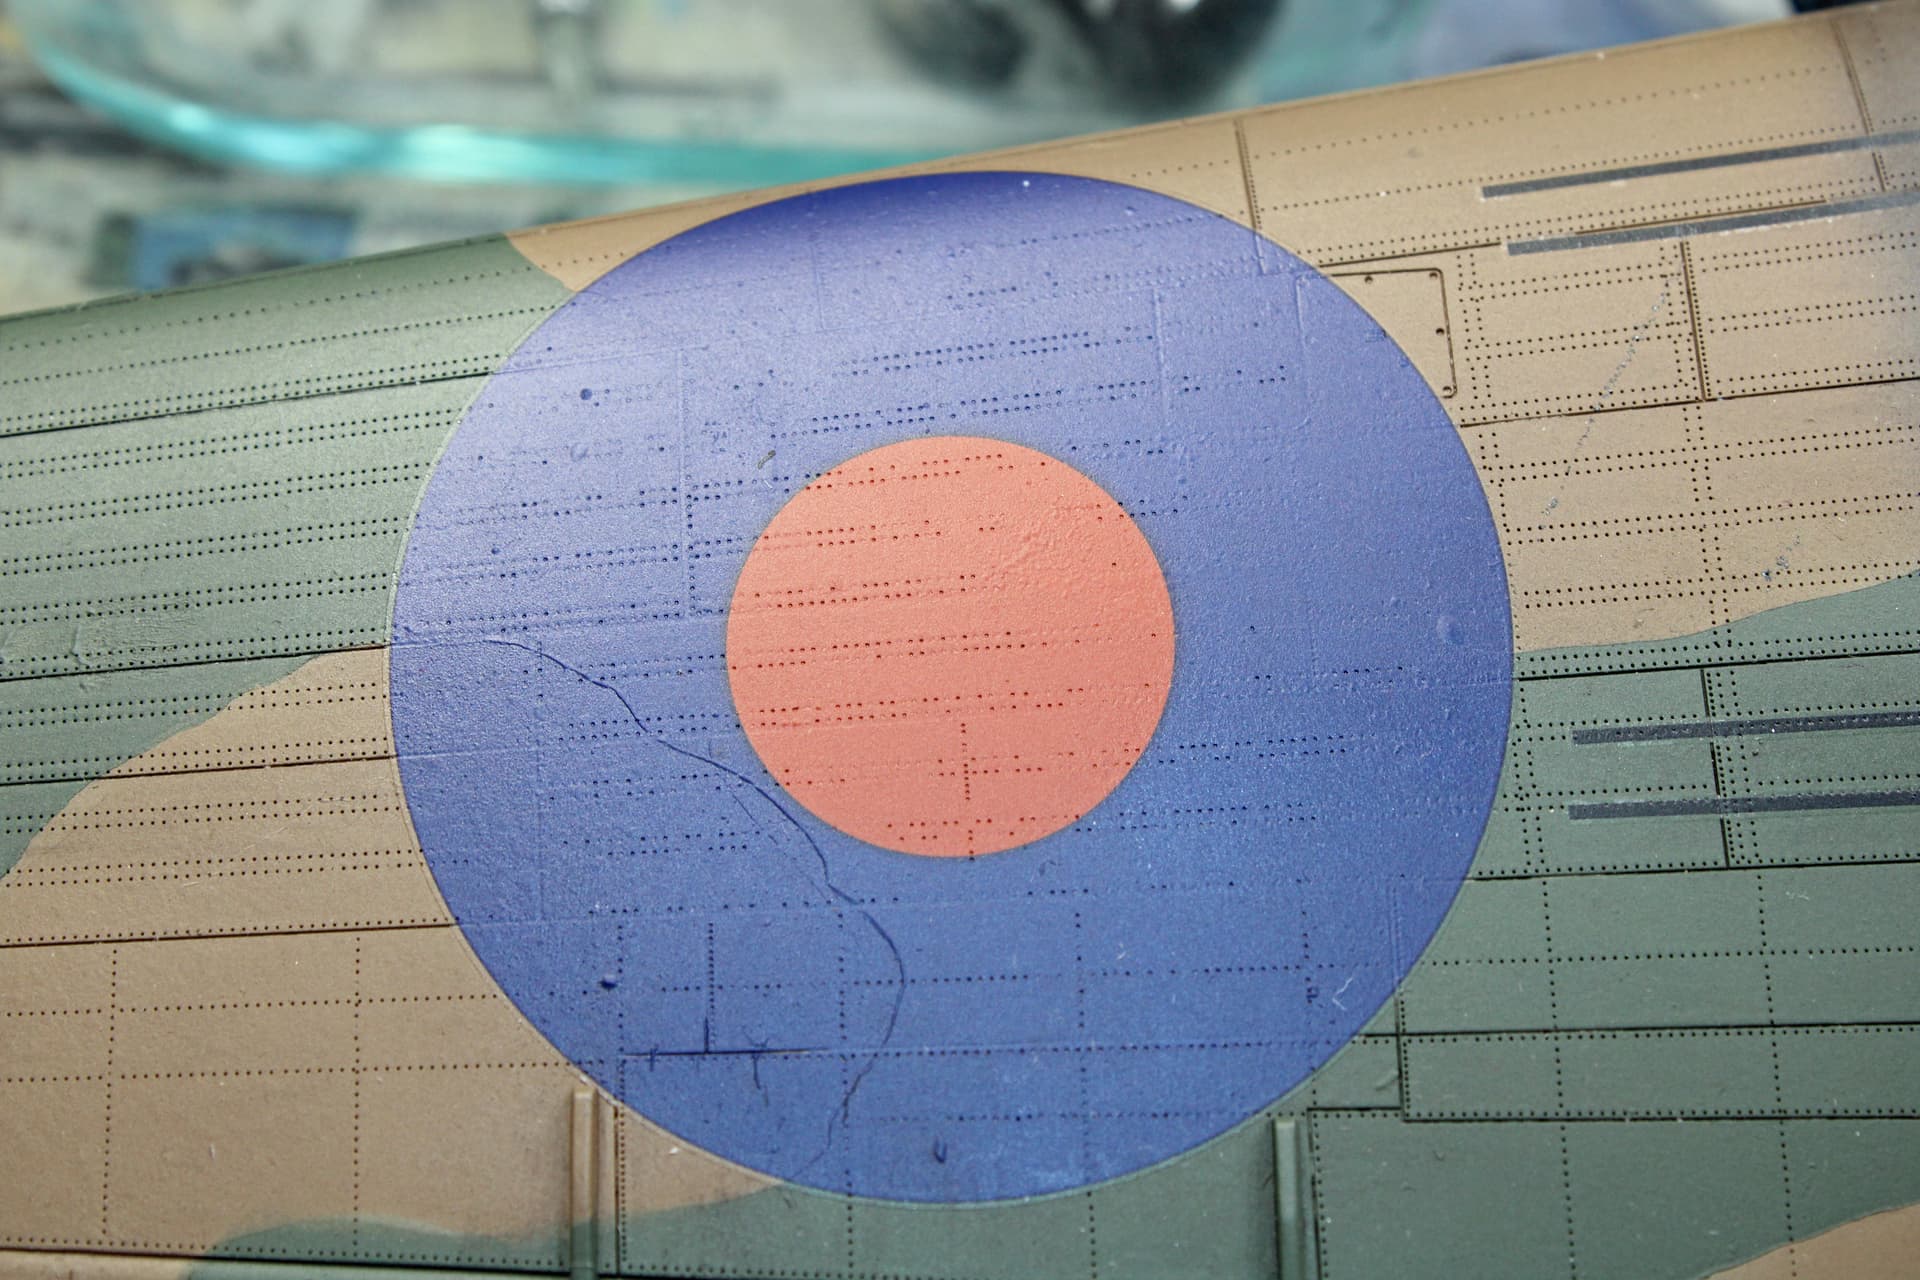
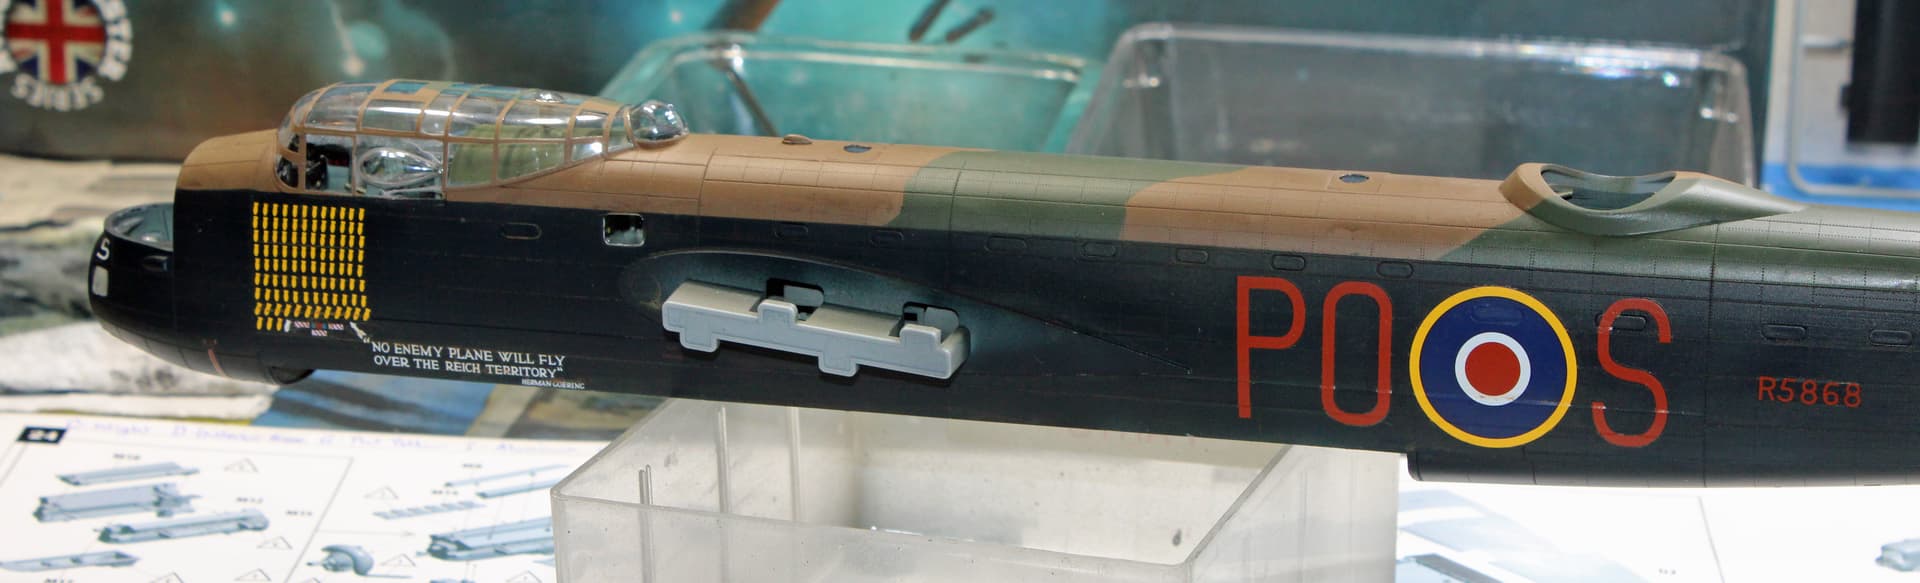
95% of this kit fits wonderfully. It is a highly detailed kit, but a lot of that detail is never going to be seen, buried in the fuselage as it is. And to my recollection, I don’t believe I’ve ever encountered a decal sheet that performs this great. The decals look correct and in register, and they go down smoothly and react well to setting solution. But again, the instructions are not real clear as to exactly where some of the wing walk lines actually go.
I used AK’s rubber black, but unless I’m color blind, that looks more like a grey. It certainly does not look that grey in the bottle. I’ll probably do some weathering on the tires with black or dark grey pastels to darken up the tires.
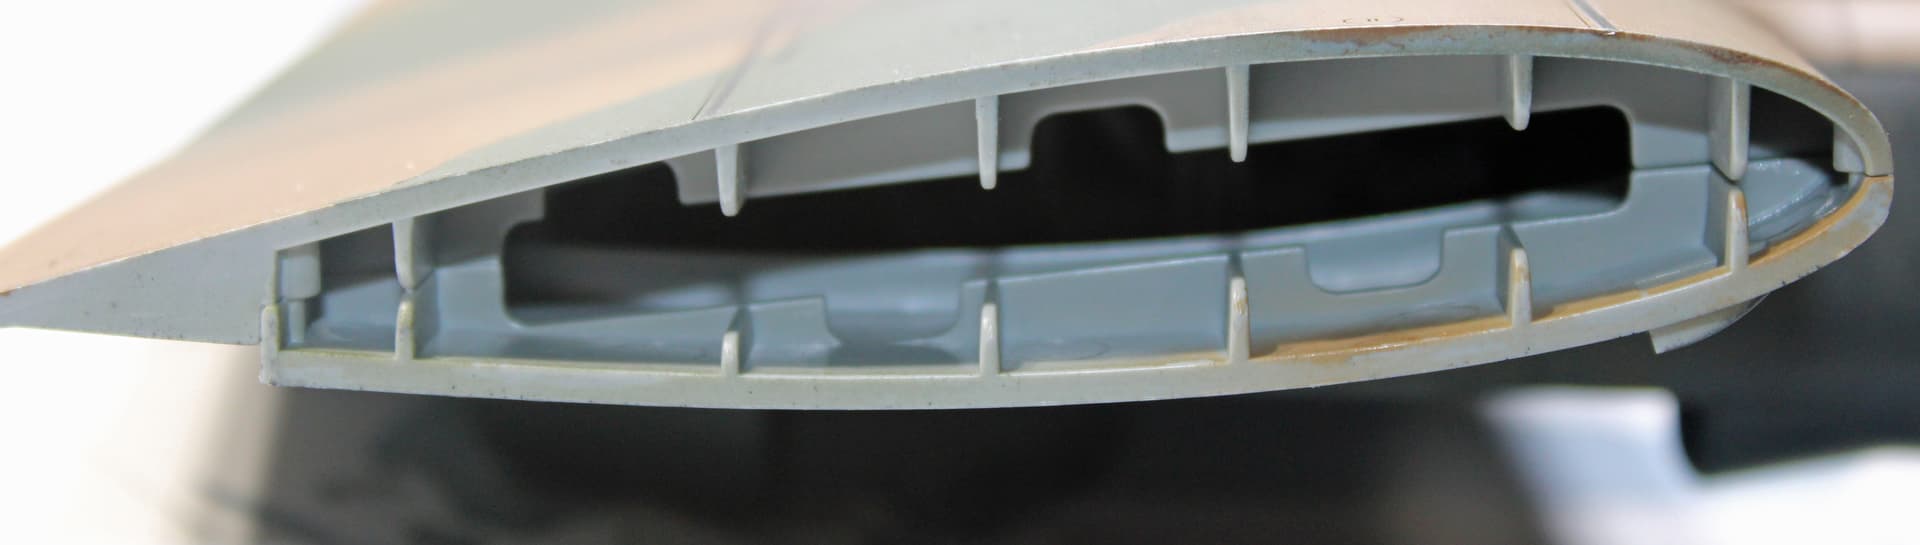
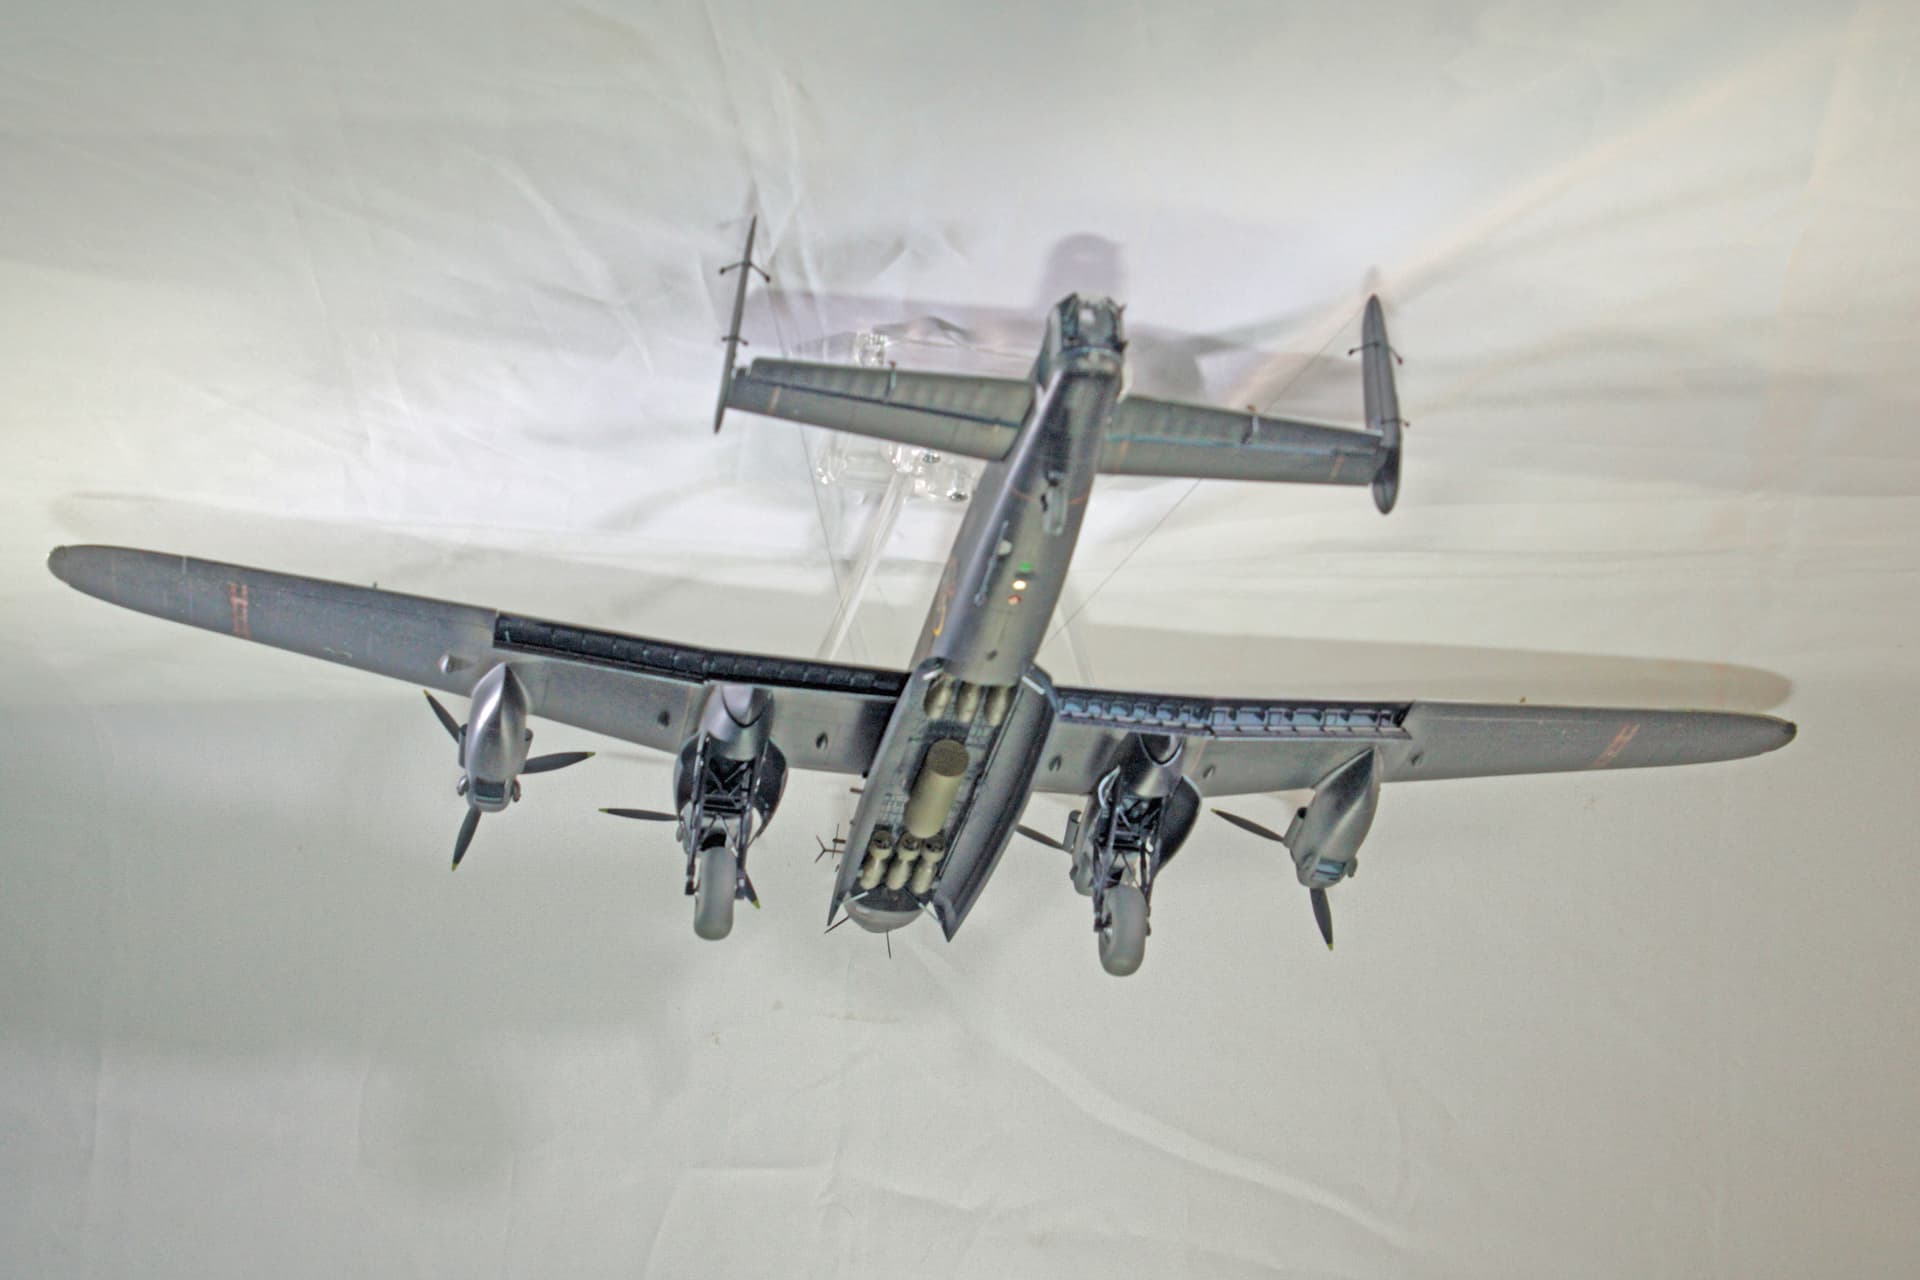
When I opened the box to inspect all the parts, I took note of the wing attachments. I have test fit the wings to the fuselage. It is a slide-and-lock attachment that will require no glue or filler. This made painting this beast a much simpler task. My plan is to assemble everything on the wings, including props and gear doors, and then to install all the ordinance and bomb bay doors as well as antennas and other fragile parts to the fuselage, then attach these wings.
All looks great, Aggieman! It looks like it’s about ready for final fit and assembly. Super neat wing attachment design – you could pop them off for transport to a show, for example.
Just out of curiosity, did you consider using your Silhouette cutter to make masks for the roundels or other markings? I just got my cutter and have been experimenting a bit. The possibilities seem endless at this time. Clearly the decals laid down nicely for you in any case – love seeing them suck down into rivets like that.
I actually made an attempt at it. Spent several hours doing everything - then put in a Tamiya masking sheet and set it to cut. What I got was far out of scale even though I will swear that I accounted for the scale. I never did make a second attempt at it.
I don’t actually feel any rush to get properly set up to use the Silhouette to produce marking masks for any particular build, but I do need to keep working at it until I figure out the proper procedures to ensure the scale is accurate. Otherwise I’ll have just thrown that money out the proverbial window.
Don’t beat yourself up over that - It’s amazing how much correction is required to represent a sloping or curved surface, even if everything looks planimetrically correct
I feel like getting it right at home would require a 3D scan and software to “unwrap the skin” or other terms that are of equal utility to Graphic Designers and Serial Killers…
Your finish came out beautifully with the plastic putty - I’ve been suspicious of the product as I’ve heard they can leave residues behind that affect adhesion later on, and have a tendency to droop over time - Was that consistent with your experience?
@pr154 I’ve heard that about the plastic putty as well. I discovered the stuff pretty recently, so I’ve only been using it on a handful of builds. I have yet to have any issue with left-behind residue. I have treated it like masking tape in that I ensure it only goes over primed surfaces, and I do not leave it on for hours, just long enough for the paint to dry. I have no idea if that even matters, though.
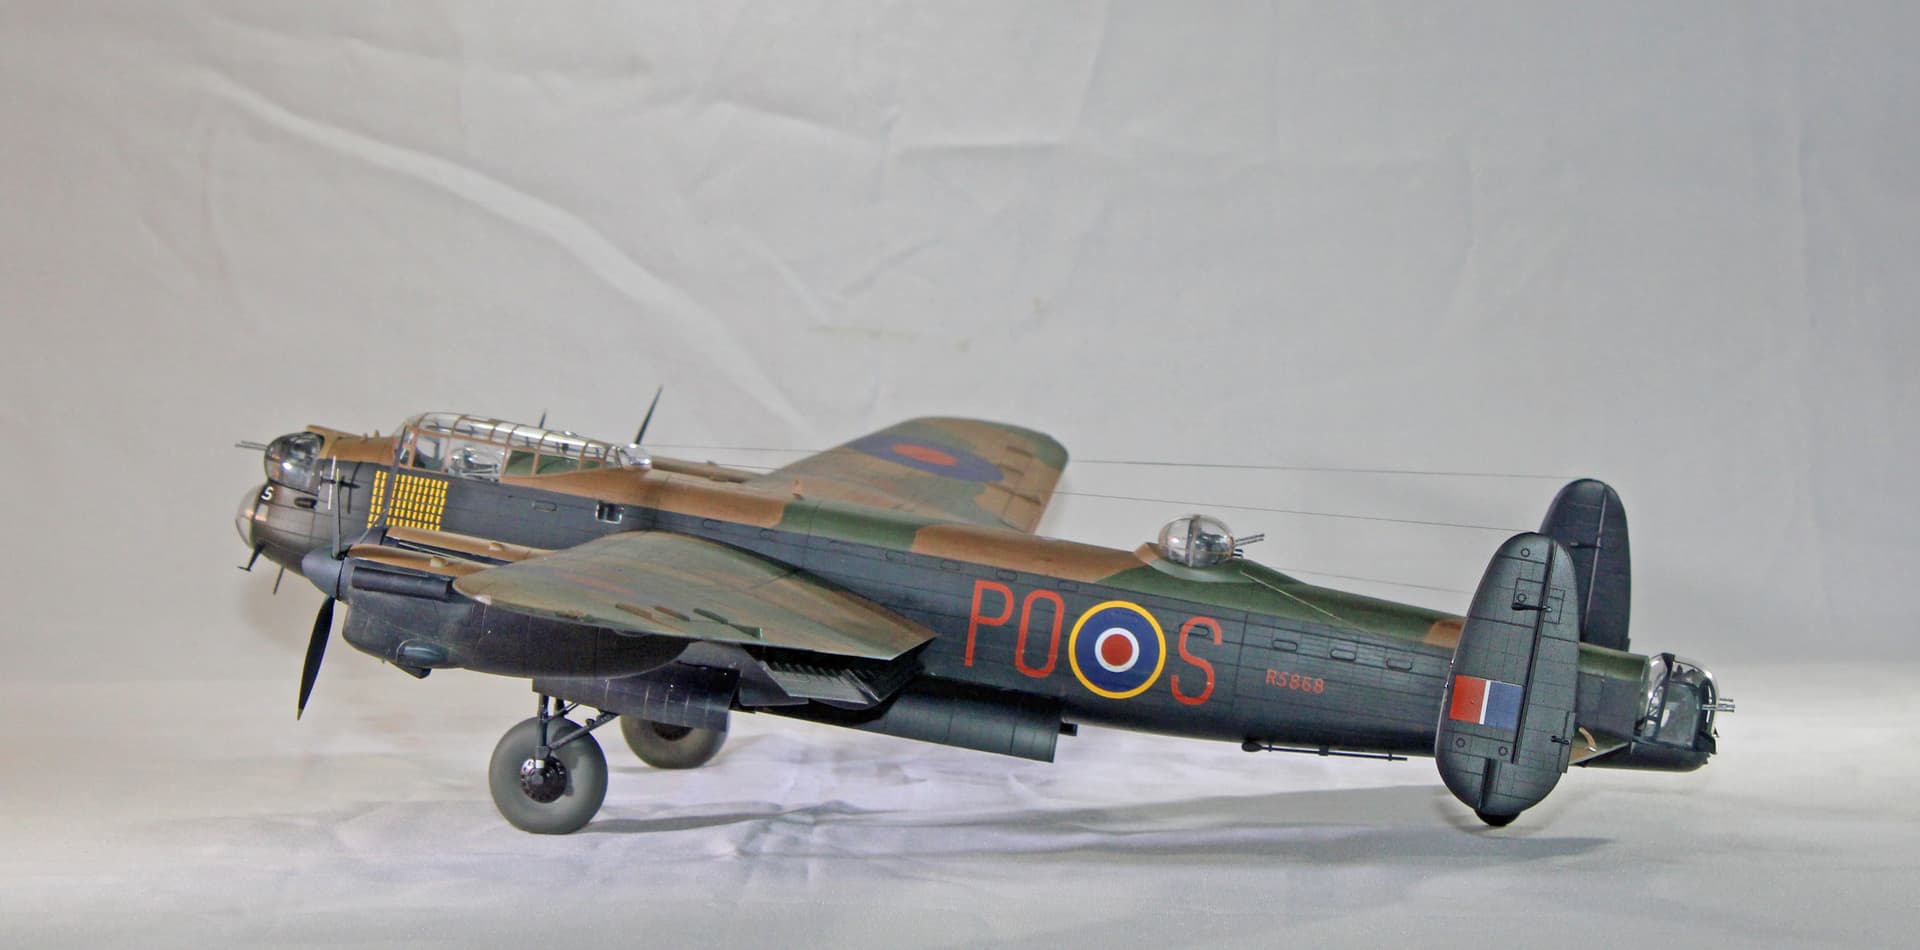
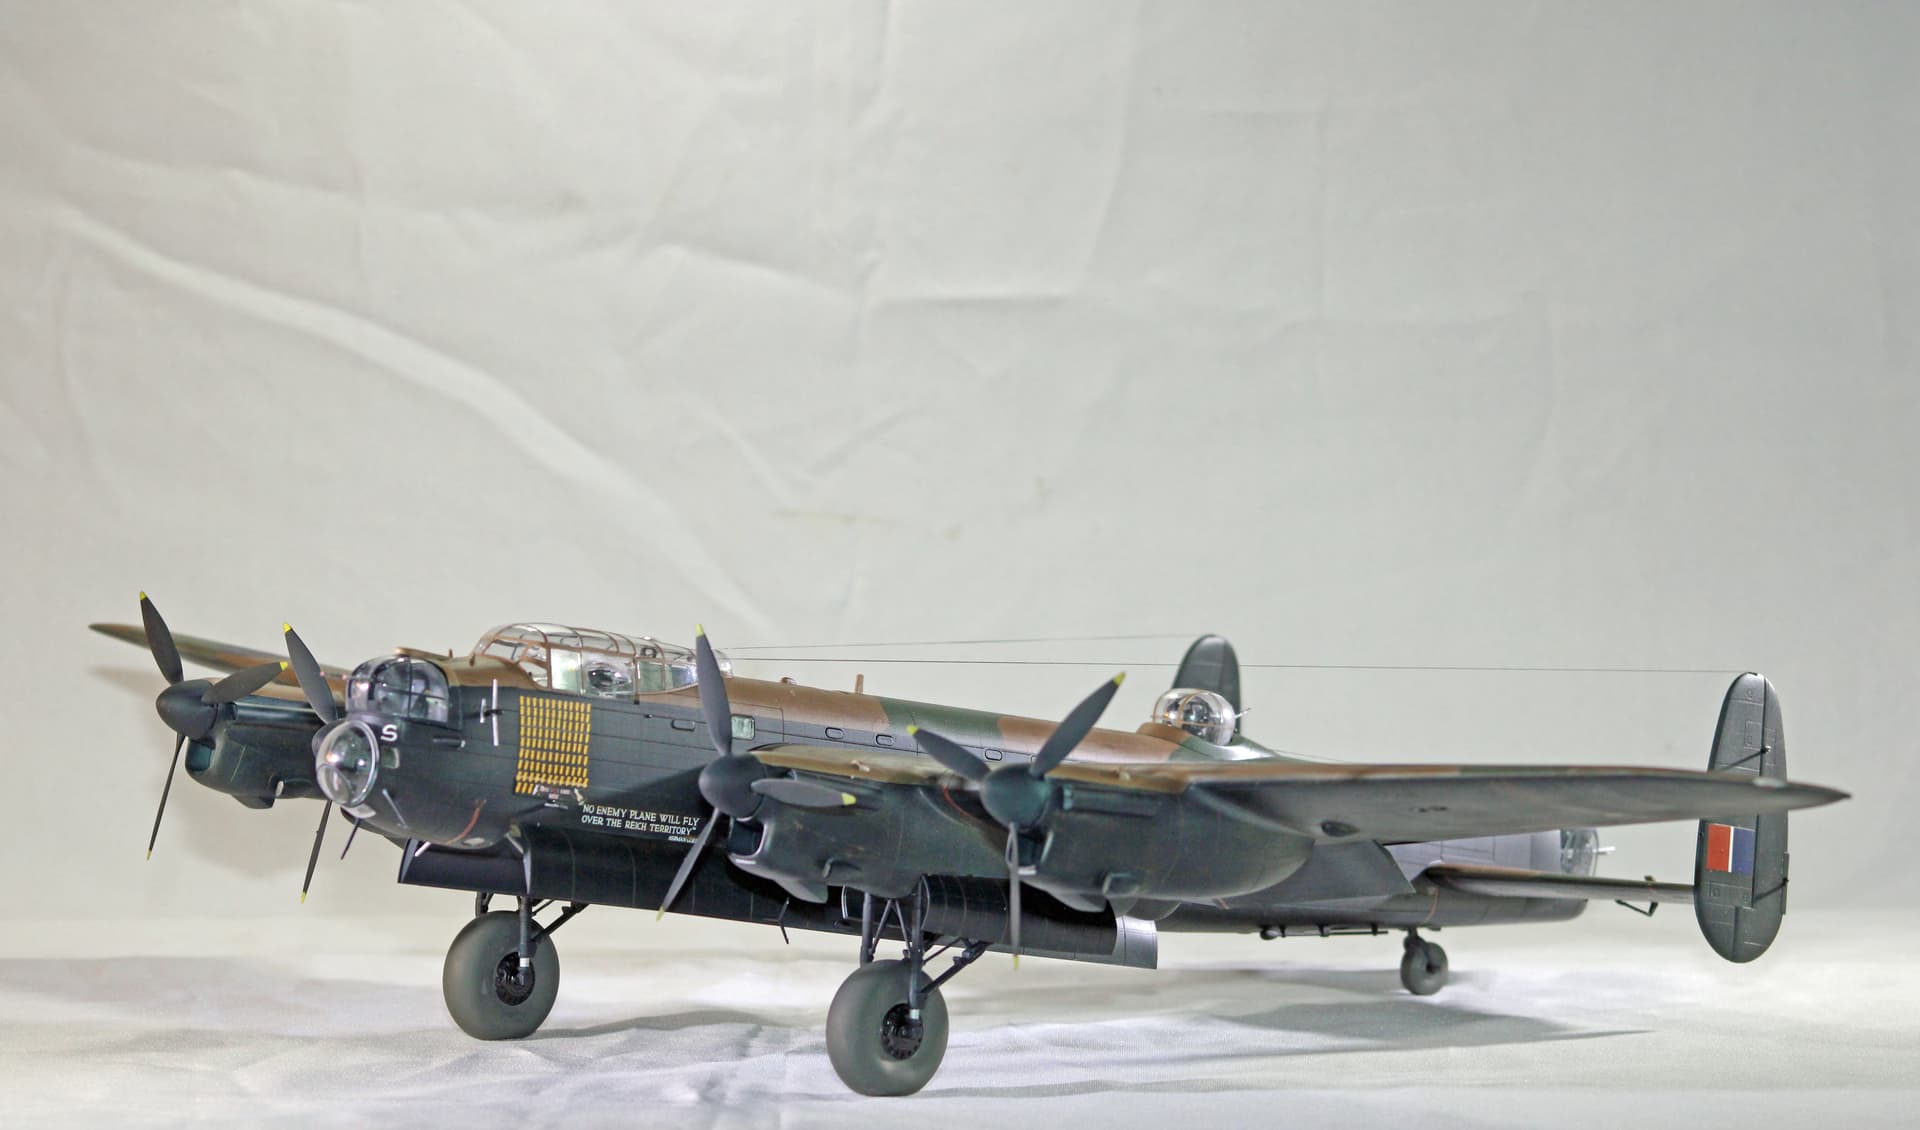
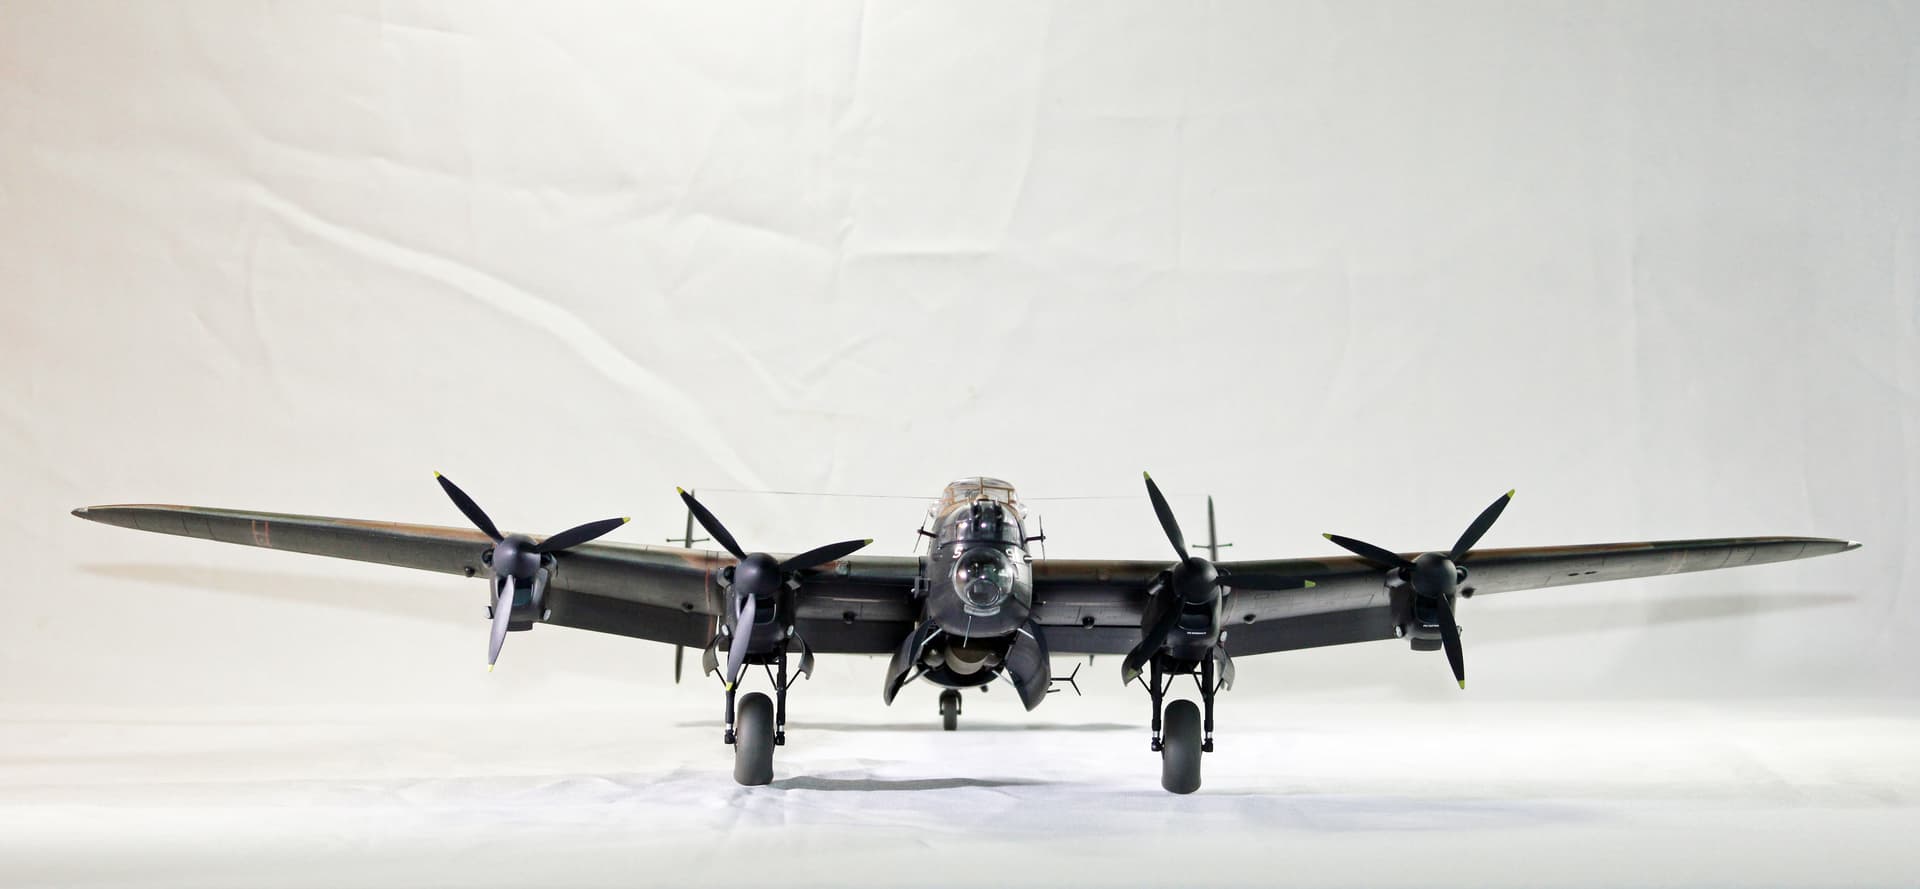
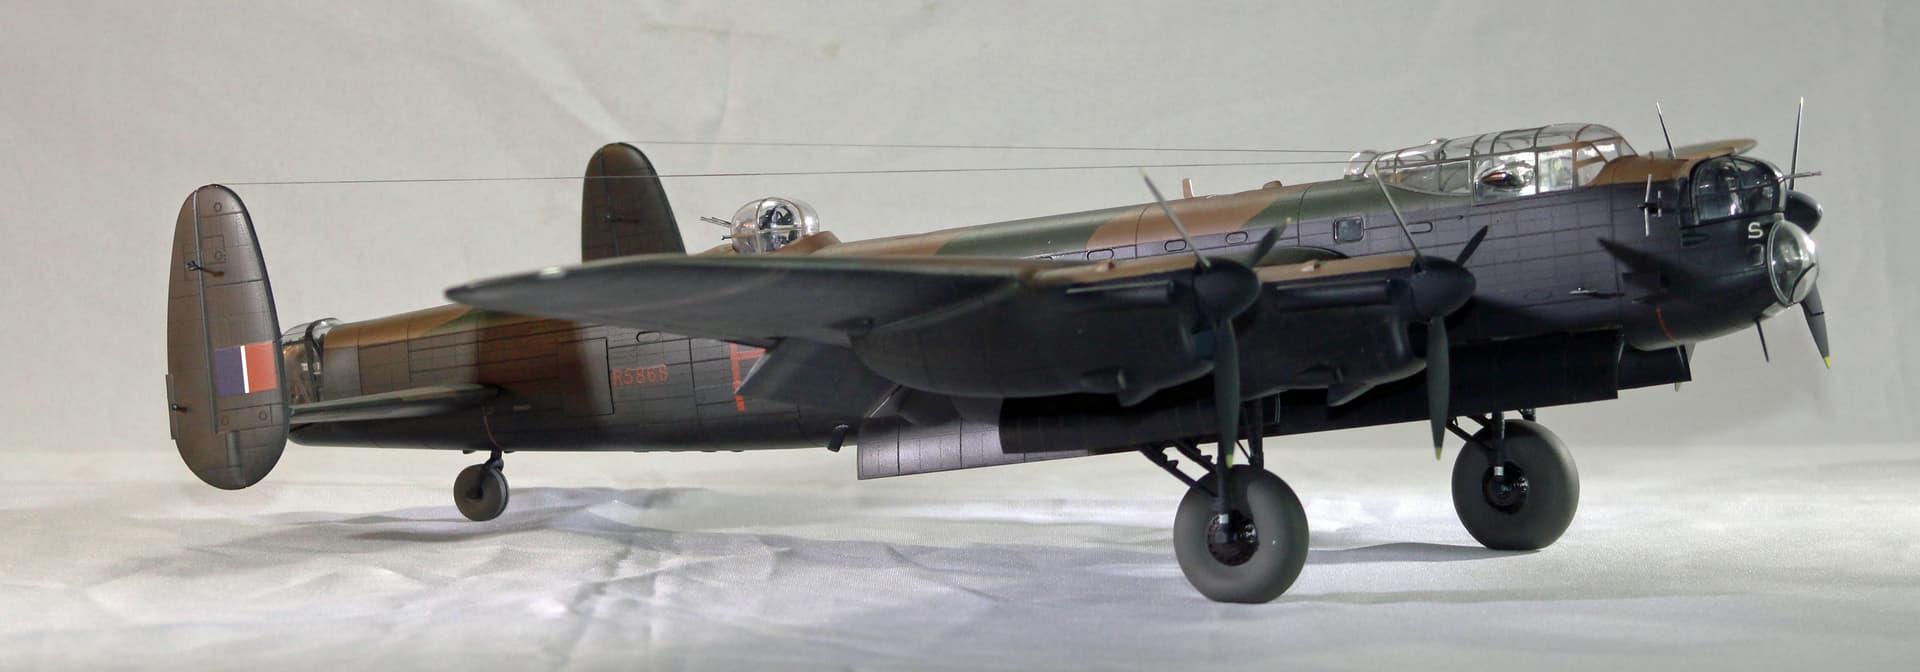
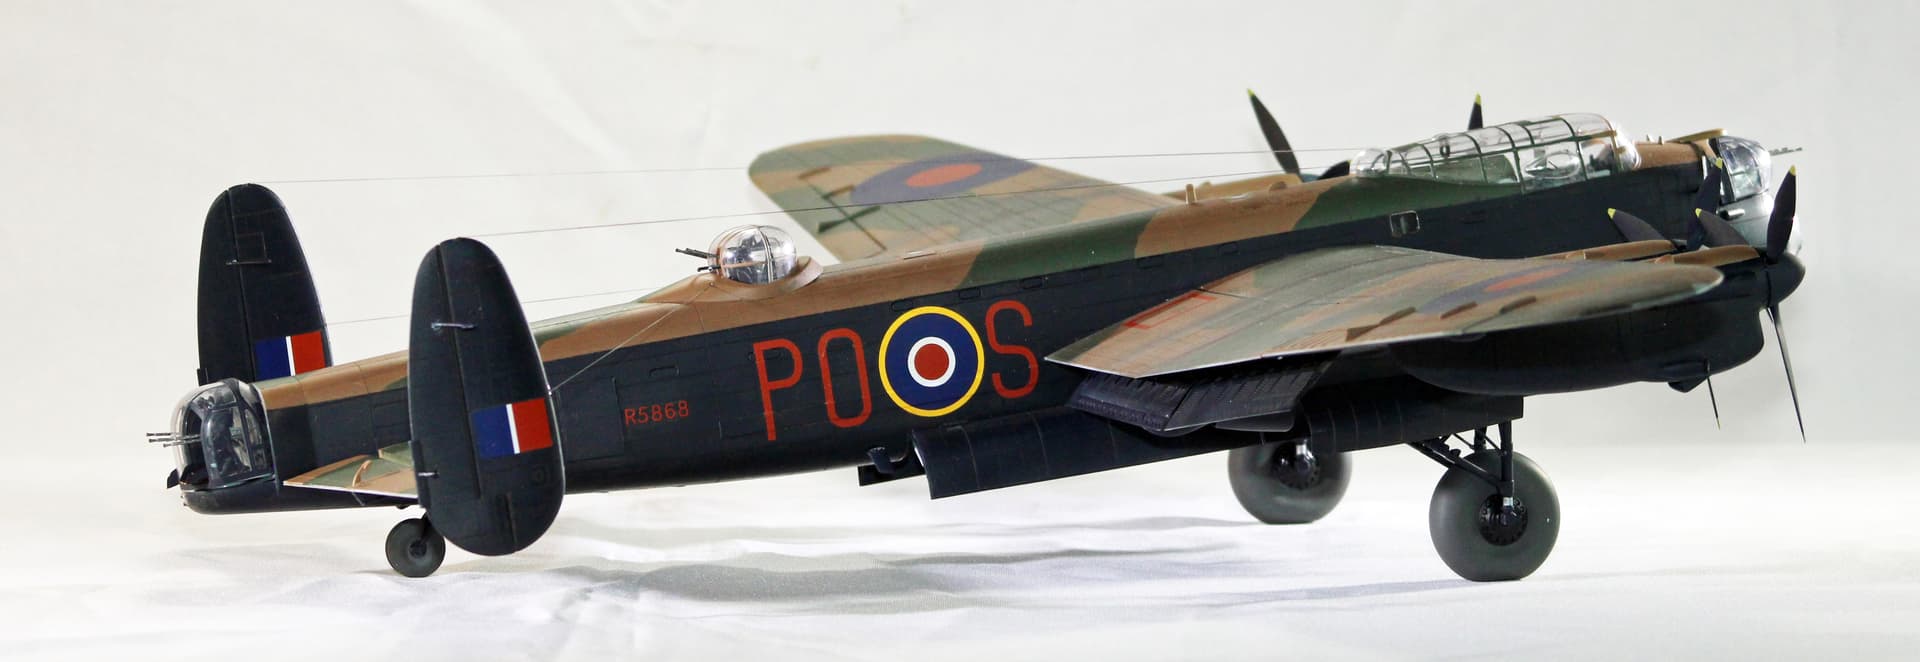
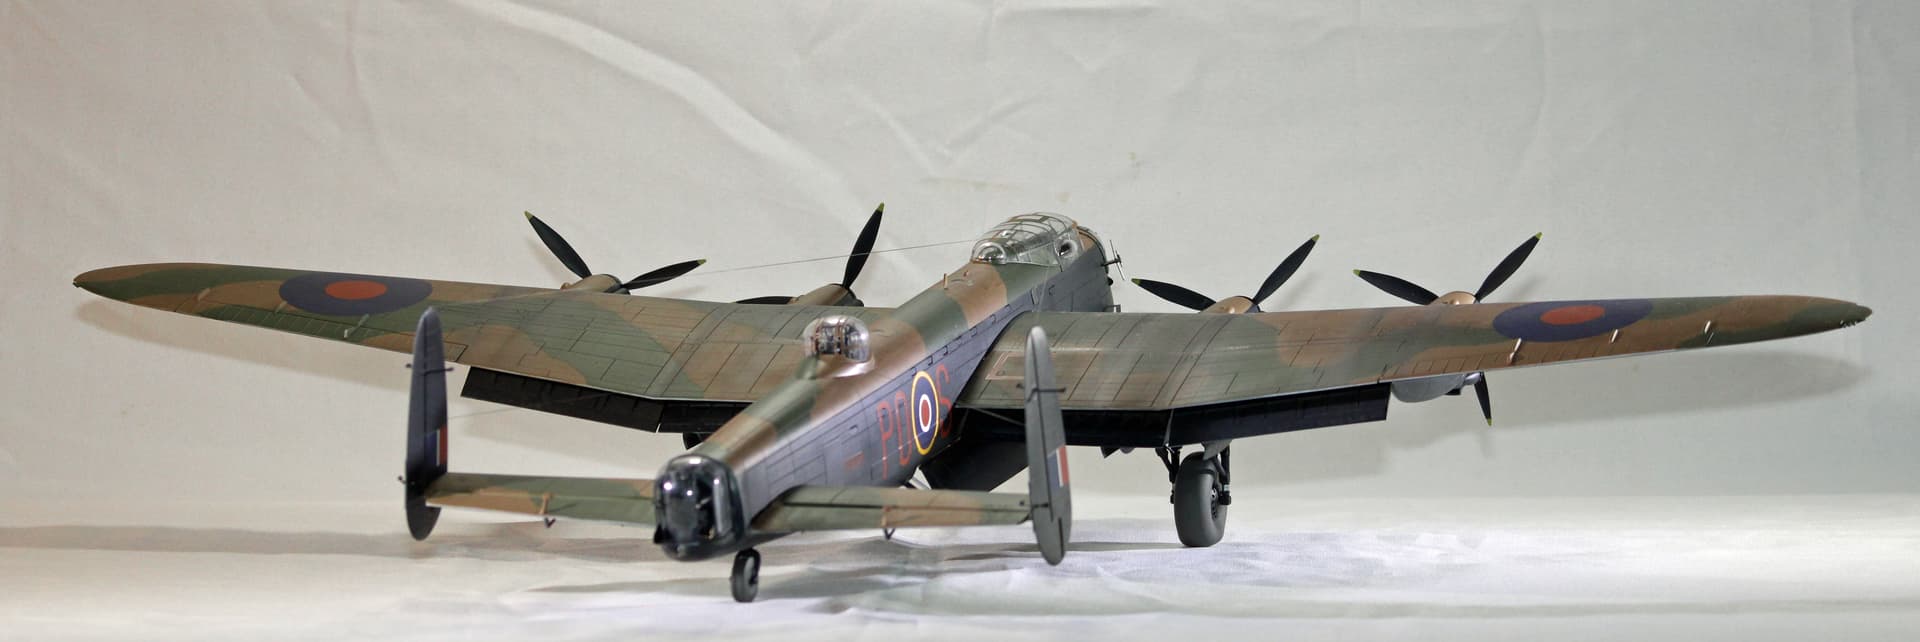
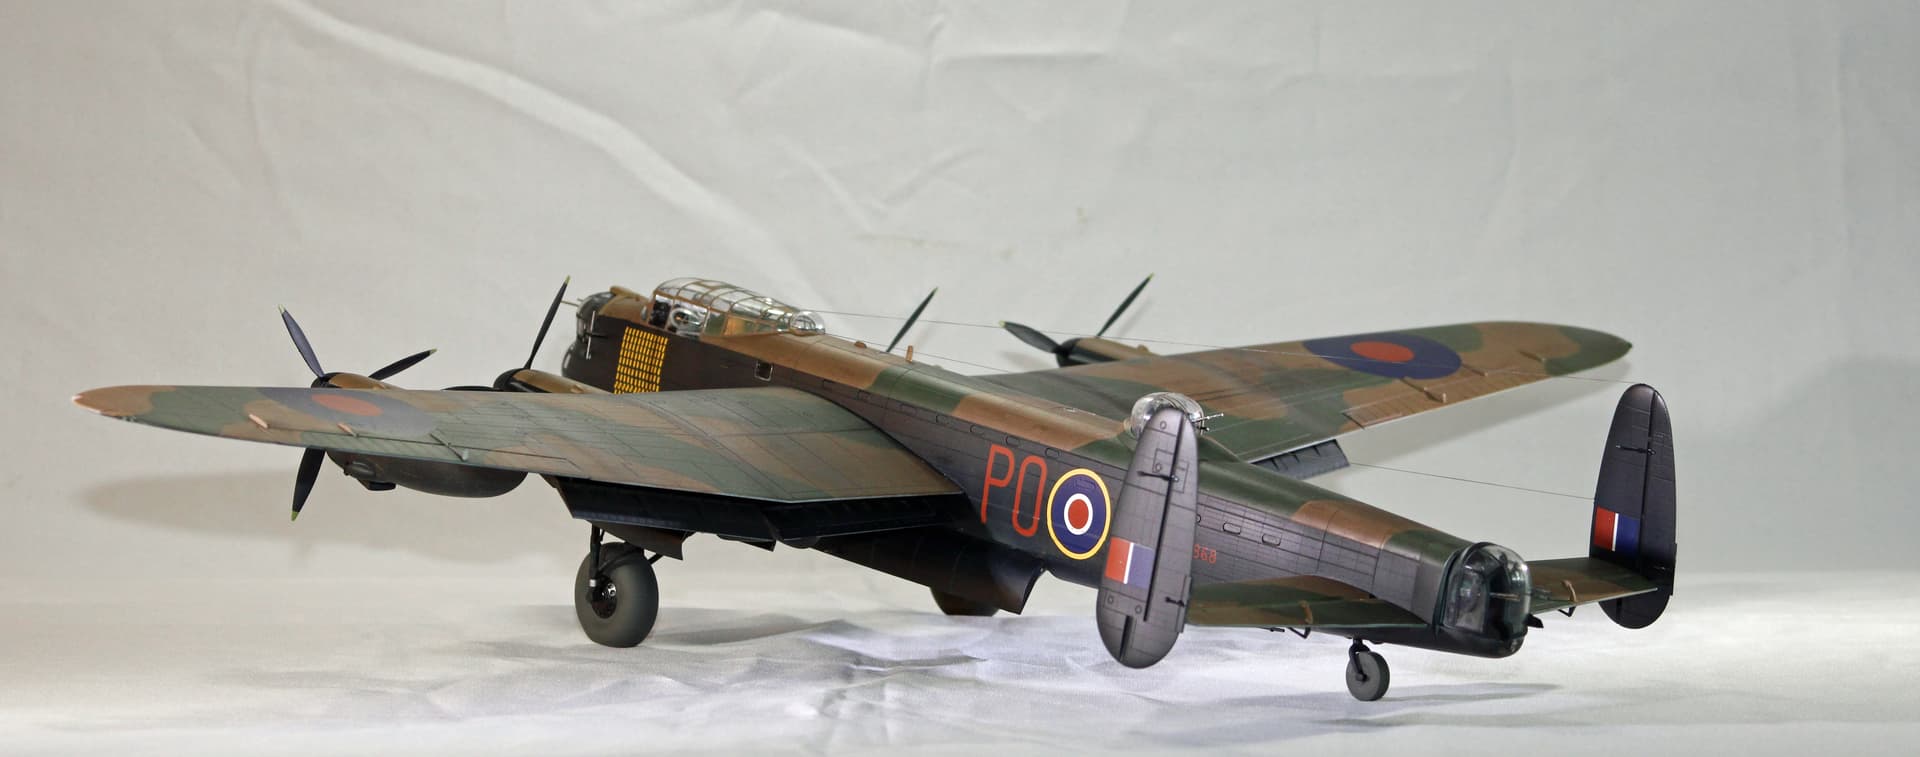
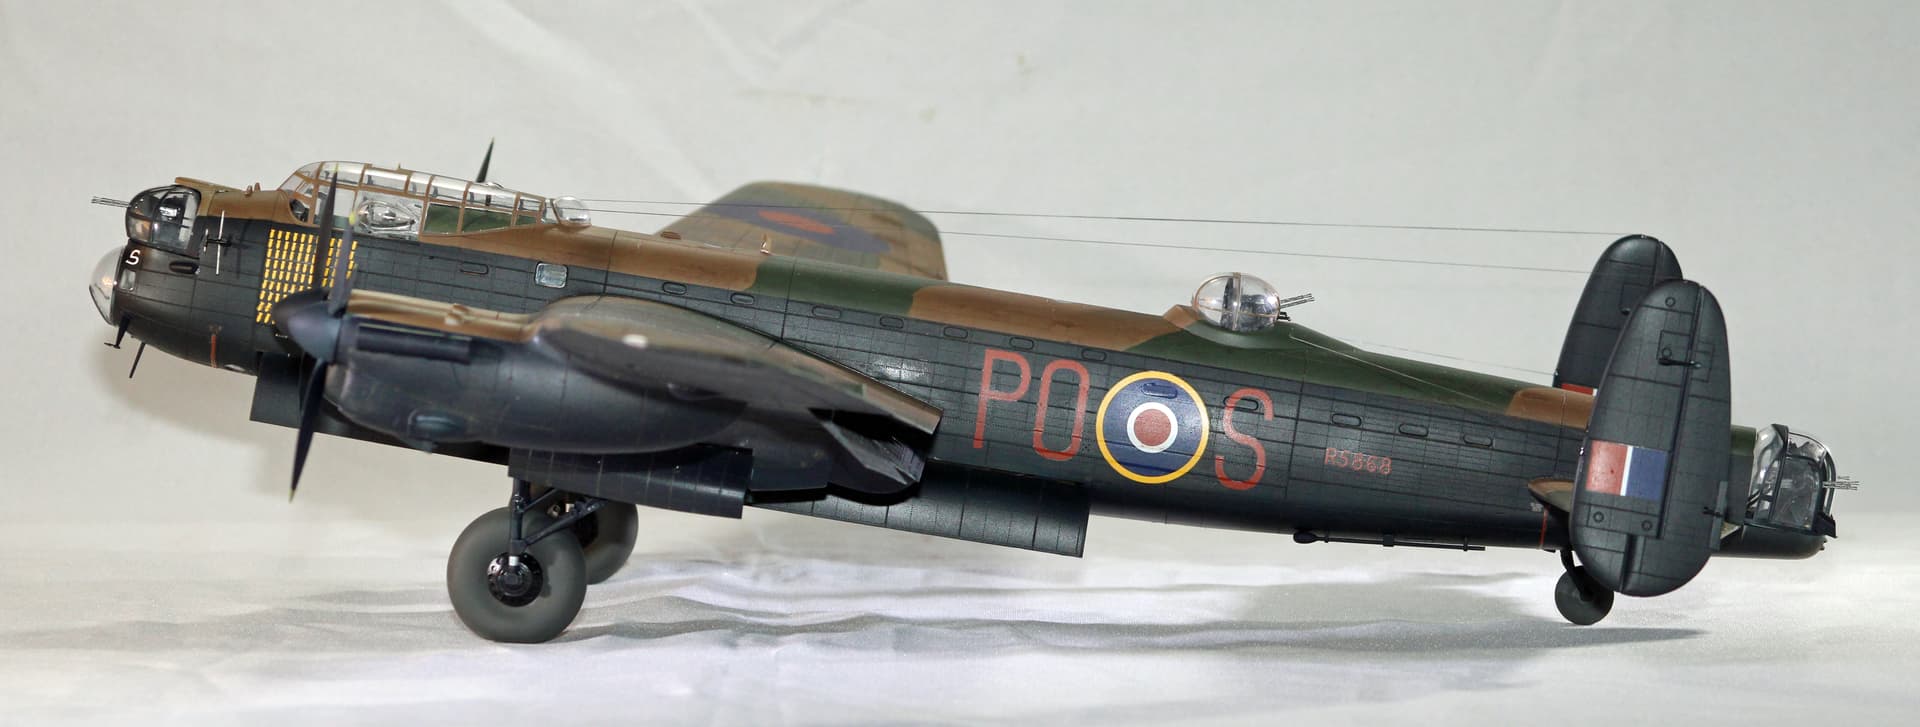
The Lancaster is done. This was an atypical build for me in that it took just short of 2 months to complete. I had several trials while building this beast, but now that it is done, I will say that I am very happy with my build and am glad that I did it. I also recommend this HK Models kit to anyone interested in building Britain’s workhorse and most famous heavy bomber (rather than the ancient Tamiya kit, which I have also built).
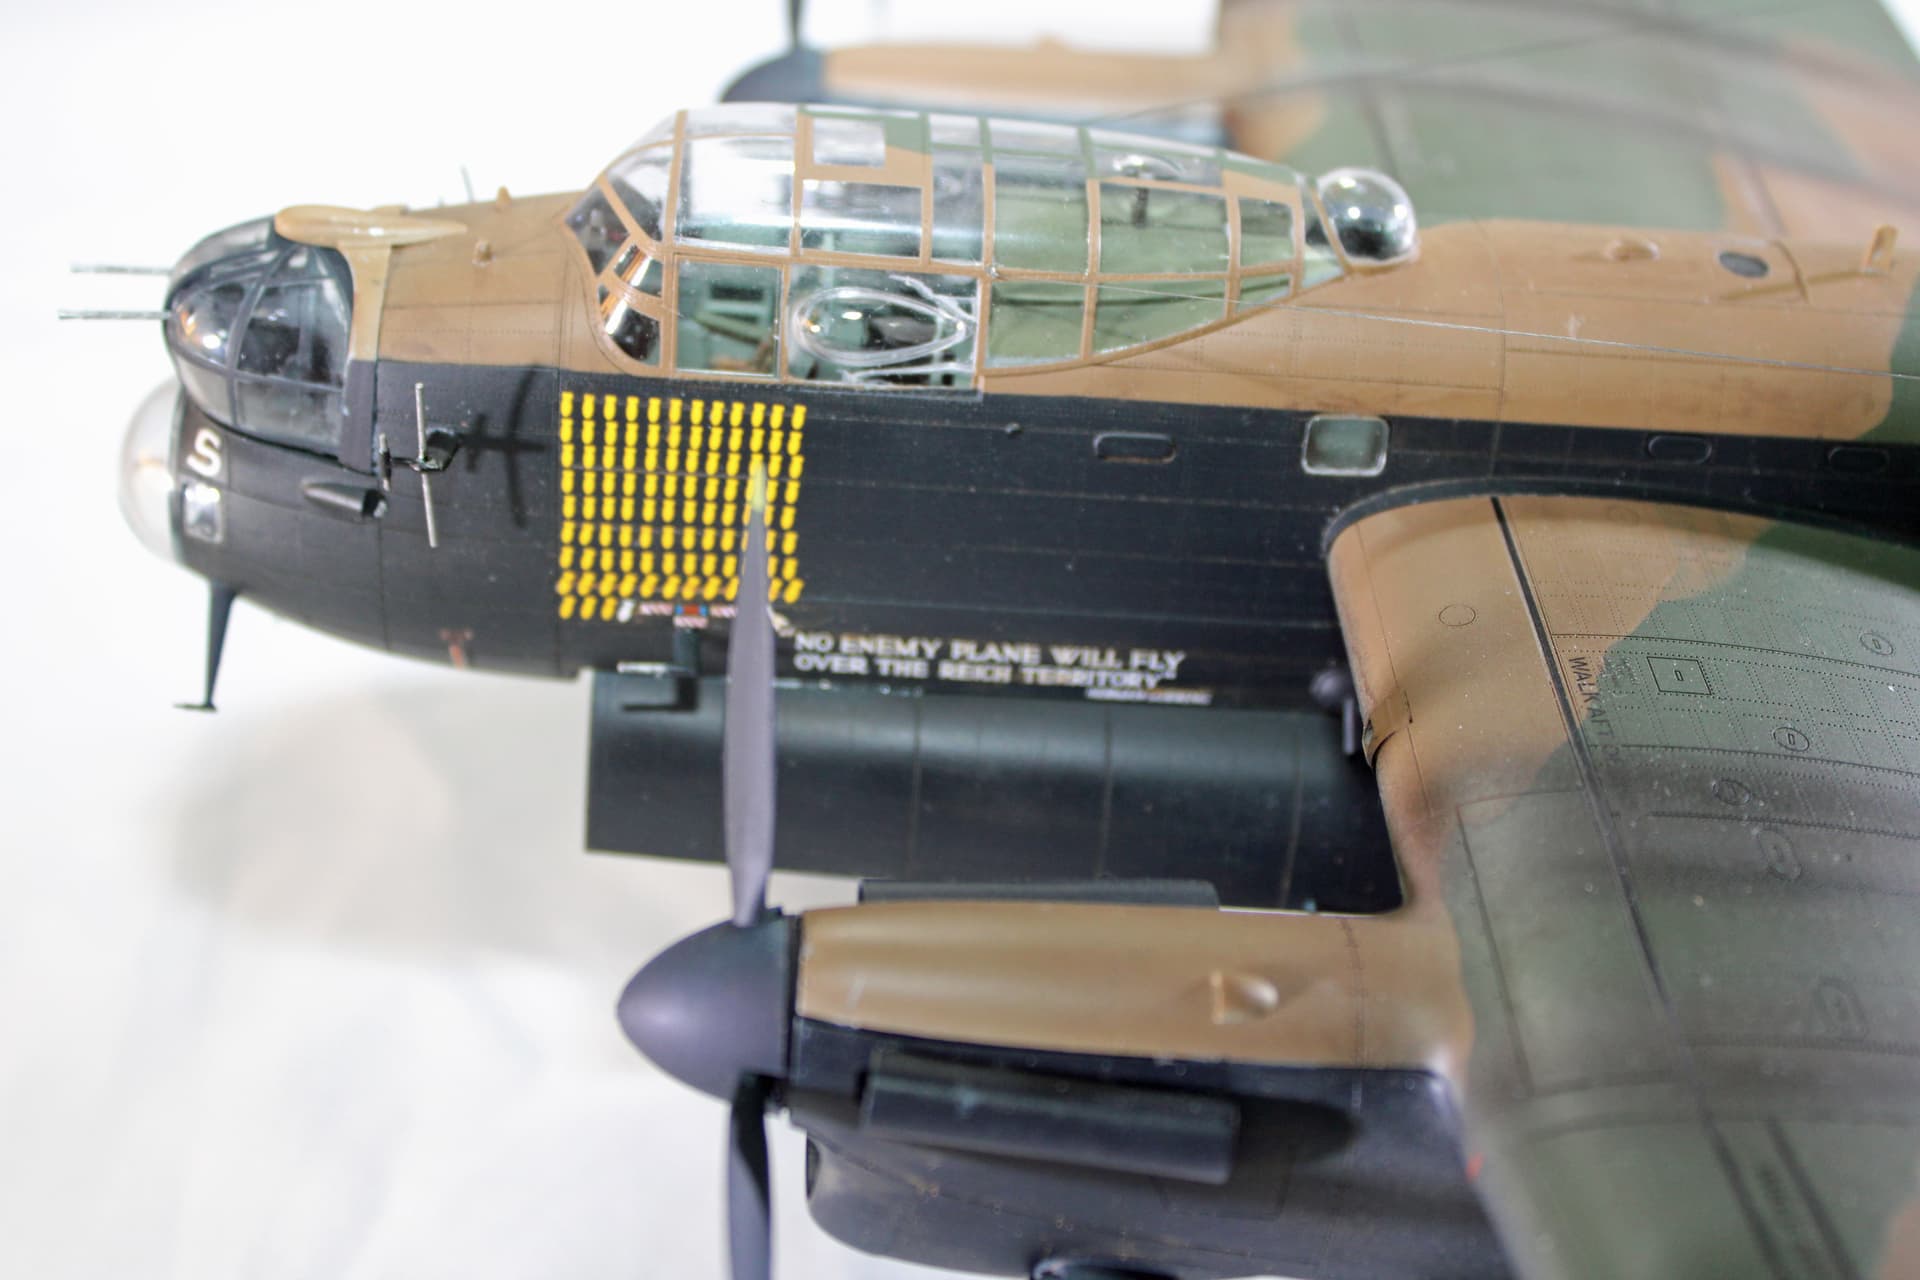
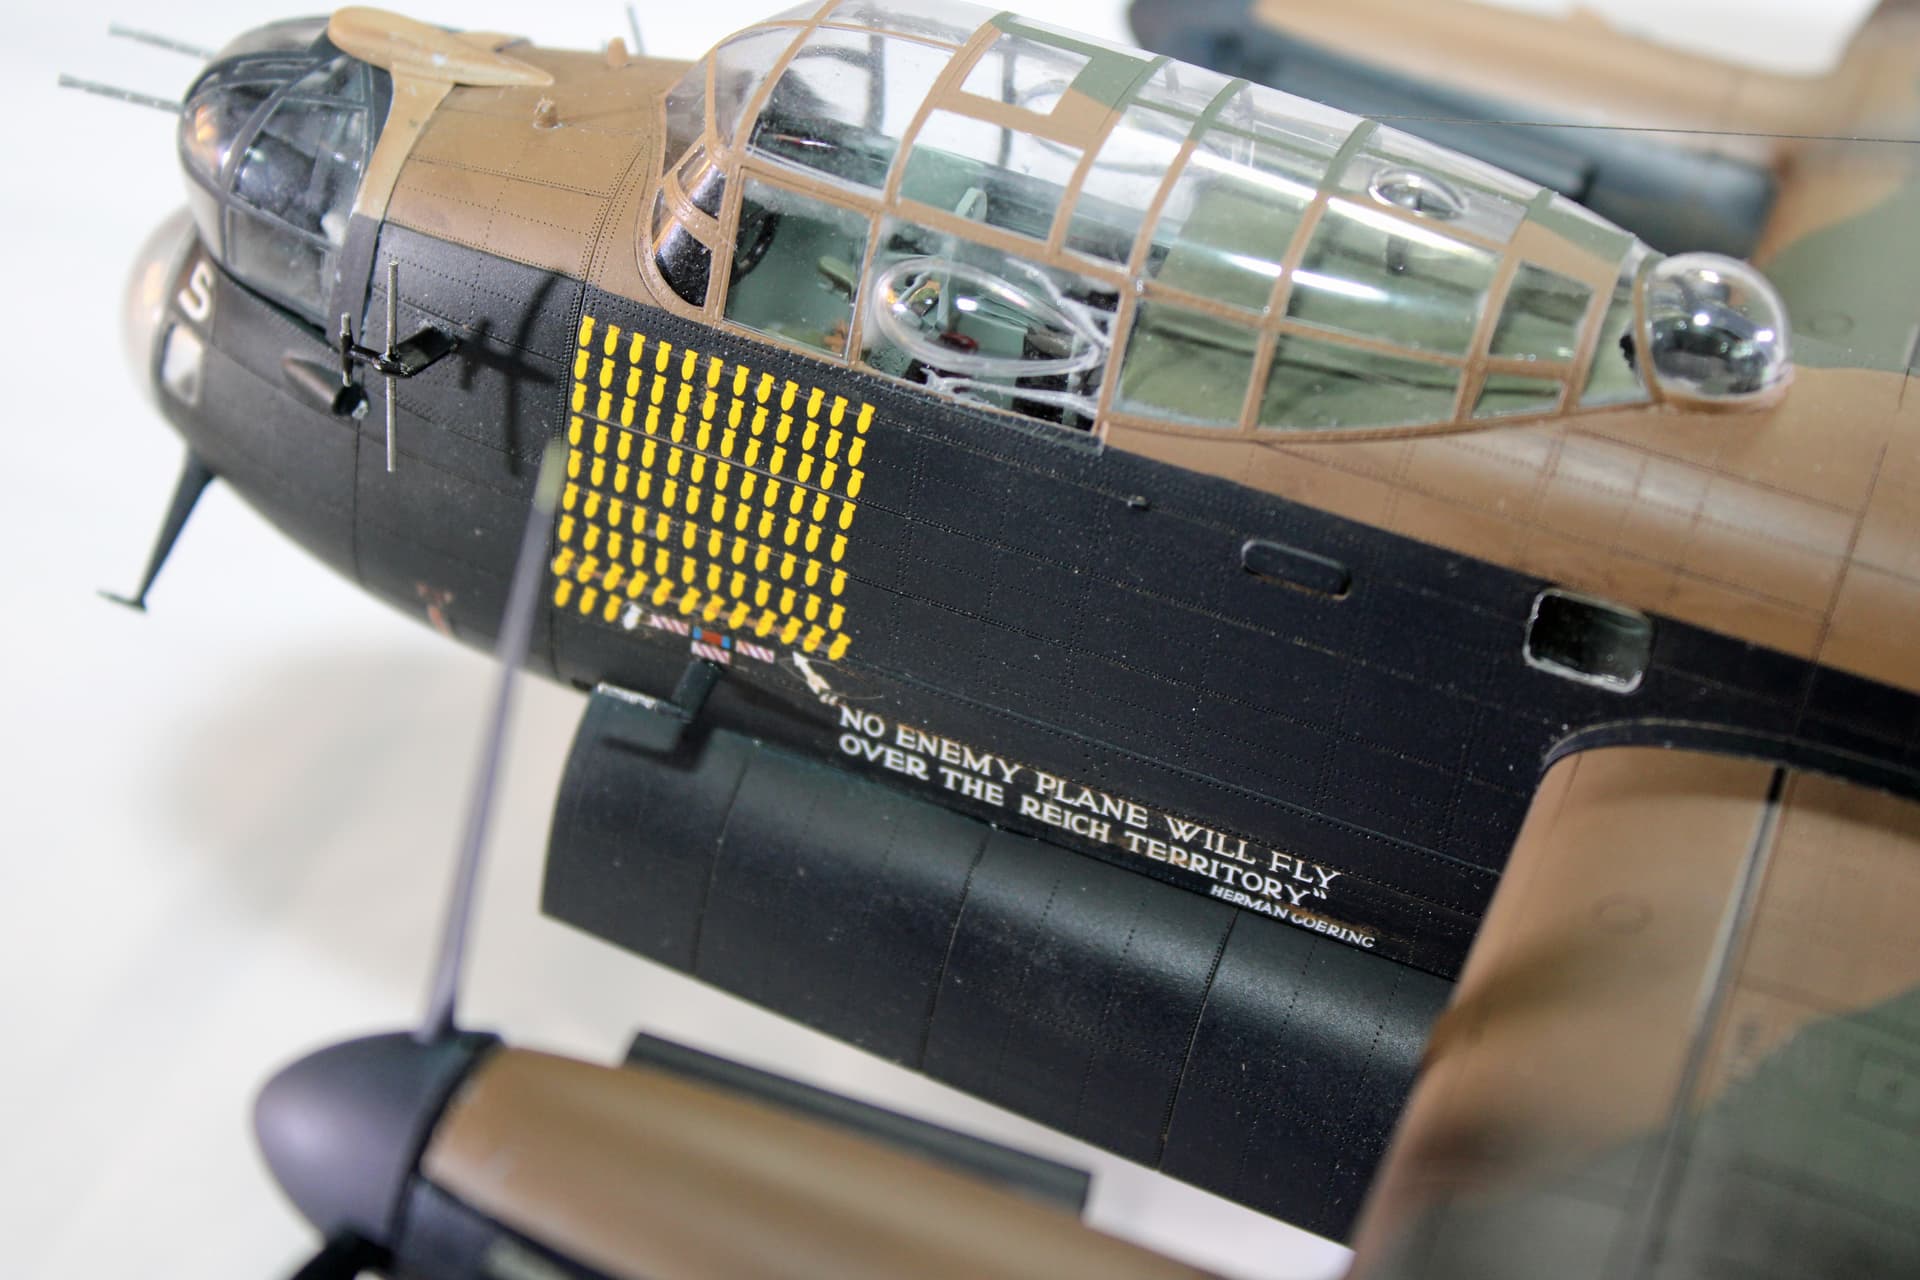
I have taken everyone on a journey to which I have nothing else to add in terms of how I arrived here on this day that Texans celebrate as San Jacinto Day, the day General Sam Houston’s army defeated General Santa Anna’s army at San Jacinto. So I will just present the photographs.
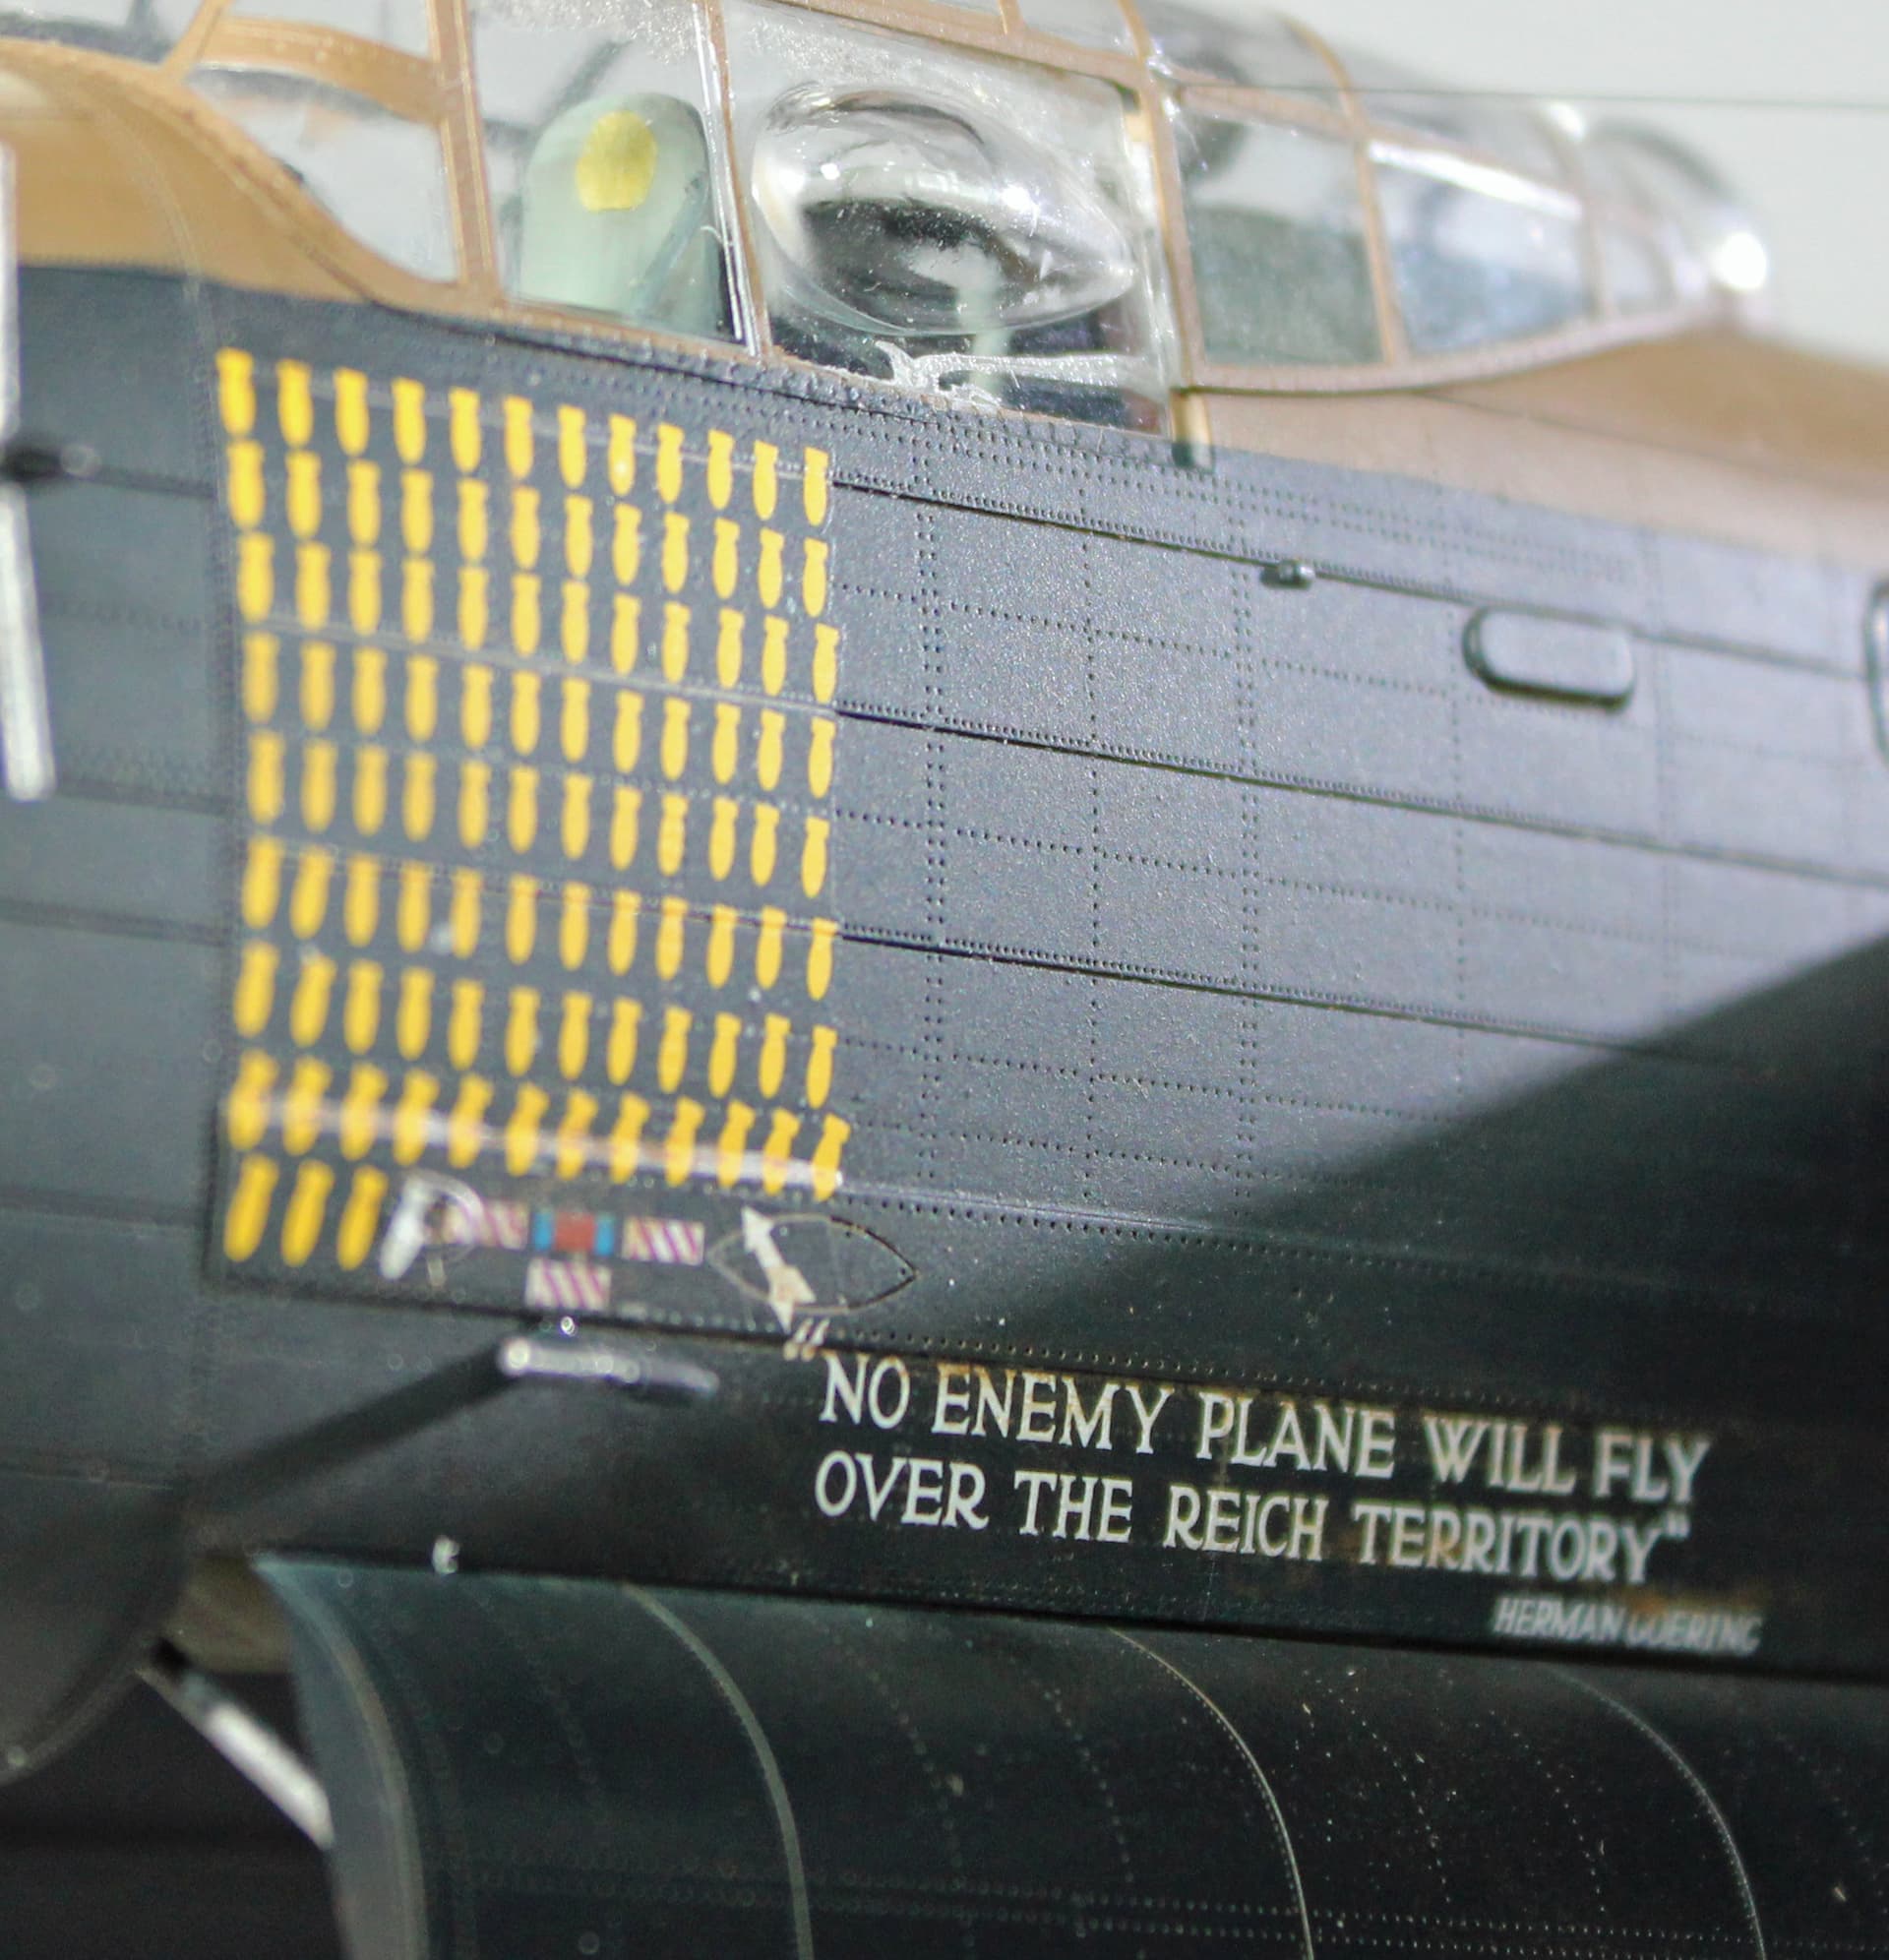
I particularly like the nose art with the Hermann Goering quote and the little arrow pointing to the bomb that showed how wrong the Air Marshall was.
My next build will be quite a bit smaller, Merit Model’s 1/48 J2F5 Duck. I am debating whether I should attempt a water diorama with the Duck but am hesitant because I SUCK at painting figures. But that will have to wait for a bit. I have a shipment of paint arriving tomorrow that I bought for the purpose of painting 3 3D printed cinematic starships - Star Wars’ medical frigate and blockade runner, and Alien’s Nostromo. I’ll spend a couple of weeks painting and weathering those then return to WWII subjects.
EZ Line for the aerials. I wanted to add insulators, but couldn’t figure out how to replicate what I found in the instructions for the 1/32 Border Models Lanc, which looked like it could have been a small piece of styrene tubing. What I have of that was far out of scale for 1/48, so I left it as is.