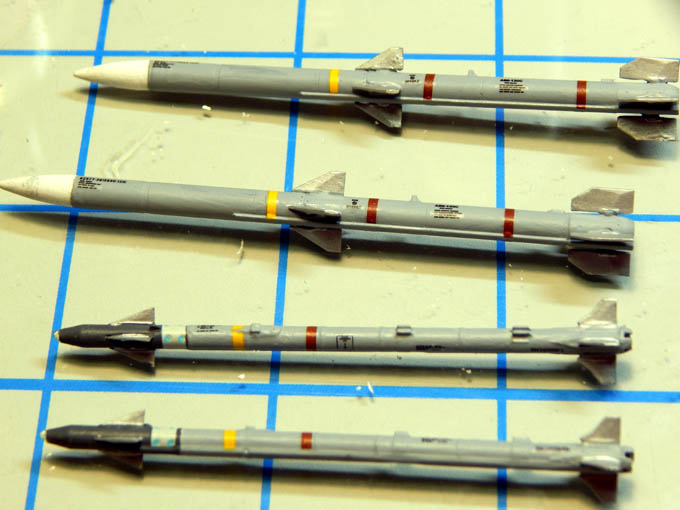
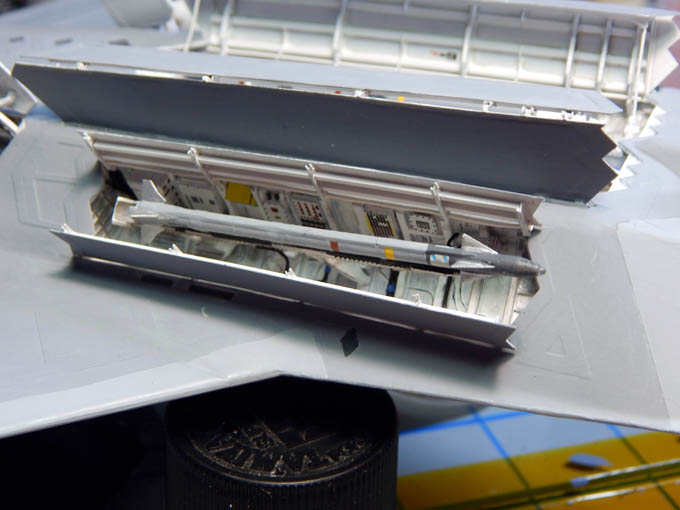
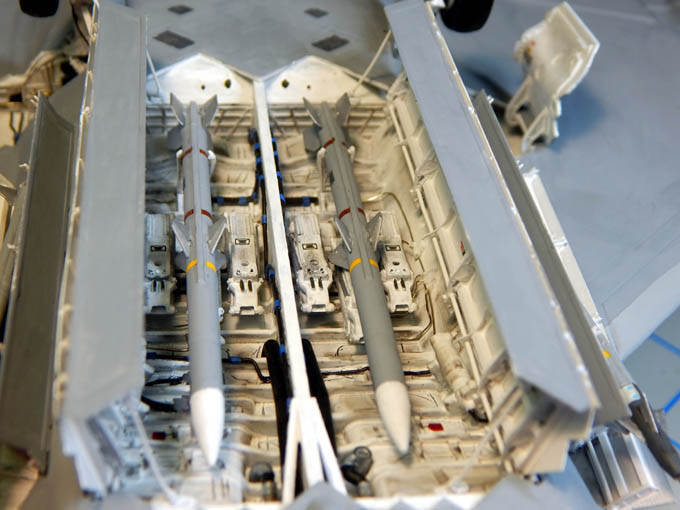
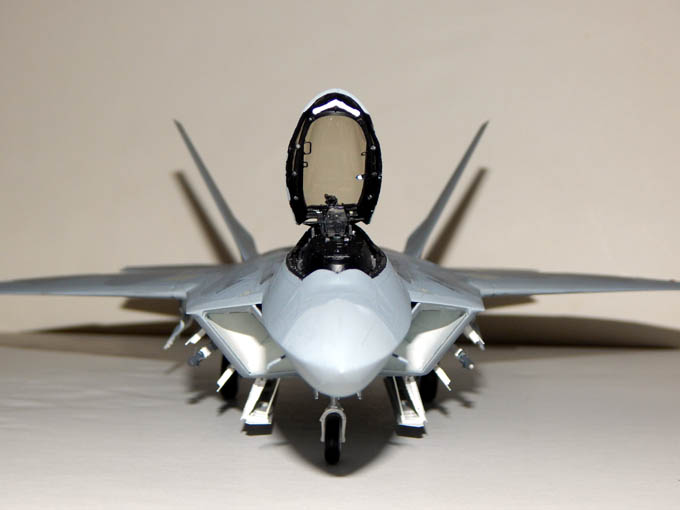
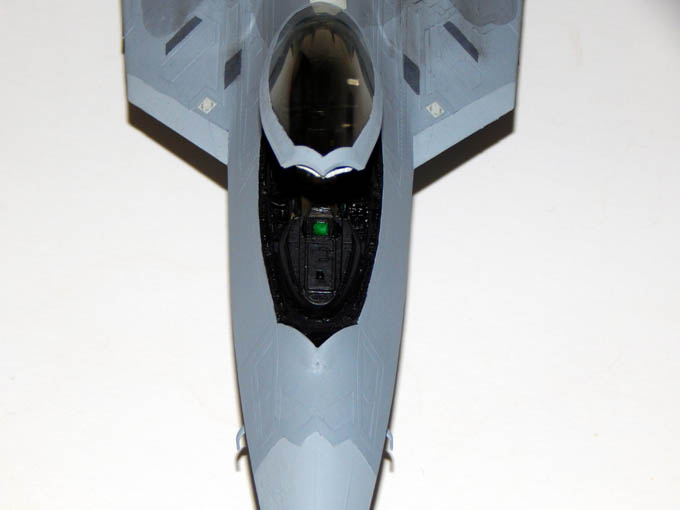
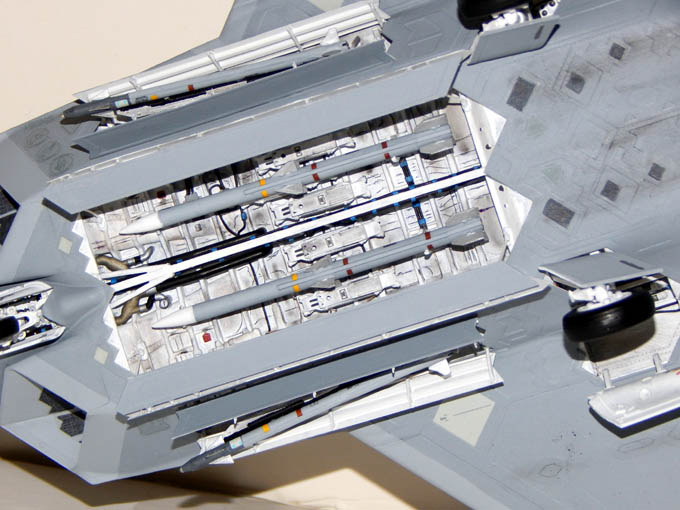
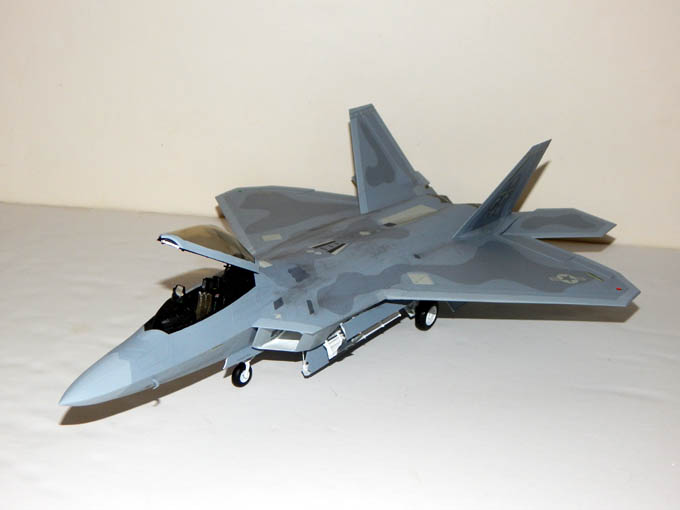
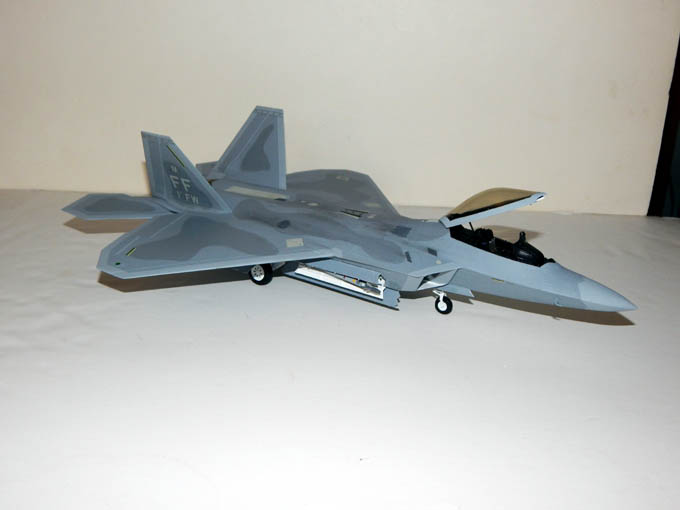
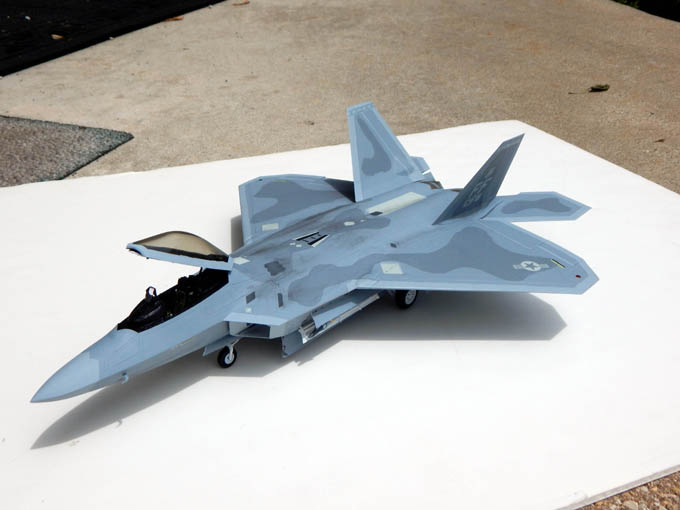
Minor update part 2 on the Raptor. The Weapons bay doors have been installed. It was a little tricky getting them lined up and installed but they settled in nicely. I then built, detailed, panted and installed the missiles. I only installed two of the AIM-120’s in the main weapons bay as the second set from Eduard had a problem. The set had three sets of forward fins and only one set of rear fins. I sent them back to exchange them for a correct set. Meanwhile I just installed the two AIM-120’s in the center and the AIM-9X into the missile bays. Decals installed, some weathering done and final coat using 8 parts matte and 2 parts of Vallejo metallic clear were sprayed to emulate the scheme. While it is drying I then started to detail the canopy. The kit comes with both tinted and clear canopies. I opted to use the tinted version. Hoping to complete this build by the weekend.
Check out the build log for details and photos from the start at https://davidsscalemodels.com/build-log/1-48-f-22-raptor/