Thanks for checking in you guys. Tom- At least this 2 gray camo will be much easier than the Super Sabre[Y]
Nathan, I’m getting ready to start my F-4G as well and have the Aries Cockpit set for it too. Can you give me any tips on installing the resin. i’ve never used it before and I see that the Aries resin doesnt include any information as to what needs to be done to the kit parts to get it to fit. I’ve started removing the original molded on detail from the cockpit walls, and I believe I will also have to remove the glareshield that is on the kit piece.
Sure thing J. Sand away the fuselage sides a bit thinner, and also sand thinner the resin side walls; especially the raised part along the bottom on the back of the side walls. Just sand away until the resin sidewalls fit nice inside the fuselage, so there’s no gap at the top sills. This is where Aires molds the canopy lock mechanism. I had to use a bit of filler on the top sills on my build. You’ll have to grind the top of the wheel bay insert a bit thinner. I have had the best luck glueing the resin sidewalls to the fuselage first, then fitting the tub in. I don’t glue them to the tub first. This is because the curve of the resin sidwalls doesn’t match the curvature of the fuselage. Way to go Aires, huh? I’ll post some more cockpit pics up soon.
Great looking pit and those IP’s looks really well detailed.
Thank you sir for the info, I was doing some dry fitting this past weekend and wanted to pull my hair out, but its already gone so I just got up from the bench and walked away LOL
The cockpit is looking great!
Thanks Bish and Fly. I’m a big fan of the aires pe and acetate panels. A challenge to paint but worth it.
Nathan, It’s looking really good so far. Thanks for the tip on the Aires cockpit sidewalls. I’ve wondered if that might be easier than assembling the complete tub. I’ll surely give it a try next time.
Tom
Wow!!!
Nathan,
Always fun to watch your builds and I learn a ton from each of them. Thanks for sharing!
Groot
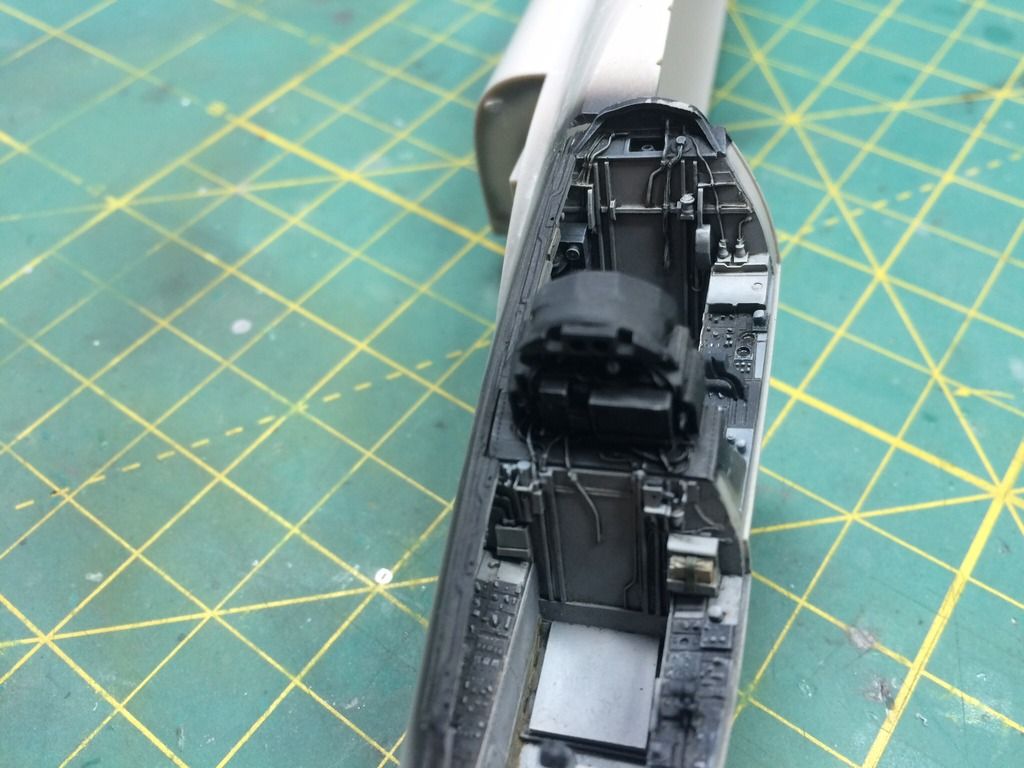
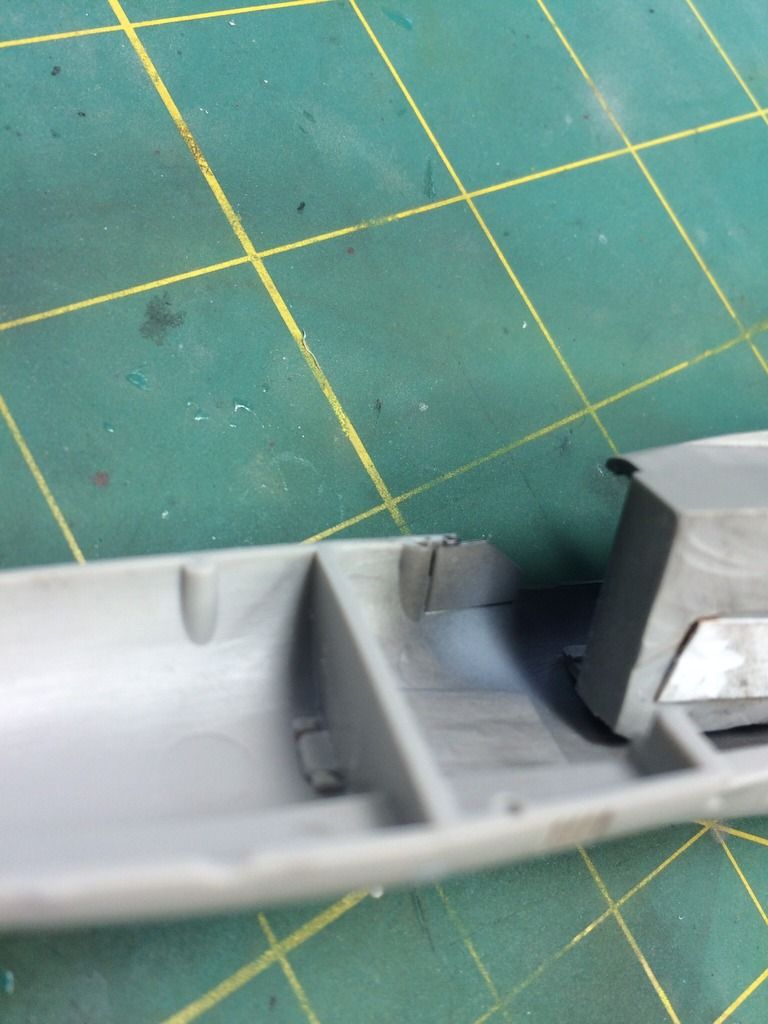
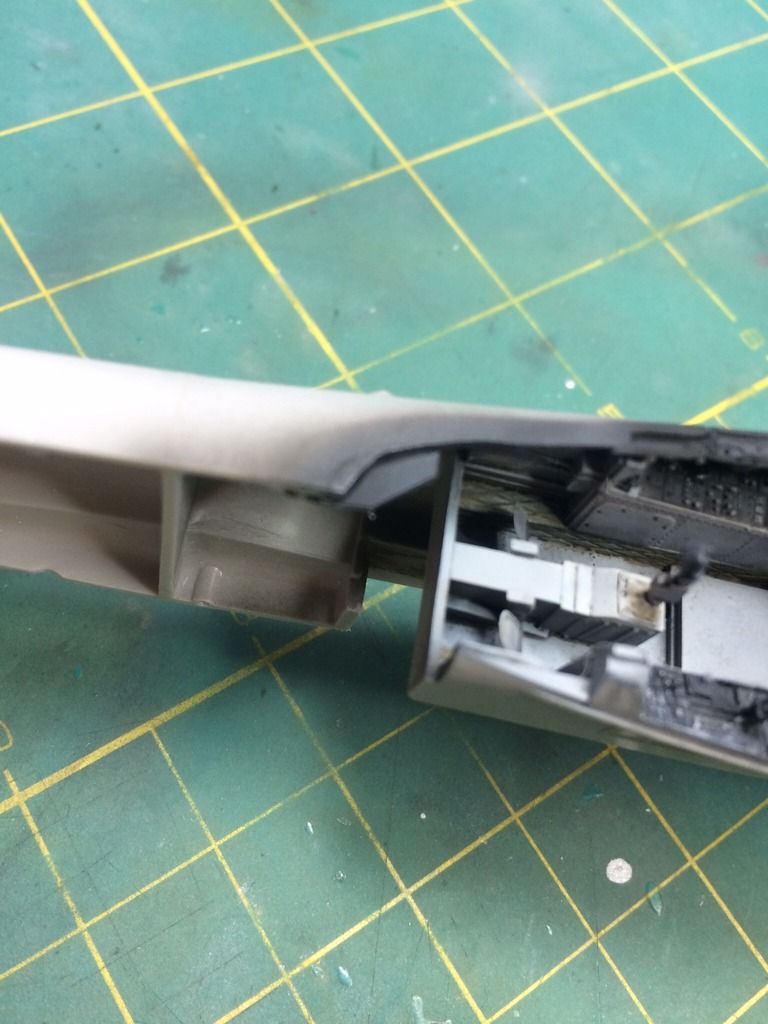
Thanks again everyone. Glad to be of some help. I have given the cockpit a wash using Mig oil Shadow Brown, and then flat coated with Vallejo Matt Varnish. I’ve glued in the cockpit tub to one side, and also showed a piece of plastic sprue where the instrument panel coaming will go. This piece will help hold the coaming in place.
Nice, very nice.
very nice phantom
Spooky would like a few words with you.

I’m counting on you!
Thanks Seasick. Fuselage is glued together. I’m working on a few seams. Pics coming soon. …I hope this build doesn’t take 1000 Hours[^o)]
Pit looks great Nathan!![Y]
Such a high degree of craftsmanship and artistic zeal! I can’t wait to view the final product. Great job.
Toshi
Alright…time to bring this build back out of hibernation[S]. Fuselage seams have had some minor cleanup. Updates heading this way…
Glad to be here for the restart.
Me too. Had to get caught up with the initial start. Now I’m front and center