Clemens, <I is a D-9. Great choice and an interesting paint scheme according to Jerry. As far as Black 10, that looks to be rlm 81 brown/violet with rlm 82 light green cowling. RLM 76 undersides, as 65 was not in use on the Fw 190. Gunze carries all these colors as called out in Eduard’s instructions.
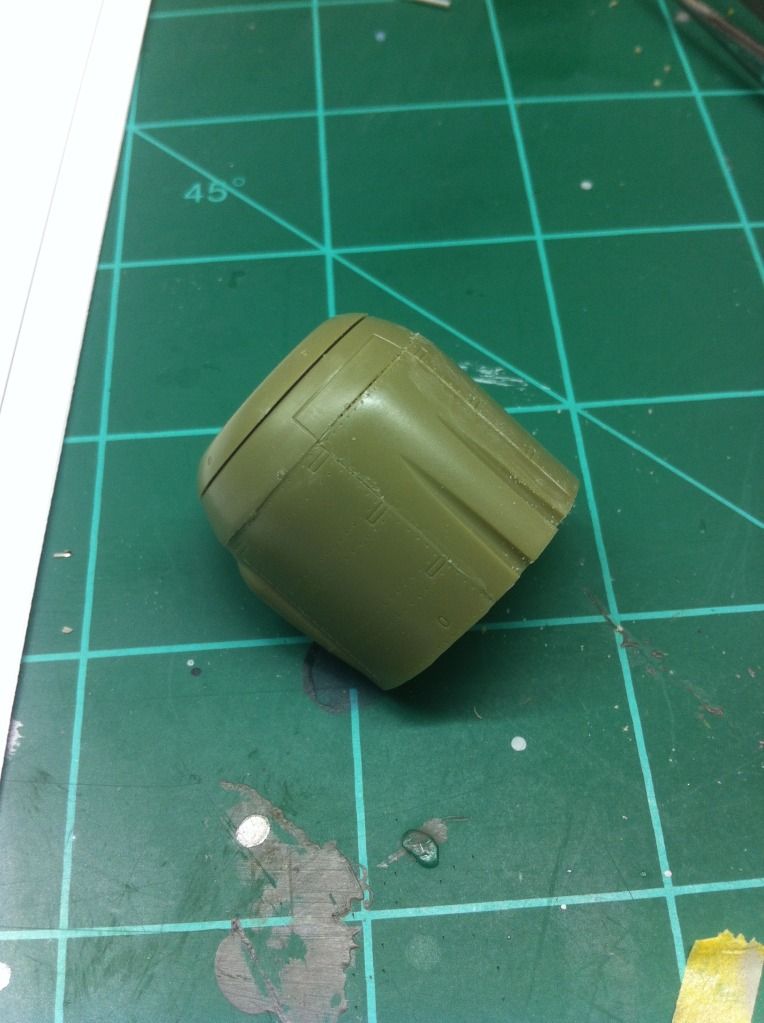
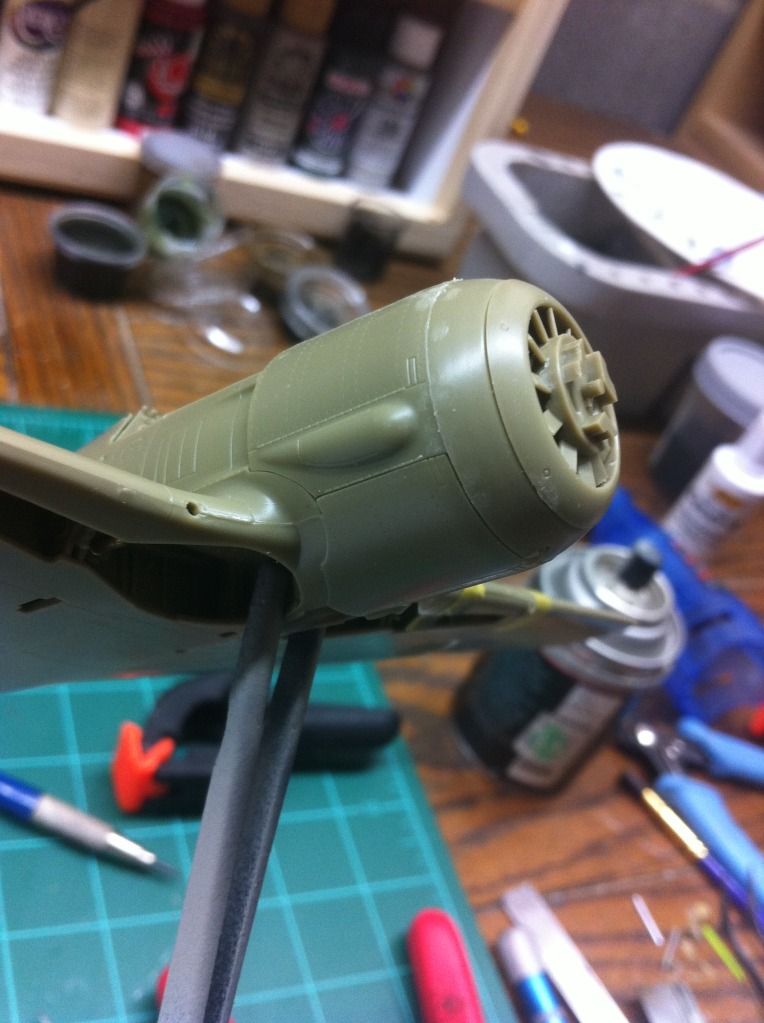
Moving right along, I assembled the 3 piece cowl which went together pretty smoothly.
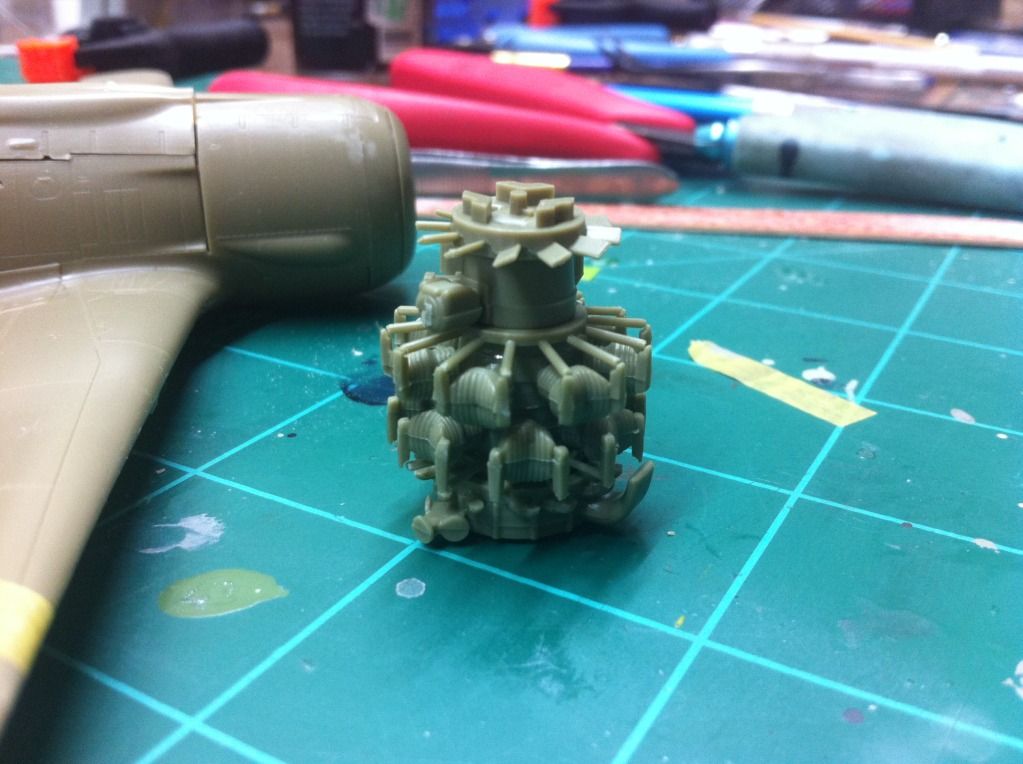
Then began to play Jenga with the engine. This really is a beauty of an engine and by all means is a kit unto itself. Its almost a shame that it will be completely covered and hardly seen at all in this build. Matter of fact, I think there will only be some detail painted on the front of it.
A test fit of the cowl and engine showed that the fan may be .5 to 1 mm more forward than I would like. I believe I can remedy this by sanding down a small raised ring right on the rear of the fan assembly which should move it back just a tad bit.
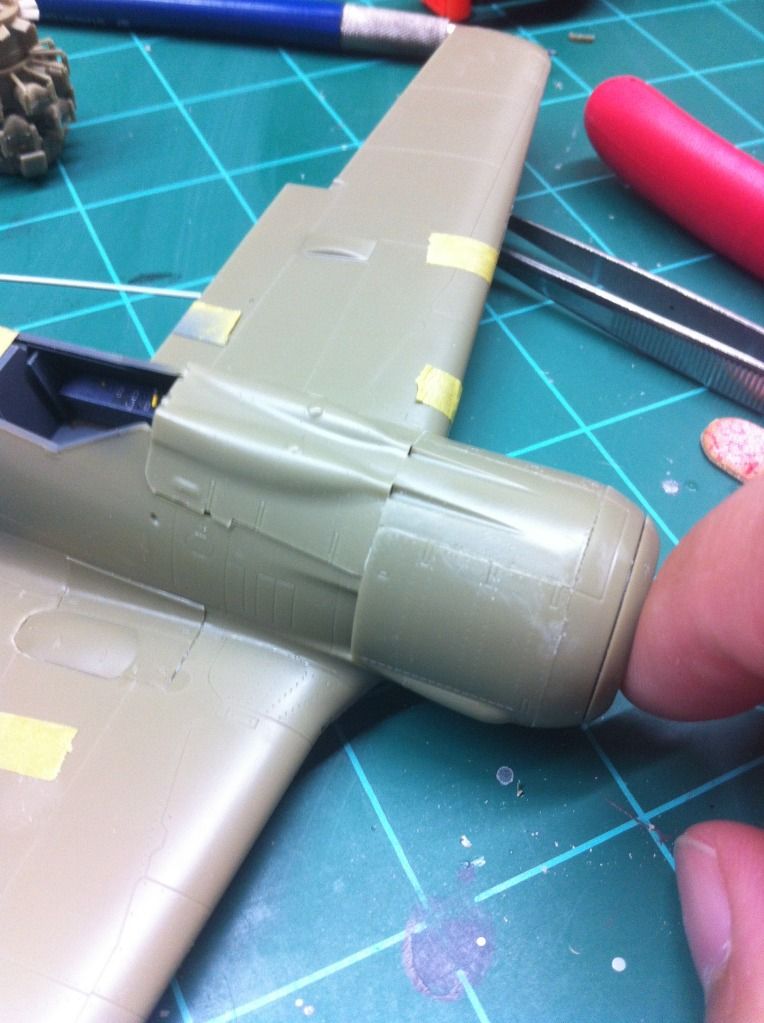
Got the ailerons, rudder, and stabs installed on both kits as they approach the paint booth phase.

Thats all for now! Hopefully more benchtime will present itself tomorrow!!
Clemens, which Dortenmann bird are you doing? Is it red 1? If so those are the exact markings I plan on using too!! I built his D9 also and I think the markings on his birds just looked really cool.
Ok folks. Finishing up with the starboard gun bay. So far here’s what we have
Jester, talk about a burst of activity from you man! I’m jealous of all the bench time you got, but I love seeing these builds coming together.
Mustang- Finally seeing the fruits of your labor on these mysterious gun bays, lol! Looks pretty good in there. I like the close up shot of your nice mottle job.
Thanks Nathan. Looking at getting started on the port side tomorrow morning possibly. If not then I’ll start on it Friday morning. Took a two week break. I think you were right. The PE was wearing me out!
Man, those of you going on your 3rd & 4th 190s : I hope you’re managing to squeeze them into other GBs in here, WoW!
Outstanding work everyone. Gun bays are lookin sharp, mustang.
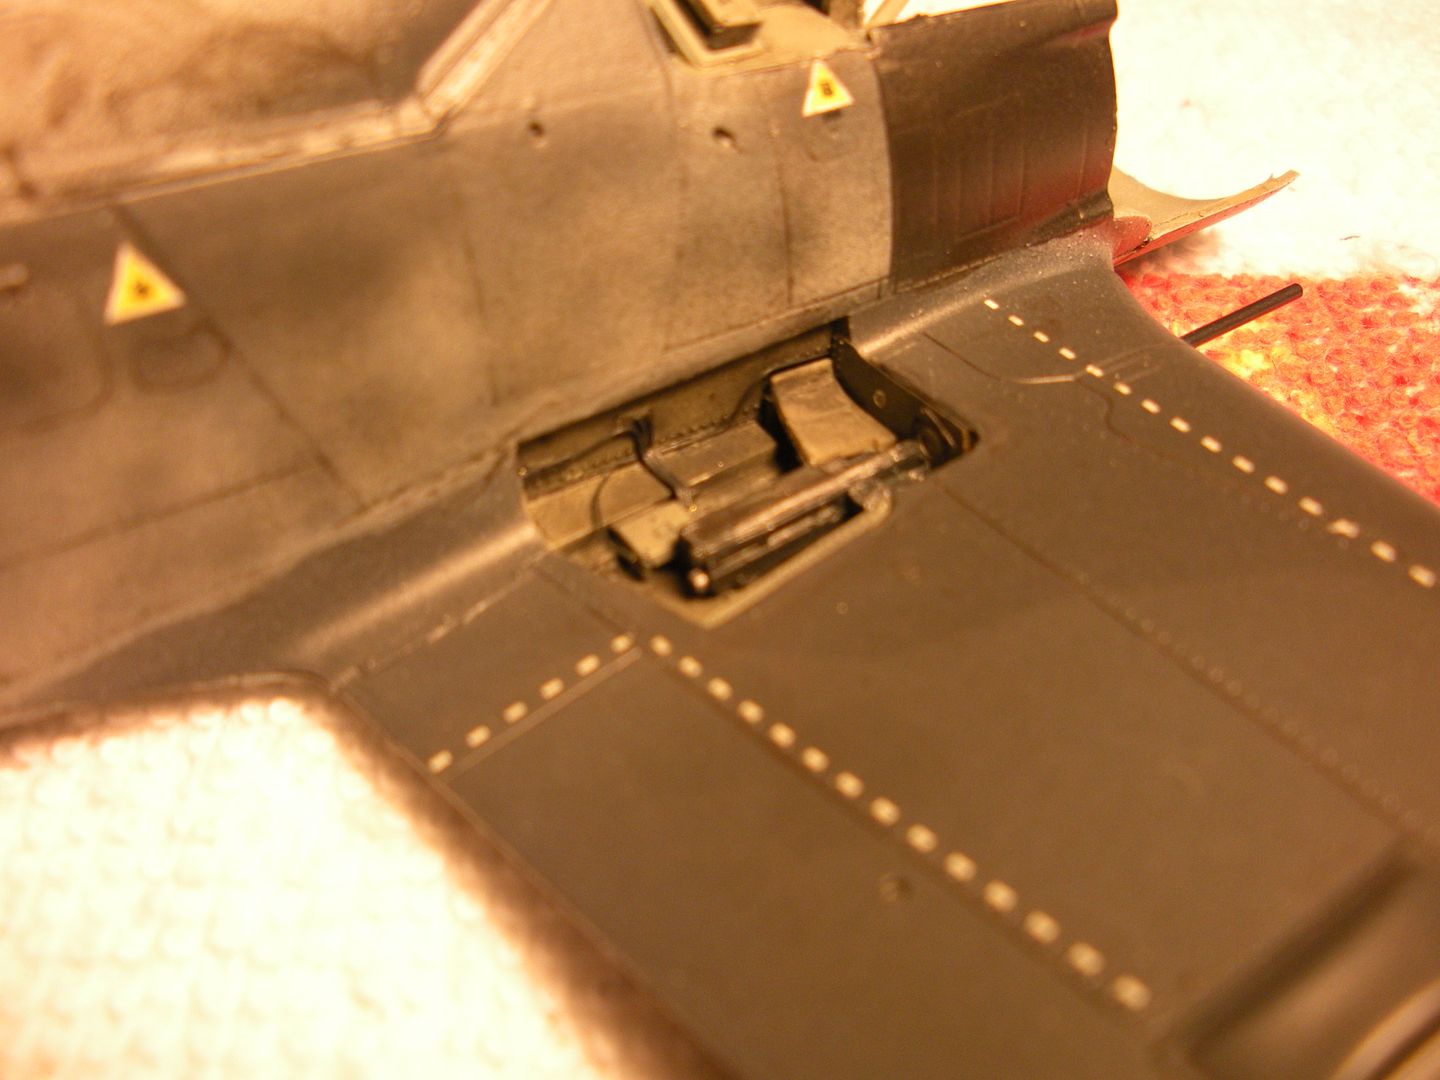
I’ve gotten a little farther along recently. Painting is in various stages. Some parts are complete through weathering while others are just getting their fresh color. Doug (RR) was right: the landing gear on this old Hasegawa are weak, even though they’re among the beefiest of landing gear I’ve ever seen on an A/C model. They’re still holding but I fear that they will collapse after displaying awhile.
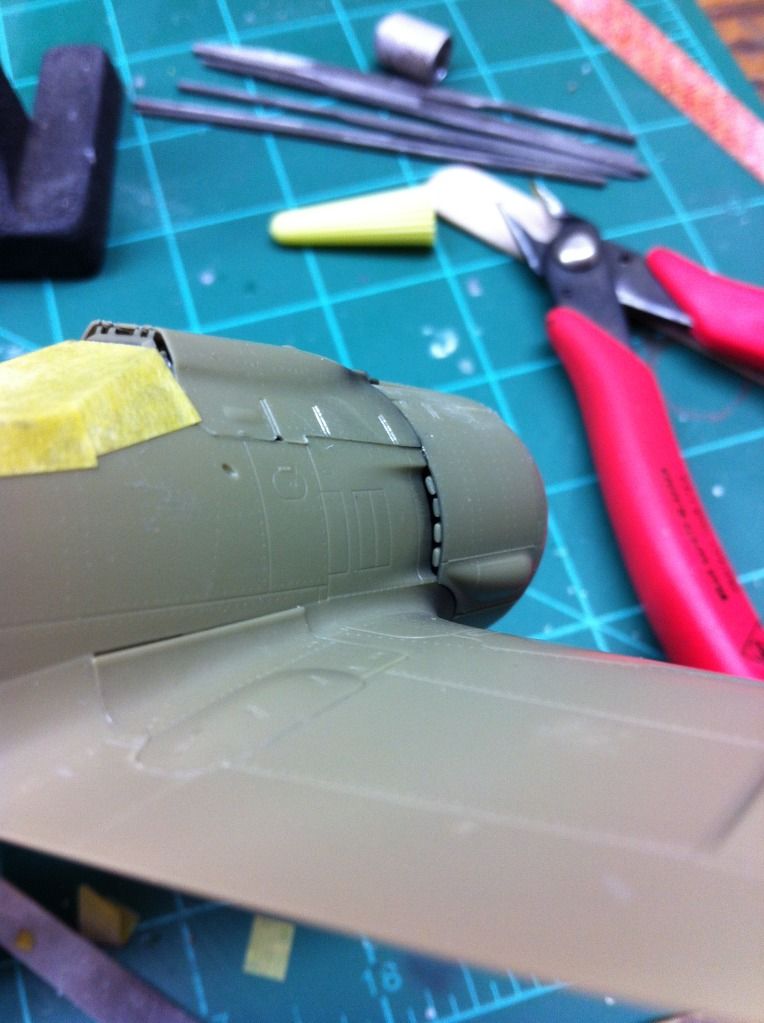
Gear bays unmasked. I added the through-bay gun barrels using some half round sprue. Under-nose yellow warpaint is Testors flat yellow with a smidge of orange and a little thinner. Don’t worry, I’m going to dirty it up.

This shot of the fuselage shows a little of my worn gun hood and a teaser of the fuselage pattern.

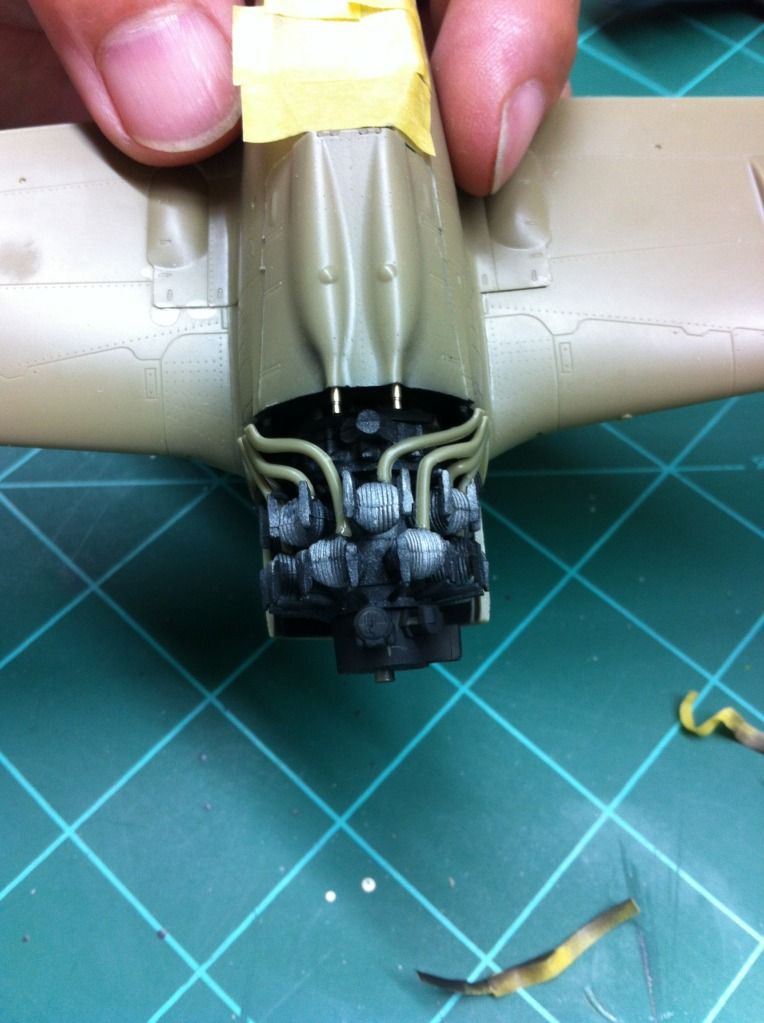
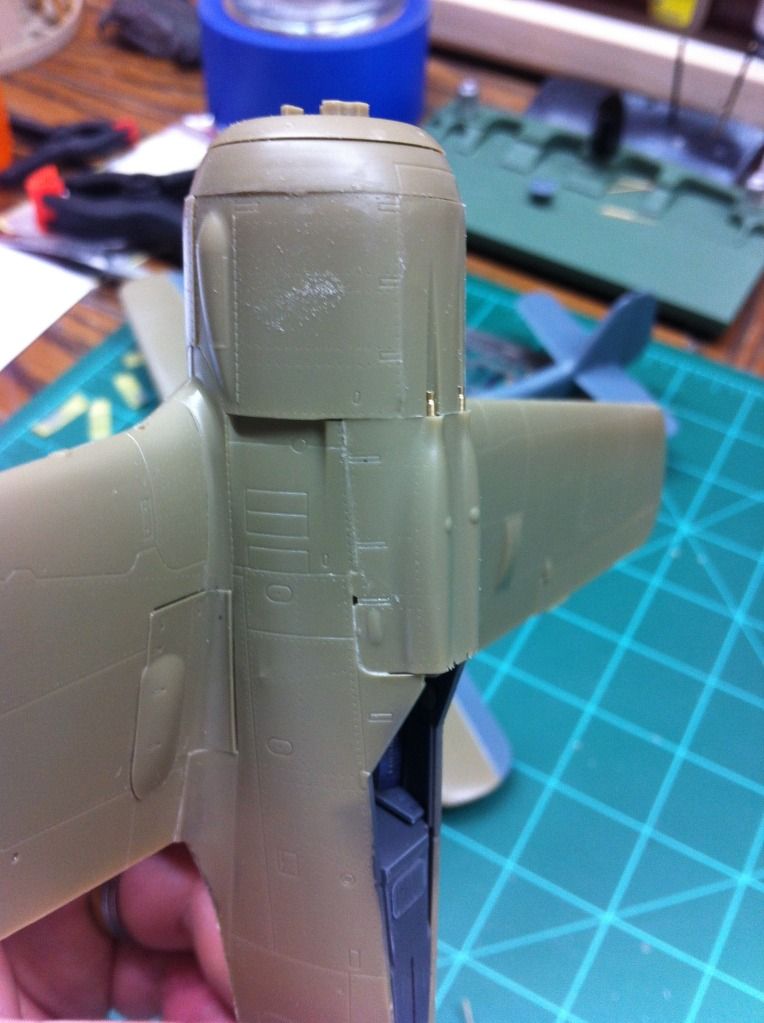
Next image shows the spacers I was forced to use on the front of the engine when I discovered that my propeller would rub on the oil cooler ring. Surprisingly close fit really, when you consider there’s no less than 20 parts between the bulkhead / firewall and the propeller.

More to come real soon guys. Gotta go. Falling wsllep at hte keybiord
Joe, nice work on those gun bays.
Bill, nice piece of improvisation there.
Nathan: Thanks for your inputon the colors, seems like Eduard got that wrong.
Eric: No, it will be “Black 1”. The decals are supplied in the kit.
Bill & Joe: That’s some awesome work! I can’t wait to see more!
Cheers, Clemens
That gun bay looks sharp Joe!! Im going to have to go another round on one of these A models and jsut open everything up!!
Bill, nice work! Funny how your fan is too far back and mine is too far forward! But like you said, there are 20 some odd pieced between the firewall and the nose so its not surprising!
Clemens, black 1? Which variant is that on?
Thanks guys. Started work on the port gun bay this morning. Bill thats some super work pal. I’m loving the detail you are putting into that thing.
Eric: Lemme know when you want to do another A-8 and I’ll give you all the Eduard numbers for the masks and photo etch sets and you’ll basically have a Royal Class kit in the making. The only things missing is another complete kit (basically a weekend edition kit) and some of the “special stuff” that comes in the Royal Class Box.
Eric: You really have to do an A-model opened up! I think i might add one ith a CMK engine as well. Would be 3 Doras and 3 “normal” 190s [whstl] I’ll complete all other announced projects first though…
The Dortenmann bird is “Black 1”. It’s a D-9 with a yellow tail fin. (The same one you completed for this GB earlier!)
I know, off topic [snofftpc] but …: Judging by his helmet, that’s an American soldier. What’s he doin diggin’ around in a Fw 190 gun bay???
I need help guys!!! Man, I feel dumb. Painting canopy frames, masked edges perfectly, got nice straight lines. Forgot to mask to prevent overspray from getting inside of canopy glass. It did!
How can I safely remove the dusting of overspray inside the canopy glass, preferably without disturbing frame lines? Does paint thinner fog canopy glass?
What kind of paint was it Bill?
Duh, sorry, Jester! Would help to know that huh? Enamel from a rattle can. Good ole Testors enamel thinner will cut it but will it harm my canopy glass? In either event I hope to clean it up without having to remask and paint again.
This would have to happen when I did the best ever job getting nice clean frame lines [:'(]
Hey Bill… If just a dusting, some paint thinner on a "Q"tip or cotton ball wrung out nearly dry will remove over spray, Did you dip in Future first? (canopy before painting) Paint thinner is reasonably mild and shouldn’t fog the Cycolac plastic, but may affect the clear dip. Denatured Alcohol also a good remover,and milder then thinner, again, dip a cotton ball and wring out nearly dry.Either way, work gently and if need be recoat clear on inner surface by brush and let dry over night. I’m sure Jester has a few ideas as good as he is with paint!
If it were acrylic or if the canopy was dipped in Future I would just say soak it in Windex, Iso and strip it. I honestly haven’t a clue on how to remove enamel from clear plastic. I know lots of people soak parts in brake cleaner to strip enamel paint but I do not know what this would do to clear plastic.
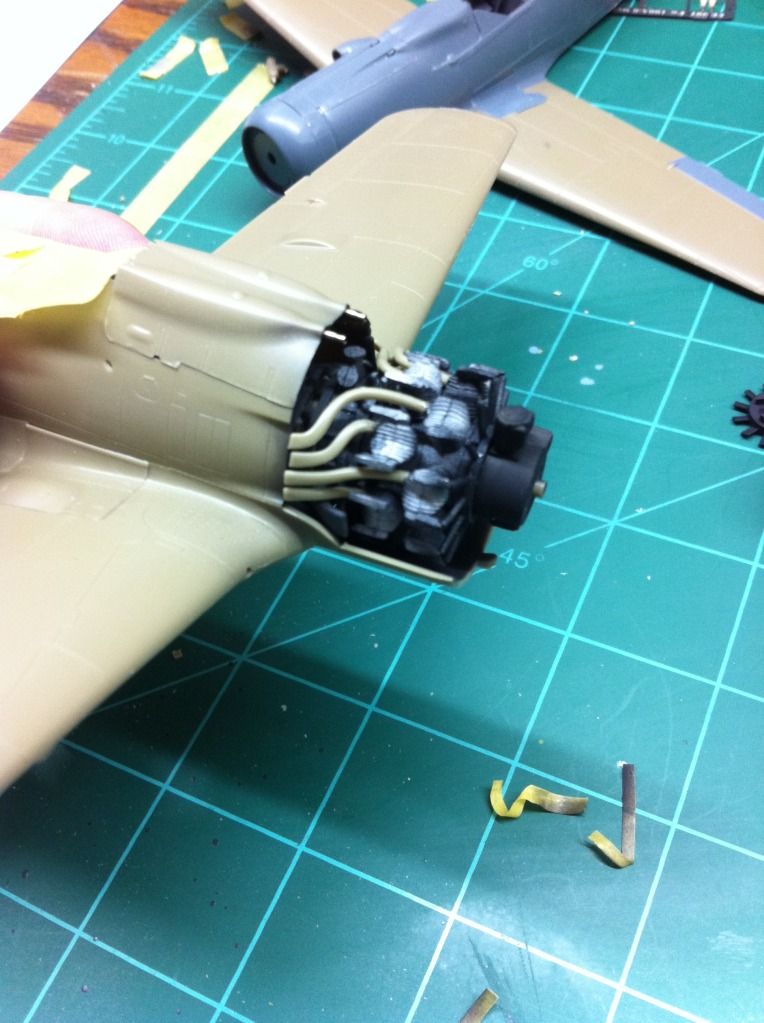
Just a small update tonight for me. More work on the engine. Since none of it will be be easily visible, very little time was spent on painting. Just primed with flat black and each cylinder head was hit with some Alclad aluminum. Afterwards, I began the slow task of installed the exhausts. With much caution, everything lined up perfectly thanks to the jig provided by Eduard.
I really do look forward to building another A8 in the future and opening every panel up surrounding the engine.
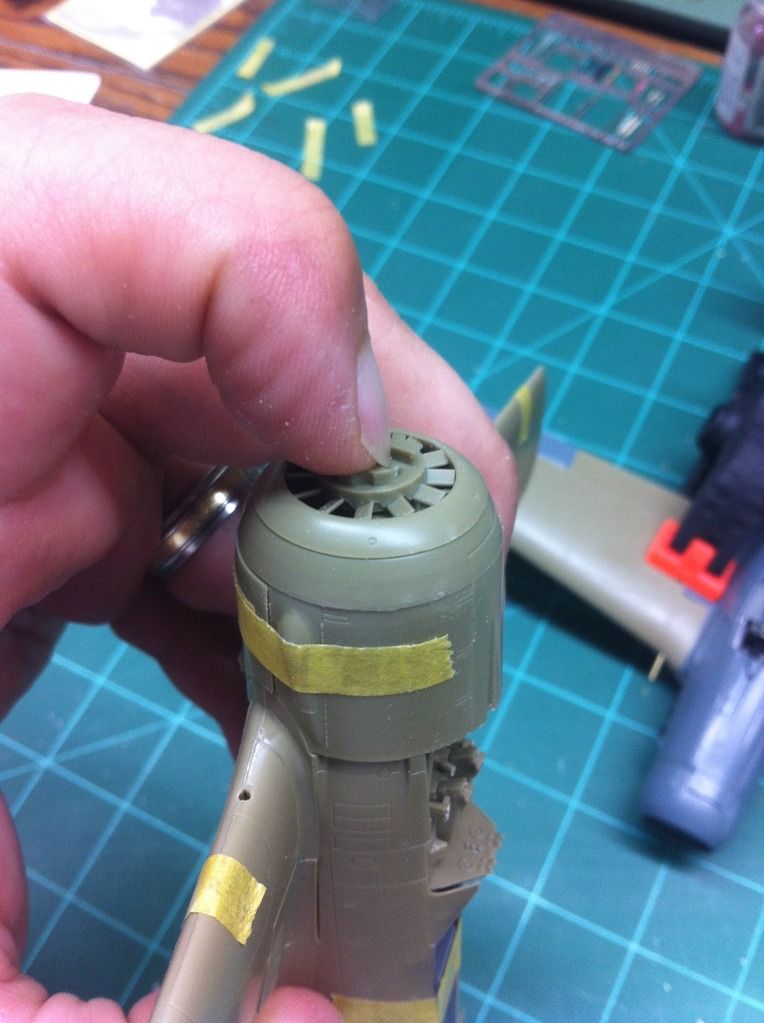
More sanding was done on the rear of the accessories and the fan to get it recessed the way I wanted it. A test fit of the cowl piece revealed a superb fit with need for little to no filler thankfully!!
With all that being said, I am growing a bit tired of the construction phase on these two and am very ready to move to painting!!!
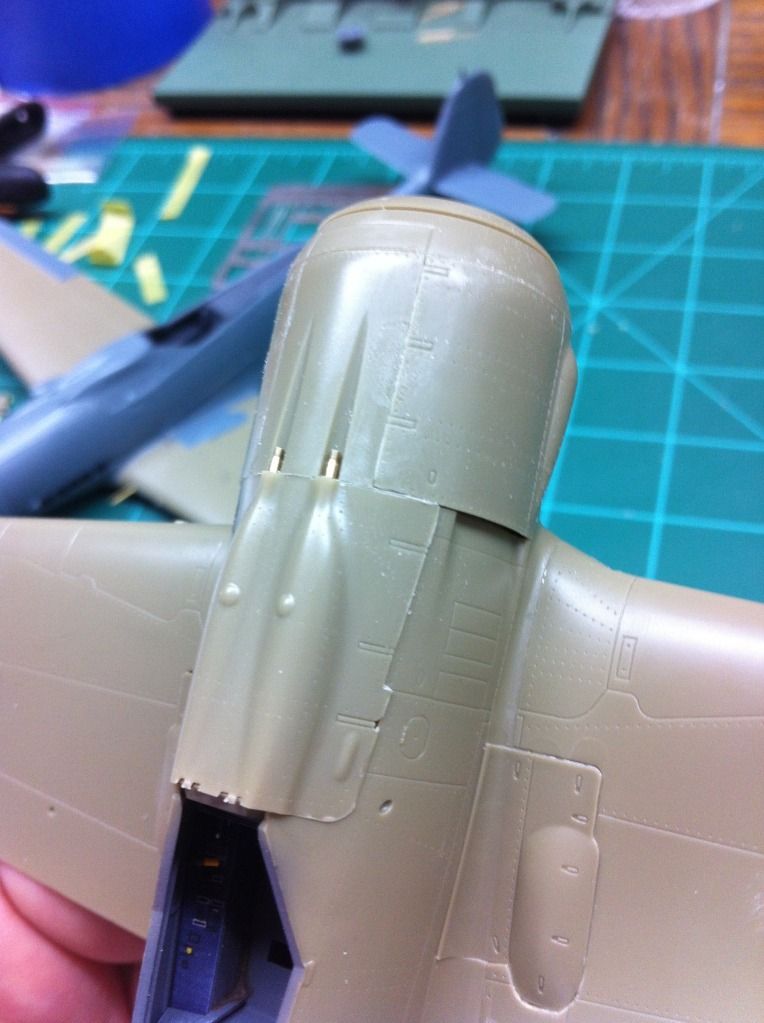
Nice work there, Eric. I hear ya on that desire to build one completely opened up. I’m gonna do a 190 A* sometime with everything open including the radio hatch. What are the guns peaking out of your hood made of? Is that Eduard’s kit extra’s or did you fashion your own from brass tubing?.
My canopy glass is toast. Tried several different remedies and now have several layers of failure on them. Anybody got a 1/32 Hasegawa canopy set layin around??? No? Shucks! I wonder if anybody’s aftermarket canopy is going to fit this old kit. I WILL find out. I’m not giving up now. But, I’m also not calling this thing done if I put this glass on it.