Did you say pics??? Come with em bud!
Yes, pics! Only problem is it was almost 1 AM when I finally got the A-5 to look good again, so I just went to bed. Pics will be up when I get home today.
Hi guys, my airbrush was returned in today’s mail, I assembled her and she’s flowing very nicely. So straight away I cut the soft masks for the topside camo and blew on my homebrew RLM 74:


Target for tomorrow – cut the softmasks for the fuselage and apply the 75, maybe even the 74 as well. After that there’ll be some touchup to do, demasking, and change to the fine tip and needle to do the mottle. I’m not sure how quick I can move it along but I’ll keep plugging away.
Mike/TB379
Good stuff Thunder!!! Like the masking!!
Thanks! I knocked it out pretty quickly, and I’m hoping the side masks will go just as fast. One annoying thing is that the blutac seems to leave a mark/stain on the paint, so I’ll need to touch up over it.
M/TB379
I’m with you on that. Wether its silly putty or blu tac they both seem to leave the same nasty residue. Been there/ done that! lol
Hey, good to see you underway again, Mike!
Did you happen to find out specifically what the problem was with the airbrush? At any rate, I’m happy for you that it’s back and working like new again.
Thanks, Mustang and Greg! Well, it turns out the packing washer was fine and the needle wasn’t bent – I thought it wasn’t! There was a residue of some very old paint, likely dating back to well before I started using the internal brush sets, and that was what I could see through the needle channel that I thought was damage to the washer. Also the #3 paint nozzle was worn out and I needed a gasket for the syphon jar. Beyond that, the splattering problem comes back to thoroughness of paint mixing, and possibly a call to strain the paint, though I’ve done that in the past and all it seems to do is make a mess and waist paint!
I’m hoping to get my head down to the job over the next few days and just maybe – fingers crossed – have the A-8 finished early next week.
Cheers, Mike/TB379
I’m glad to hear you got your AB back and it’s working again, Mike! That 190 of yours looks very nice so far!
Thanks for satisfying my curiosity, Mike. Now I can sleep tonight. 
So all is well and am looking fwd to watching this one come together.
I hope I never need to strain paint, for the reasons you mention. Just does not sound like fun.
I strained paint in my enamel days long ago, it stank and made a big mess, and I don’t think it ever really helped. Everything would have to be controlled to a much greater degree for such a factor to make a measurable difference, I think… That was when I was using my first AB, a Badger 200, and it was getting into a poor working condition, so I was looking for anything that might be contributing, without understanding how to clean it any more effectively than blowing turpentine through it…
If my headache will settle down I’ll get into the fuselage soft masks after lunch…
M/TB379
Well I promised you some pics and here they are:
After looking at the pics of the gear bays and painted engines I realized two things:
- The gear bays didn’t look like much without a wash so the pics are pretty much worthless.
- The engines looked like steel-colored ugly chunks of plastic as well
So I decided against posting pics of those just yet, but I will split this update into two parts instead. One of them is the WIP part (what I’m writing now) and the other one will be posted either tomorrow or on Saturday (depends on when I get a wash on the parts and everything cleaned up again). In this update I’m going to cover everything that happened before I started painting.
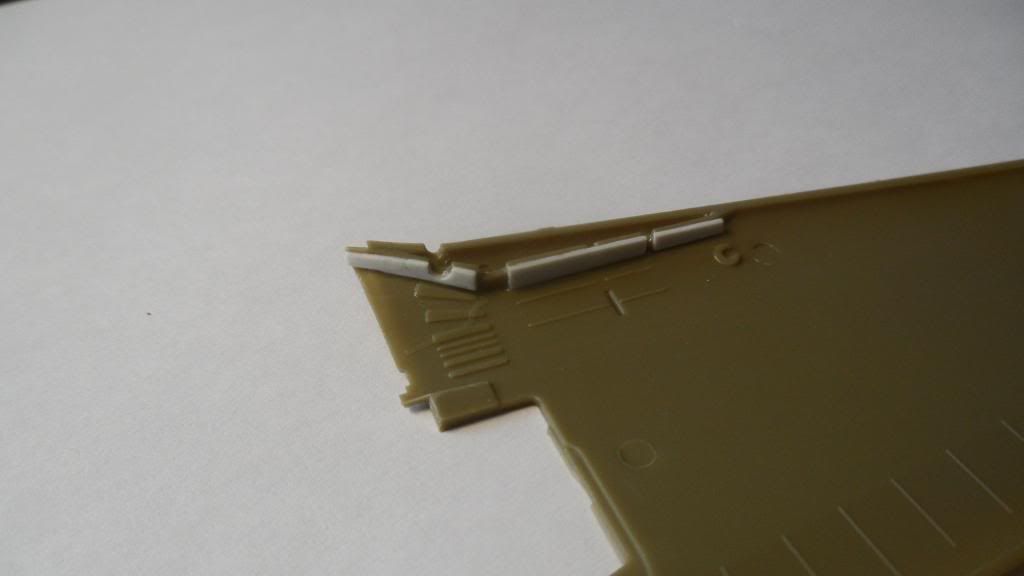
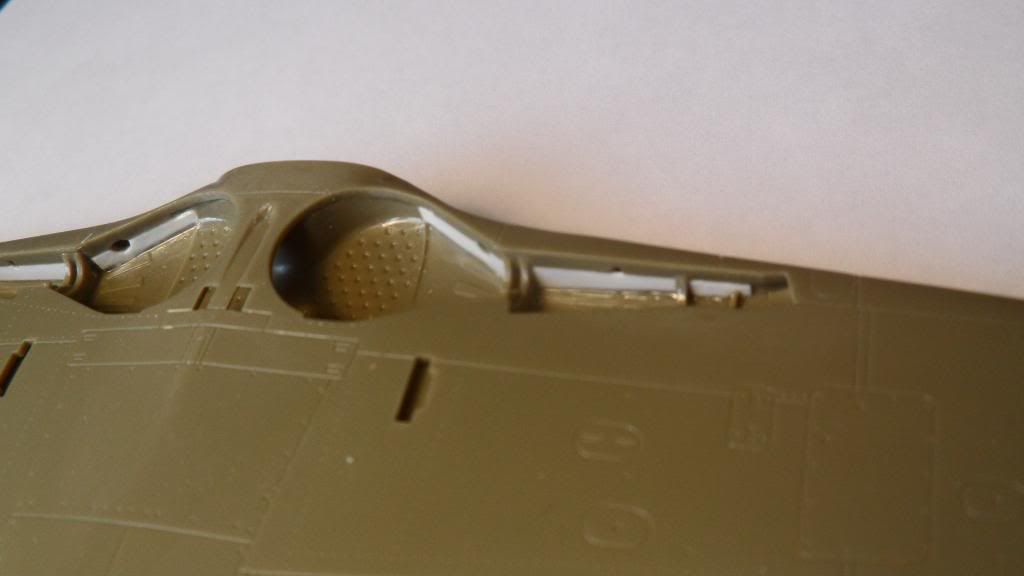
When I started to dry-fit the wing parts I noticed a huge step on the forward gear bay walls of ALL the Doras except for the D-11 (it has a different sprue for the wings because it has 4 MG 151 instead of 2). To fix this (slightly larger than 0.5mm !!!) step I glued shims made from sheet styrene to the gear bay walls. They compromised the overall fir of the wing pieces, but a little gap in the gear bays is way better than a large and obvious step:
Next up was a little bit of scratch-building. The ejection chutes for the fuselage MGs on the Hasegawa kits were just slabs of plastic, so I added new ends made out of 2 pieces of C-channel styrene glued together:
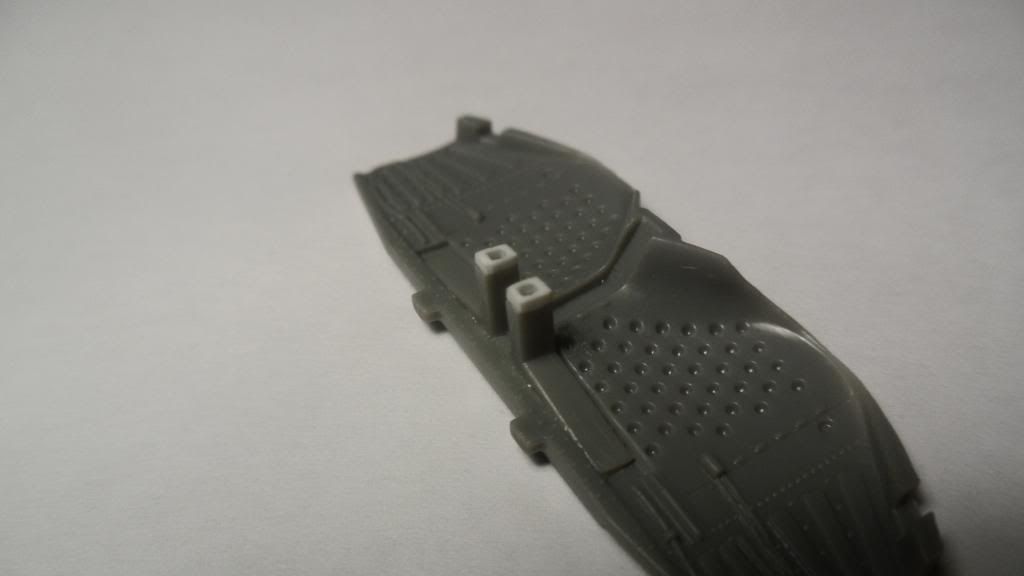
Those tiny things actually took me 2 hours to make for each gear bay (so 4 hours in total) because glueing them together and then cutting them off ended in a flattened or otherwise damaged part (even with a brand new scalpel blade). I had to cut two slices of the same width, glue them together without losing or destroying them (hard to do when a small drop of glue ruins them already), then glue them to the kit parts, again without losing or destroying them. The last step was were I lost most of the parts: I had to sand them so they were kinda flush with the edges of the kit parts and looked decent on the top. I wasnt able to use a lot of glue, so most of them ended up flying off to never be seen again. I lost count of how many attempts it took me to get this to work at least kinda like intended… (sorry for the rant, but it was frustrating LOL)
Then I went ahead and cleaned up and assembled all the engine parts for the Eduard Doras:
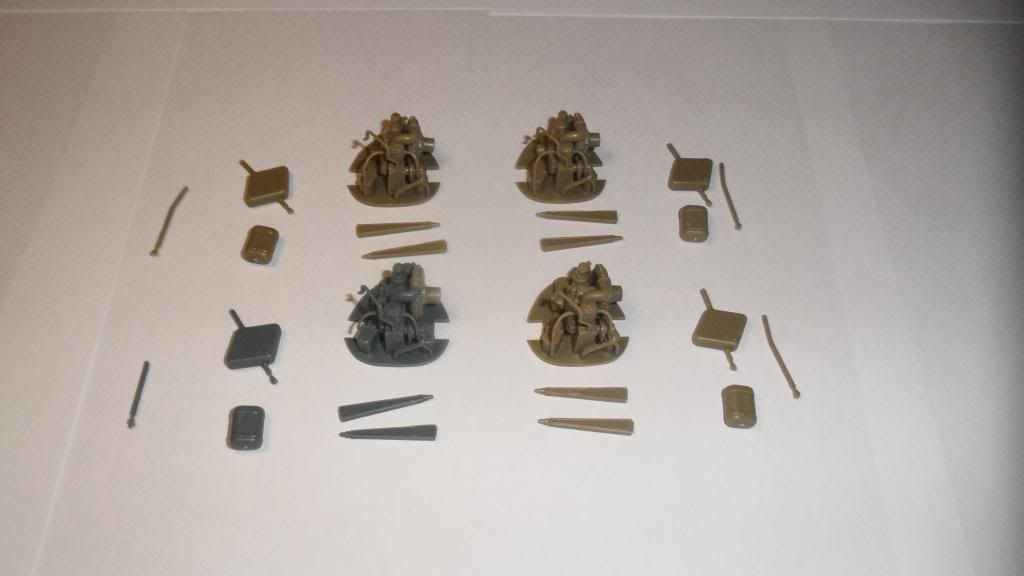
The D-13 (blue plastic) is really badly molded compared to the rest, so it gave me a bit of trouble including a short-shot pipe (that blue stick-thingie to the far left). I simply cut it off at a good spot and I will replace the missing area with plastic rod.
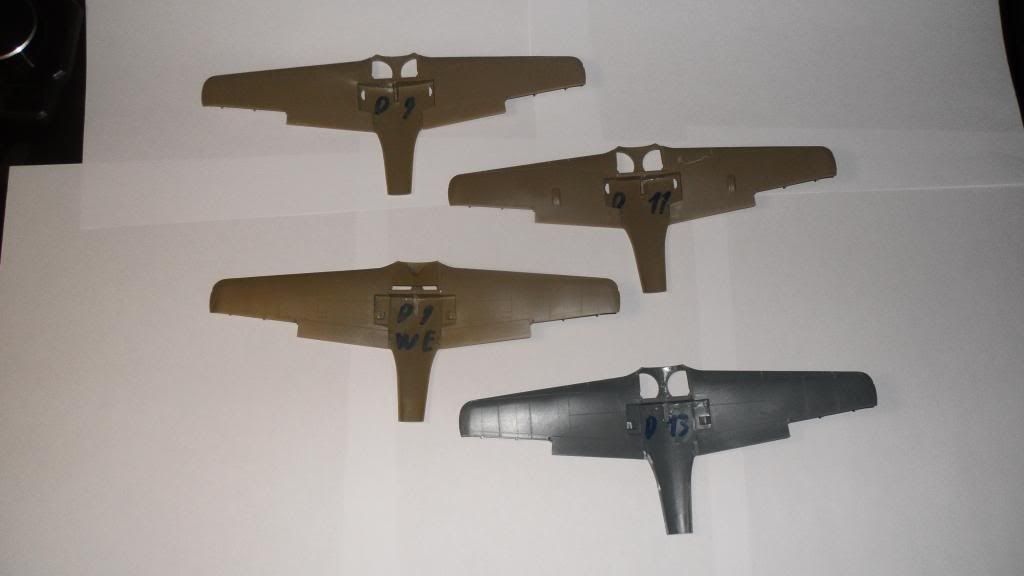
The main wing assembly was straight-forward with only some minor fit issues. A bit of sanding and dry-fitting took care of that and then it was just a matter of getting all those seams sanded down (8 wings in total, A-8/R2 wings were already assembled), let me just say I didn’t fancy seeing any sanding sticks for the rest of that week… I niticed that the tan eduard plastic remains very soft for a few hours after glueing it (although I used my “coolest” glue, Mr.Cement S) making it a pain in the rear to sand. That almost made me destroy a wingtipby ripping little chunks of plastic out of it. Got it repaired without any real trouble, but that wingtip is roughly 0.3mm shorter now [;)] You can only see the Eduard wings in this pic BTW because I was painting the Hasegawa and Tamiya gear bays at the time I took the pic and those can only be assembled after painting… You’ll see them in the next update.
Next up were the Tamiya and Hasegawa fuselages:
The Tamiya kit actually surprised me in a bad way. I wasn’t your typical Tamiya fit! I actually had to fight with the fuselage parts for quite a bit untill they finally kinda lined up (either the panel lines or the whole fselage halfes themselves were off by 0.5mm). Add the fact that the fuselage was warped and you almost can’t recognize it as a Tamiya kit…
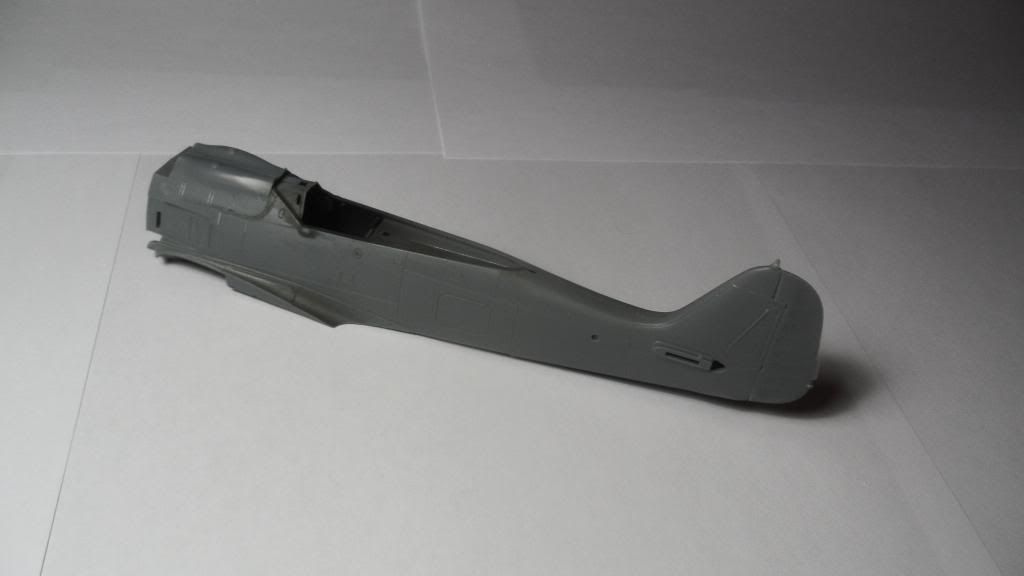
The gun cowl however simply fell into place…
The Hasegawa kits have no fit issues whatsoever and I was able to simply press-fit the fuselage halves (they stayed in place without glue) and add a bit of Mr.Cement S along the seams.
Same story with the gun cowls, but of course I had to mess them up big time. I glued the F-8 cowl onto the A-5 and the other way round. The F-8 however has additional detail on the cockpit sidewalls, so I couldn’t simply leave it like that. I carefully cut them off the models and after a lot of sanding, a lot of swearing, even more sanding, a bit of glue followed by more sanding - OK, I think you get the idea… Anyway they look halfway decent now and I’m not too worried about them not fitting perfectly because the real planes showed a quite poor fit in that area too with pretty large gaps around the cowls…
A-5:
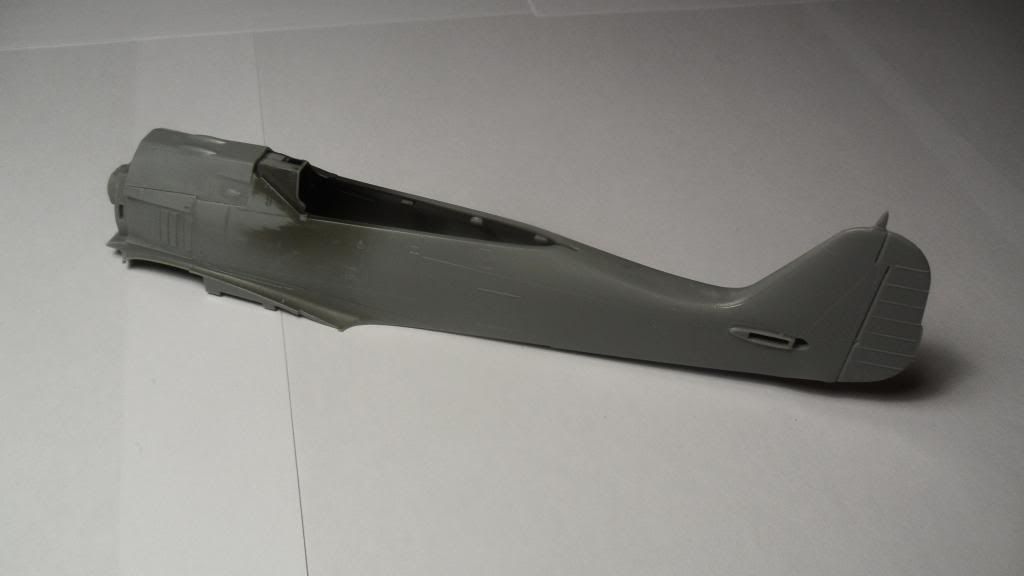
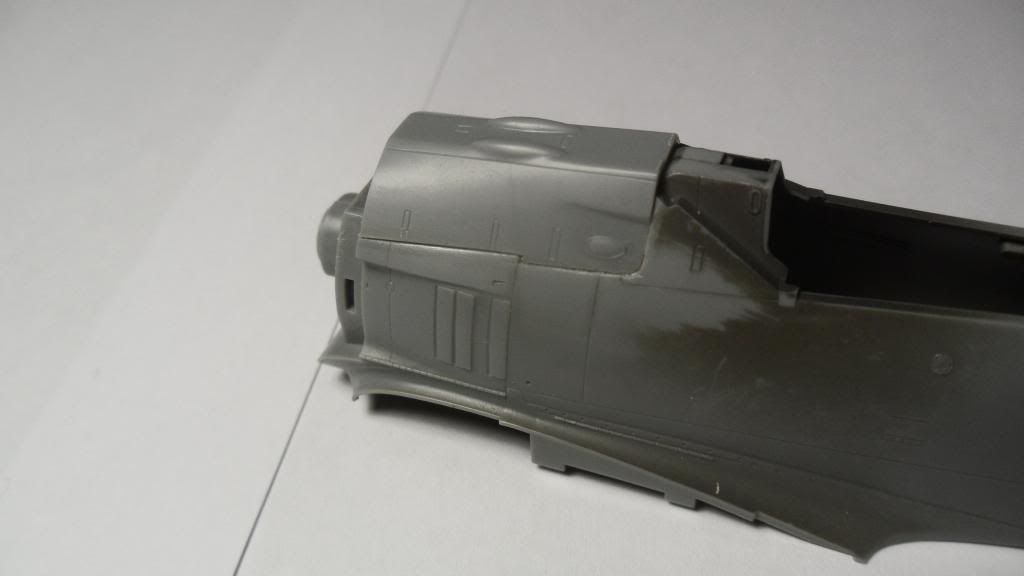
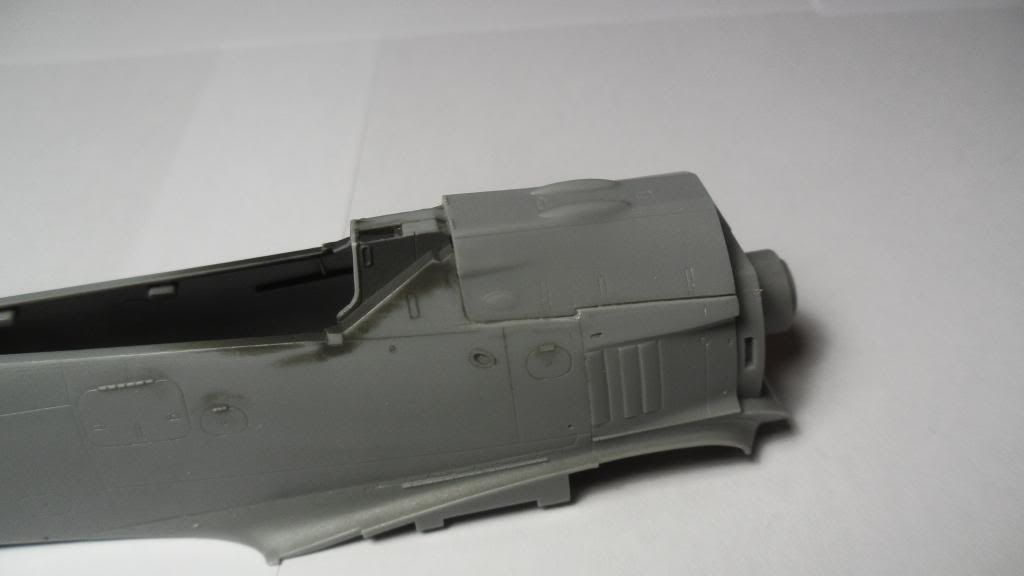
F-8:
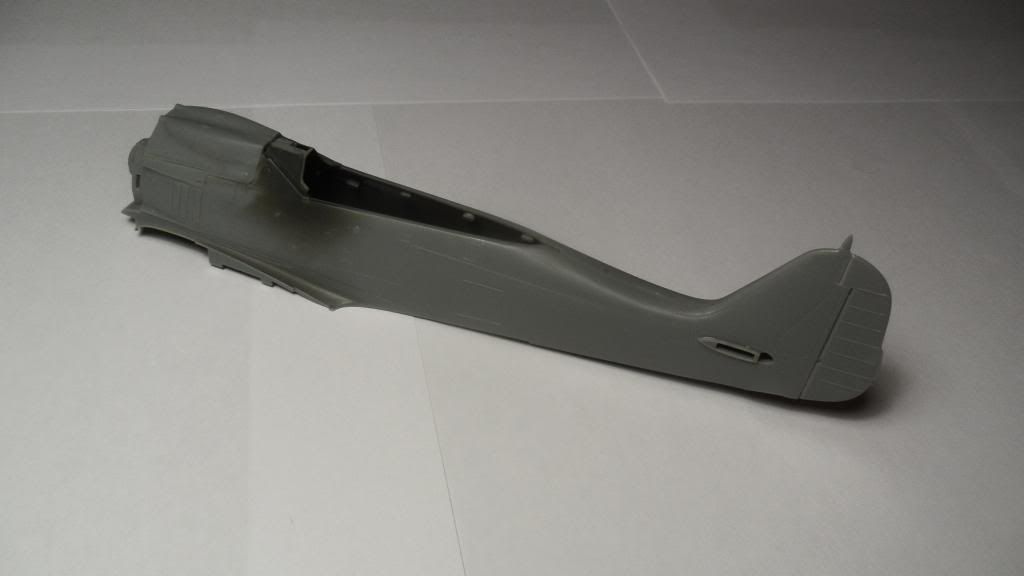
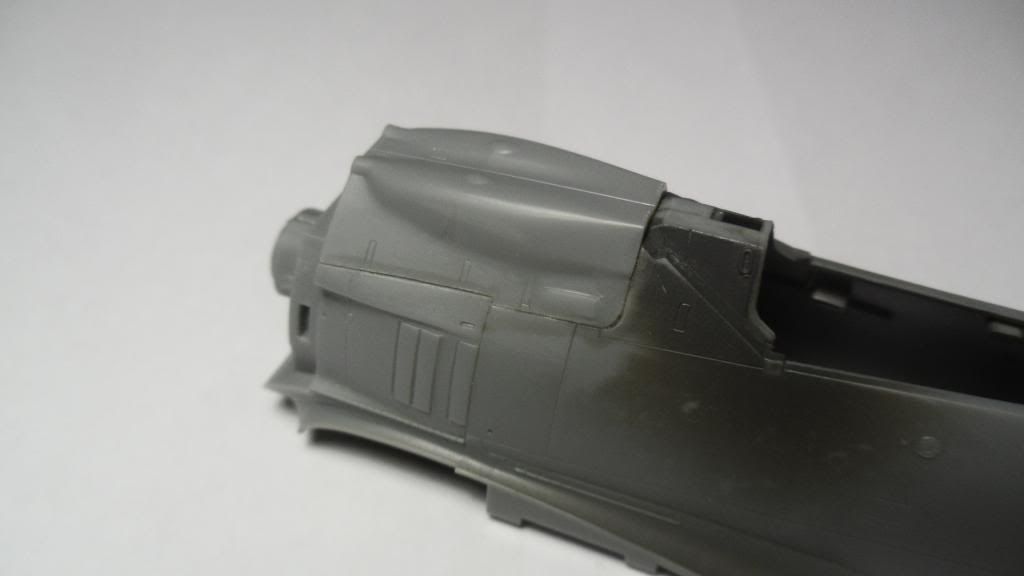
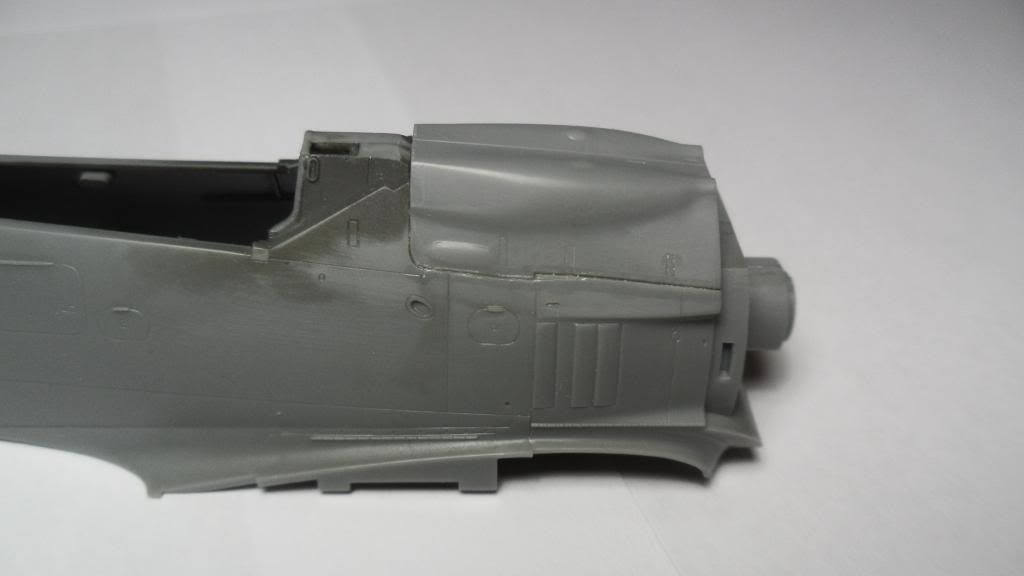
I also assembled one of the Hasegawa engine cowlings (for the F-8) and they are wonderfully engineered. Each of them consists out of 5 parts but they all fit perfectly and have a good amount of surface detail:
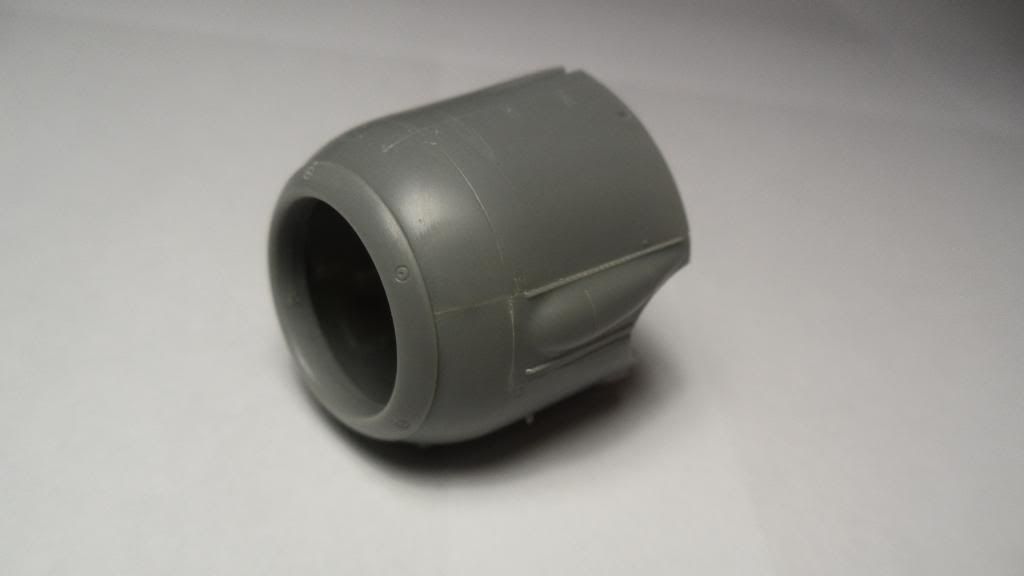
Well thats it for todays update, folks! I’m sorry for not showing pics of hte engines and gear bays jsut xet, but you really can’t see a lot without the details being picked out (thanks to my poor skills at taking decent pics)
In case anyone is still reading at this point, here’s the new “photo-hardware” i was talking about:
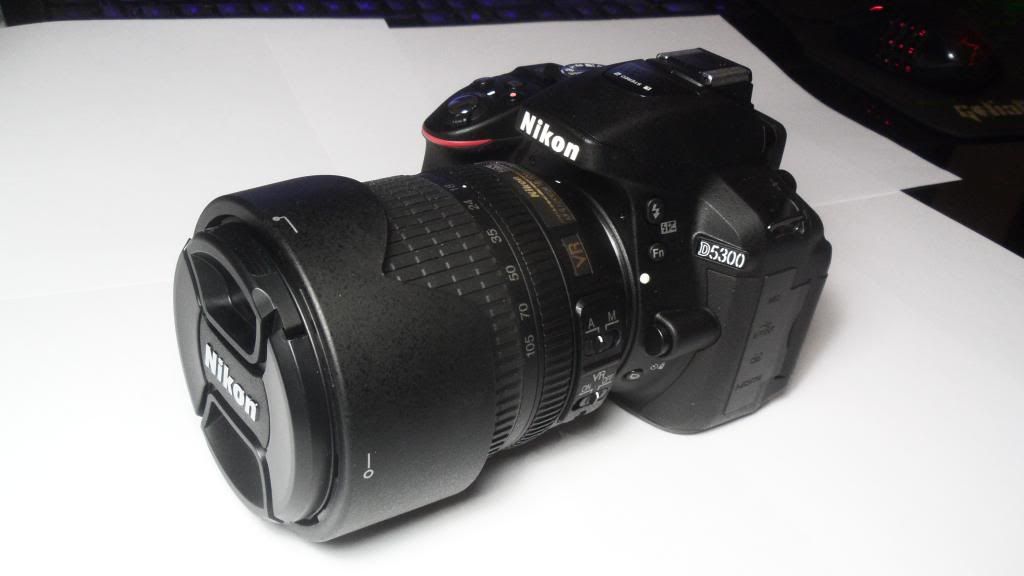
I can’t believe I got this monster of a camera as a gift for no particular reason (at least I’m not aware of one). You could literally kill somewhone with that (big and heavy) sucker… I hope My photos get better once I’m used to my new toy. Lotsa buttons and other stuff I have to figure out first…
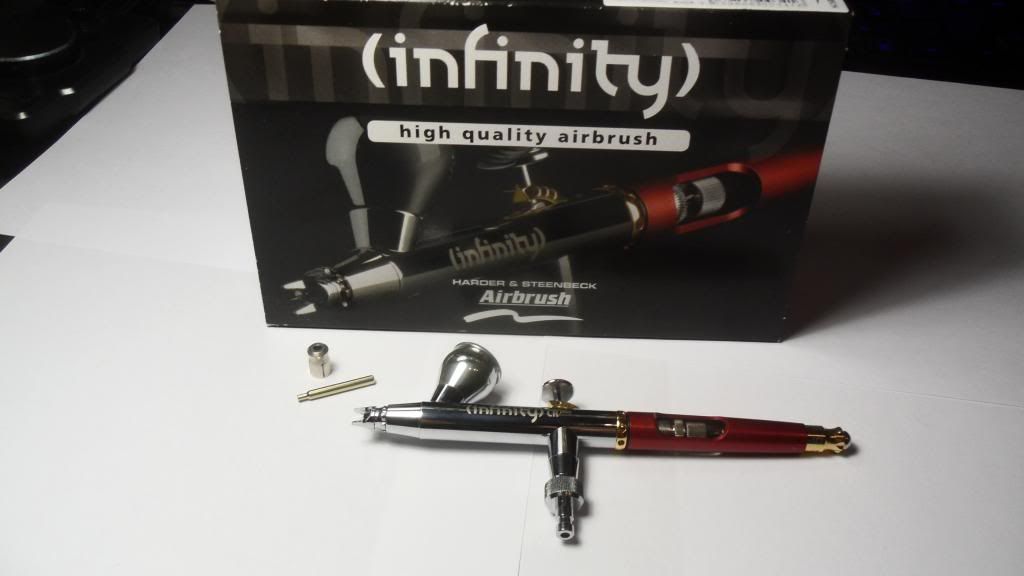
And some more eye-candy: My secret weapon for all those crazy mottling schemes (I’m looking right at you, Yellow 10) arrived a while ago and oh my, she’s gorgeous! I had no chance to use her yet, but that trigger tension adjustment works really well. I can reduce the spring load on the trigger to zero if I want to (needle won’t go back if I do though) or raise it all the way to what my evolution feels like. Should help with preventing fatigue when spraying fine lines, dots and other detail stuff for longer periods of time:
And a final pic of her next to my trusty Evolution:
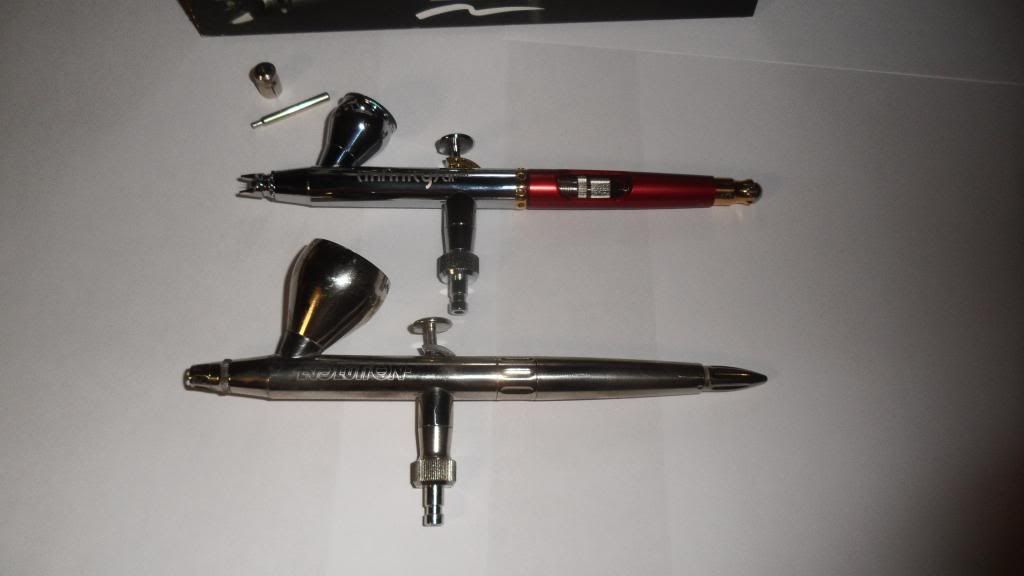
I got this Infinity CR+ with a 0.15 needle (smallest one available) so I can do the really fine detail work easier and I got 0.2 and 0.4 needles with my Evolution, so I can use them for the larger stuff (either in the Evolution or in the Infinity). The CR+ means it’s actually chromed and not nickel plated so I won’t get those ugly looking stains like on the Evolution (figured it was worth the 10 bucks extra)…
Cheers, Clemens
Clemens, you are a modelling machine! That’s the most ambitious production line I think I’ve ever seen! I think it’s production lining if there’s two back to back, but half a dozen??? WOW! Your capacity for work is nothing short of admirable!
M/TB379
My contribution for today was to soft-mask the fuselage of the A-8 and spray the 74 and 75, completing the main scheme. Here’s the masking:

And here she is with most masking away:

You can see the blutac residue in the 75 areas, so my next job is to spot spray over those, hopefully without overspraying the 74 which kinda obviates the masking to begin with… Then I need to retouch some of the 76 on the fuselage sides to tidy up overspray. After that, unmask the tail, switch to the fine tip and needle and do the mottle. At that point, if all’s clean and tidy, I can unmask the 04 and 24 areas, get the underside stained up with oil wash for leakage from the engine, and I’ll be ready to lay on the first clear coat.
Cheers, M.TB379
You keep that kind of building up and you’ll get a smiley face next to your GB badge! Good work!
Looking good there Mike.
Thanks, guys! I’m thinking a way to defeat the blutac residue may be to clearcoat the first shade before going on to the second – something to remember in future.
M/TB379
Nice looking paint job, Mike!
Mike, that is some sweet masking (and results) for sure. Looking great!
And finally some pics from the elusive of late SS. Clemens, I got confused just looked at your production line. No clue how you keep things straight, mate. They’re looking good. A+ for your persistence regarding your little cowling mix up.
Thanks, Greg and all. Well today was about chasing overspray, repainting to deal with the blutac residue and firming up separation lines where paint density was lacking. In the process I lost some of the soft edge effect, but hopefully the mottle will restore something of that. Here’s the evidence:

I have a little of each shade premixed in jars for spot corrections, and that’s tomorrow’s main job, the mottle. It’ll be a relief to get beyond the stage of chasing overspray, but my target for tomorrow is to have the mottle finished, all touch-ups done, and to have her into clear, maybe even with panel lines accented. That also includes oil streaks, as they are done before clear.
If I can get to that stage, I’ll be looking at sealing the wash and starting decals on Monday, Aus time, and from there it’s downhill to the finish.
M/TB379