I concur with this. Even when it has been only a year or so since the last time I did it, I find the problem re-occurs, and I spend very close to Mr. Tilley’s time progression on just about every sail vessel I build (except for 1:600 scale! ).
Welcome to our corner of the Net. There are some great minds here if you need to ask any Questions. Looks like you are off to a pretty good start also…Cheers Mark
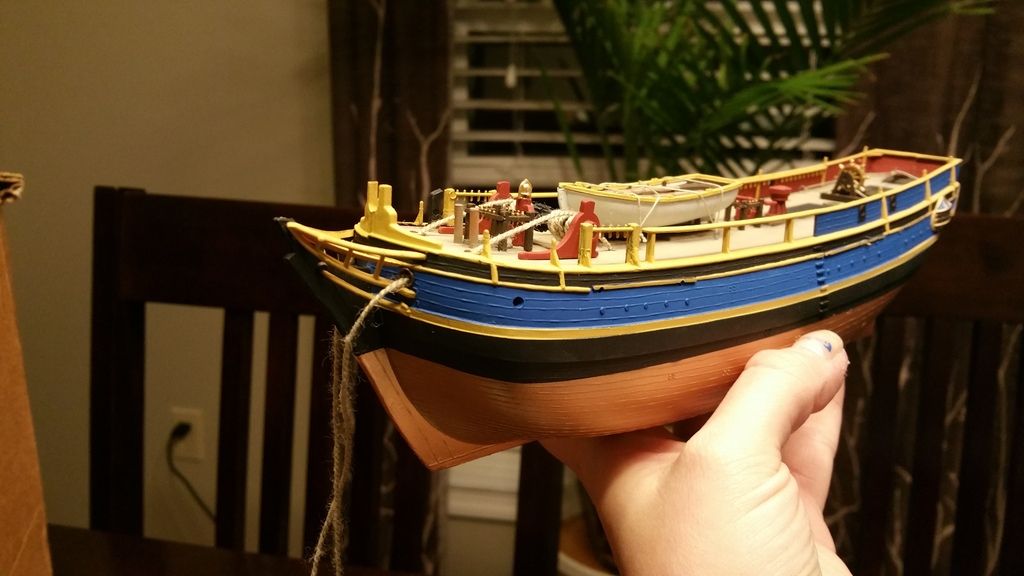
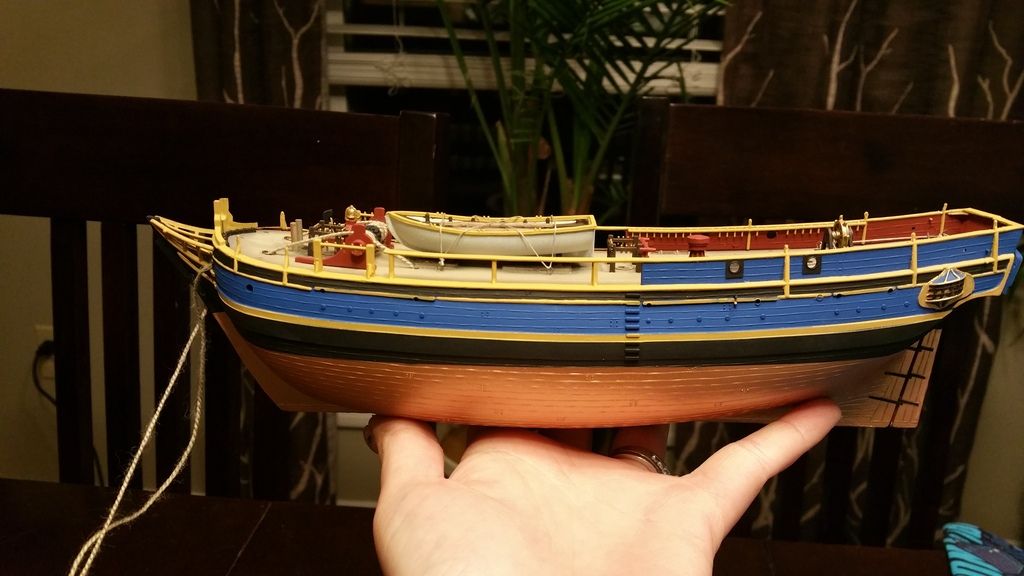
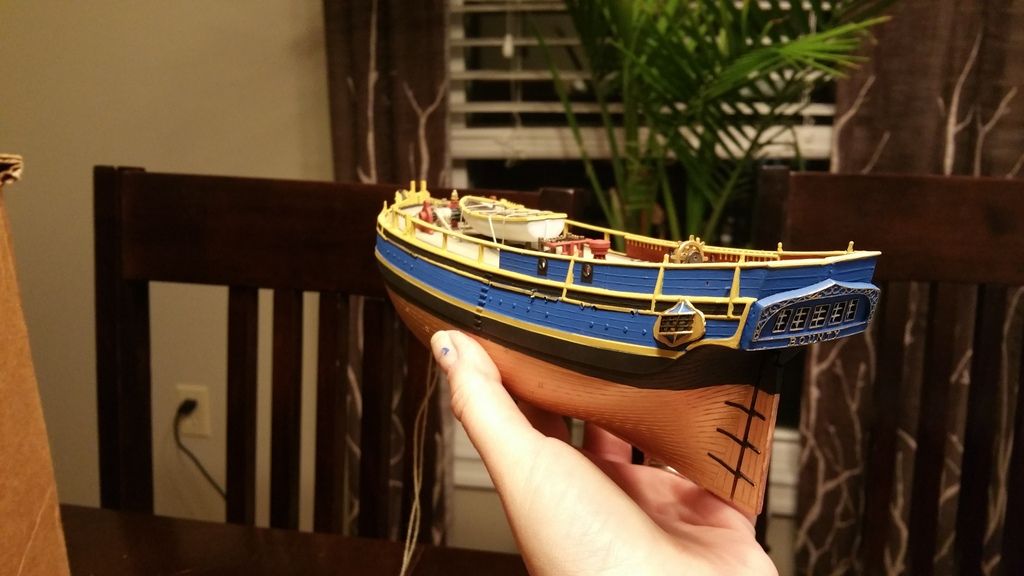
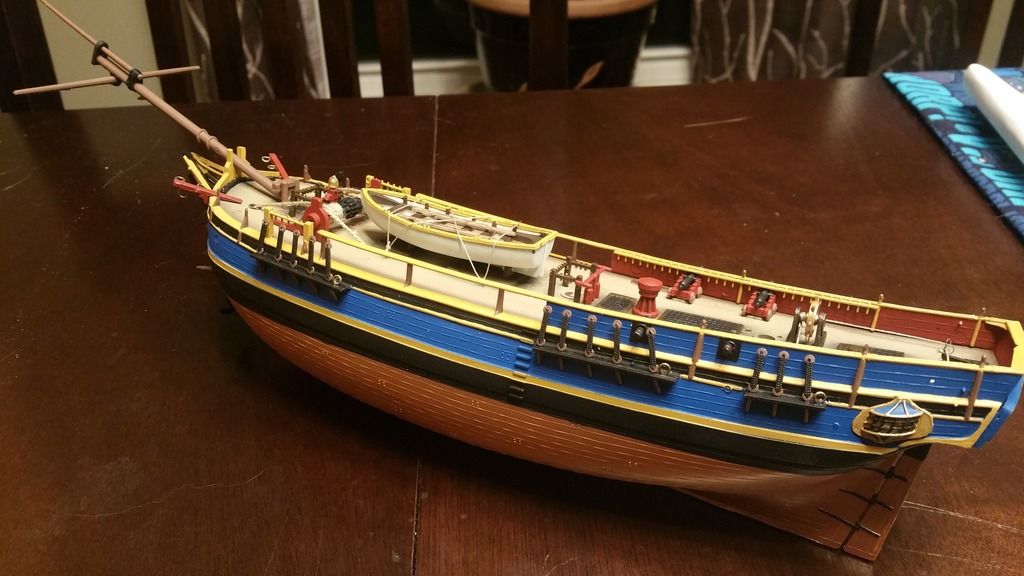
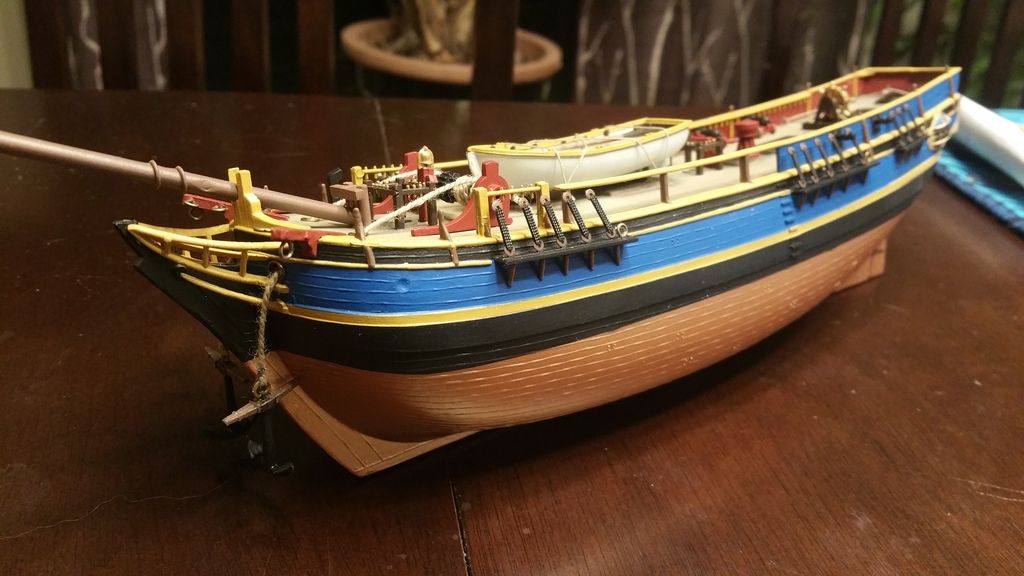
Progress! I’m trying to decide whether or not to paint a bit of a patina on the hull. The copper looks nice, but it looks so… brand-new. Since I made the deck look worn that doesn’t make much sense. At least acrylics are forgiving if I don’t like how it turns out.
2 Likes
Welcome to the Forums Jessica! Glad to have you aboard!
Very nice build. Looking forward to seeing the finished ship.
Jim [cptn]
Jessica, you have a knack for identifying relevant topics in plastic sailing ship models.
When a ship was coppered, she pretty much looked like what you have there. Coppering was a very expensive process. It probably started in the late 18th Century and was replaced by the late 19th Century with better performing techniques such as Muntz metal.
By the early 20th Century big ships were no longer built of wood.
The Bounty only was coppered when she was bought by the Royal Navy in 1787. Three years later she was destroyed, so a single coppering was all she had.
She most probably was never careened, certainly not drydocked, or otherwise scraped.
In other words, from the moment she was coppered until the time she was wrecked and burned, the marine growth was unimpeded.
IF she had ever been exposed to air after being coppered, and depending on how long after that, she could have turned green, but she probably stayed in the water, So it would have been a steady progression of barnacles, slime and vegetation.
She spent quite a while in Tubuai at anchor. That probably was a time where she got quite mossy.
Here is my suggestion. Copper gets a patina when exposed to air. And that takes a long time, maybe ten years. In the meanwhile, it goes from copper to brown to black to green.
A ship hauled out usually looks, and smells, just nasty.
So when building a full hull sailing ship model, there’s the question of presentation versus reality.
If bright copper, that would be generally accurate for the day she was launched, and appealing.
If covered in marine growth, ugly.
Otherwise the modeler makes an attempt to make the ship look aged, but still attractive.
Good to know! When I started the extent of my knowledge was pretty much, “1. Bought by Royal Navy, 2. Mutiny, 3. Serves you right”.
Maybe I’ll just make the copper a little more dull. I’m thinking that “ocean smegma” won’t be very attractive for display. ![]()
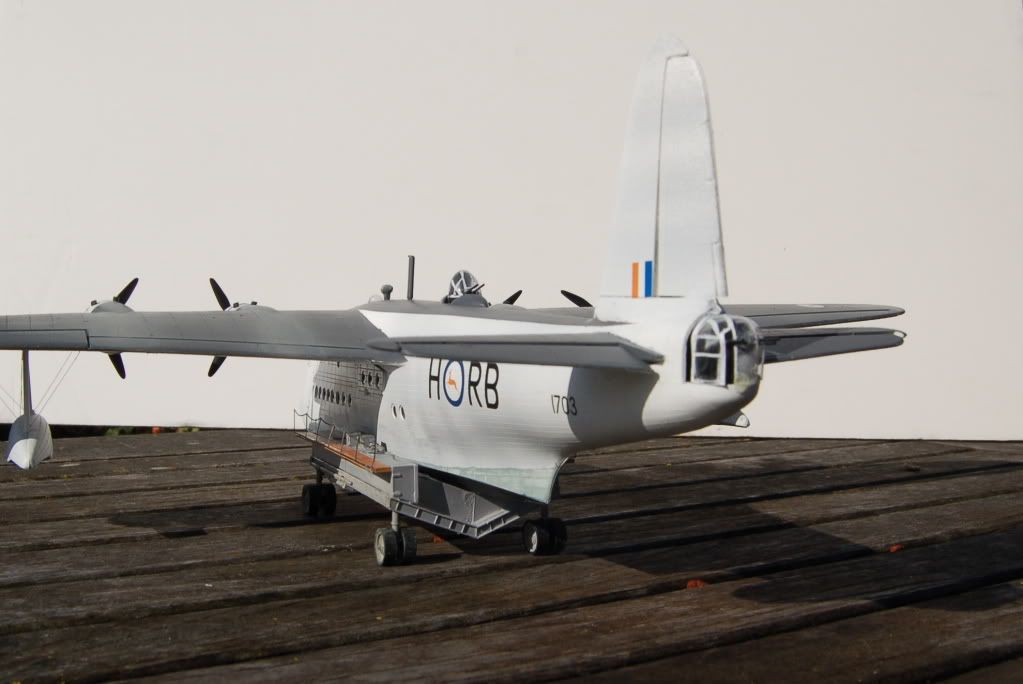
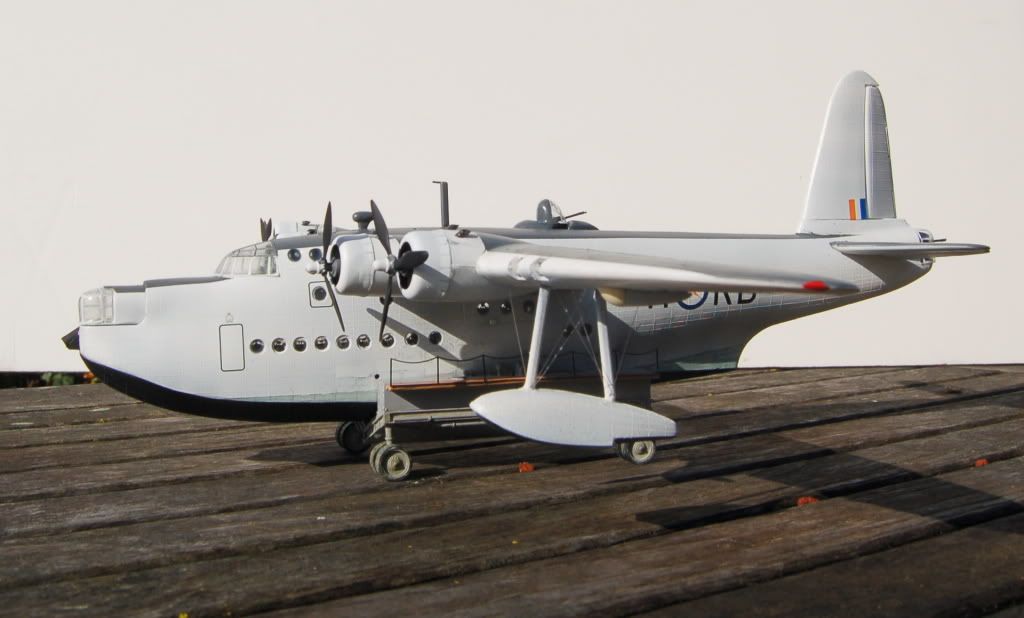
Interesting term. No, it would not. One of my models, I don’t remember which, I added a scum line around the water line but it didn’t add much to the presentation.
EDIT: I recall now, it was a Sunderland flying boat on 1/72 scale.
1 Like
Jessica, first and foremost, thanks for stepping out and starting this WIP. I wish more people would do the same. Secondly, this is nice work that you are doing. Keep up the good work and keep them updates coming.
Bakster.
The Brits still teach this, as Bligh’s navigation of the longboat remains a significant bit of seamanship.
I am jealous, there’s no way I could get that revell kit looking that nice. It’s very much starting to look like the illustrations in the Anatomy of the Ship book.
To tone the copper down I use Tamiya Dark Copper.Has just the right used look without the disgusting green patina that I just do not like!
Got some more work done this weekend. I wasn’t satisfied with the finish I was getting from the acrylic paint, so I airbrushed Vallejo matte varnish and am really pleased with how it looks. I’ve replaced more little plastic nubs with eyebolts and I got the deadeyes finished. I’m just praying that I don’t break them, since I removed the piece of plastic on top of the deadeyes and drilled holes in preparation for tying shrouds instead of using the plastic ones.
So I’m pretty well past the painting and assembling and getting ready to move into all the rigging, which will definitely be the most challenging thing for me. The drawings in the instructions are not great, but I’ve saved a lot of photos of various Bounty models for reference.
I also snagged some tissue paper for trying to make furled sails. We shall see how that goes. I feel like open sails pull too much attention away from everything else (and I don’t want to make them), and leaving nothing looks kind of unfinished.
1 Like
http://www.modulor.de/en/modelspan-tissue-white.html .this is good for sail’s jdavis , cheap , light & tough
Jessica,
Here is a .pdf for one of the wooden Bounty’s, although I cannot remember which. Anyway, the rigging instructions might be a help.
Steve
Interesting plans. The drafting (on the basis of what I can see on my monitor) is beautiful, and the artist did some research. He/she got the little water closet on the quarterdeck (at least I think that’s what it is - installed to accommodate the captain, whose cabin had been taken over by the pots for the breadfruit plants), which almost all kit manufacturers miss. The arrangement of the anchor hawsers is wrong; the hawseholes ought to be just above the level of the maindeck. And the fiferail around the foremast is a figment of somebody’s imagination; it isn’t shown on the Admiralty draught.
The sail plan looks fine, with one exception: the studdingsail booms on the topgallant yards. (The function of a studdingsail boom in those days was to spread the foot of the studdingsail above it. In the absence of a royal studdingsail a boom on the topgallant yard makes no sense.)
Other than those quibbles, a nice, well-done set of drawings.
Jessica, if you’re interested in making furled sails from tissue paper, here’s a link to a long discussion we had several years ago: http://cs.finescale.com/fsm/modeling_subjects/f/7/t/33775.aspx?page=1 . My own personal method, for what it’s worth, is described four or five posts down from the top.
If I remember right, the Revell topmasts and topgallant masts have little molded locators that let the modeler choose between the raised and lowered positions of the yards. For a model with furled sails, the lower positions are correct. (Those plans show the sails set and the yards raised.)
Hope that helps a little.
Hello Jessica, I just wanted to say what a wonderful job I think you are doing on your Bounty and I’m enjoying this thread.
John is correct, there are bands on the masts that show the locations as to where the yard would be if raised with sail or lowered without sail. Those locators are a mixed blessing, I have glued a yard to the wrong position before on the Revell Constitution.
I’ve always disliked those bands though. I’d choose one or the other and carve the unused one off.
And right there in Figure 139- how to tie ratlines using the clove hitch.
As a fan of good drawings-[Y][Y][Y][Y][Y]
Thanks for the info! I did not realize that and probably would have been confused. I figured I’d just have to either put them in the raised position or fight with attaching them lower. Of course, now I have to sand and fill in the other spots and repaint. ![]()
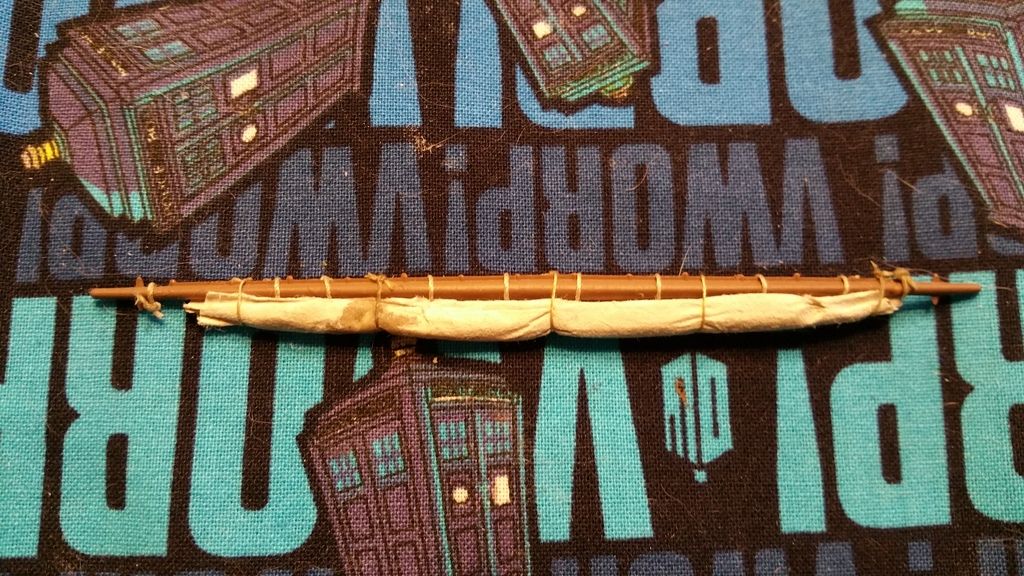
I bought some new shoes and got some really great, albeit fragile, tissue paper. Here is what I came up with. I used a triangular piece, though it really doesn’t look much thicker in the middle. Don’t mind the superglue I accidentally dropped on the sail…
Thoughts?
1 Like
Thank you for this! It’s extremely helpful.
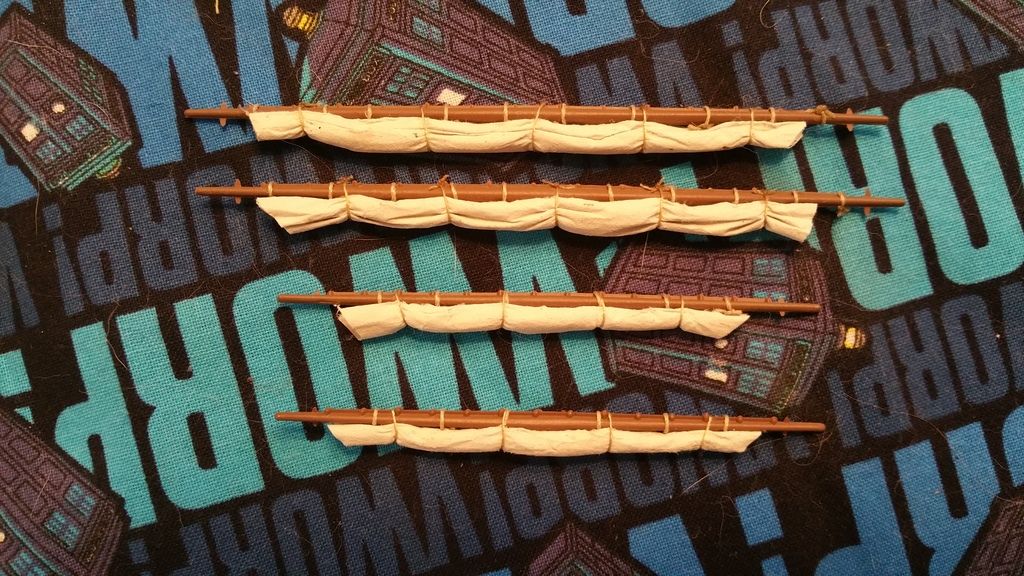
Four down after two painful hours! I’m not super thrilled with the sails on the topmasts so those may get redone. I think I rolled them too tightly. (I know they shouldn’t be rolled, but I had a bit of a meltdown and gave up after trying to gather the tissue paper.) They’re made out of what I assume to be recycled tissue paper from inside a new pair of shoes. I really enjoy using things that would be trash otherwise. I got the paper a little damp as I’ve seen recommended, and it made the paper less fragile and easier to get those nice little creases.
1 Like