Way too funny Dom!! I love it!! [:D] Does that come with bread sticks? [:D] [H]
Ken
Way too funny Dom!! I love it!! [:D] Does that come with bread sticks? [:D] [H]
Ken
“Hey Clem, I heard a rumour they nicknamed these things “Bread Sticks”, is that so?”
“Dang Buck, yu’ got me on that one, I cayn’t say fer sure.”:

“all I do know, is if’n yu drop one, they are self-toasting…”
“Dang is that so?”
“Dang, it’s so, now careful hangin’ on there.”
Dom
Personally I call it Merv… Or is that MIRV?
Either way so hot it’s radioactive…
Make Every Russian Vanish…poof!
Dang Ruskies, Mr. President, We can’t afford
a Bread Stick Gap!!!"
Hi Everyone,
You may have noticed that I have not posted any progress on my build for a few days. The weather was really nice here so I took advantage of it and got some work done outside. Today the weather returned back to cold so I am back at the workbench.
I took pictures but it is late and I do not want to spend the time to post them tonight. I will post them tomorrow. The first thing I worked on was the main wheel bays. The Aires resin pieces are a lot taller than the molded in parts they are replacing, at least as they come out of the box. First I filed down the top until I could start to see light through the part. Then I filed the corners down at 45 degree angles so that when the top wing is laid over them it gives as much clearance as possible. It is going to take some work to make it all fit.
The next thing I worked on was the avionics bay. I started to put it into the hole that I had previously cut out and the super glue let go. I will never use super glue again on resin. It is worthless. I will only use epoxy. Unfortunately the only epoxy I had on hand was some super long setup time stuff. So off to the store I went. That pretty well finished off my evening.
Ken
Sounds like real work there Ken!
I hope you are wearing a mask. That amount of dust sounds serious.
I’m sure it is all going to be worth it, looking forward to seeing your progress![:)]
Dom
Hi Everyone,
Here are the pictures that I promised last night. In this picture you can see the difference in height from the original wheel well and the new Aires resin piece. You can see the part of the left original wheel well in the left side of the picture. That is the air brakes directly behind the wheel wells.
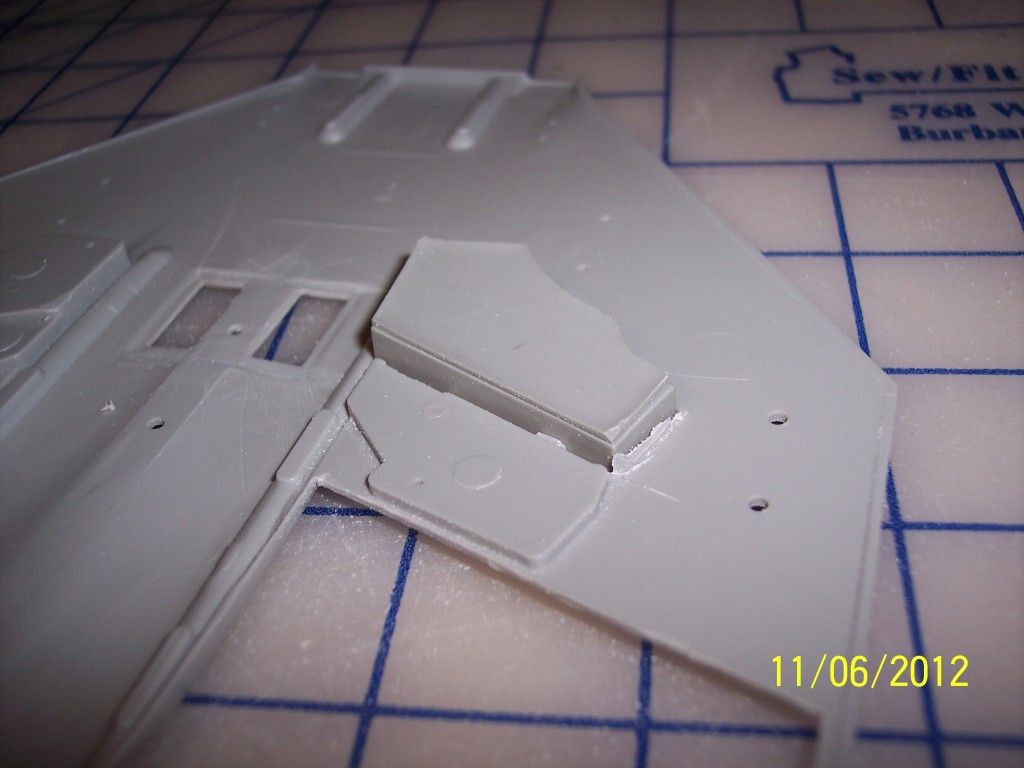
Here is a closer look at the Aires piece before I started work on it:
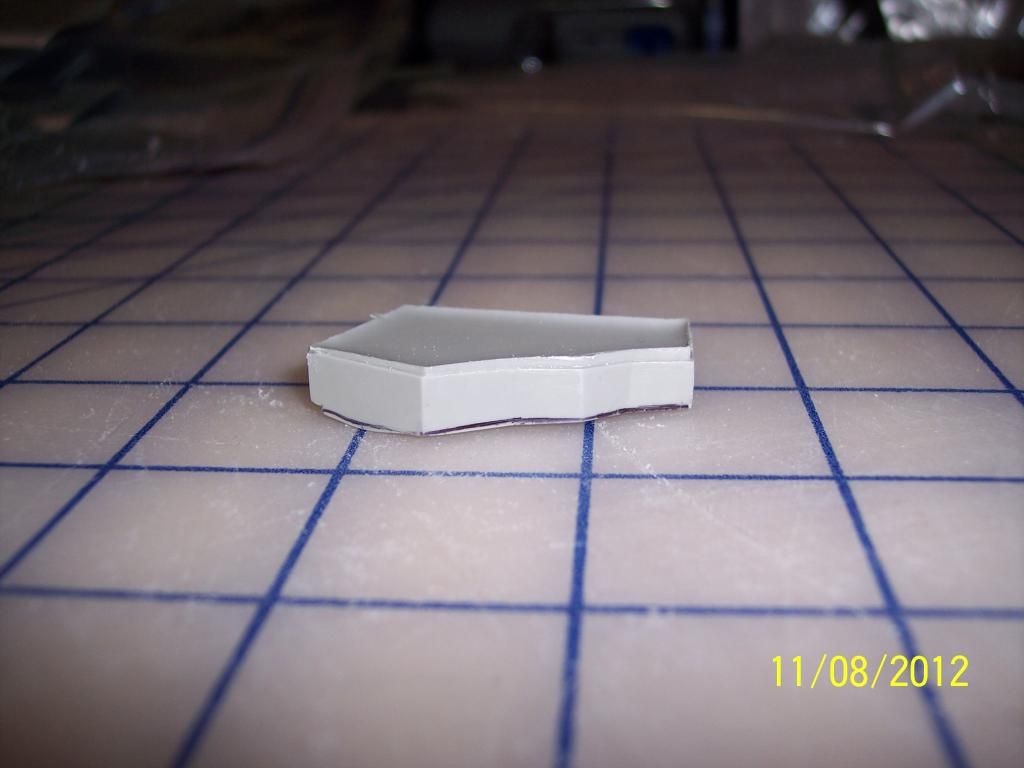
Here is what it looke like after I ground it down as small as I could:
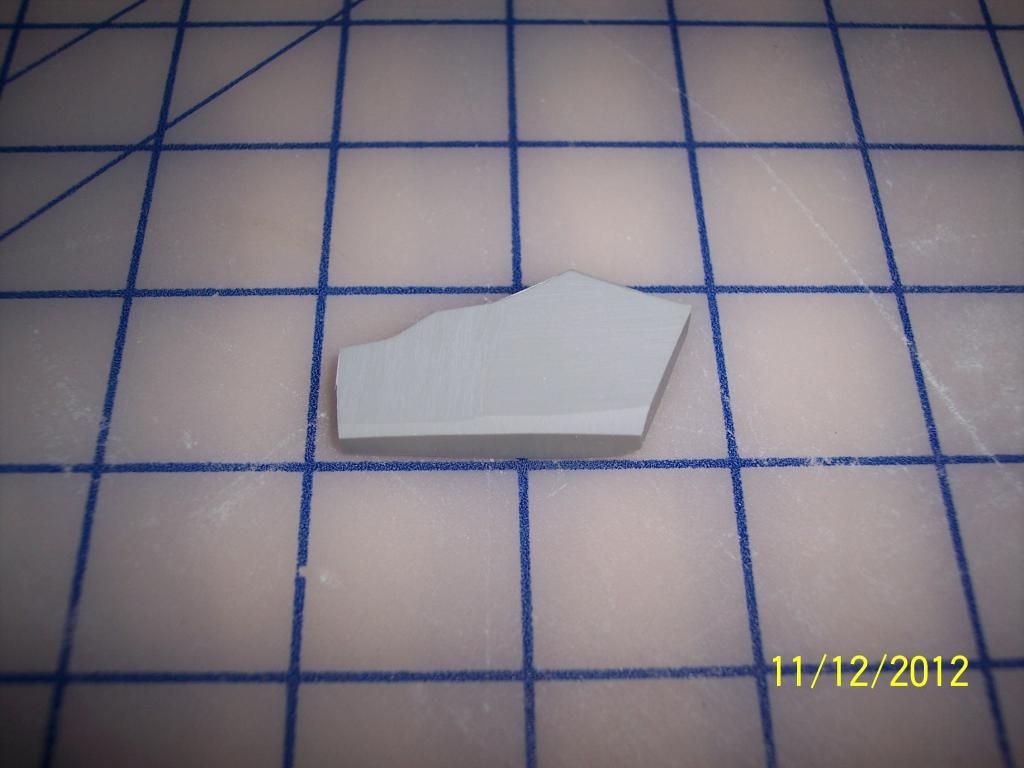
Another view:
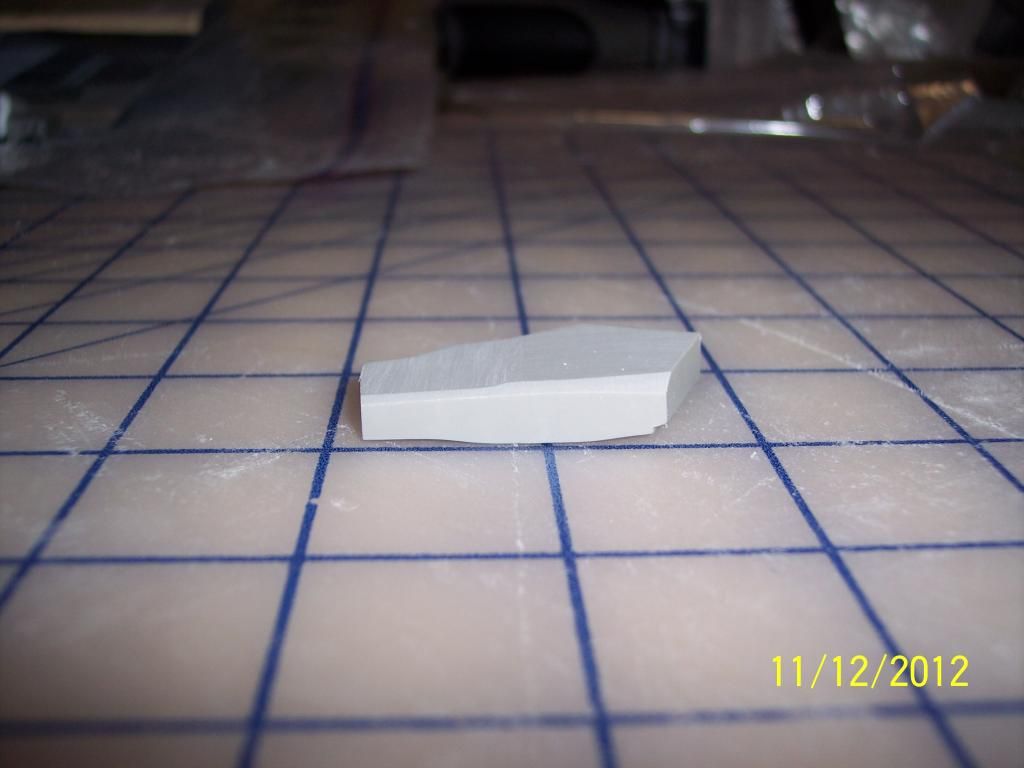
And here is a picture of the other piece:
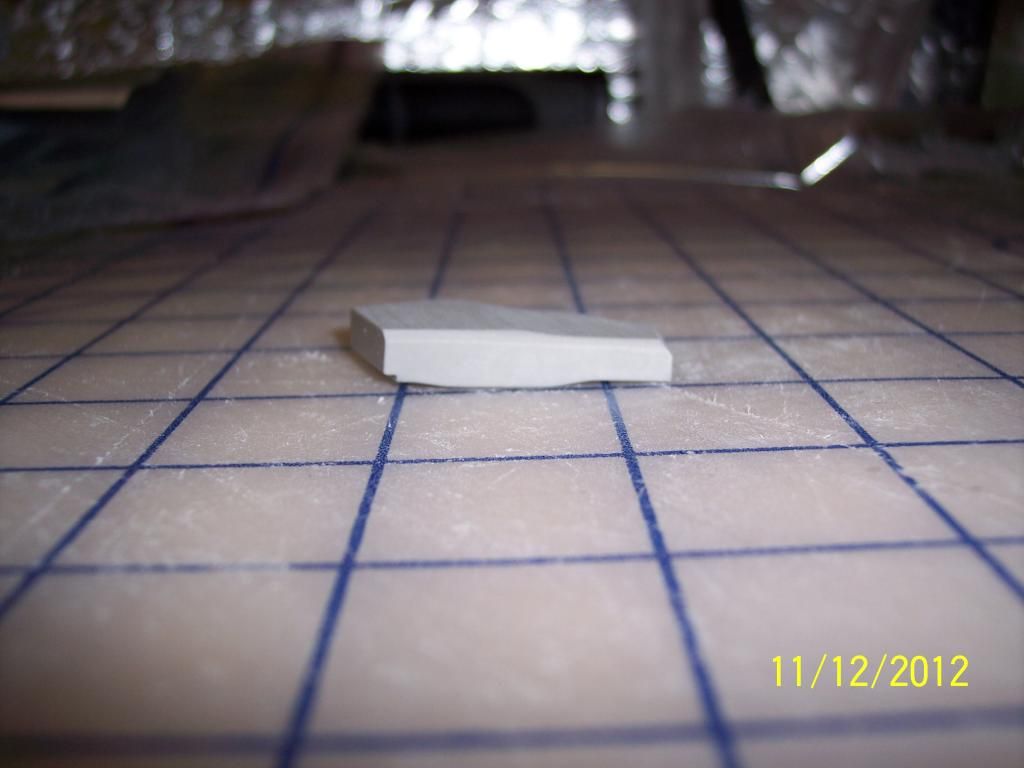
I mixed up some epoxy and glued the avionics bay back together. Hopefully it will hold together so I can get started on the fuselage tomorrow.
By the way Dom, I always turn on my vent whenever I do any sanding or cutting on resin. In fact, I turn on my vent any time I use any toxic substances such as epoxy, super glue, paint, etc.
Ken
In reference to your resin issues Ken, I’ll have to file that away in the event I ever get involved with it. I just assumed CA was the adhesive of choice; now I know better. Your work thus far has been exceptional and I have an idea that this build is very special to you. Best of luck as you progress!
I have started to see how tough this NMF thing is going to be. I’m already having to be super careful filling and sanding as I’ve seen the results on the engine. I have already slowed down to help eliminate a rough finish. So far gaps haven’t been too bad but there’s some along the fuselage longitudinally as well as where the fuselage joins to the empennage. I think though, that the results will be pretty decent and I actually don’t mind the challenge; it’s part of the fun!
Will post more pics this week end as time permits.
Ken: Again, she’s looking good!
MikeM: Personally I’ve gotten to using Gator Grip glue with most of my PE and resin. No I don’t own stock in the company or anything but honest I’ll never use superglue again as long I can I get GG.
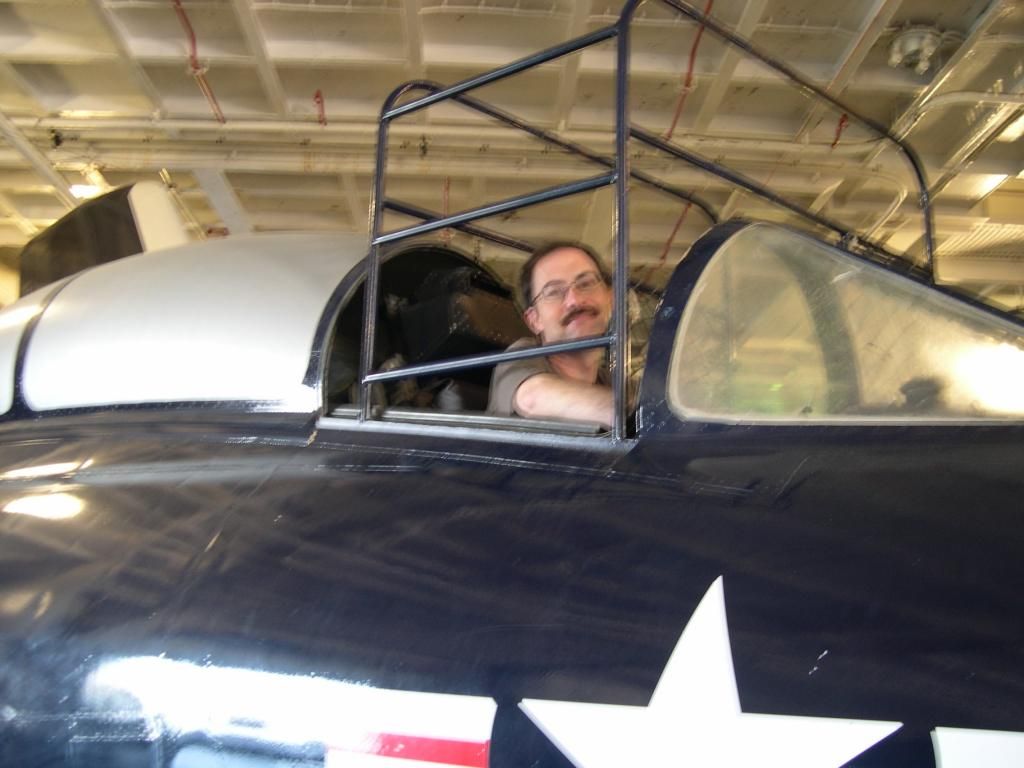
BTW: Finally got the photos from the Mighty Eighth Museum uploaded to PhotoBucket. Sorry it took so long, ISP problems and just putting things off, but they’re up now. And a few photos of the aircraft on display on the USS Yorktown, I’m going to see about getting more Yorktown photos added.
And yes the dorky looking guy here is yours truly…
So true Mike, I had issues using CA on photo-etch to attach it to resin. Cliff told me about a good product for that called “Gator’s Grip”. But if it is something that needs any kind of strength, CA is not going to do the job.
Yes, this is the model I was working on when Berny passed. He had told us about a particular F-4E that was the last aircraft he was a crew chief on. It has many stories behind it. Berny himself had built a replica of it. When we had learned of his cancer, Rich asked if he could build a replica of it. Since I was already building an F-4E, I also asked Berny if I could build it to resemble it as well.
The cancer took Berny really quick at the end. When he passed, I could hardly touch this project for a year. But now I feel the best thing to do is to carry on with his spirit in mind. It is what he would have wanted.
It sounds like you are getting a pretty good handle on the NMF procedure. That is something I still want to master. I have several century series fighters and a few other aircraft I would like to do in NMF.
Ken
Hi Cliff!
Very nice picture! Cool to have a face to go along with the name. Man, you took a lot of pictures on your trip! Thank you so much for sharing those with us! You got some really great shots!
Ken
Hi, Ken! Looking good, bud! [Y] [Y].
BTW, what kind of vent are you using? I adapted a range hood vent but it doesn’t move much air.
Russ
Thanks Ken, funny I’ve got a pile more of the Yorktown, just figured I’d post the aircraft related ones. I love digital cameras, I can fit over 340 photos on a card the size of a matchbook so there’s really no reason not to go ‘snap-happy’!
Hi, Cliff. Thanks for taking the time to provide those pictures.
Hey, isn’t that cage meant to keep dorky looking guys out of the cockpit??!! How did you get in there? [:D]
Russ
Hi, Cliff. Thanks for taking the time to provide those pictures.
Hey, isn’t that cage meant to keep dorky looking guys out of the cockpit??!! How did you get in there?
Russ
Funny, that’s the same thing the security guy said as he pulled out his nightstick. I think he used the term ‘punk’ instead of ‘dork’ though. [:@]
Still, it was worth it, the more I look at the photo the more I think I look like William Holden in ‘The Bridges of Toko-Ri’ … [;)]
Lol i always thought those cages were to assist non military types (and fatties like myself lol) into and out of the cockpit so they too can experience the interior of a fighter.
Ken;
Your patience is showing, very nice sculpting there!
Dom
Yeah Russ, the staff probably had to put that dork cage up to prevent dorks from exiting on the wrong side![:(DD]
Cliff, is that a Panther, or Cougar, guessing Panther…
Toko-Ri had such a tragic ending, but it did inspire to get one of those carbines…in a former life…
Dom
Holy cow Mikey, where did you ever get the idea your were overweight?
errrr…you are one cruel dude Mikey…lol…
Hi Russ,
Thank you for the compliment!
The vent I am using is a bathroom vent. I went to the hardware store and purposely bought the highest air volume output unit they had. I also got it with lights so it has a double function. It really moves the air when I turn it on. I also chose the quietest unit at that air volume since I did not want to go deaf. It was almost the most expensive unit they had but worth every penny. The only unit higher in price had heat in it but I did not see a purpose for that.
Ken