Looks nice, Mike! And congratulations on the new air brush! [blns]
Russ
Looks nice, Mike! And congratulations on the new air brush! [blns]
Russ
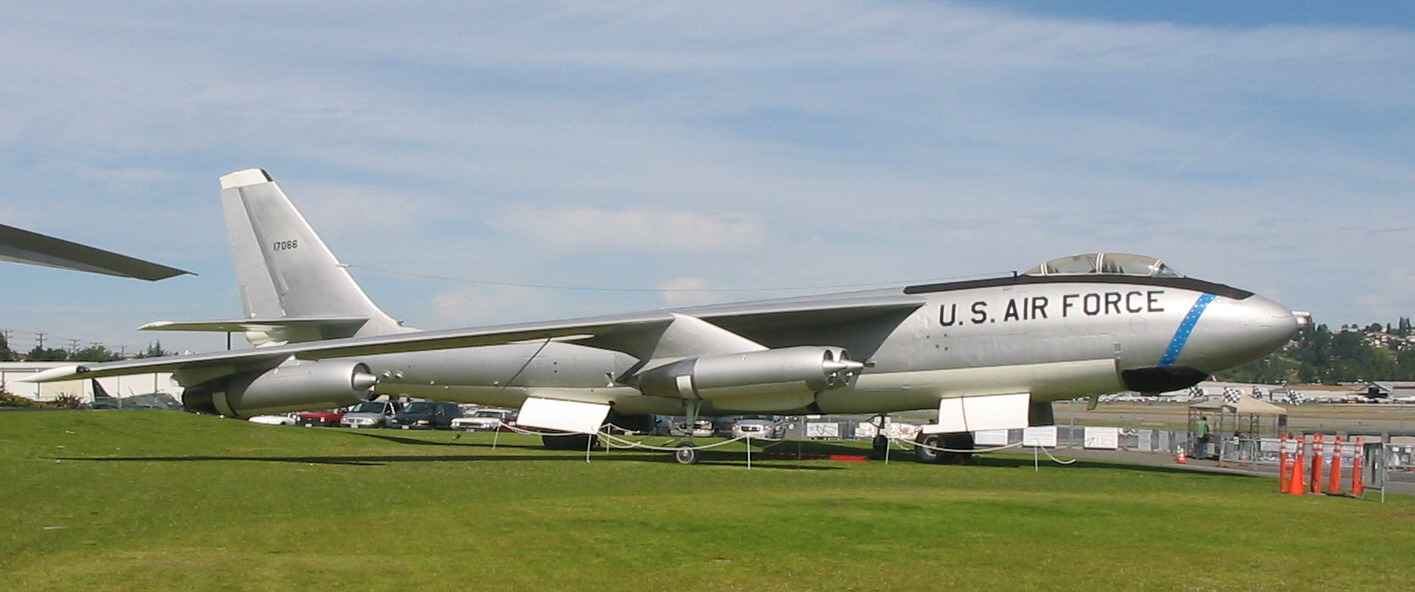
Hey Russ, I’ve been looking at that spoiler shot you provided:
 What I am seeing is that the top of each feather on the spoiler has a re-enforcement, like a small bubble ridge that goes from the back edge up past the feather root and a few inches back from that. Maybe to stop those feathers from ripping off?
you can see the arch and shadows of those ridges if you blow up the photo.
Am I seeing things?
Dom
No, no, no. I think you are way off base there Dom. I think they are back scratchers! [:D]
Ken
Errrr, that’s very embarrassing Ken;
I thought I was the only one who used 'em fer that![:D]
See Themza’ onez’ bent up an’ all like that?
they’za the wons’ wot hit warts…[+o(][:D]
Hey:
There’s a great shot of the upward wing flex:

Dom
Hey Ken:
I cut n’ pasted a few of the above entries into Russ’s
1/72 B-52D with Big Belly Mod, Operation Arc Light
thread, some contained your commentary, I hope that is okay.
Dom
Dom,
It does look like they are rounded toward the center. This may be a later modification possibly to strengthen the feathers. So maybe tapering them isn’t so far from real world.
Russ
Russ:
i think you got it right on both counts. Given the shots above, they must have tapered them.
They may even have put those mod reinforcements on to prevent the feathers from over stressing to extend the life of older birds.
I any case, you wouldn’t want to build a gross of those tiny little bumps then glue all those little bastiges in place,
you would be blind before your time.[blndfld]
Dom
Hey Guys,
Here’s a really interesting account by a test pilot of flying the B-52 during flight test and development. It gives some insight into how cantankerous the plane was.
www.jetbombers.com/chapter5.html
The guy writes with a unassuming humerous style and some of the things he describes are hilarious.
Russ
Of course it is okay Dom! No problem! [:)]
Ken
B-52D outriggers:
I’ve never been happy with the way they did the outrigger wheels on this model - the wheels are molded together with the strut yokes. I know they did this for strength so the outriggers could support the pressure from the sloped wings. Any type of plastic axel that could support the weight would have to be oversized - anything smaller would break.
I decided to remedy the problem. I happened to have the main gear wheels from an old 1/72 F-4 model that were just about the right diameter. They are a little thick, but I you can’t have everything [:)].
For the axels, I used a common sewing pin. I inserted a pin through each wheel with the head on the outside hub and glued it into the wheel, making sure the pin was perpendicular to the wheel all around.

Next, I carefully cut away the wheels from around the yokes. If you use a spru cutter, be careful not to deform the yoke. Then I cleaned out and sanded the yokes. I drilled a hole the size of the pin through each yoke at the axel point.

NOTE: If you plan to flatten your wheels, do not glue them to the struts at this time. Wait until the model is ready to stand on its feet and then attach the wheels so you can match the flat spot to the tilt of the wings.

Once the glue around the pin is hardened, insert each wheel through the hole in the axel and cut off the excess pin, then glue it in place. I also plan to glue the inside of the wheel to the strut for added strength. You will also need to file down and finish the hub on the outside of the yoke.

Cheers,
Russ
Russ: all that work looks awesome!
Thanks, Cliff! [:D]
Hi folks.
Sorry I have not been on for the last few days. I made a huge mistake Tuesday when I took my wife to McDonalds for our anniversary. I wasn’t yet 100% and I got to spend the last few days even worse than I was before. Today is the first time I have felt like even getting out of bed.
I haven’t been able to get any work done on the Phantom yet. And thanks to one of my wife’s cat, it may be a while before I do. Lets just say she ate too much and then had to , well you know… All over the box to my 1/32 Hasegawa P-51D kit. So I decided I better do that one before the parts all get lost on me. I really wasn’t ready for this one, and I’m going to have to substitute colors for some of the recommended ones, but at least it’s large scale. I’ll be starting it as soon as I am able to stay up for more than 30 minutes without having to lie down again. I have got to get rid of this bug before next Tuesday or I won’t be able to do anything for my Daughter’s Bday. I am thinking of possibly snagging her an NOS Aurora kit of Godzilla that I saw on eBay. The one with the glow in the dark parts option. I’ll have to see how much it gets to be on eBay. She had mentioned maybe wanting to start her own build on FSM for what she called the “Mutant Monster Mania Group Build”. So if I can snag it for her, she will be all set. She’s been a little angel all week while I have been sick. Of course I don’t know if it’s that she is genuinely worried about me, being a teen and all; or if it’s just advance sucking up for her Bday and Xmas… LOL
I’ll try and stay in touch as much as possible. I should have some P51 work done in a few days.
Rich
Rich:
Very nasty situation bud, sorry to her you’ve been so sick.
There’s a new Mechano kit out there the “Cat Harvestor”
maybe should take a look out for that for Christmas.
Looking forward to the P-51, take it easy pal,
Dom
Nice work there Russ![Y]
They never painted those outriggers up in Hawaiian colours,
did they?[:)]
I don’t think anyone other than the super-geeks will spot they
are from a 1/72 F-4. By the way, nice drilling job there,
yeah, you get a pass for Grade 9 shop pal!!![8-|][H]
Dom
Nice work once again Russ! You are doing one heck of a job scratching out those parts! [Y] [Y]
Ken
Thanks, Ken! I really appreciate the good words!
Russ
Hey, an added bonus for Russ,
the pin gives the wheel a chrome hubcap![:)]