Bish, good for you, sharing your post in the Armor section as well! I’m watching your halftrack–you’re knocking that ball out of the park so far!
Looks good with the ‘shoes’ on there Karl, rolling right along!
think i will double down as well on the GB. JIBBER and i have a RAILROAD GB in january. he is doing a 1/35 BR-86 and i am doing a BR-52 or K-5 RR gun w/C-12 diesel. but i digress again.
tracks look good IIRC and ROB will correct me, M60s had one more tank track link on the right side. way too much cool stuff in the stash.
oh and DOOG, the UN UNIMOG took a another first and second in a couple of local contests. it has almost as many awards as 1/35 MAS torpedo boat… i suppose it isn’t bragging if it’s true.
Hello, The Doog.
it’s interesting choice of model. of course you’ll have many questions about KV’s suspension because there were too many mistakes in Trumpeter’s KV suspension. it’s about theit early production. i guess they have corrected it in new production like this one but not all. if you want to check suspension you can use interesting articles where author compare Trump’s details and real detail from museum. i think the pictures will be enough, without text. www.dishmodels.ru/gshow.htm but there is one important think - is that early KV’s suspension or late ? i mean kv part of ww2 period or after ww2 ? as i rememmber after war kv (or IS) part have many differences…
Thanks, Bill! I"m trying to keep up with your output, but that’s impossible of course! [:D]
Wayne, Wow, a “Railroad” GB, now that’s ambitious!
That’s interesting about the M60 and the suspension particulars.[8-|]
Congratulations on your Unimog triumphs! That’s great!!! Next step is to take it to a regional, or National contest! Or better yet, an AMPS! [Y][B]
Vladimir,
Thank you for that great resource–that’s an awesome site and the link will be very helpful to anyone who is interested in the KV tank details!
In the question of “accuracy”, this is an old debate, and one in which I have weighed in on in many instances.on the side of “artistry” vs “accuracy”. I am not necessarily disappointed by small dimensional errors or small details which vary in things like welds, bolt heads, etc. I’m one of those guys where, if it looks like the tank, it’s good enough for me in most instances. [proplr] On occasion, if the tank is well-known, or historically-significant, I will take the time to correct a manufacturer’s errors (like the old DML Maus, on which I intend to correct certain errors. Rarely do I ever correct suspension errors, as they’re not really “eye grabbing details” to most. I’m more likely to correct significant hull errors, or things that “stick in your eye”. But I do thank you for taking the time to make s aware of the differences. [t$t]
Doog I have to agree that your photography is right on the money and shows exactly what I’d love to see and your tracks are always great. Nice build.
1/35 choo choos are big and have lots of pieces. i don’t think they are anymore complicated than some of the truck frames i build
In local contests this year it took a 1st, 2nd, and a 3rd in commercial trucks in three local contests and a first in commercial trucks in region 10 regional. time to retire it until nats next year. and send some pics into FSM.
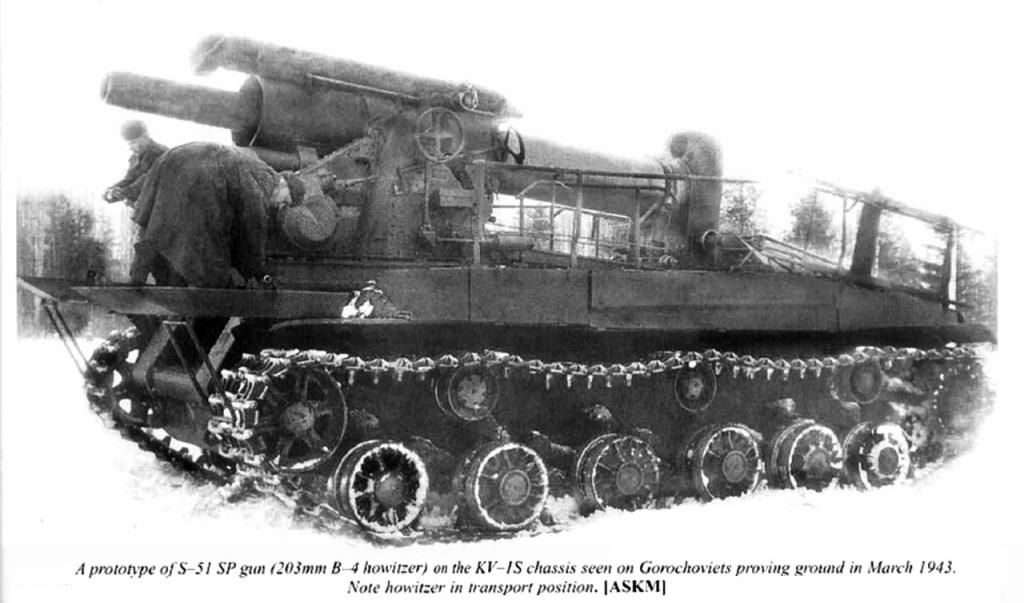
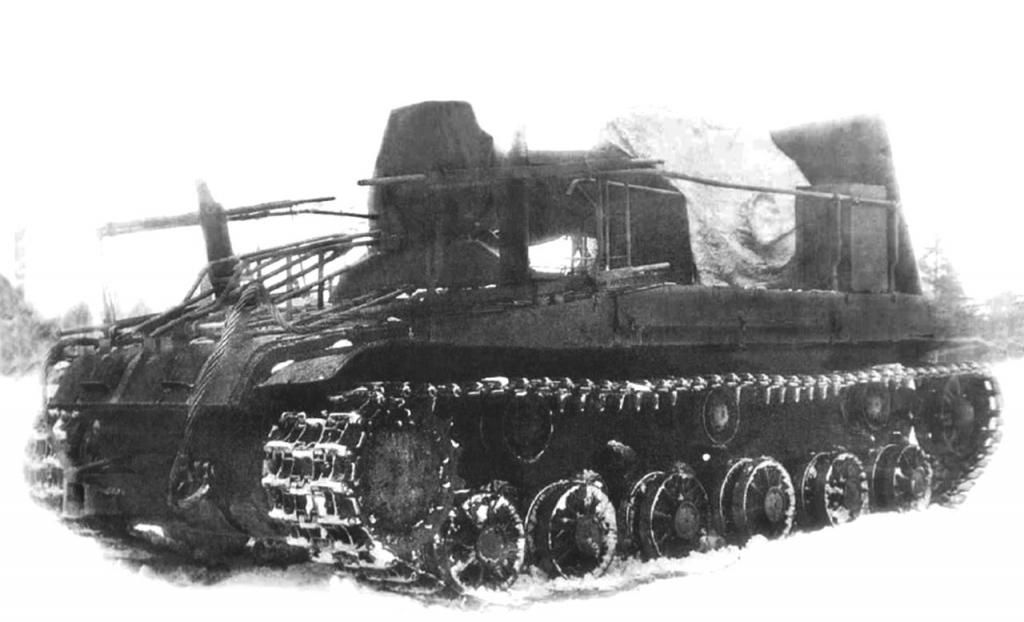
Neat build, doog. I like the look of that thing, and it’s not hard to see why it never made it into production…
Very cool Karl, some of the German paper panzers were wild but I’m very happy to see some of this crazy Soviet stuff that’s been coming out recently.
And congrads on the new doog too!!!
Hi Karl. Just a note about the road wheel spacing,they are off-set because the torsion bars are nearly as long as the hull is wide.Take a look at the Panther 2’s road wheel config. for each side byrden.com/…/WheelSpacings2.html. Awsome looking Tomcat by the way!
Thanks, all of you guys, for the comments and the information!
I should be done with it and ready for paint in a few hours! Pics to come!!!
I meant to thank you for that nifty link, Red Green! Lots of cool info there! And thanks for the props on the "cat!
The model is finished an ready for paint!
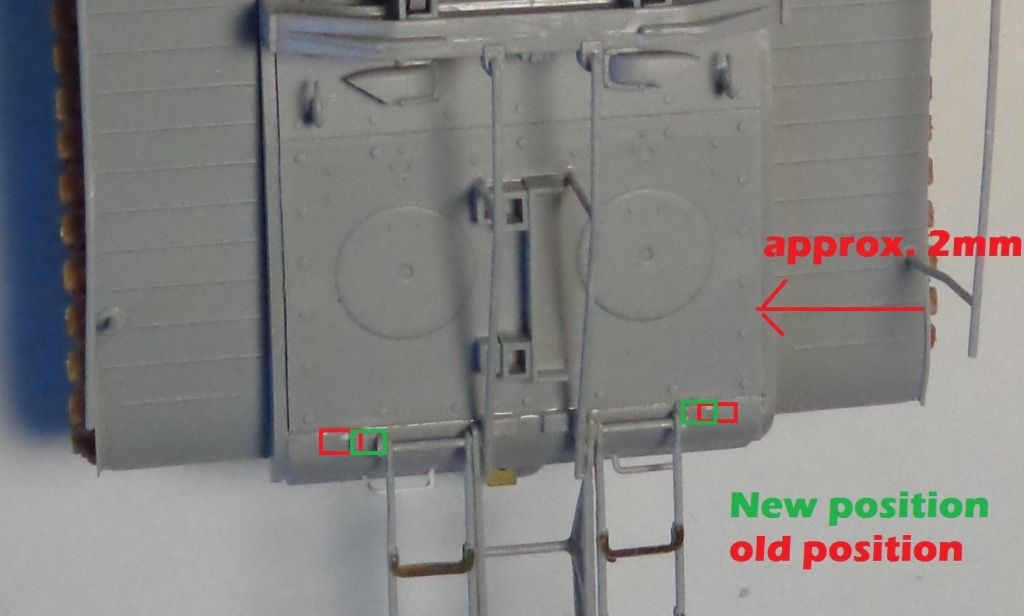
Here is a shot of the modification that I had to do to the rear ladder mounts. The mounts for them are just too far apart. I had to cut the molded-on mounts off with a single-edge razor, and re-attach them about 2mm closer on both side. It was impossible to get the ladder edges to meet them where they were supposed to join. I had all this documented in photos, but my memory card got screwed up and I lost the photos in the re-formatting! [:@]
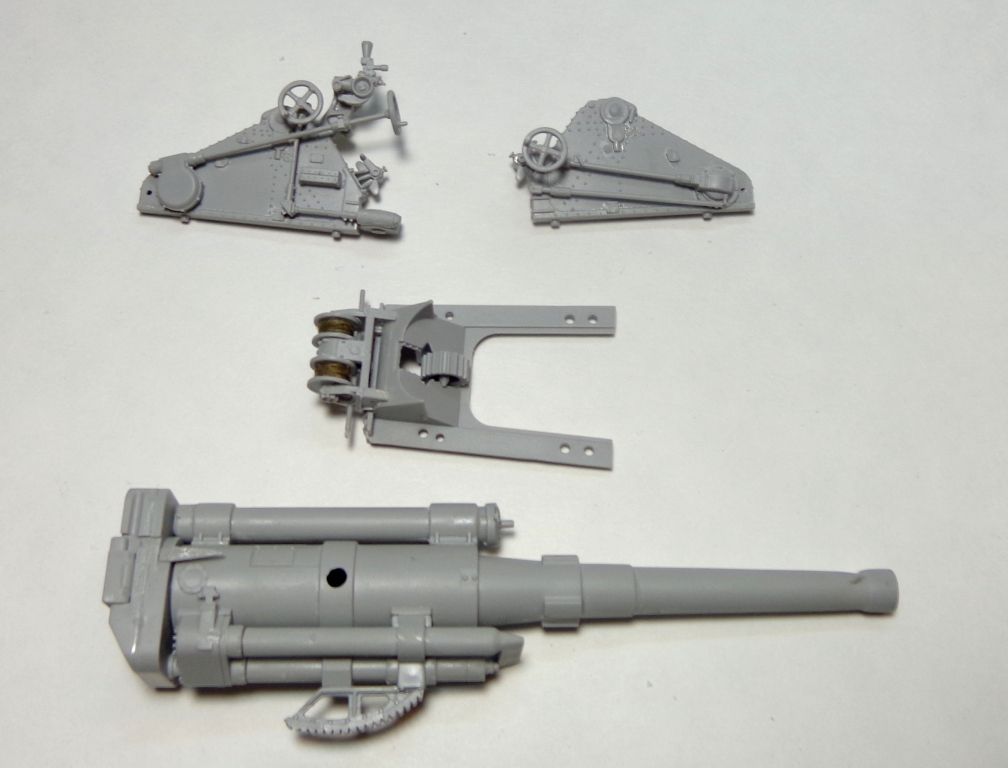
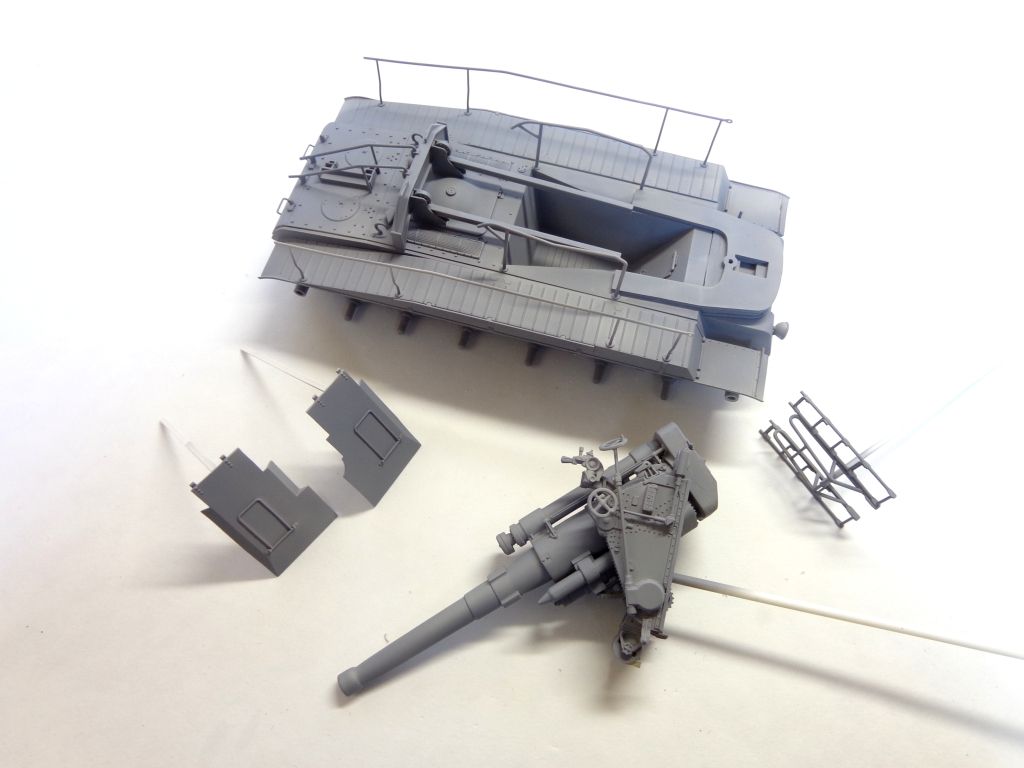
The gun parts un-assembled.
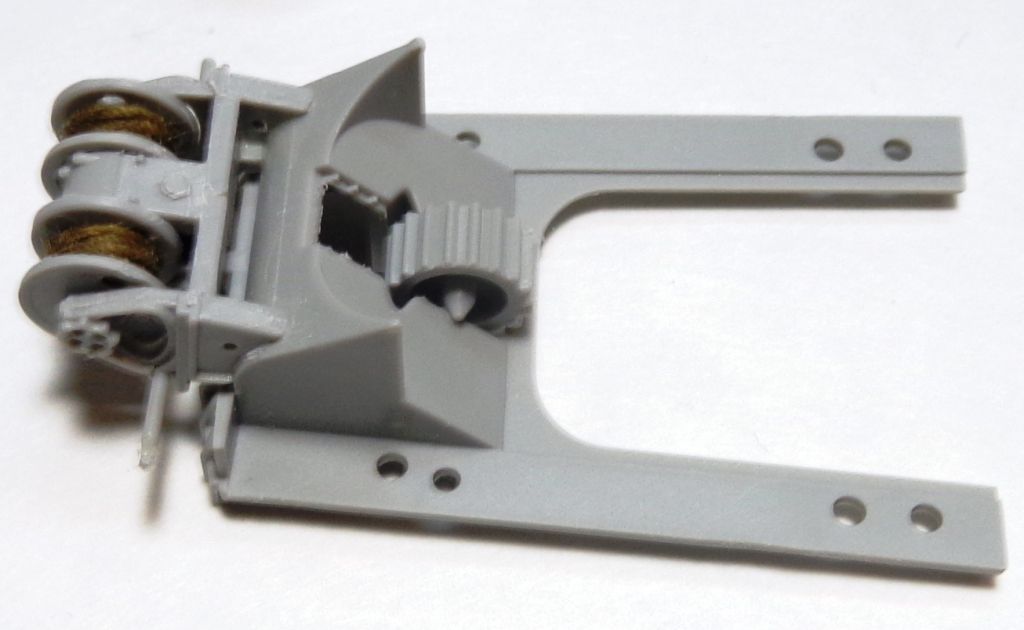
This gun cradle has a gear that engages the gun’s undercarriage, and “rope” that is wound around the wheels. This is twine, which comes in the kit. I wet it somewhat with white glue, and wrapped it around while still wet. I’ll have to mask it somehow when I paint it.
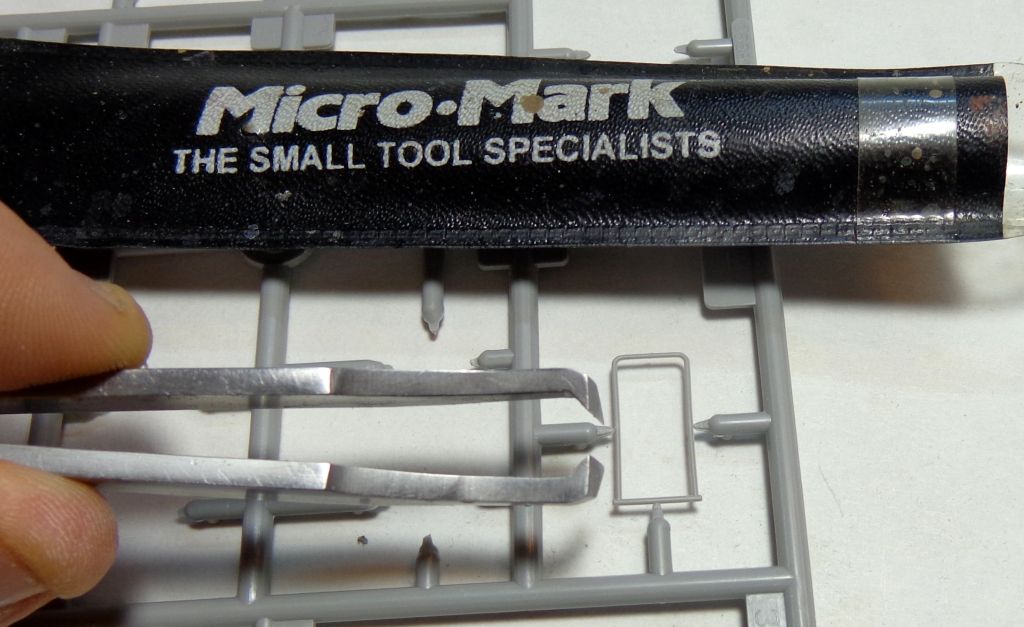
Don’t know what I would do without this Micro-Mark precision cutter when removing delicate parts like these leg braces for the front shields! A “MUST have” for every modeler!
By the way, if you want to position the front shields “down”, they act as “floor pans” for the crew when lowered. Check it out here: and you can also store the “ladders” on the other end UP if you want, for travel.
Here’s the model, finished. Notice that there is a pesky circular PE piece in the barrel that simulates the grooving in the barrel. Two figures from Helo Miniatures will finish this one off.
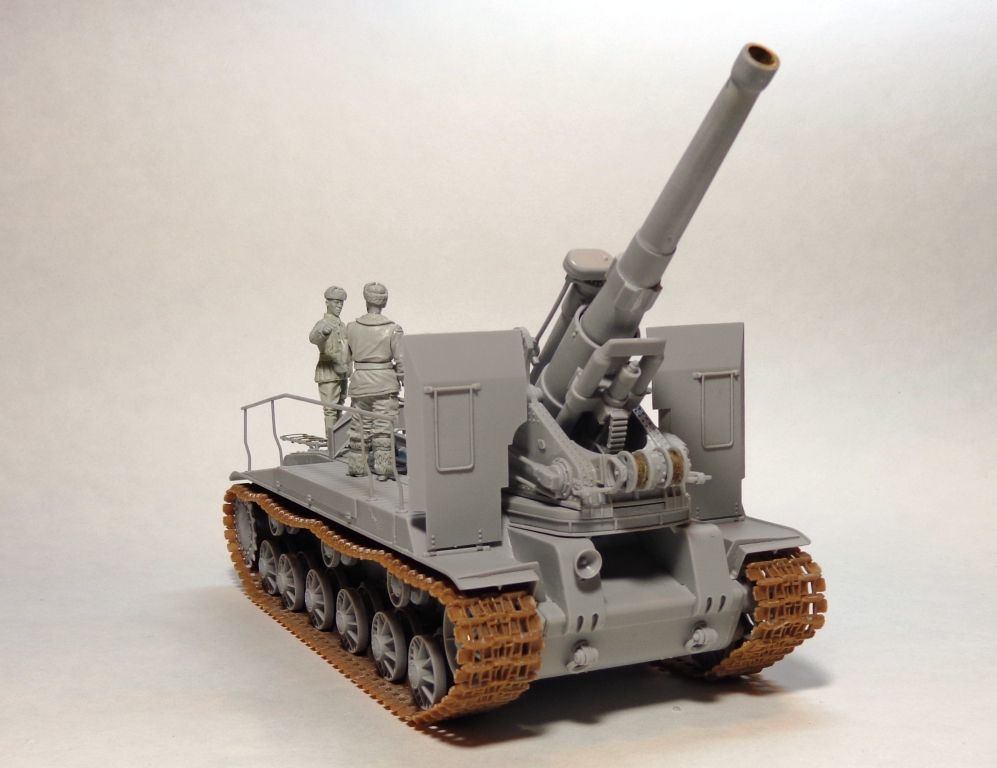
I have to say that I found the plastic used in this kit to be somewhat unexpectedly brittle. I actually broke two different pieces in half–they rather “crumbled” when I applied some force to them to better fit or make them “seal” against each other with glue. I don’t know if this is just an anomaly with my kit, or if others will experience the same strange quality?
The only thing missing is the two tow cables, which will be added after painting.
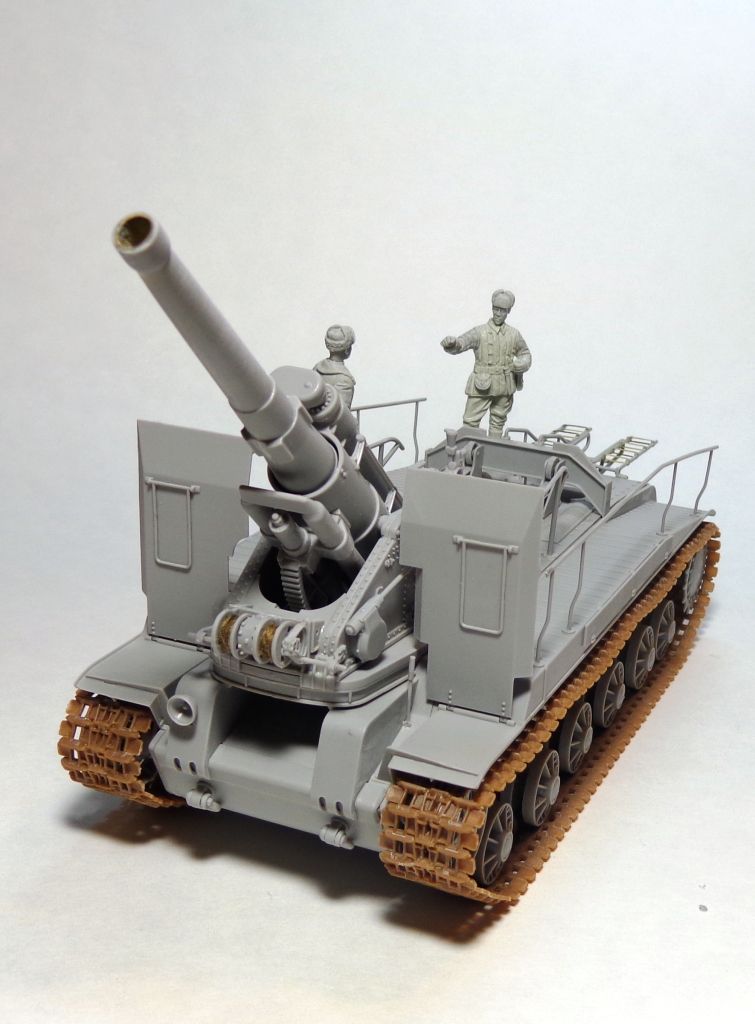
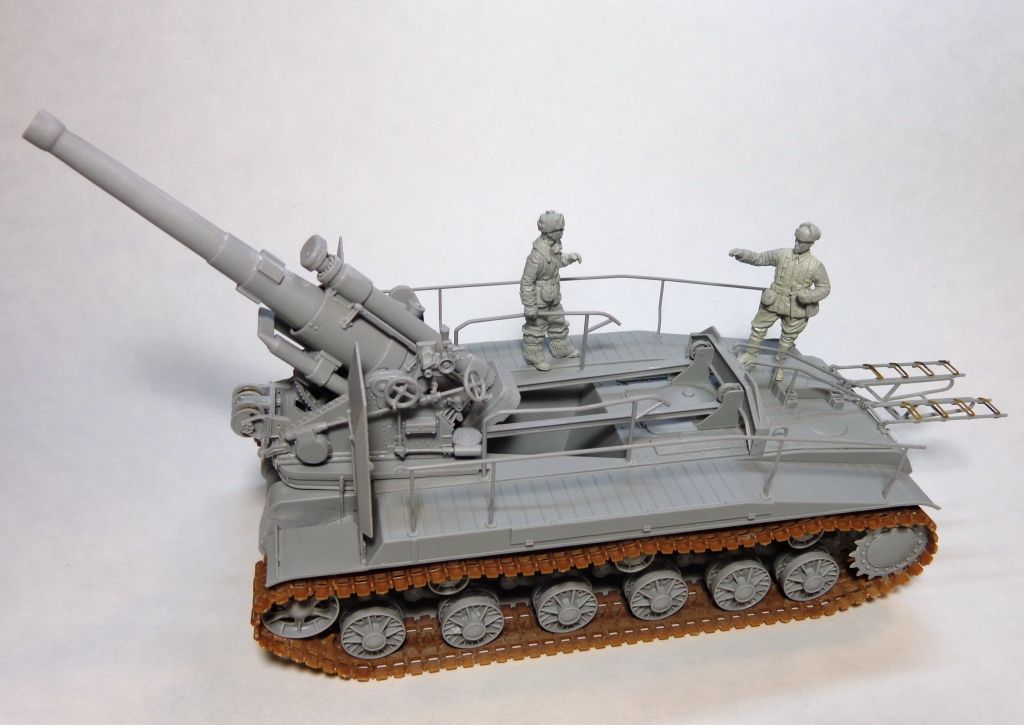
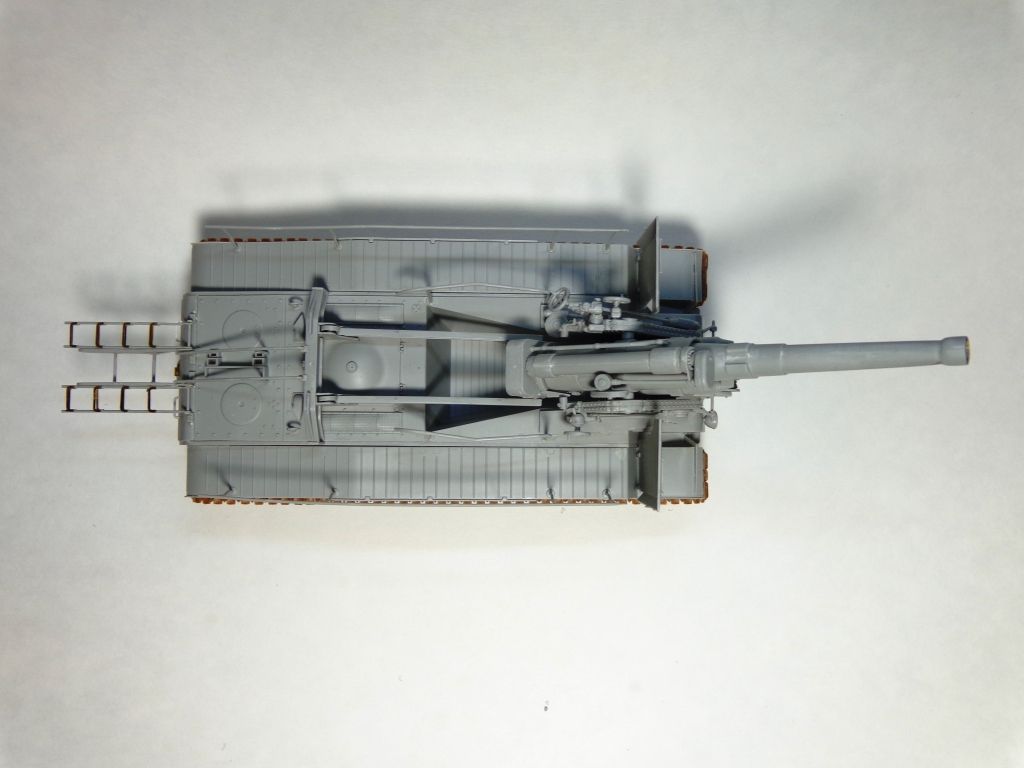
Note the extended “ladders” on the rear. I have no idea what they were actually for, or how they functioned.
Gratuitous “modelling buddy” photo…[:D]
Well, I’m dying to get painting on this, but it’ll have to wait two weeks until I return home from up North. Thanksgiving visits and deer hunting with Dad. I can’t wait to get started! A winter scheme is going to look awesome on this big beast!
Comments always welcomed! Have a Happy Thanksgiving, all! [:)]
Serious detailed mods and progress, Doog.
… and new Doog [:D]
Great progress Karl…make sure to post pics when you get back, both of this thing painted and anything you may find in the woods while you are away!
Looks big and mean while waiting for paint there Karl! Have fun hunting and feasting with the fam! [;)]
Hey Karl,
!http://www.les7pechesdumotard.fr/MillanNet/indubitablysmile.gifEverything here appears to be in cut and proper order.
The real magic is (as always) when !http://fun.resplace.net/Emoticons/Magic/Fairy.gif**you** do the paint.
Oh, just wondering!http://www.freesmile.ir/smiles/318219_hush1.gif. I thought you painted in progression
!http://noisen.com/Smileys/cyna/unsure.gifrather than after the construction is complete .
!http://www.sherv.net/cm/emoticons/thanksgiving/happy-thanksgiving.gifHave a great Holiday…
!http://www.iheart70s.com/bumpers/deer-hunter.jpg
!http://emoticoner.com/files/emoticons/smileys/fainting-smiley.gif
I have to admit that I"m a little freaked out that I didn’t reply to all these posts here; I must have gotten to traveling and got busy…I’m sorry for the poor manners., guys. Coulda sworn I"d replied…
Steve, I normally don’t put the tracks on before painting, but this was easy to do the tracks on this model, and they’re pretty solid. So I thought the photo would be cool… [:)]
Josiah, Sprue, and Bill, thanks for looking in, and forgive my tardiness in replying! [:$]
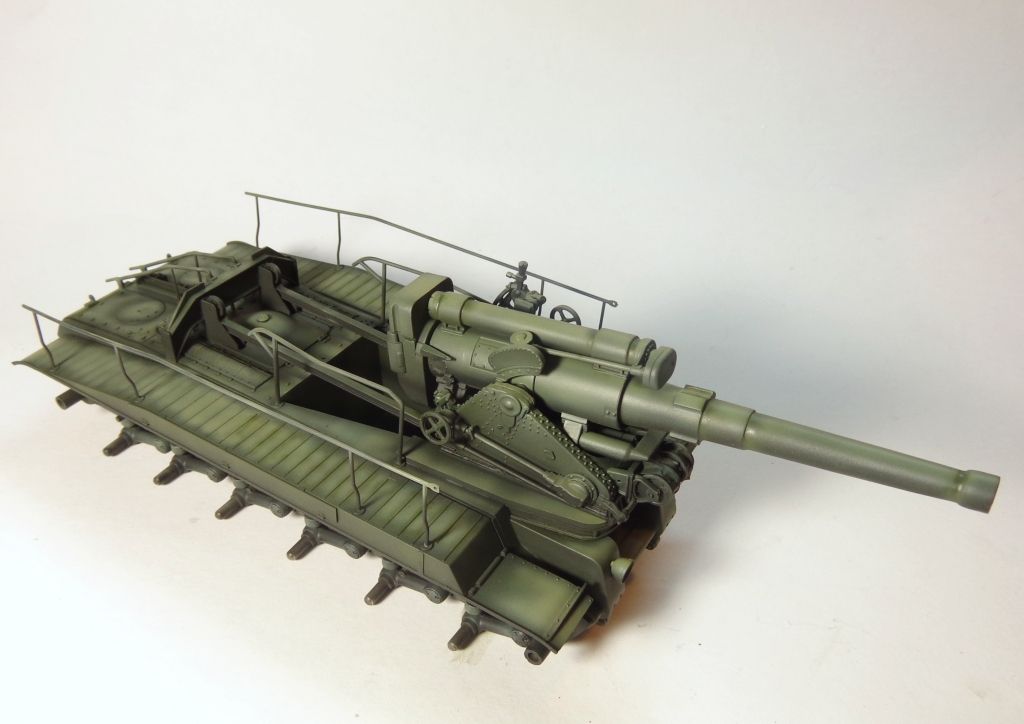
OK, painting is 75% finished. What I mean is, there will be a whitewash, eventually. But here’s what I got this weekend.
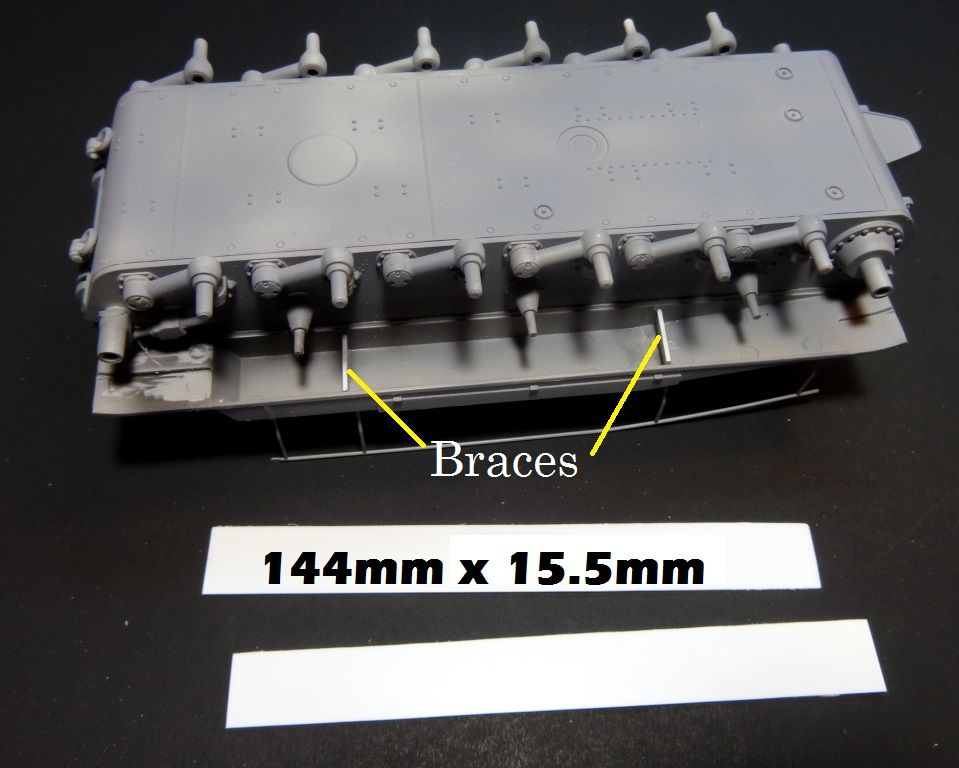
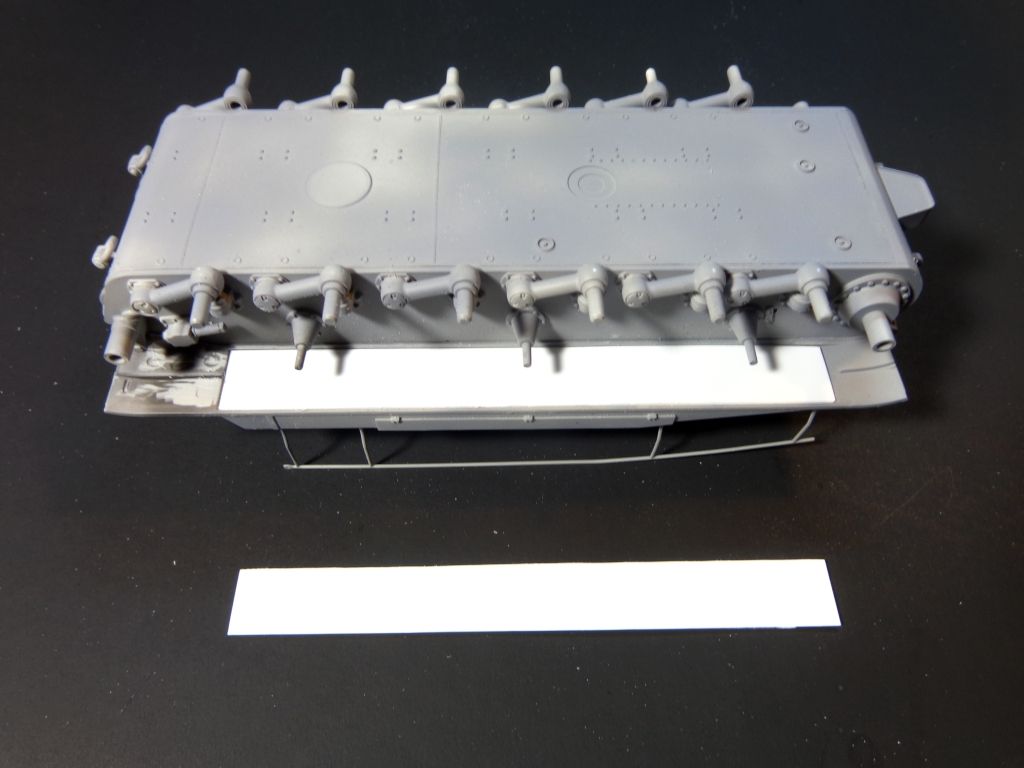
I got it primered with Tamiya Gray primer decanted and airbrushed, then realized—DUH?–I should have blocked off under the fenders. Yeah, can you believe that? The Trumpeter kit goes “retro” on the missing fender/hull fills.
The blanks cut from .040 styrene sheet were 144mm x 15.5 mm. and laid on braces under the hull sides.


And then here’s the paints I used.
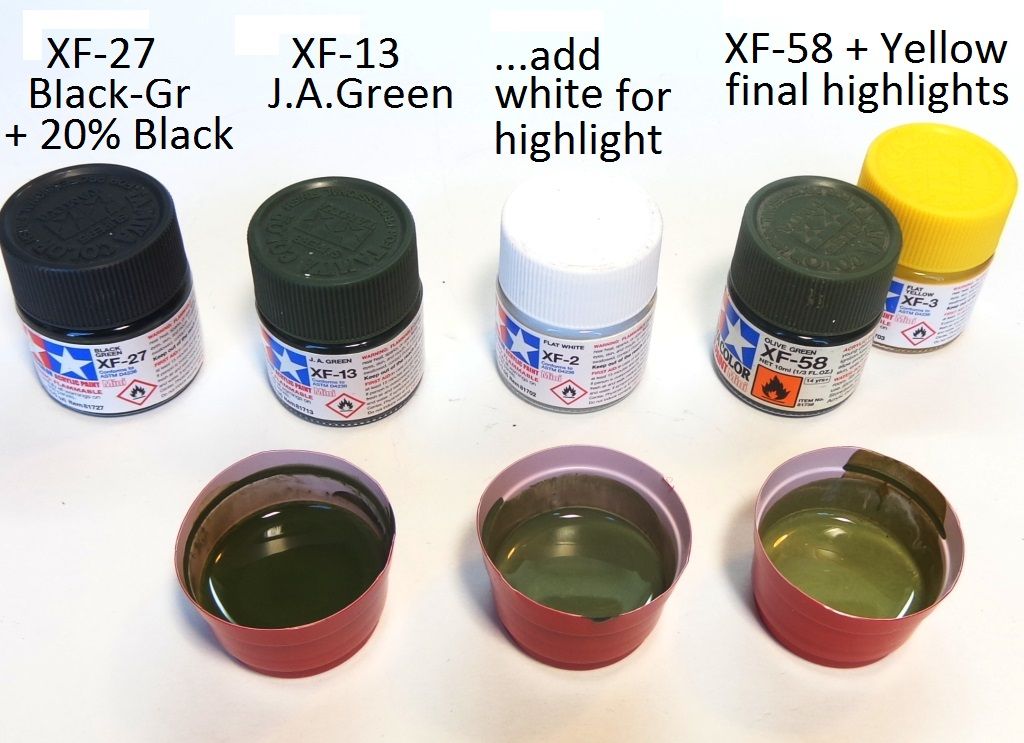
First I did an overall black base coat.
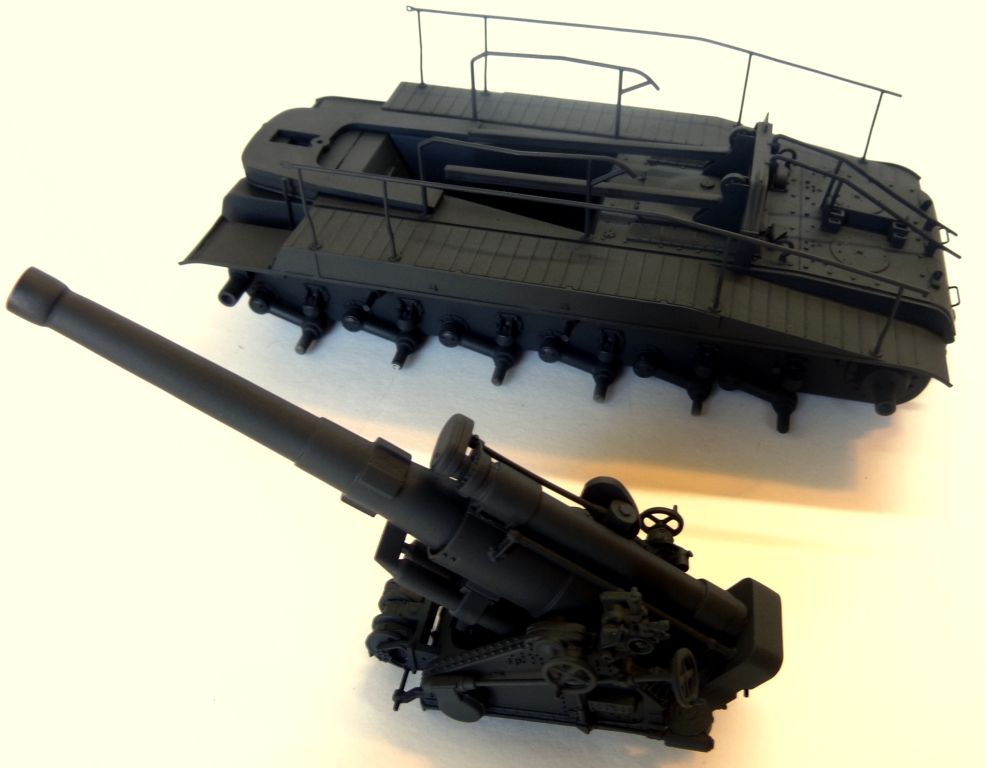
… here’s the first two applications: the Black-Green base coat with the first highlight coat of JA Green.
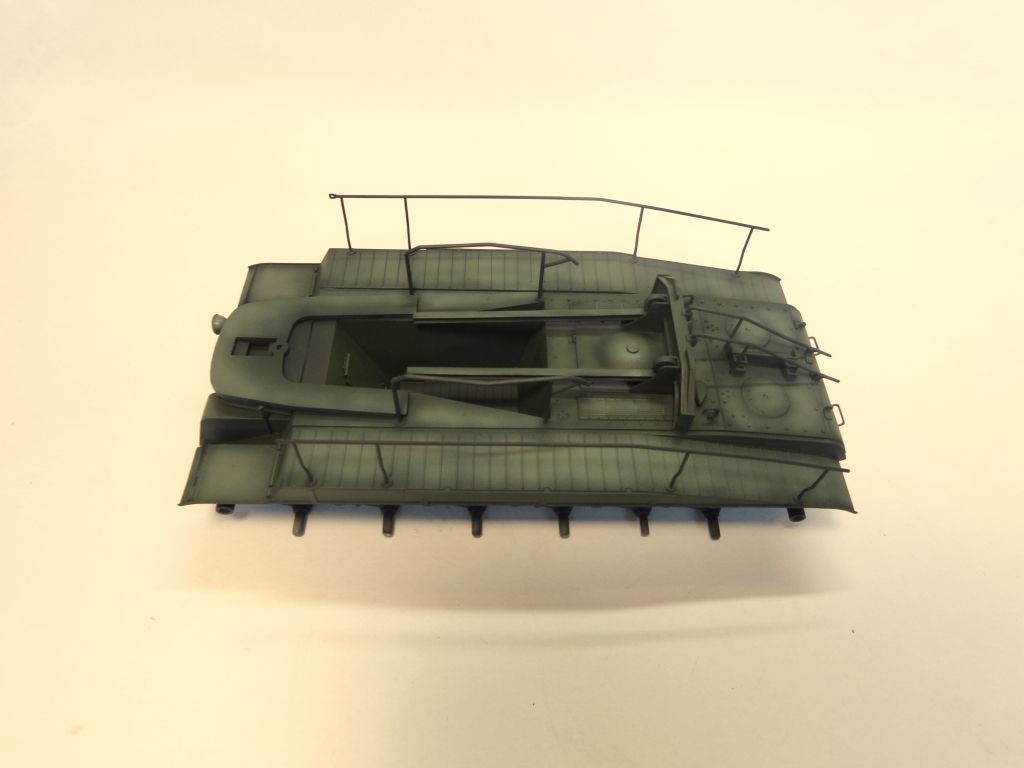
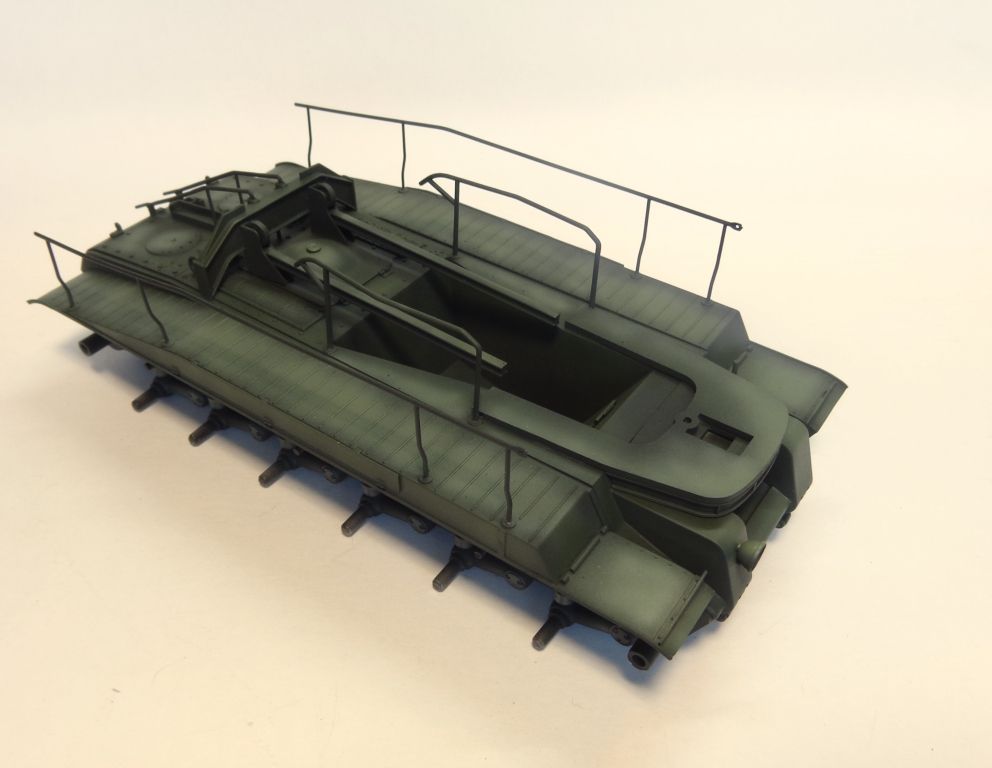
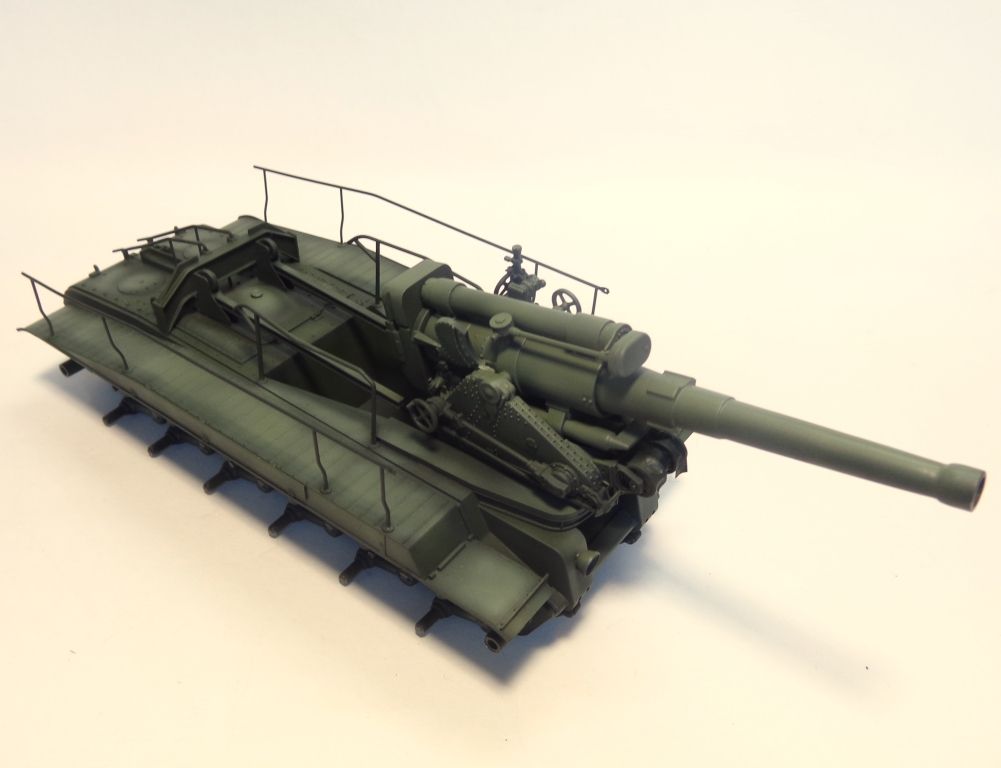
And here’s the last highlight coat added from Olive Green + Yellow. Note how the gun shields were “color modulated” by careful masking.
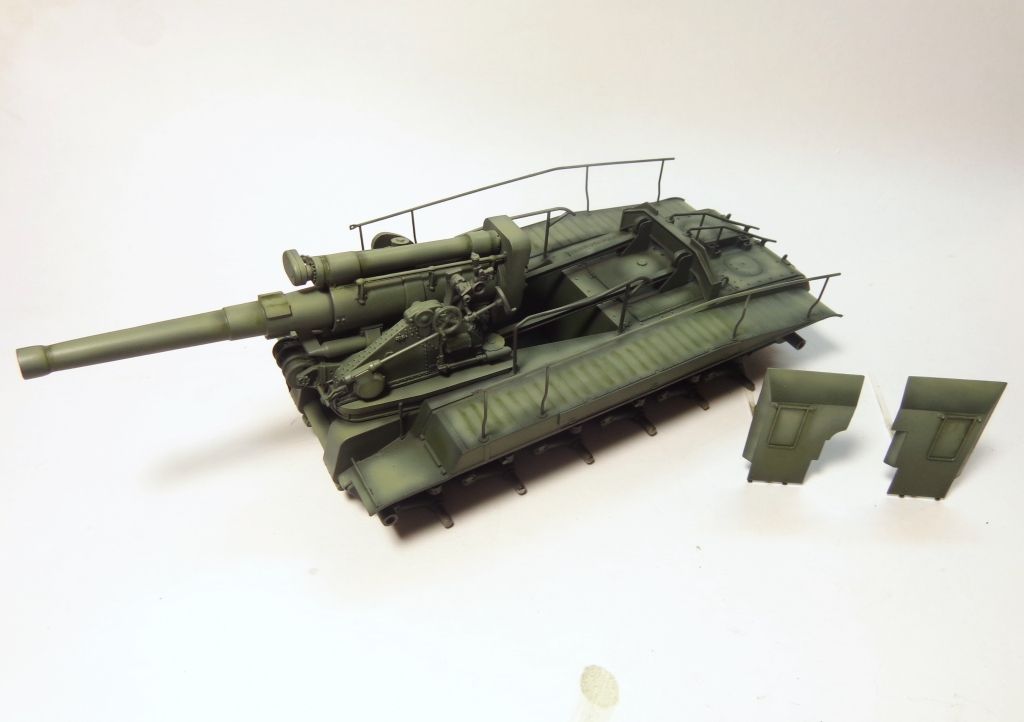
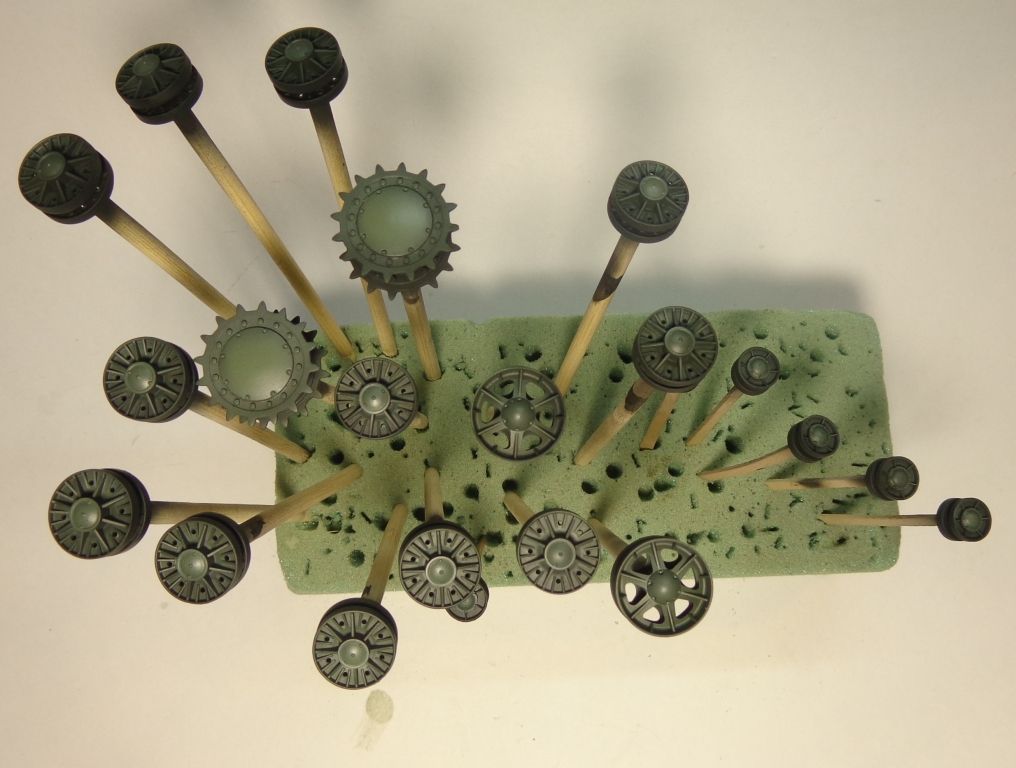
The wheels got all but the final highlight coat…
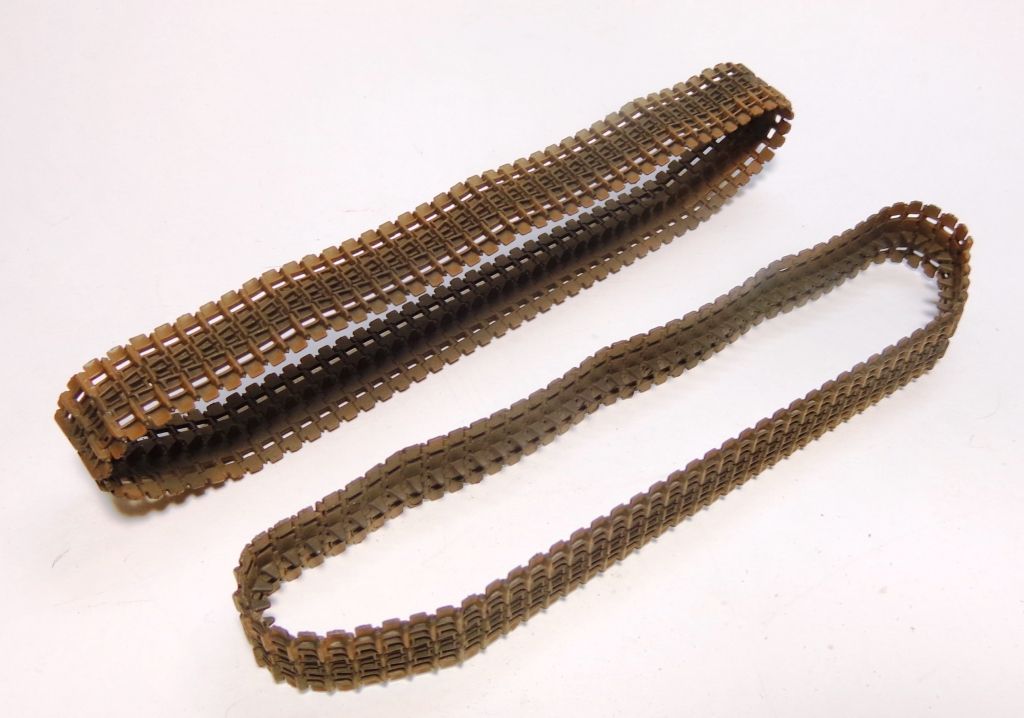
The tracks got a coat of black, plus my own “Tracks” mixture of Brown + Black, and then I mixed Red Brown and Orange to get a Rust color, which I sprayed around the edges, leaving the insides of the tracks darker.
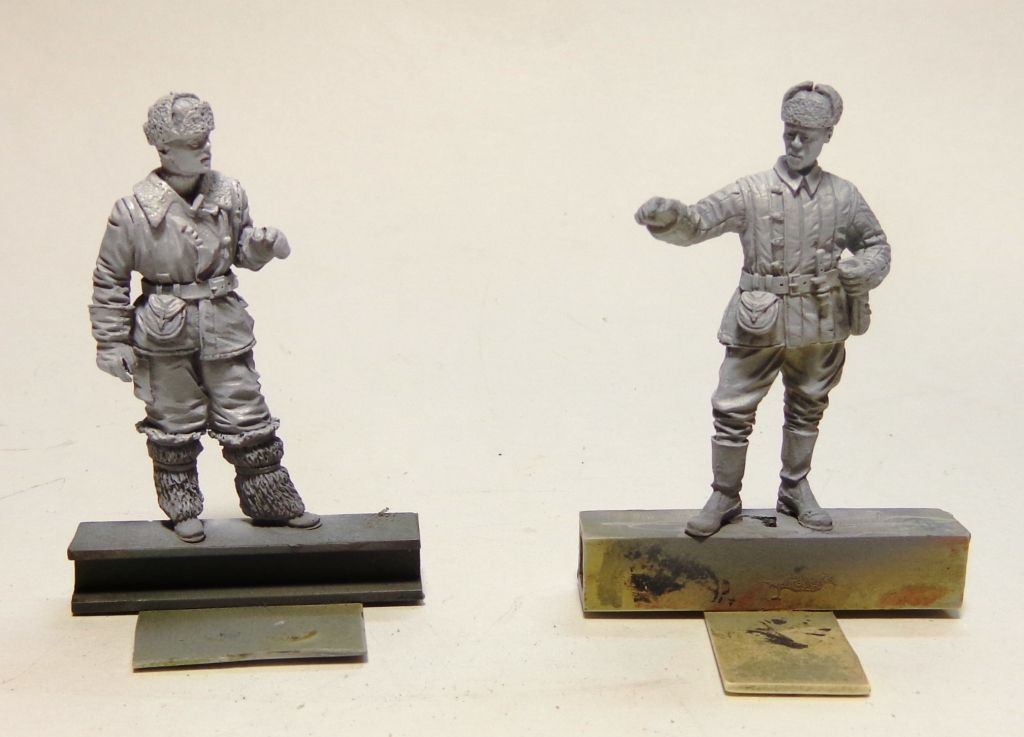
The figures; I’m going to do a short tutorial on skin tones here. They start off with a Tamiya Gray prinmer coat, followed by a White coat sprayed from above to leave some shadows, They will be then painted with acrylics from Windsor & Newton…more on that later…
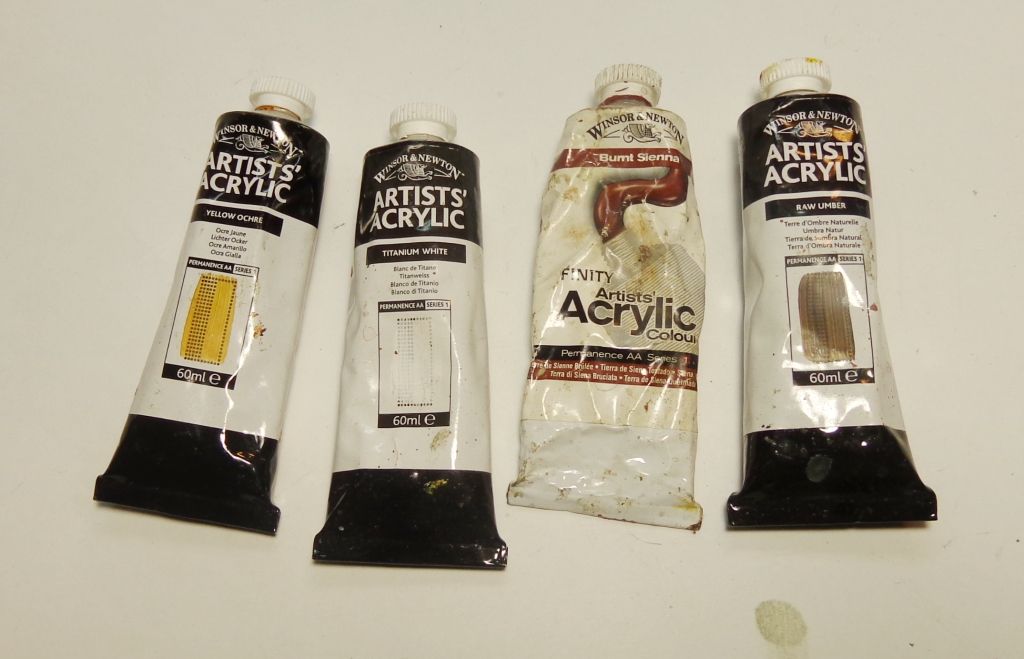
Thanks again for looking in, guys. Any comments always welcomed, and I’ll promise to respond in a more timely fashion! [;)]