Just a guess, Bih. I figured these Panthers would have been modified from already-existing Panthers, and that the would have painted them “on their feet”, so to speak. WIth the inner wheels still on them, perhaps?
WOW, that’s weird that they don’t paint the bottoms of your AFVs–don’t you worry about rust?
I totally agree with your early paintwork philosophy…the more contrast the better during the early stages. It takes B^!!$ to press forward with a “glaring” model staring back at you, but this shows that you have a vision and are confident of your skills.
No, and it never seems to be a proble. Warriors are aluminium so not sure if that makes a difference. But then the 432’s we had, which date back to the 60’s, are also unpainted underneath. I have never found rust an issue on AFV’s apart from a bit of surface rust where paint has worn away when the vehicle has been left standing for a bit. Thats the main reason i am spaten with my rust on kits.
Would be interesting to know what the Germans, and other’s, did to the underside of their AFV hull’s in the war.
Hi, Karl great to see you back at the bench, great subject and brilliant work as usual so far. Reading through the post so far I am inclined to agree with your take on the painting. The preshading looks brilliant and I hope all the extra work pays off the way you plan.
The Germans did indeed paint the hull undersides and didn’t leave them in primer. Hulls were manufactured separtely and were finished on large spindles/turntables as part of the final assembly process. Look up the pics on the assembly line at Henschel for Tigers and you’ll see perfect examples. Same thing with pics available of StuGs undergoing assembly at Alkett.
Well, thats something new i have learned today. Luckyly for me you can’t really see the undersides on the tanks i have finished, and i ain’t tearing them off the dio to change it. But i will remember it for the future.
I agree with what everyone else has said. Another very well thought out build and something you don’t see everyday. Then next time I see you do something “run of the mill” will be the first time. You never fail to dissapoint, my friend. Can’t wait to see more!
Jeff, Bill, Bish, and Stick Man–thanks for your comments and approval! [:D] I hope I can live up to everyone’s expectation on this “different” build for me.! [:I]
Here’s a small painting update—been actually working on something else “completely different” (but WWAYY cool!–hint: “brrRAAP!” [:P]) but managed to get some color modulating on this.
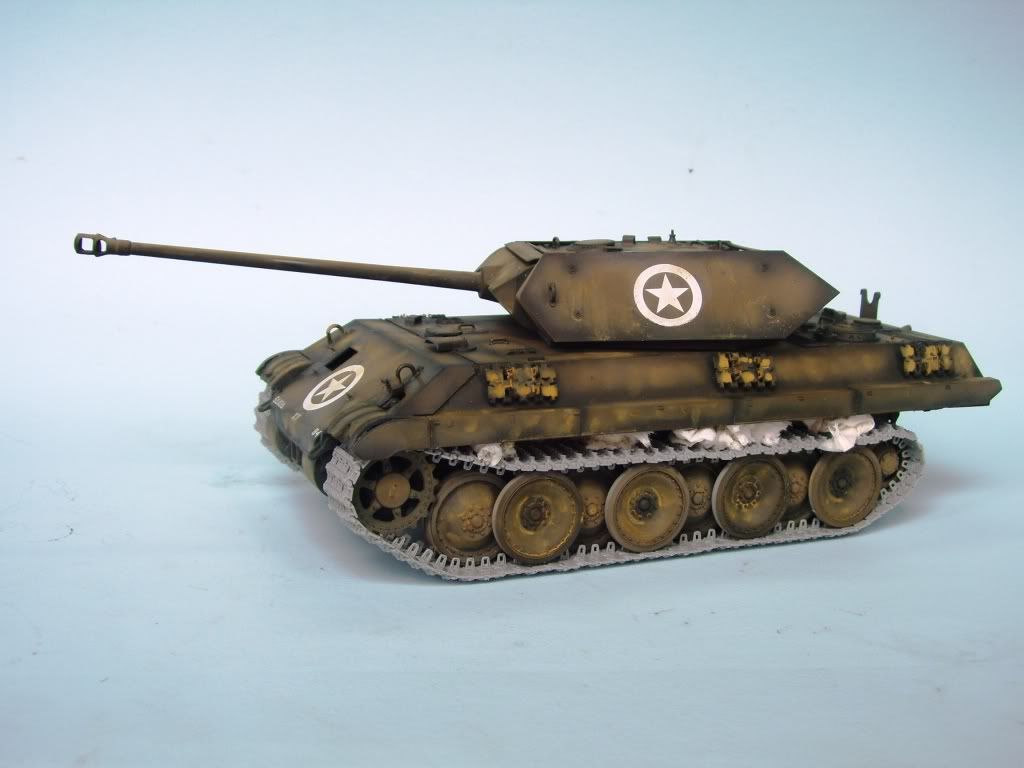
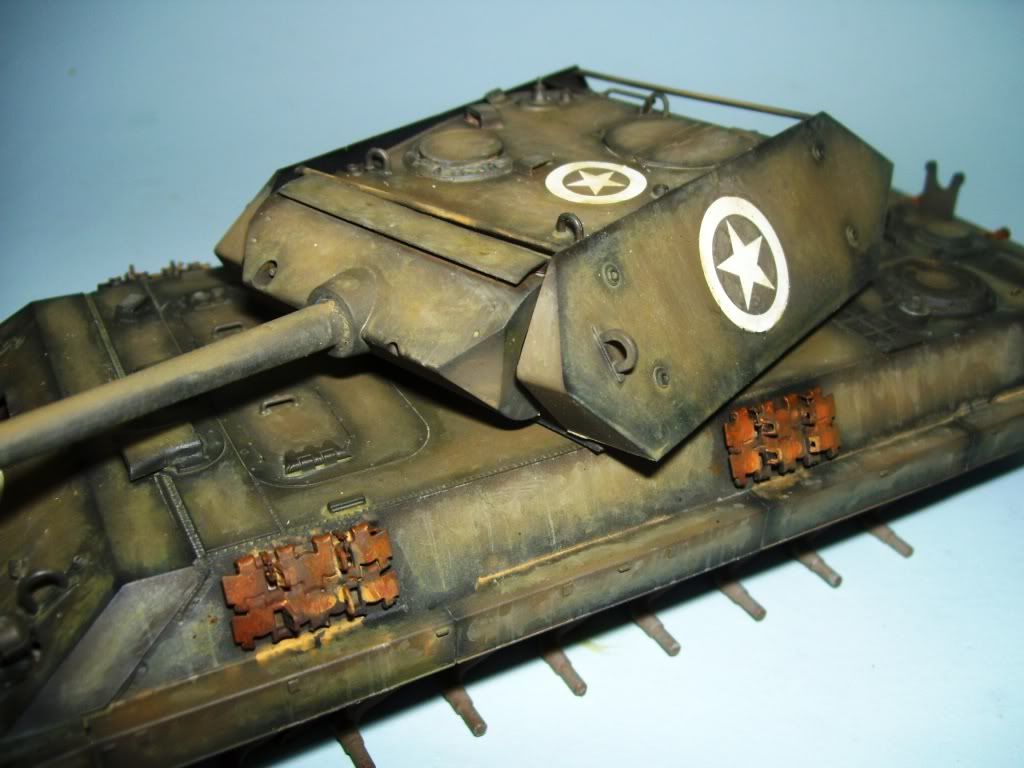
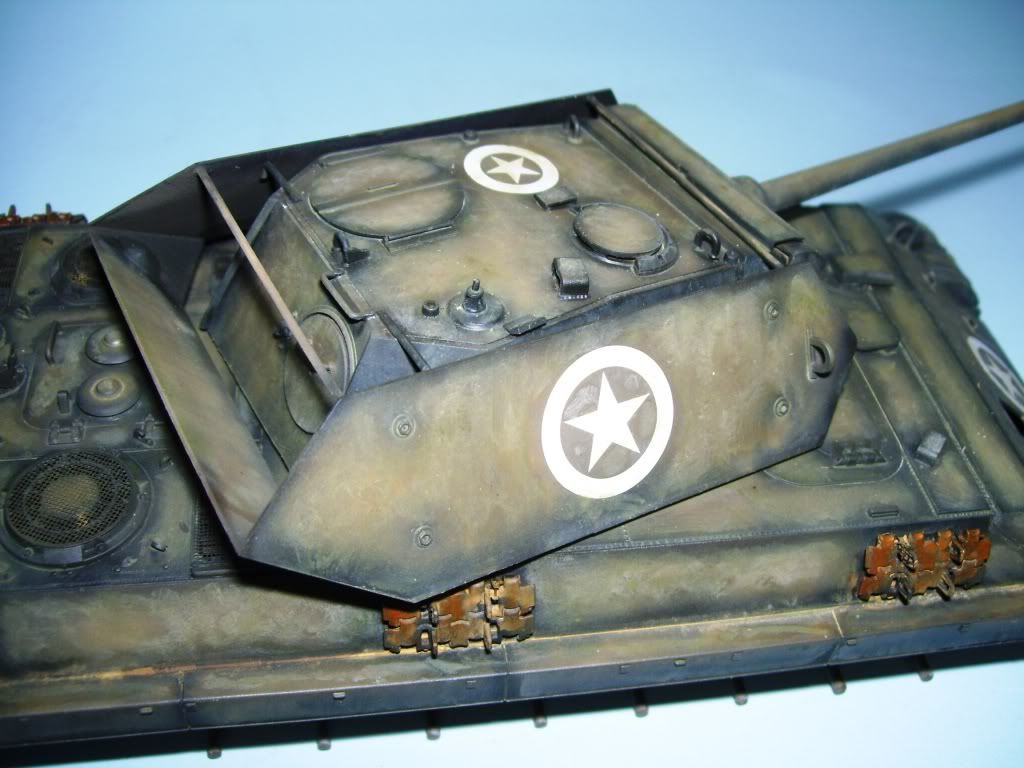
First of all, I got the tracks built up now and the decals on over some light acrylic gloss; yup, I had to do it with those big stars! It really starts to look mean with the big sneakers on…oops, too bad I put its “hat” on crooked–that’s not glued down yet, so don’t worry! You’ll also note that I put in a light application of MIG premixed filter “Ochre for Gray/Sand” to give a little more warmth to the finish before I start color modulating.
The tracks are still drying–the tissue is giving me that nice sag…[:)]
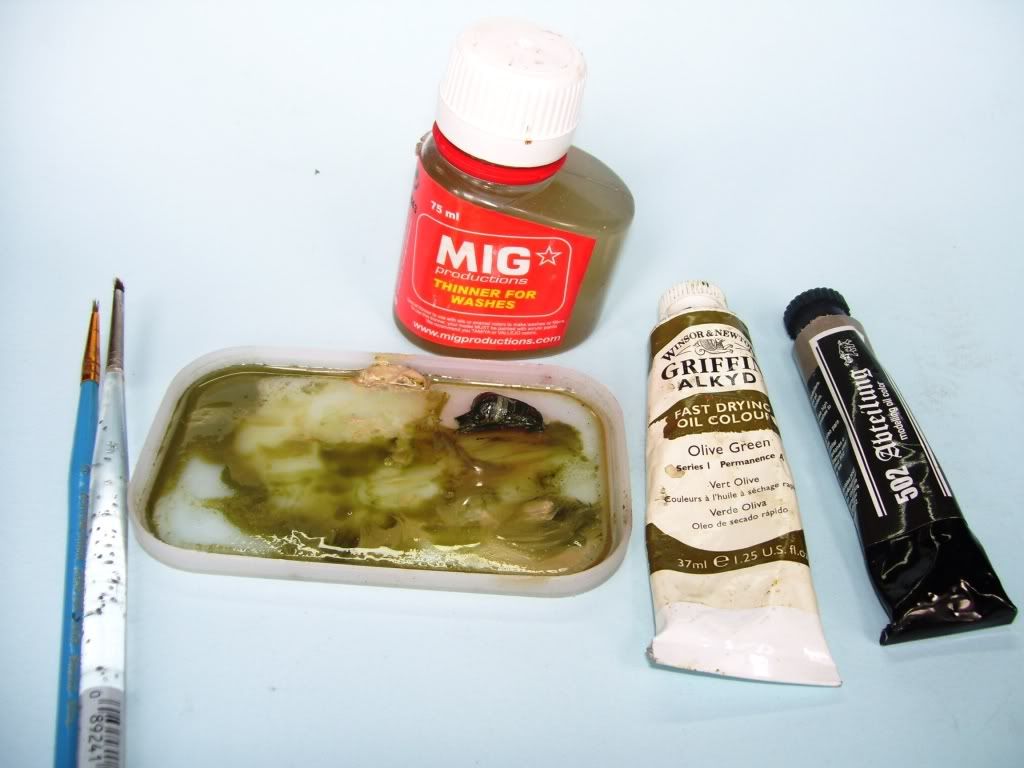
Next, I took some Windsor & Newton"Olive Green" plus some MIG 502 Abt. “Dry Mud” and mixed up a greenish OD color in some MIG thinner.
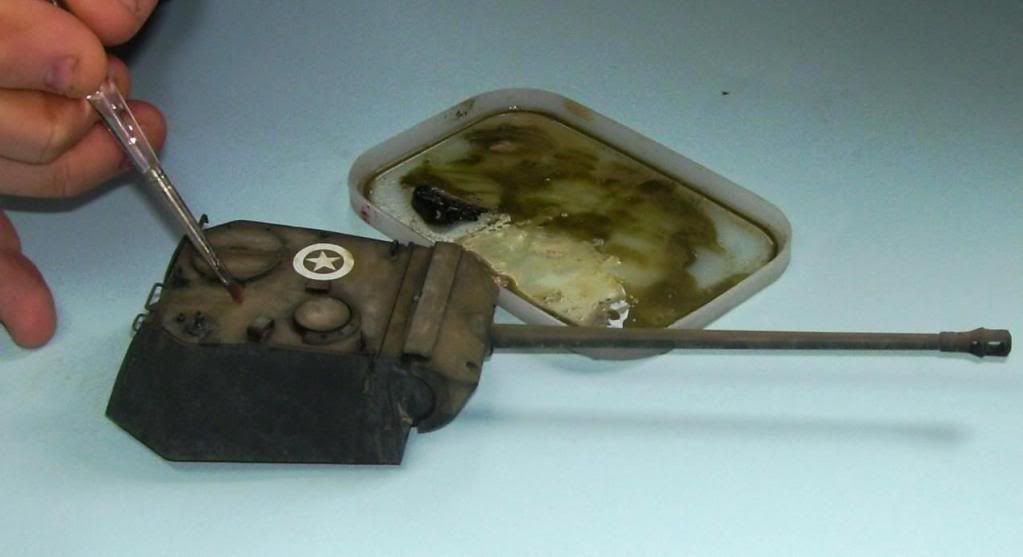
…and then I would put down a dab…
…and then rub it in with a clean brush. I did this all over the tank.
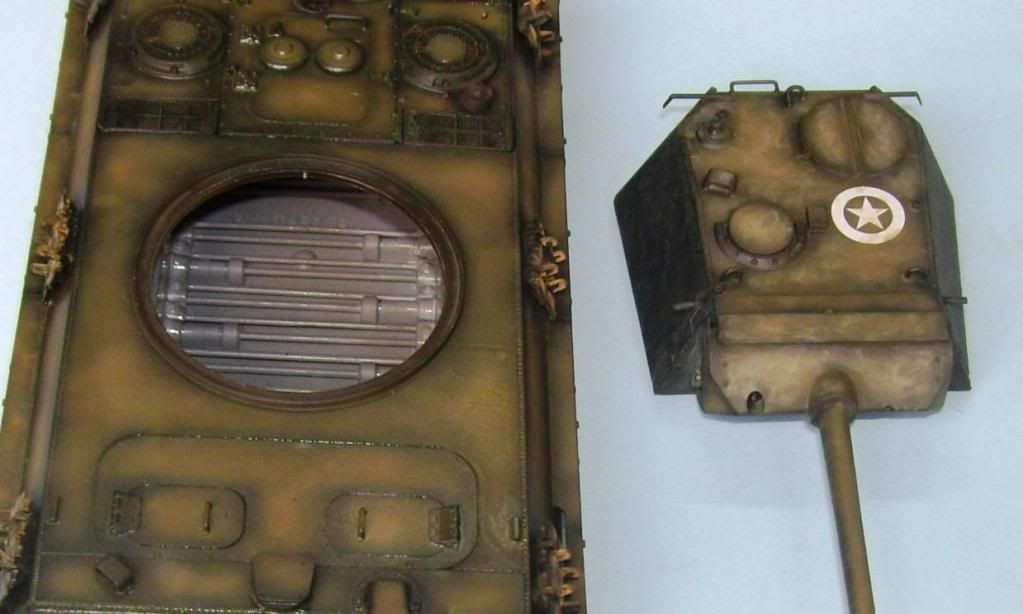
On the left, the un-modulated hull; on the right, the “done” turret so far.
Here’s some shots so far of where I’m at…getting there slowly but surely…You can see that the garish appearance is being toned down and brought together. I’ve also added some rust coloring to the tracks and mufflers…
Well, I"m in the process of finishing the other project–soon to be debuted in another forum!–and am working on the tracks here…thanks for looking in all, and for your patience! [:I][:D]
Looks fantastic, Karl, really, some cool effects I will try to emulate…
But, you did mention the clear coat, and your aversion to it, and I can’t help but wonder why you don’t either paint your markings on with a stencil, or use dry transfers.
I painted the stars on my Sherman, they just look…well, painted on, and they take the weathering sooooo well. I think it’s a Lion’s Roar stencil, I will check, if you want.
I humbly offer this as, perhaps, a way to return all the great advice you have given me. Try it, you’ll love it.
Bill, I have looked into templates, but to be honest, I think the quality of decals is so good in these kits nowadays that it’s quicker to just slap 'em on. Templates can be troublesome over curves and details too sometimes, and if you get leakage around the edges then you’re painting out the overspray.
I admire the guys who can get good results with them, but I’ve never had much luck with them for some reason? [B)]
Karl, it looks fantastic! I have a hard time sometimes making plastic look like metal. You certainly don’t have that problem here! Great looking build, I like how you weathered it. I’m anxious to see the seen you’ll place it in.
Hmmm, Tony–I don’t think it’ll be ready for SYRCON, and I already have a tank to enter in German tanks, so probably not–but you never know!? Thanks fo rthe compliment!
You too, Marc, Jon, and Aurora! Thanks for looking in and leaving some [tup]! …[:D]


