Yes, absolutely! They have to wait until it goes in the body though; there are some nice hoses included in the kit’s moldings. Thanks for looking in!
THanks, Mustang!
The washes were done very carefully, with a small brush, applied only to seams. It doesn’t seem like you ever see one of these “orange” engines looking grimy.
And darn it–I meant to drill out that steering wheel! Thanks for reminding me! I’ll get to it…[:)][Y]
No prob dude and lookin’ forward to seeing future progress outta this one.[H]
Good job. I’m learning from your thread to do mine.
Awesome job! You are correct about the plug wires.
Aw man! And I was up early this morning lookin’ for a progress update on this thing too!
 me too…Oh well [proplr]
Hey guys, thanks to everyone following along and taking the time to leave a comment! I appreciate you being on board!
I had a minor snafu with the priming: I discovered a blemish in the body, and it took me a while to realize that it came from using too much glue on the underside where I glued in the radiator support. It made a little depression marrnig the plastic, so I had to fill it with some putty nd then sand it down. You can see the before/after here. I should be getting some paint on her possibly tomorrow, depending on the humidity. It’s supposed to rain…[:S] Keeping my fingers crossed…
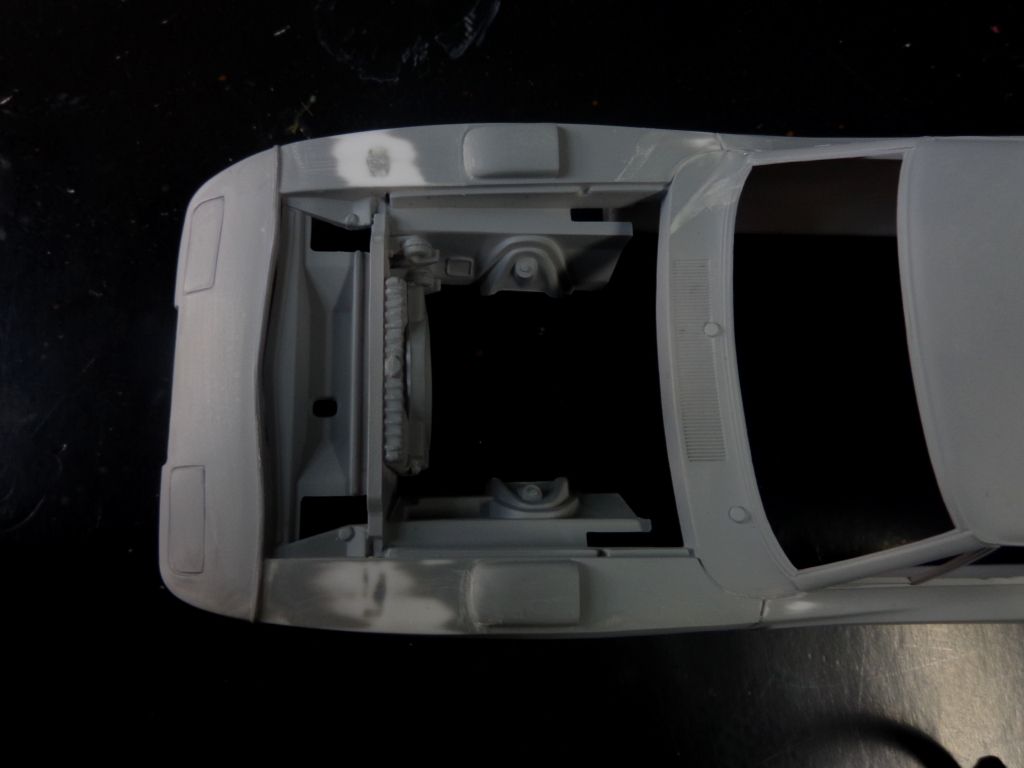
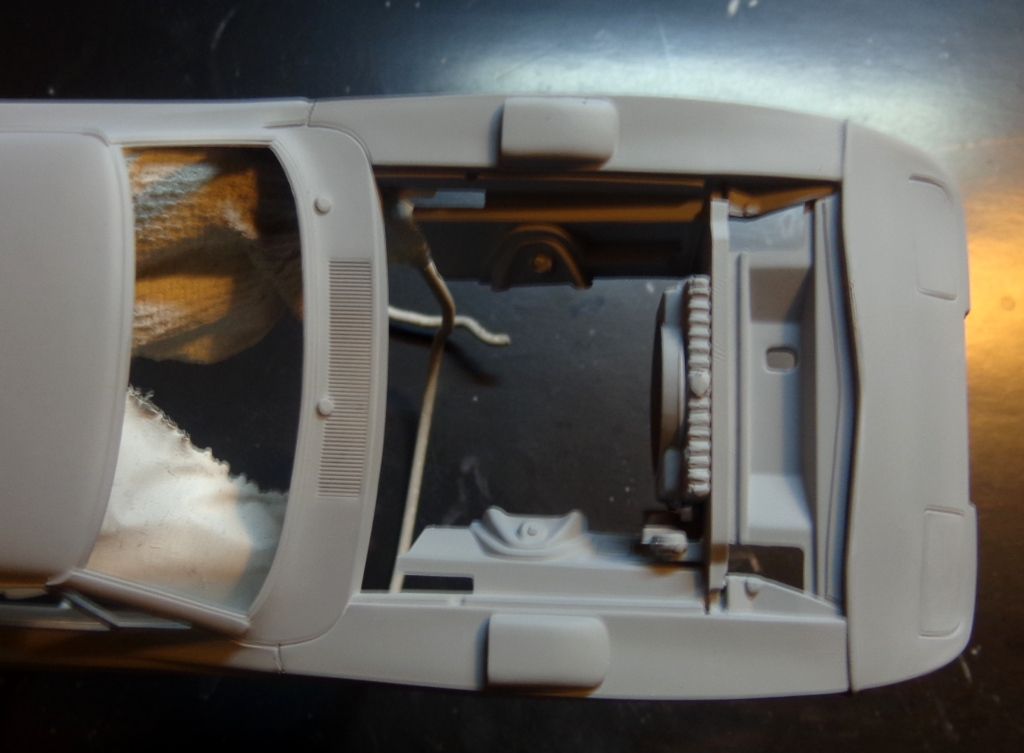
Man I hate it when stuff like that happens! Looks like you whipped into shape though. [Y][Y][Y][Y][Y]
One question. I see you put in the radiator and the fan shroud in before painting the body. Is that because of the fromt cowling needing to be glued on before painting? I already have mine painted semi gloss black but not put in yet but I can work around that if I have to.
…don’t worry about matching the nose to the front of the car, they weren’t painted at the same time during the original build at Creative Industries…they were built as Charger R/Ts, sent to the builder, rear window removed, roofline rebuilt, trunk lid shortened and rear of car was painted…nose was hung, painted along with fender scoops and the undernose belly pan…I am still a little curious about some other details of the build not answered in the article…the first real 1969 Daytona I owned was a low mile all original car, paint peeled off the nose and rear roof like house paint, it was F6 Bright Green…they weren’t built as classics, they were rushed out the door to meet the deadline for NASCAR
…nice work on the interior and engine, great attention to detail
Hey man, sorry I didn’t get back to you earlier; Halloween and the weekend, you know…
Anyway, yes, it would have been very difficult to wedge in the radiator assembly and I really wanted to have the front pice glued on before paint. No way I wanted to get a nice glossy finish on it and then have to work with supergluing it on—that’s practically a guarantee to get excess glue spots and fingerprints on the finish.
Anyway, I shot a coat of paint this weekend and made two dumb mistakes: shooting at too high an air pressure and in too cool an environment. I am using Model Car World (MCW) lacquers, which dry very quickly. Under the circumstances, the paint dried with a grainy finish. Not good at all. I am in the process of sanding it out and should be able to get something done by midweek to try to correct it. I’m going to thin the paint just a smidge and try a trick that I read about online: soaking the bottle in a glass of warm water to heat the paint before the “wet coat”. Stay tuned…
Thanks, Daytona, I apppreciate your input to this thread. I prefer to glue the nose on for reasons articulated in the previous post. Also, although I don’t think I"d have any problem matching the paint, given that the hood is being painted separately from the body as well, but I think that most people unfamiliar with the specifics of this car’s build history would think that it was a modeler’s mistake if the paint didn’t actually colsely match. But it’s a cool little detail to know. [:)]
Thanks!! That’s what I thought. I plan to do the same ever if I have to paint the radiator housing again. I’m going to use the Model Master Lacquer rattle can system when I paint the body.
Hey, just an update: I’m not dead on this project, but I experienced an air compressor melt-down on my 10 year old Badger compressor, so I sent it, and my airbrush, back to the company for a refurbishment. It should be back in two weeks. Taking the opportunity to organize my stash a bit and start another build to work on after this one.
Man that do do some SUCKIN’!!! Hate to hear that and will be lookin forward to more progress on this one Karl.
Yeah, but I can’t complain. It’s an old diaphragm compressor, one of their small ones from a decade ago, and over that time, I’ve put a load on it comparable to asking a Sherpa to carry my Winnebago up to the summit of Everest, lol. It still worked, but air flow was noticeably diminished. I probably overheated it. I figured that I should get my airbrush tuned up too, while I was sending a package to them.I just wish I got all my parts painted–the hood still needs a coat, but the body is lookinhg pretty good. Gotta do some polishing now…
From what I hear though, Badger is exceptional in itrs customer service, so I should be in good stead when it gets back. [8-|]
Well, STILL waiting for my airbrush and new compressor. The Badger man called me and said that my old compressor was pretty much ready for a bullet-“not cost-effective” to fix. They gave me a great deal on a new one, so I’m awaitin’ now for the UPS man.
I figured I’d start another project; this is a 1969 Dodge Coronet R/T from t.m.resin that I got off eBay. I’m using the 69 Revell Charger as a donor kit.
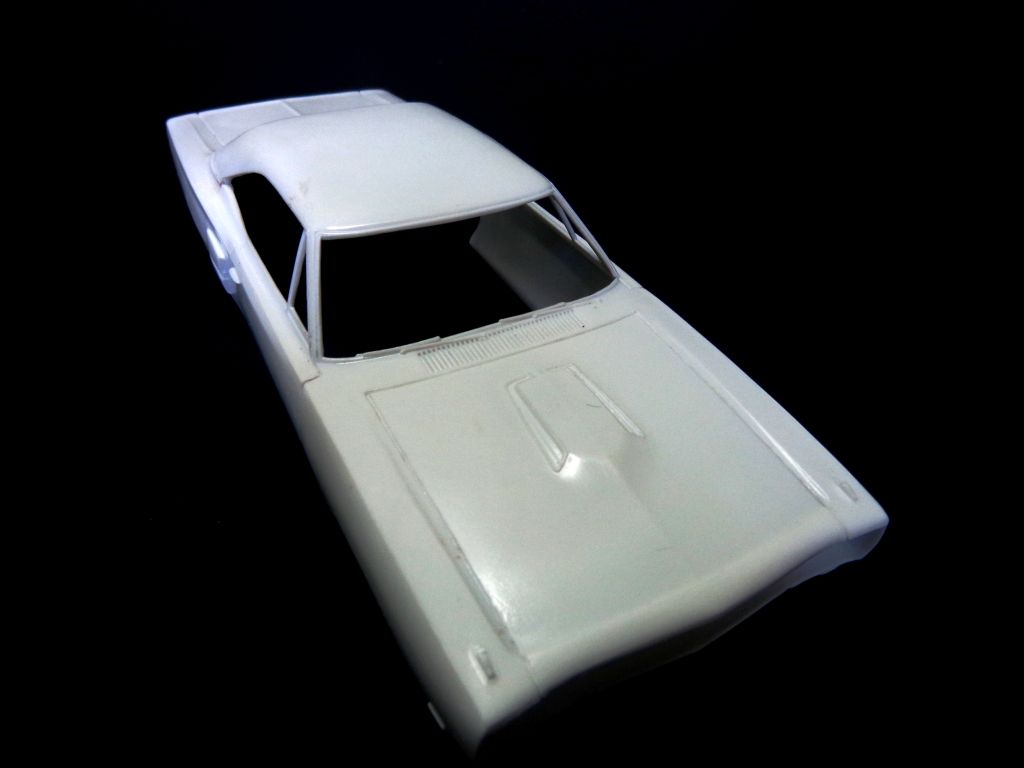
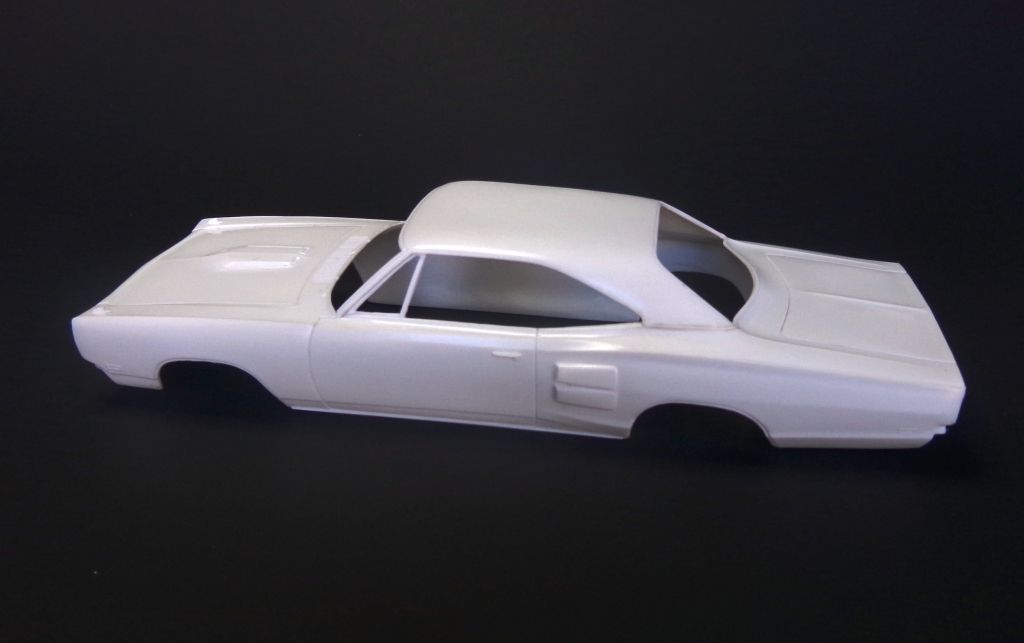
Pretty cool ride—you don’t see this one around on model sites much, especially with that hood. Unfortunately – or not? [8-|] – it’s a curbside chassis-the hood is molded in, but that’s ok. I didn’t really feel like detailing another similar motor right now. Still, the engine will be in it, just not detailed topside.
Waiting for that airbrush…
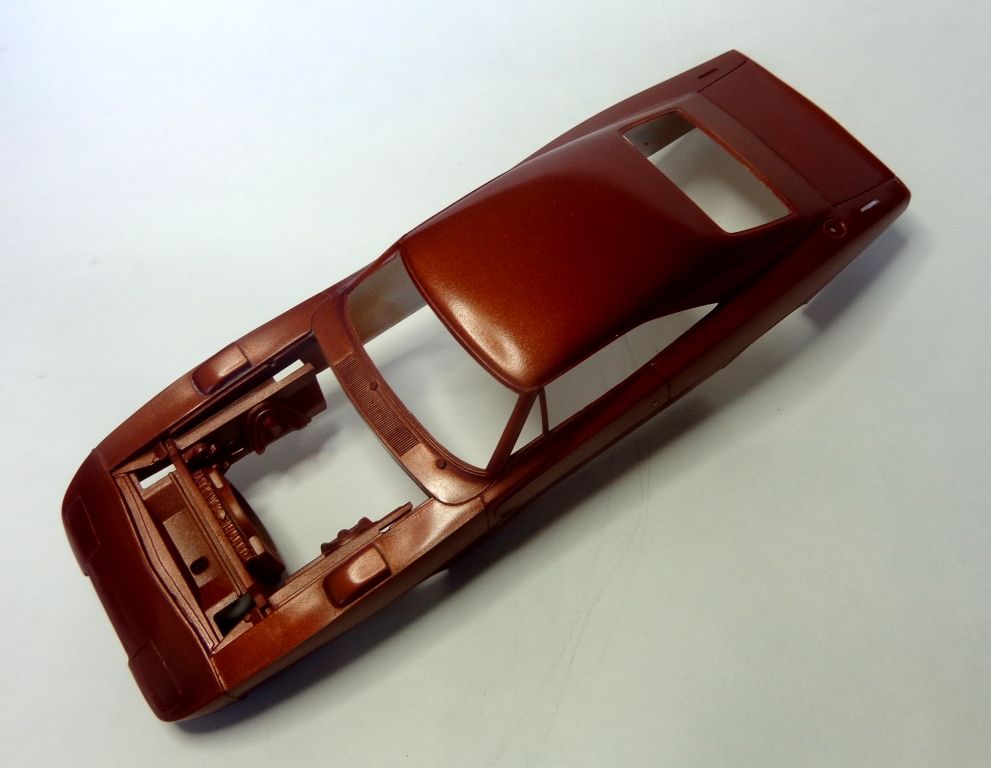
Here’s how far I got on the Daytona paint before the meltdown; a few mist coats and then one light wet coat–nowhere near what I want from it yet.
Hopefully that big, beautiful brown van is going to pull up this afternoon…stay tuned!
Yep. What Daytona said. Those things were slapped together! They frequently went down the assembly line with Dodge emblems on one side of the car, and Plymouth on the other. It happened more often than you would think back then.
Additionally, as you have included, there was a black rubber ‘gasket’ strip that was visible between the front end and the nose piece, so you’ll need to paint that sometime.
Beautiful work on the engine! I’d note that the power steering pump pulley was painted black, you could hardly see it in the engine bay. I know you’re just pulling detail out, but they really were barely visible due to the paint.
The interior is awesome!! Nice work on the door panels. I love the map pouches. I, too, have moved to embossing powder. My wife has essentially a small-, no, make that medium-sized craft store in one of our spare bedrooms. It really is amazing what you can use to build and detail model kits from the scrap-booking hobby.
Gene Beaird,
Pearland, Texas
Great work so far, awesome looking kit.