Oddly enough, Dragon’s painting instructions often suggest “middle stone” (an RAF camouflage colour) for the base colour of the camouflage. This should be dark yellow (eg. Tamiya XF-60).
Middlestone is a very good match for a faded or lightened Dark Yellow. Whatever you do, DO NOT paint this model with UN-lightened Dark Yellow. A vehicle this large in real life would look MUCH lighter than the stock Dark Yellow, due to scale distortion of light. You should take a small bottle of Tamiya Flat White, and add about 10-20% Dark Yellow into the White jar, and mix it up well; this will give you a pleasing and more accurate scale Dark Yellow base coat.
Yes, I know this tank wouldn’t have really been in the field long, and may not have had the time to sun-bleach, but still, the large slab sides of the hull and turret would “grab” light and make the color appear much lighter. Paint the other two camo (green and red brown) colors straight from the bottle, and then do a light overspray of the same lightened DY base coat to fade them appropriately.
Oddly enough, Gunze’s Middle Stone (H71) appears (to me anyway) to be darker and browner than Tamiya’s Dark Yellow.
Gunze’s own Dark Yellow (H403) is almost identical in shade to Middle Stone, and, I believe, was a later addition to the paint line and may not have been available when the kit first hit the market, hence the Middle Stone paint reference. Again, it’s significantly darker than Tamiya’s Dark Yellow and, as Karl suggests above, should be lightened.
Karl - I find lightening Tamiya Dark Yellow with white can be a little stark - I have found a warmer effect mixing Dark Yellow about 1:1 with Deck Tan.
I have used the middlestone color on my last two builds. Rammtiger, King Tiger 101st. I have to hae found that it was way to dark. What I have done is spray the other colors on and then lightly sprayed sandy yellow (79). This has both lighten up the dark yellow, blended the colors and given the vehicle a faded look.
hope this helps a little.
Rob Thanks for that link, i have never heard of Atelier, might try to get hold of those parts. I have the eduard and judio sets he has there. But as for Verlinden, i have been put after useing the verlinden sets on my Tiger I. And i ain’t having the engine decks open anyway.
The engine inserts were made by another company (Cornerstone) and Verlinden took over their molds. The parts go under the grills. The Maus grills are rather large and there is a noticeable emptiness in that area. You could probably just blank them off with styrene.
There are a few other issues with this kit. The gun mantlet has been simplified. It is missing several facets. These can be seen by comparing photos or even the box art to the kit part. I corrected the problem on mine by simply sanding the facets into the kit part, or you can replace the part with a AM resin replacement from Artisian Mori.
The front edge of the hull side has been faceted along the weld seam, this is not correct. It can be easily fixed with a piece of styrene stock.
The rotating periscope in front of the commander’s hatch should be removed, filled and a weld bead added. This feature was present on the original drawings but not included on the finial vehicle.
The turret pistol ports are too large, in the wrong location and are lacking a plug.
There several other small details to be added as well.
Maybe i will give the Verlinden engine a look. I have been really put off of verlinden when doing the Tiger I engine compartment and i swore i would never get another resin detail set from them, even though i have a few in the stash. But it might be worth it to fill the engine compartment out.
I’m going to do it as a what if and oob.
Thats the good thing with these kits, you can do what the hell you want. Even though two where built, they were hardly in full production, so who knows how it would have looked given a few months.
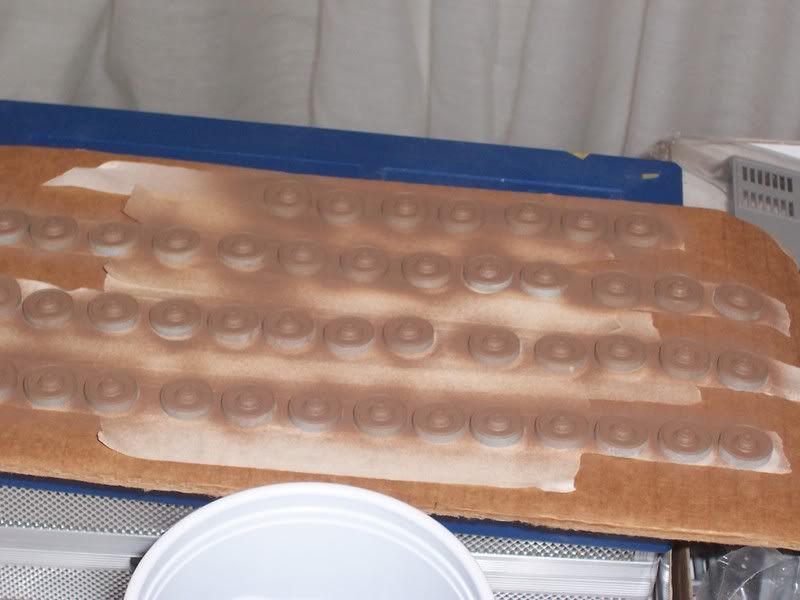
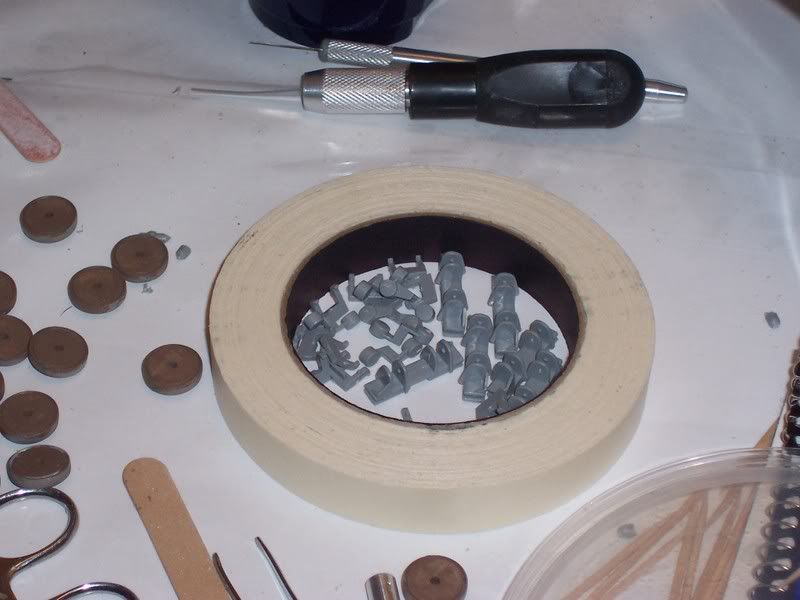
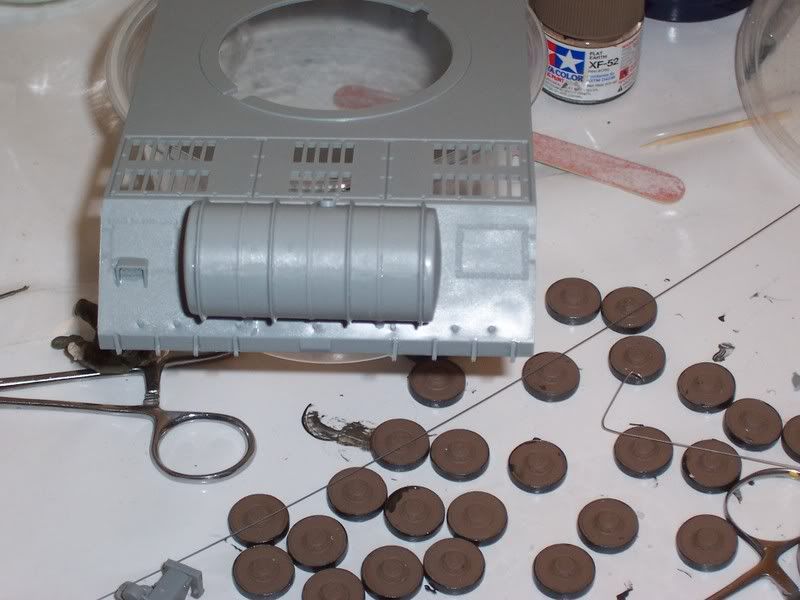
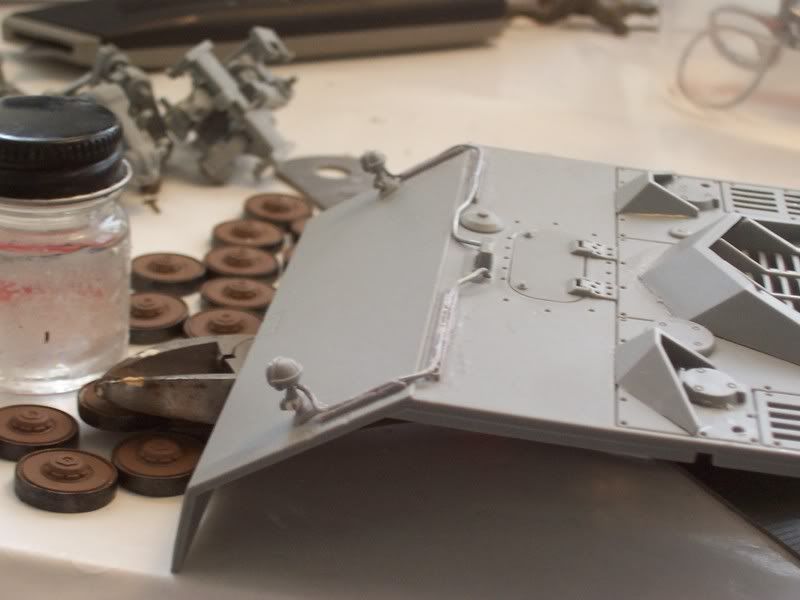
I’ve only cleaned half of the road wheels 24 on each side
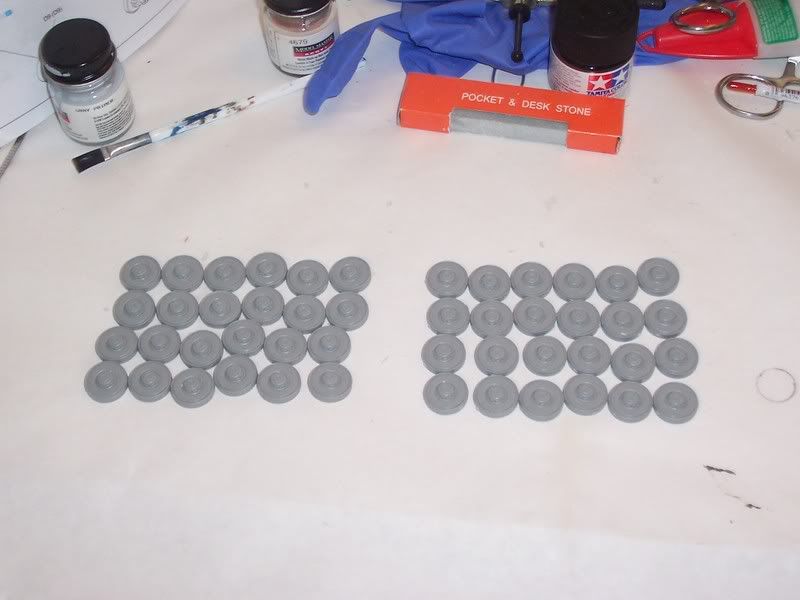
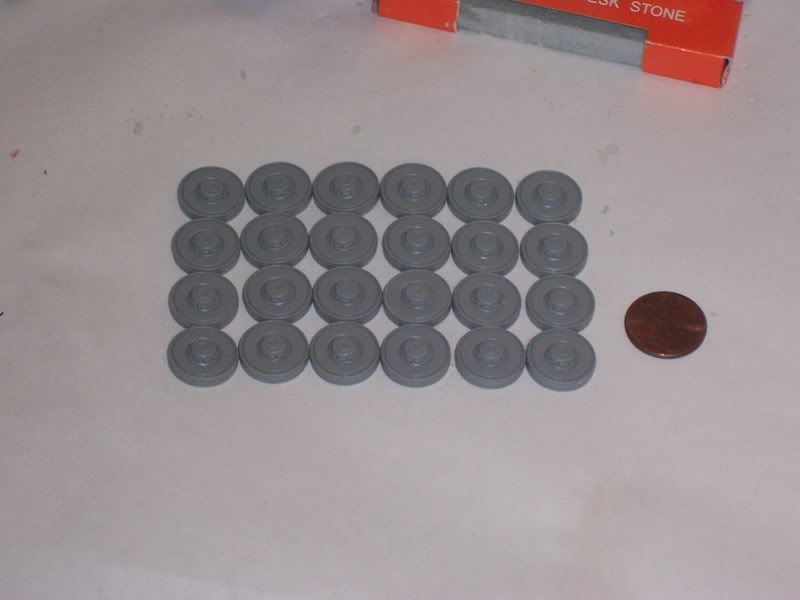
Assembled rollers and airbrushed roadwheels
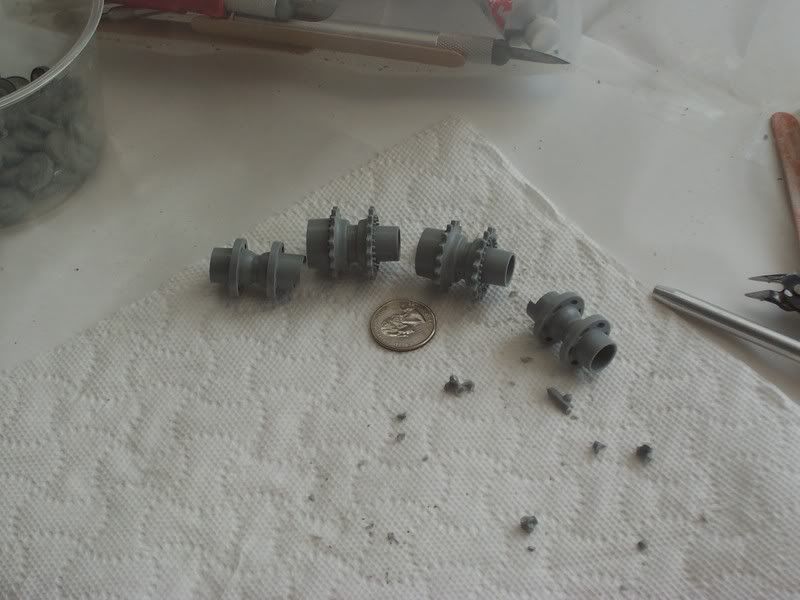
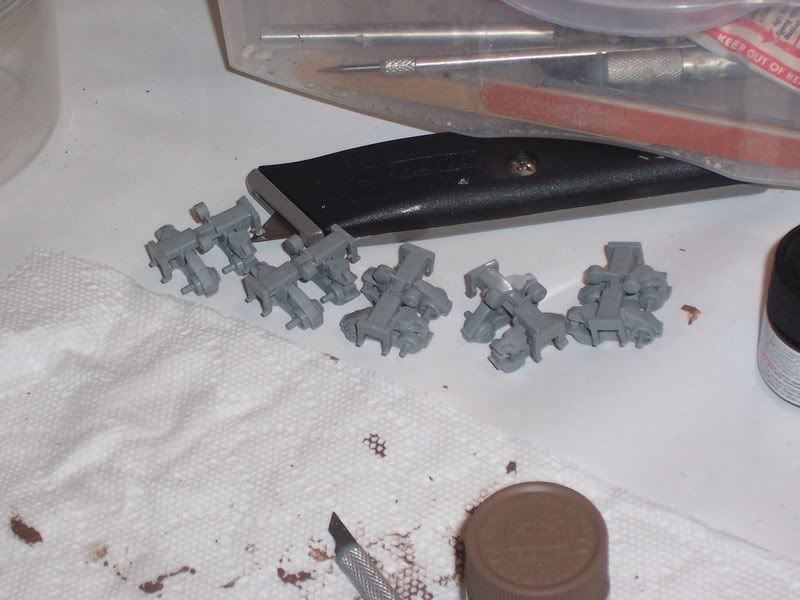
Got a little work done put one of the things that holds the wheels on(but forgot to paint hull so it ended up being brush painted)
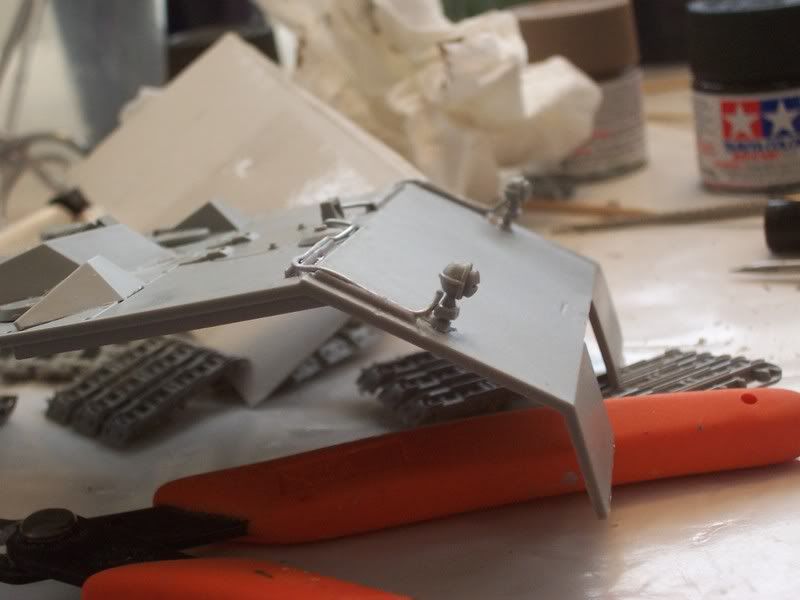
The right side of the things that holds the wheels
The left side assembled and waiting to be painted
Looks pretty good so far Will, I have this kit in the stash and will probably be breaking it out this fall.
a side note though, it might just be the pics but it looks like you’ve painted the roadwheels black, I’m pretty sure they’re steel so they’d be polished silver/gunmetal instead. HTH.
I painted them flat black but I’ll go back and make them gunmetal thats no big deal
On the other hand be prepared for a lot of clean up
yea, all the clean-up on the suspension components looks pretty daunting.
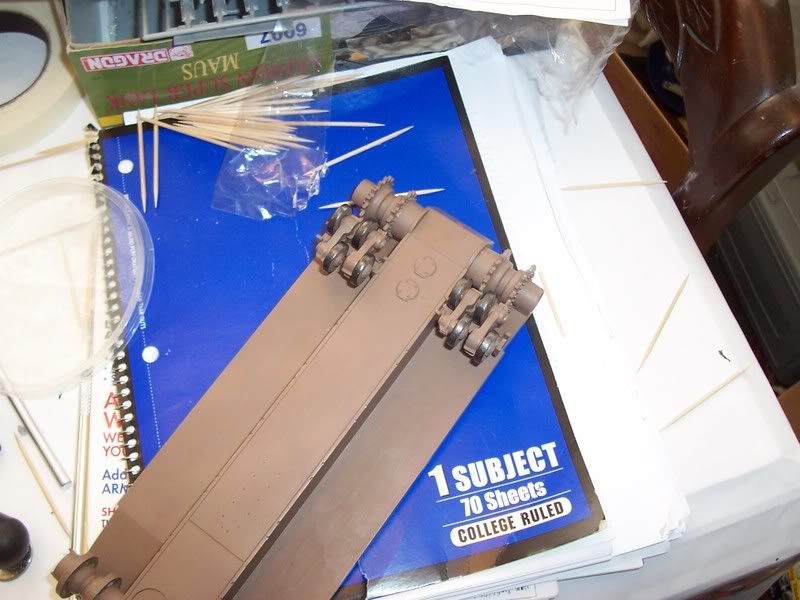
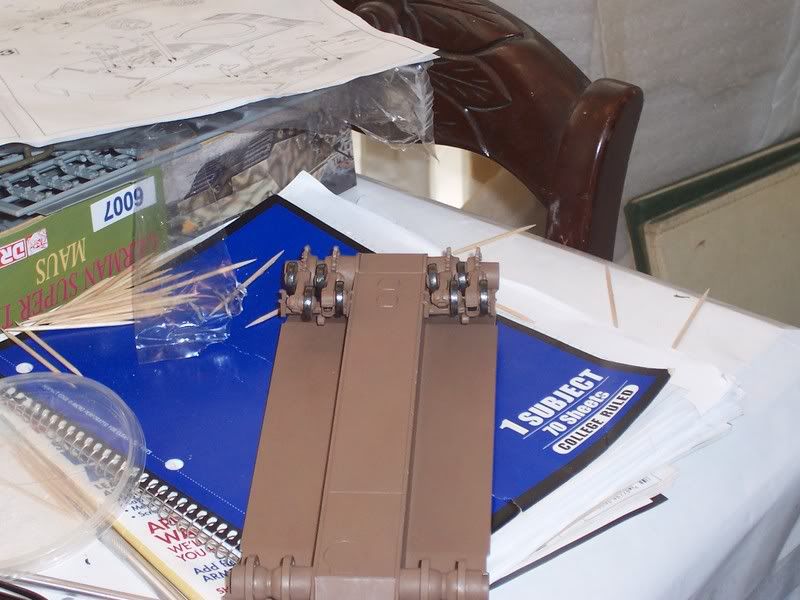
Got 1 bogie put on and the rollers put on
I had to put all 8 of these tiny things on there
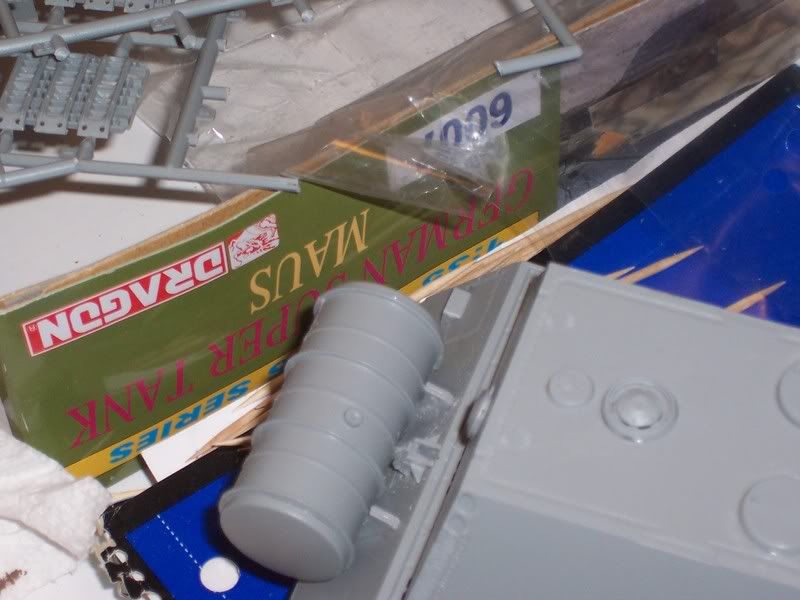
most difficult thing was getting the gas tank to fit when the little piece in the middle kept the tank raised so i had to sand and sand and shave it with a xacto blade
Need to do a little wireing for the head lights
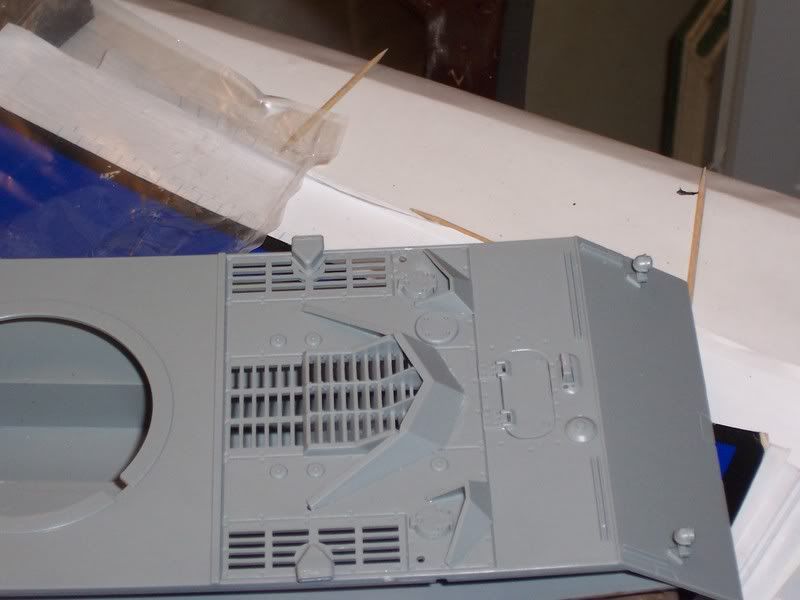
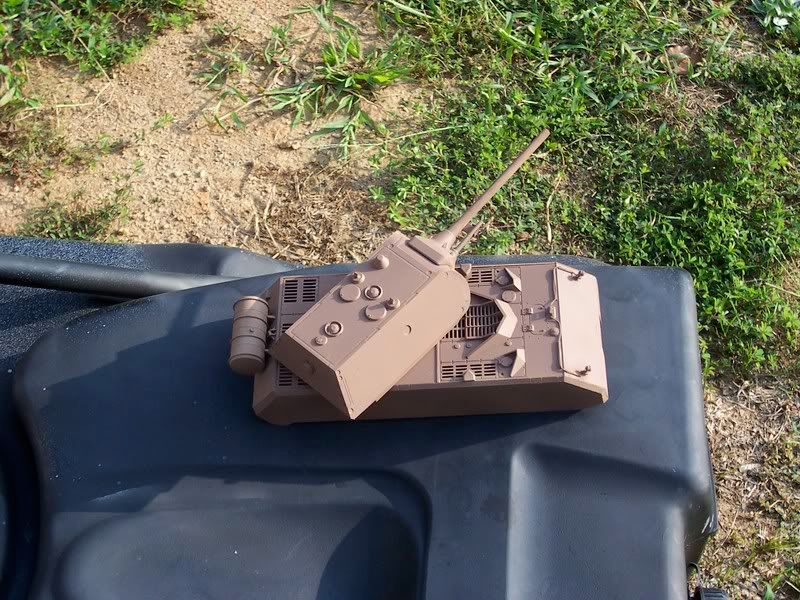
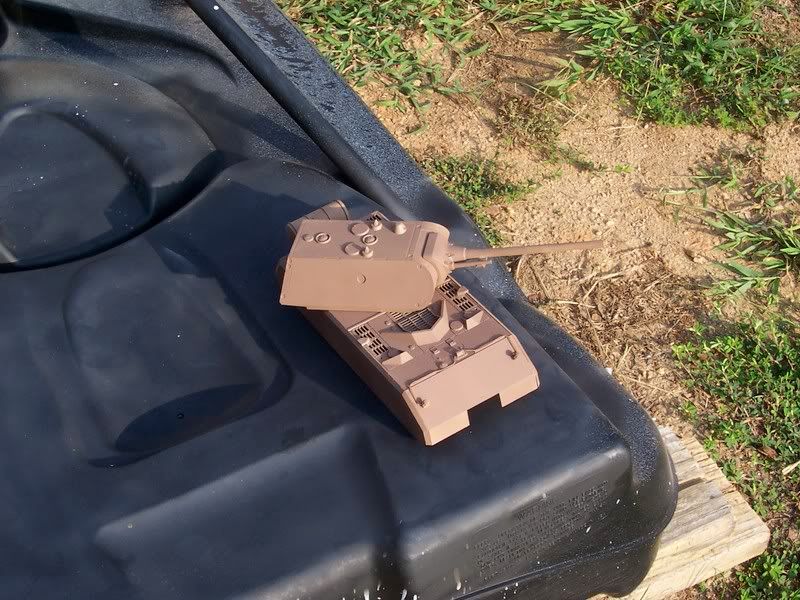
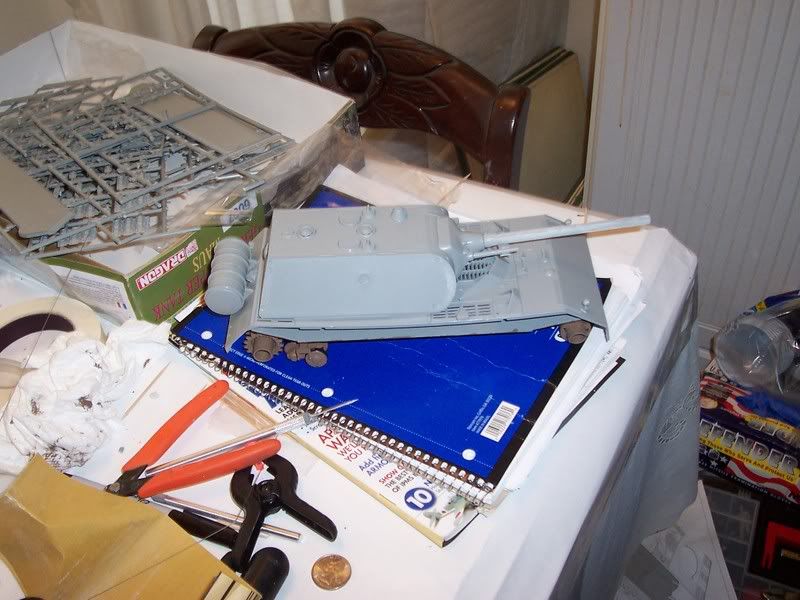
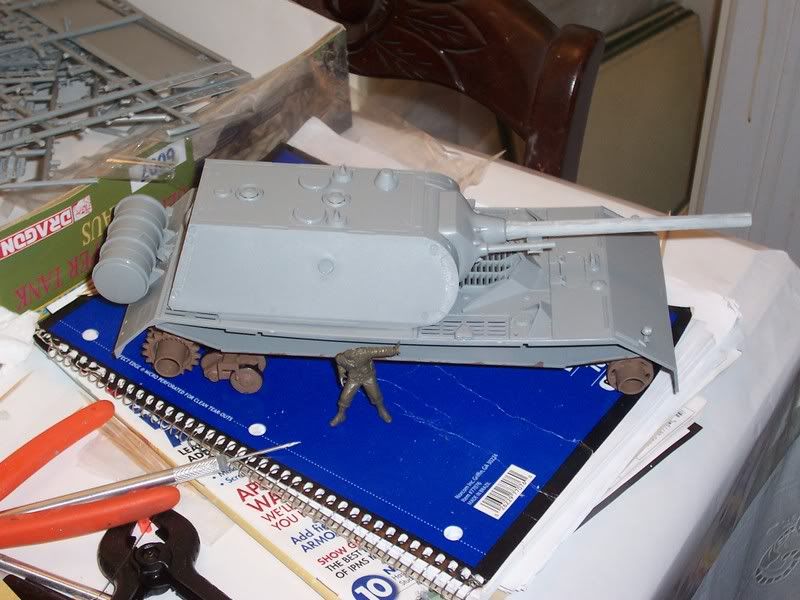
Turret done but not glued down
size comparison 1/35 gi(tamiya infantry http://e-hobbyland.com/tausarasin1s.html guy that needs the tommy)
I did a little wiring for the head lights and they both broke off so I had to supergule them back :![]() I don’t care if its right or wrong this was a first for me
I don’t care if its right or wrong this was a first for me
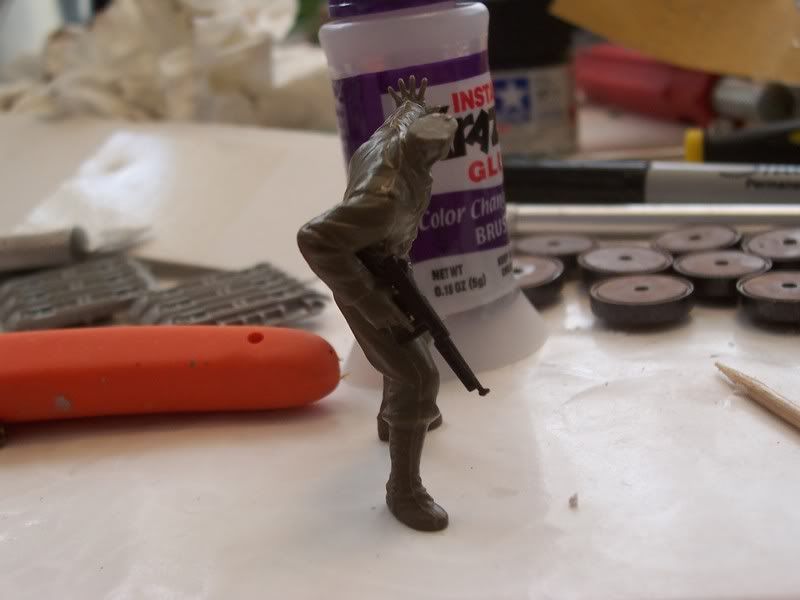
And the tompson arrived He says stop instant crazy gule ;D
My friend lance came over and airbrushed it for me because I didn’t feel like painting it today but he wanted to so I let him