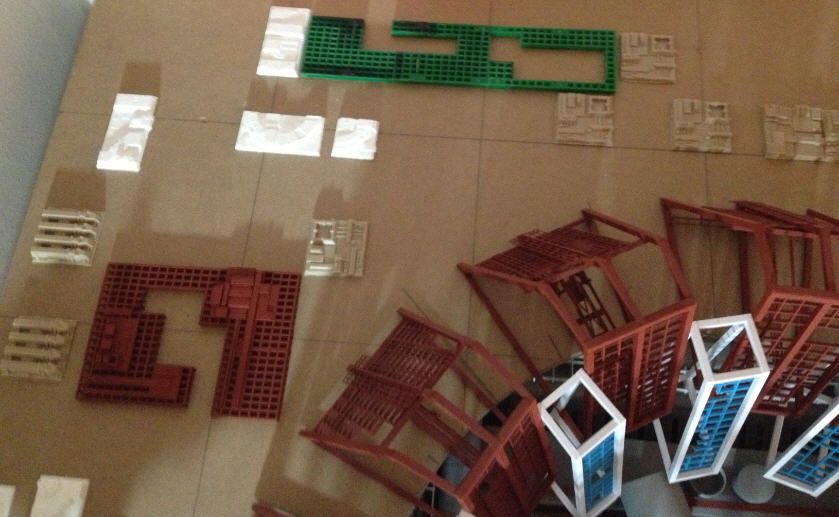
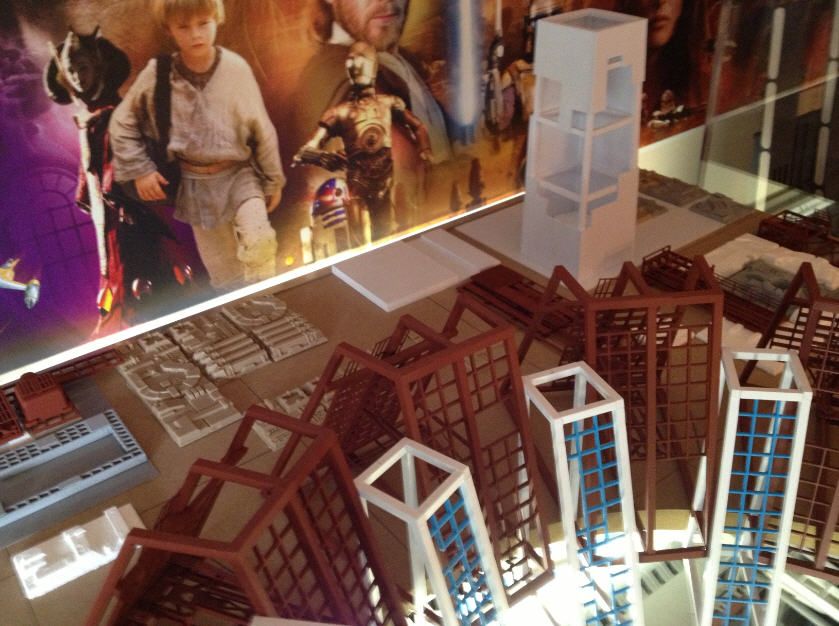
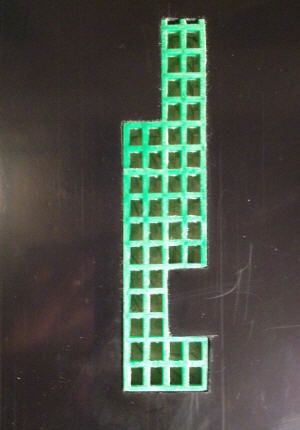
Finally got around to fixing the “L”-shaped red structure… had originally prototyped it up wrong (too short and wrong cut-off). Stripped the left half and added the extender… then laid out a full run of surface all the way up the side… and… suddenly… [drum roll] SHAZAAM - it all lined up from the original planning! Now THIS is where the fun begins!

New extended “L” painted up with better lighting in that area… lots of sanding, tweaking, and painting in the future once I get the whole surface laid out…
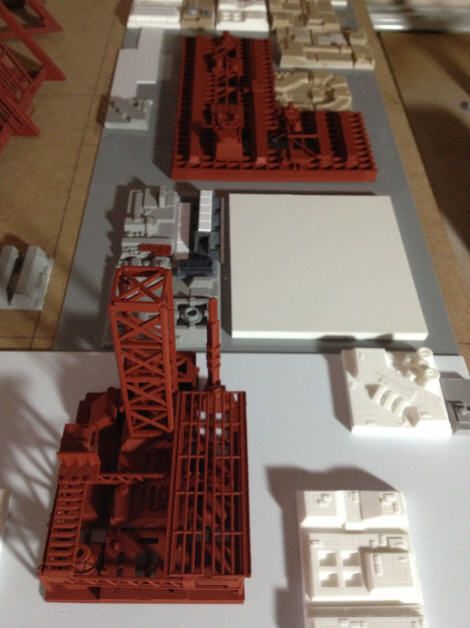
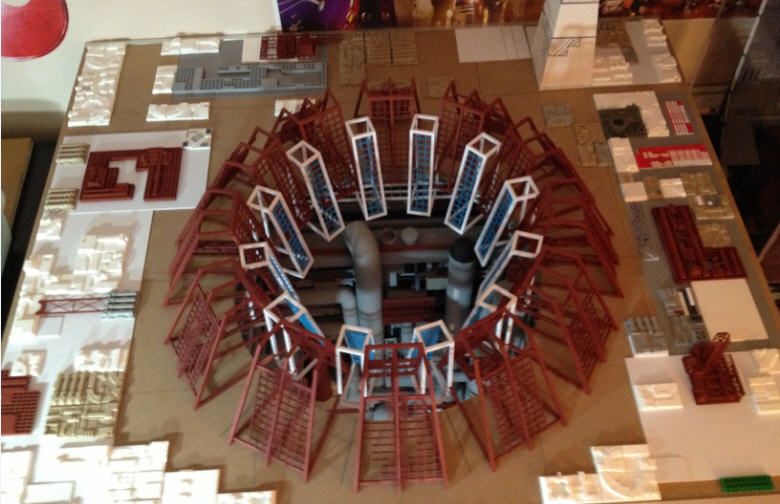
A little tweaking around the under-construction tower… and started laying out the upper middle. Should get the top laid out this week. Then onto the left, denser area that the Falcon flies over as it approaches the port… once it is all generally laid out, then will start on the tower and detailing up all the tiled areas…
Quite a project! Are you an architect?
Funny you ask… I actually wanted to be an architect at one time. Have scratched a lot of model houses for fun over the years. Always liked to do open/cut-away mockups. This was right up my alley… 
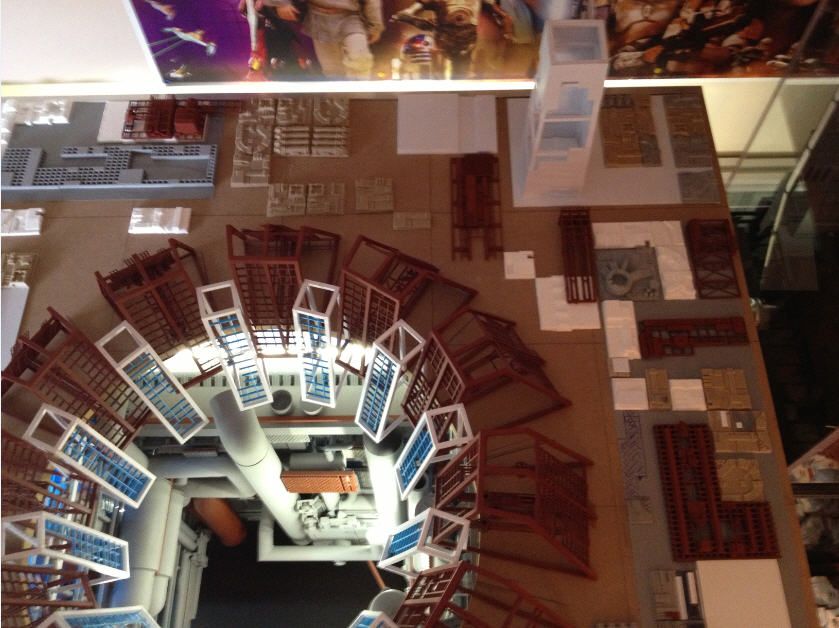
Had an afternoon to work on it again… got the larger red structure on the left side mostly done. Working on the back gray grid structure next…

Was finally home on the weekend once… got more laid out and more grid structures roughed out on the left side and top. Hopefully the weather will stay warm soon and stop raining so I can finally paint the whole red middle port section…
Getting there with the surface layout… next back to the corner with the partial tower and three surrounding red structures. Woo, finally get to build the tower.
Another cold rainy weekend, so lots of progress (for once)…
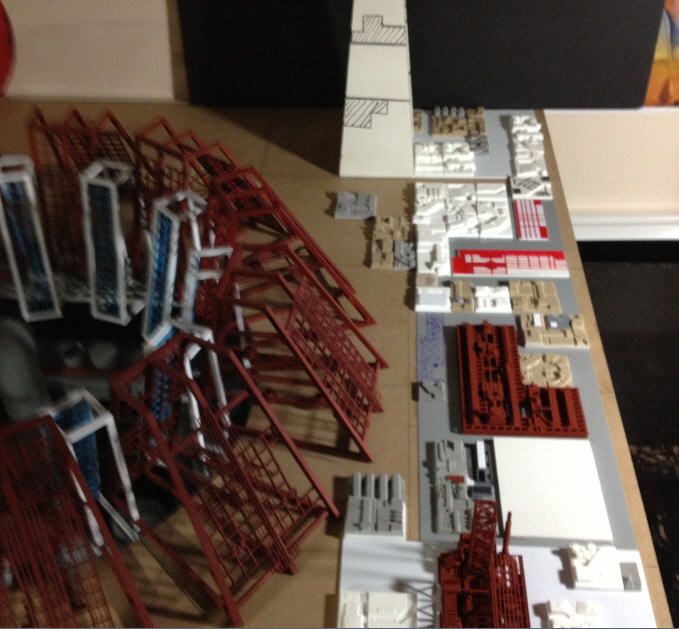
Got the core structures for the tower area laid out as well as the frame and shell for the partial tower. This phase is so much fun!
Lots of clean-up and sanding of all the surface parts, then onto superdetailing and painting of all the surface elements…
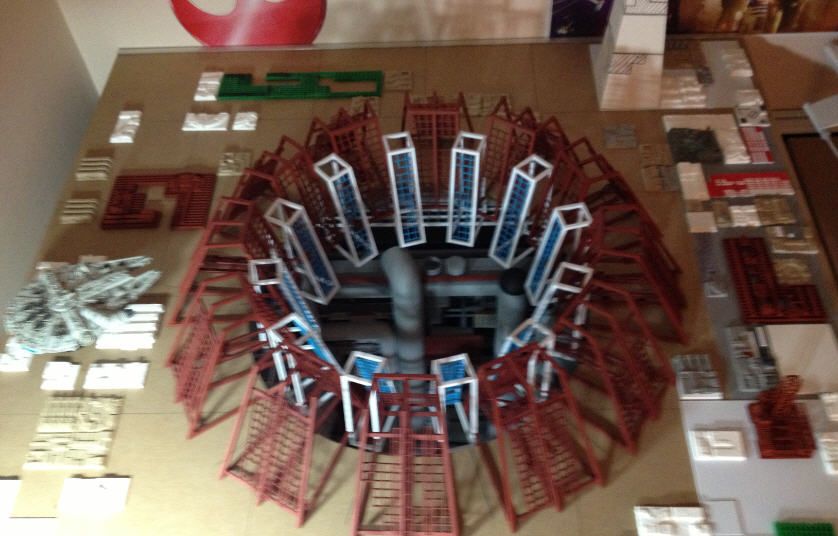
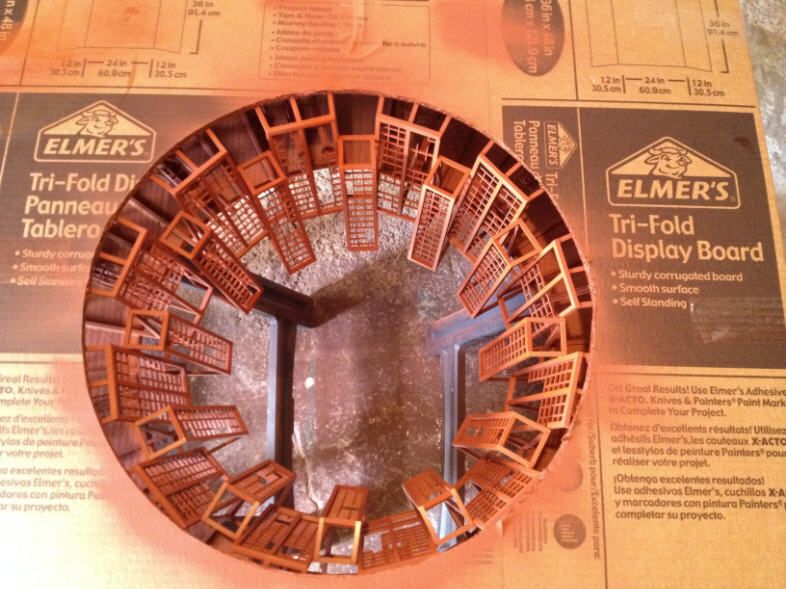
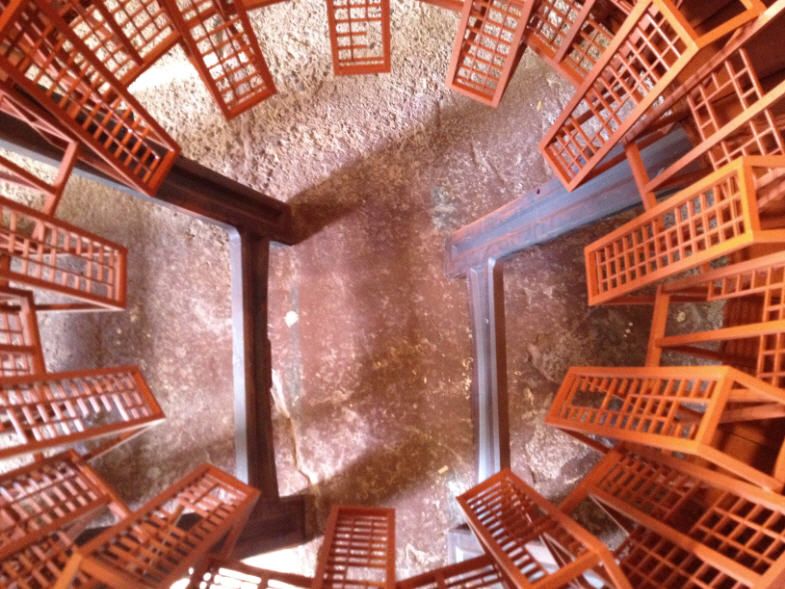
Finally found somebody local to make acrylic cases and cut large styrene/ABS… spec’d out the large ABS surface piece with the “official” hole that will be clad to the MDF. In the meantime, getting cold out, so time to paint the port (since I had to remove it anyways). Forgot I had only tacked the inside structures in the corners… was hanging that way all summer, but didn’t fall into the hole! I remembered when I tried to pick it up and they started falling inside the port… lol. All is good… built a quick temporary cardboard carrier so I can get at most angles of it. First time all the port sections were fully attached and painted. A few sand and putty spots, but actually not too bad overall for first crack at it… will work on that until the surface cladding is done.

This is simply awesome. Can’t wait to see more. I’m truly inspired to take my modeling to the next level.
Just catching up on this now Kevin, as I don’t spend a lot of time in the Sci-fi zone. This is just spectacular!!!
Thanks. Yeah, might be the slowest build ever with the three-month breaks ever so often, but it will get there eventually… lol.
My large rough-cut piece of ABS was ready Fri, so I got some work done on the new surface base… new piece of MDF and got the embedded grid piece roughed in.
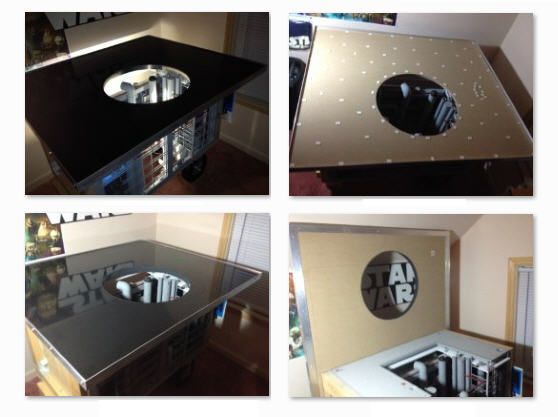
Added a thick metal edging with some angles and flats. Will also make a nice lip for the eventual acrylic cover… next to cutting the hole in the MDF and reading the mounting points.
Kevin…there is something seriously wrong with you…lol…and I love that model!
The concept…and the execution…is pretty darned inspiring.
Mate - I can’t wait to see more. Very nicely done.
Woah! Looking alot more like the set every time I see it!
Thanks guys. Starting to look like something… [Y]
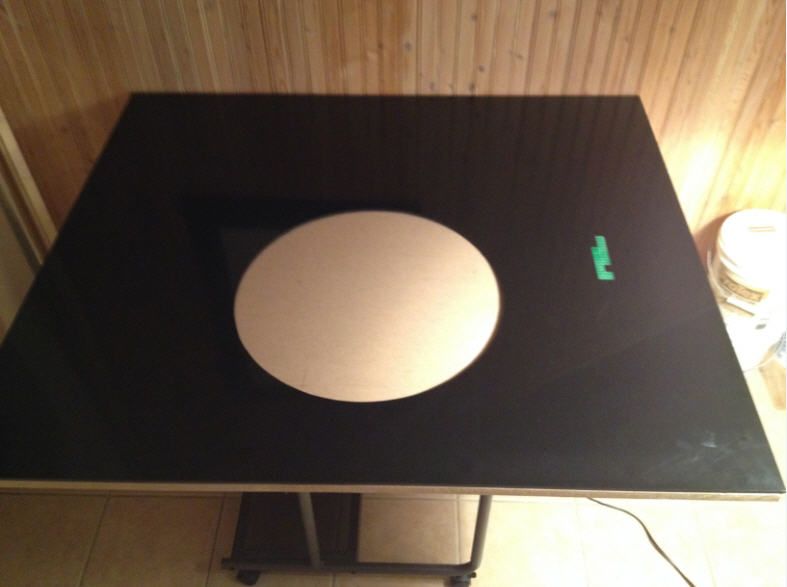
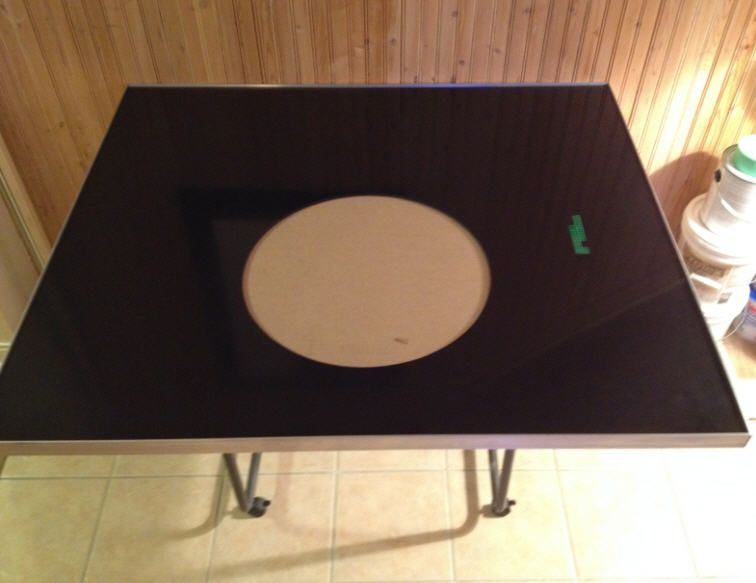
Past the scary part… I used the edge of the ABS circle to cut the new circle out of the MDF. I thought about using a router, but haven’t used one in years… didn’t want to chance it. Forgot how much fine sawdust MDF makes. Got it cut out and drum-sanded smooth and even with the ABS edge. Did a test fit over the lower port. Also taped in a piece of edging that I’m thinking of putting around the inside edge for a nice uniform edge. Epoxying the ABS to the MDF, final sanding, then a test fit for the red port.
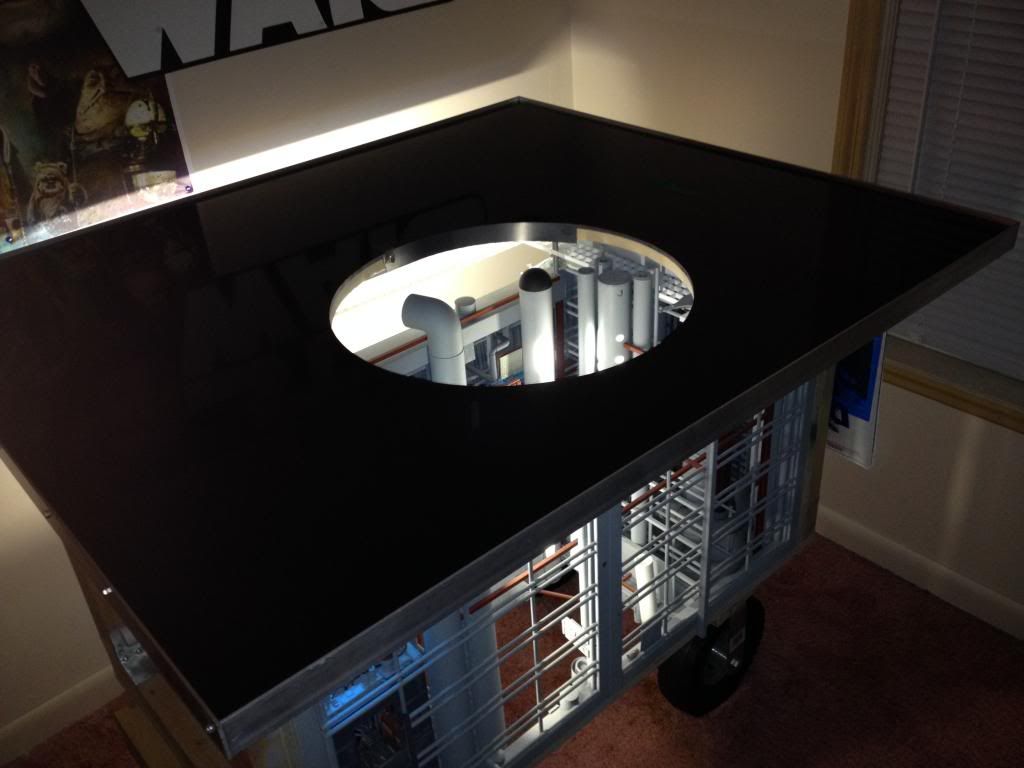
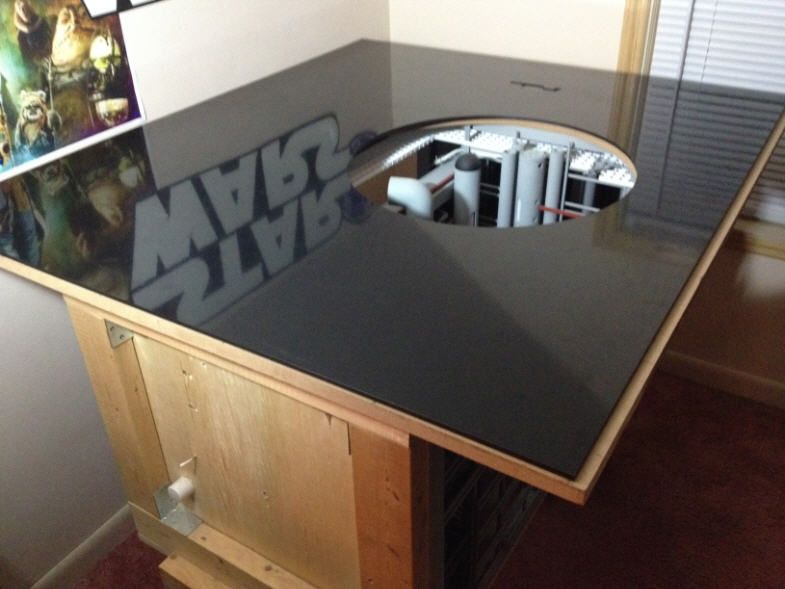
Mounted the top… hinges along the back that I can pull the pins on to remove it. Going to want to move this around the house and maybe some shows, so decided not to epoxy, but instead try lots of permanent double-stick tabs to mount the ABS. Had done some previous tests and works well. Should also absorb minor vibrations for all those surface parts. Also got the inner hole cowling installed. A little bit of sanding and primer… then onto the port test.
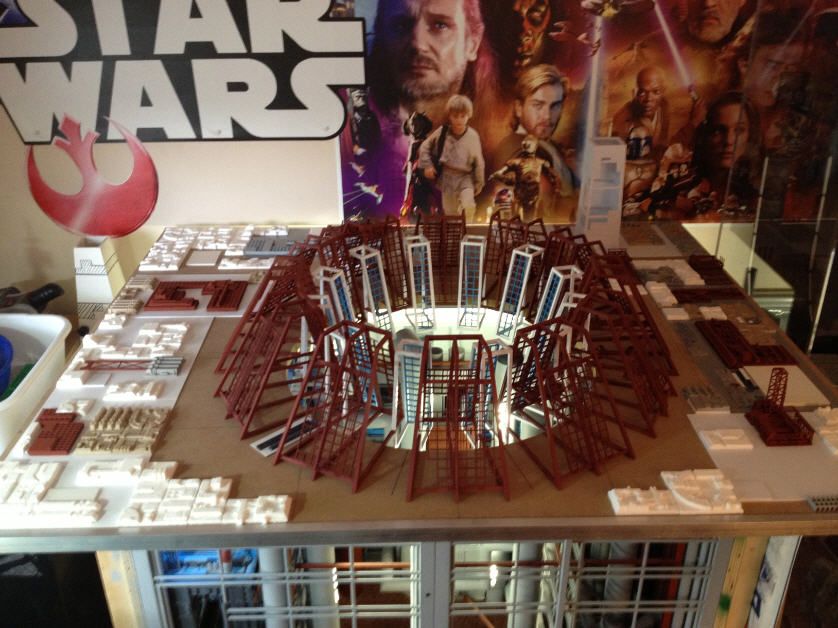
more awesome work. i like how you caught the SW poster in the reflection. So are you turning the ‘table top’ into a death star surface to tie in with the port?
Yep. Check out the previous pages… I laid out the whole surface for that area, with a partial-built laser turret tower. Lots of cleanup and assembly coming soon on those…