Good luck with the job interview.
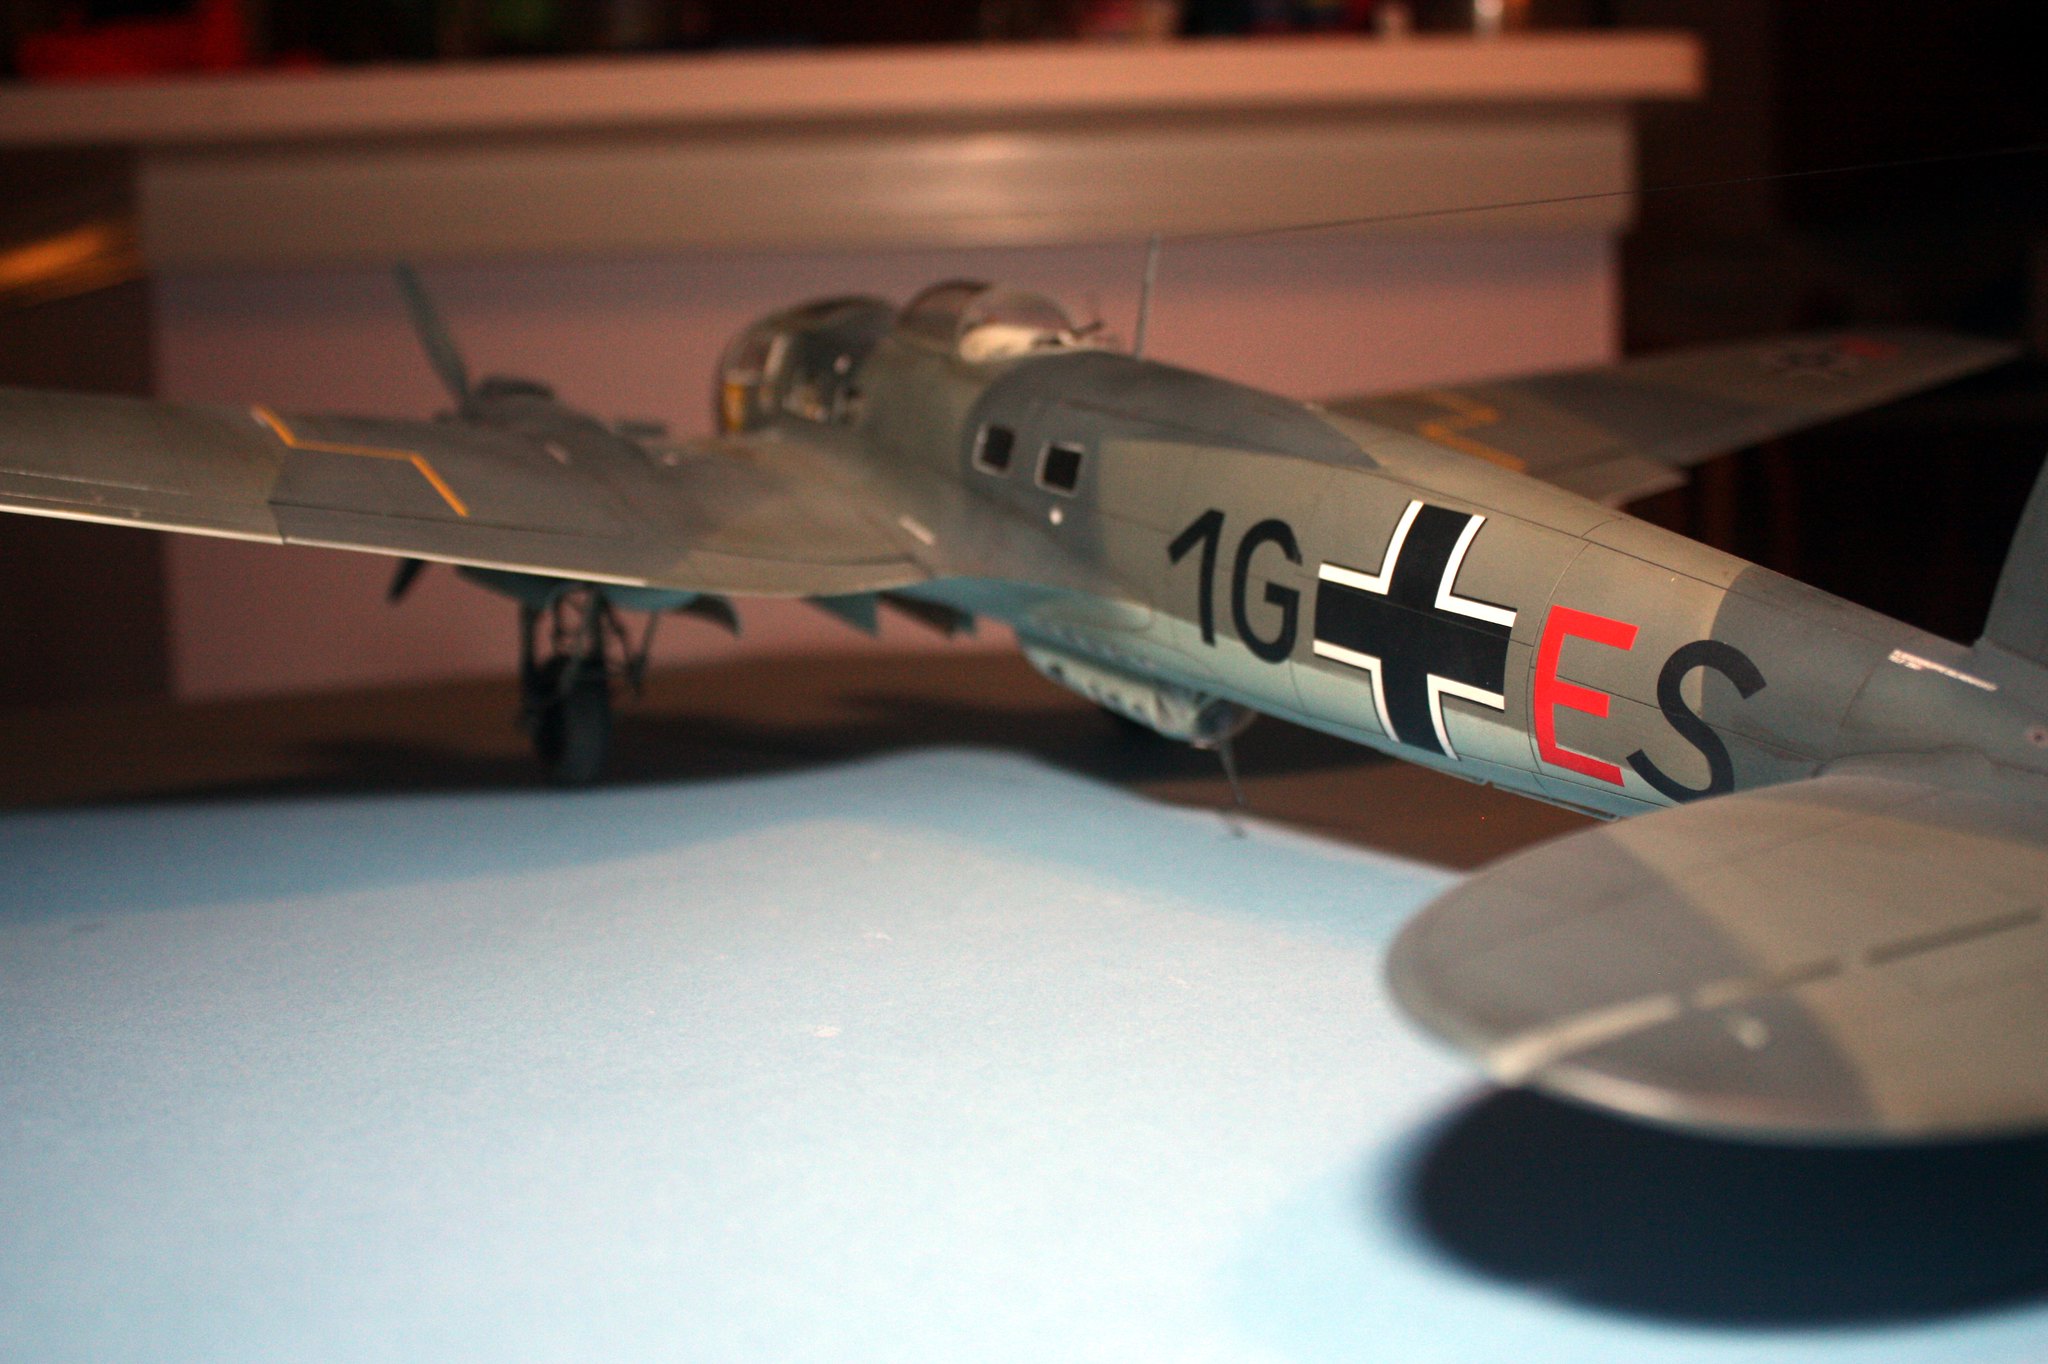
The 111 is really coming together nicely.
Good luck with the job interview.
The 111 is really coming together nicely.
Thanks John
Let me start off by saying that today’s interview, from my perspective, went very well. It was an initial screening with HR, so I still have some bridges to cross, but given I have lots of experience in clinical trial programming, I think I was able to convey confidence and should be able to get to the next round of interviews.
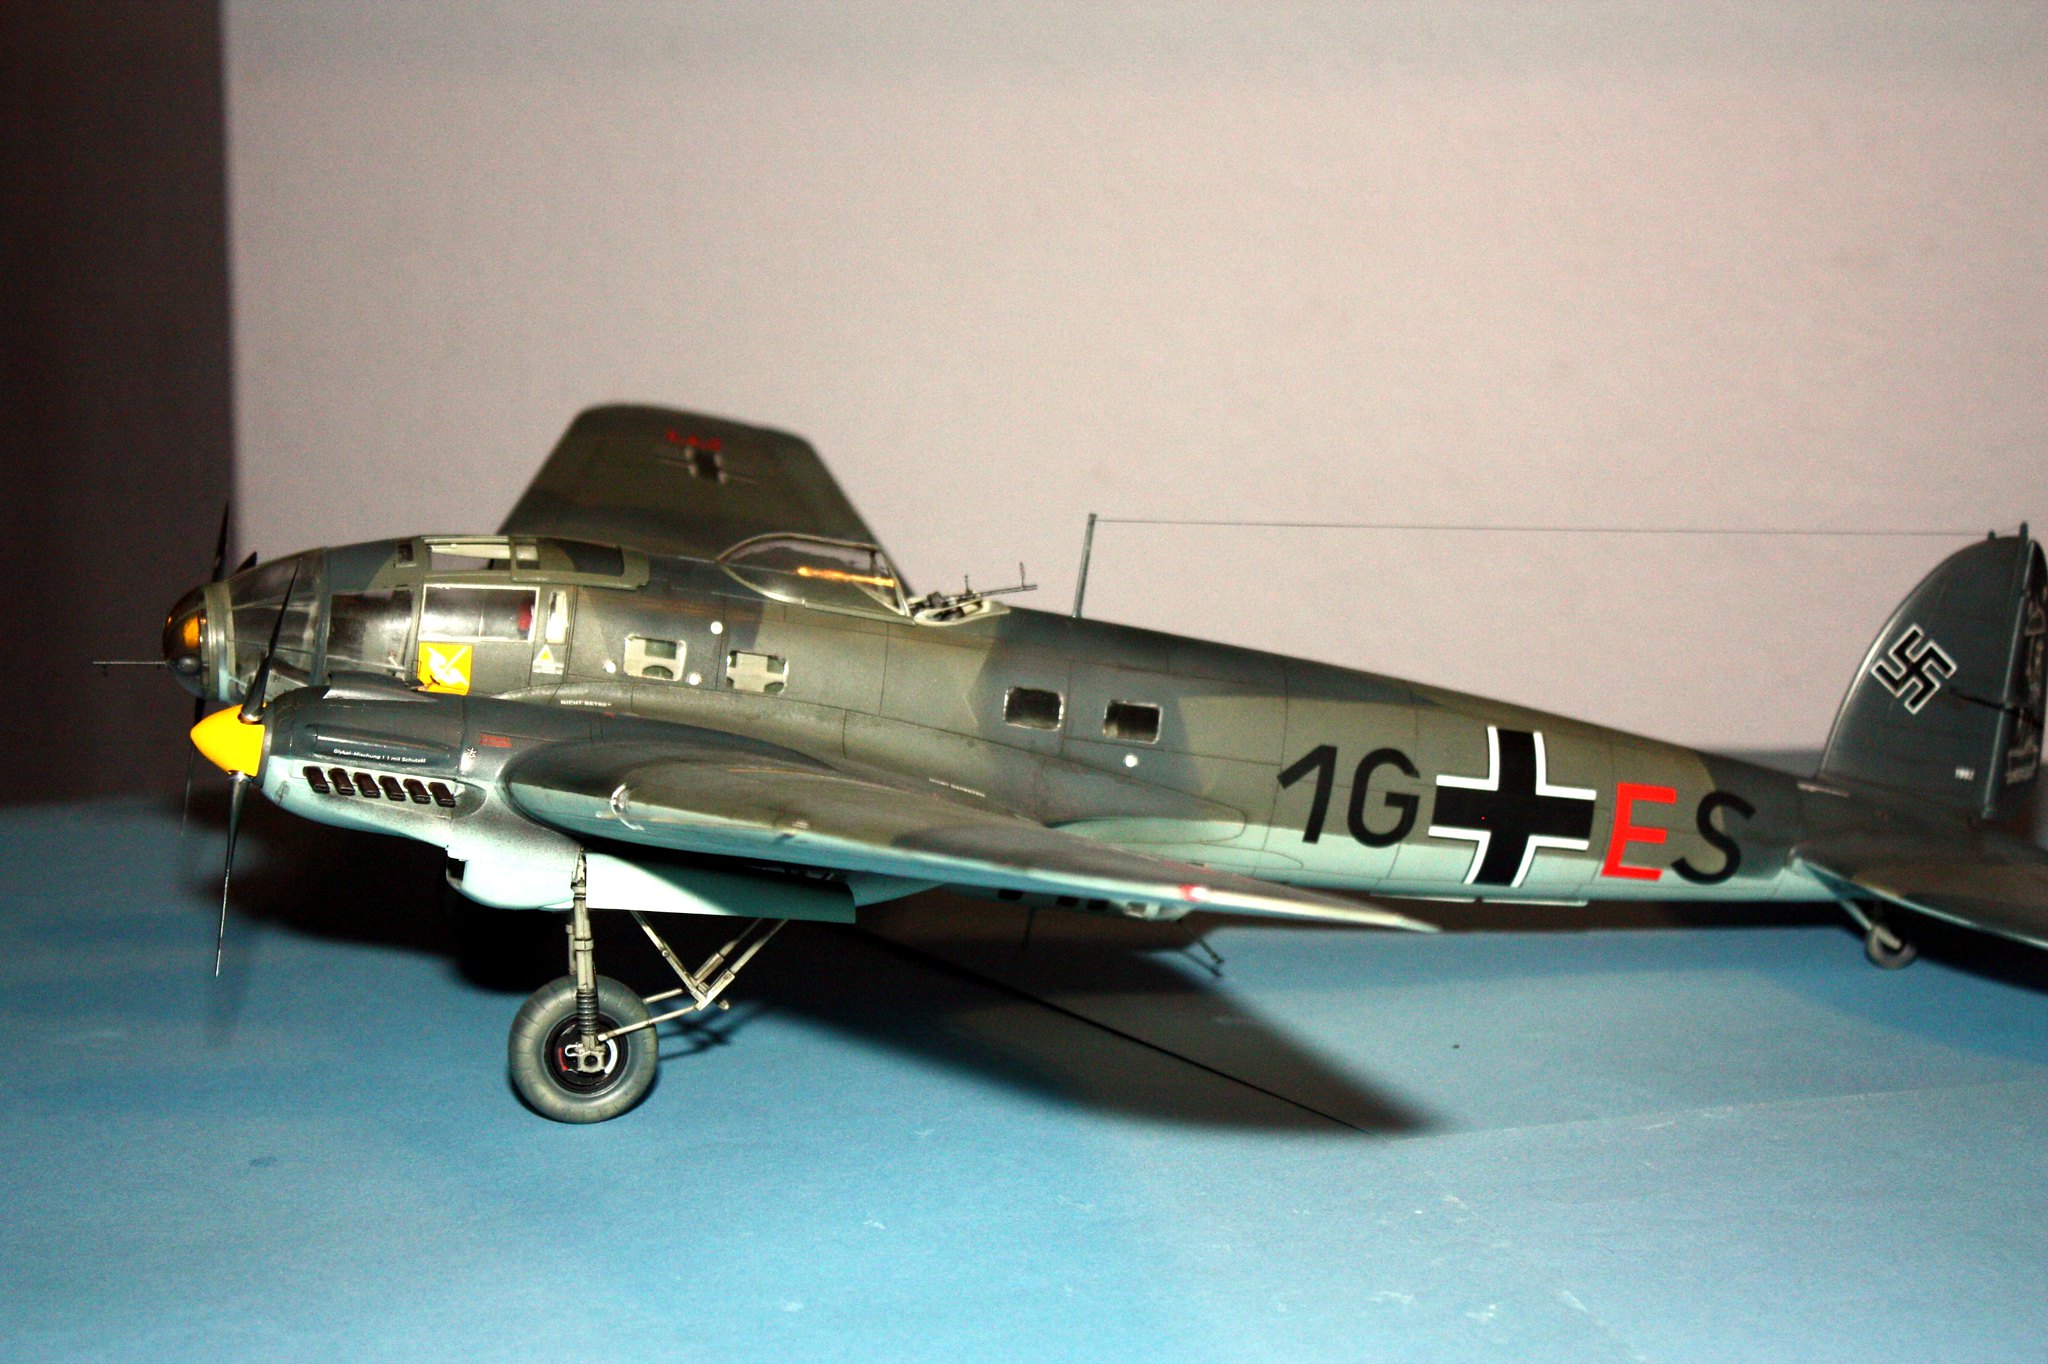
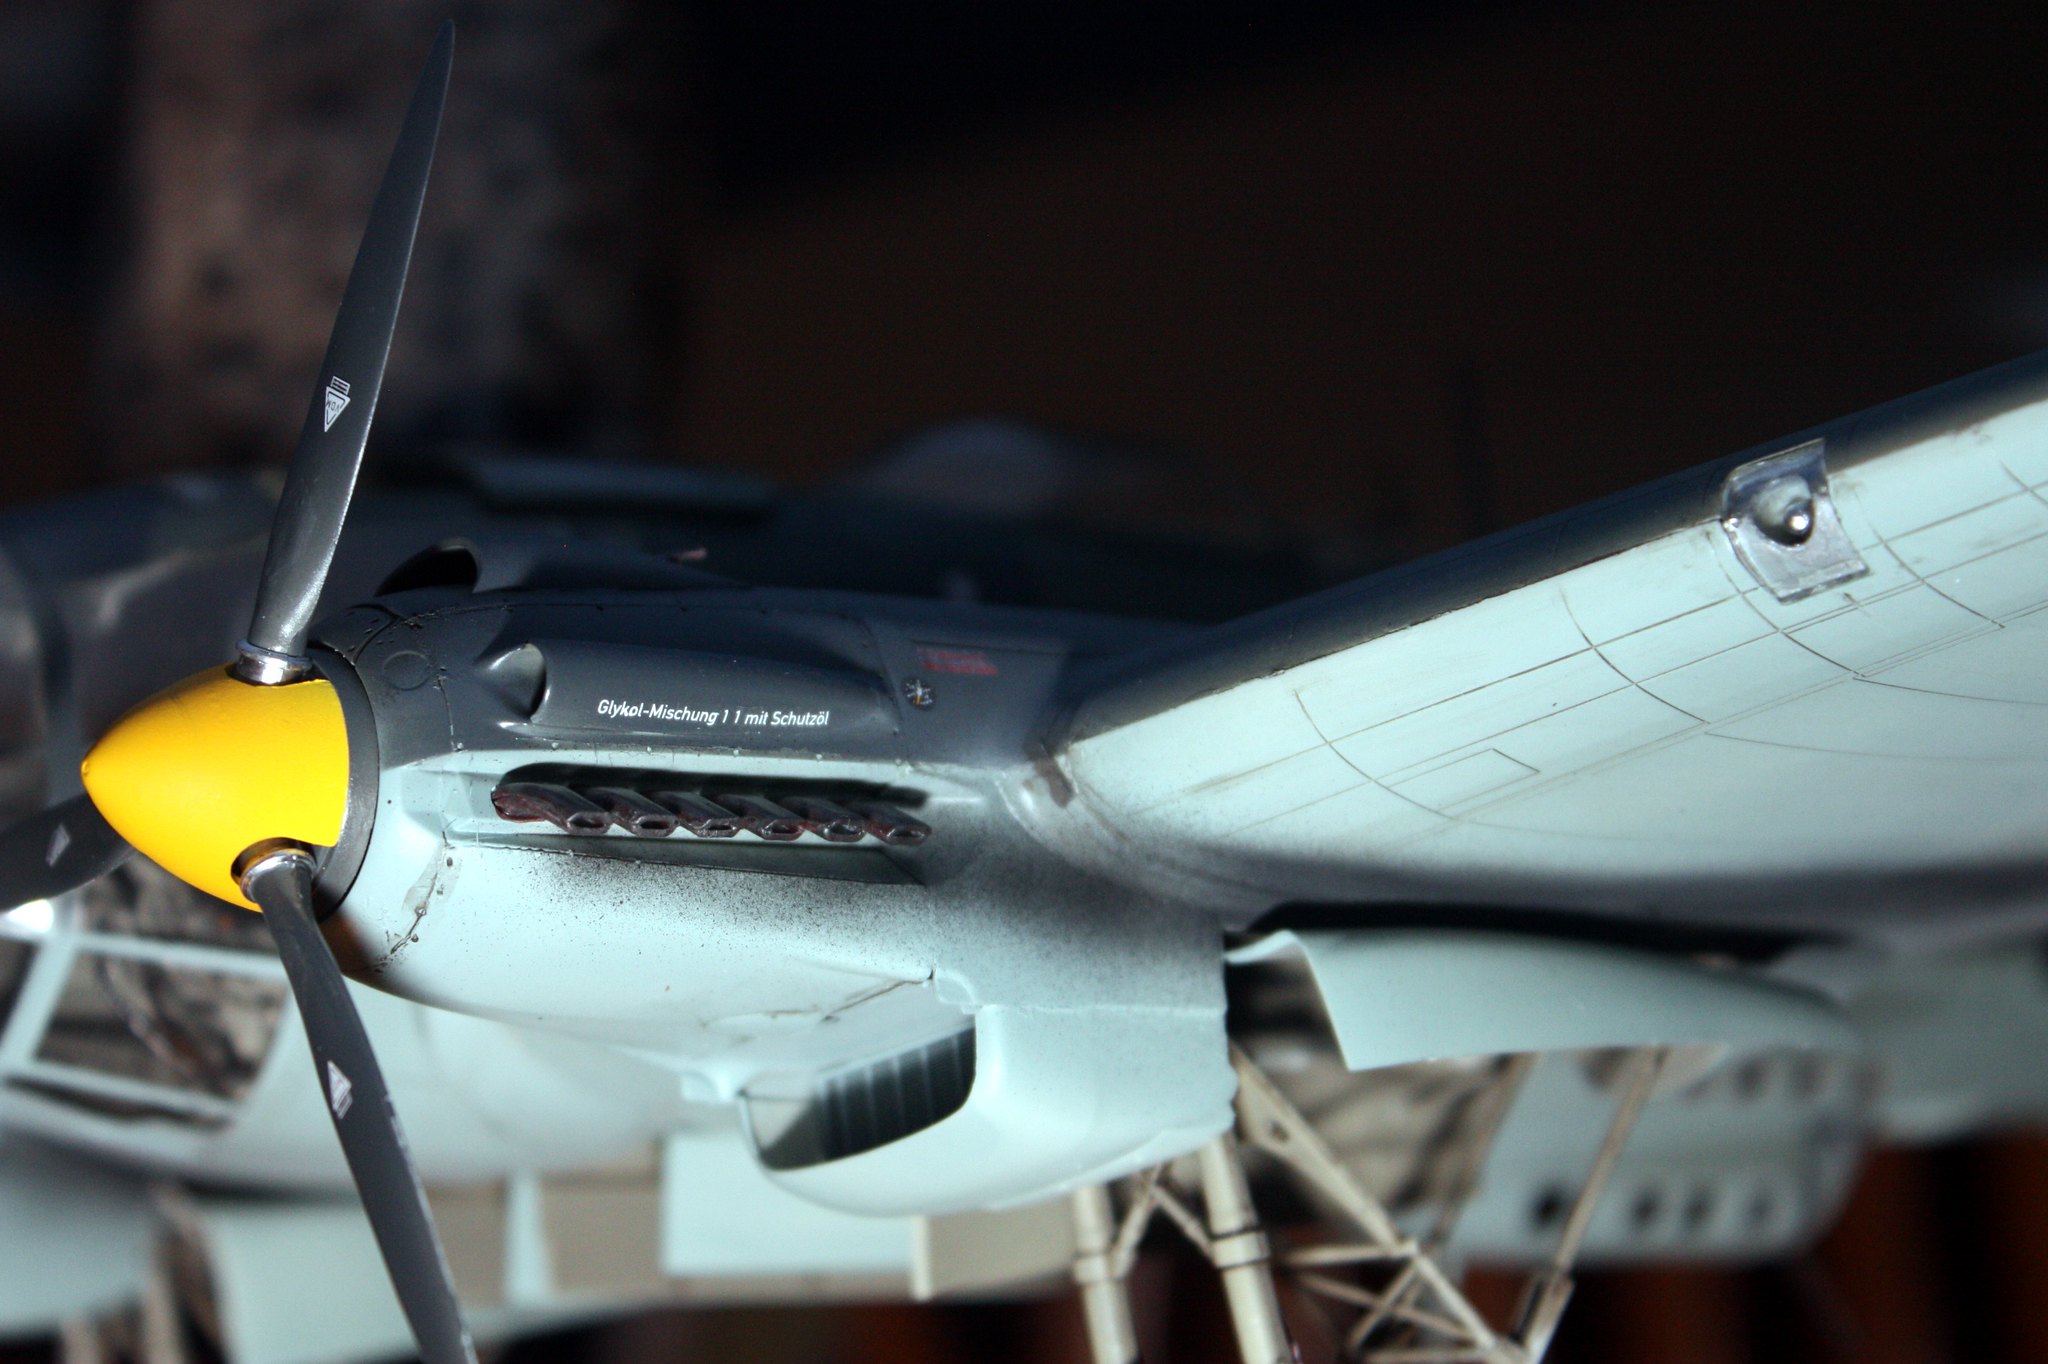
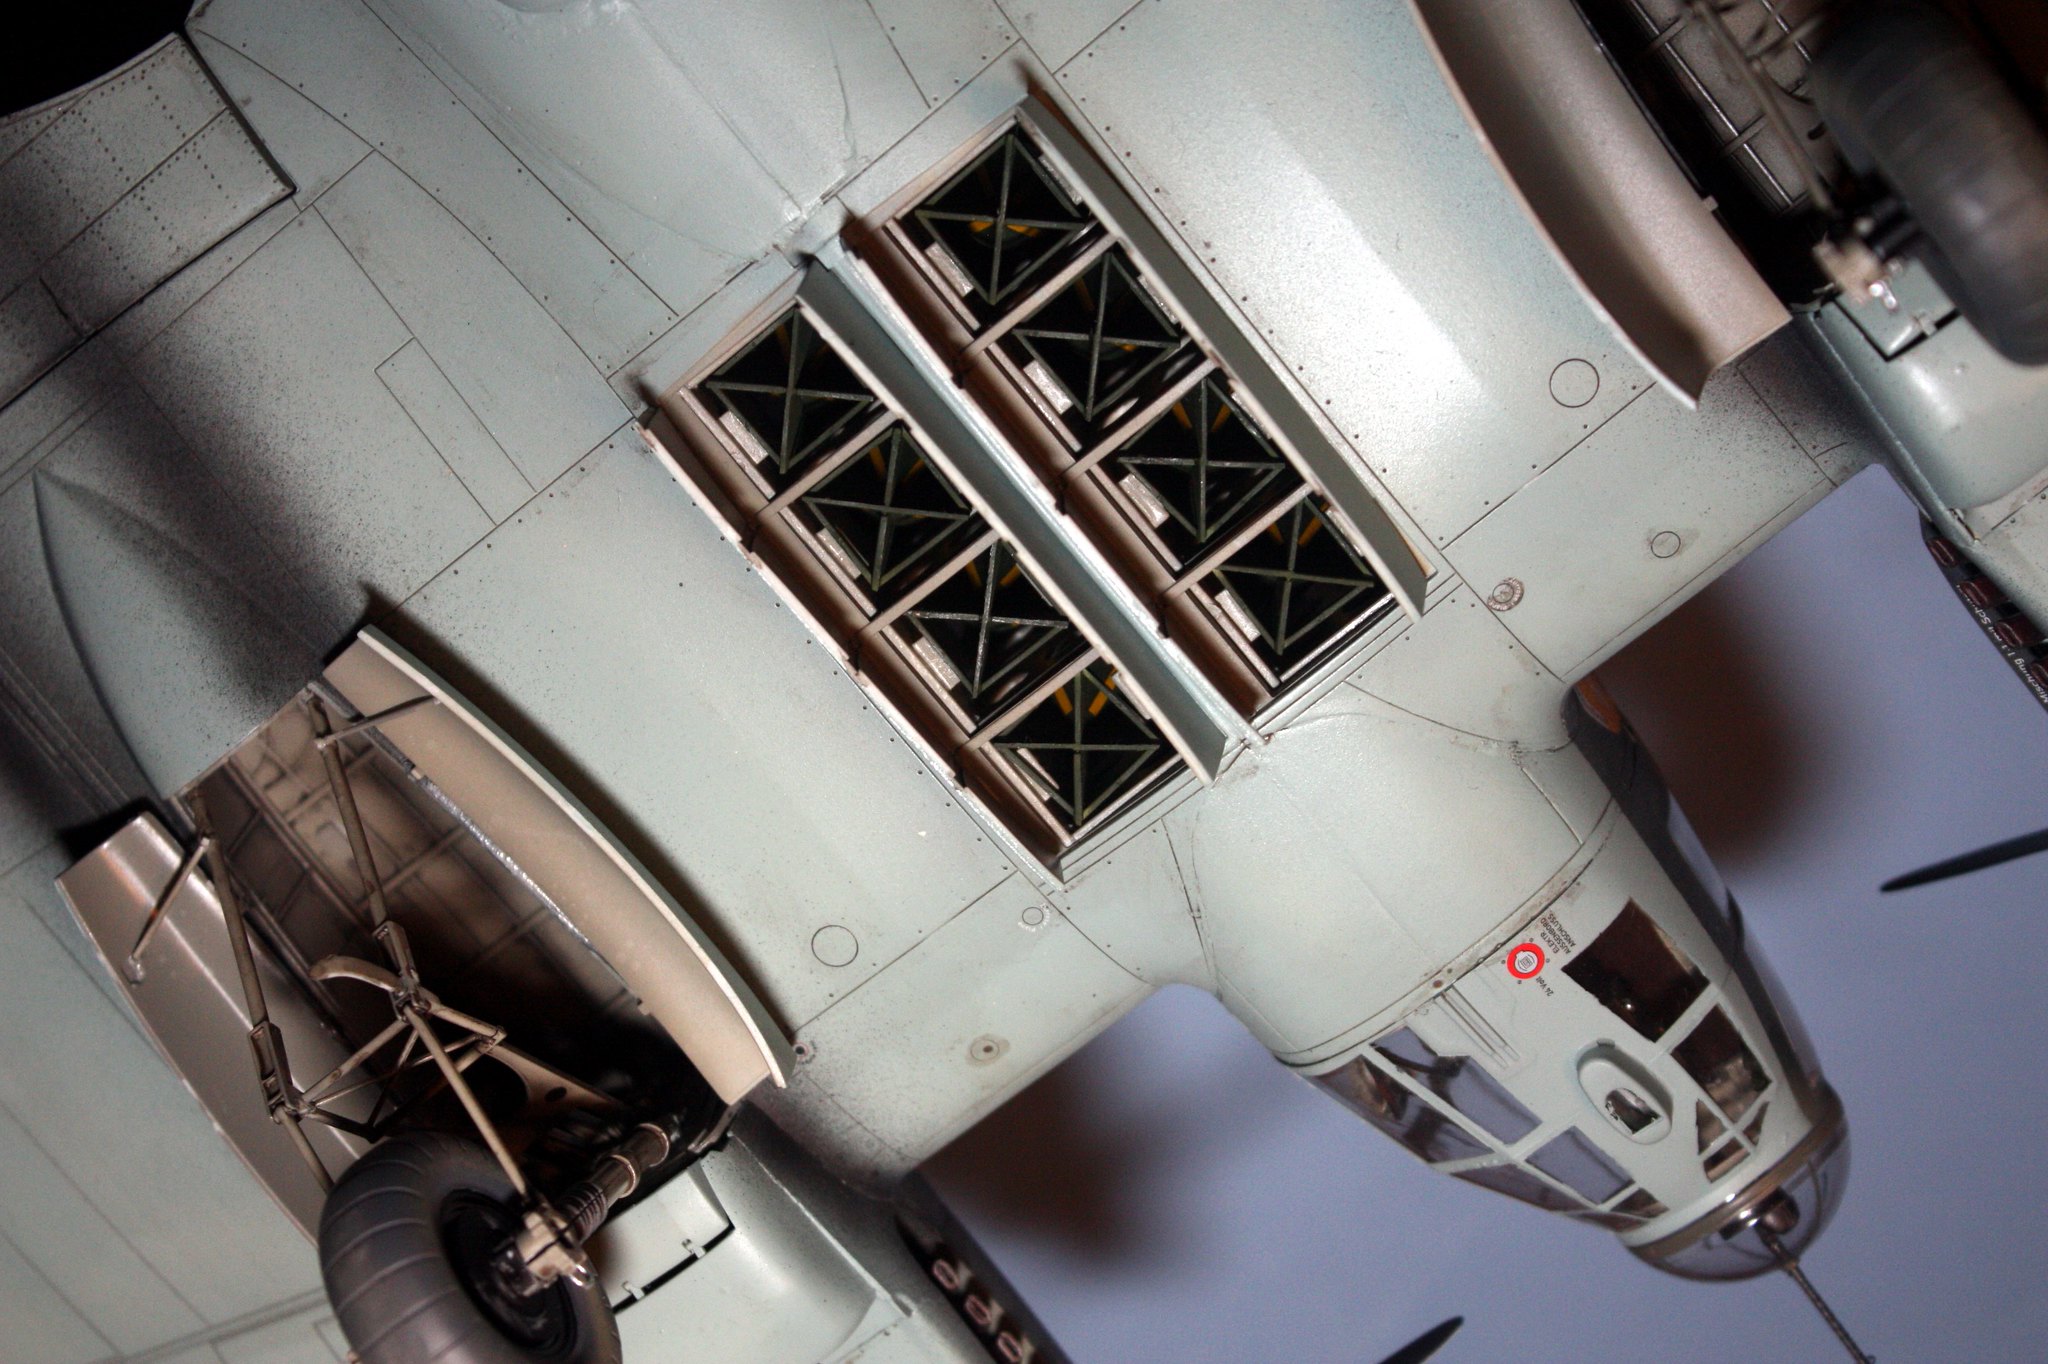
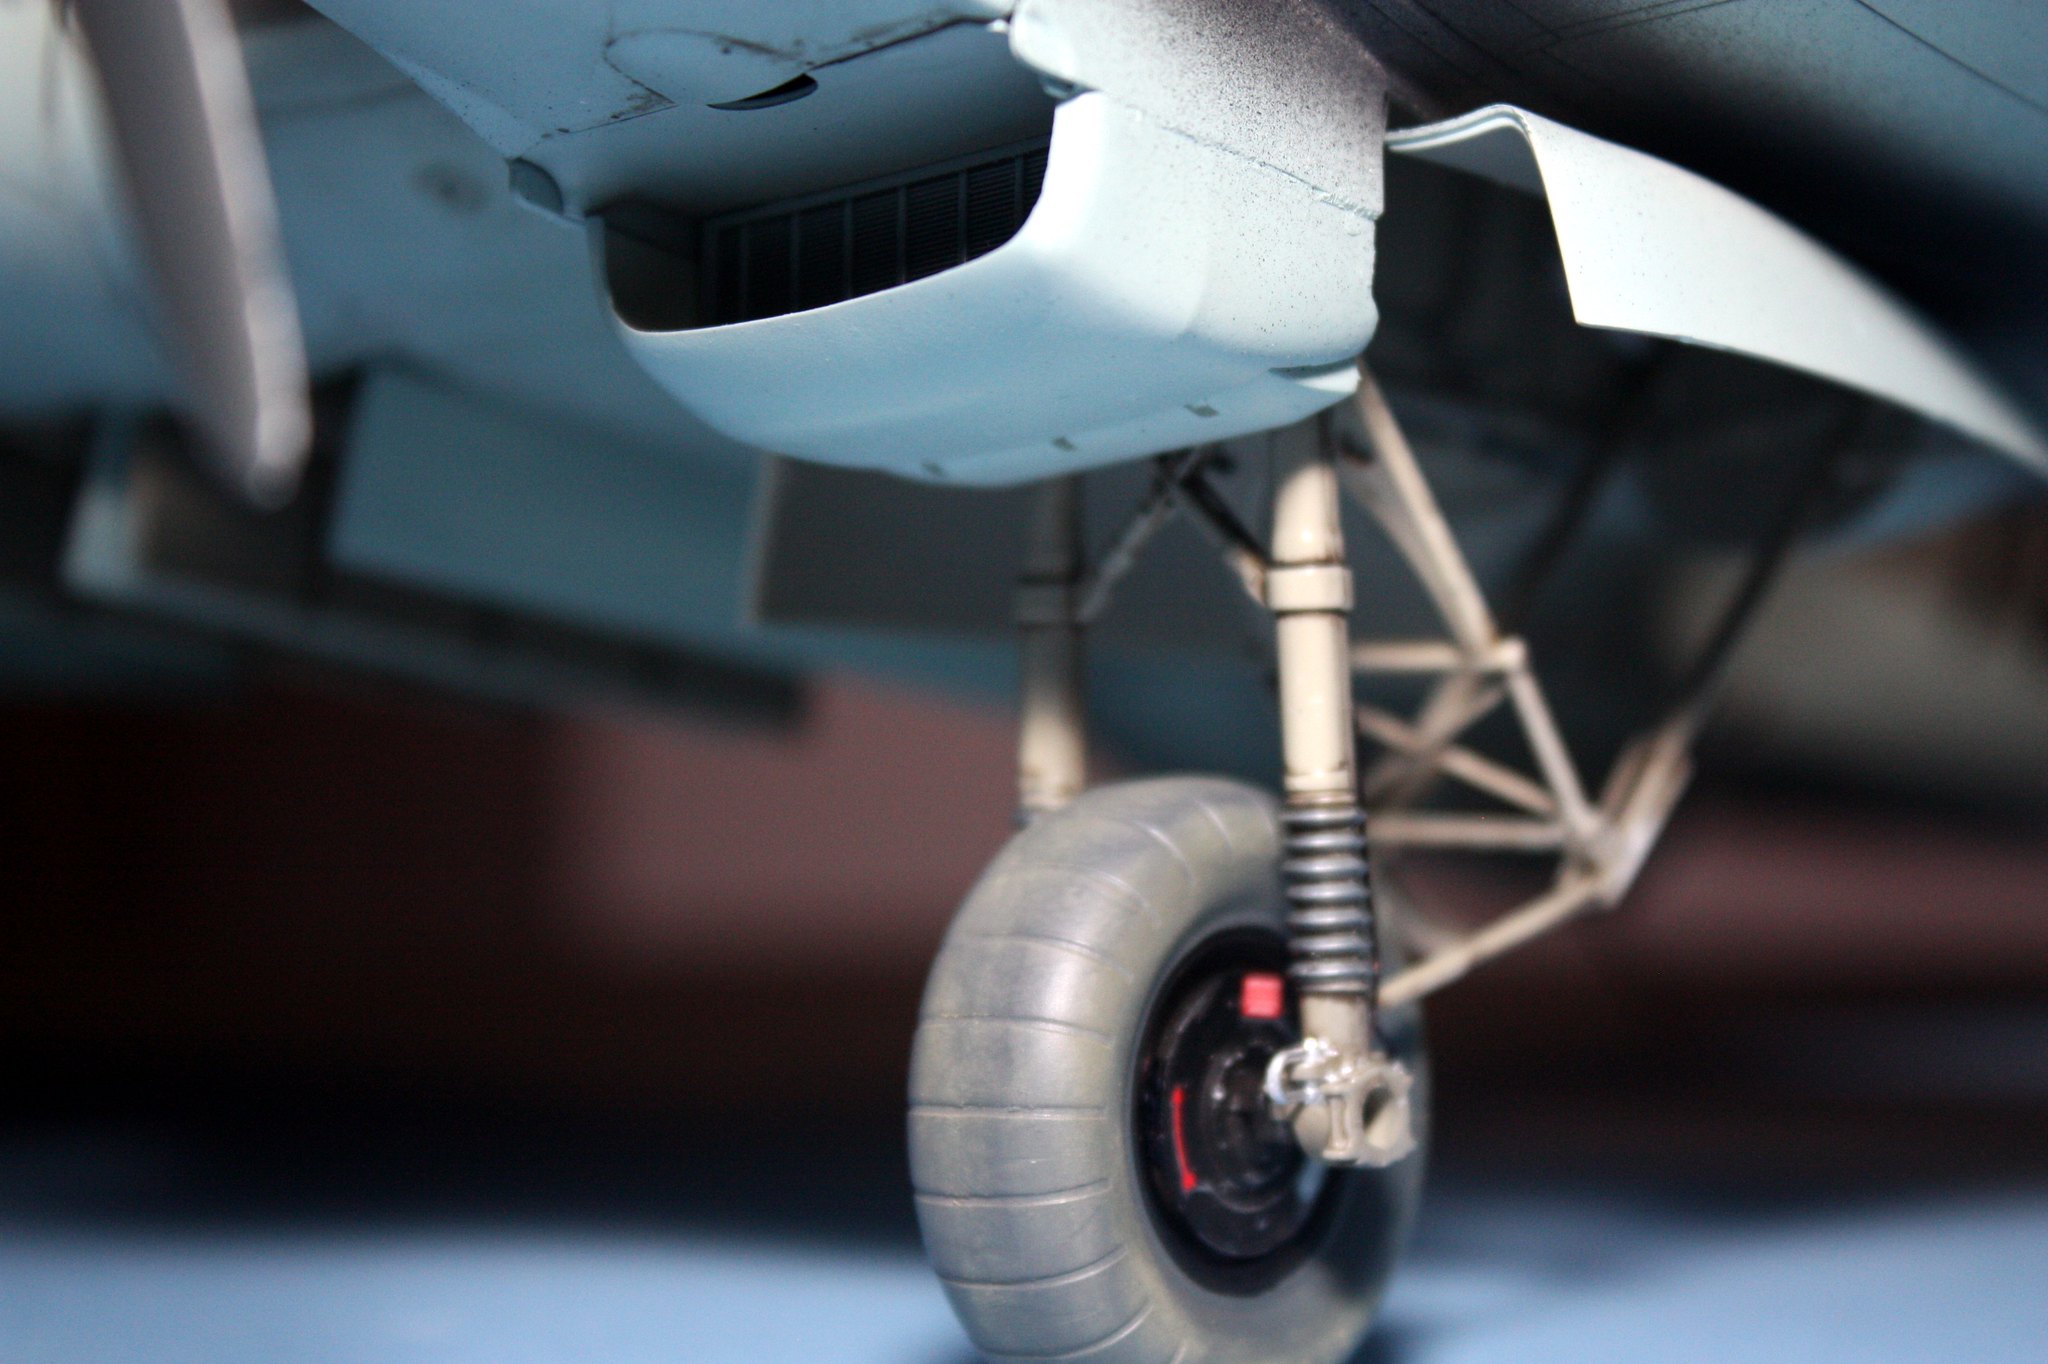
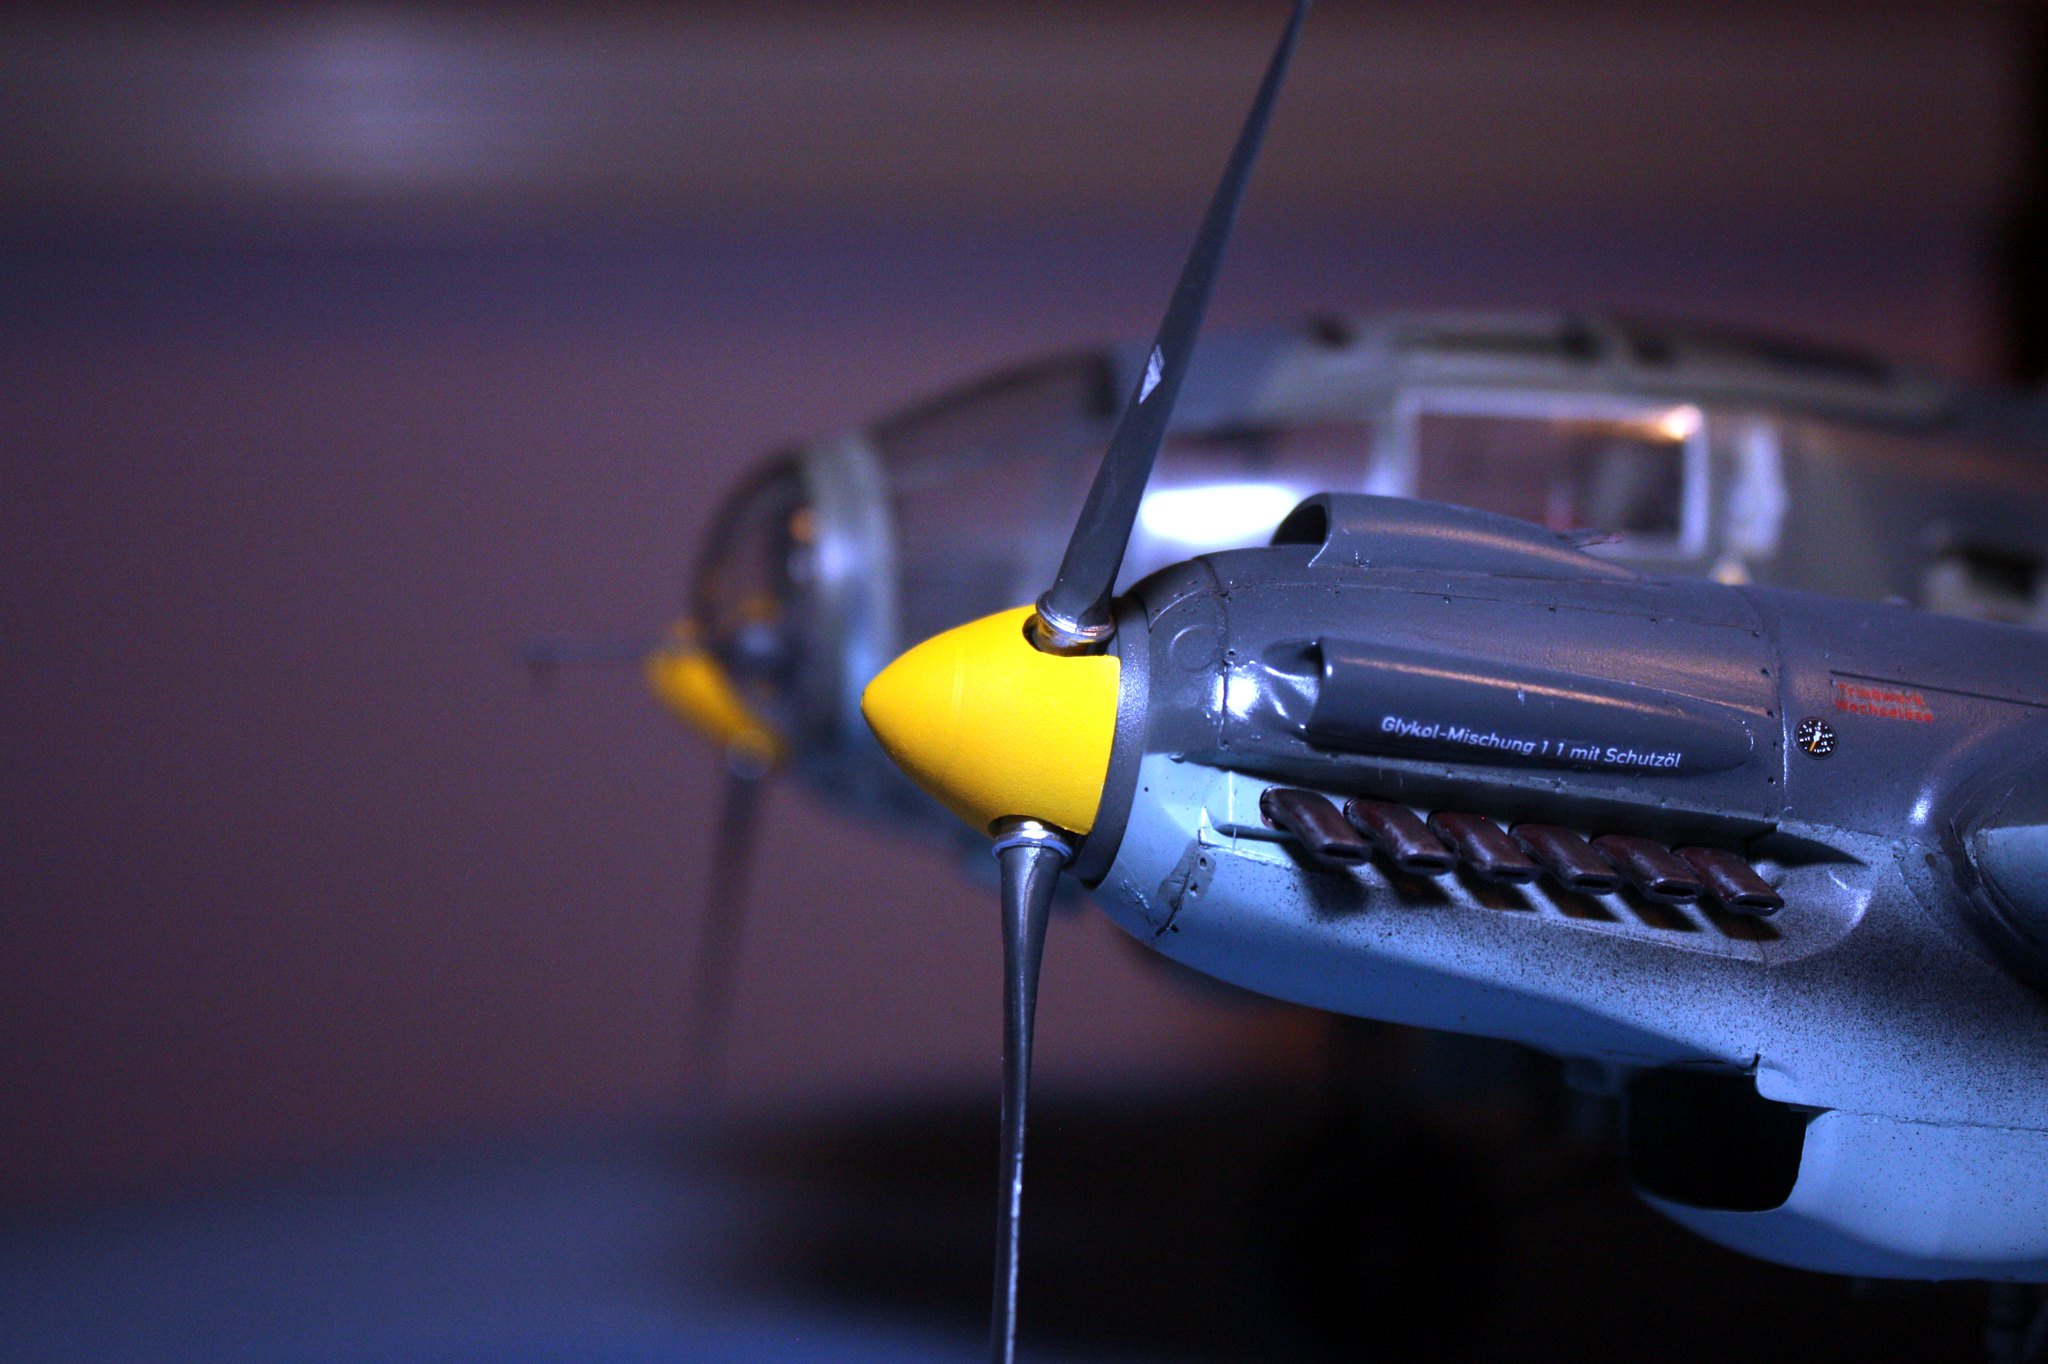
Yesterday and today after the interview, I spent some time at the bench doing some touch-up painting, additional weathering, removing paint masks from the windows, and started work on the landing gear.
For the gear I installed brake lines to replicate photographs I found online. I also smudged a mixture of Tamiya weathering compounds (sand and dirt, mostly) over the tires.


I have encountered very few problems not of my own making in building the one-eleven. But I will say again that the instructions are awful, particularly with regard to construction of the landing gear. The gear are already pretty flimsy, but wow, the instructions use arrows to point to where some of the parts are to go. The arrows are crossing other arrows, causing mis-direction and confusion unless one looks closely. And the biggest gripe is the installation of the tires to the struts. Following the directions as given results in breakage on part of the primary struts! Are you kidding me!?
You are to slide one end of the axle, mounted to the wheel, into one strut and then spread the struts to be able to squeeze the other end of the axle into place. While doing this, I felt like I was likely to break something, and sure enough, when I got the tire into position, one of the support rods molded as part of the primary strut had snapped. Even being aware of this potential did not prevent a similar breakage from occurring on the other strut.
I cannot say how Revell could have suggested to construct these parts. Perhaps the problem is really in the mold.
I was able to get the struts into place - another struggle entirely. Plus one of the major pieces of the landing gear was broken in two while still on the sprue. Not sure if that was my doing or not. Still, I worked around that and next time I am at the bench I will be able to secure everything for yet another several hours of curing time.
Almost done.
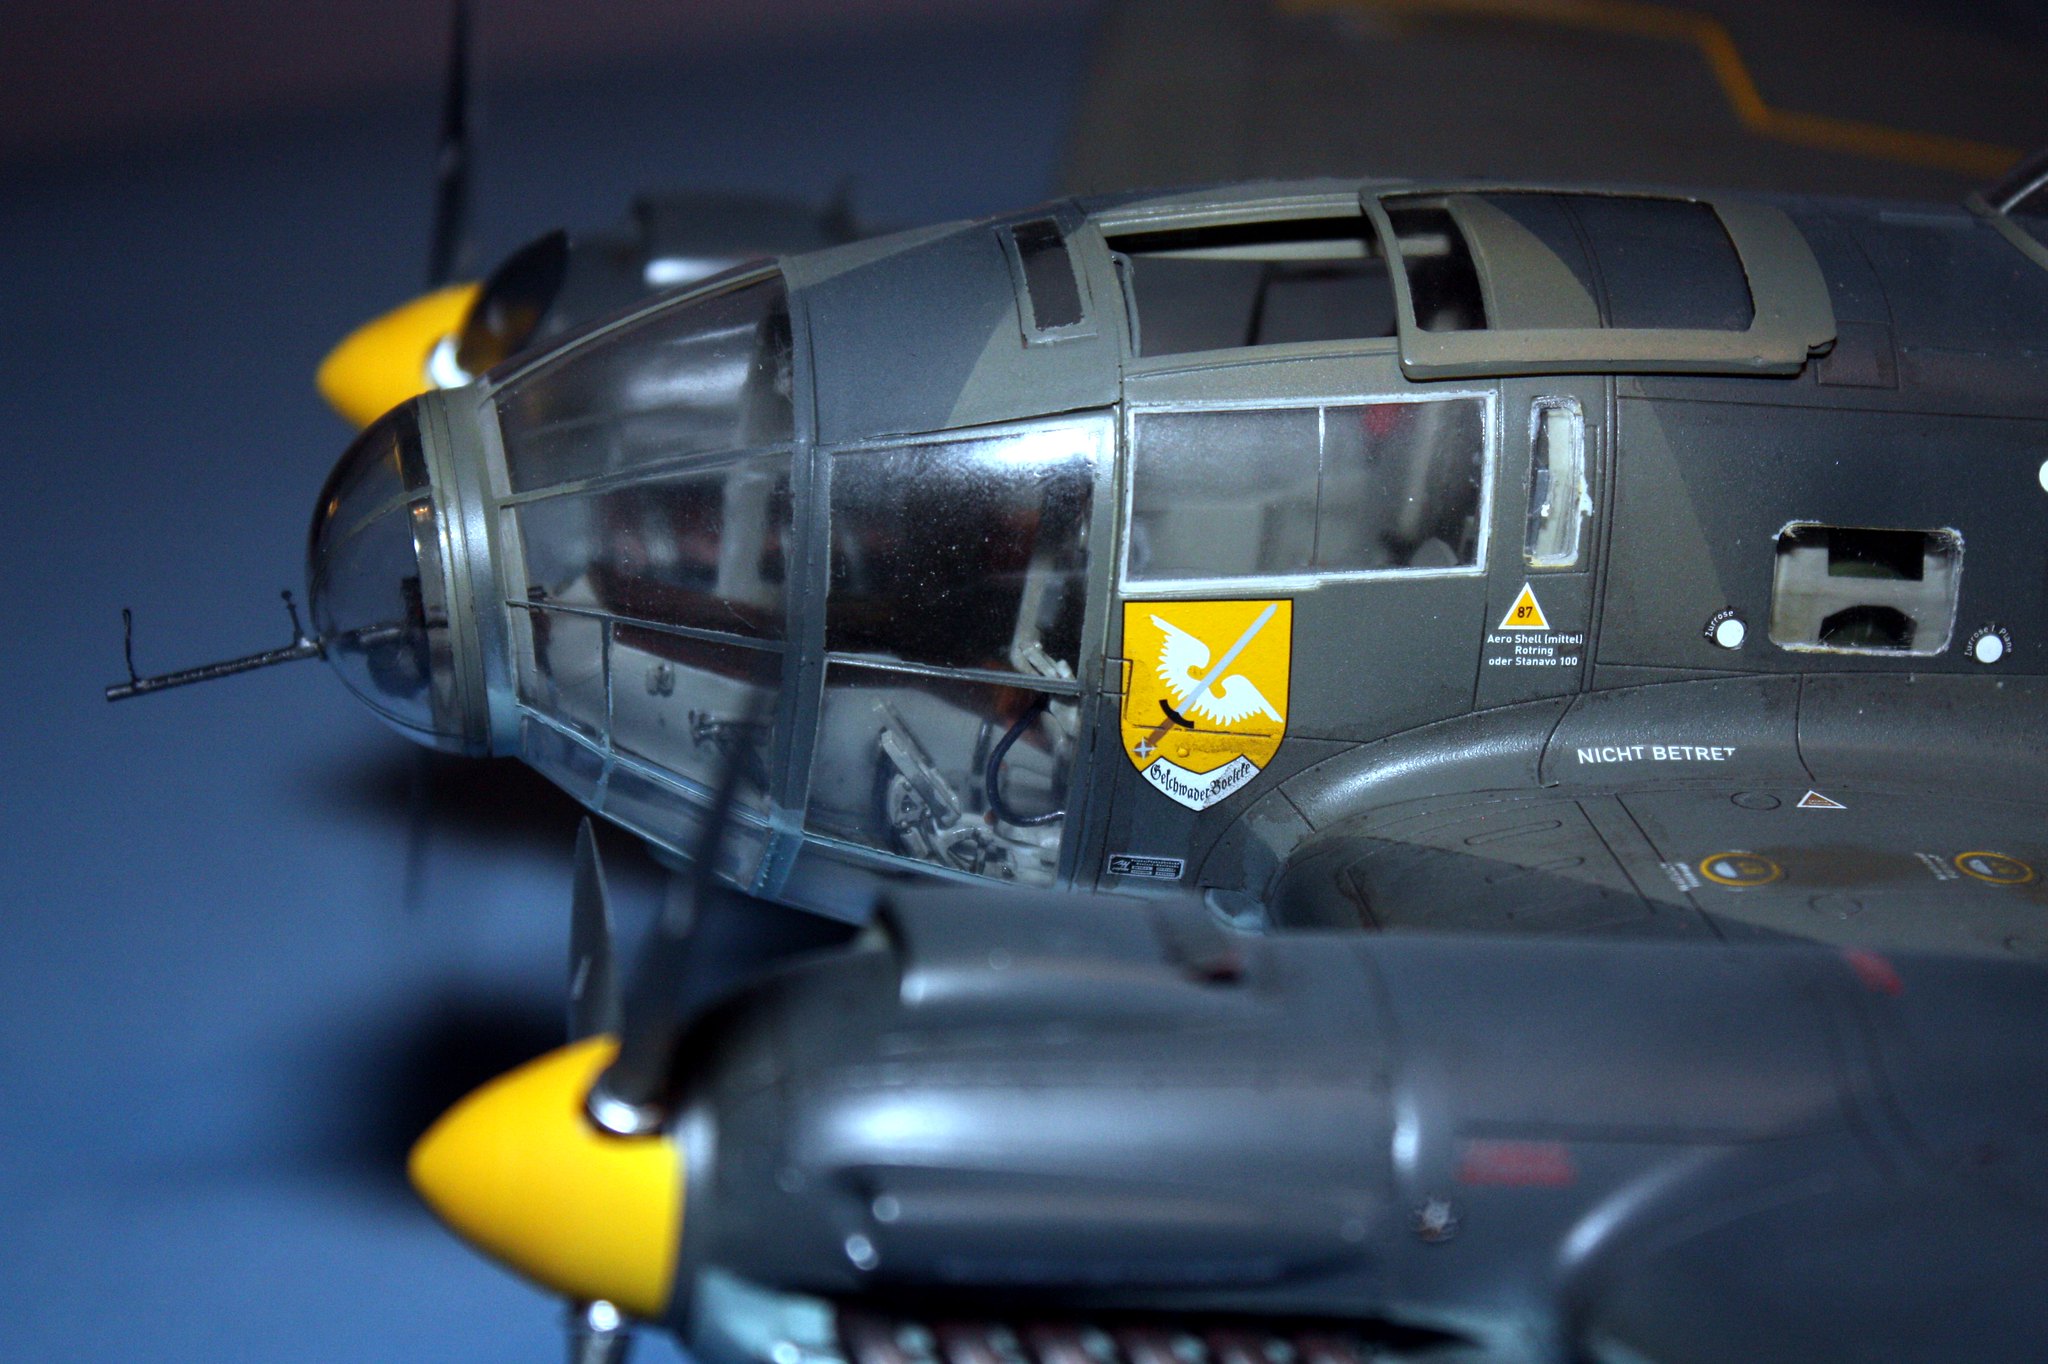
Youre doing great work on this bird! Im impressed by how well the decals conformed to the kit.
Wow, great work on it and I can’t wait to see it finished. I’m sure you got the job. I’ve been out of work since the end of February but next week I’m off to fly 737s. And yes, Battle of Britain is a great movie.
The decals did require a good bit of Solvaset to snuggle into all the recessed panel lines but I am happy with how they turned out. Thanks!
Thanks. I will need to get through at least one more interview before I can make an proclamations. I have been out of work since the beginning of February, but I have been able to spend some good time with my daughter and wife, and I have knocked out some builds previous to this one (which under normal circumstances I would quite likely still be finishing up the cockpit).
I love a good 111- excellent work, Aggieman!
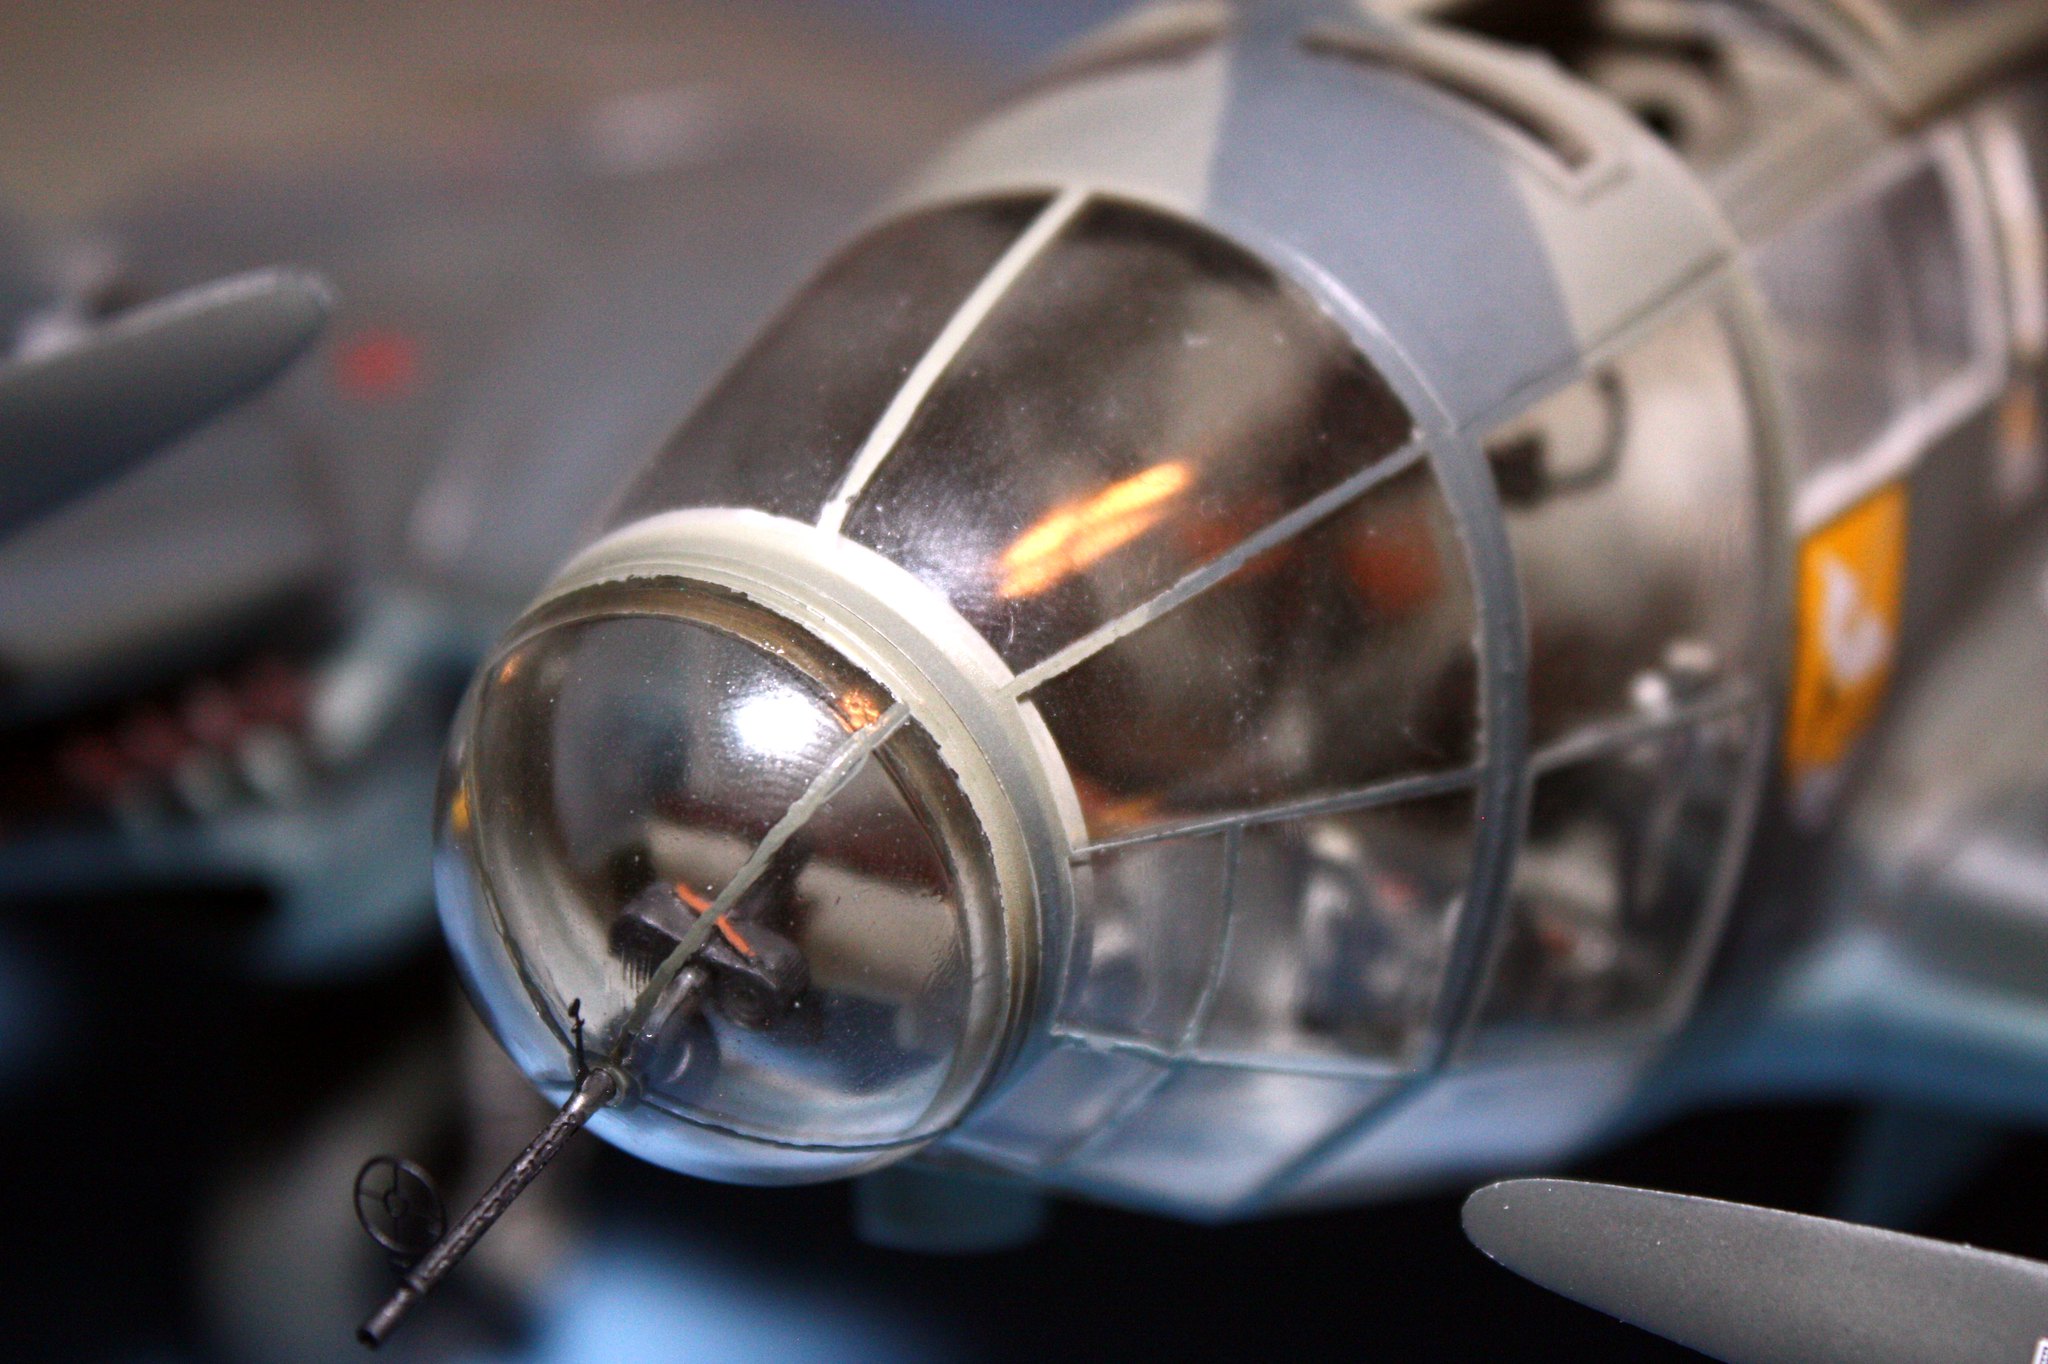
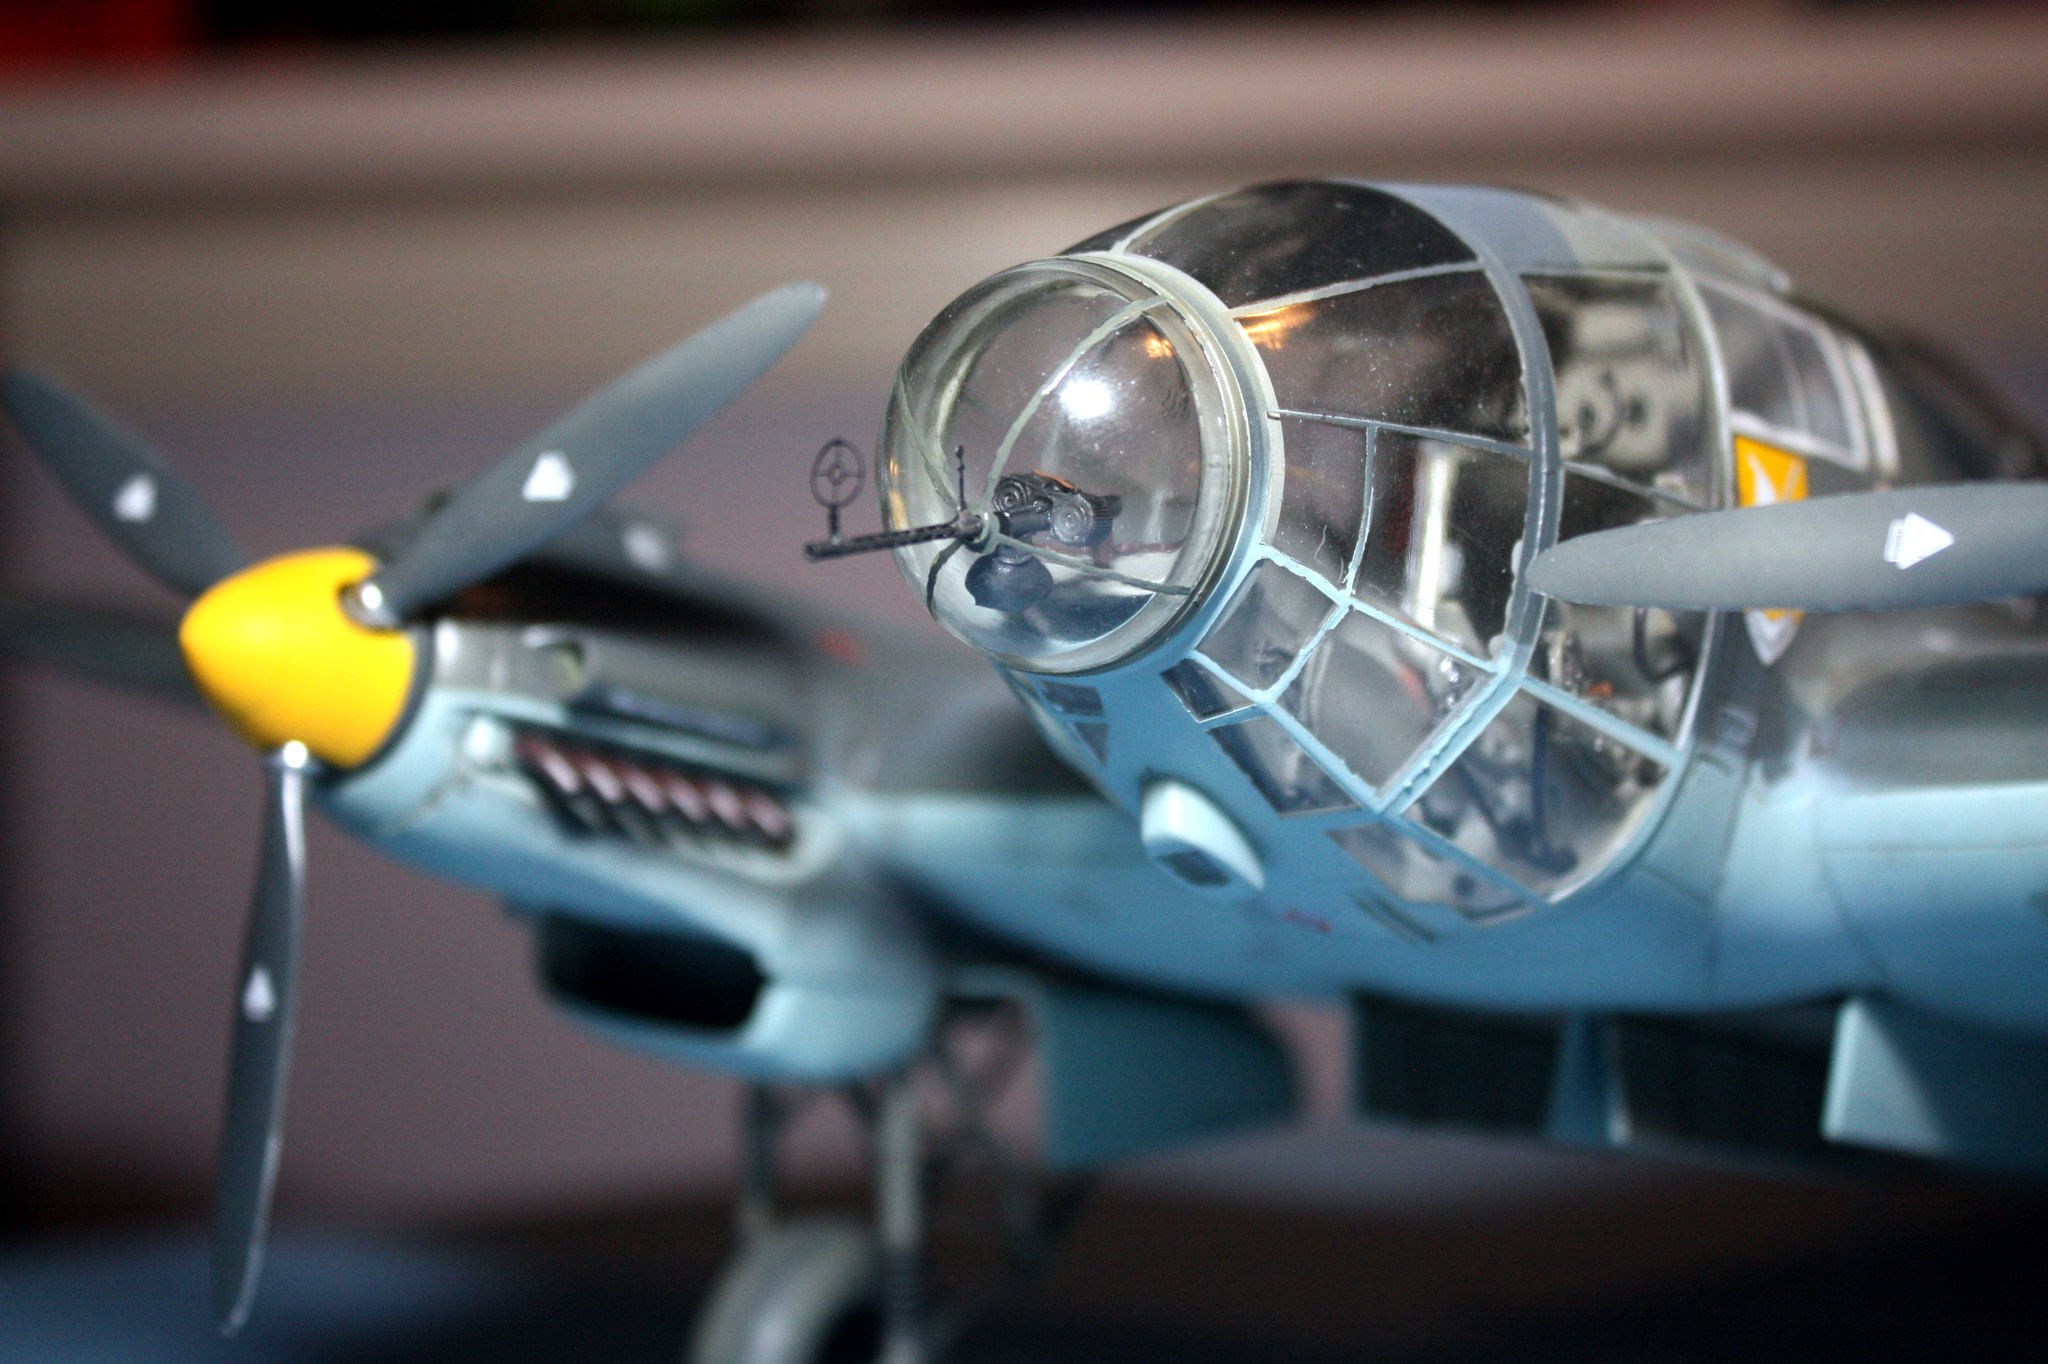
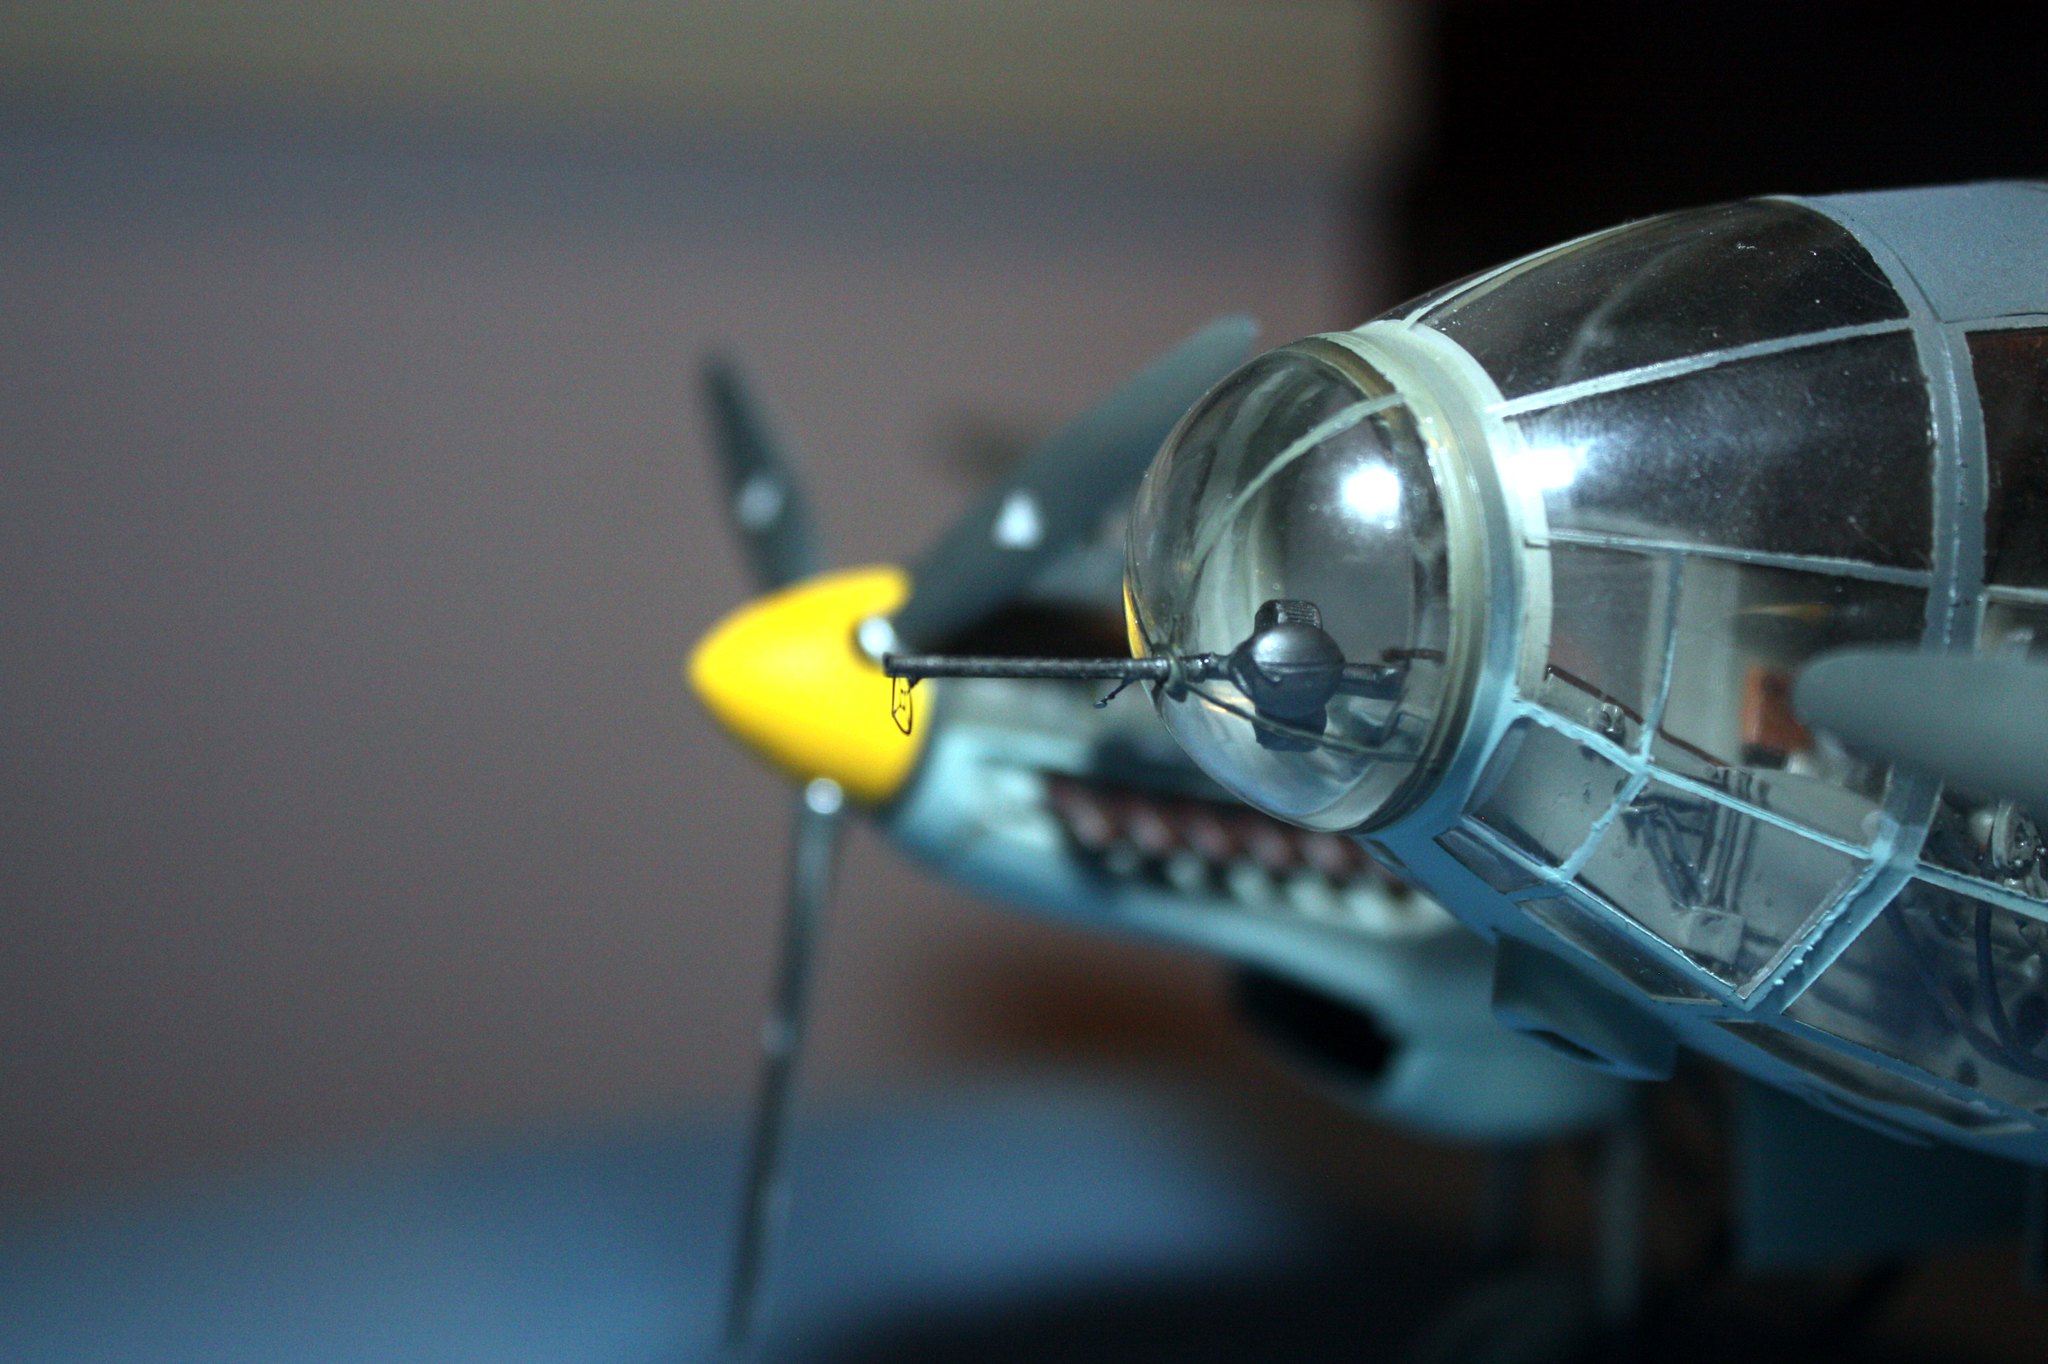
Ok, one final complaint about this kit. The kit’s MG 15 machine guns are garbage. The first couple of photographs below should demonstrate why. They appear to be incorrectly scaled! I had purchased the Aires resin set as I had inadvertently placed all of the ammo cartridges into the storage racks strewn throughout the interior of the aircraft, not realizing (because I did not look ahead in the instruction manual) that I would need three of these guys for the machine guns.
That mistake is actually a blessing in disguise. I doubt I would ever have guessed that the kit guns were so clearly out of scale. Plus I didn’t think they were convincing replicas. The Aires set is a good one.


These last two shots are of completed gun parts prior to installation into the nose or ventral gondola positions.
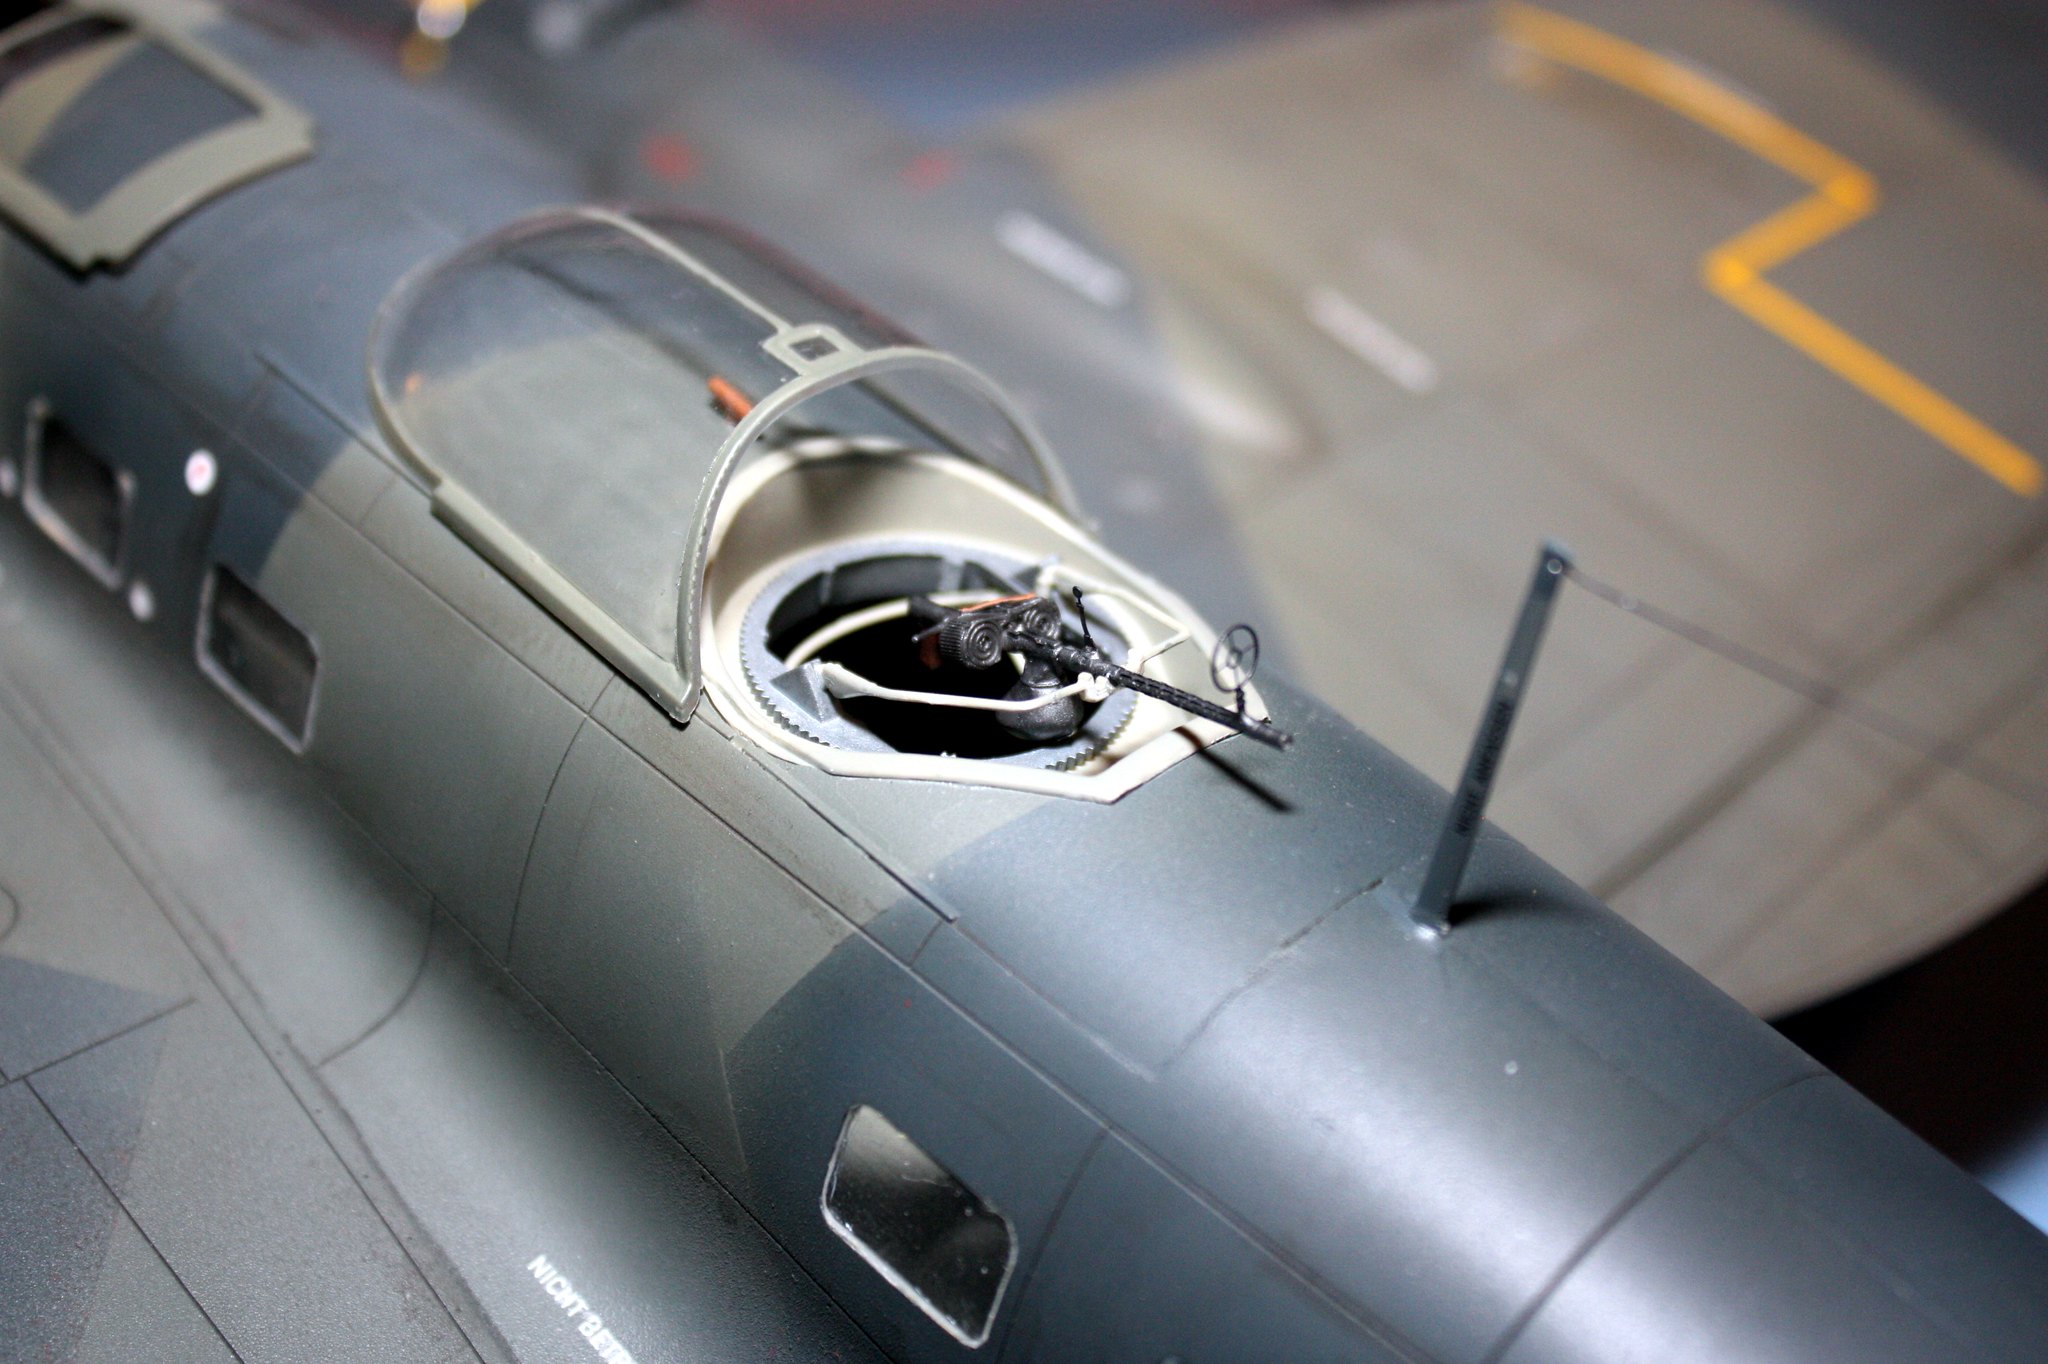
Here are a couple of shots of the completed open turret located along the upper rear portion of the fuselage.


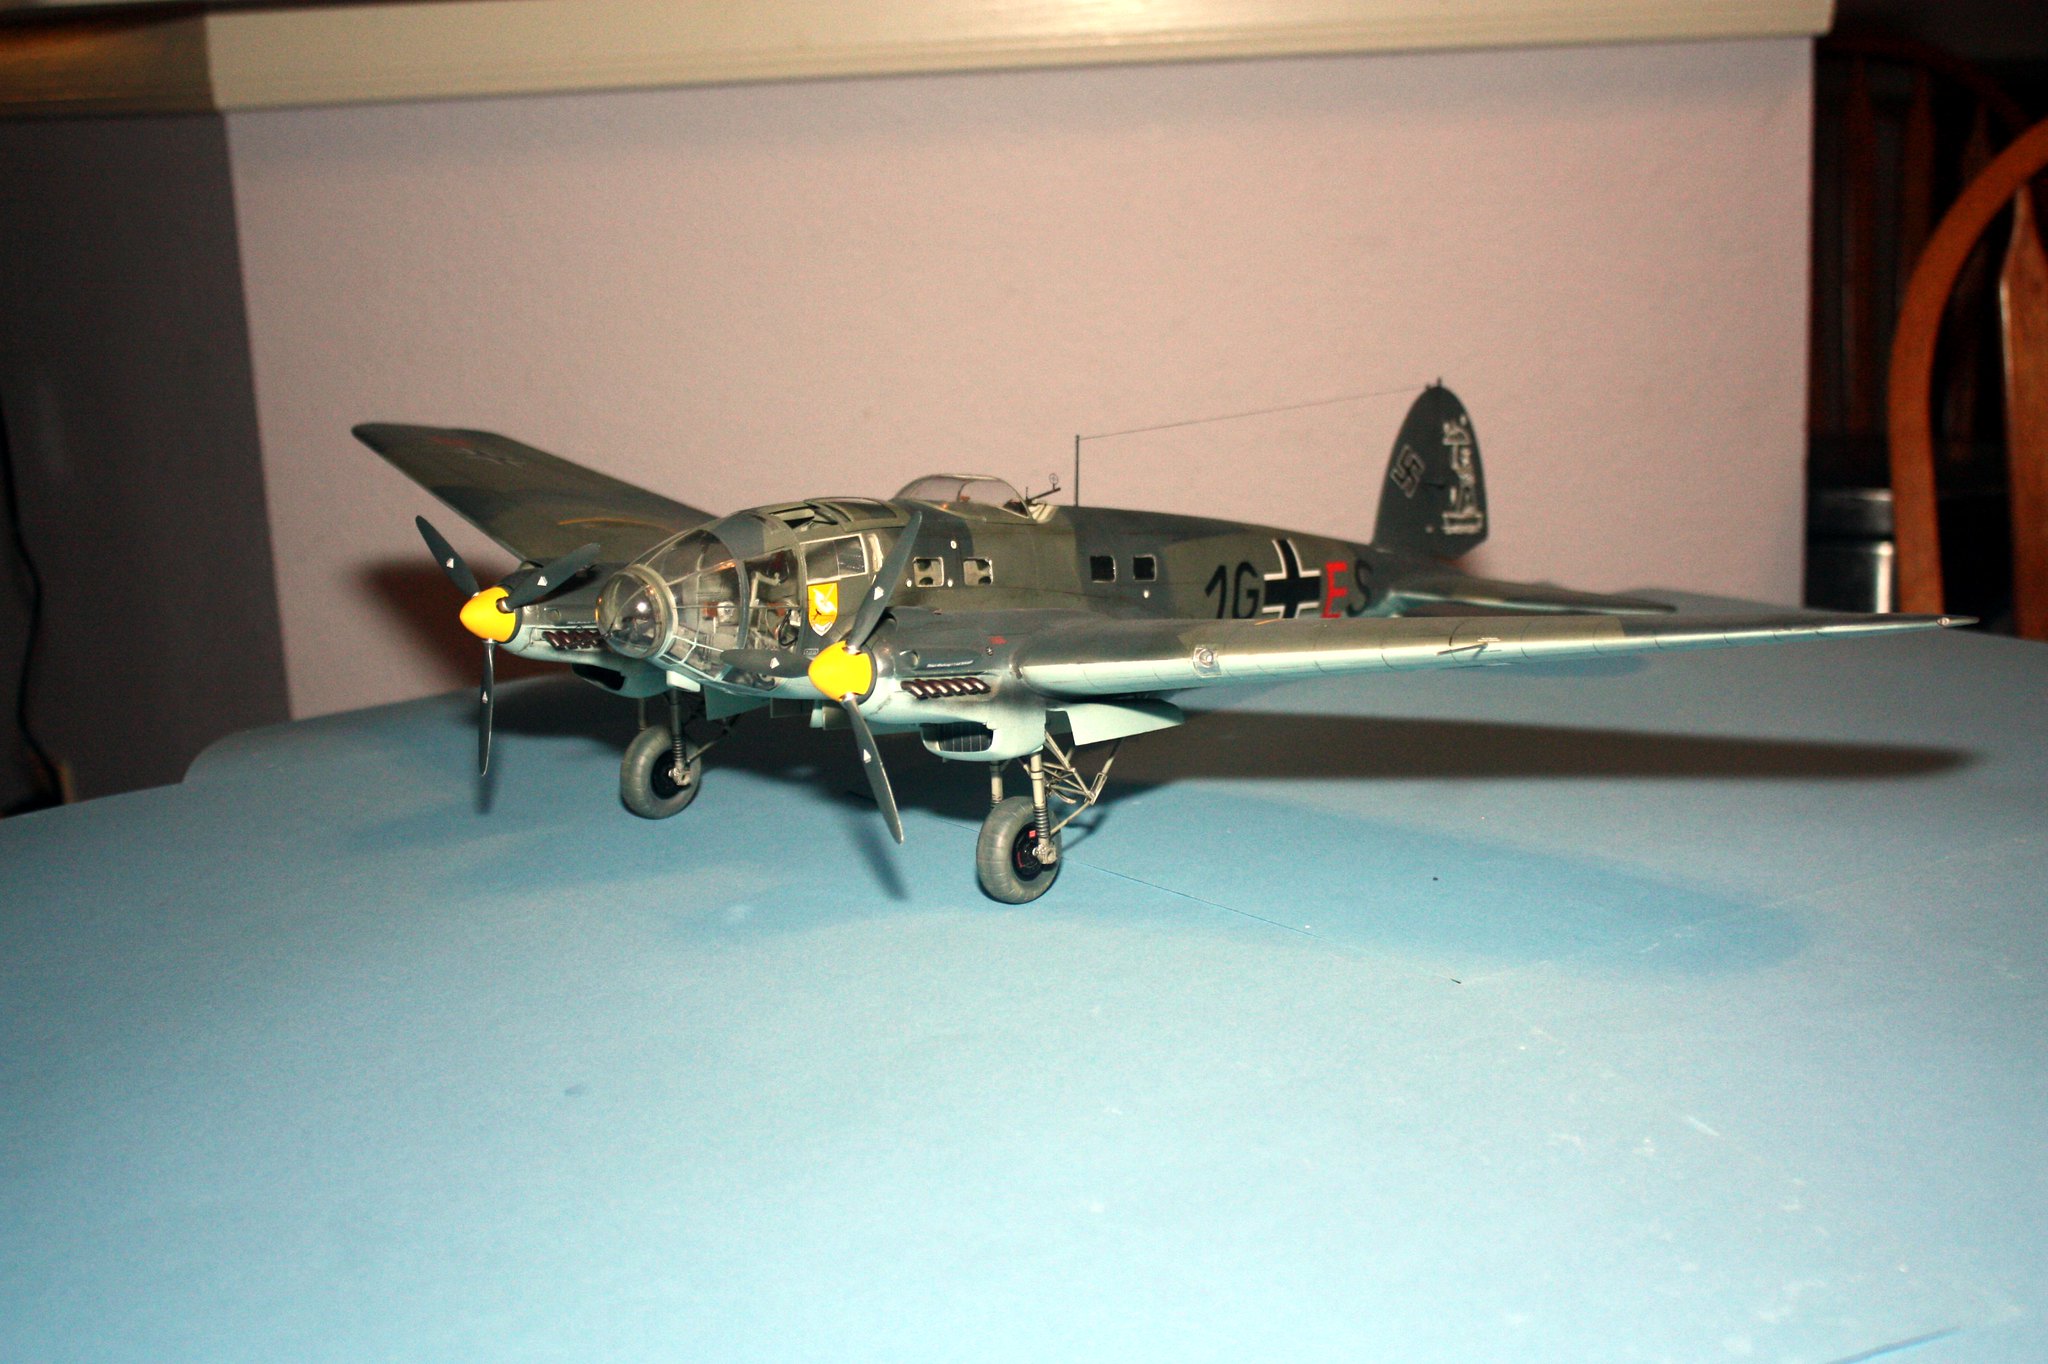
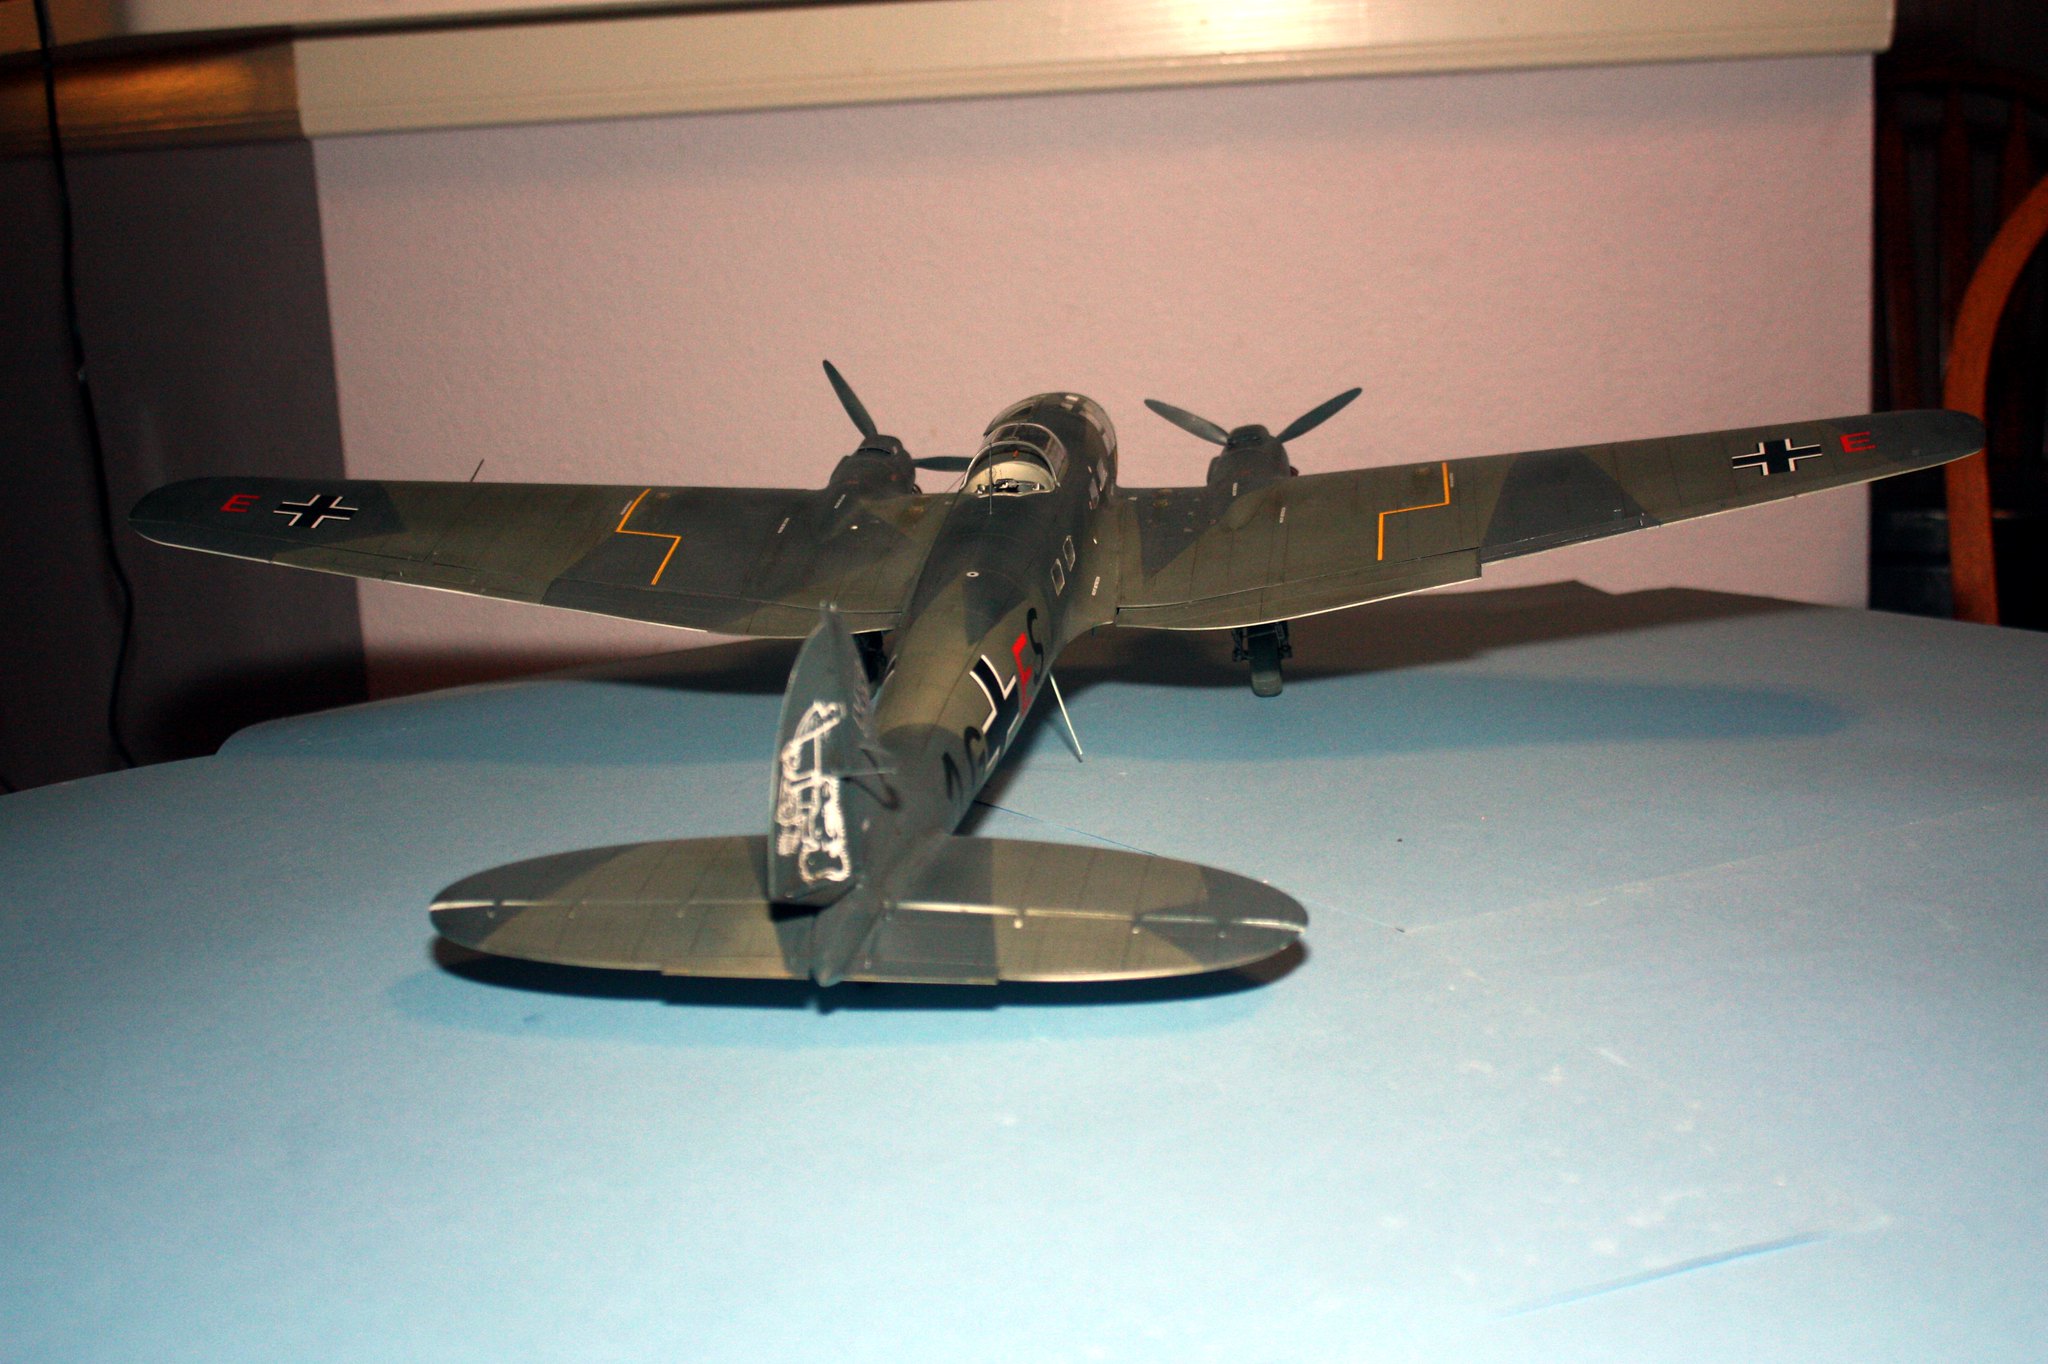
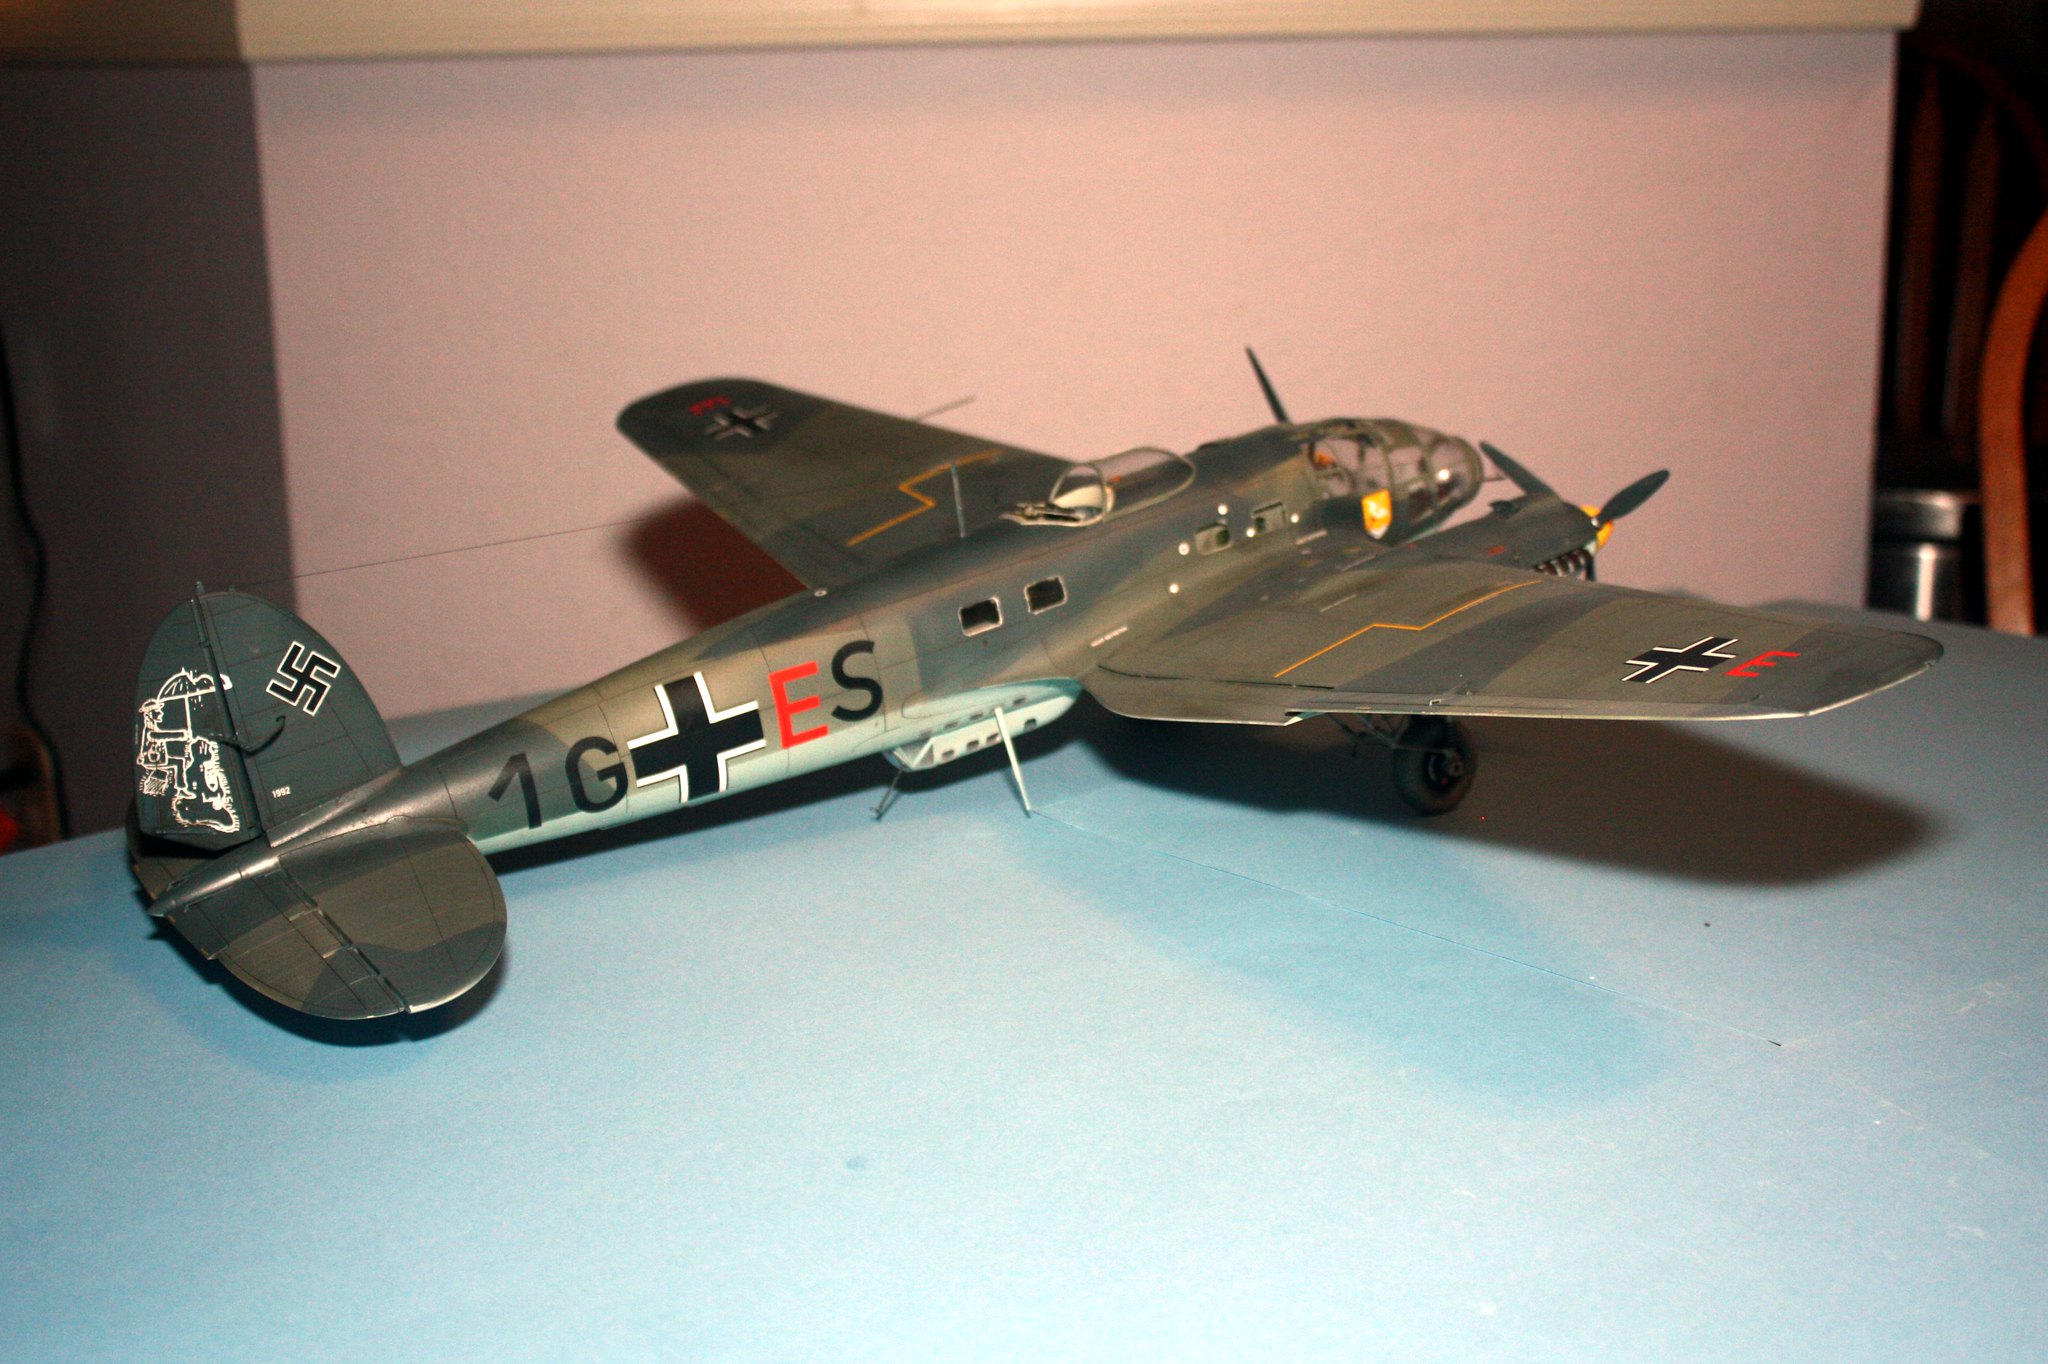
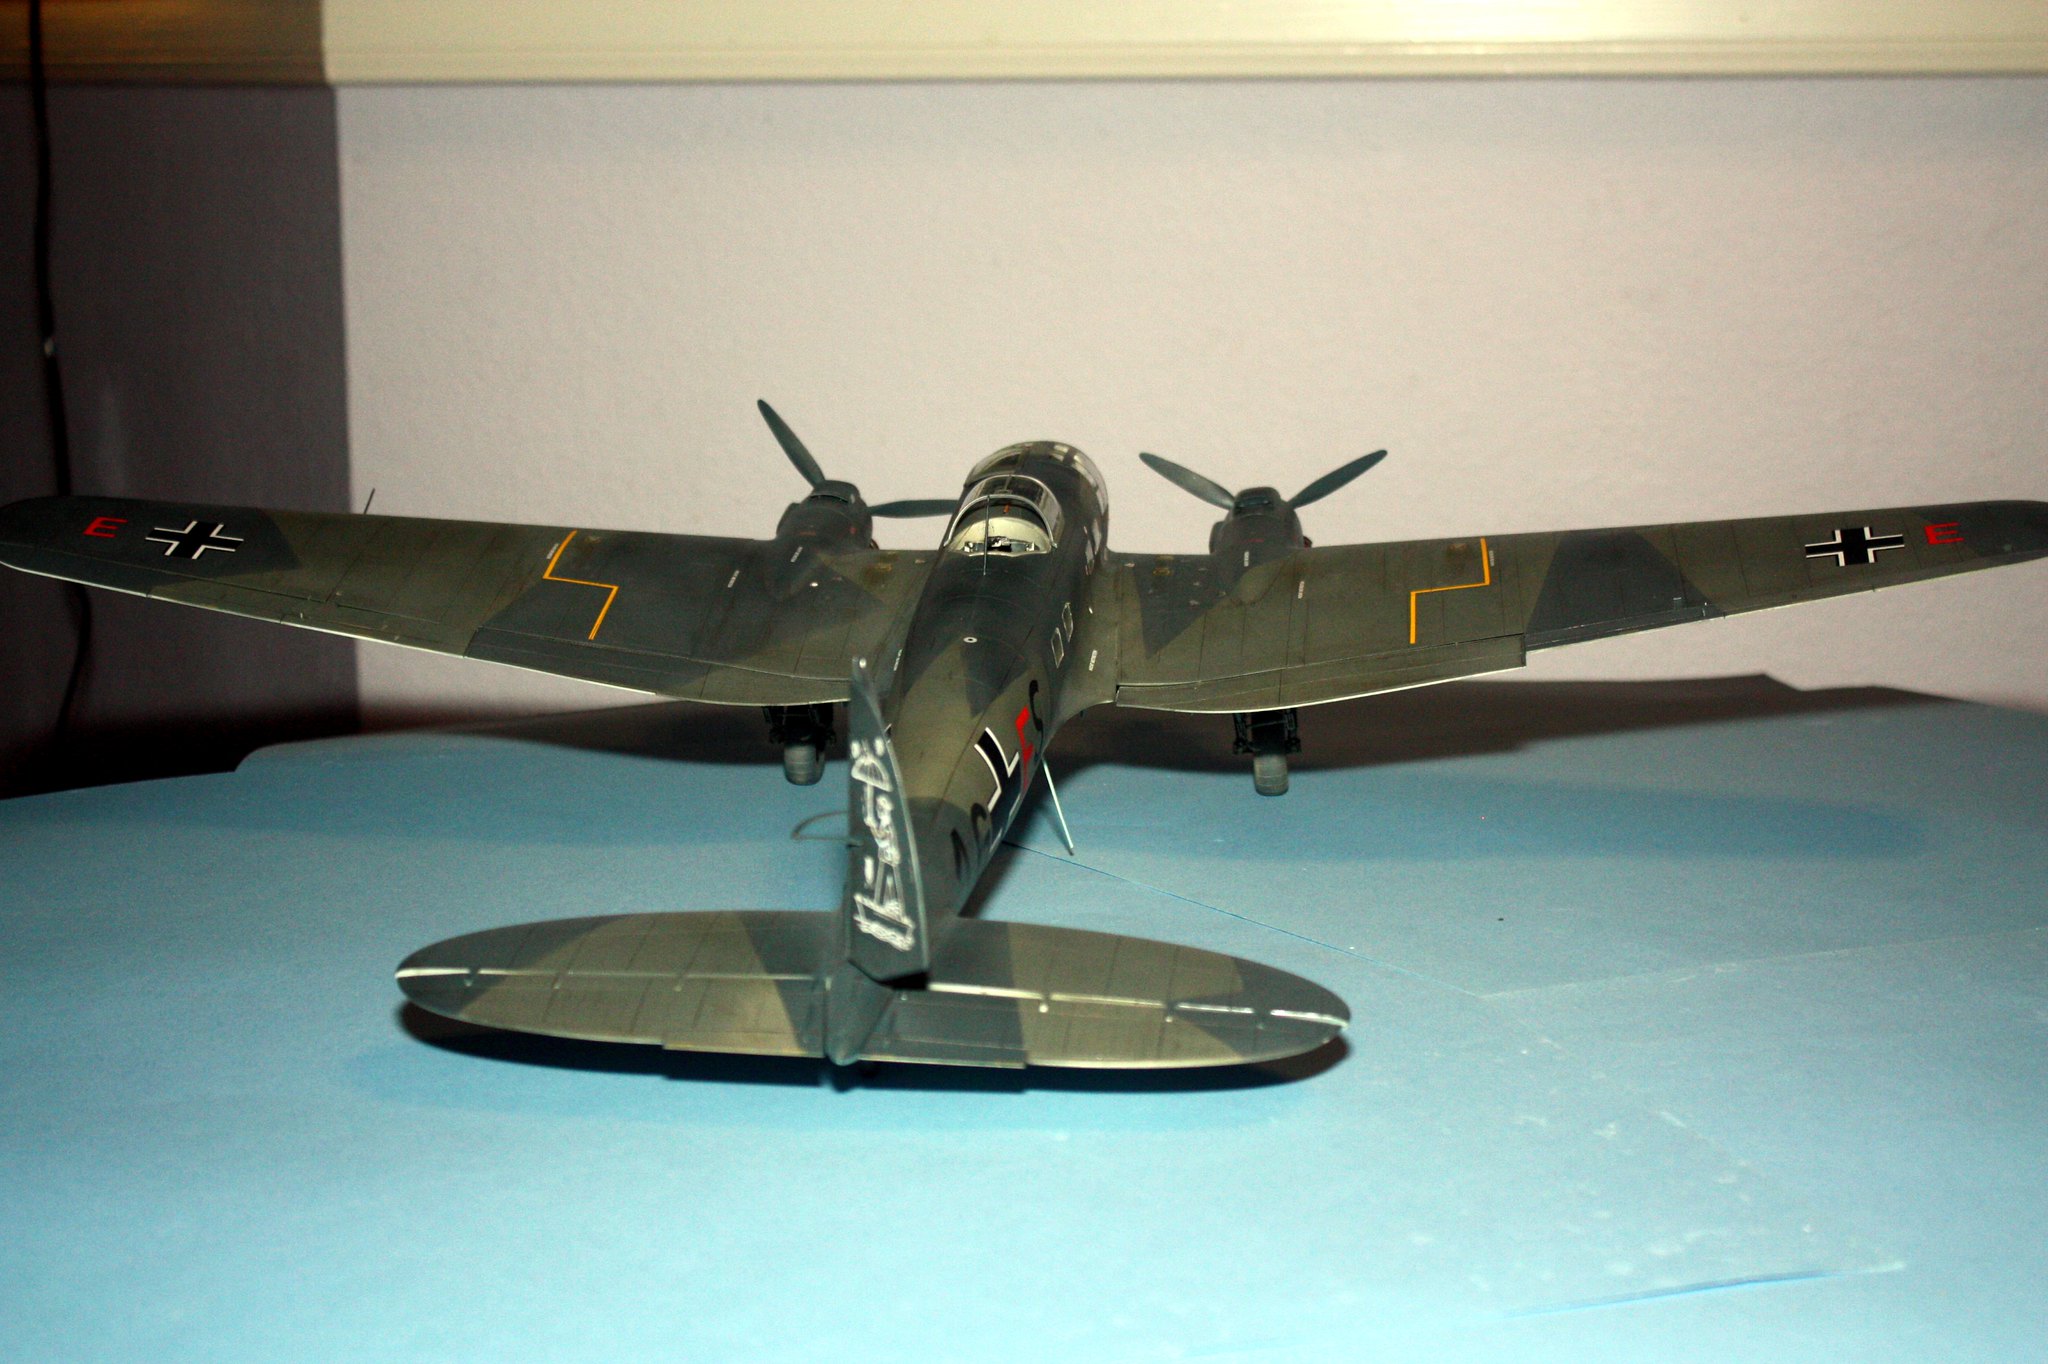
The one-eleven is done.
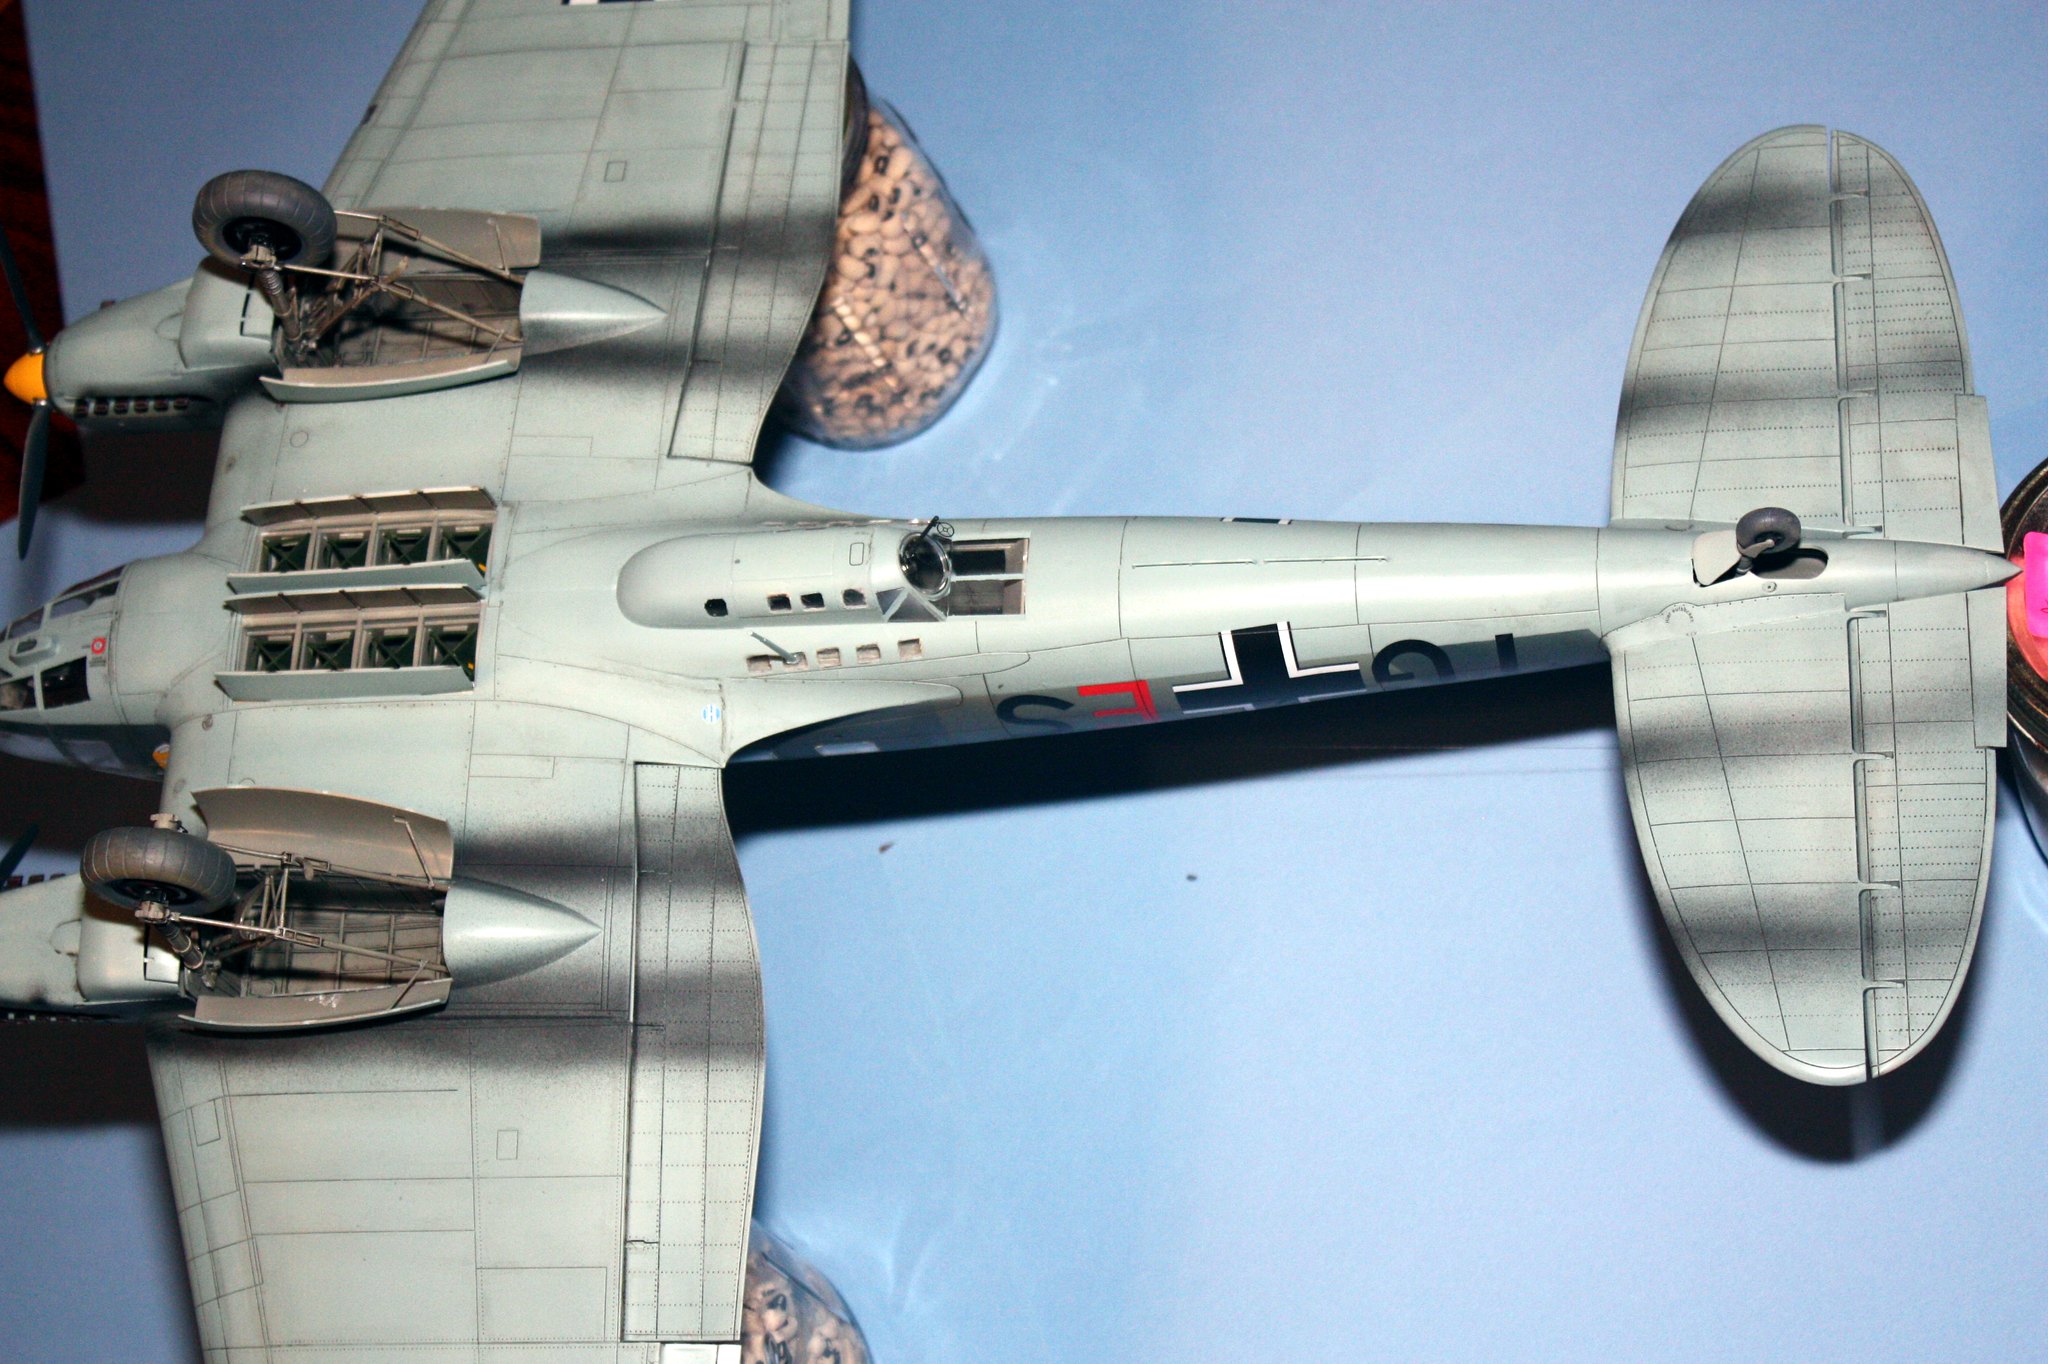
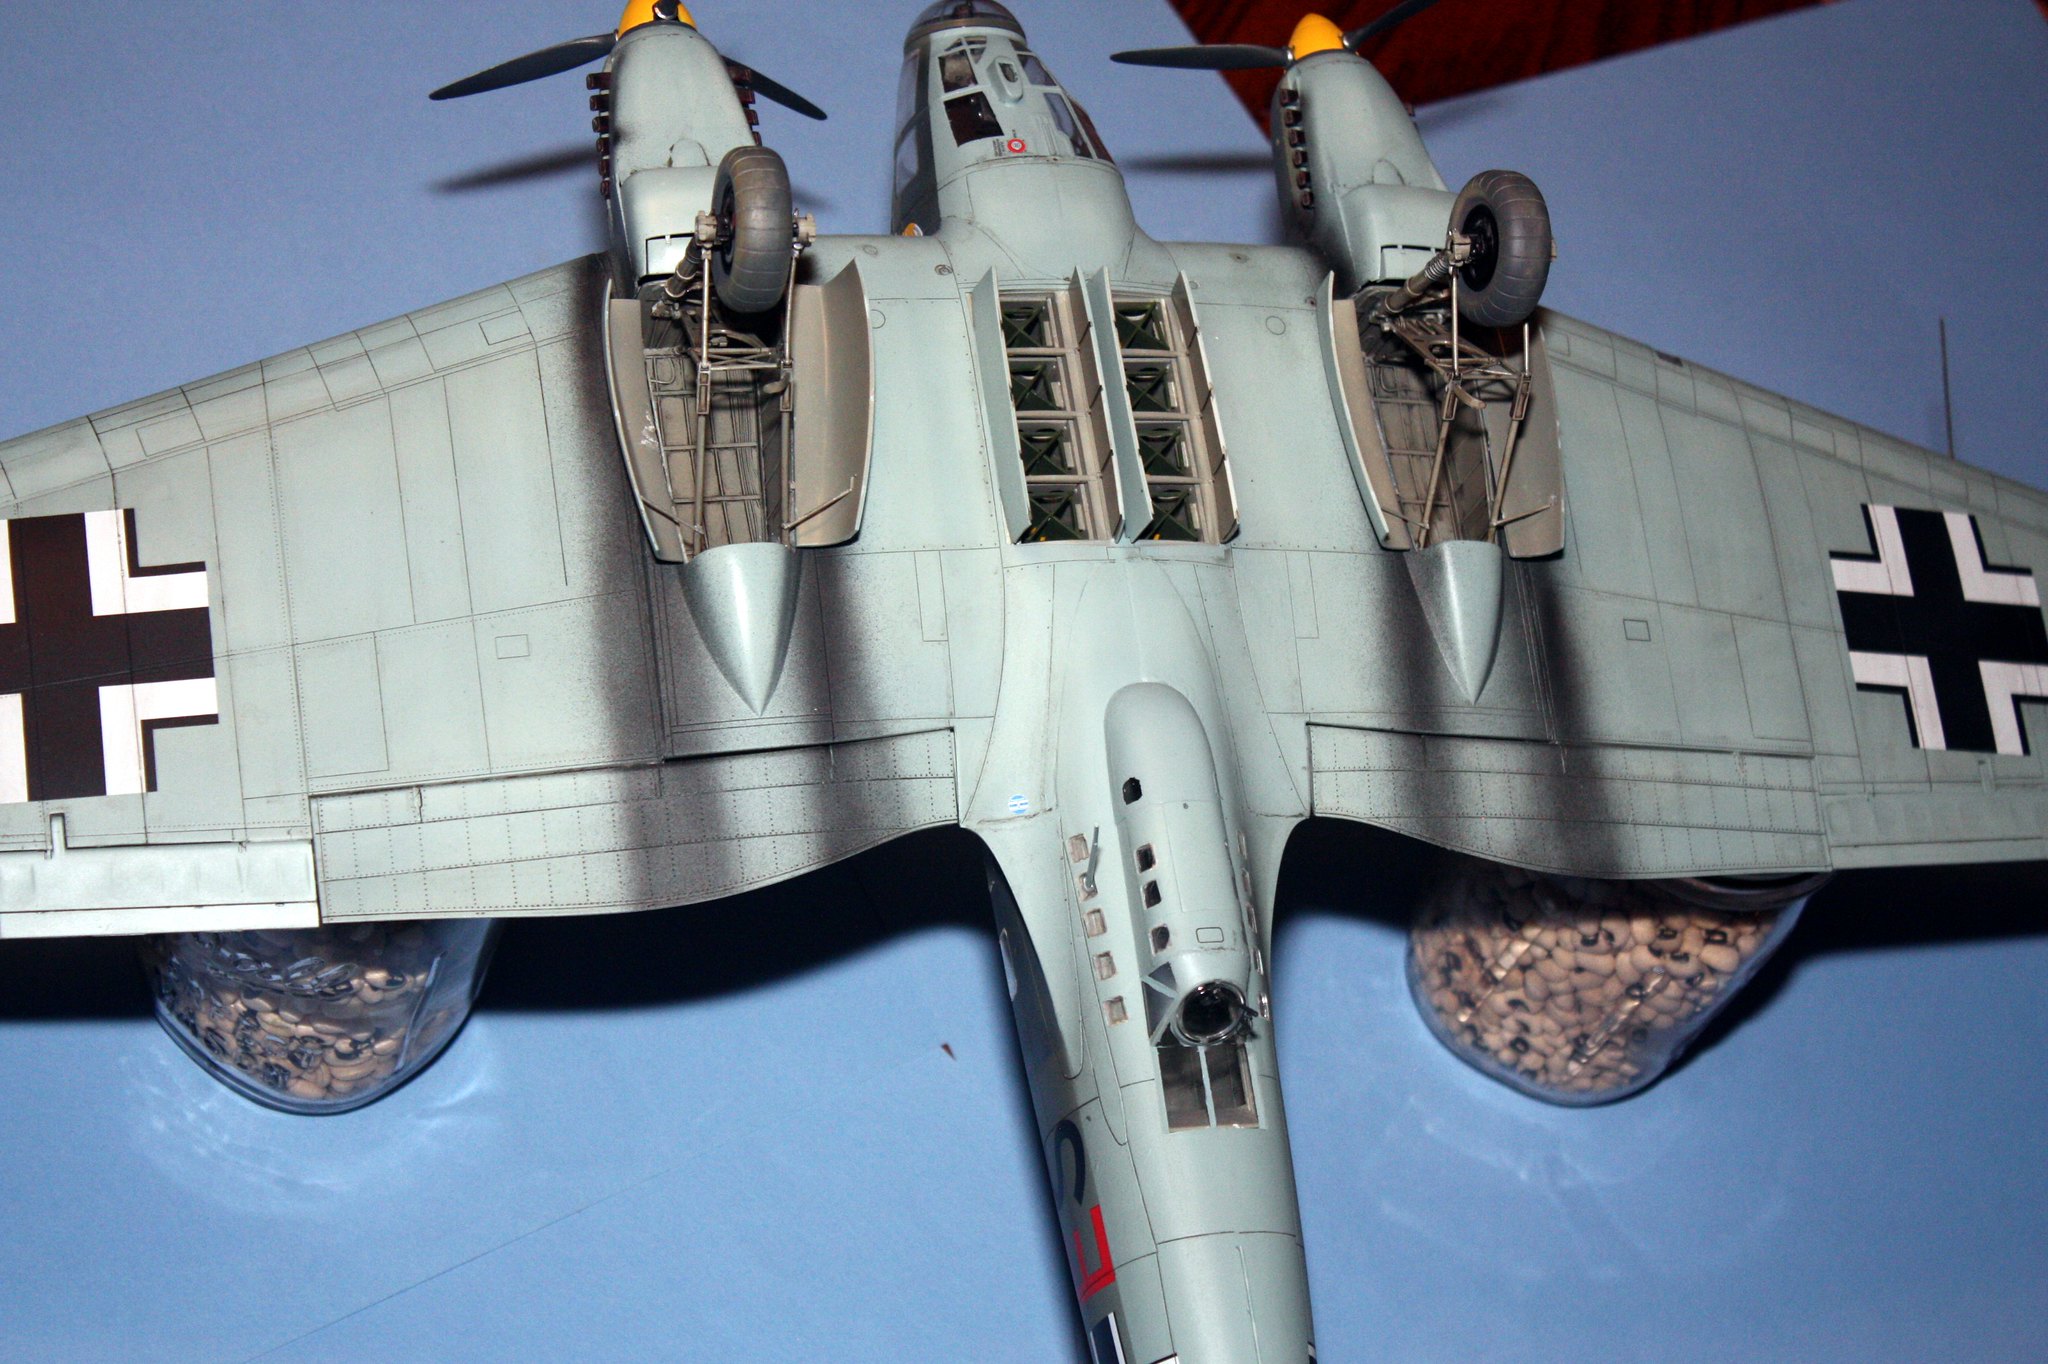
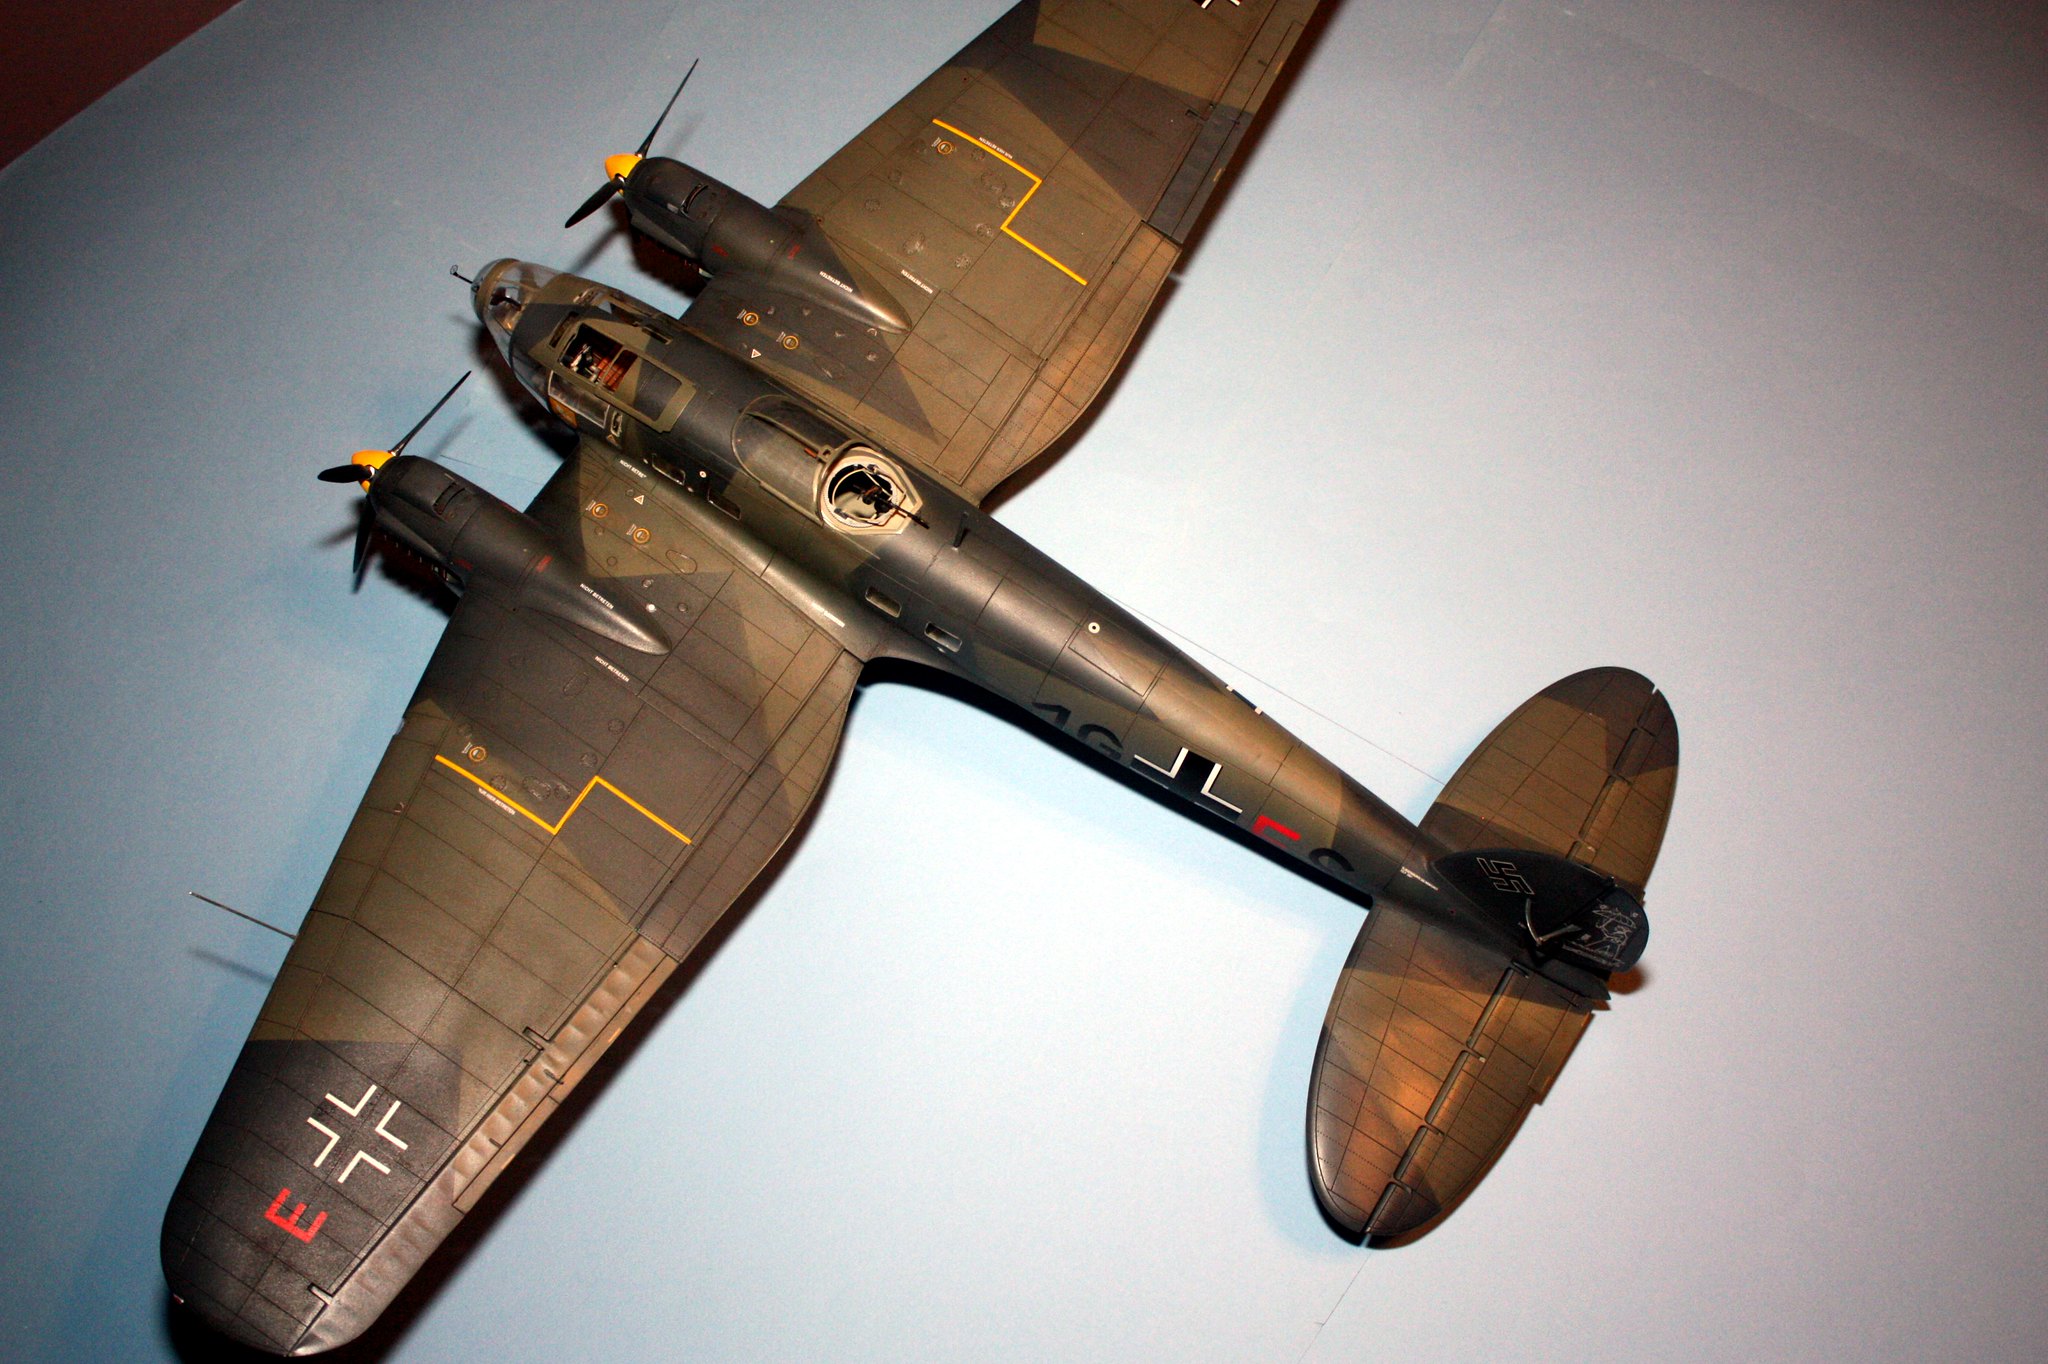
It is a huge kit. It also feels fragile with all the guns and antennas sticking off it, not to mention the landing gear issues that I described earlier. As a result, this thing proved really difficult to photograph to my satisfaction. I typically set up a background of light beige poster board on my workbench, turn on some halogen lights, set up the tripod and set to photographing. I have a nice sized custom-built workbench but this one proved too large to be able to position in such a way that I could get my normal clutter-free photos.
So I apologize for distracting stuff that appears in the background of some shots. I was forced into my breakfast room, where I took over the breakfast table. I set up some light blue poster board but I needed about six more sheets to be able to block out anything in the background. Oh well. So I have some full-plane shots but I think most of these are actually more close-in of specific areas of the Heinkel.
I hope you enjoy the pictures and enjoyed following my build. This kit is a good one despite its warts (mostly instructions and MG 15 machine guns). If you like Luftwaffe bombers and have some space to display this monster, I recommend this kit.
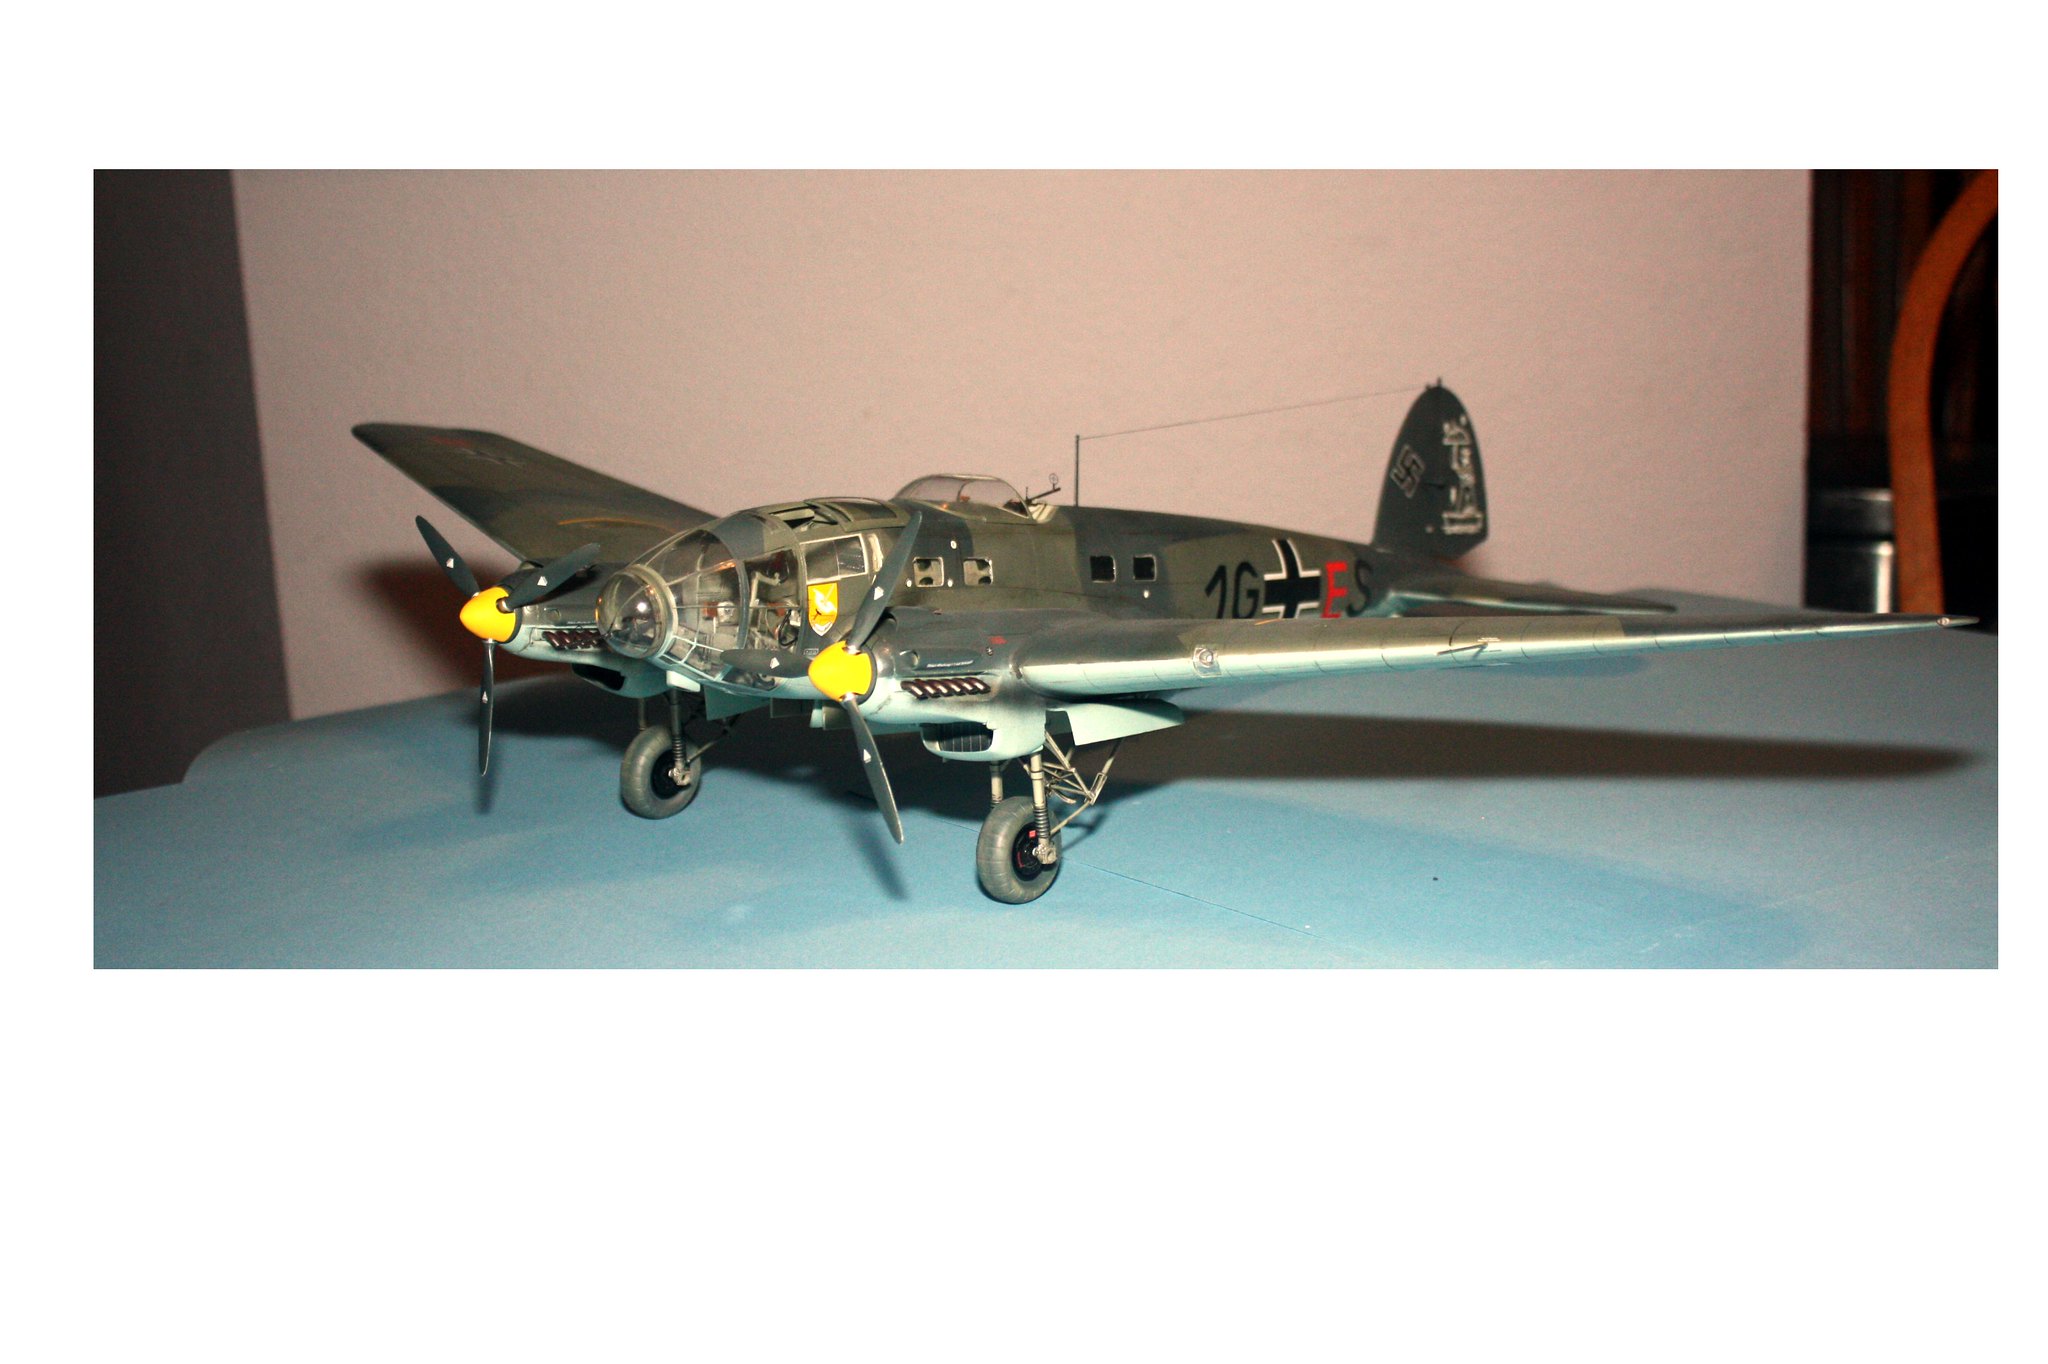
Full body shots:
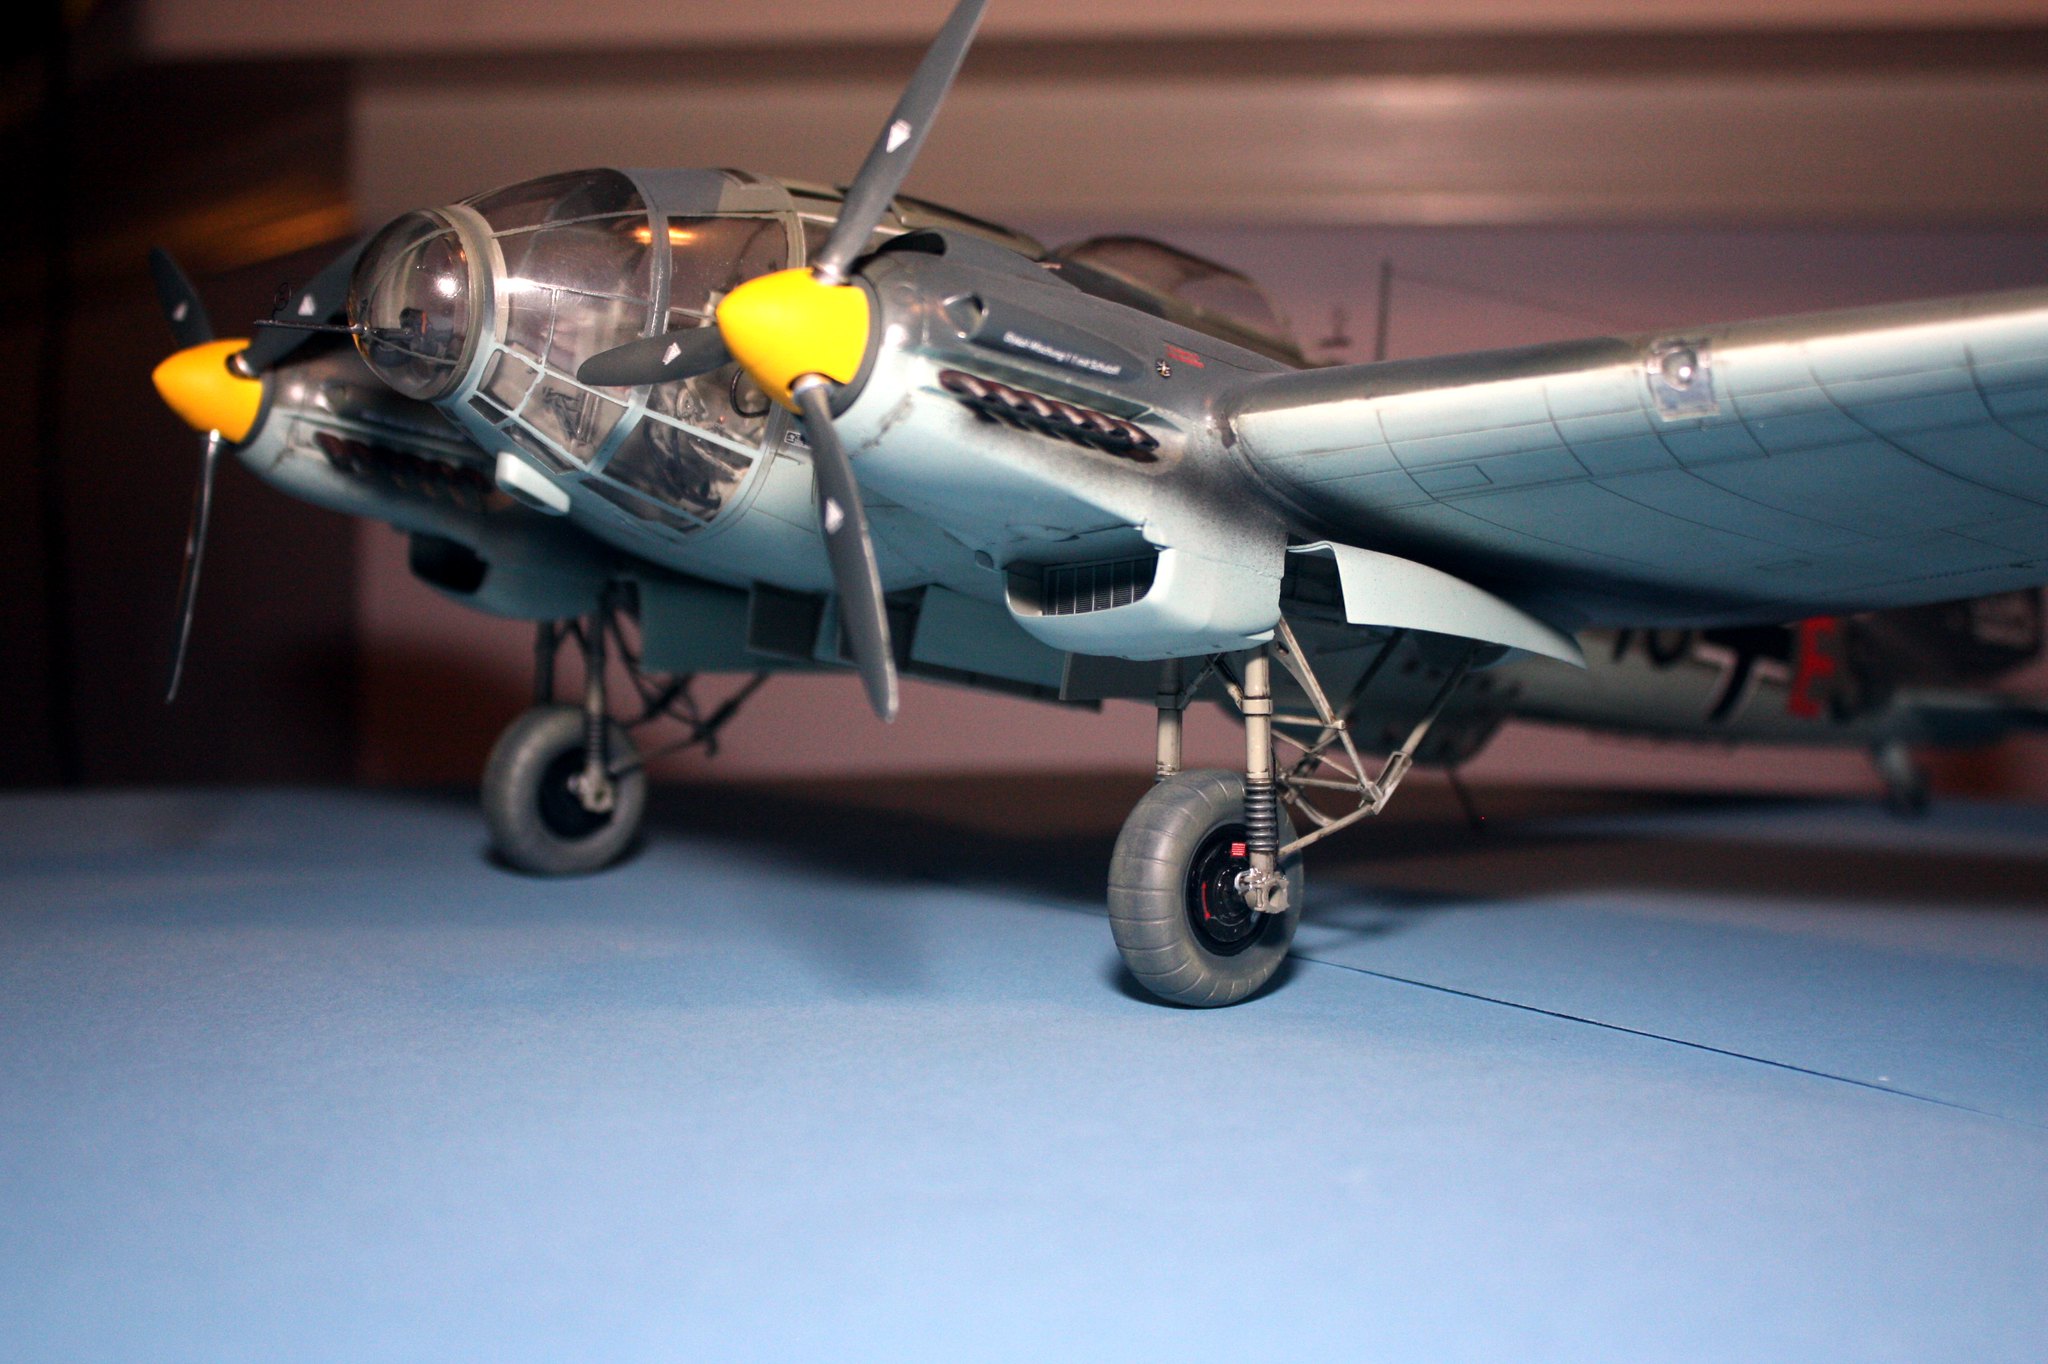
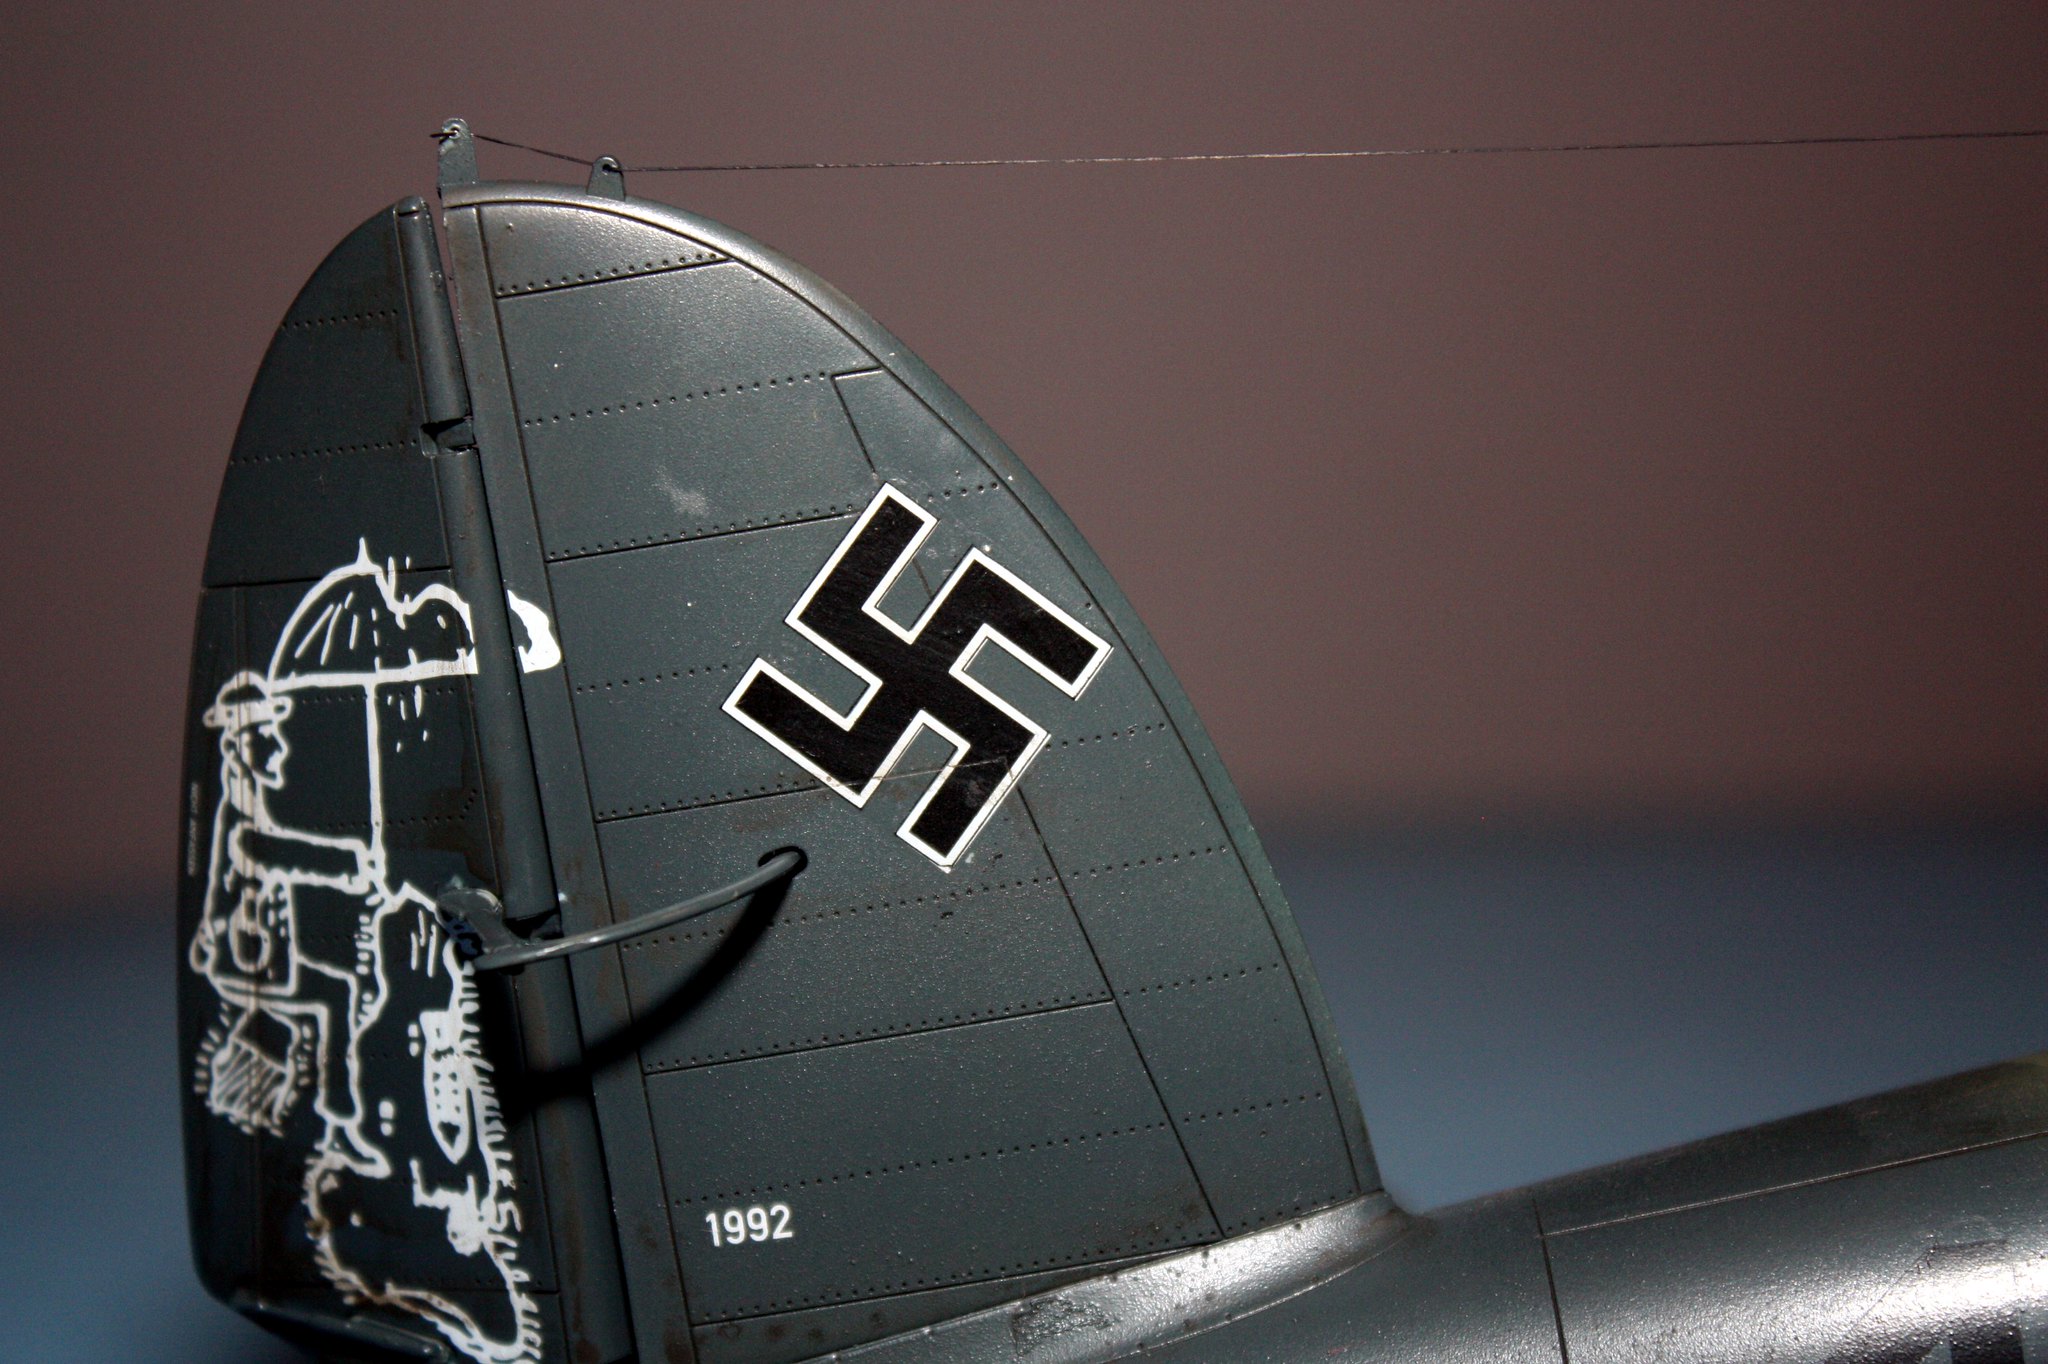
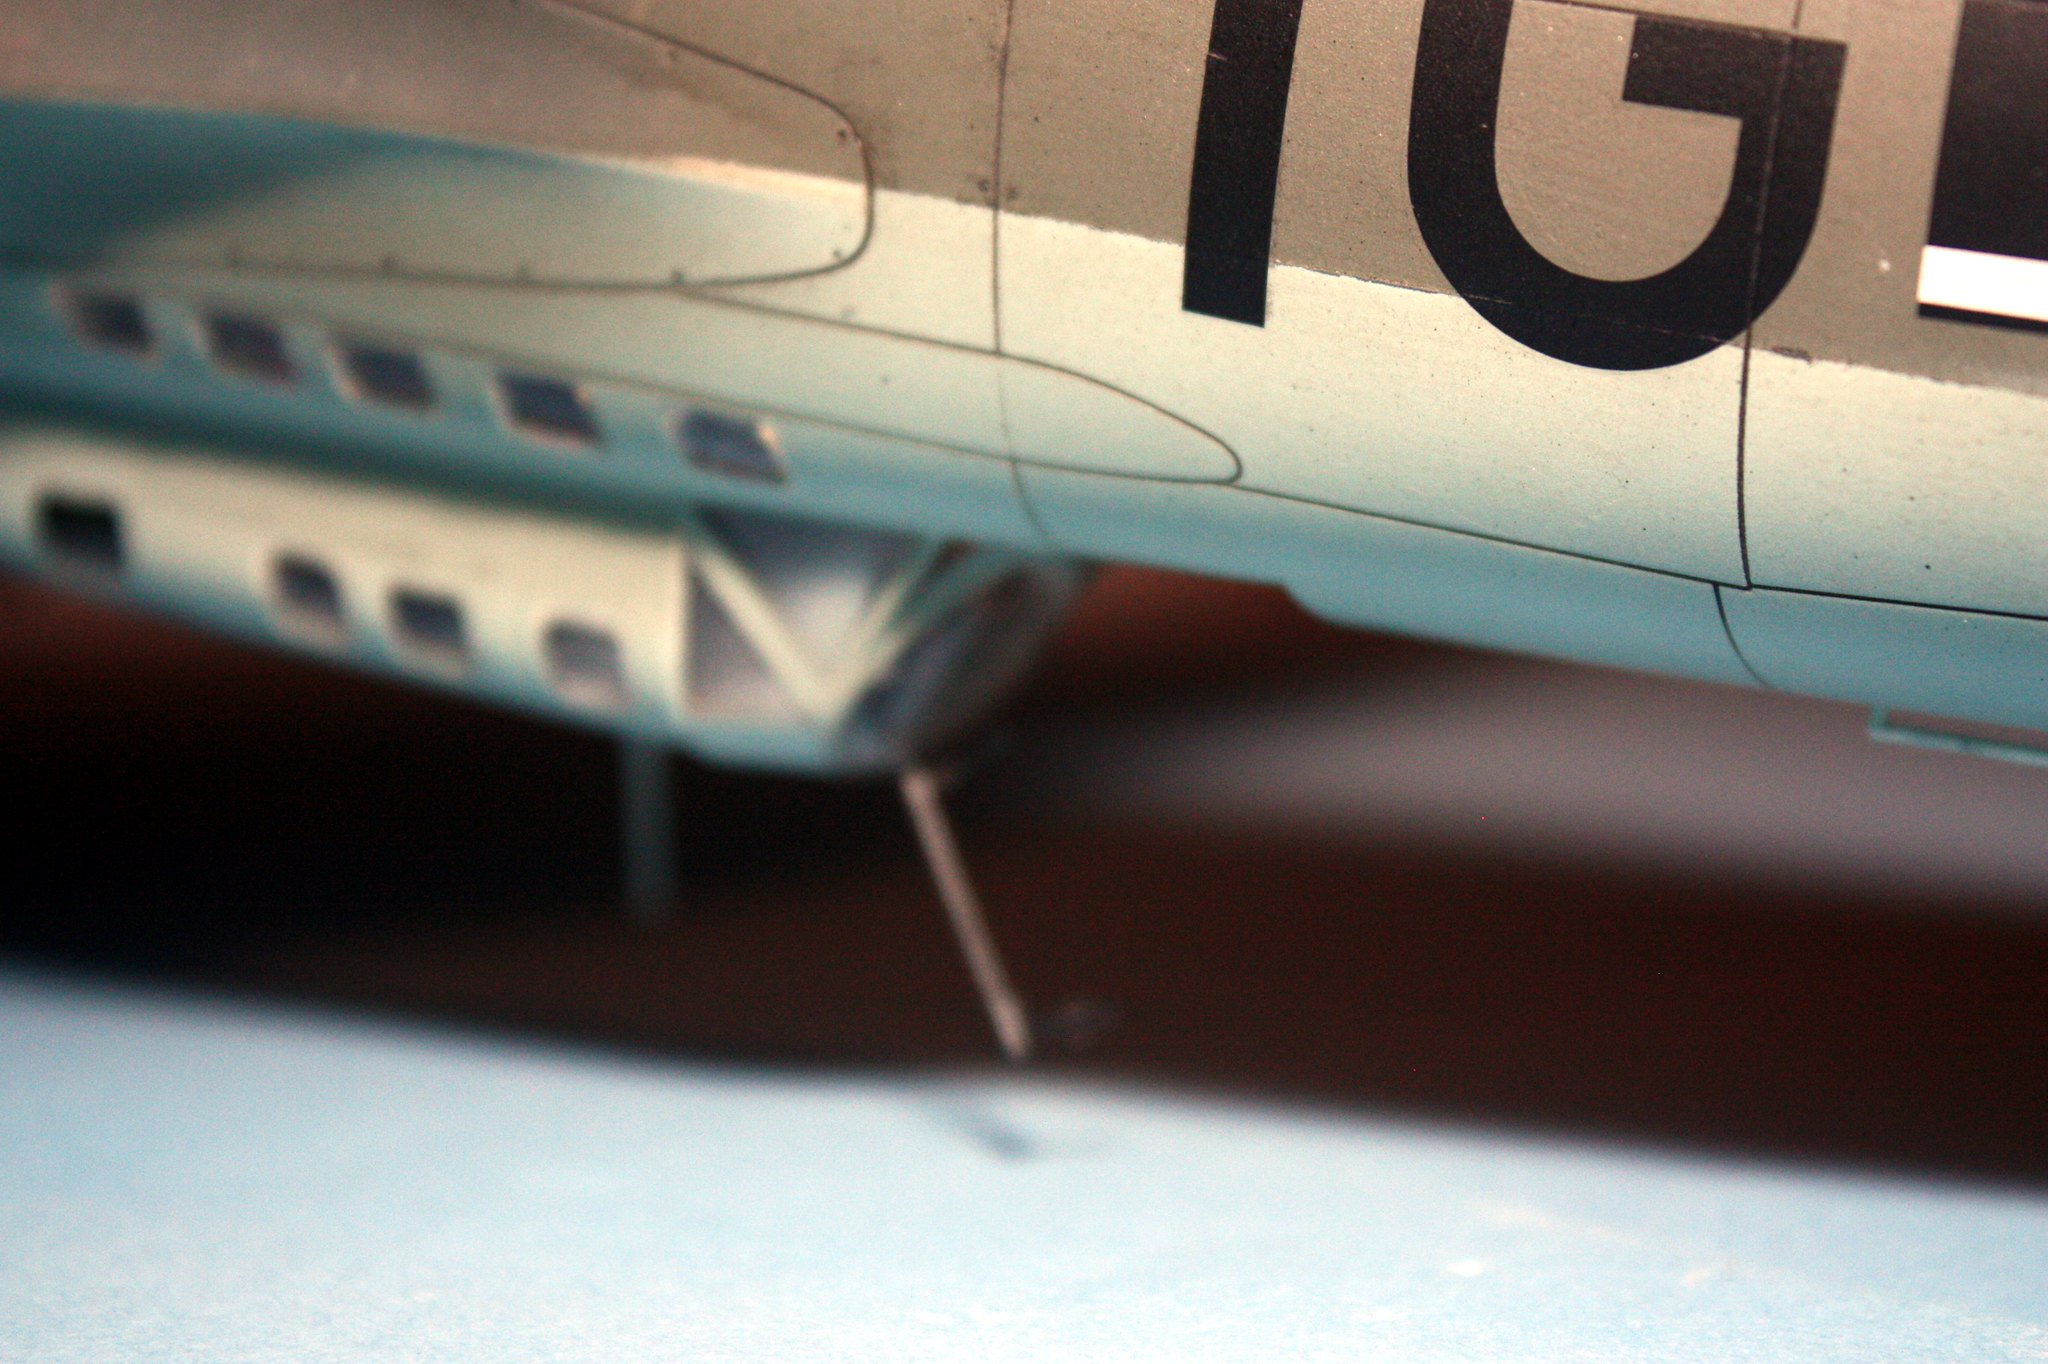
Close-in shots:

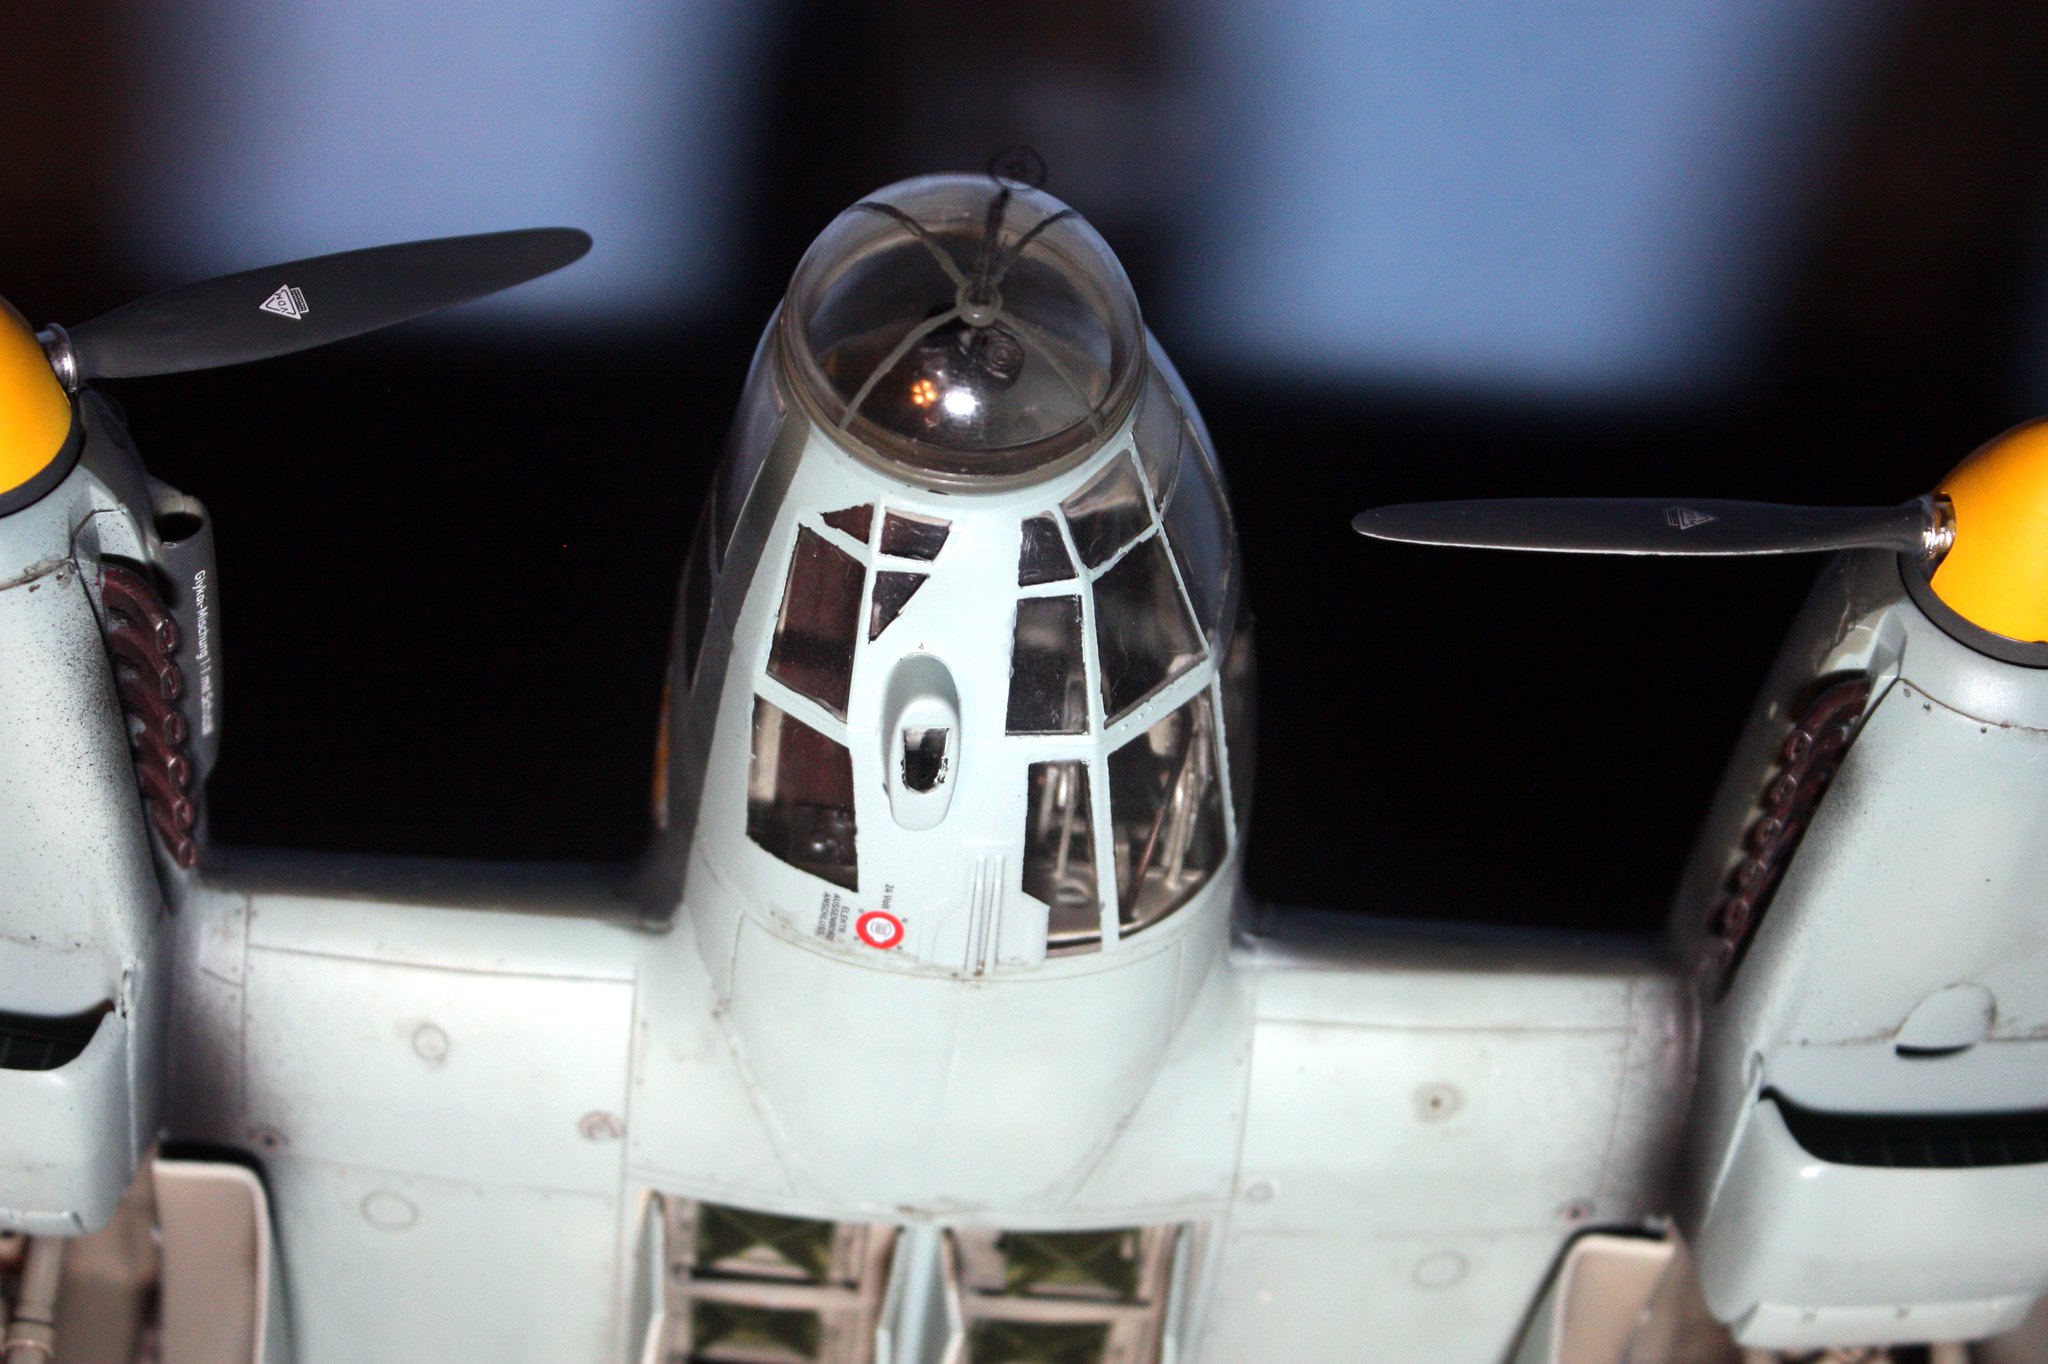

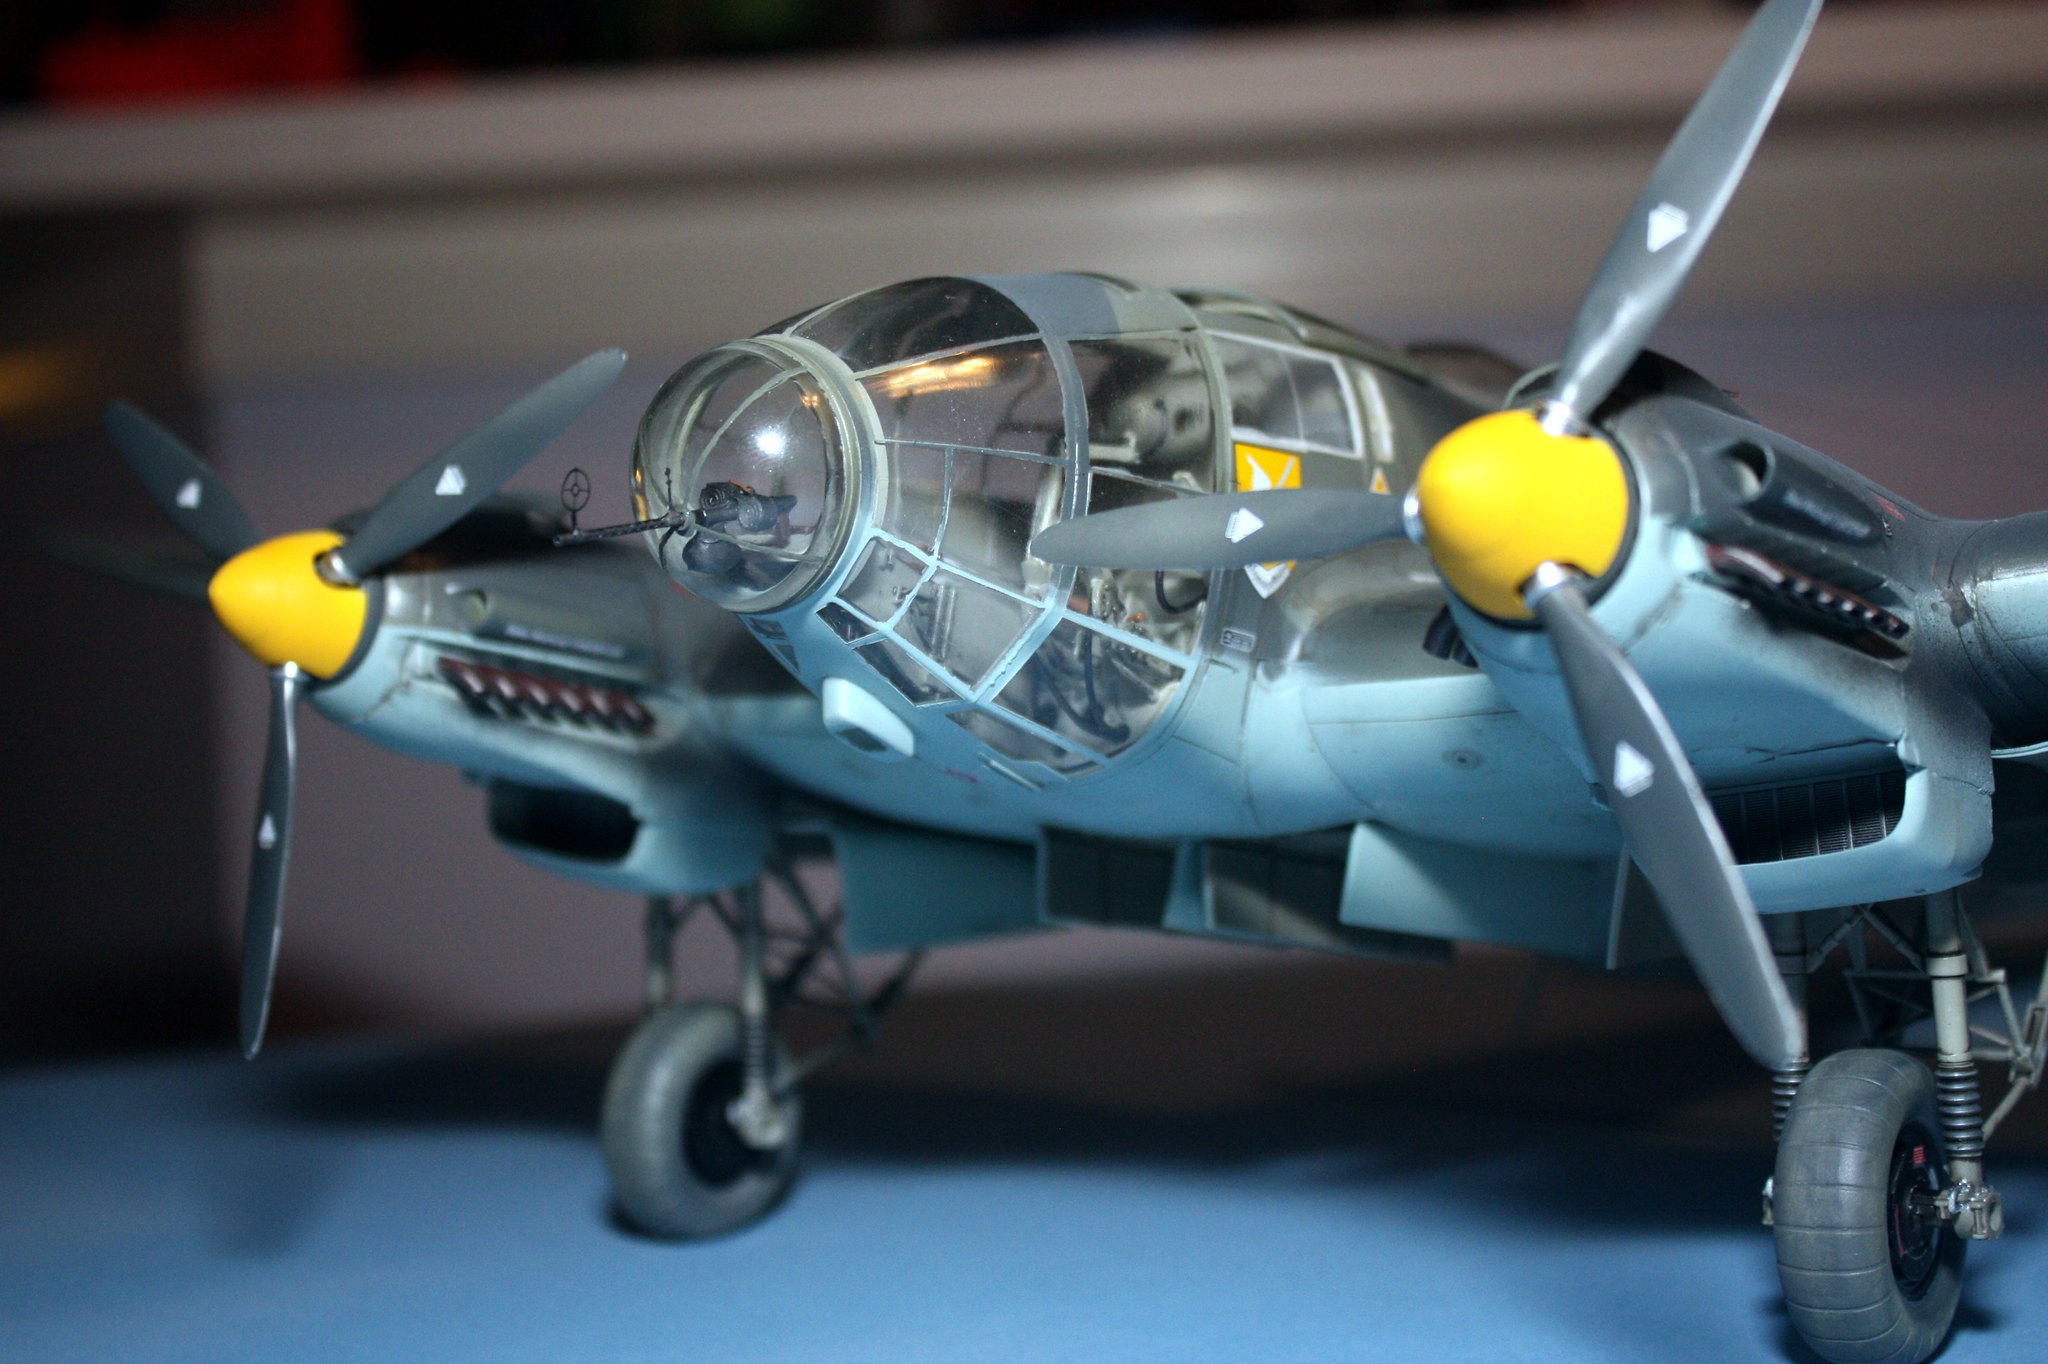
This photograph actually reveals that I did not glue the MG 15 in the nose into place; it is moveable. Of course, jostling this bird around can cause the gun to twist almost upside down…
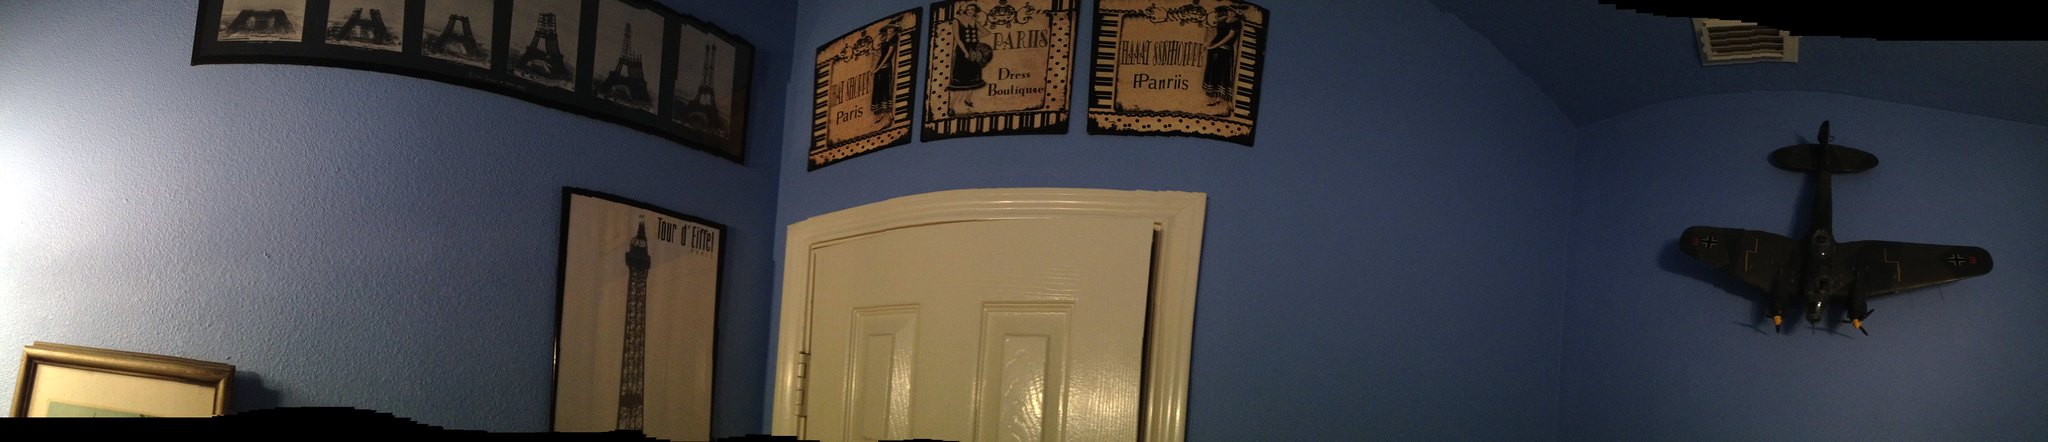
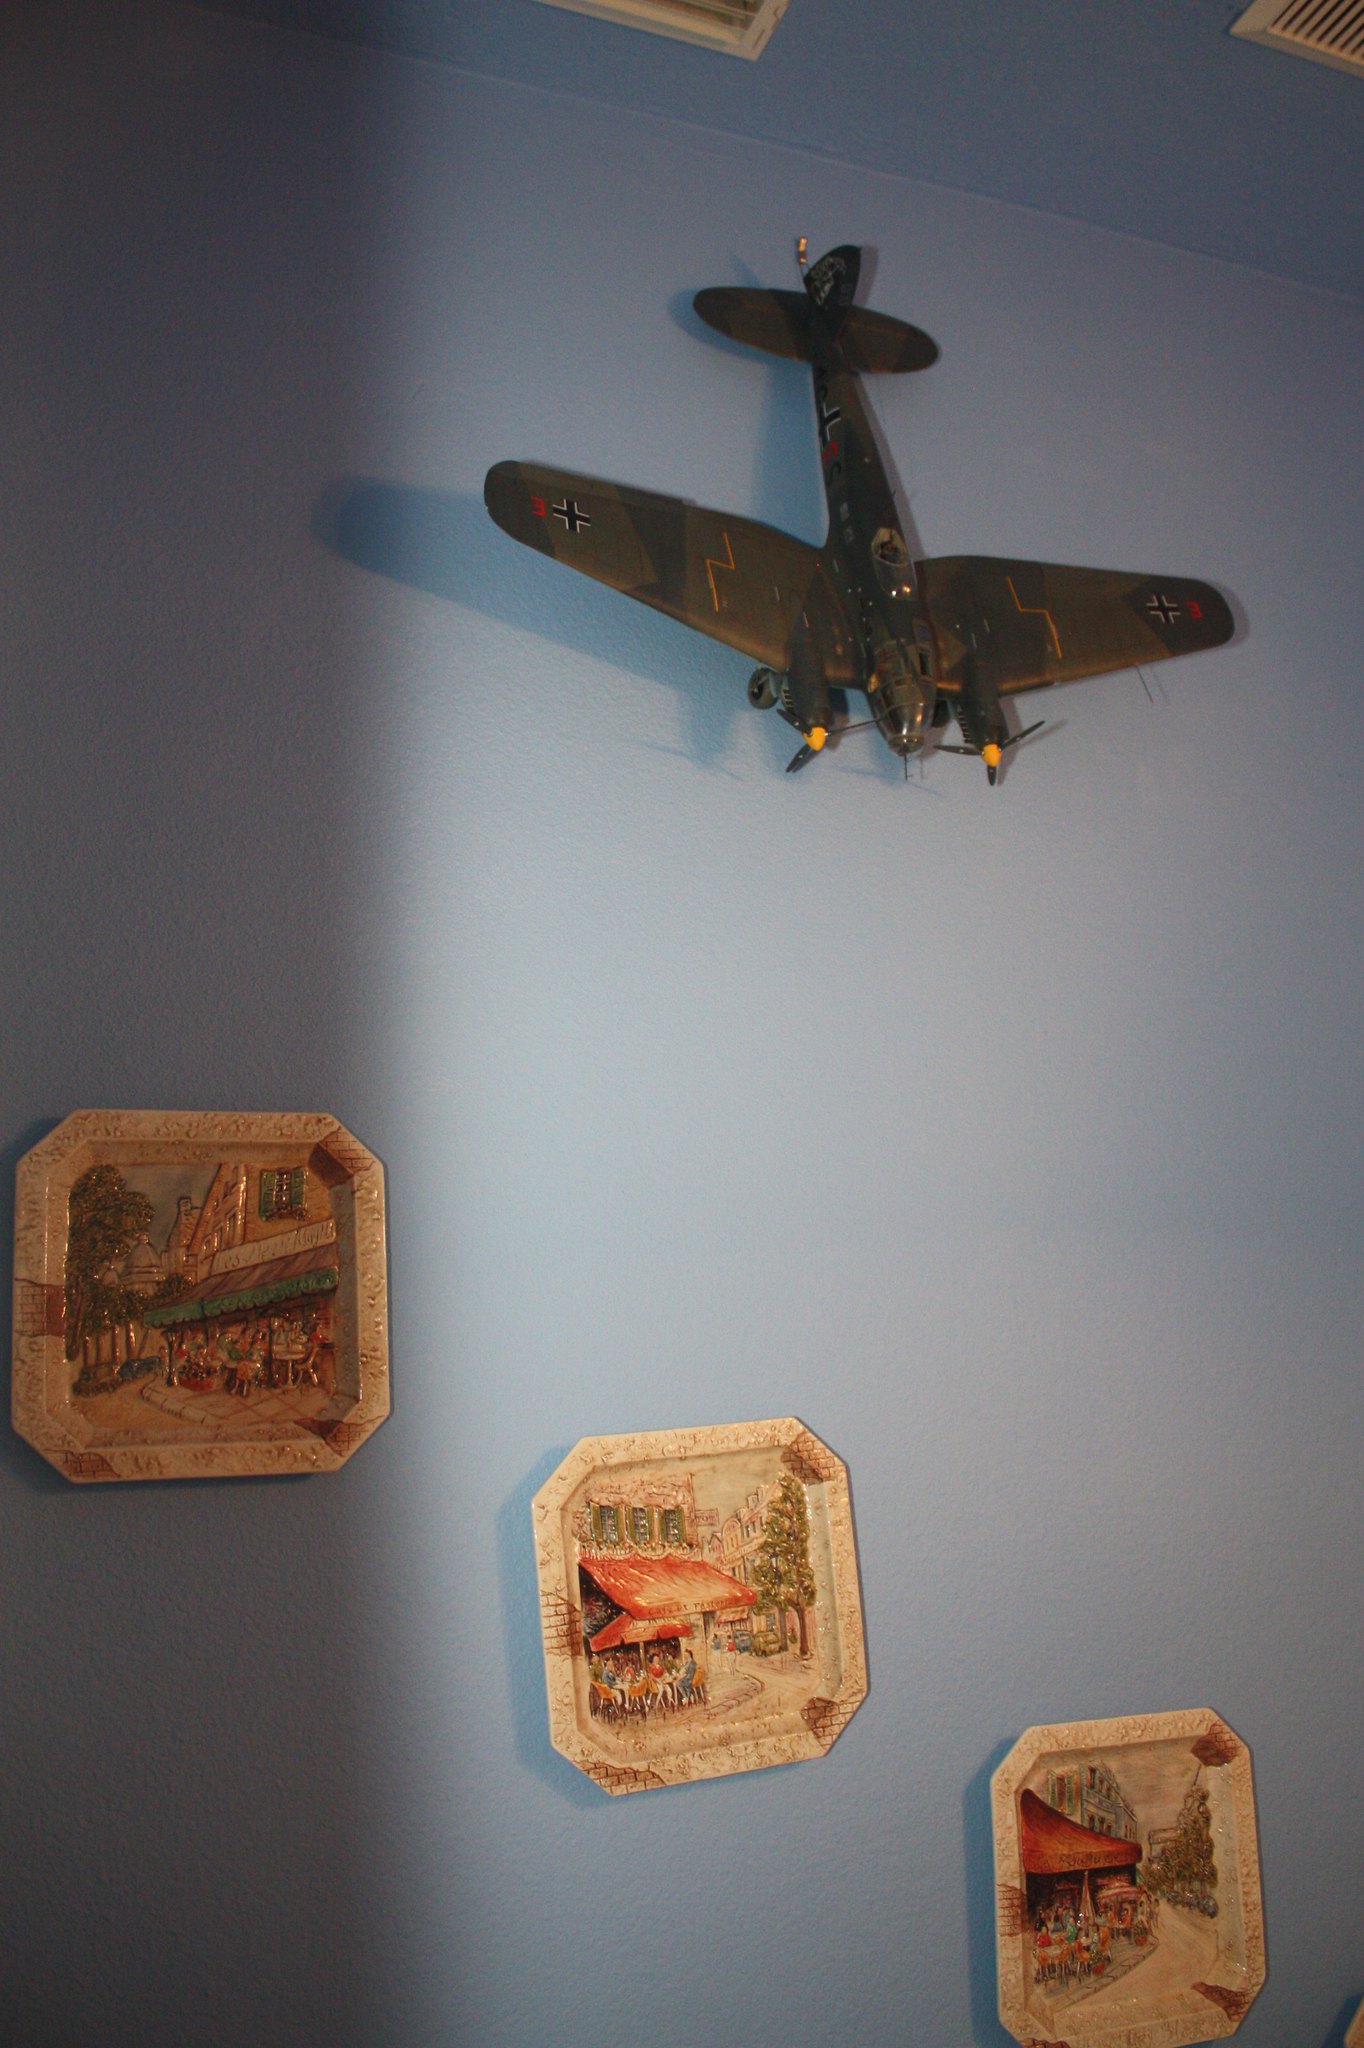
And remember when I said this was going on display in my Paris-themed bathroom? Well, here she is…
Next up? I am sticking with WWII bombers, but this time I will be going over to the Royal Air Force and tackling Trumpeter’s 1/48 Vickers Wellington Mk. III.
Great finish! The issue with the machine guns reminds of a similar issue when I built Lindberg’s LCVP. I ended up replacing them with some .50s from the Academy set.
Aggie,
This was a very informative build. Especially showing how to mask all those windows. I liked how you showed doing the panel line washes as well. Great work and I look forward to seeing the Wellington come together.
Also, It was a blessing that you missed the flooding, I have good friends in NW Houston that didn’t fare so well.
Good luck with the job prospect.
Thanks, I am glad you enjoyed it.
Regarding the great flood, we live west of Houston in Katy and west of a couple of huge reservoirs. Apparently those have not overflowed their banks, but even so we are not technically in the flood plain. I say technically because it does flood where we live, but we have been fortunate. On the first day of the rain, my street flooded but the water was draining before it got to my house and barely reached onto my driveway.
Beautiful build. I love it.
Outstanding work! Thank you for sharing. I look forward to the Wellington…
What a gorgeous build. You did such a great job on building and painting that monster. Thanks again for sharing your work.
I do wish you well in your job search, although a selfish part of me wishes you would win a jackpot so you could continue to intertain us with builds. gk
Thanks. As for the jackpot, that would be great … but you have to play the lottery to have a chance to win, and we follow the Dave Ramsey model here which states that the lottery is throwing perfectly good money out a window. [:)]
Excellent job on a complex build!Outstanding!
What a resplendent beast, absolutely marvelous, I say! [:)]
Fantastic build. Your cockpit framing looks outstanding and I don’t know how you painted the interior details but they all look like you airbrushed each individual detail