Br 52 WIP

ANDY - [B] thanks buddy [B]

STEVE - Thanks for the help with the paint, I’m working on it, almost ready…

CARL - Thought it was a very appropriate name for the same reason. The nice thing about this booth is you can almost put that “Peacemaker” in it ! It will take a whole 1/48 B17, or 24, 25 etc. Should have plenty of room for my armor [:D]

Not quite as far as had wanted to be but might get to laying some paint down tonight? Have to finish up the cabin work first and have been working on it today.

Added - Styrene strip with hex bolt heads for caps, 3 wire pull valve handles, wired all gages, chain, burner door shelf, stove lid guard, and drilled the holes in the door.

Pull valve handles

more plumbing

top view

Now back to work and wrap up the interior and get ready to paint it.

Some really great looking details Rob !

I wounder if a 1/72nd B36 would fit in there ?

“HOLE CRAP”!!! Rob thats AWESOME!!! i’ve always wanted to make a full train even with Karl i have it “ALMOST DONE” really like this build buddy.

Clay

Thats insane you must have a ton of research on this

That’s some sweet looking detail work Rob. Very cool, almost a shame to paint it!

CARL - B36 would hang out a little but not much…just enough to tease you[:P]

CLAY - Thanks a bunch! You could use a train to move all those Sherman’s your building [:O]

RAMBO - Unfortunately don’t have that much hard copy research on this [:(] Usually for my builds I have many books, pictures, and have seen most of my subjects in person but this is not the case with the BR 52. Have been searching a lot on the net to find what I need.

BILL - Thanks…paint is soon on the way though [Y]

OPEN OR CLOSED, THATS THE QUESTION? Not knowing exactly how the overall scene will play out in the very end, could not decide if the cabin windows should be open or closed? Was back and forth for a while but the decision must be made so that I can put in any required items before assembly and painting. Decided to make a simple window jam and have my windows have the ability to slide open or closed. Looks like this

Have the back part of the frame cut and ready but it will not be added until painting of the inside of the bulkheads. Must be painted first, then add the window, then can add the last part of the frame.

Have also given the wood parts; cabin floor, seats and seat backs, tender coal retaining planks, and smoke deflectors a base coat of MM Wood. They will receive a coat of Dullcote tonight and left to cure overnight then will use my wood painting procedure tomorrow.

Would like to add how much I really like this new paint booth !!! Have not done much but can tell already from the ease, good suction, very low noise and room, it is really great!

Thanks for looking and happy building [H]

Rob , glad the new paint booth really sucks …errrr…[whstl]

Hey Rob , check out these railroad buffers from RB models …

http://www.rbmodel.com/picture.php?dir=35A10

http://www.rbmodel.com/picture.php?dir=35A11

Now that’s what I call a nice solution to a difficult choice…open or closed! Top-notch work as usual Rob. [Y]

Hi Rob [:)]

Exquisite job on the window problem !.. you added a lot of detail and solved a touchy problem in one swoop!

The boiler firewall looks great too![:P]

tread[H]

CARL - Those are nice looking buffers. I’ll go take a better look at RB. Will also have to pull out the dragon kits to see how things would work out. There is one problem with those buffers though, they are both flat faced but one of the two should have a globe shape to it to be correct. They still look really tempting though [:P]

BILL, TREAD - Glad y’all like the window fix [:D] Your right, a little detail and a simple solution.

OK, been sitting here sniffing paint fumes and watching my paint dry. Needs to dry faster.

Put down the base color then post shaded the interior pieces, done a little detail paint work, and have given the wood pieces it’s first wash of artist oil. Have also given the tender a primer coat of flat black. Now the waiting game so that I can continue with these parts.

You never cease to impress me Rob !

Here’s the page with Rb’s selection of buffers . #35A09 looks flat .[Y]

Thanks Carl [:D]

Found the correct buffers at RB, they are nice…[^o)]

Started weathering the deck

Your wood floor looks more like wood than my floor Rob ! What ever technique you have developed is really working well …the details and weathering on the boiler wall is just perfect !Takes lots of pics of this because its going to be a shame when its covered up with the cab my friend .[t$t]

Amazing…!

Nicely done finish on the wood! Rest of the detail painting isn’t too shabby either! :slight_smile:

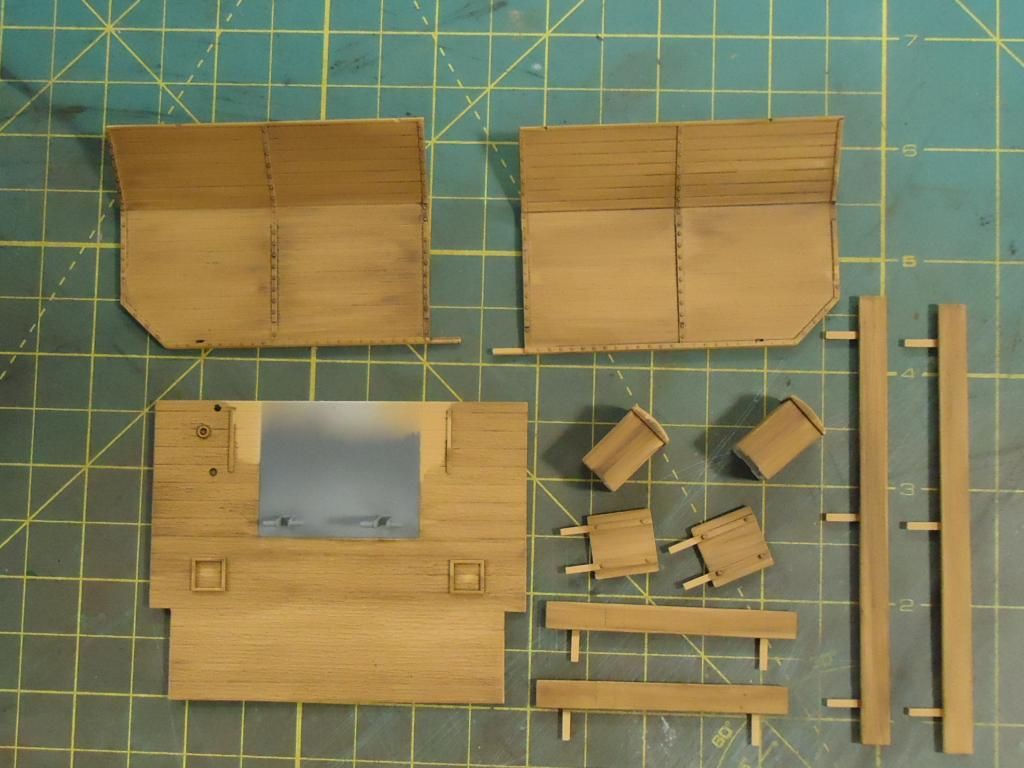
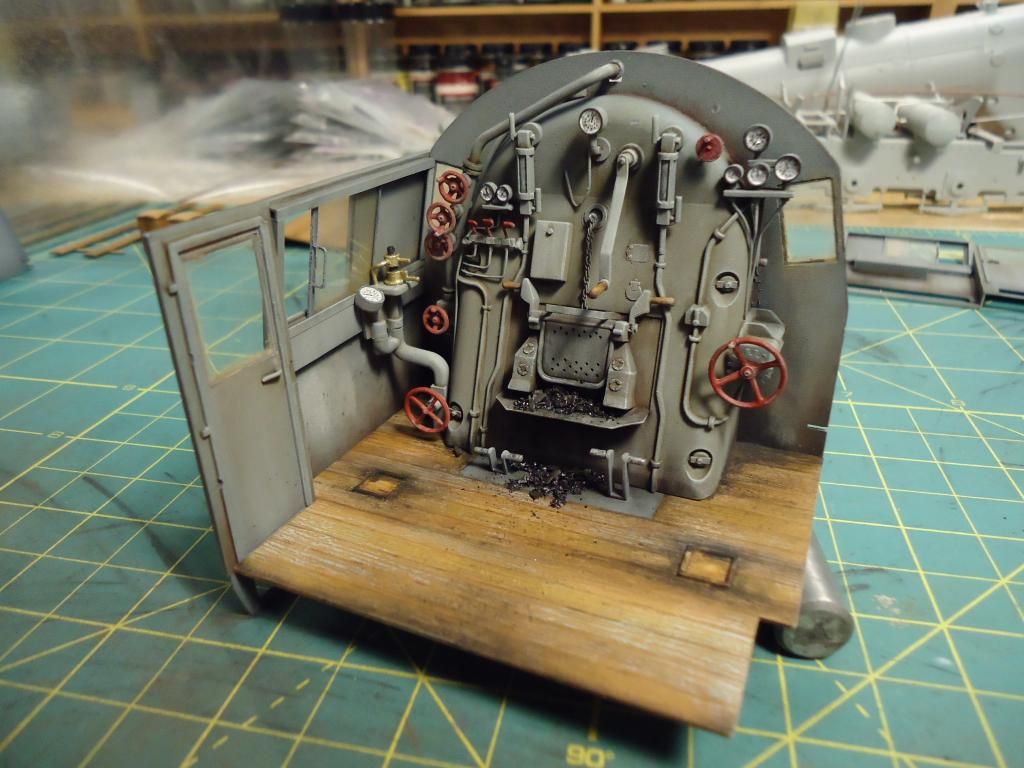
CARL - The wood technique used was the same as I had used and explained when building the “Typ Ommr Gondola Car” not that long ago. Will do my wood in this method from now on. You can also get many variations of wear, from new to old, using this technique just by using more or less of the colors involved.

As far as not being able to see the interior, that was the main reason I had originally wanted to put lights on this build. Sense that idea was scrapped, I will be using BILL’S idea (looking at his build on his site, thanks Bill) and I will leave the overhead removable for future viewing pleasures.

OH…If your floors look like that…UH…You need to clean them…Just saying [whstl]

GUNEY - Thanks buddy and thanks for following along [Y]

BILL - As always, really appreciate the comments my friend [B]

FLIRTING WITH DISASTER!

Well I had everything painted, weather and pleased with the results so went in for assembly…that’s when DISASTER struck!

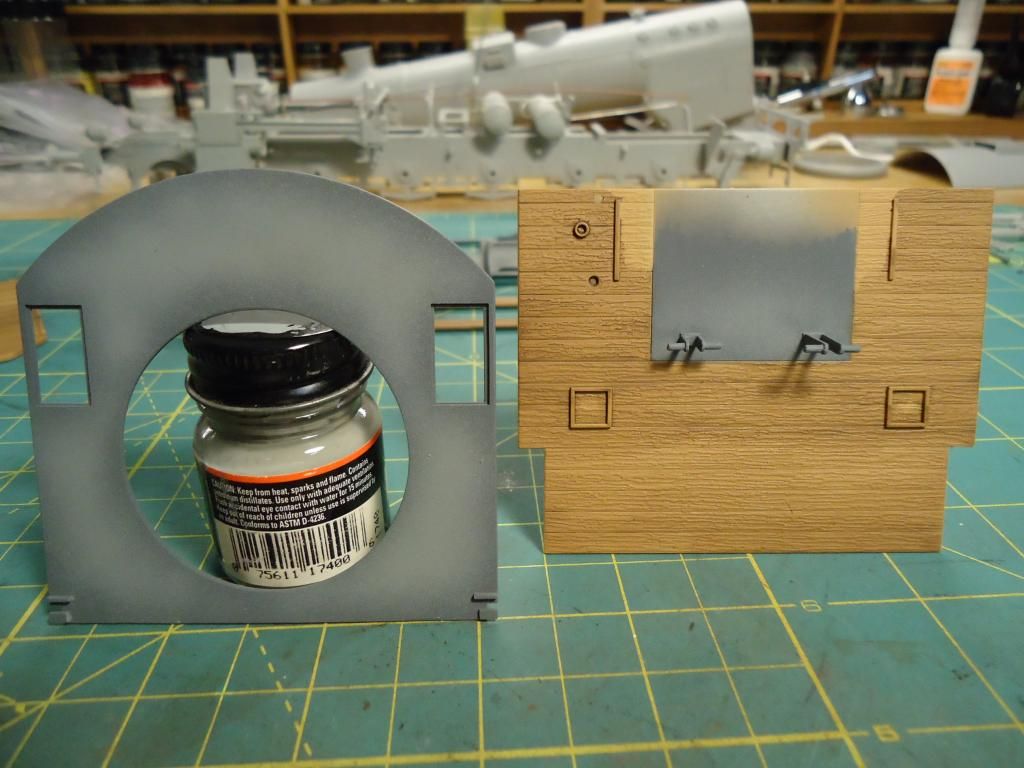
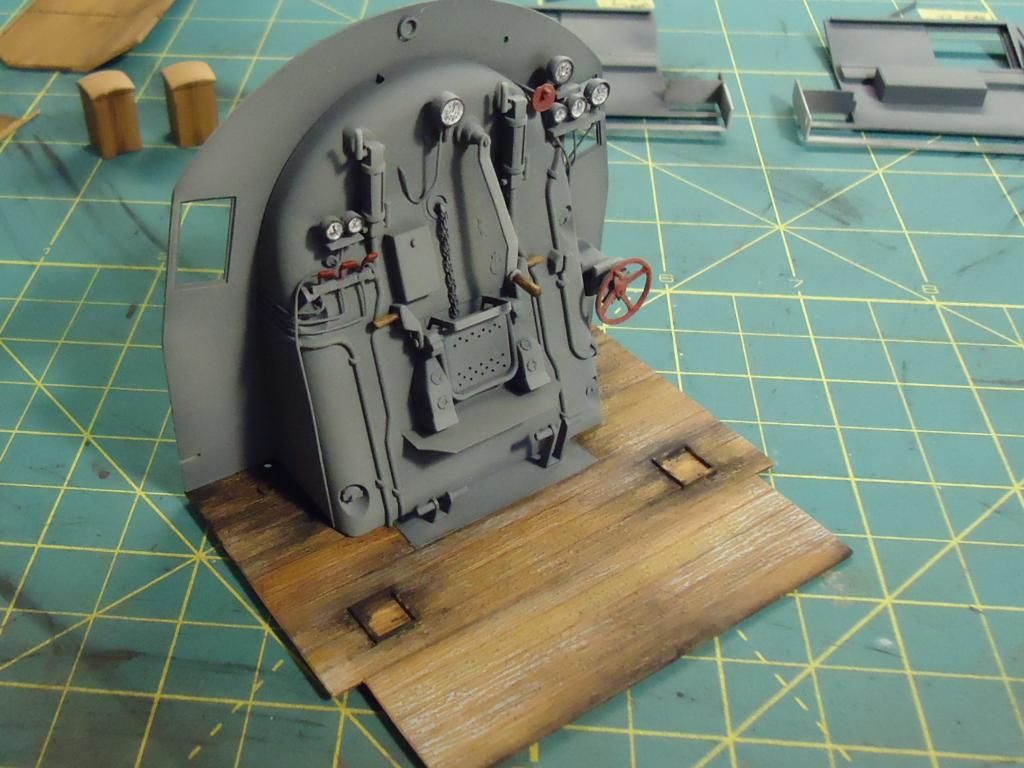
Nothing would fit together, the cab, cap to the boiler, the sides, everything would not go together! After examining found that I had glued the boiler firewall in the wrong place, had glued it flush with the bulkhead it sits on. Here is a modified pic of what I’m talking about. Not a very good one (did not think to take picture in the heat of the moment) but look down in the corner and you can see that the bottom are flush with each other.

The problem is that the boiler firewall should be raised on that bulkhead about 1/16 and believe it or not, if it isn’t nothing will work out!!! OK, the reason this was a big deal to fix, the boiler face was glued to the bulkhead first using MM liquid cement and after drying had went back and more or less poured CA glue inside on the seam. I new I would be handling this a lot doing the scratch work so wanted it to be strong. So probably don’t have to say, getting it apart was a [cnsod] !!! After a few hours, much patience, cutting and prying it finally came apart.

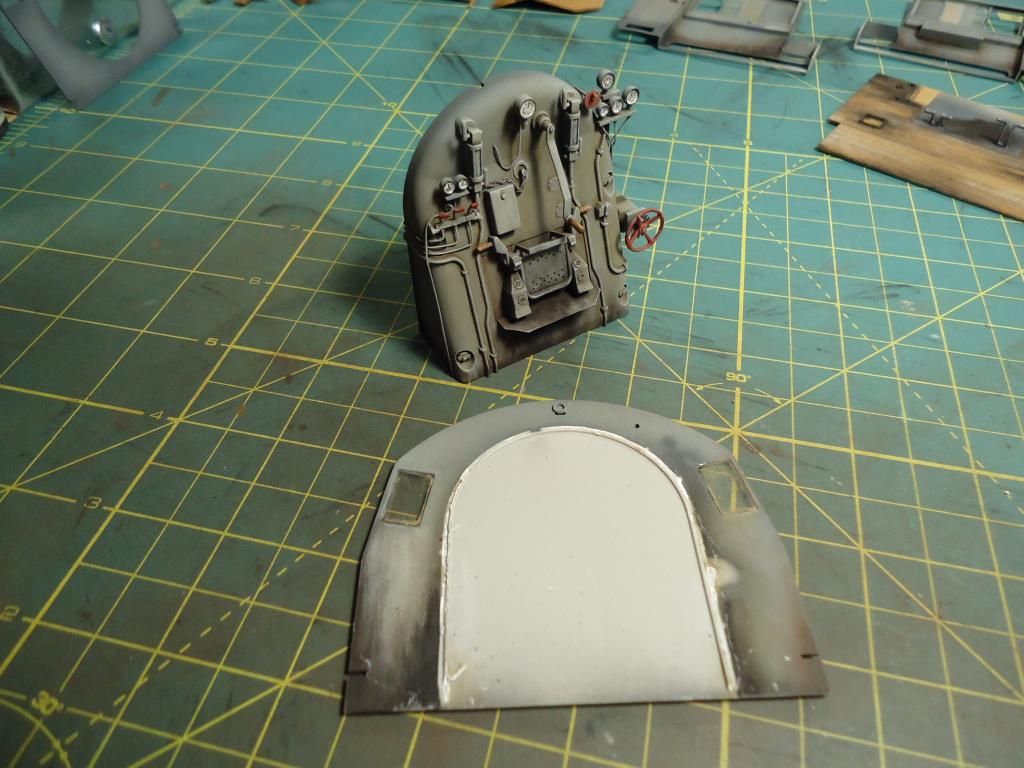
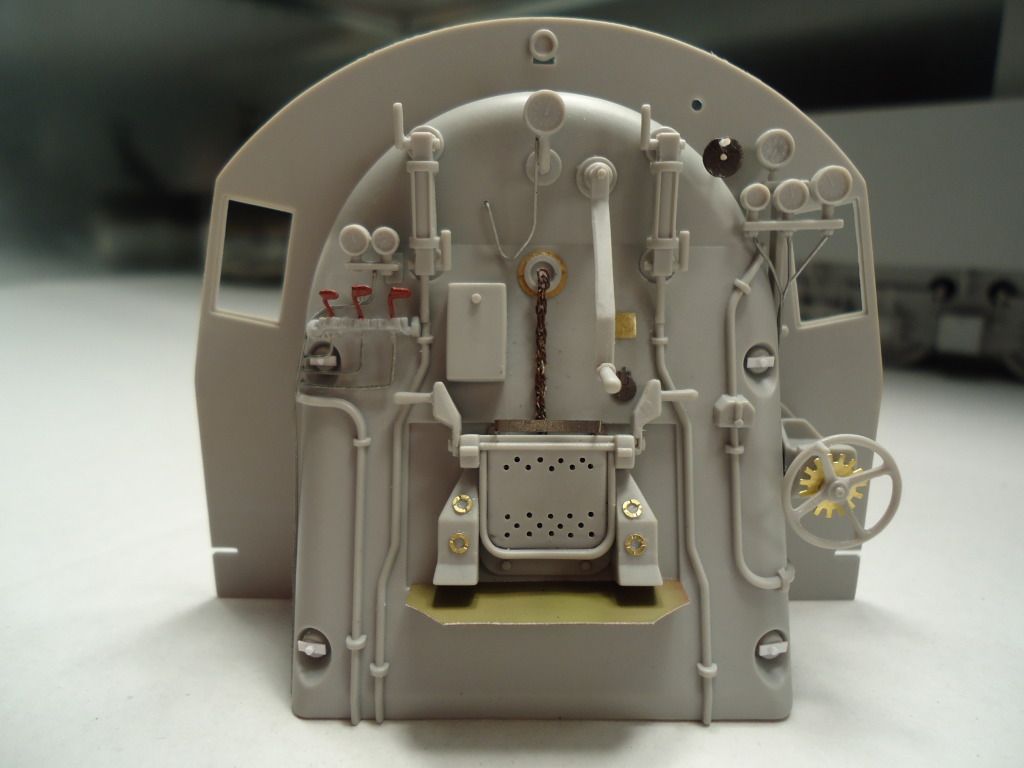
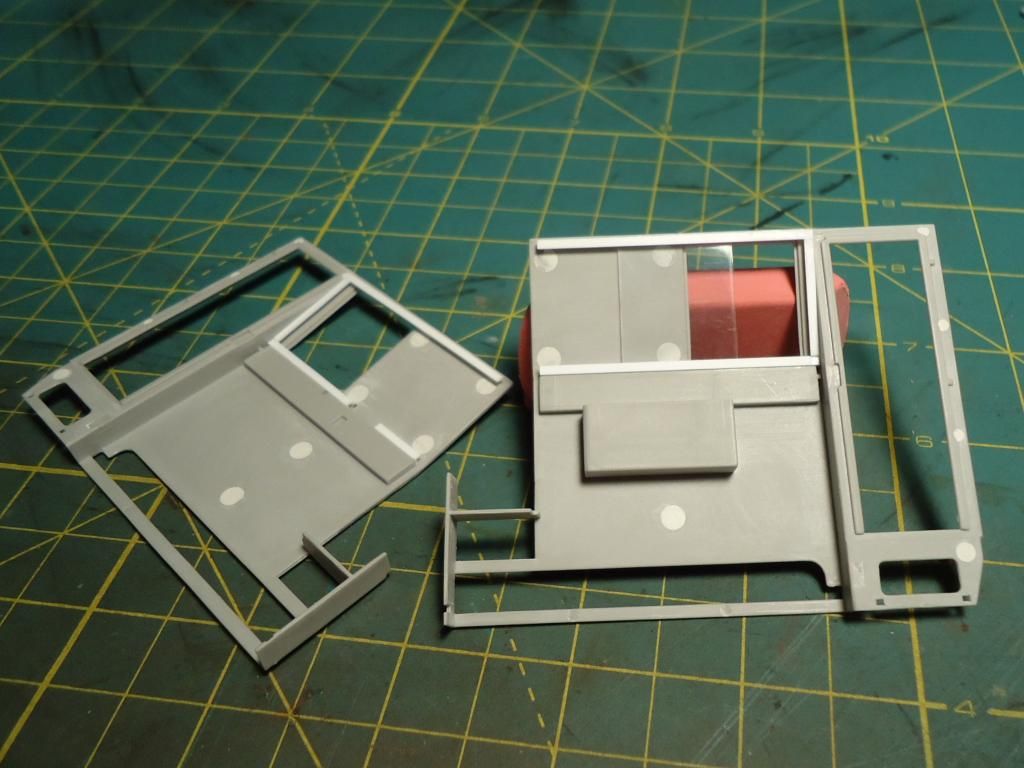
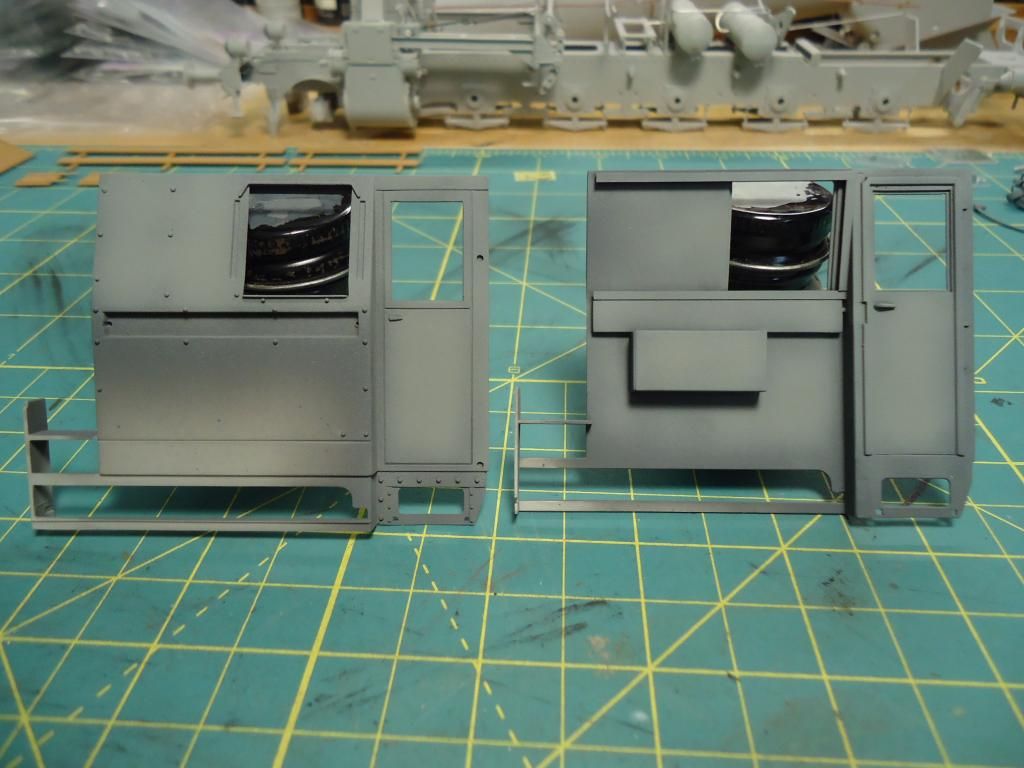
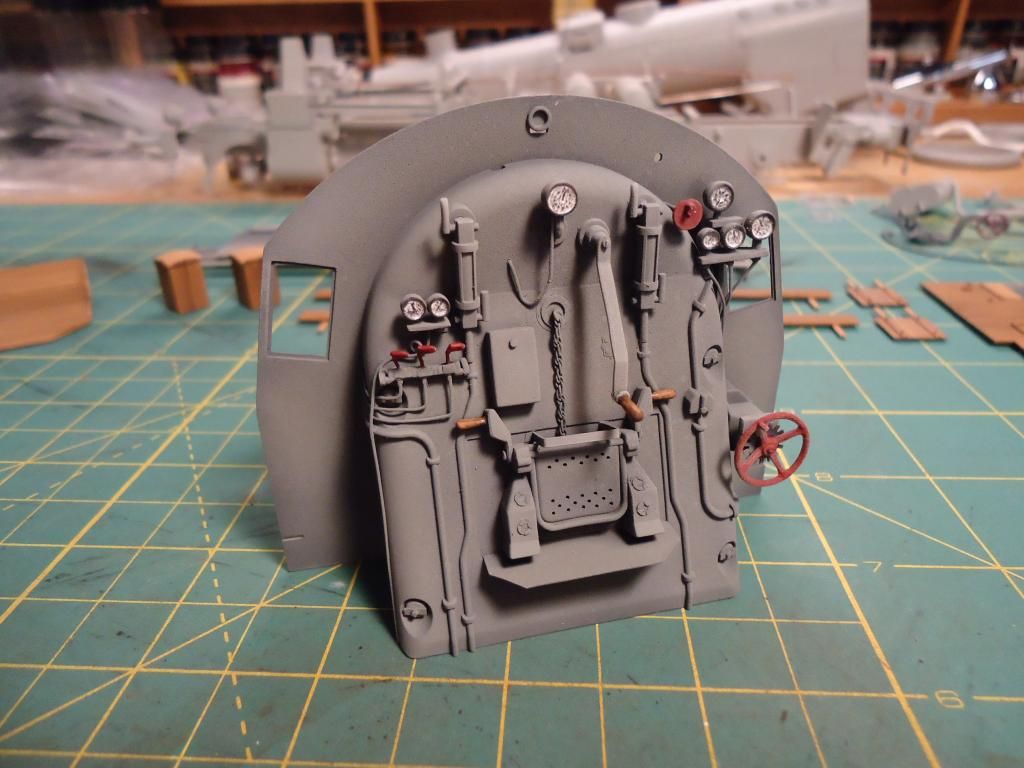
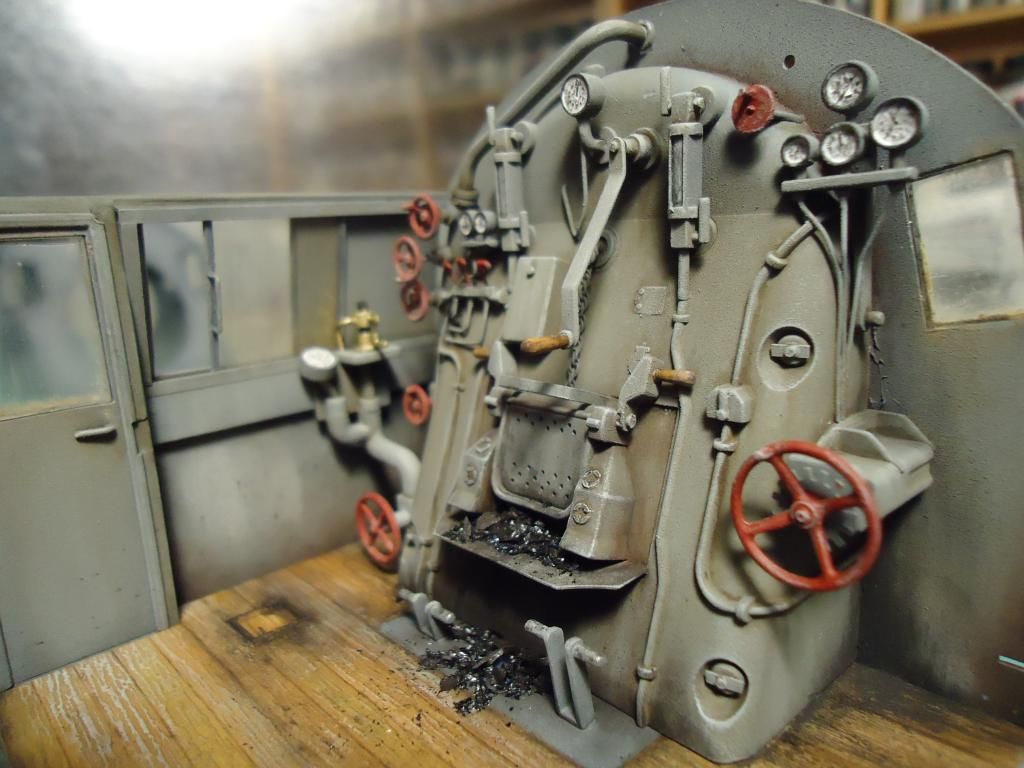
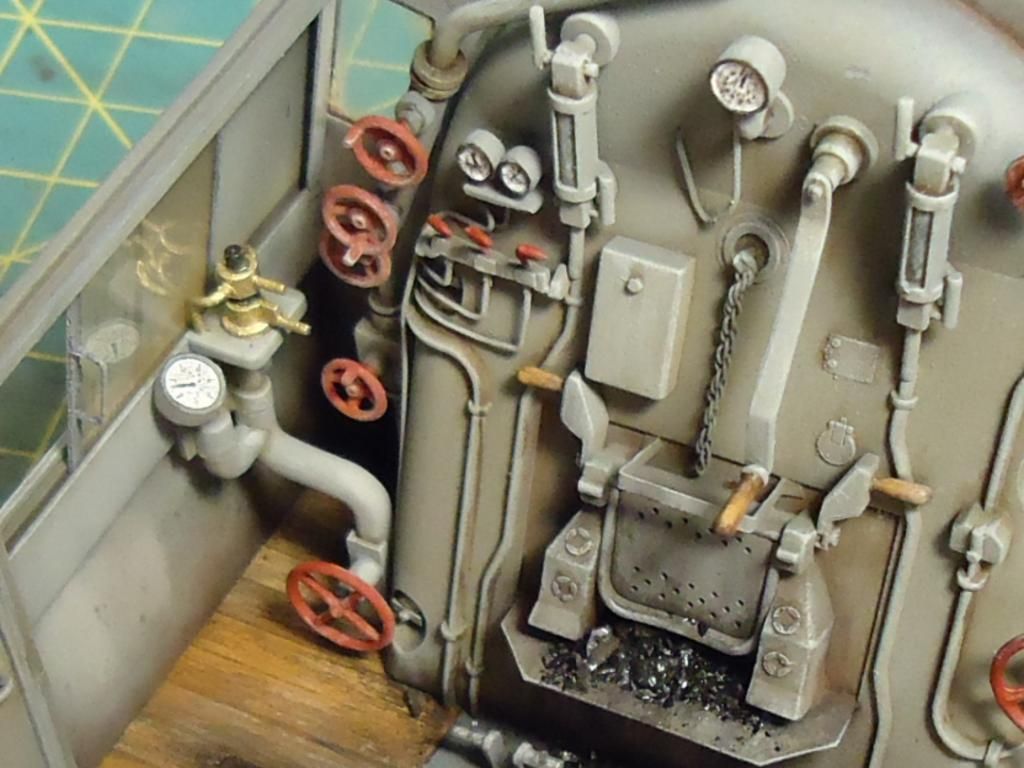
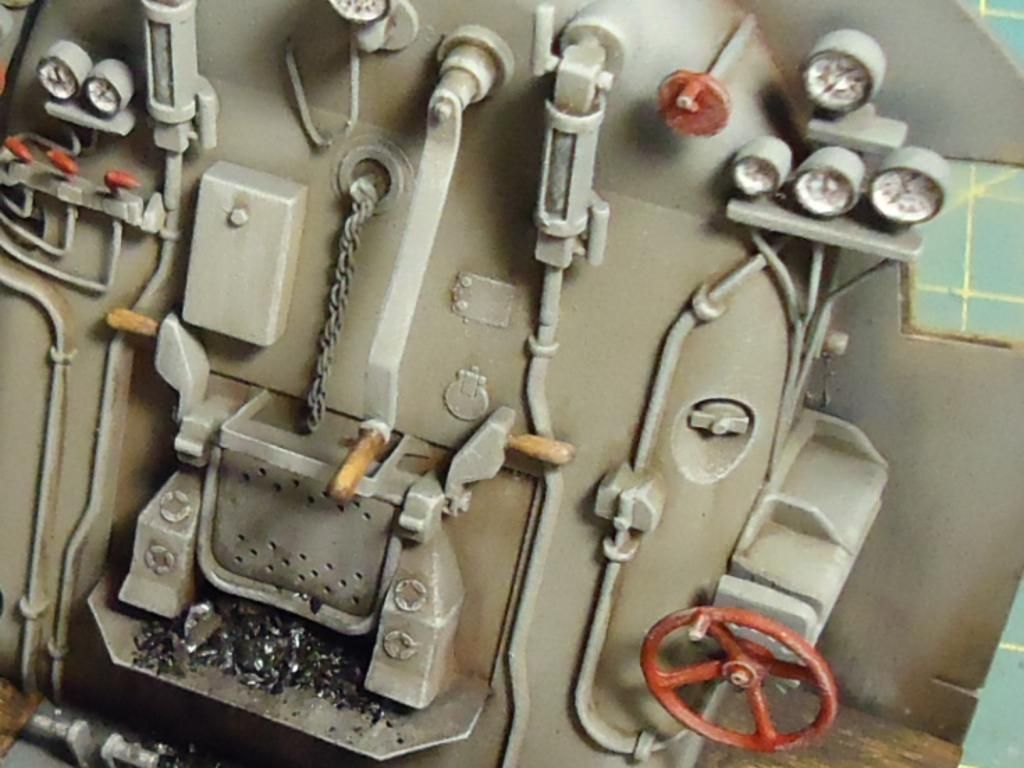
After getting it apart much careful sanding and scraping with knife blades got things back to order. Then the paint repair and construction began [:D] This is now where she’s at:

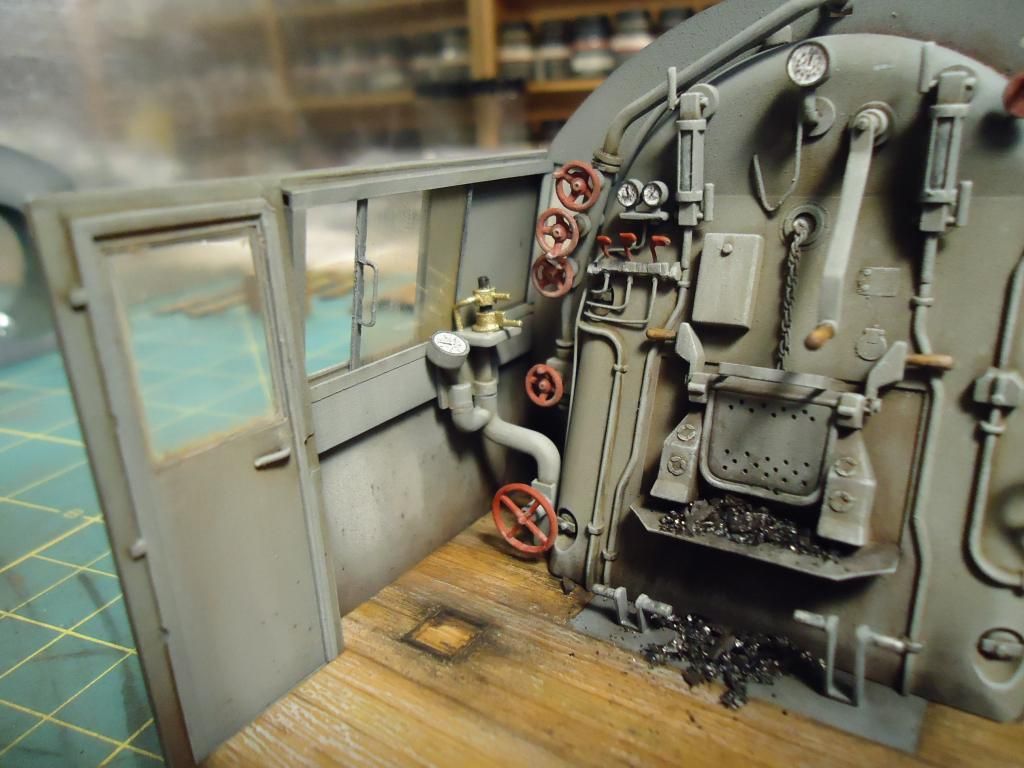
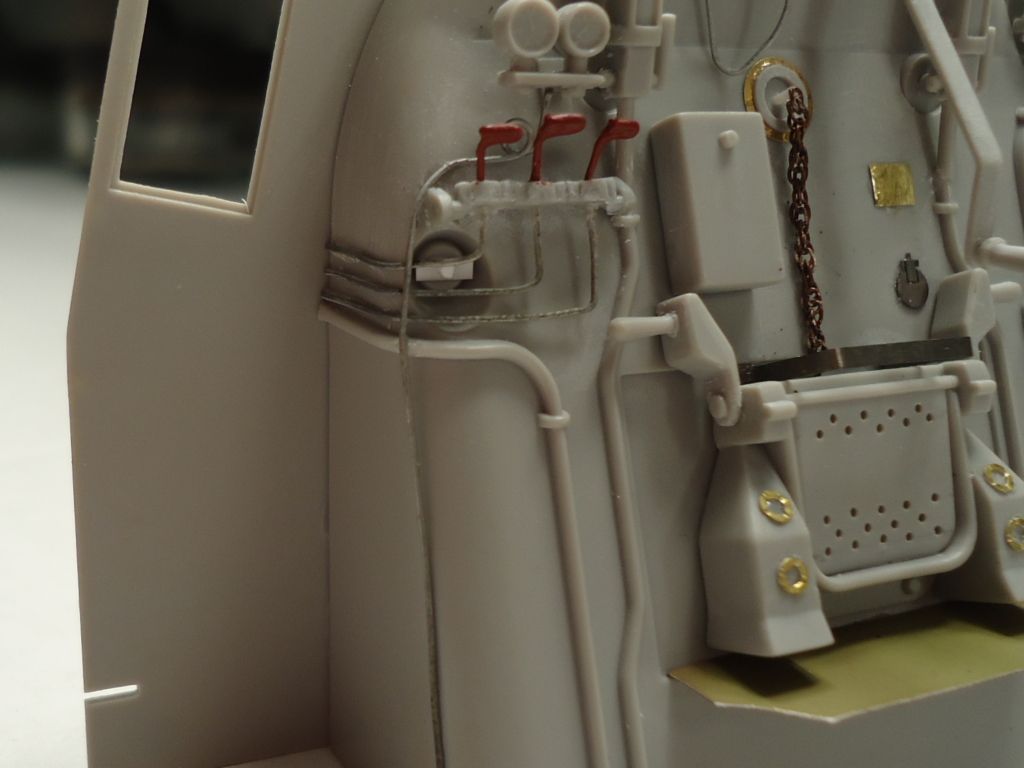
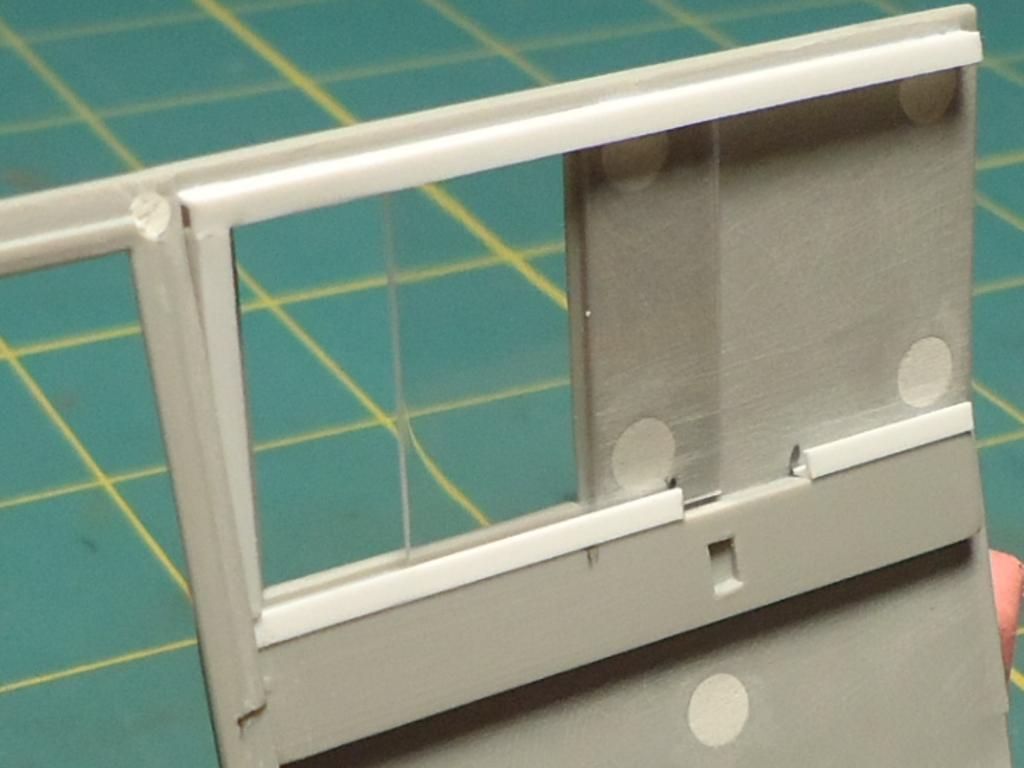
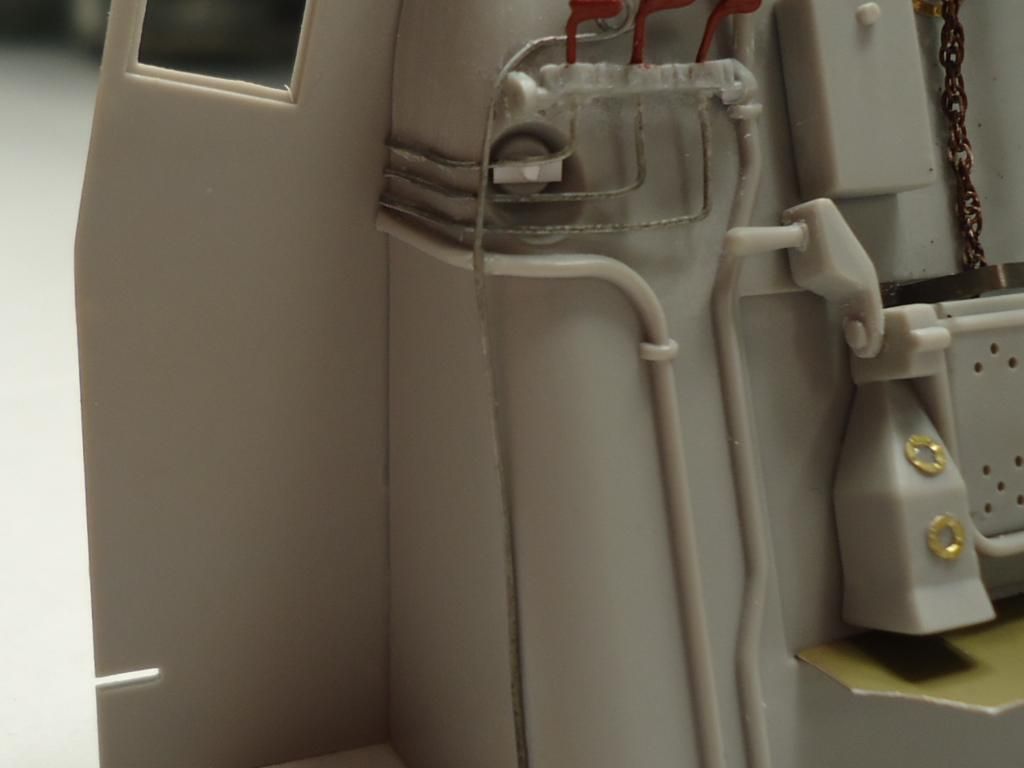
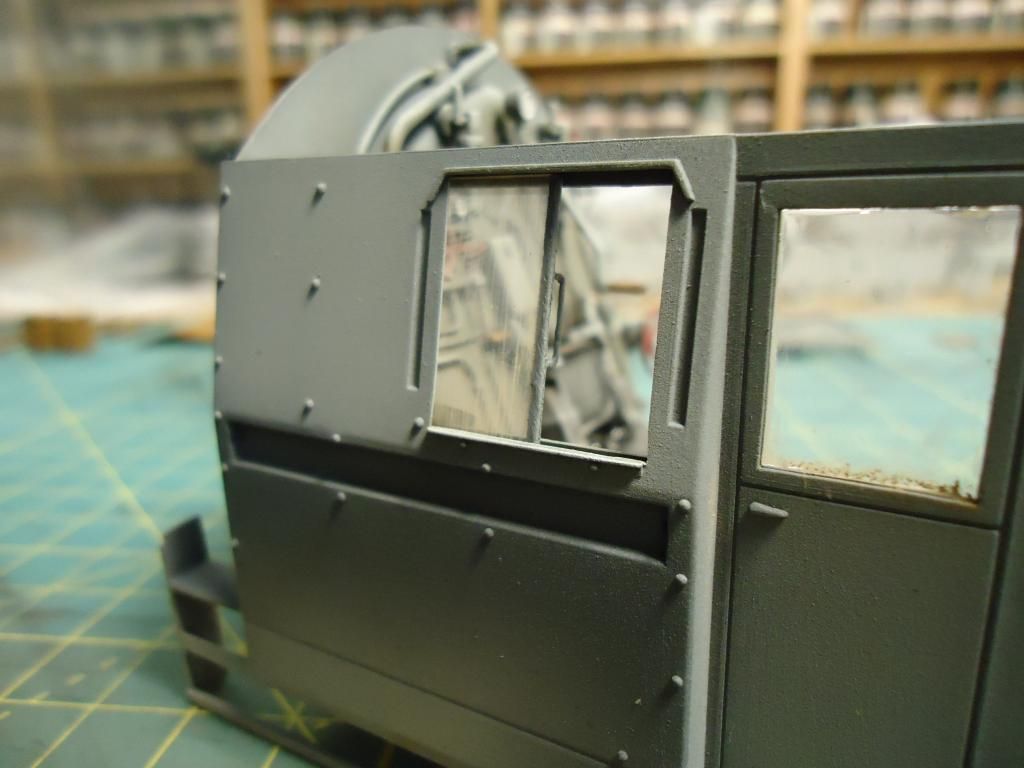
The right bulkhead is not attached yet and will remain off until I can get the seats put in. That may take a little time because I plan on modifying the seat backs. But here are some close ups of the right window.

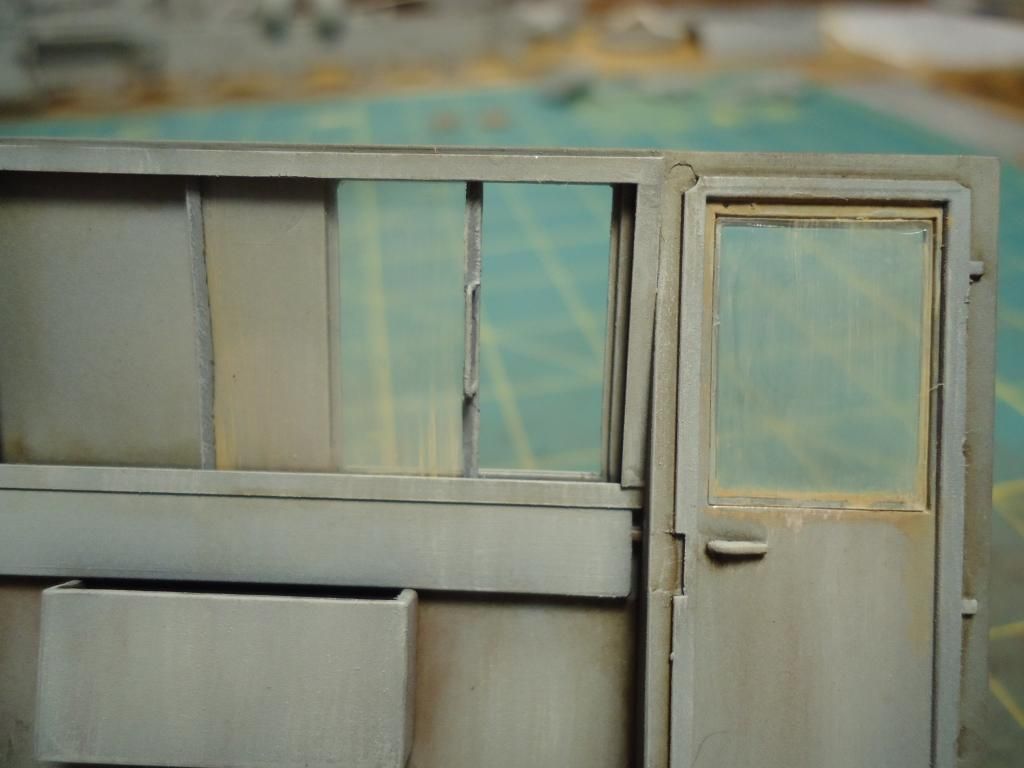
looking at that pic I see a pin mark that I need to go fix [:S]
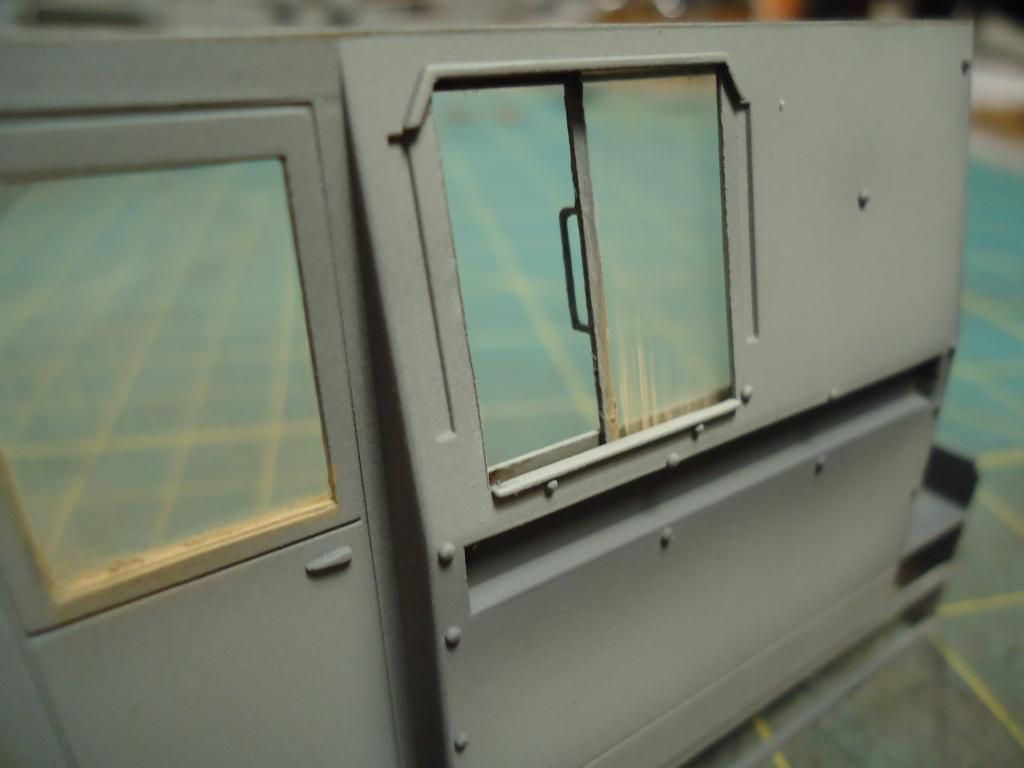
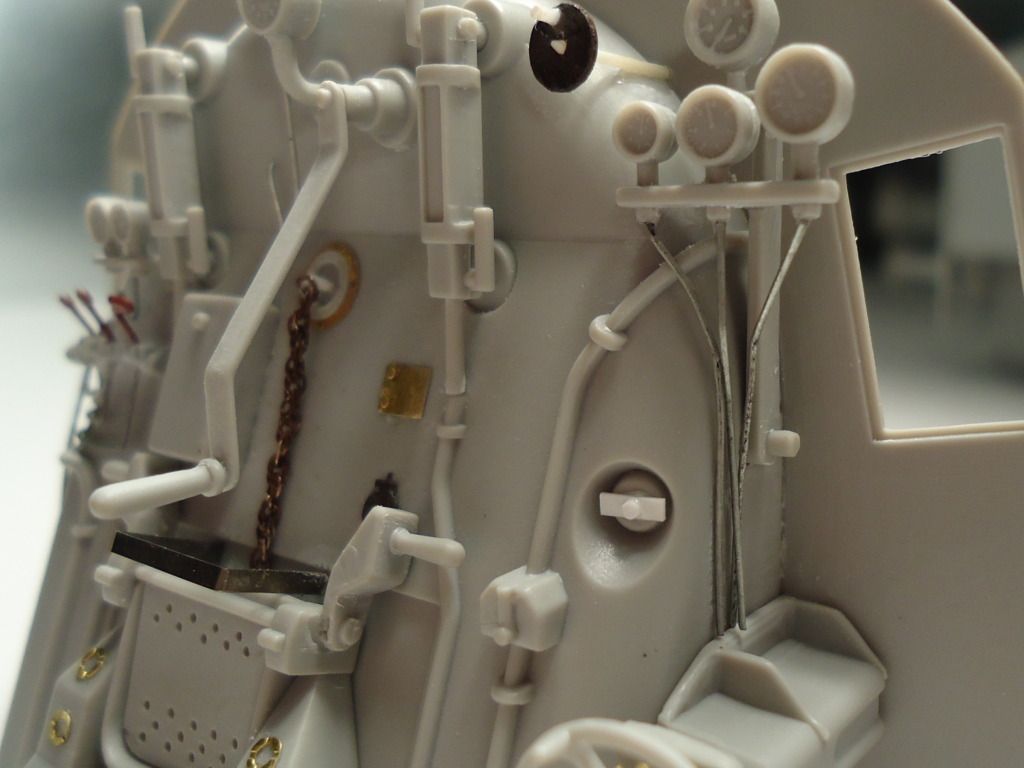
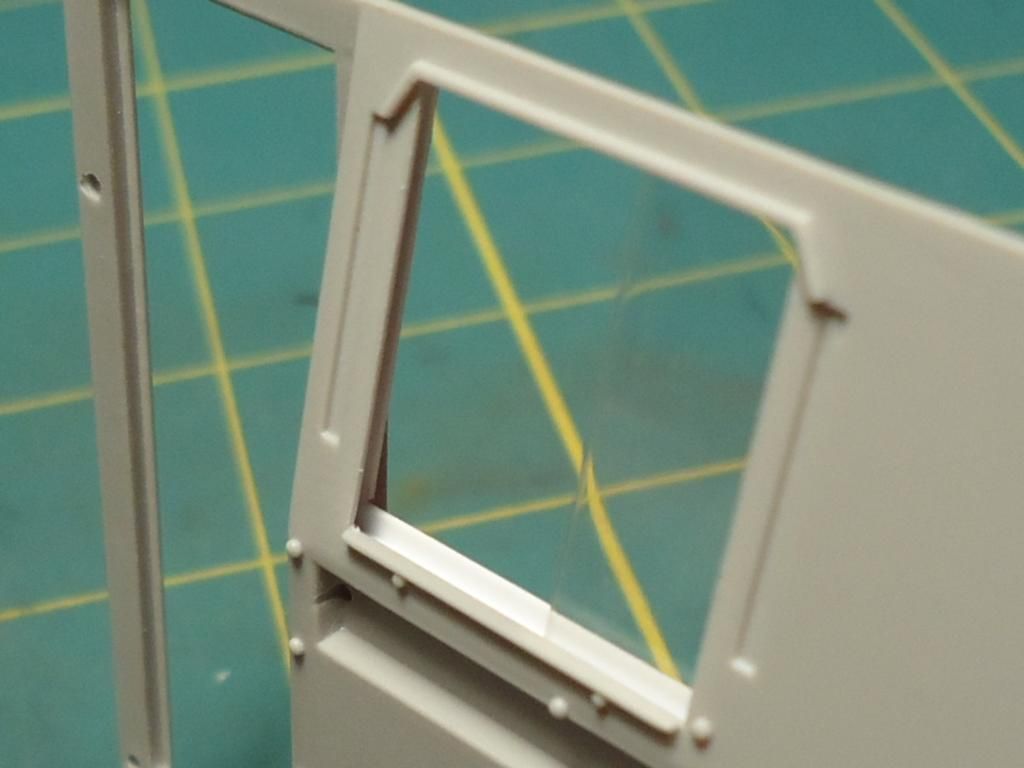
Left window

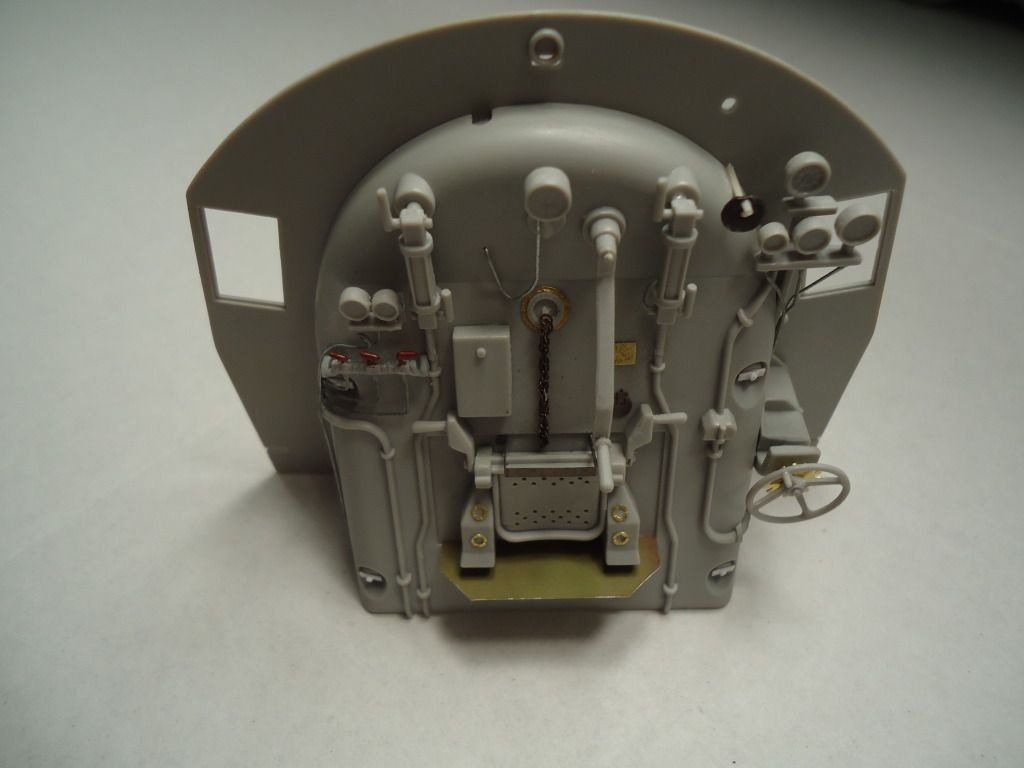
And last few pictures

Hope this was not to long but remember if anyone builds this kit, be careful with how that firewall joins together!

Until next time [B]

Sorry to hear about the mishap Rob but you’ve fixed it and done such a good job that no one will ever know the difference! Love the coal dust/debris detail around the fire box, nice touch. [Y]

Thanks Bill ! It was a relieve that the fix went well, that"s for sure. Good to hear you like the coal debris, was looking for something a little bit extra and thought that would do it.

Presently typing with one hand and holding the boiler tube long enough for it to dry enough to set down. Have given it a coat of flat black for a base primer, should of thought enough in advance to make some-kind of jig to set it on for drying.

Next will be to spray same flat black base on the frame, set both aside a let dry. While these are drying may start working on the tender again. Had given it it’s base coat a few days ago and it is ready to start painting.