On the Pz II-C the wiring is pretty straightforward. See line diagram below from Achtung Panzer #7 which is posted for discussion purposes only. A conduit runs into the hull right next to the fender and allows separate wiring to go to the horn, Notek light, and regular headlight on the left hand side. On the right, it’s the same conduit but with only the one wire for the regular headlight. Hope this helps! [B]
T-REX - How is your Somua coming along? Had been waiting to see another built up. Looks like you have a good start on her. Think they are cool subjects and look forward to seeing more of yours[Y]
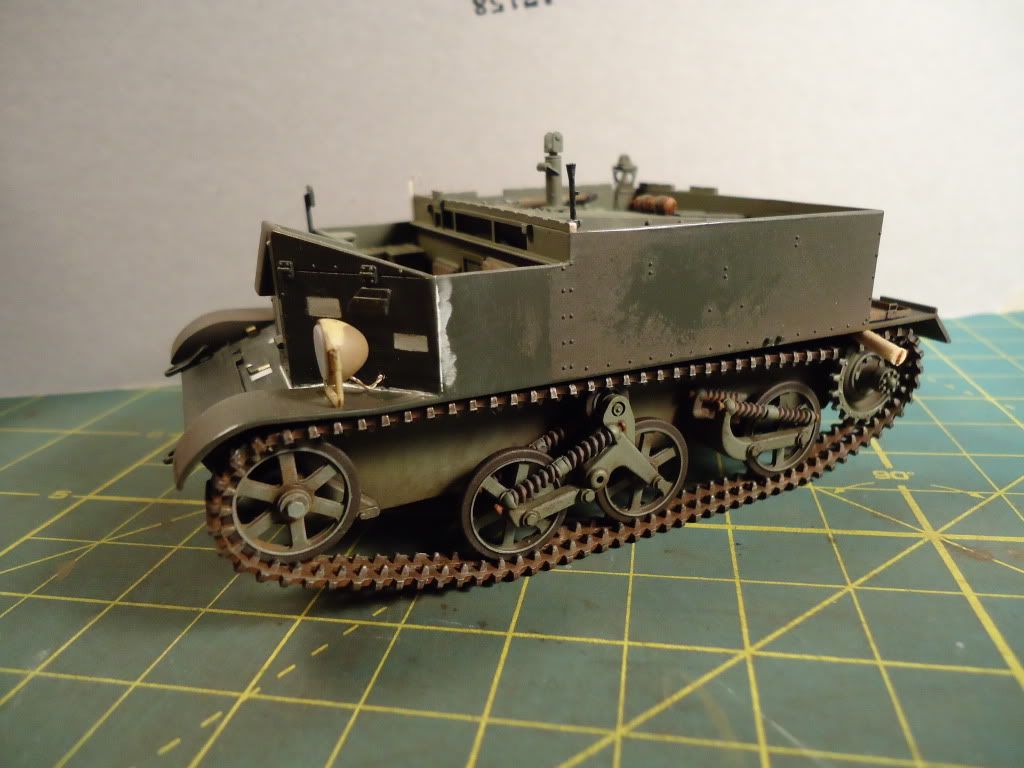
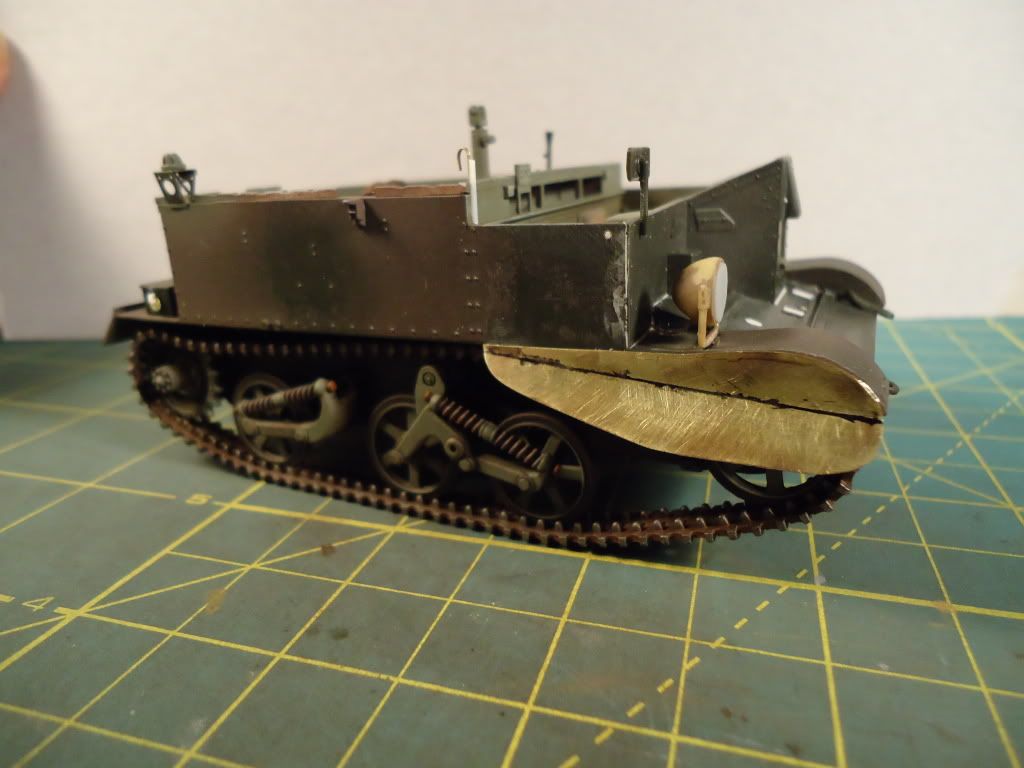
OK guys, connected the tracks together last night and let sit all night to dry. Today installed them onto the Carrier. Used a bit of glue on the sprocket in hopes of getting a little sag. Not sure if it will hold but will let sit for the rest of the day and see what happens. Wanted to try to get a little sag on the rear portion and not to worried with the front. The front will be covered with the skirts.
Thanks for the pic Wbill,was just what I needed,and someone else by the looks of it.Well its off to work,believe its raining in northwestern Mn. in the middle of Dec.,whats next.
BILL212 - Looks like the track sag stayed in. It’s not a lot of sag but at least it is not straight and hugging the bottom of the fender any more so I’m happy with it.
CARL - Happy to hear you approve of the tracks. They were the biggest concern with this build. I’m not much for buying AM products, like to try to make them myself, except for tracks when dealing with rubber band style. The one thing that always comes to mind for me when thinking of an armored vehicle is tracks. So I always like to think I have the best looking tracks as possible. Thats what makes an armored vehicle for me. I think they do look pretty good.
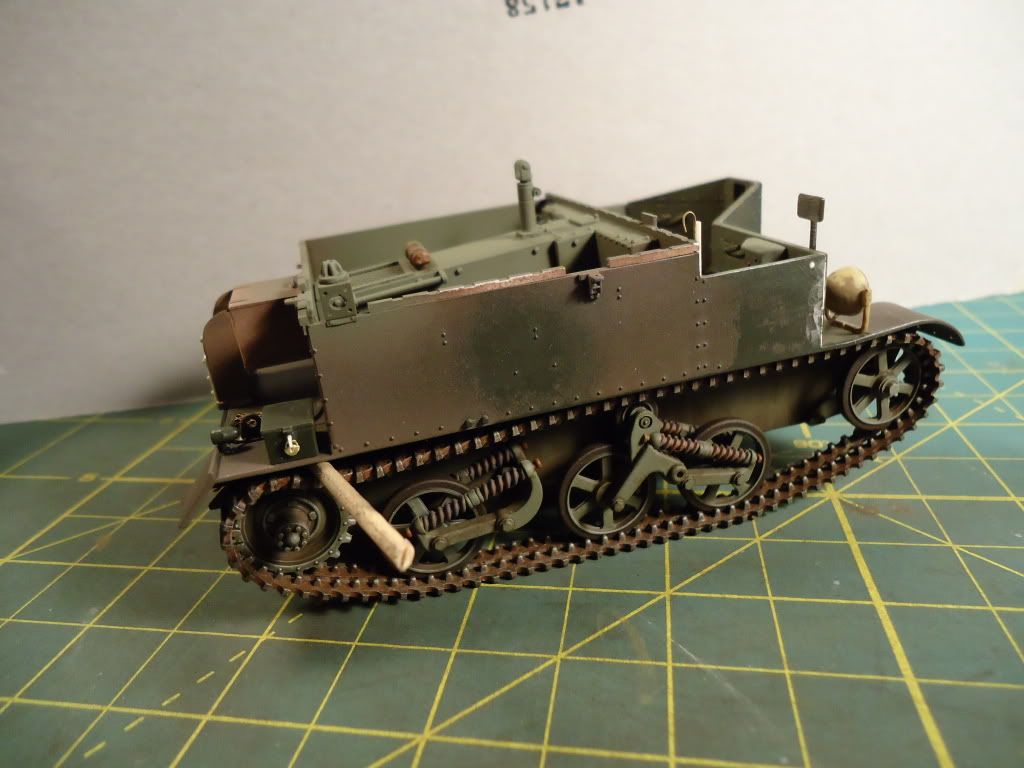
Updates seem to have been slow on this one. Much of that was due to dry time with the suspension / running gear. With this done now hope things will speed back up. Fenders attached. Will allow a little dry time for them (used a lot of CA) then sand the seam.
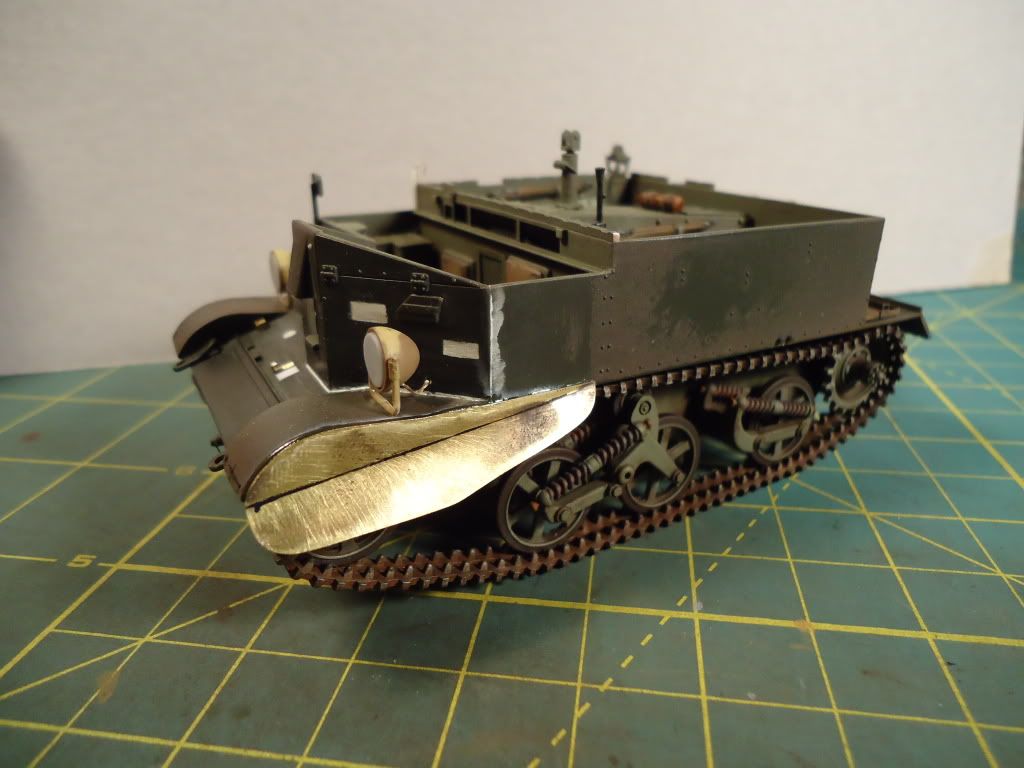
Here you can now see the angle in the skirts
One oversight, had originally planed on having the skirts on before the headlights. Will now have to be careful when sanding the seam.
your build is looking terrific… I just love all the detail and scratched extras…I am over worked and under paid … haven’t been to the bench in a while and this weekend I go away to Ma. for holiday visiting so again no benchtime…
Rob , i agree , the look of the tracks is very important . I can see why guys buy the Fruils . But i dont , because i’m cheap . Its a challenge getting those ribber band tracks to look good , you did it [Y] Those fenders look like they have a dark material where the seam is …how did you join the two parts of the fenders together ?
Well disaster struck me. I was putting on my pin wash and then was adding a pigment wash to the lower half, when kaboom. First the tracks broke at the weakest connection. These tracks are very tiny and I had trouble getting them to glue to one another. So…in my attempt to reattach them, they were slightly short. I of course squeezed them tight and in turn broke off both return rollers, the idler, a fender, tools, etc. Pieces were flying off. I was [cnsod]
I might try to glue an extra link in there to see if I can get a little extra space.
After my pigment wash, I’m not even happy with it. So all this for nothing. [:@]
TREAD - I guess the only way around that is to reverse the thought, just tell yourself…I am over paid and under worked [;)] Good that you can take some time off, have a relaxing fun time in MA [B]
BILL & BILL - Thanks and very happy to hear you like [:D]
CARL - I’m pretty cheap also. I’ve only had two sets of Friuls. I usually buy kits with indi tracks to solve the problem.
The fender is one piece. The line you see is permanent marker and was used for my bending guide line.
ERIC - OH NOOooo…At least you have some extra links to fix her. I was really liken what you had done so I hope you get her patched up with no further problems.
Eric: ACK! Sorry to hear that, I hate it when you’re almost done and krap like that happens. I’m not sure what to do about the tools but can you cover the damage to the lower hull and running gear with a thick layer of mud? Yeah it’s a cop-out but I love thick mud on tanks, you can cover all kinds of problems. [blkeye]
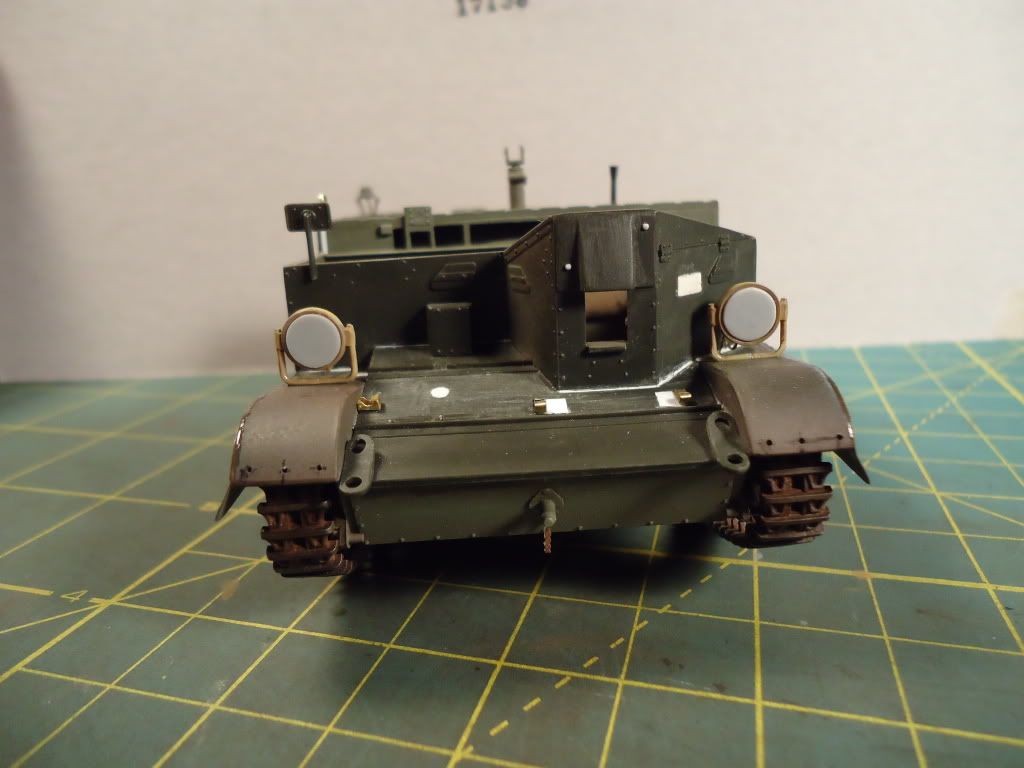
Disaster can strike at any moment Tigerman,I’m certain that you will recover,and the vehicle. Now I have a question for those who may have better refs than I. Anyone have a pic or line drawing of the panzer II’s turret interior lay-out ? The commanders hatch will be open on my build so I am certain that some items will be visible. Gurtsacks,comm switches what have you. Thanks all in advance. Well I am off to work,.