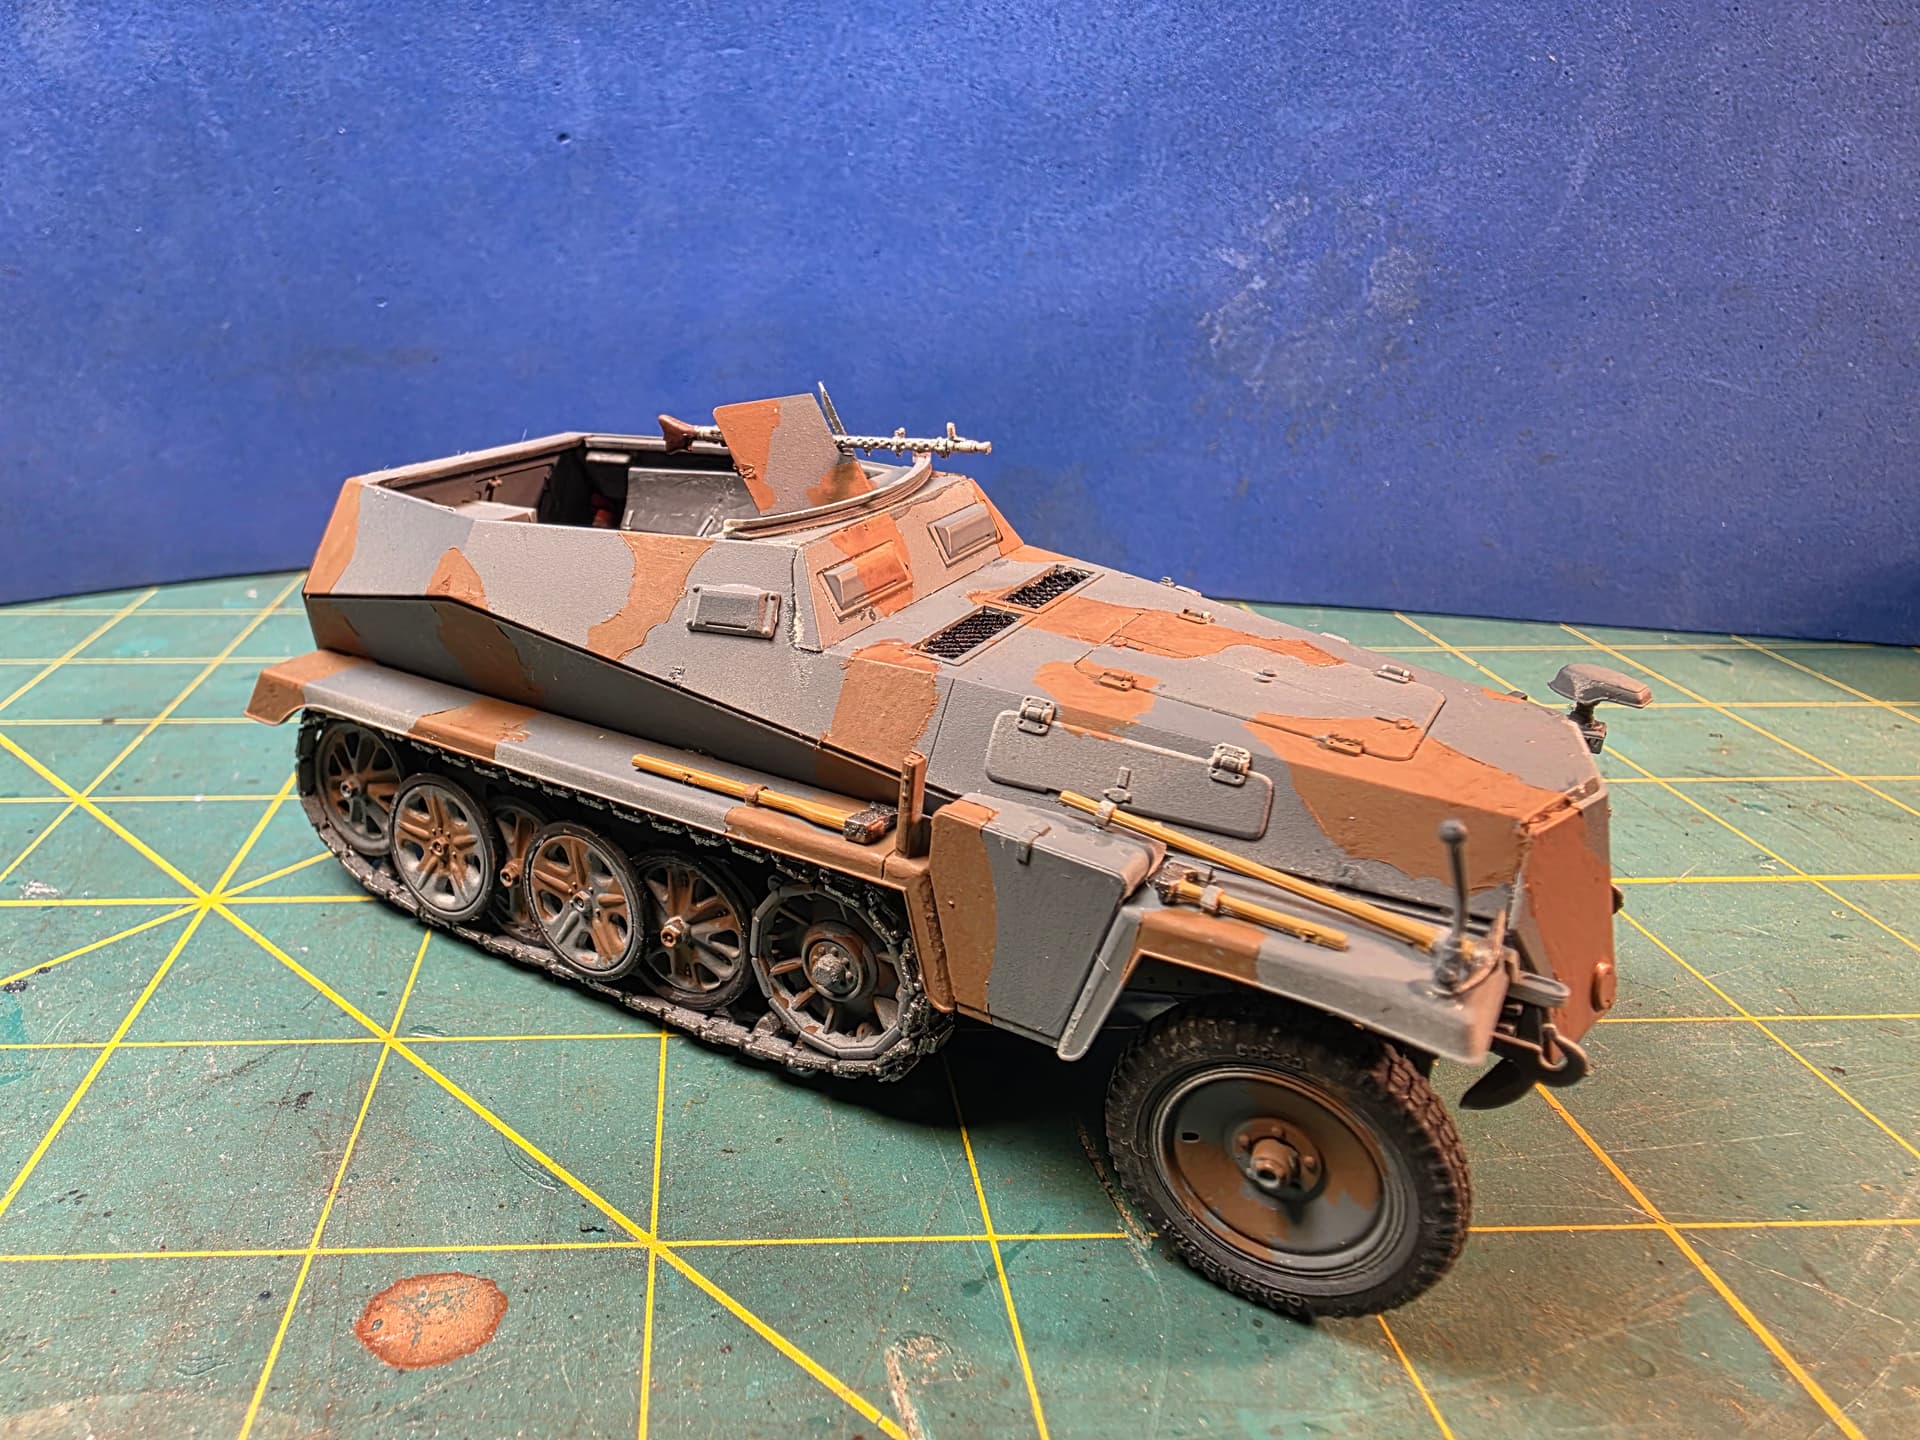
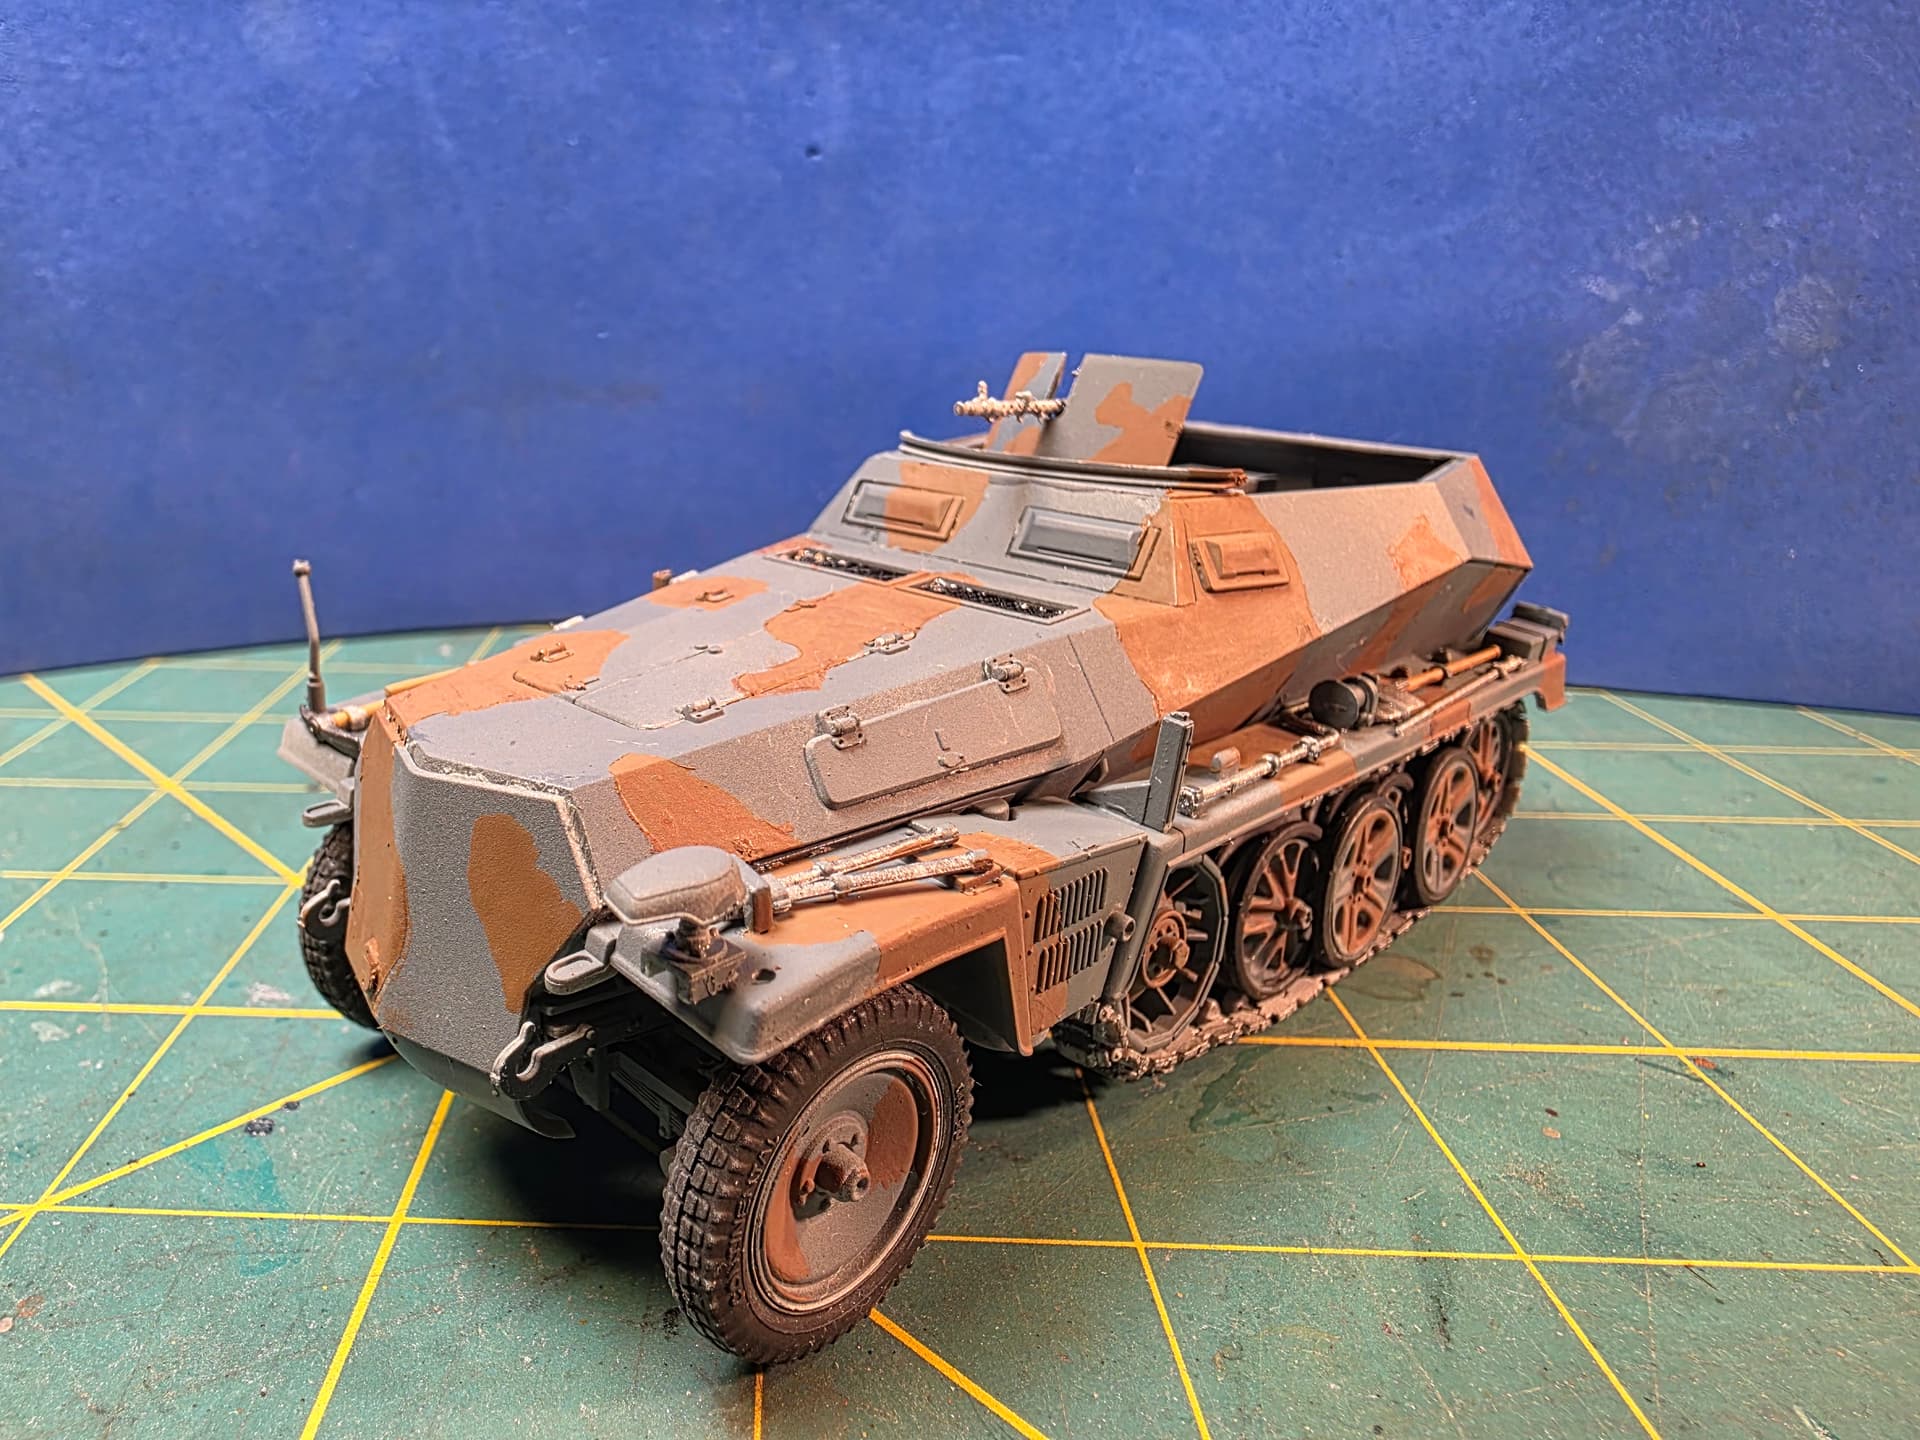
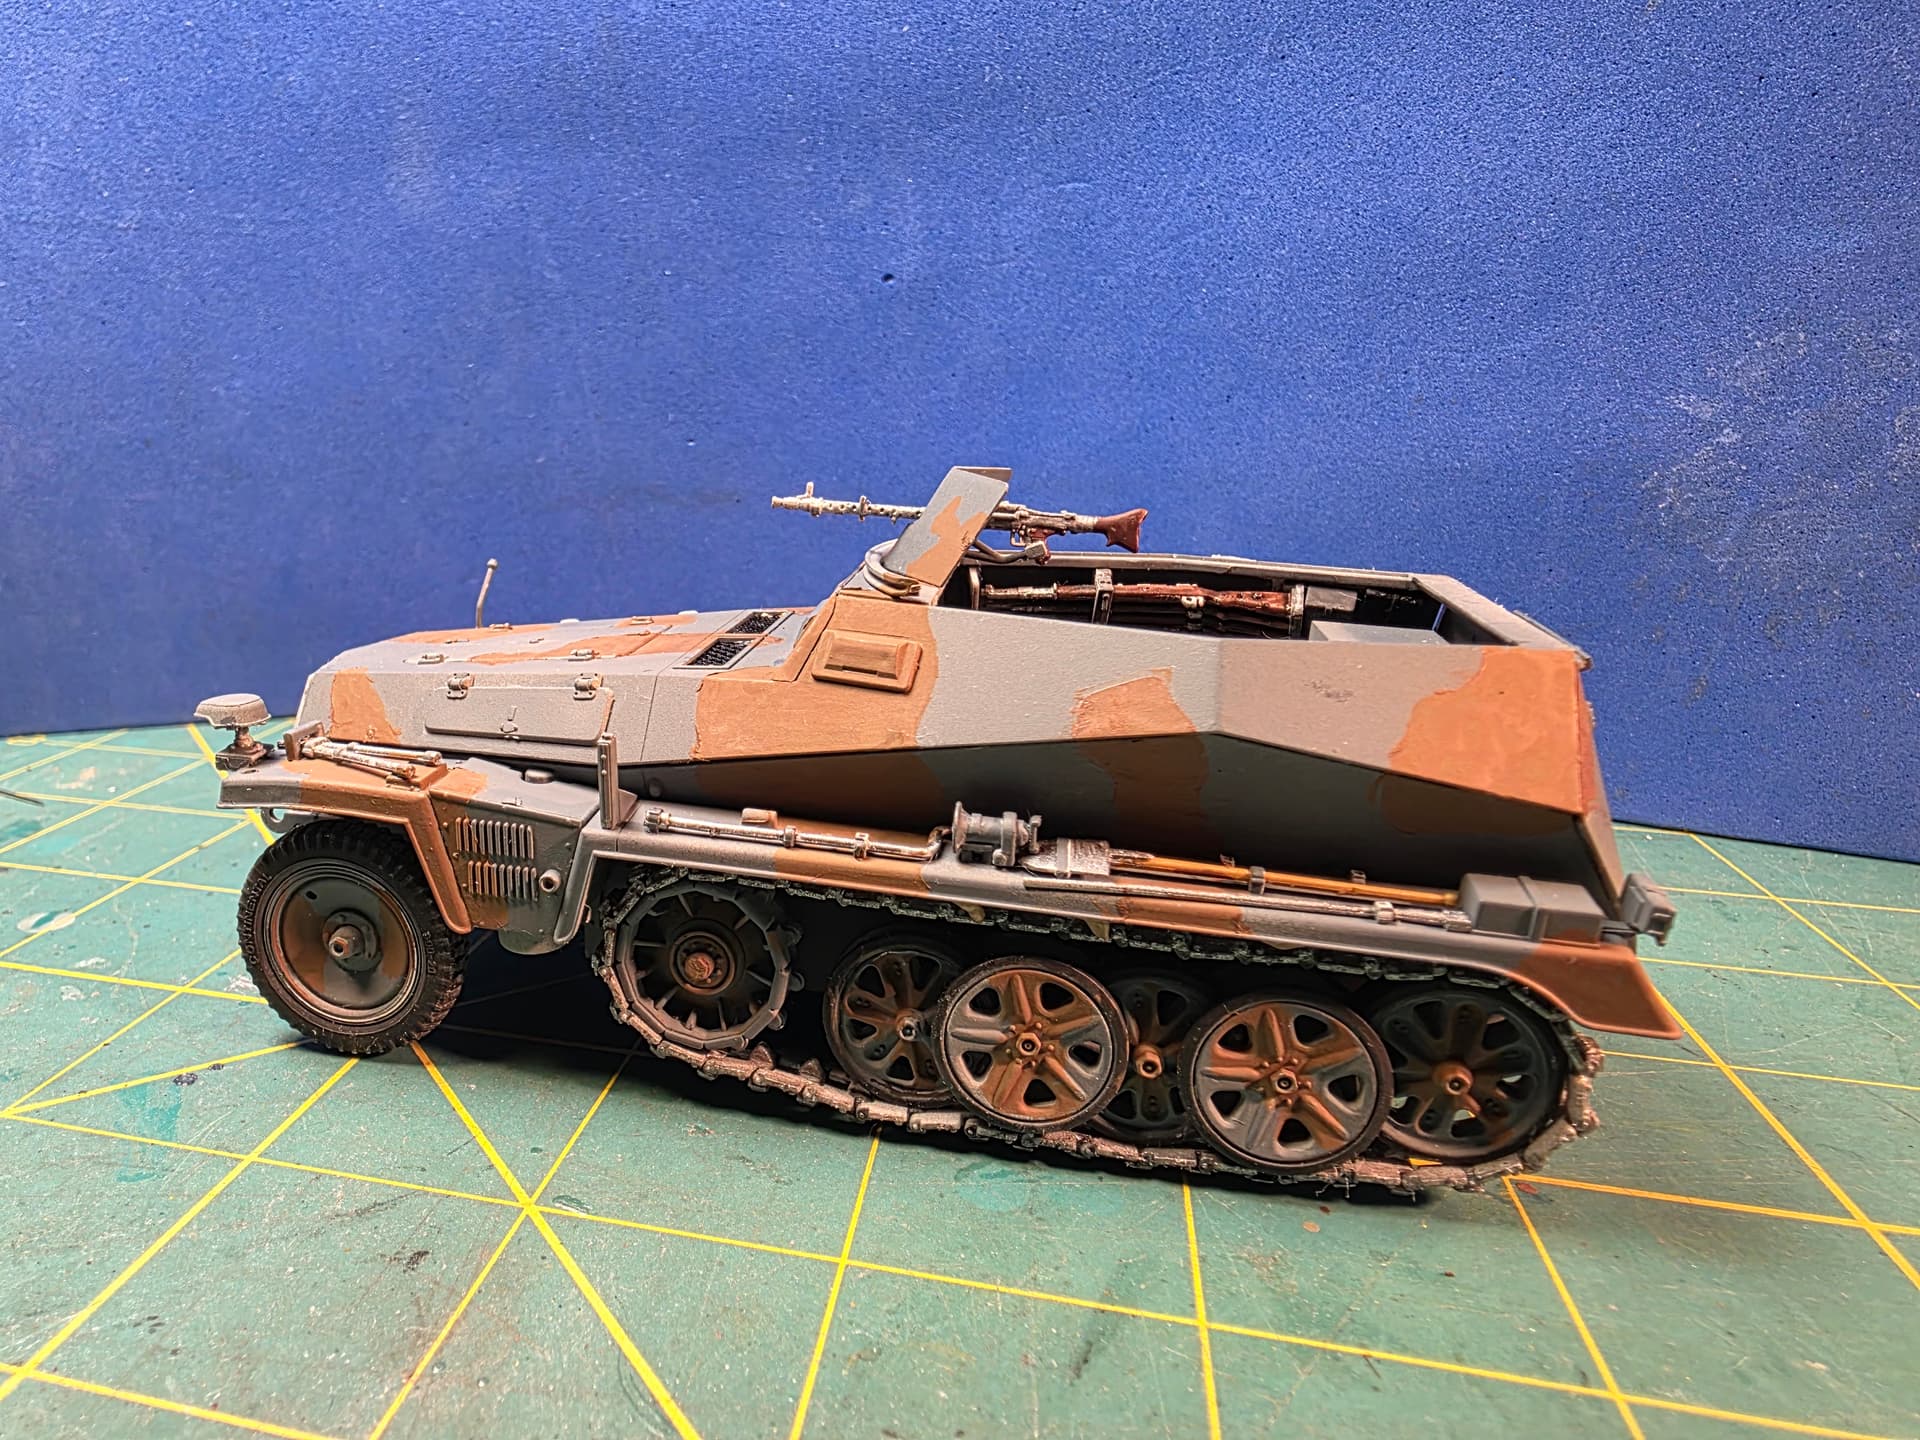
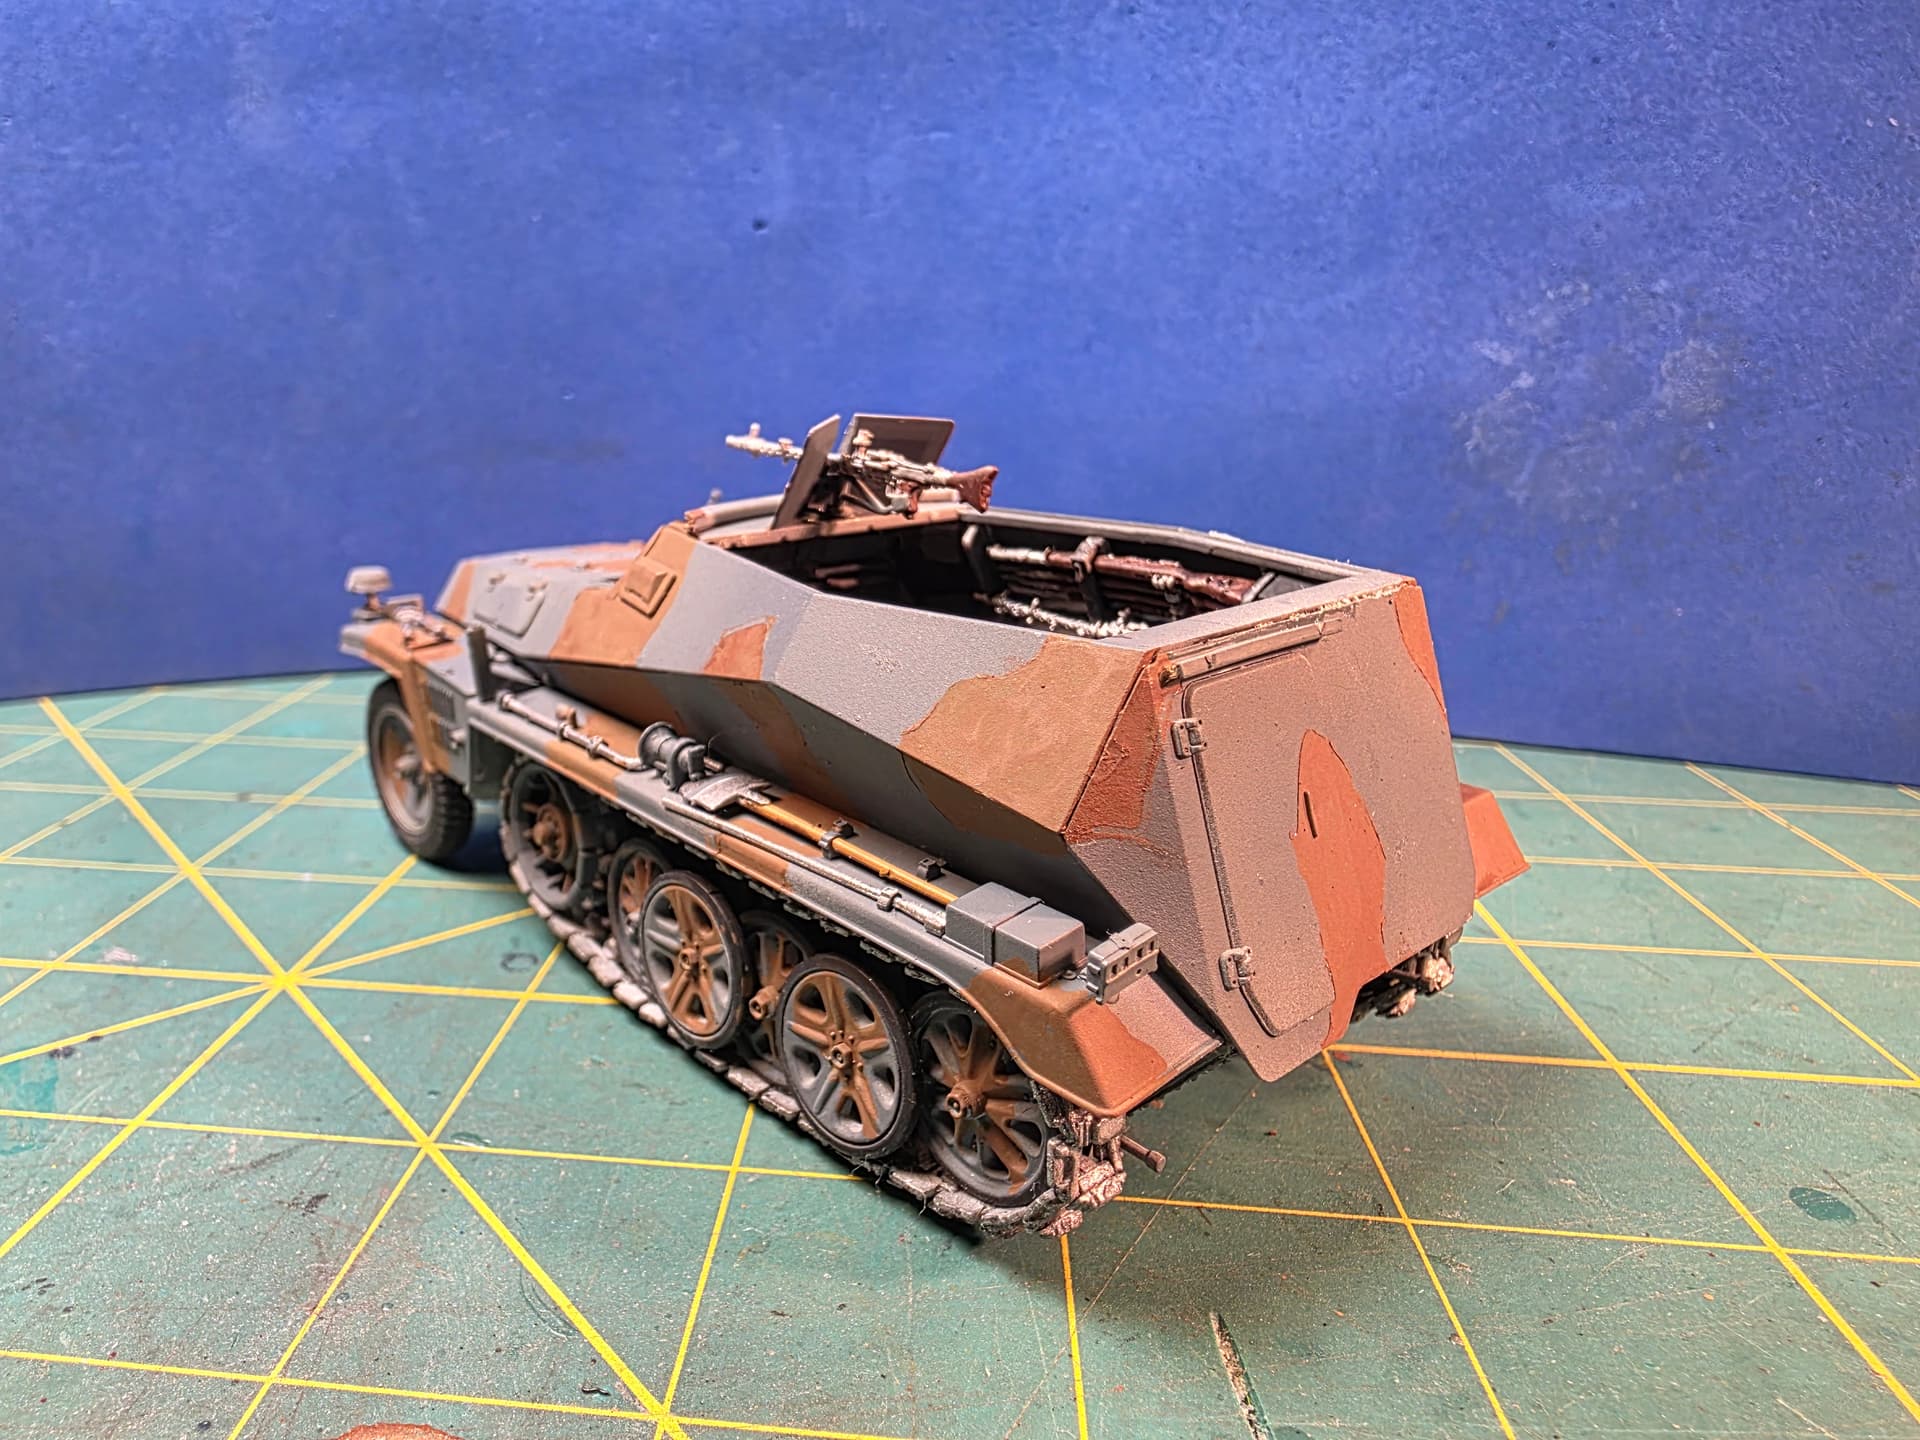
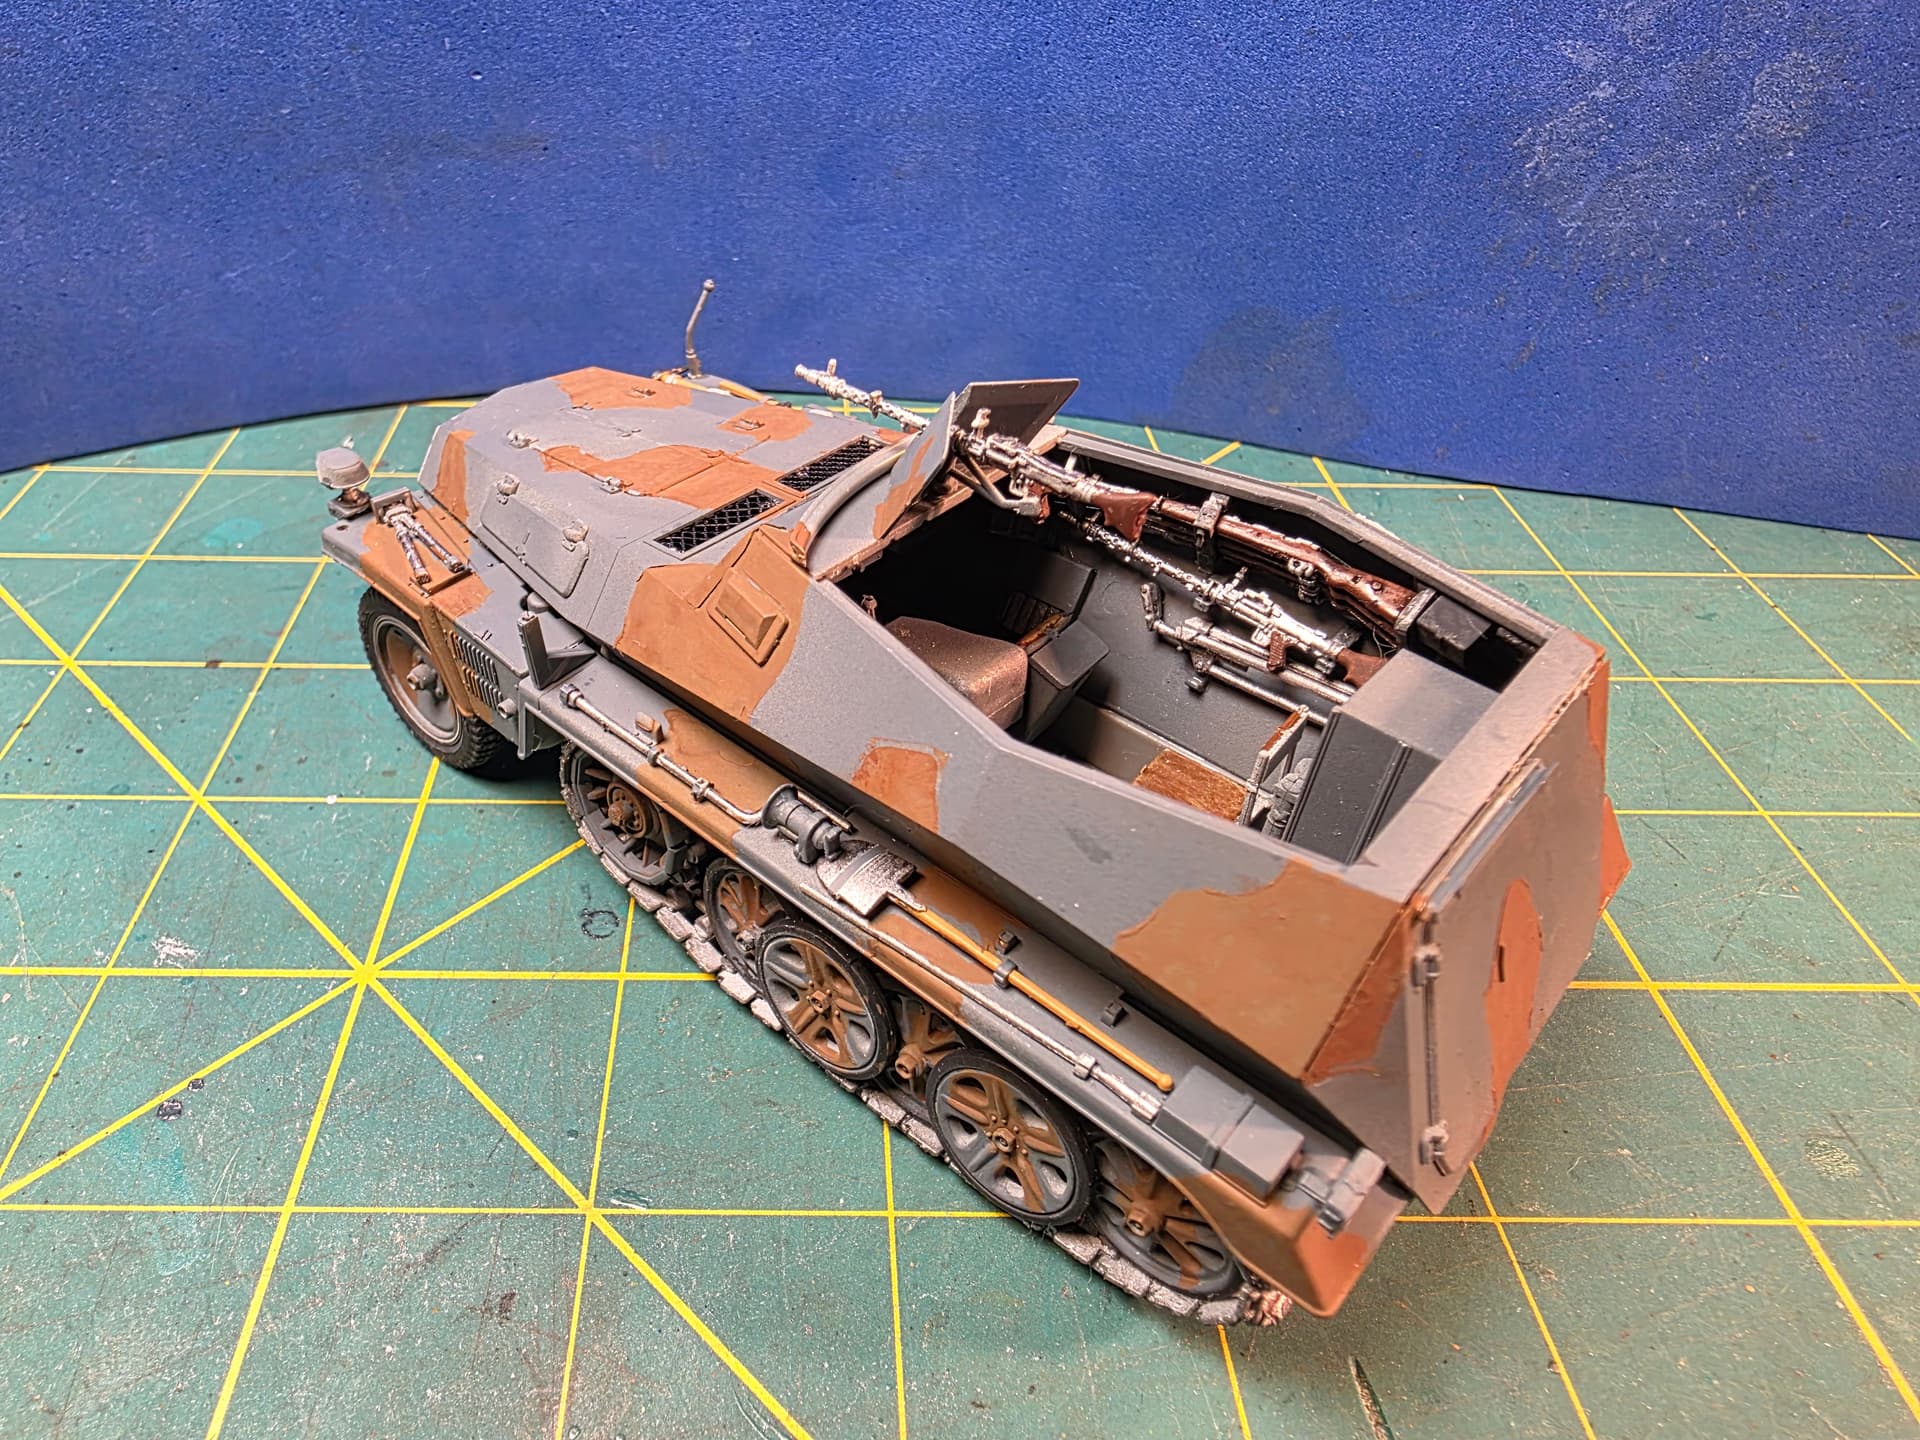
Hey everyone! I was handling some family issues and was away from the workbench, but I was back at it today. I put some equipment in the halftrack, I put the top on and painted; by hand, the camo scheme. Now onto metalizing, weathering and decals and transfers. Good to be back.
3 Likes
First of all, I’m glad to see you back at the bench. I hope everything is going okay with the family.
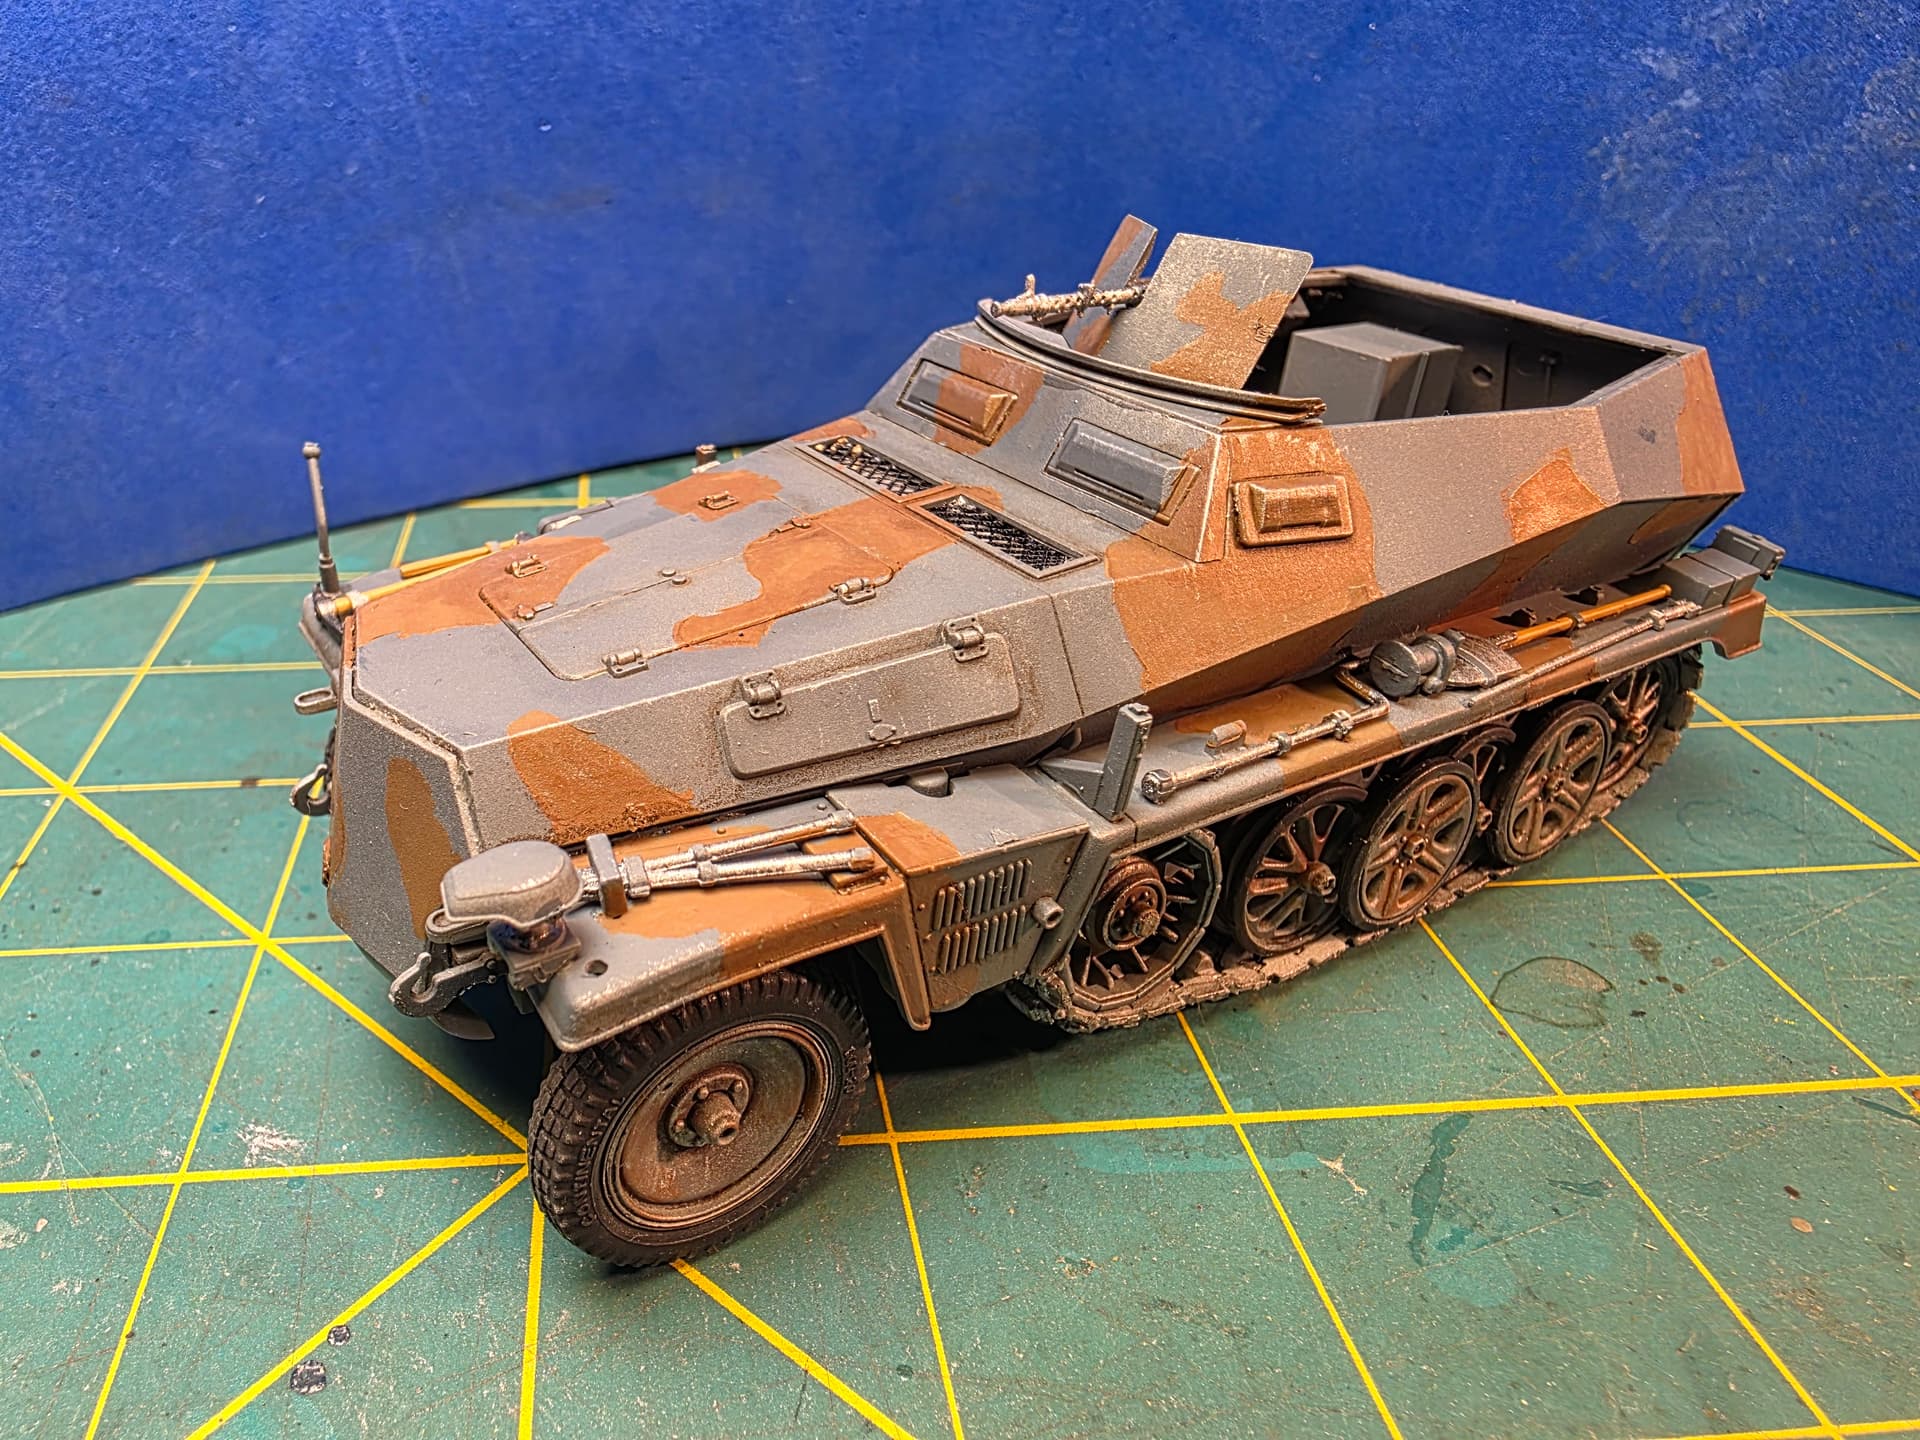
I have to ask about that camouflage. Is the brown actually that orange in person, or is some of that coming from the lighting in the photos? It’s a really unusual-looking color and it immediately caught my attention.
And you hand-painted all of that? I’m so accustomed to thinking in terms of airbrushes and masks that I’m always impressed when somebody gets a camouflage pattern like this with a brush.
I’m also looking forward to seeing what you do with the weathering. I’m still learning from you armor guys as I start venturing into vehicles and dioramas myself.
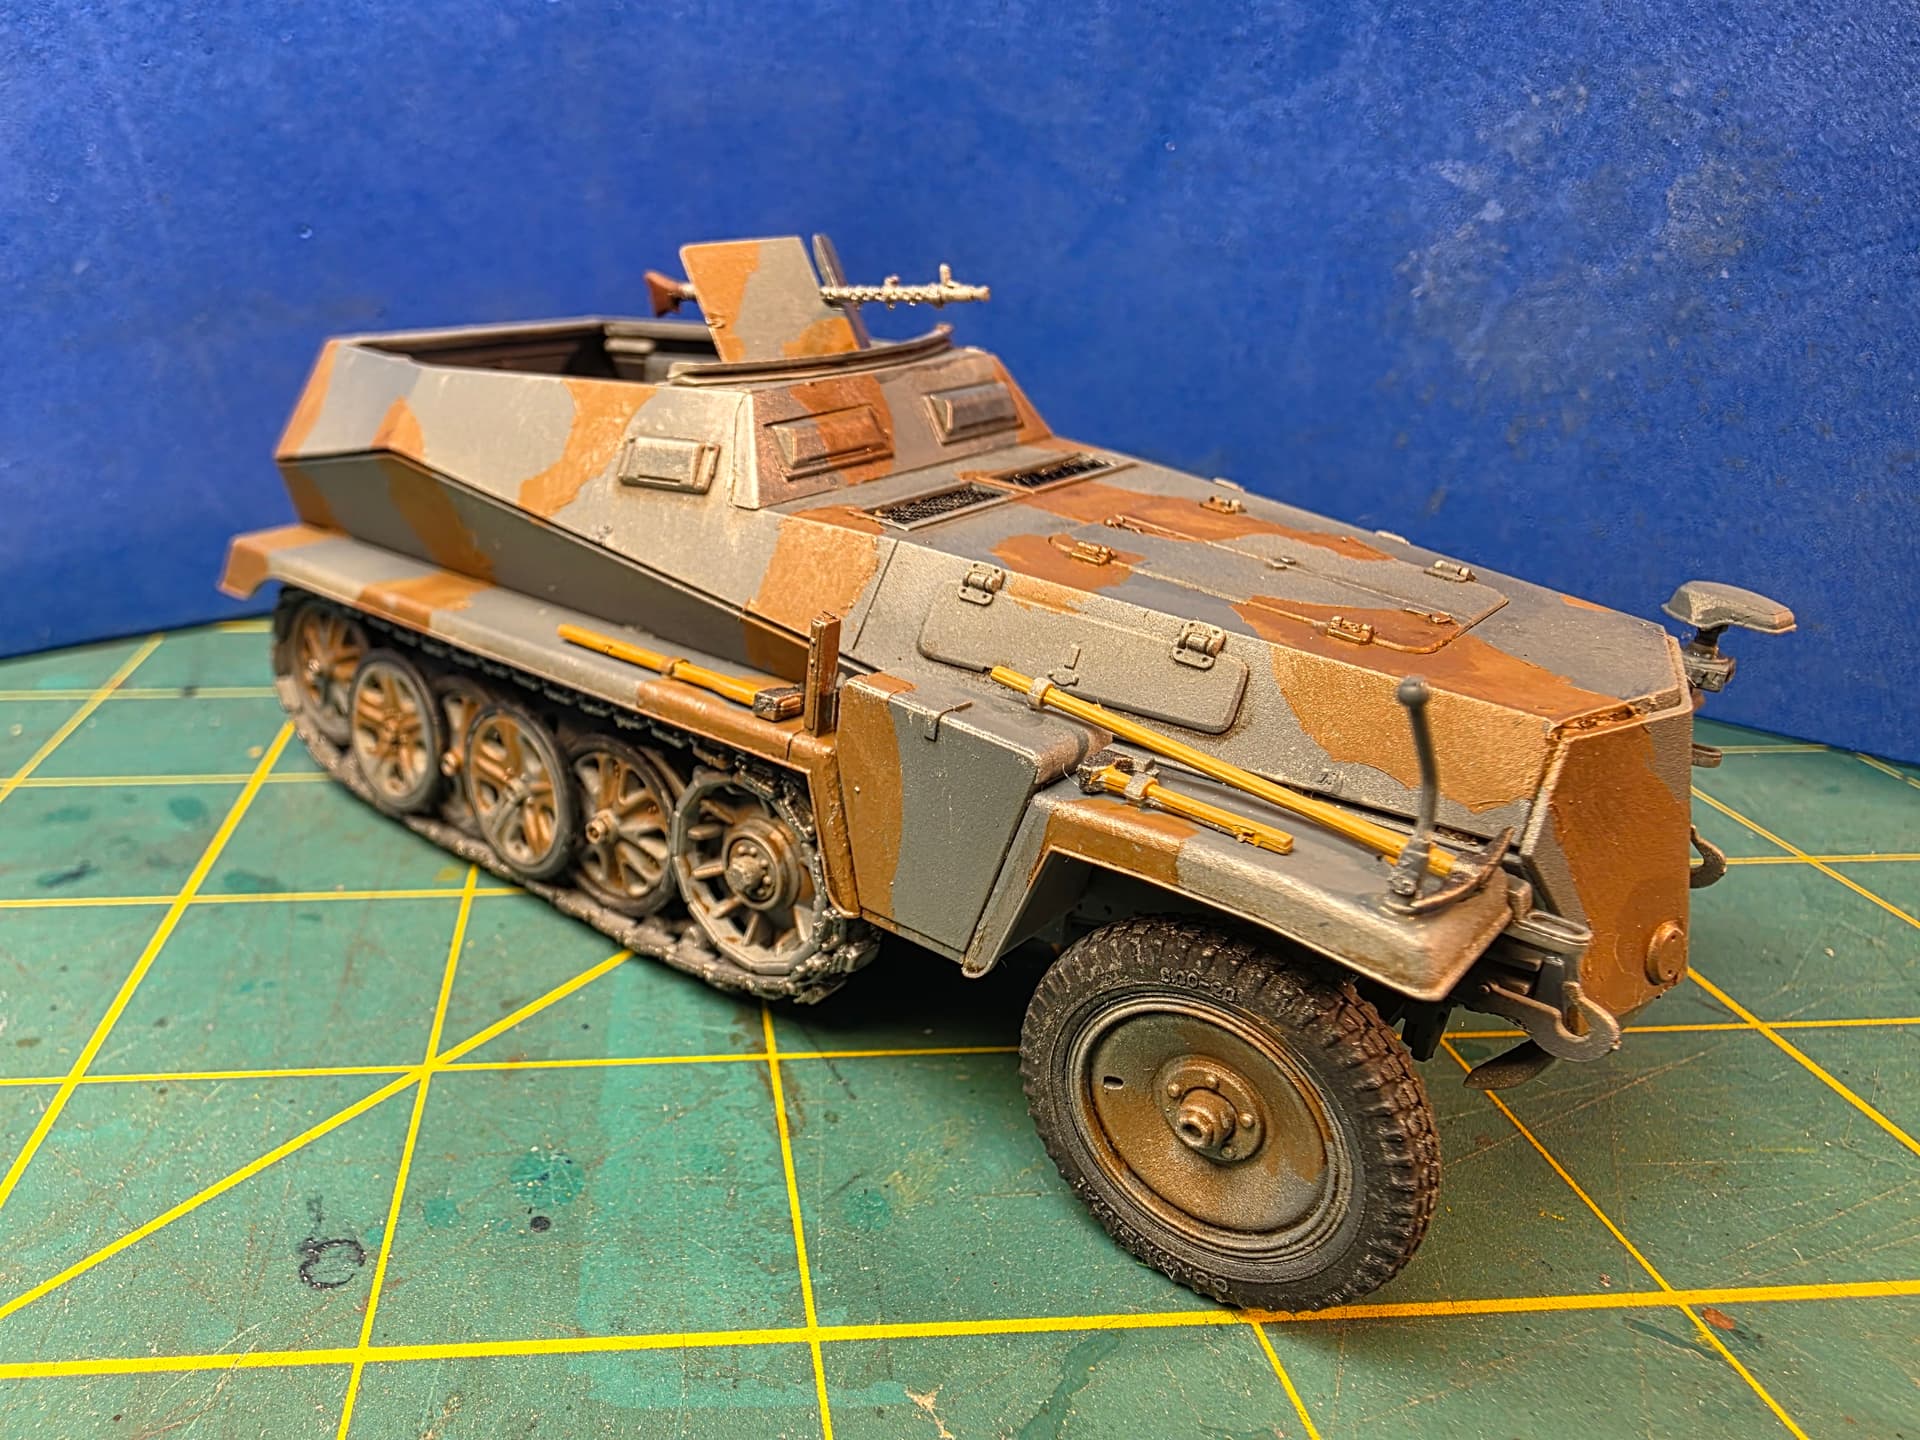
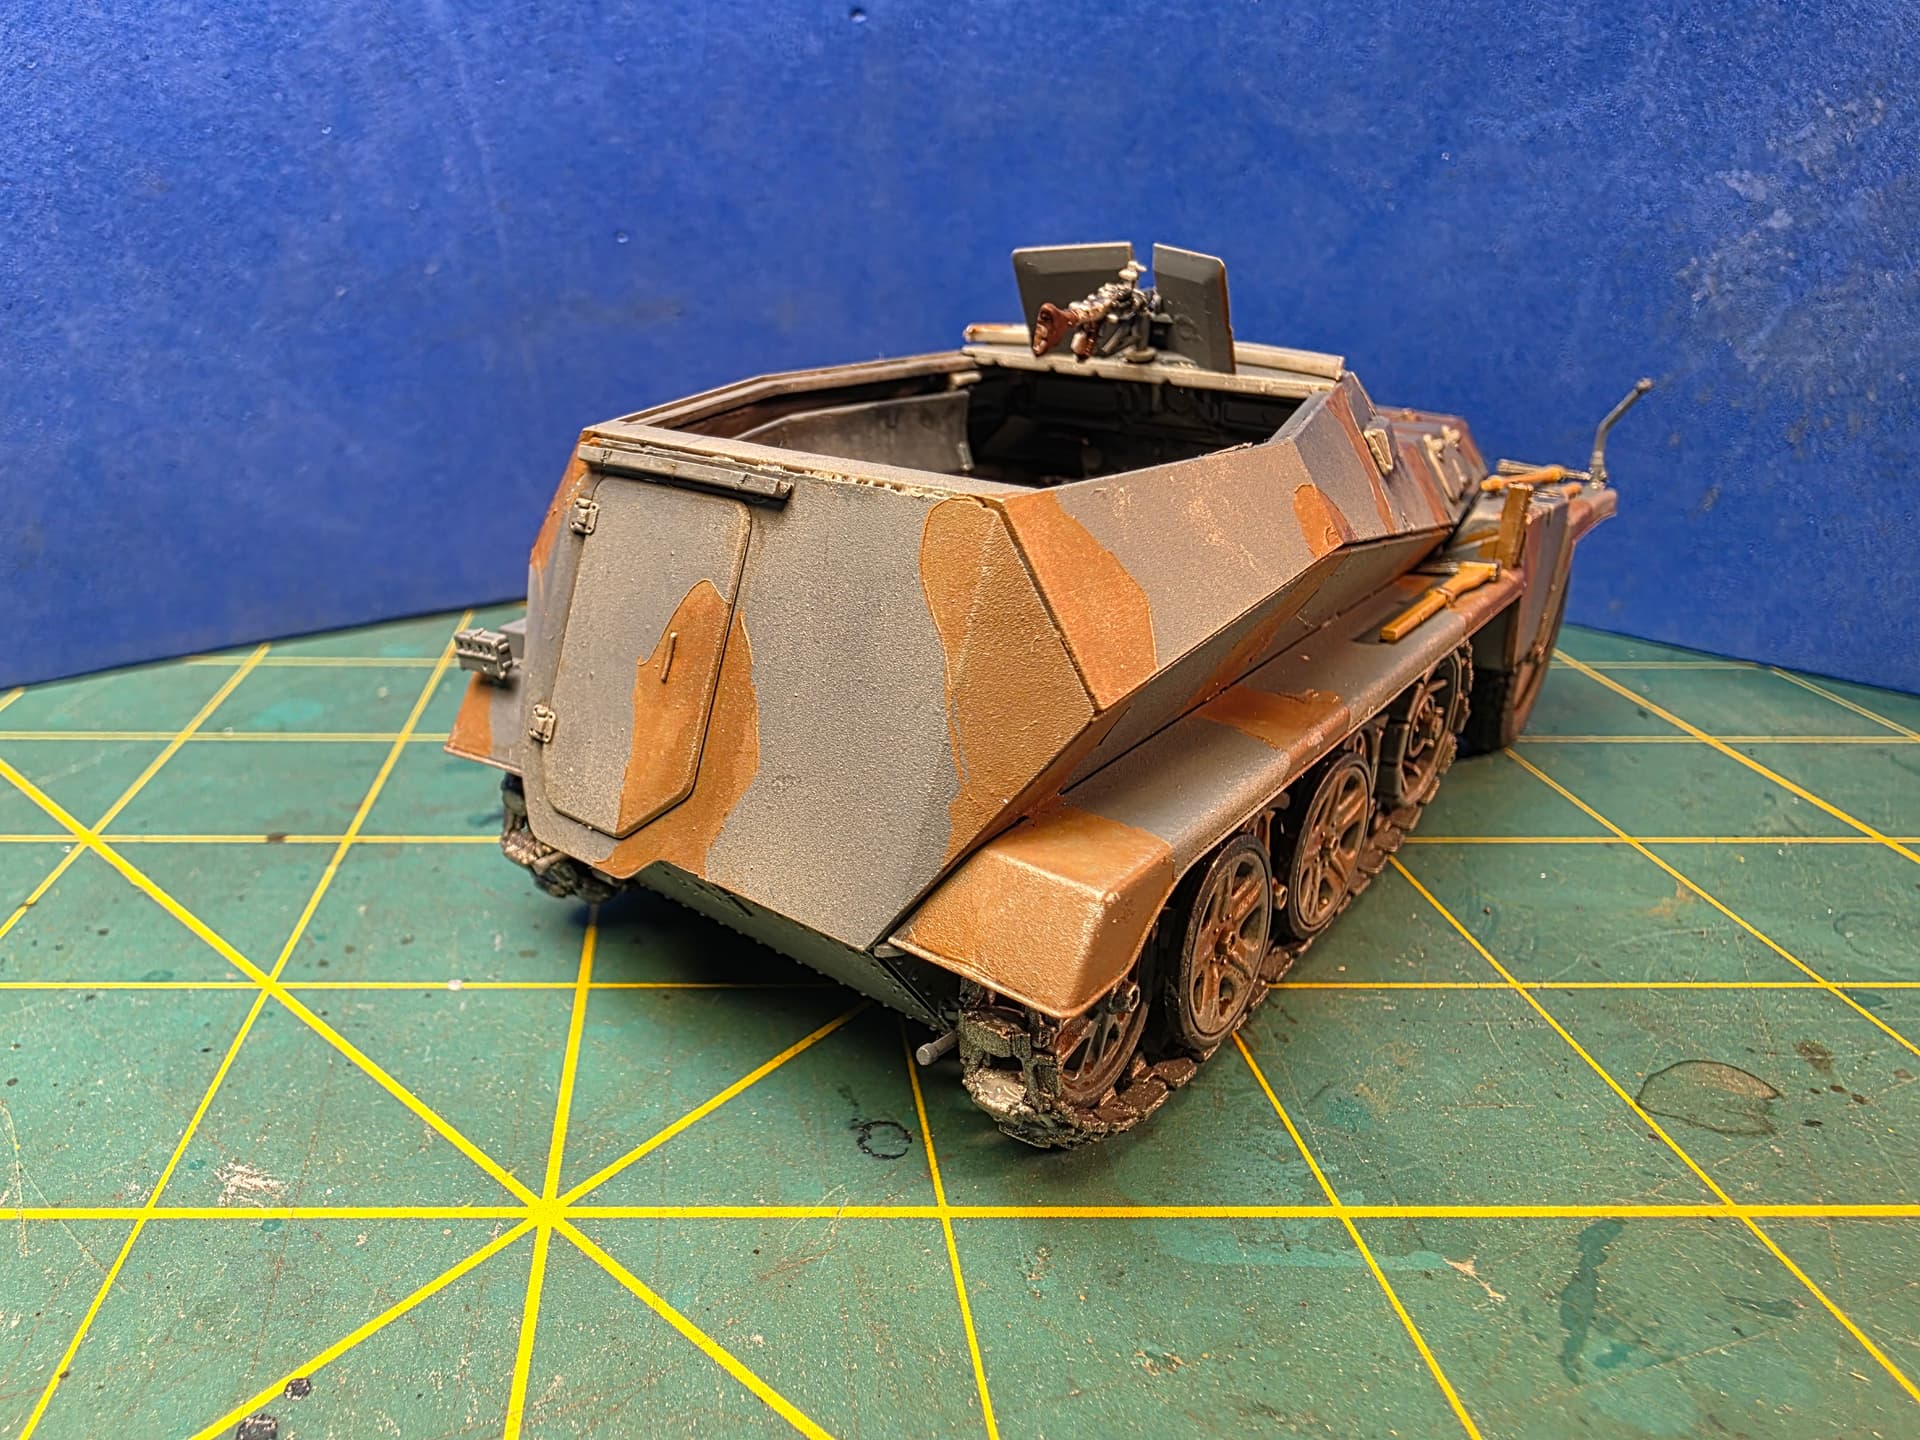
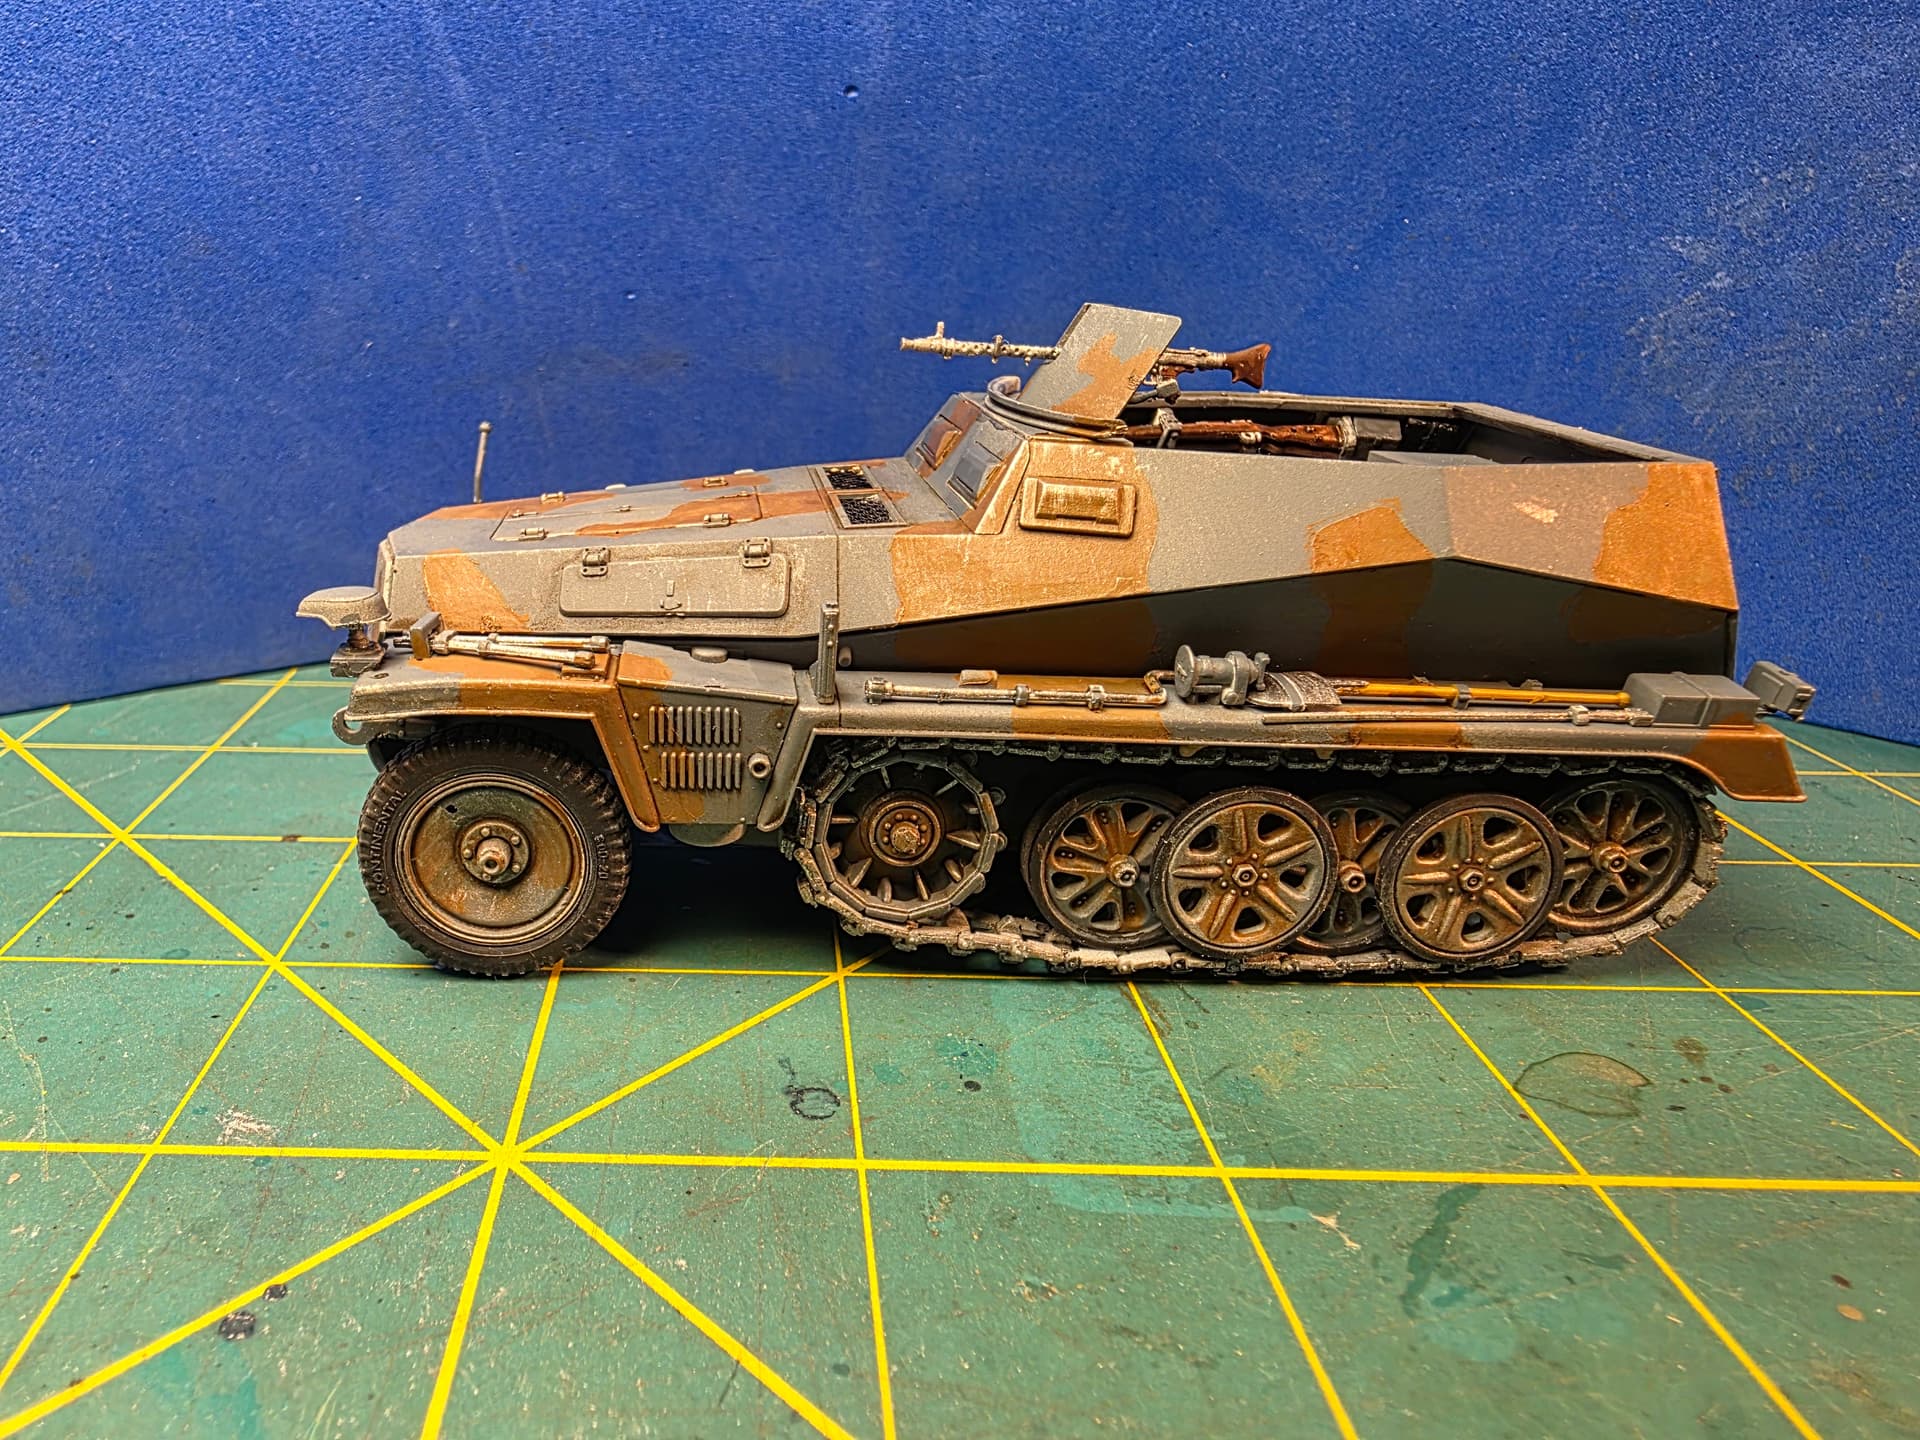
Well, I finally got to metalizing and weathering the sdkfz 250 with an oil pin wash. Hopefully the transfers and decals will be next. Enjoy the pics.
5 Likes
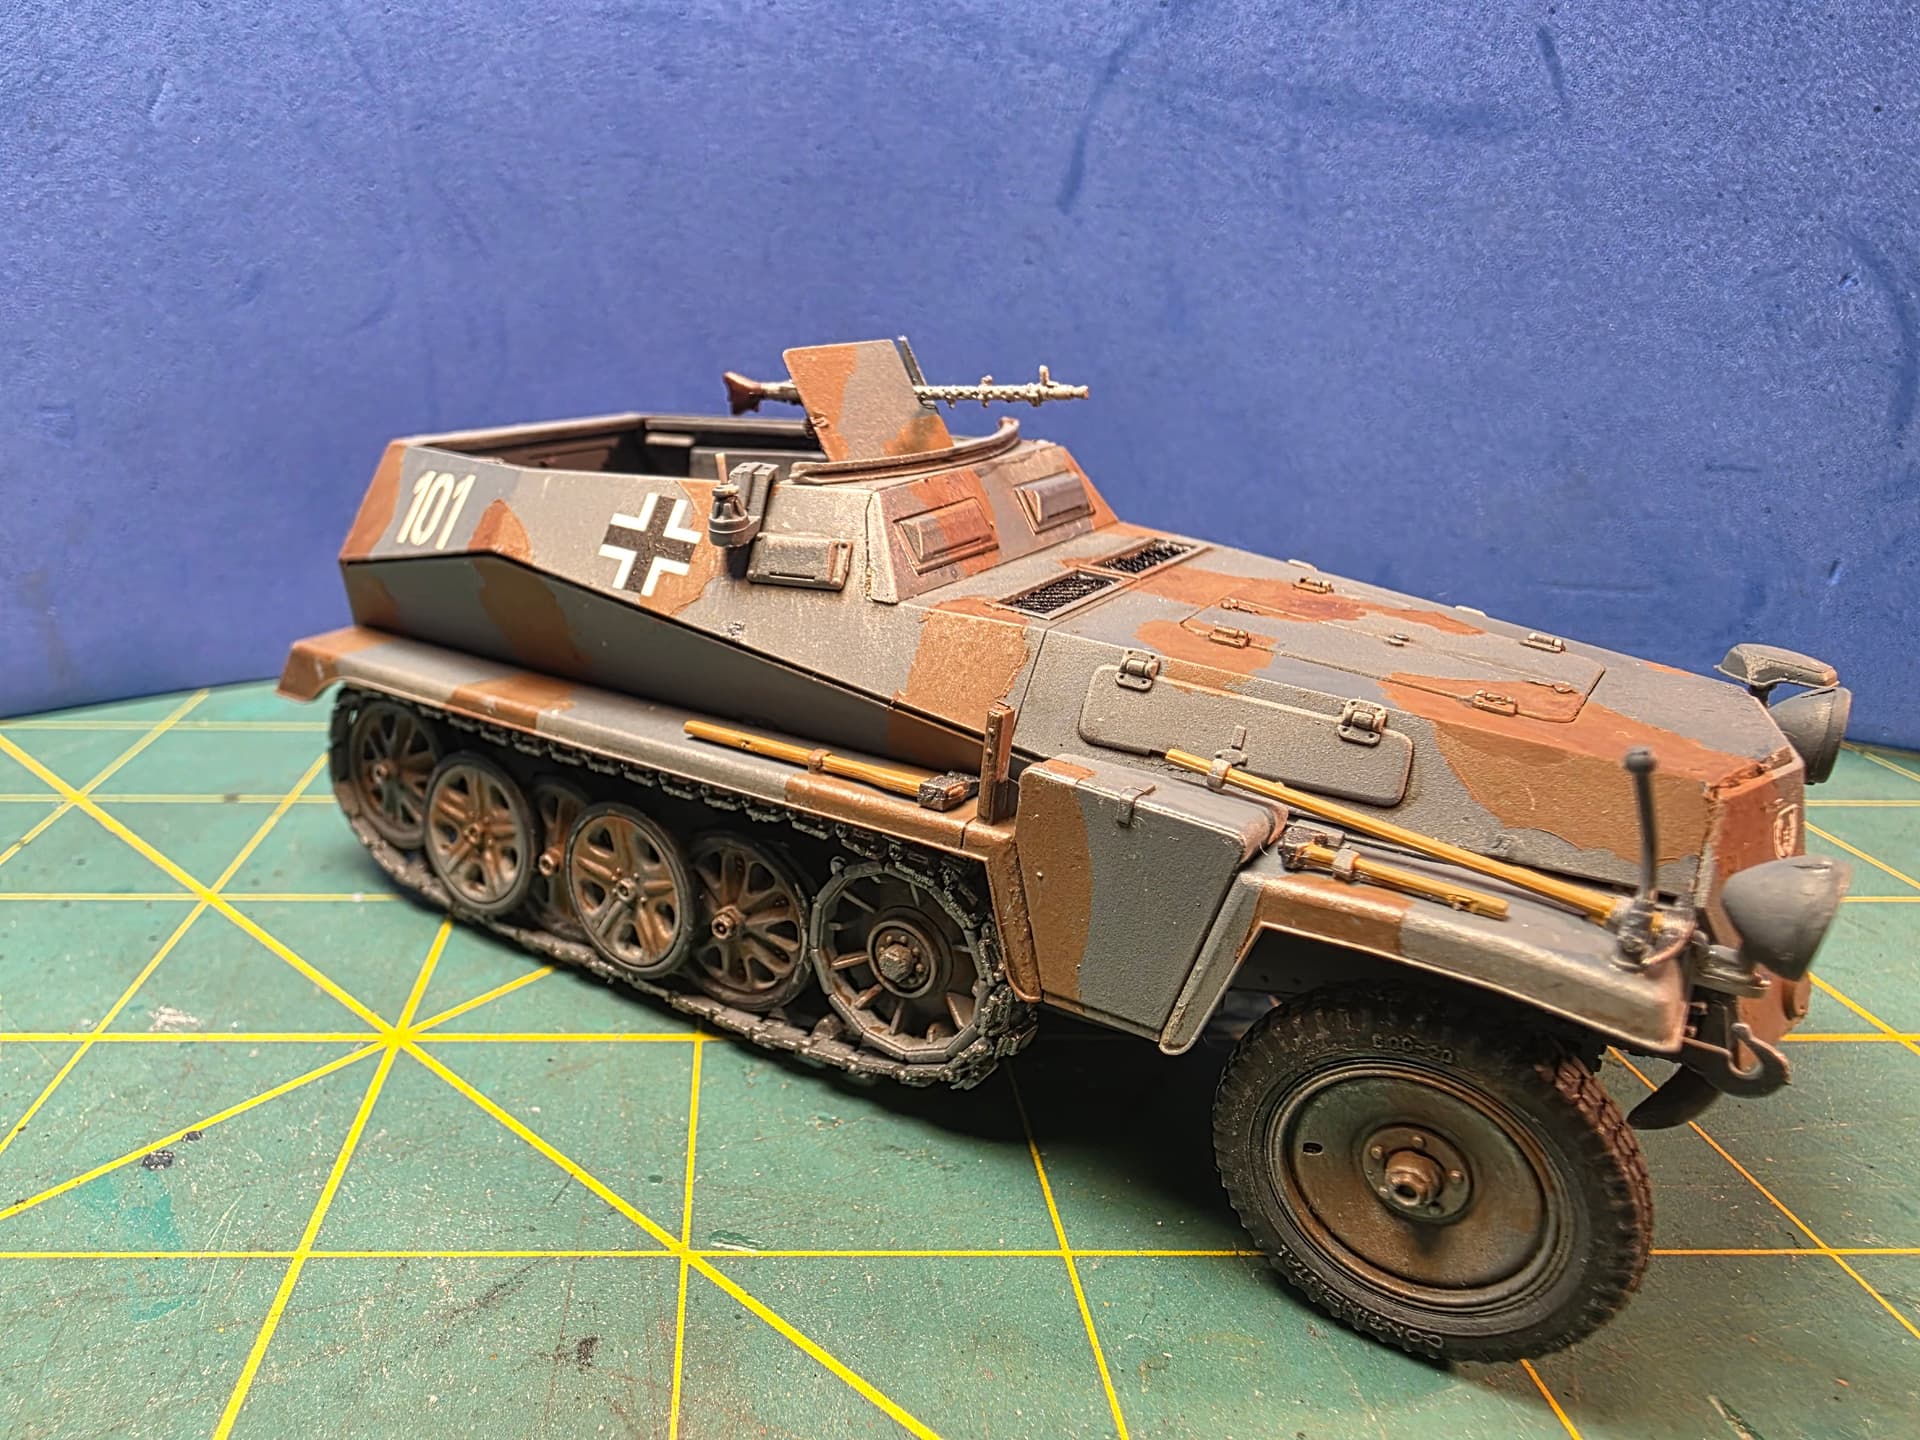
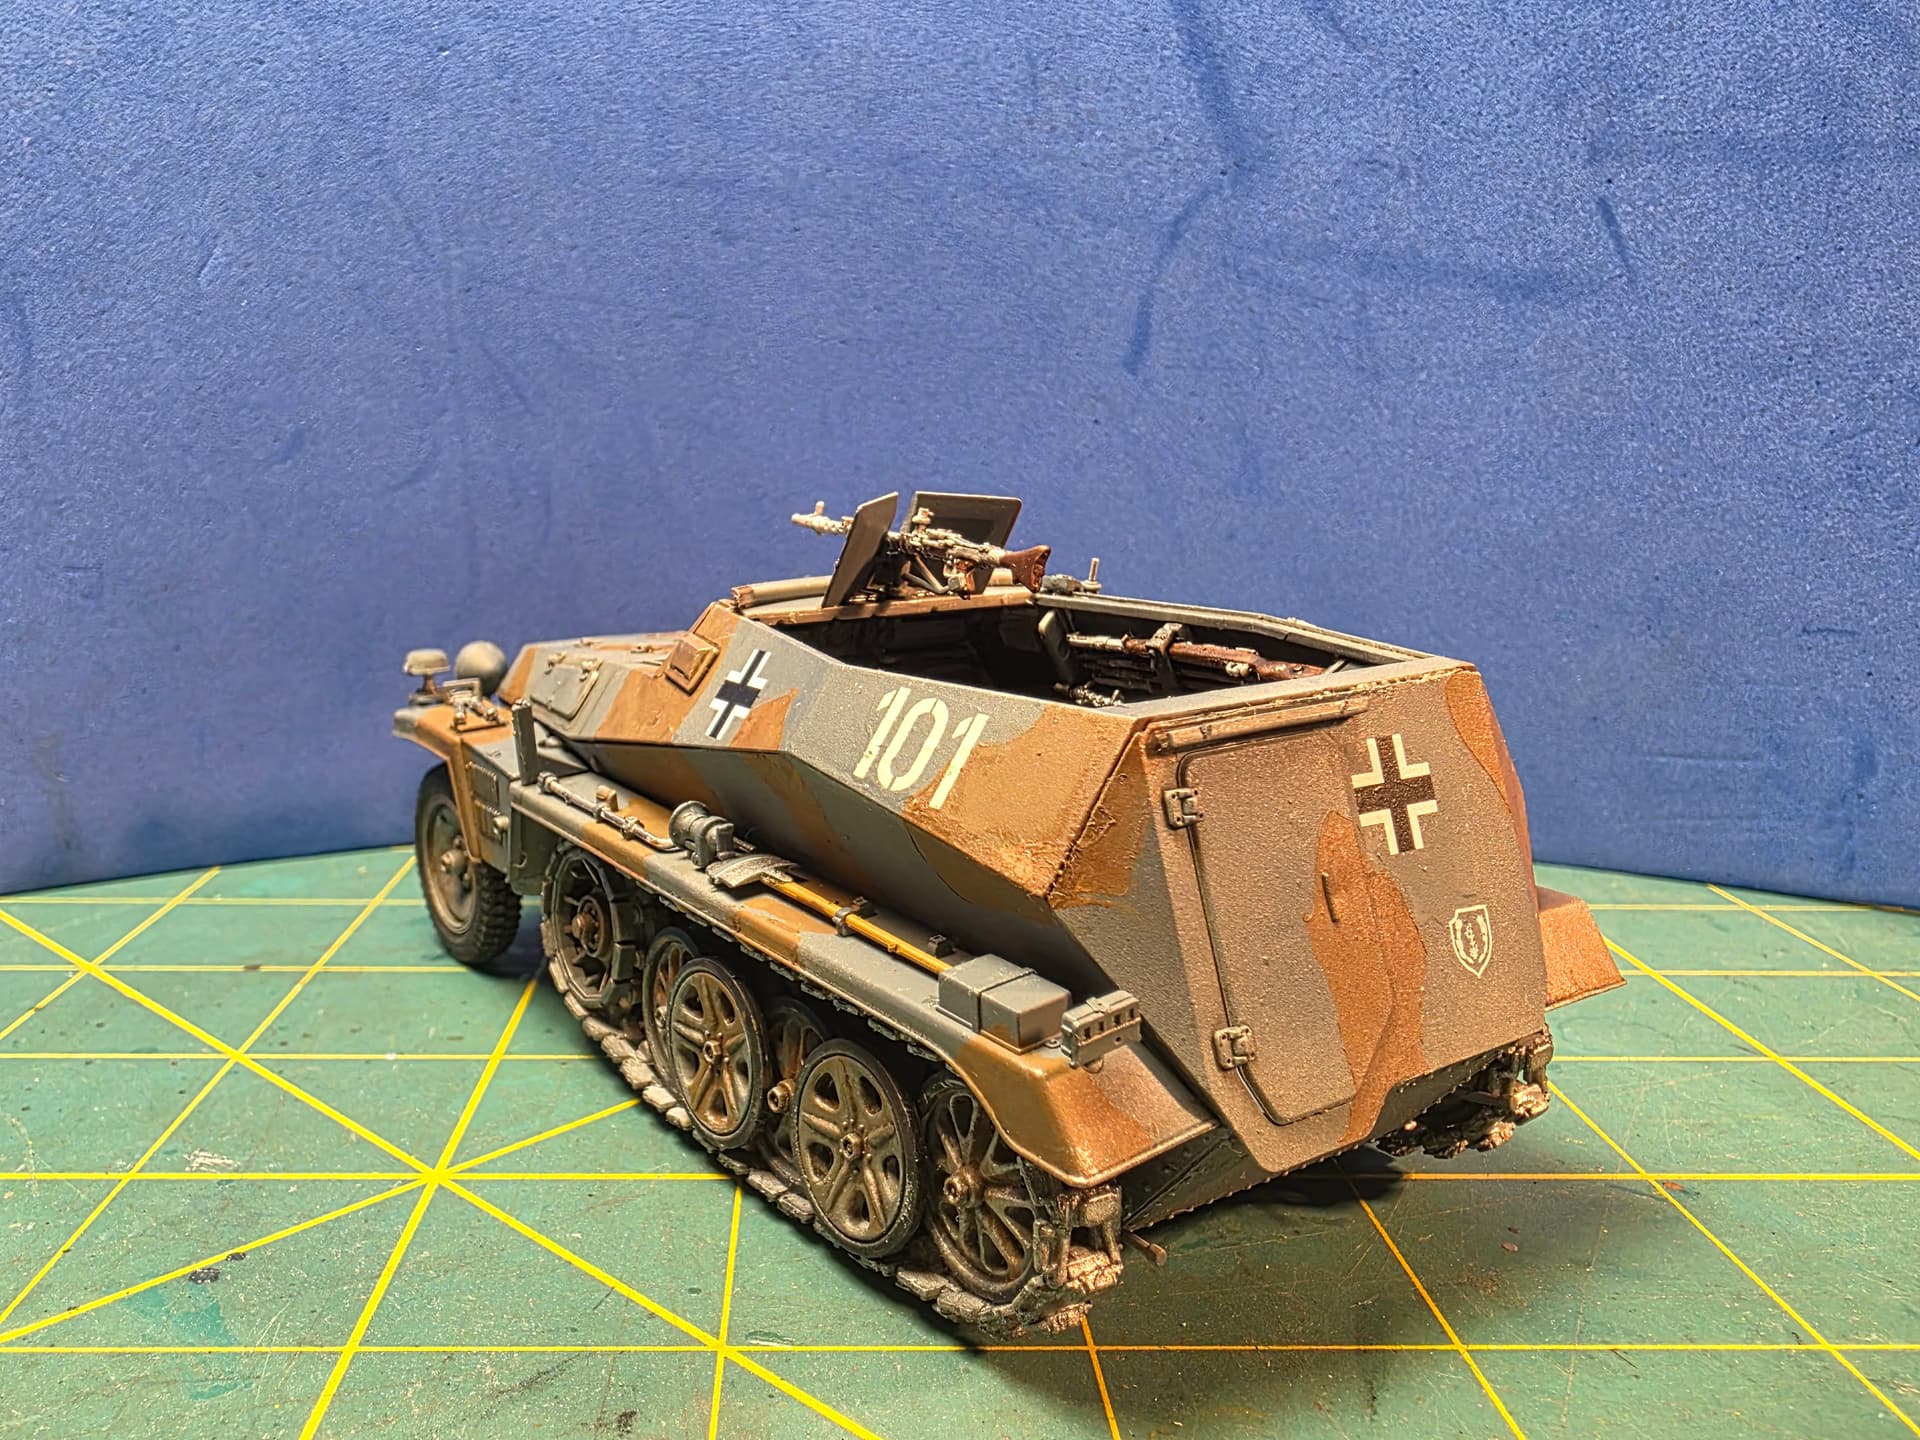
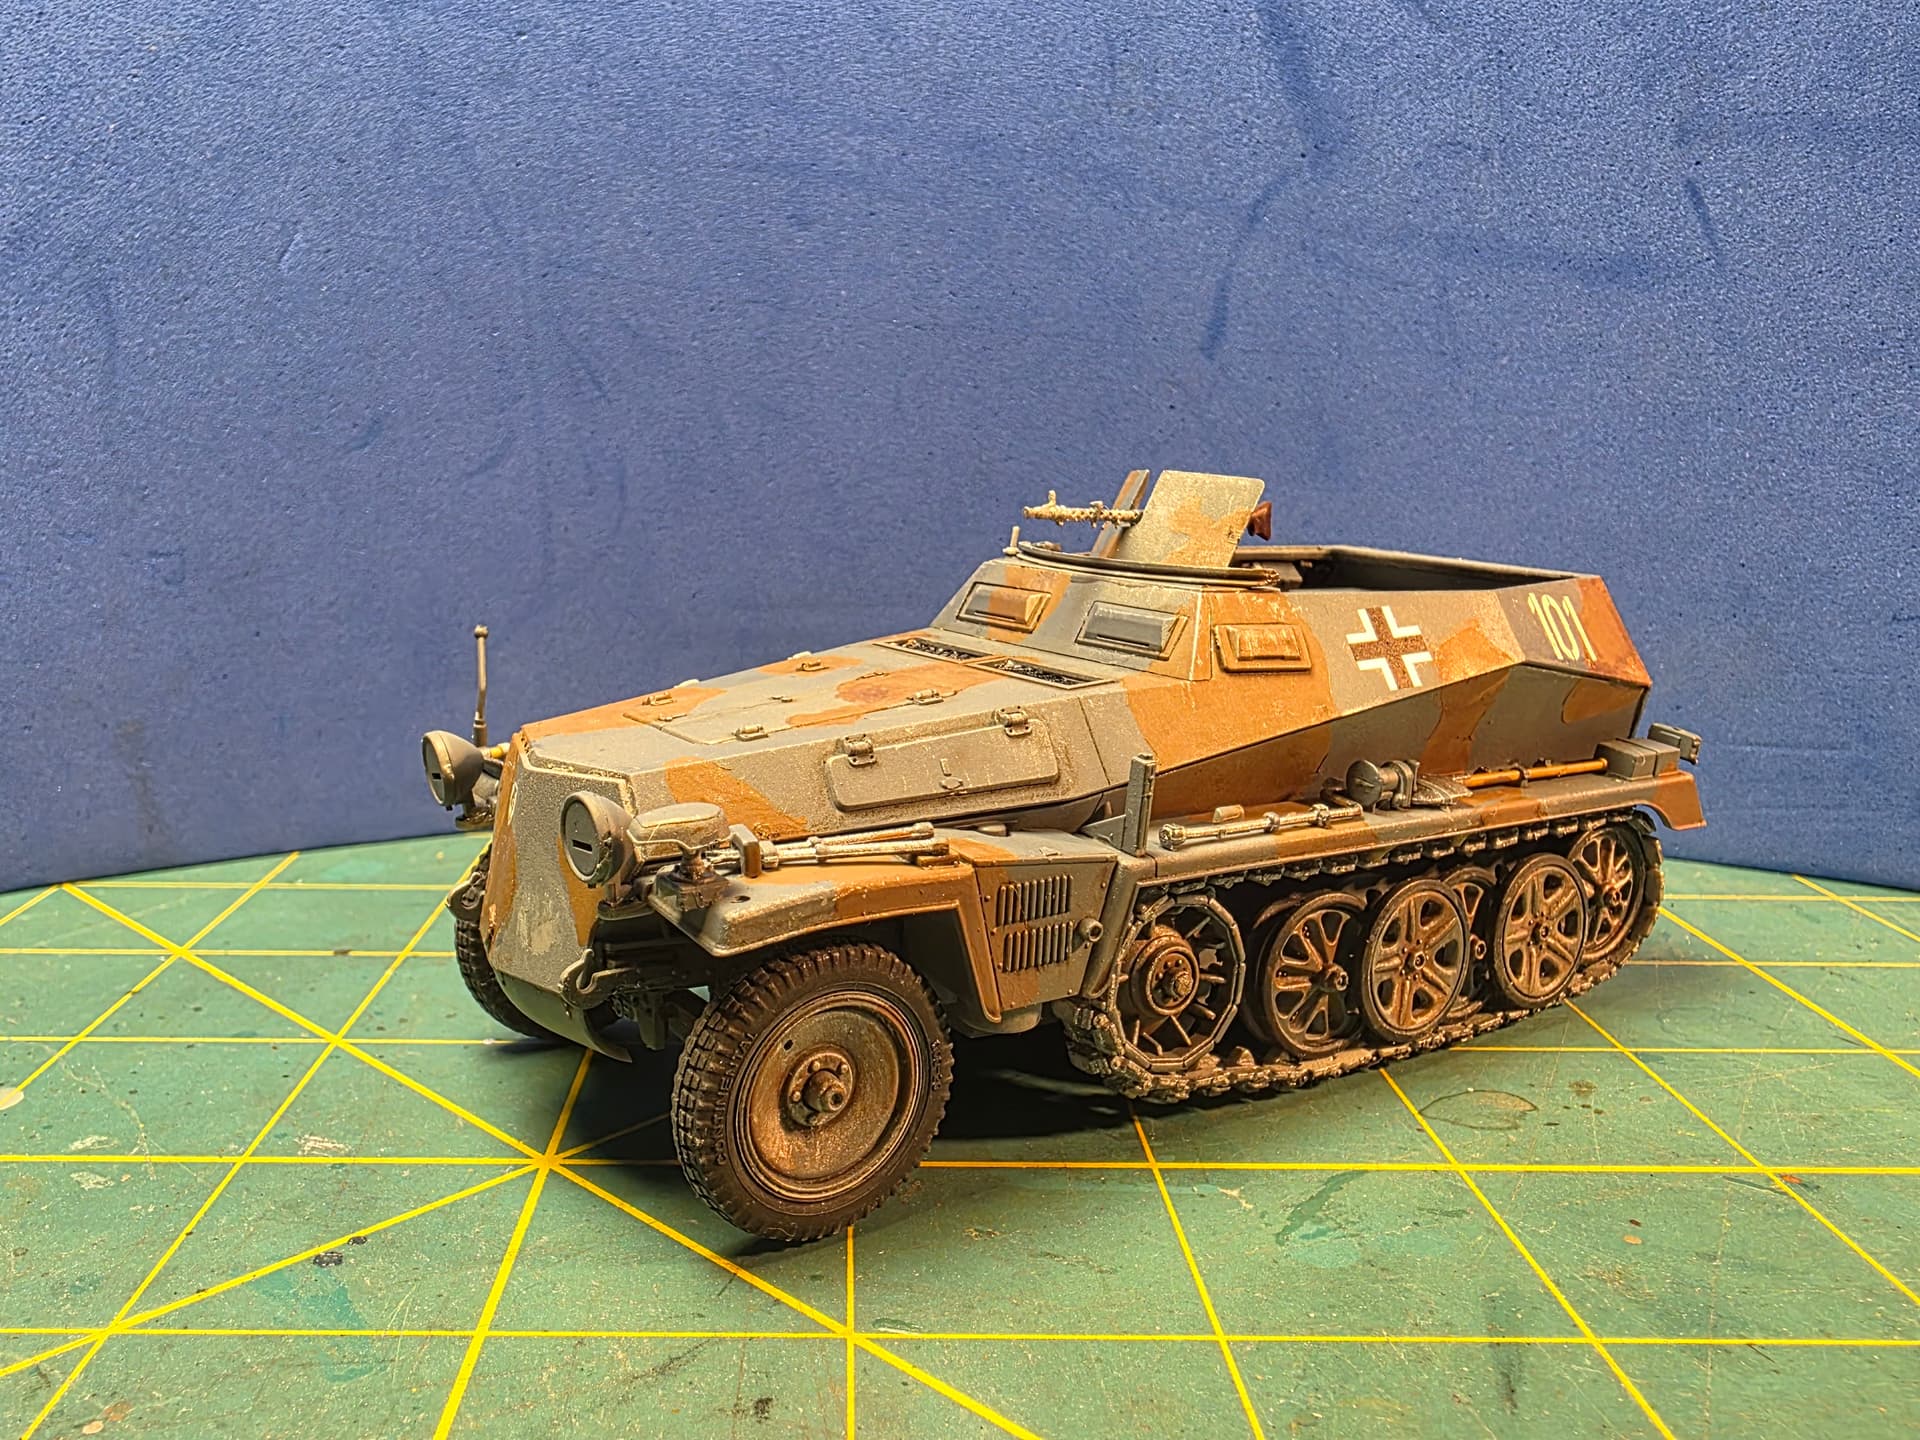
Hey All. I finally put on the markings. Unfortunately, I wanted to use the white stencil balkenkreuzes but somehow they didn’t want to come off their carrier film. So I went with the standard crosses. I also had a problem with the unit markings, but they finally came through. The numbers are decals. I have to attach the driver’s side mirror and add more weathering later. Enjoy!
3 Likes
Hey all. In woodworking they say, ‘measure twice, cut once’. Well in scale modeling it should be ‘research first, then apply second’. After I applied the transfers, I found out that the unit markings of the 16th SS Pz. Gr. Division-“Reichsfuhrer” were incorrect for my diorama. I removed them and applied the 5th SS Pz. Div-‘Wiking’ markings. Now, everything is copacetic. I will apply more weathering as needed later as this vehicle is done. Enjoy the updated pics
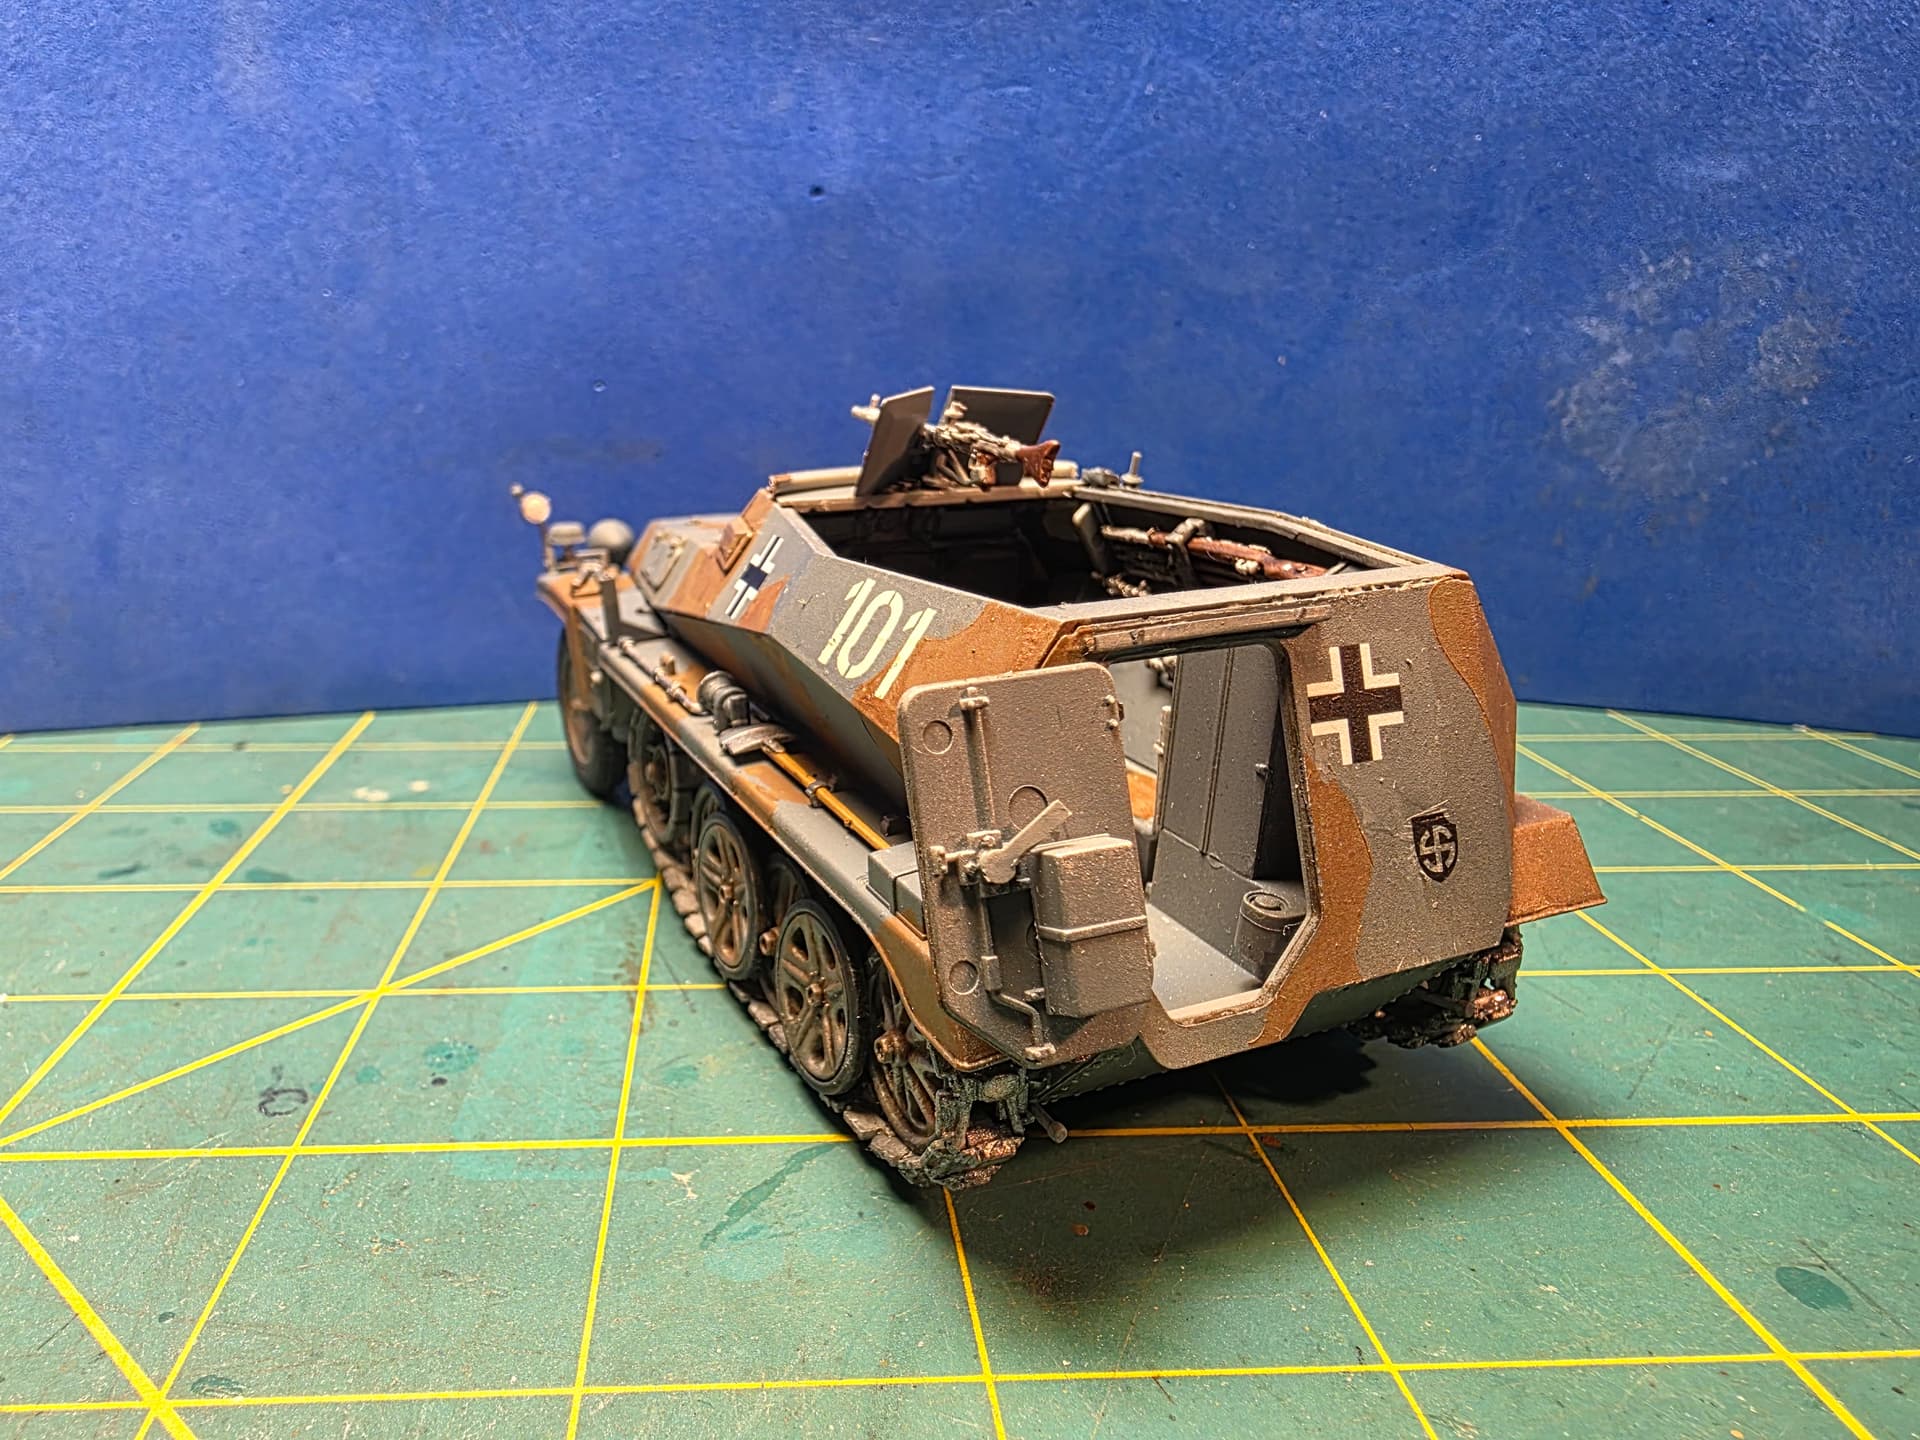
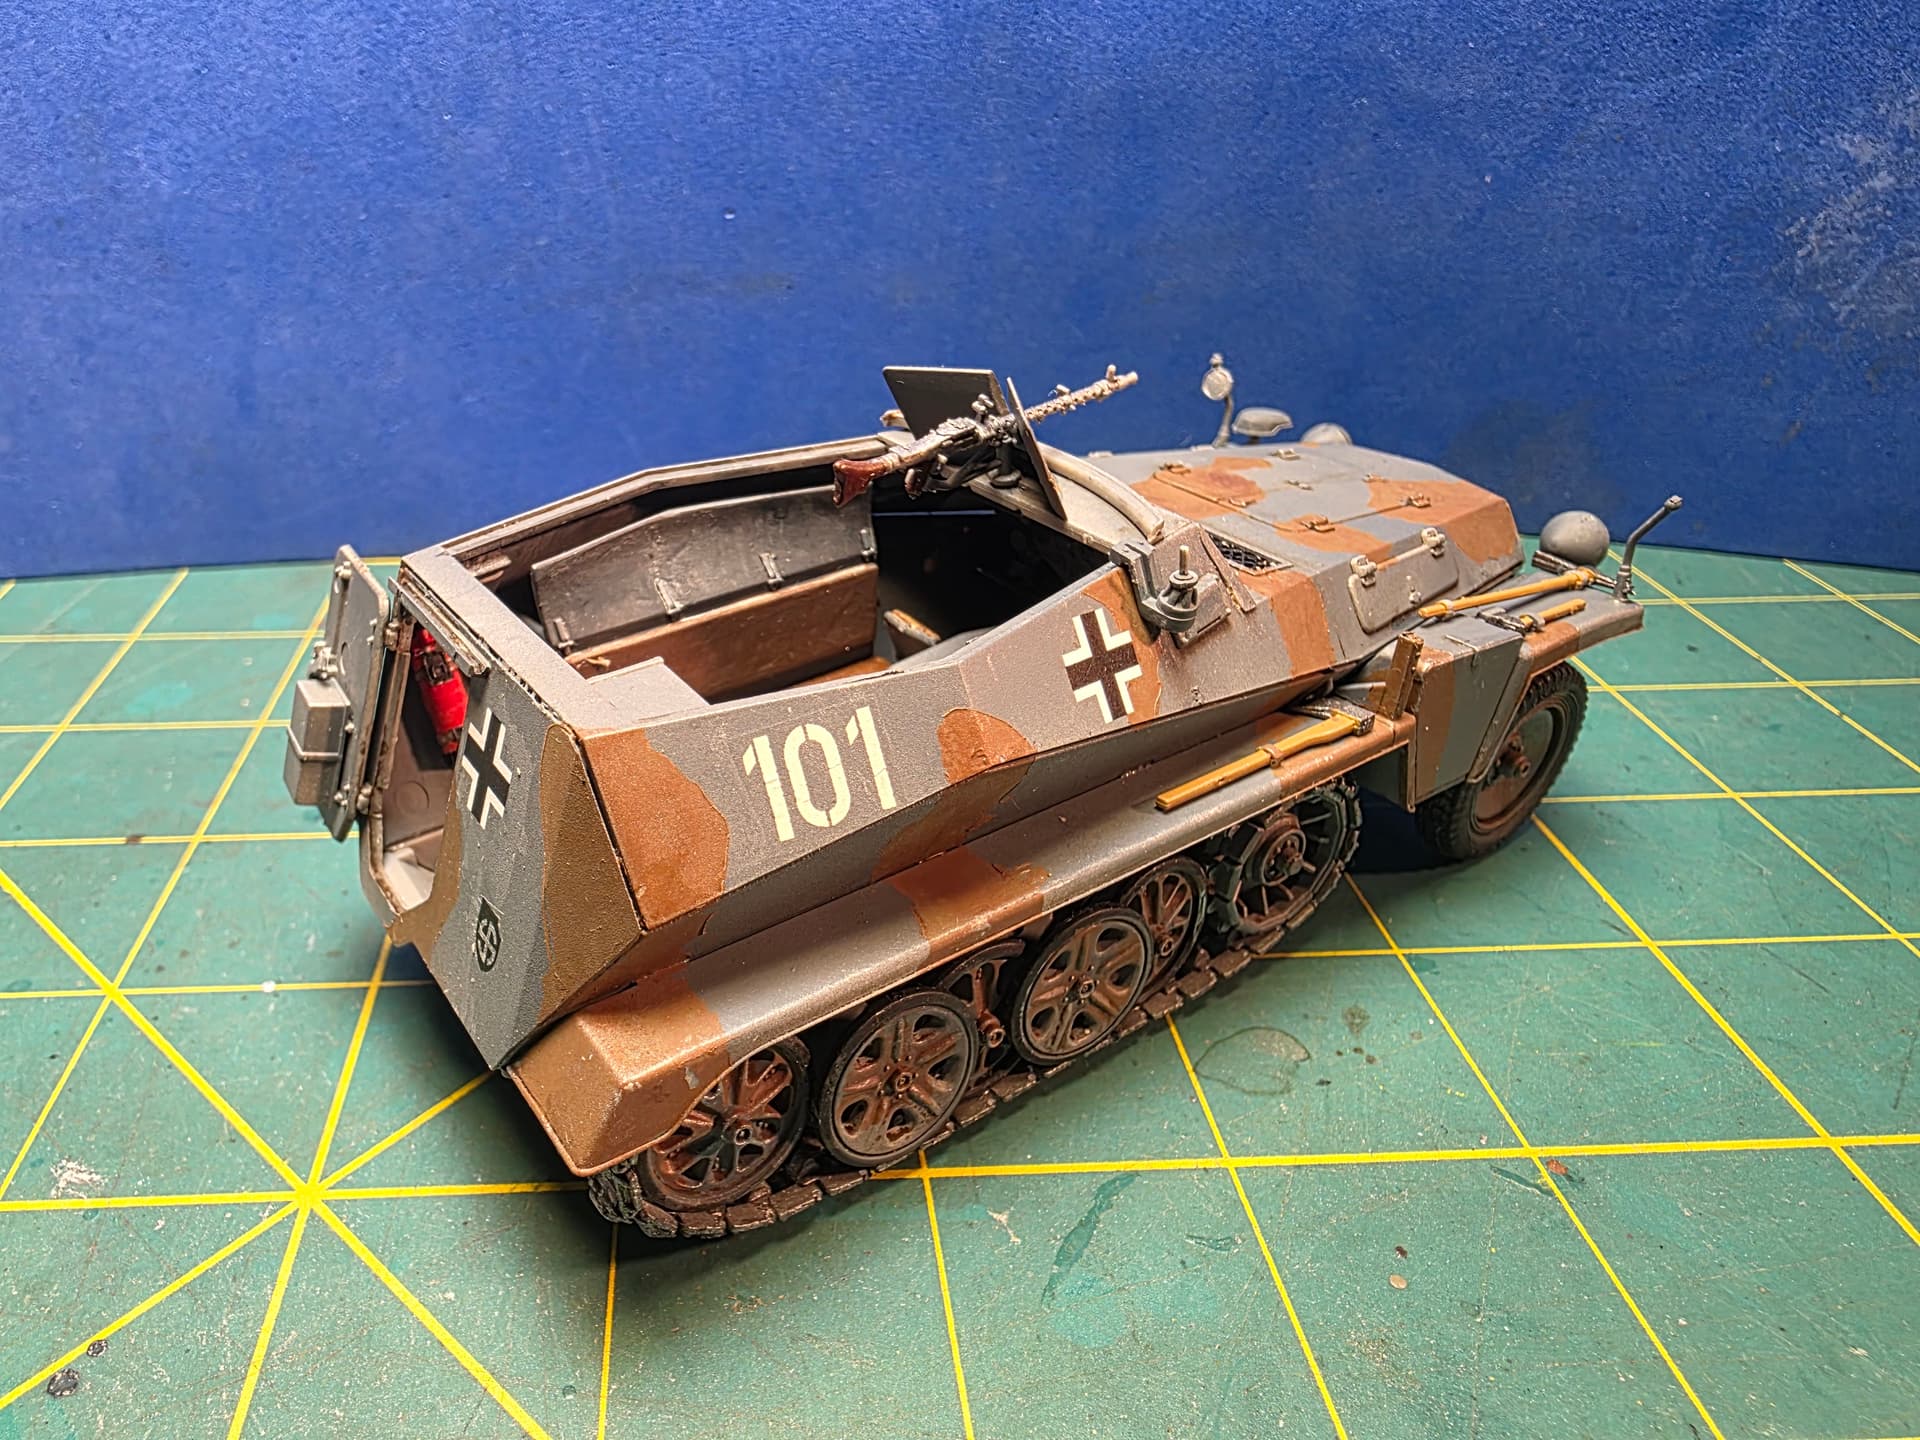
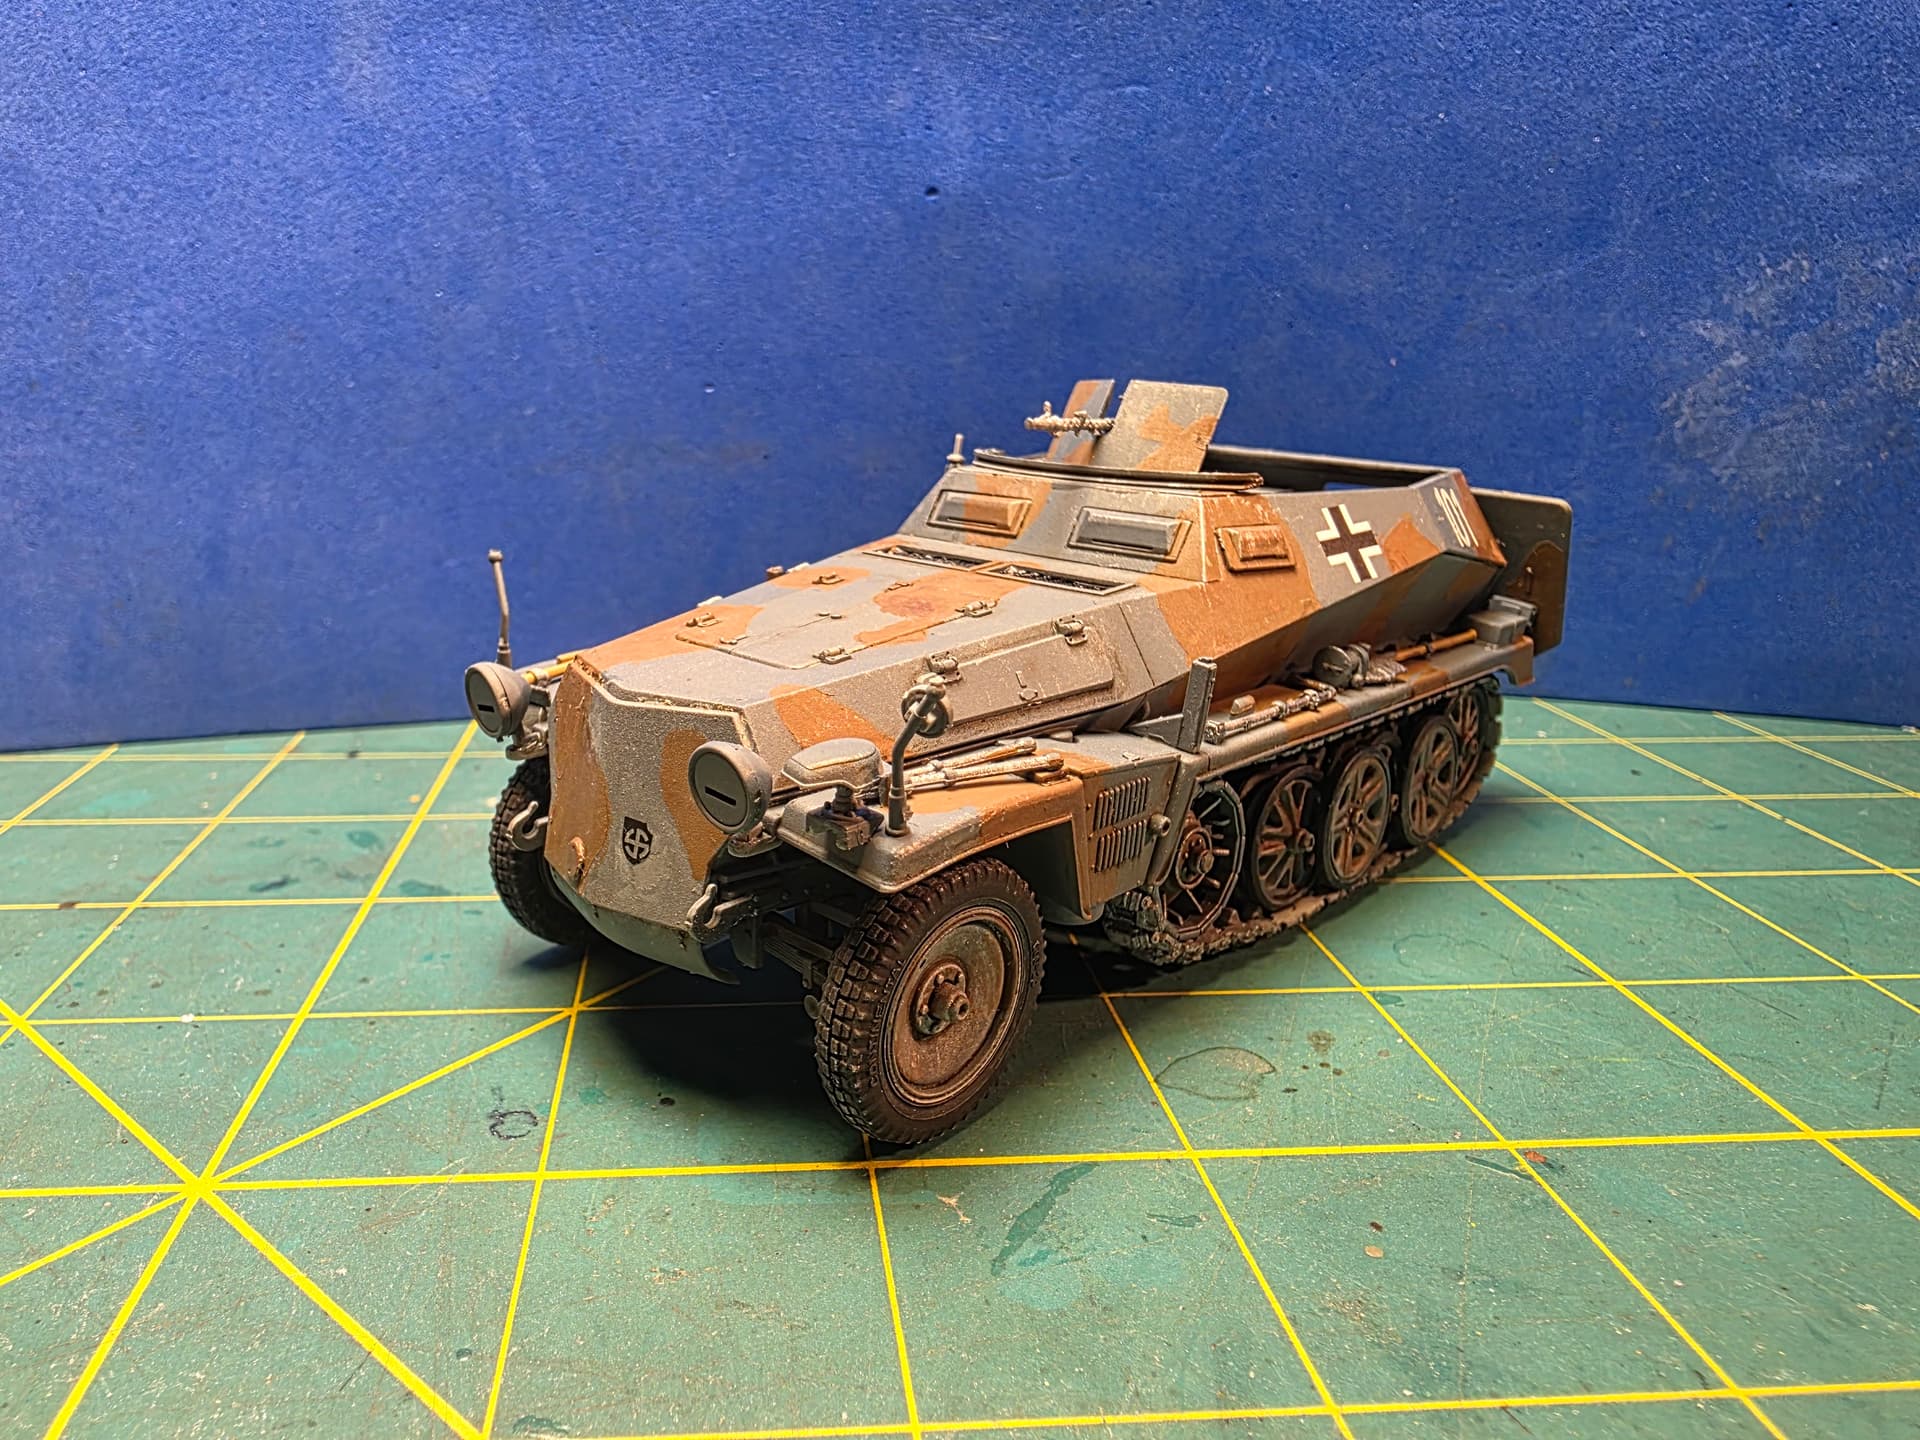
.
3 Likes
I’ve learned this lesson the hard way too.  On pretty much every model I’ve built since coming back to the hobby, once I started digging into reference photos I found something in the kit instructions or decals that wasn’t quite right.
I’ve gotten to the point where I don’t completely trust the instructions anymore when it comes to markings. If historical accuracy matters on a particular build, I’ve learned to research first and decal second.
Nice catch, and I’m glad you were able to correct it!
1 Like
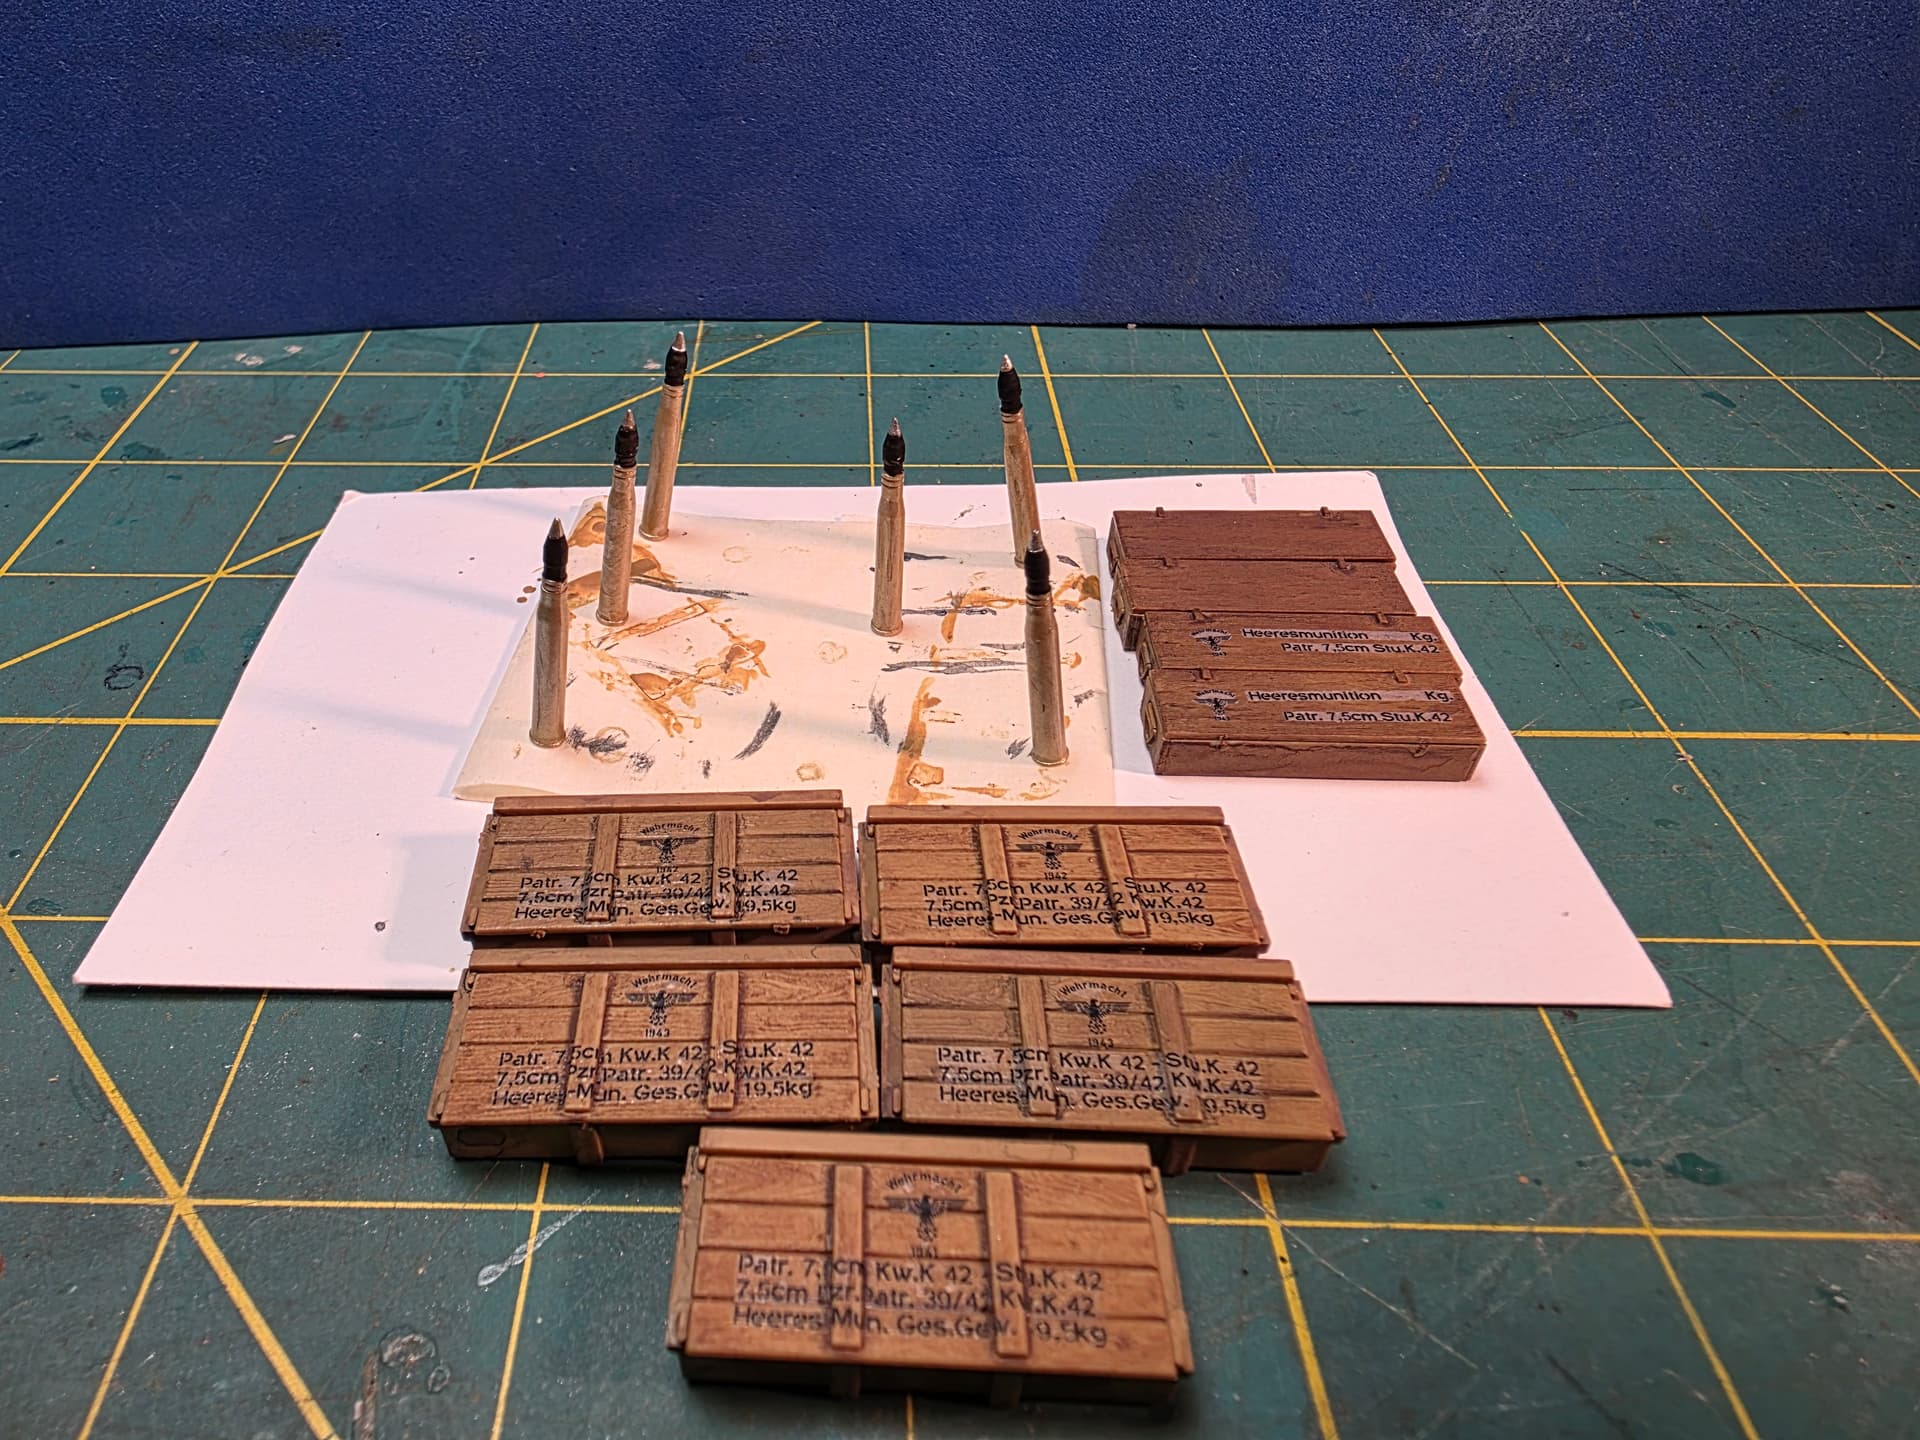
Hello. I’ve been taking my time with this project, but I like my work to speak for itself. I finished the 75mm ammo rds and their ammo crates. Now I can start on the figures.
3 Likes
How did you make the writing on the crates? Are those decals purchased or did you make them yourself? They look amazing.
1 Like
Hey dunniteowl, thanks for the compliment on the crate decals. Those are decals that were printed by the then OOB Archer Fine Transfers. But I found out that someone else picked up the baton and it’s back in business. I need to give those decals another coating of Dullcote. Just to make sure they look matte.
2 Likes
Happy Halloween everyone!
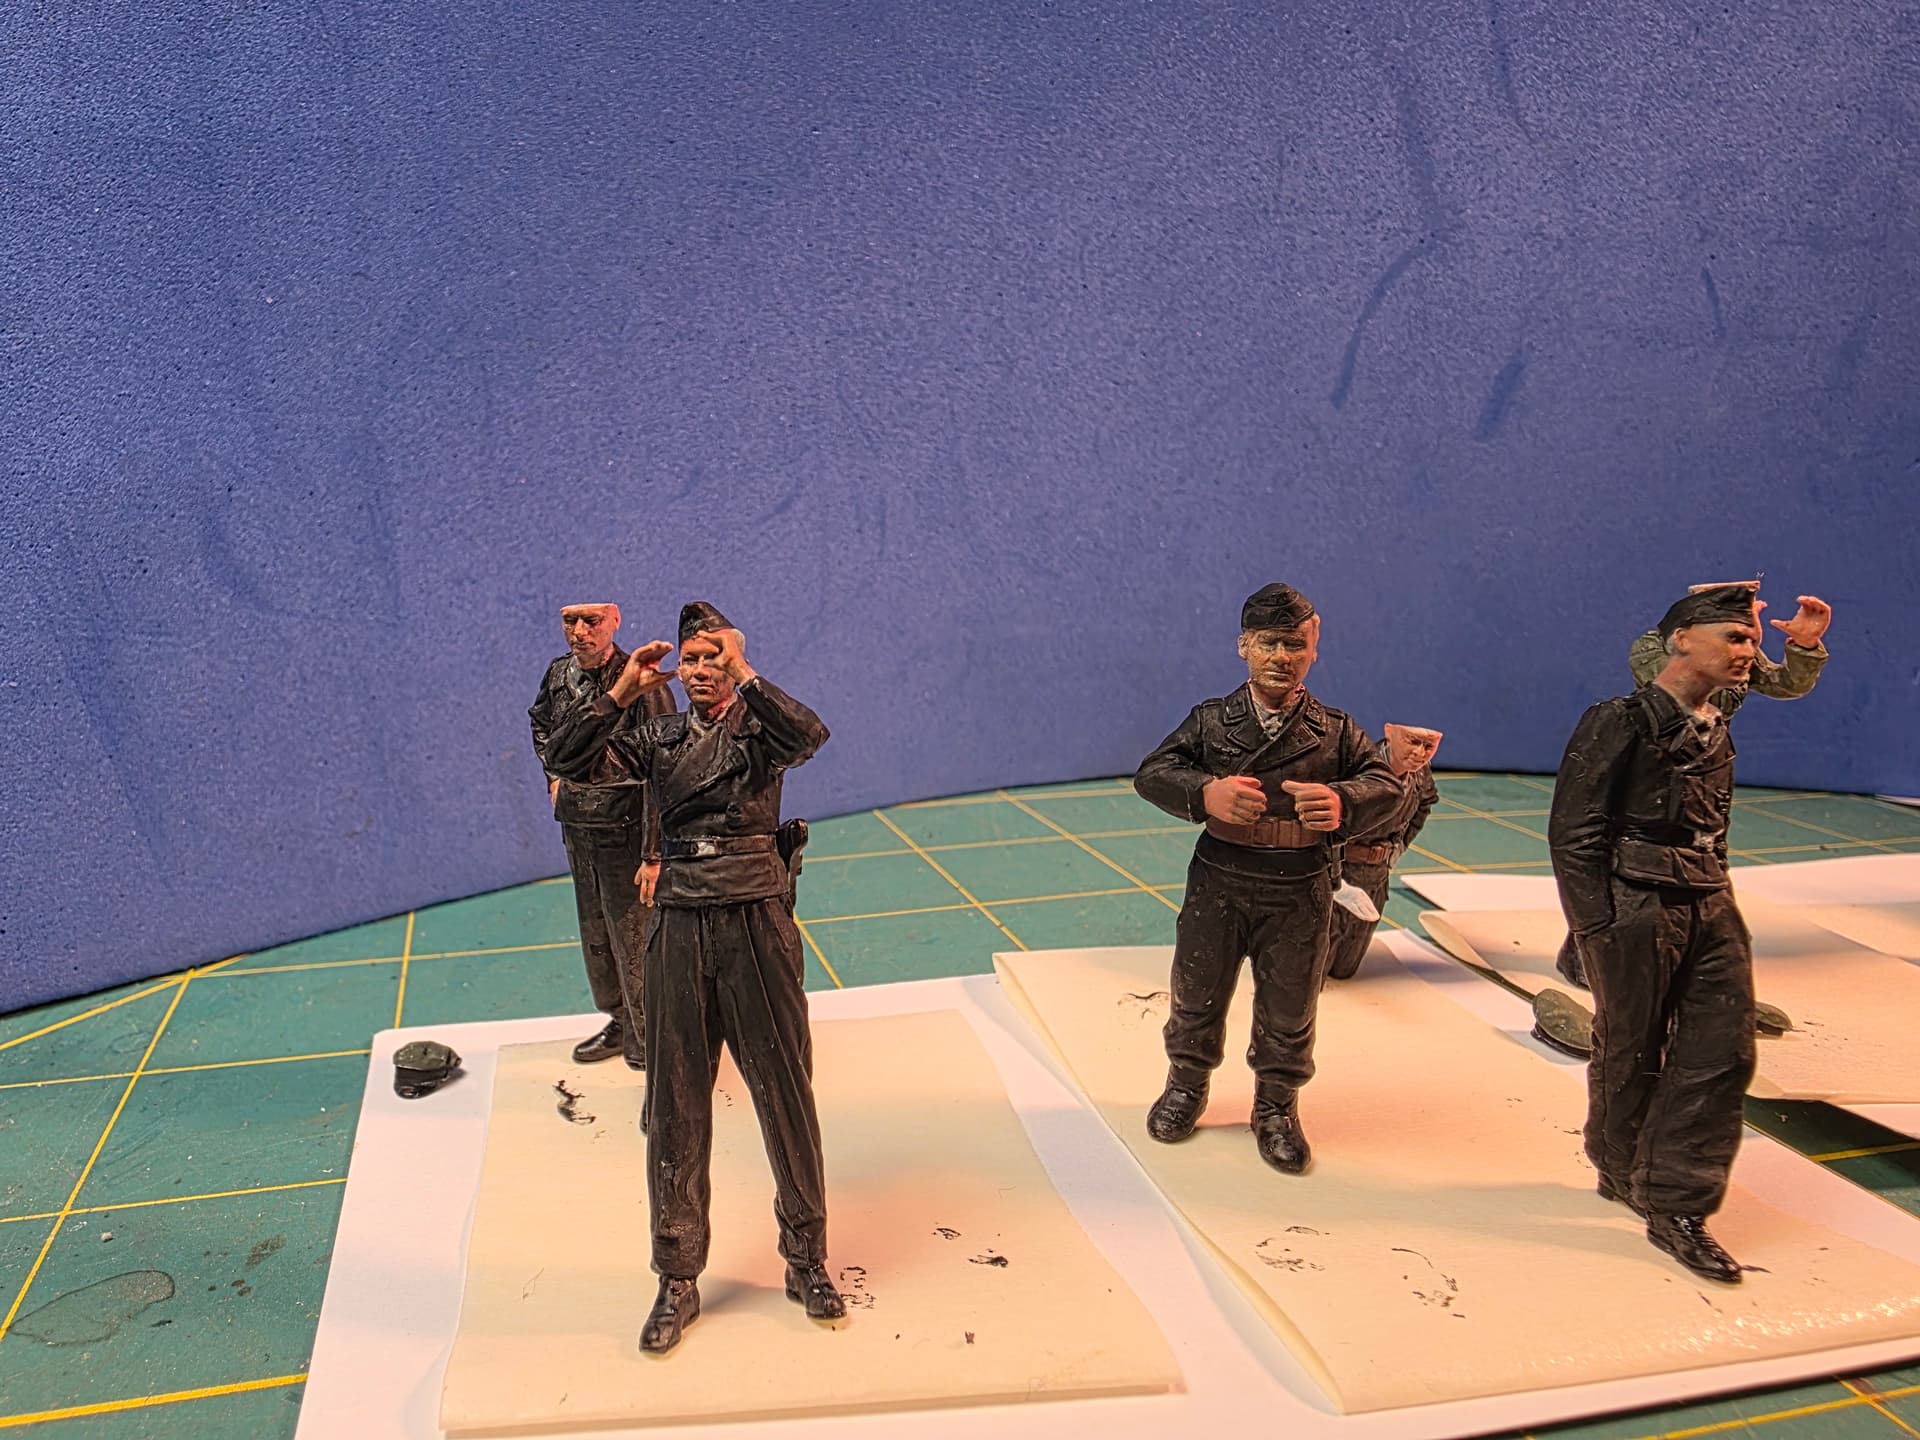
 Well, I finally started the figures. Four have been primed and received their flesh base coat. The next five are ready for priming and then it’s figure painting time.
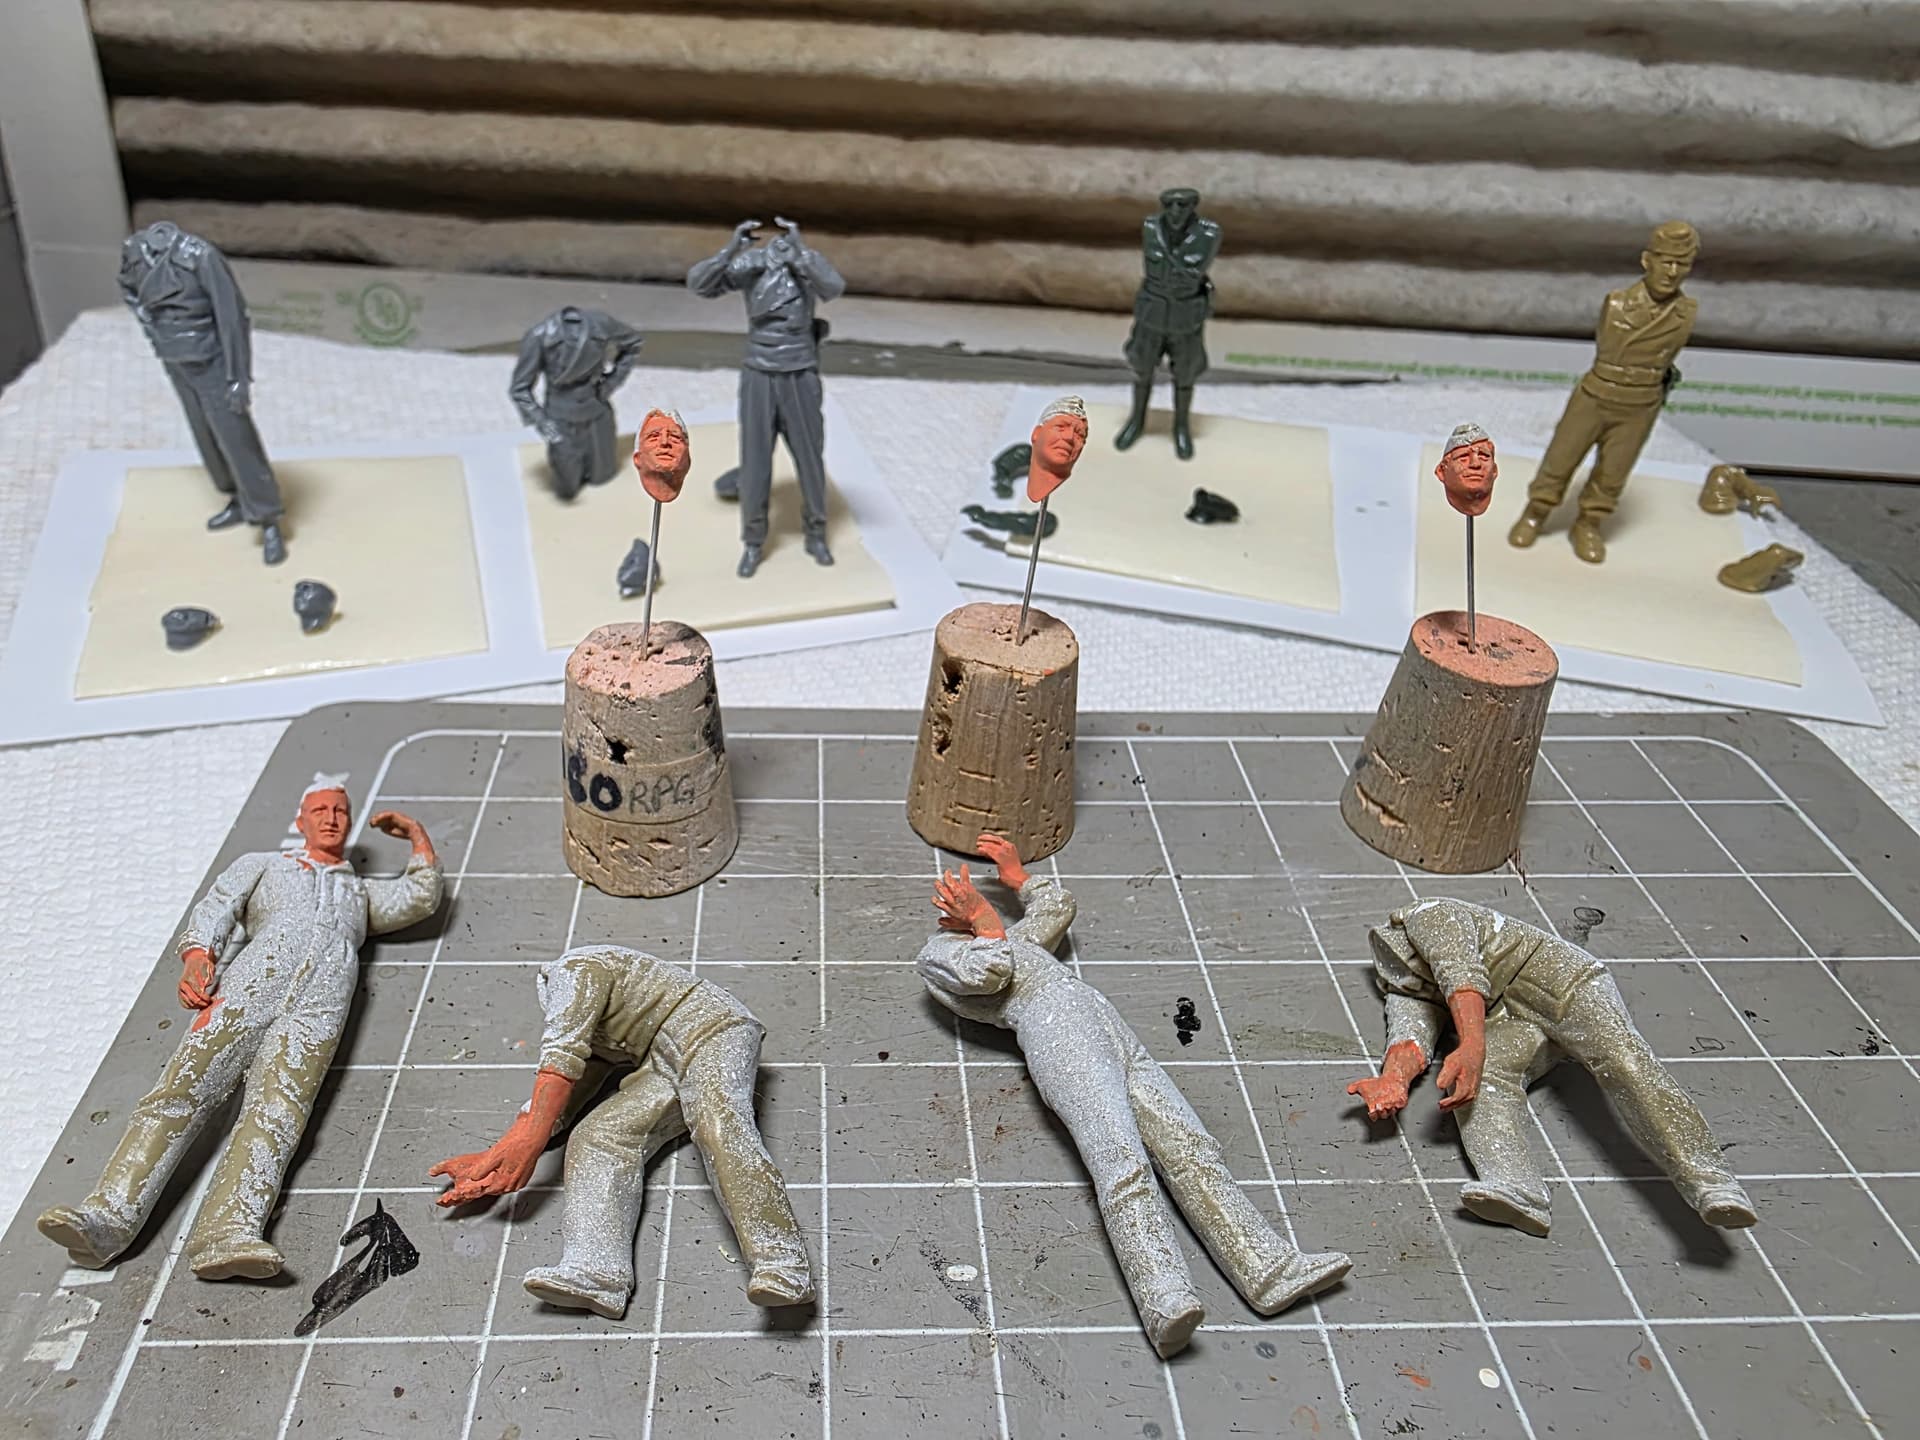
3 Likes
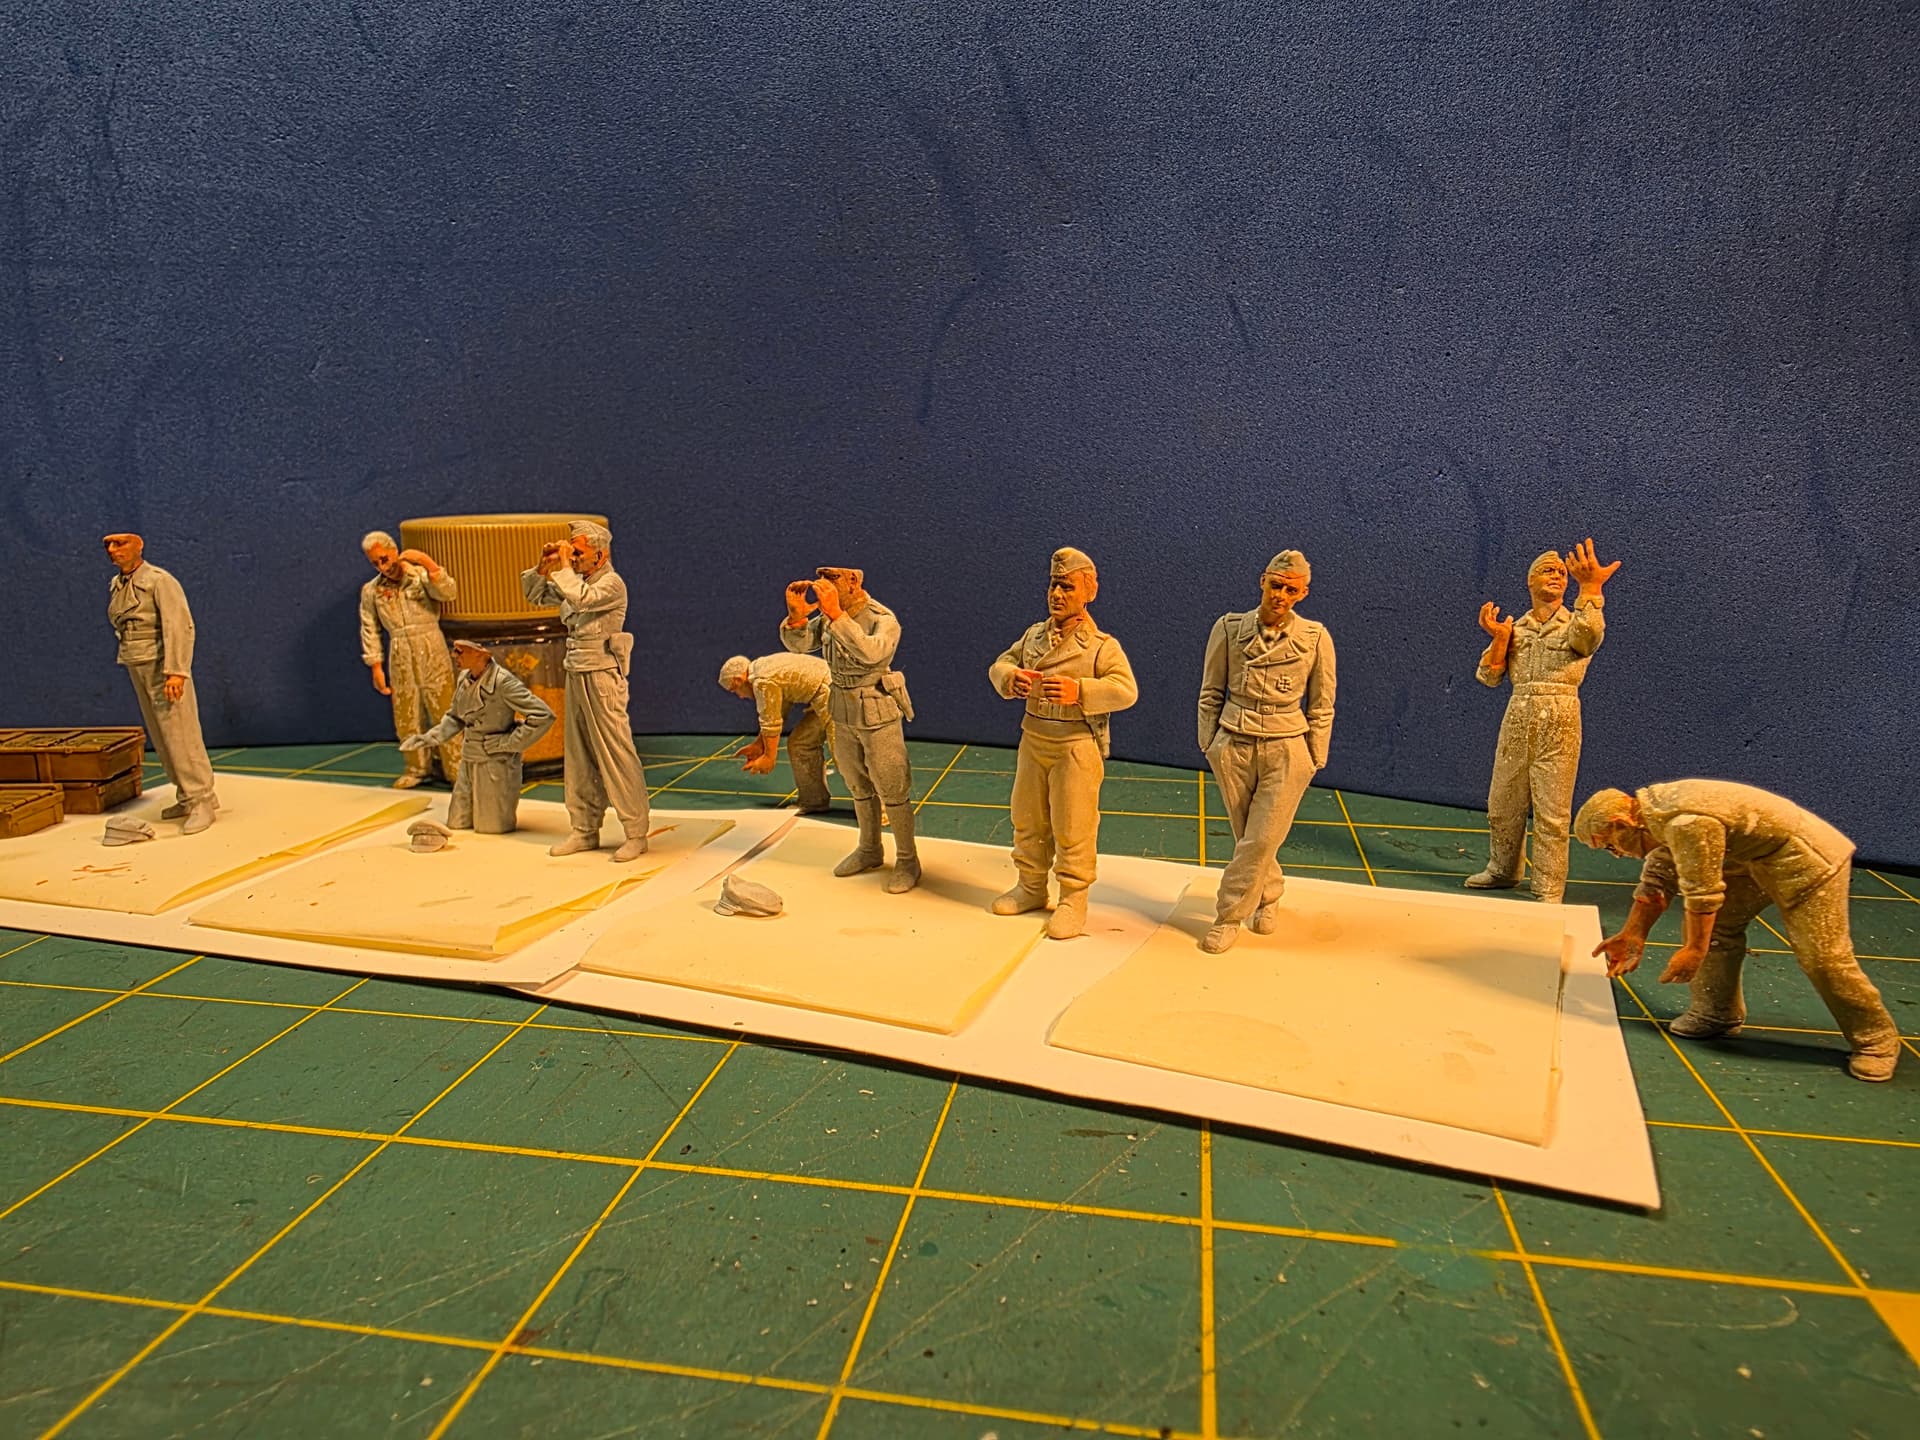
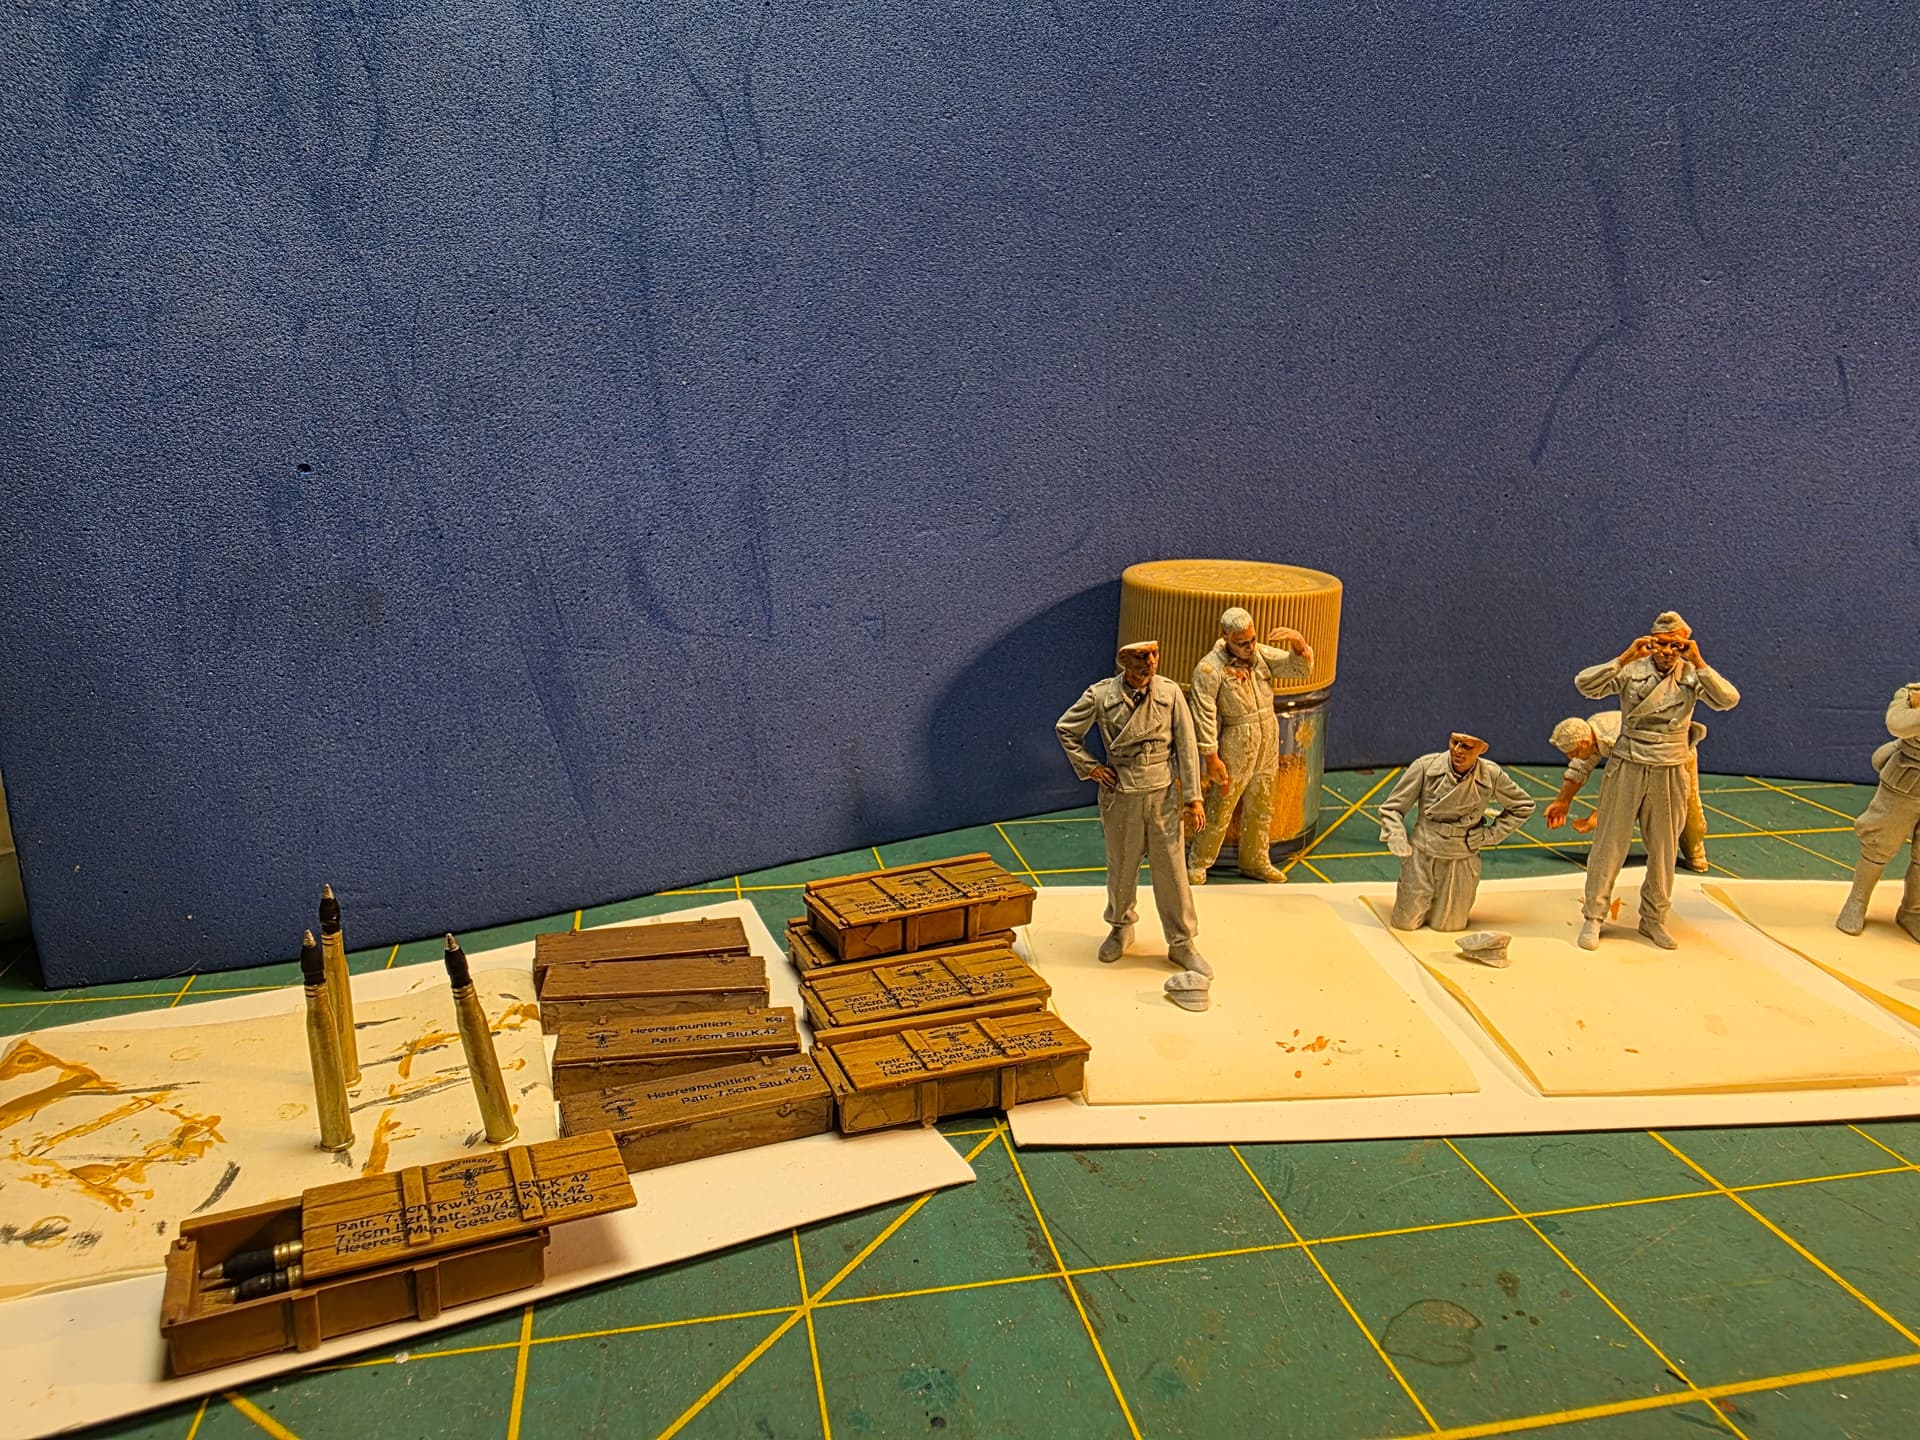
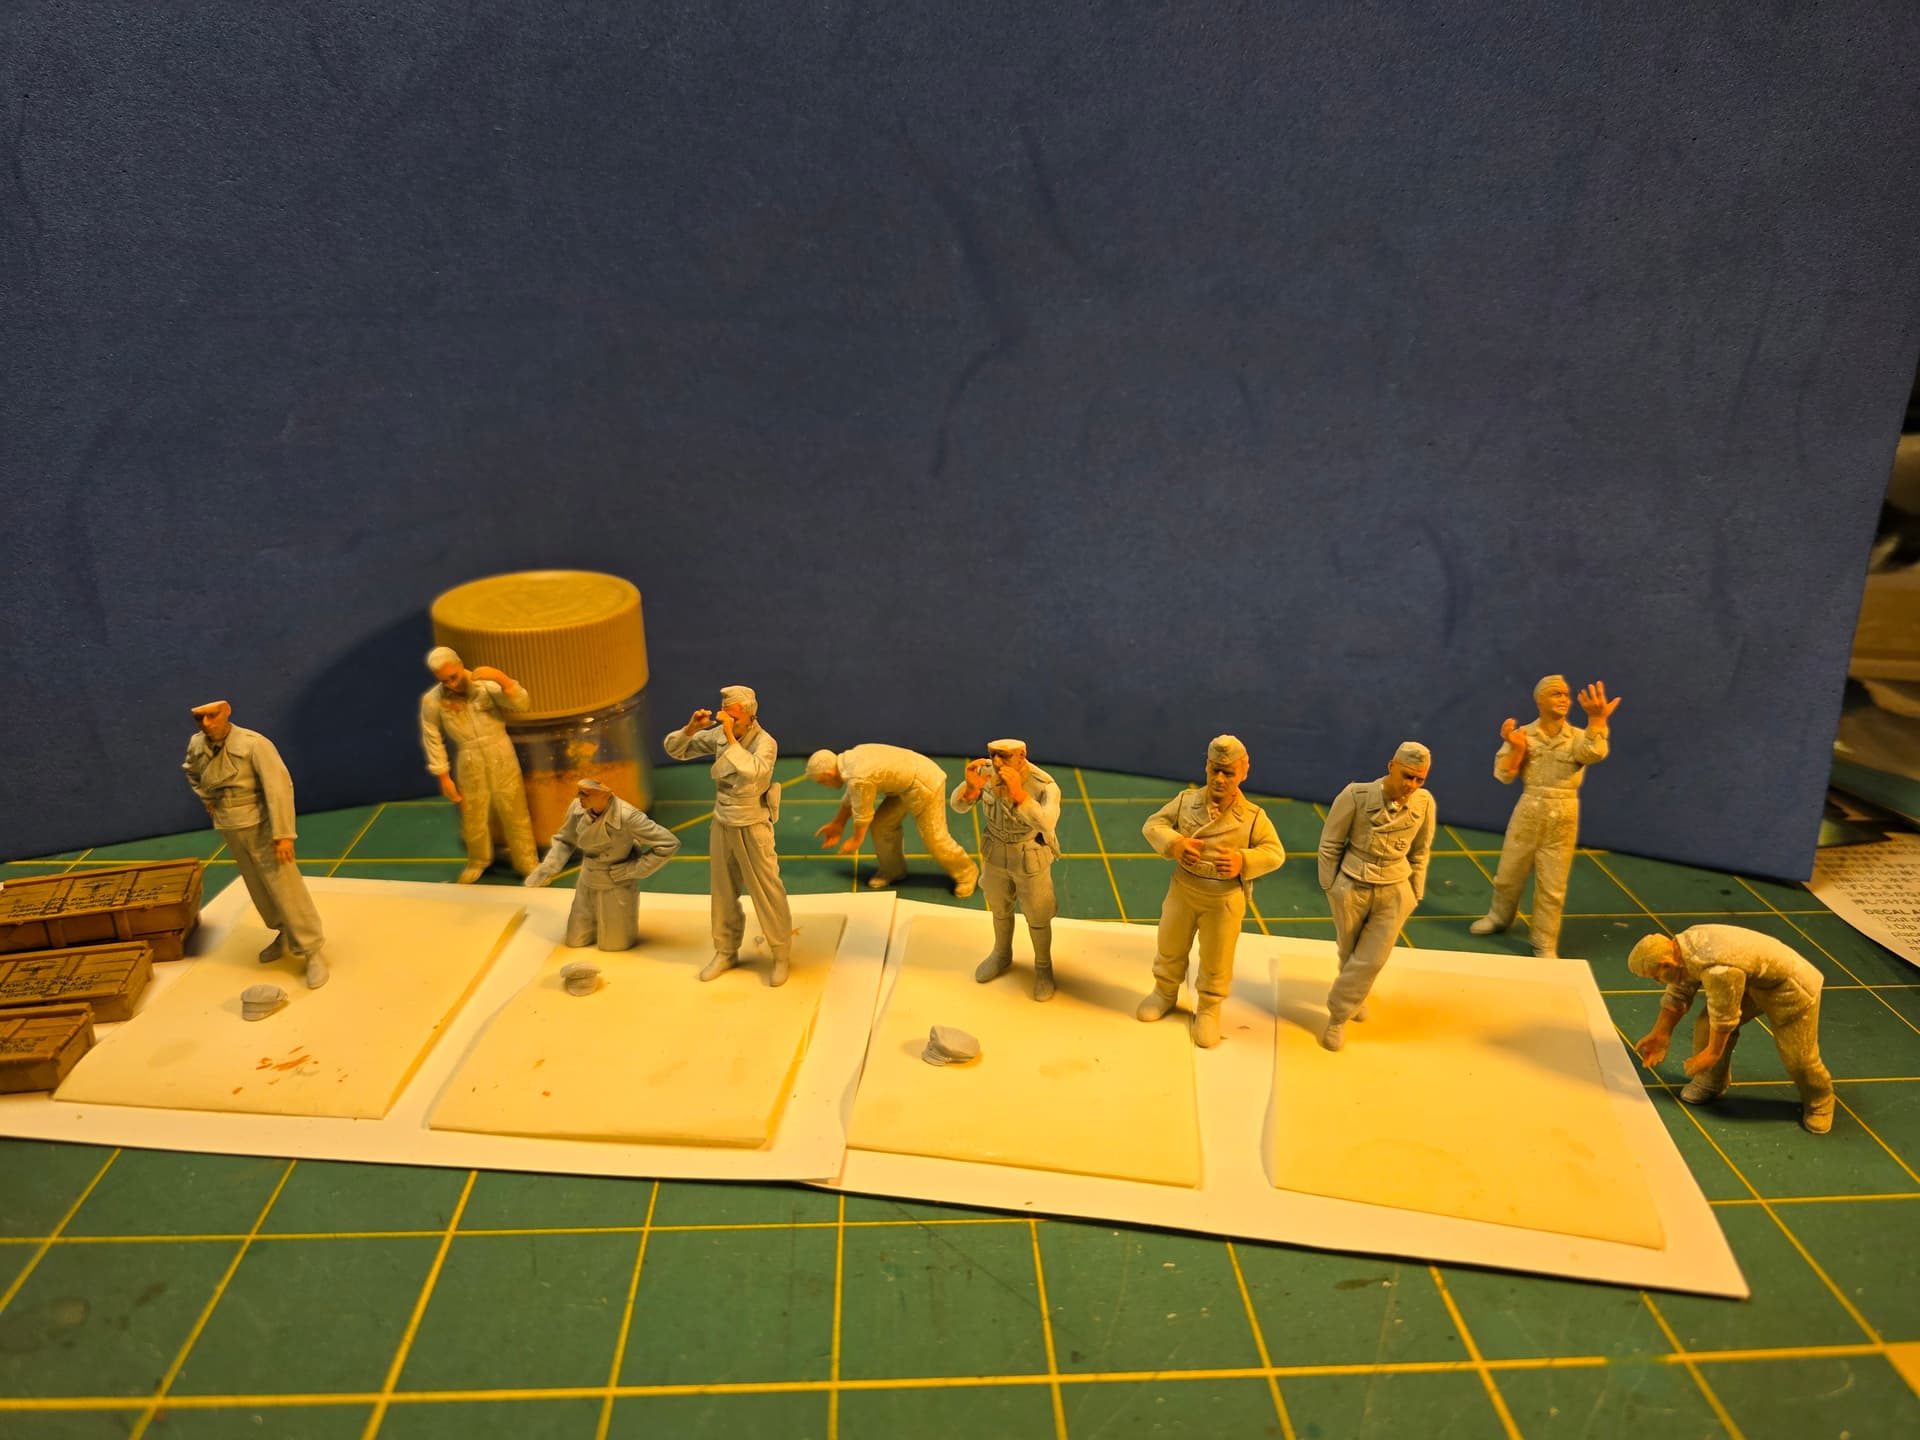
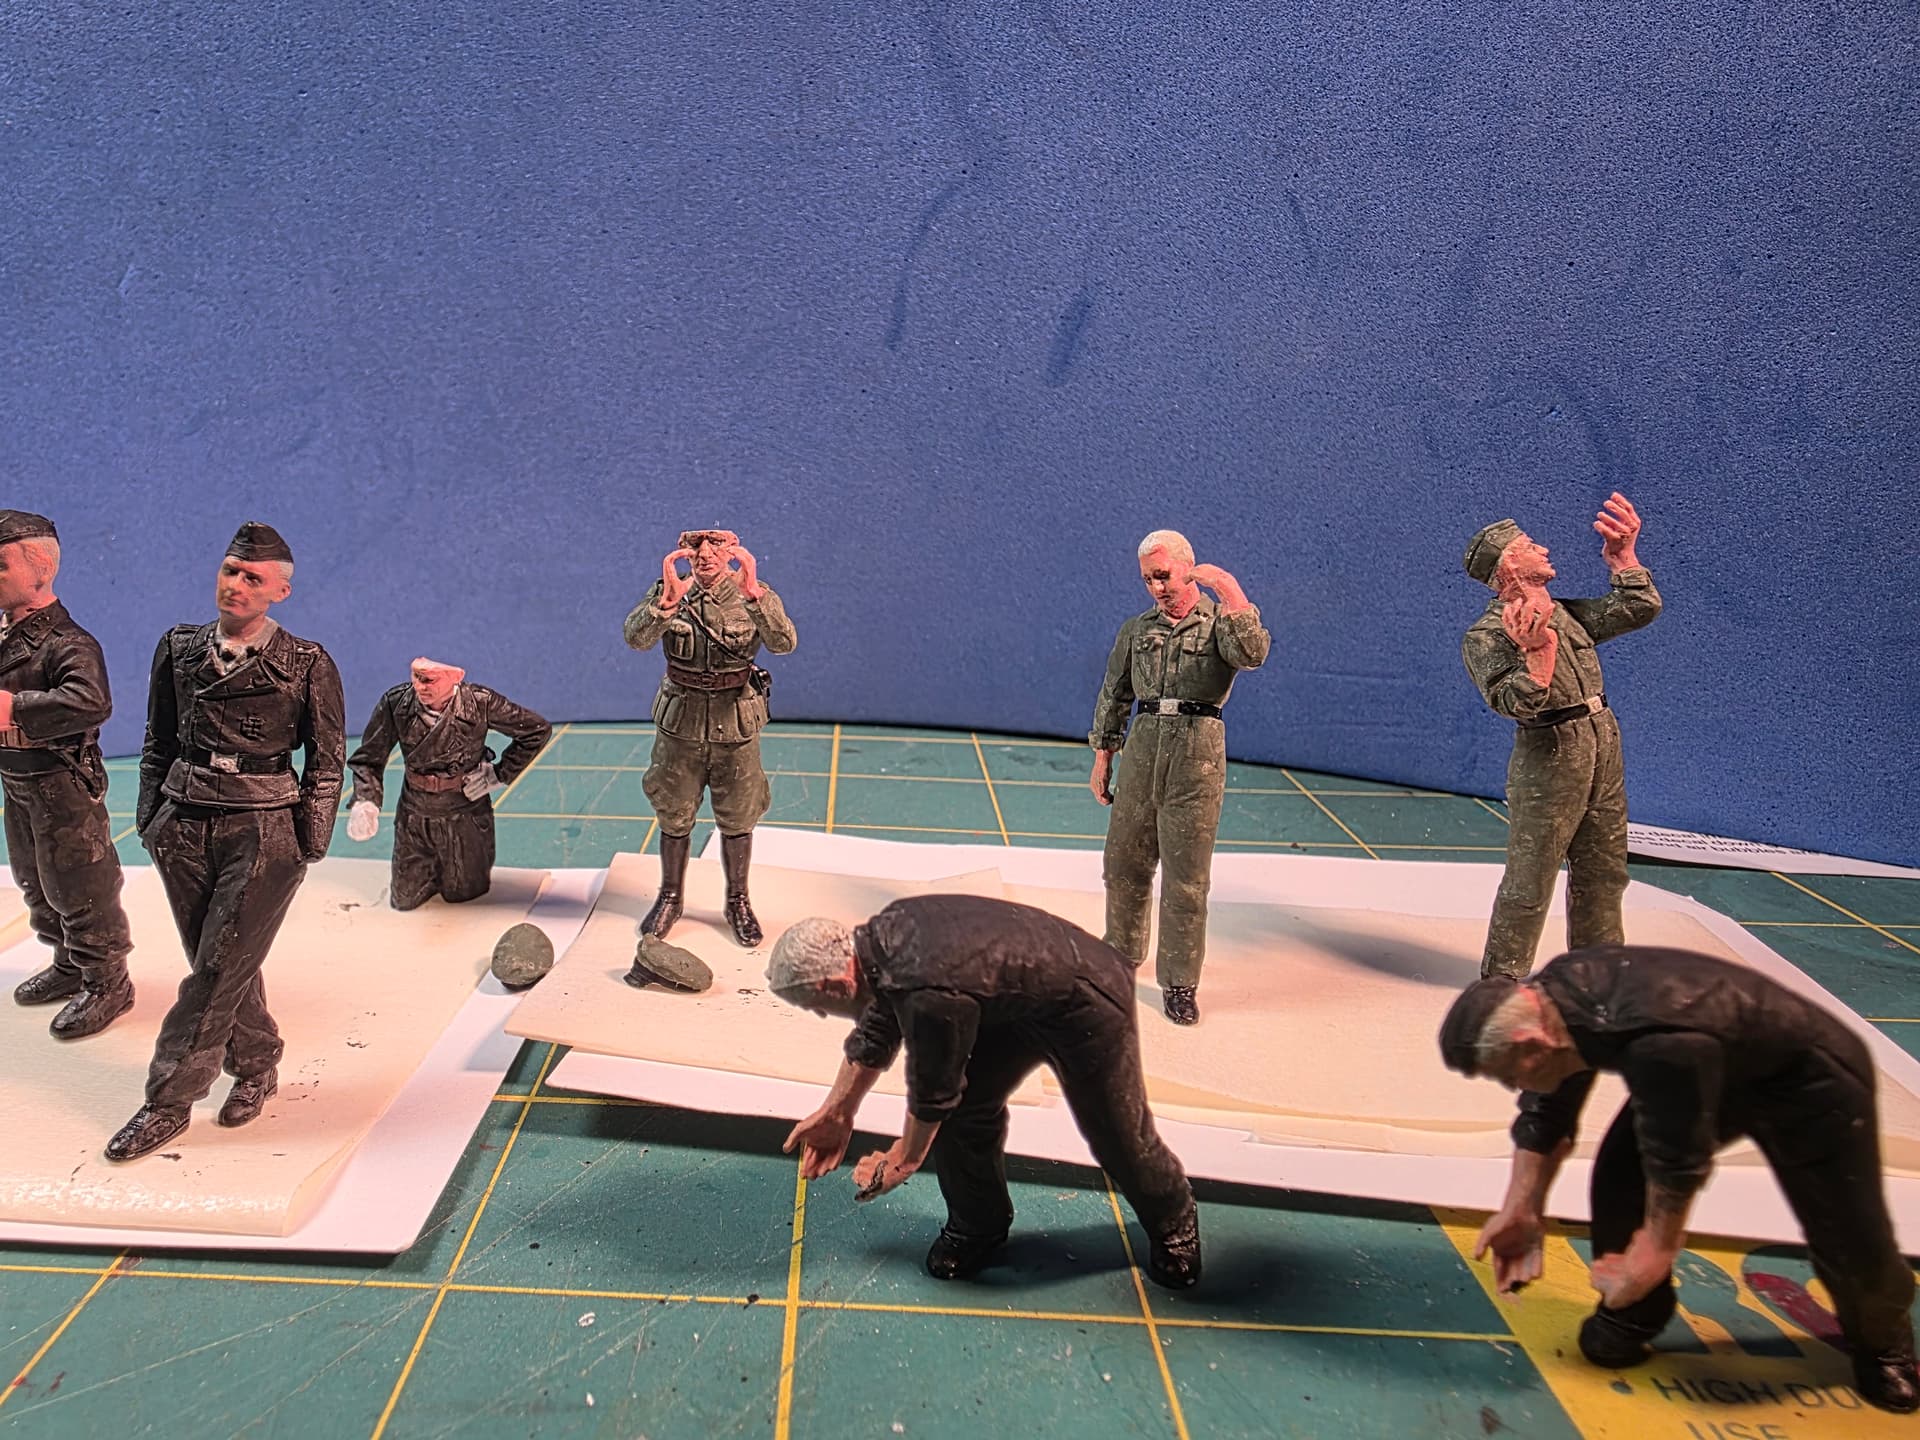
Hello all! Enjoyed my holidays and have made progress on the figures. There is still some tweaking to be done, but I like how they look, so far. Enjoy the WIP pics.
4 Likes
Nice work! But not all Germans were blond. 
1 Like
The figures are really coming together nicely. I especially like the variation you’re getting in the uniforms and equipment. They look like individuals rather than a group of figures that were all painted at the same time.
I think once they’re placed into the scene, they’re going to add a tremendous amount of life to the whole diorama. Nice work!
2 Likes