I’m not sure there’s any issue with a couple of paint coats- it shouldn’t freeze the joints unless you absolutly flood the paint on. You might just flex the joints between each coat if you want to make sure she’s not going to lock up.
Interesting news that more Macross kits will be reissued. The big Arii kits have never been repopped (1/72 Galug, 1/72 Destroid Tomahawk, 1/160 Destroid Monster, etc.).
Wave had announced a new tool 1/144 Monster a number of years ago, but plans apparently fell through. [:'(] Wave made a 1/72 Tomahawk, and is an improvement compared to the Arii kit. Hasegawa is releasing a 1/72 Armored Valkyrie this December, so the Arii kit is now superfluous. I wonder if Hasegawa will do a 1/72 Gnerl fighter? Too big maybe?
The Spartan remains to get a new tool 1/72 kit, but I’m not sure if Wave will tacke it, as it is not modular like the Tomahawk/Defender/Phalanx. I bought the recently repopped Imai kit, now rebranded by Bandai, in the hopes of finally having a nice model of the Spartan. I completely hosed the original kit back in the day.
Sometimes you have to just pull up stakes and accept your losses.
Each attempt to clean this side up just made it worse. Thankfully this area won’t be too visible.
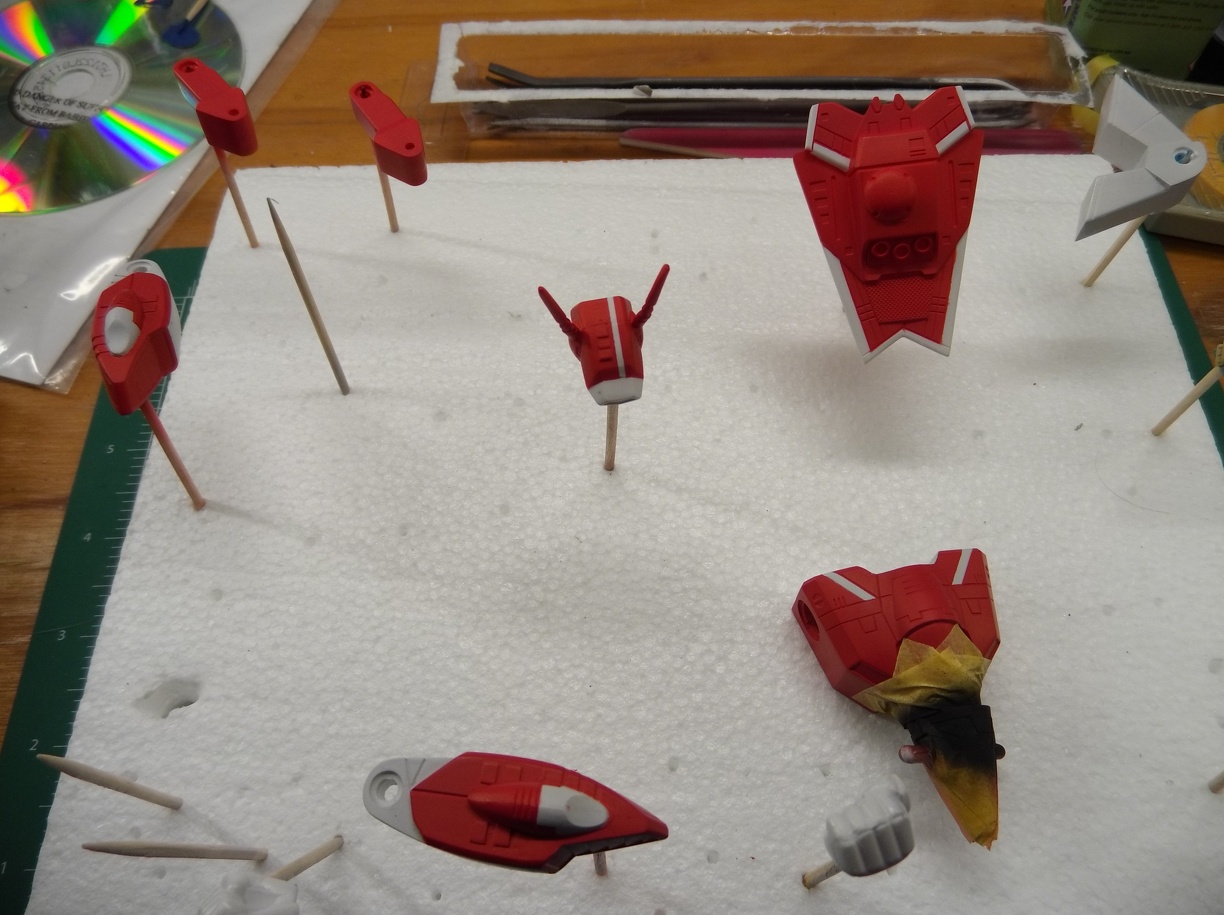
Apparently I greatly exaggerated the truth about adding color. This is about as far as I got.
Trying to emulate the box art color scheme.
3.5 hours of work to mask that off. At some point I am hoping masking will become little less tedious and a lot faster. So far it’s a really weird jigsaw where I get to decide how the pieces fit.
There’s a second round of masking in the future once the legs and pauldrons (sounds so much more awesome than shoulders) are assembled. But not until these are finished!
So I finish masking up the parts, painting on the primary color and decide to take a break by reading through the forums on airbrushing. In my random perusing ,run across several articles about how twitchy Vallejo Primers are and how poorly they do with masking.
Which has me leaning over and looking at my recent work. Because everything was done with Vallejo primers…
Looks good with the red.
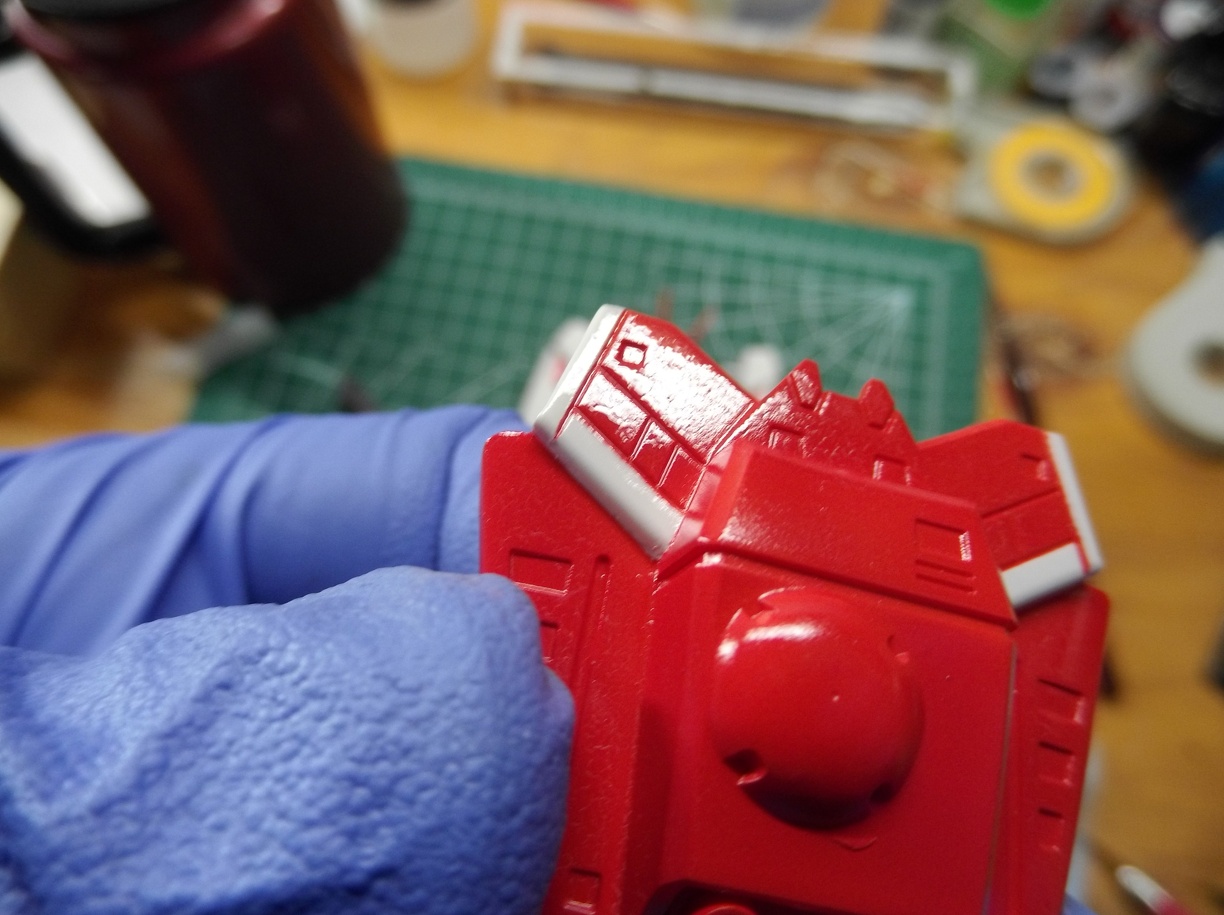
So it was with great trepidation I started peeling off the tape after the paint had a chance to cure.
HUGE SIGH OF RELIEF. The tape came off without the feared peeling of the primer.
Some clean needed up as expected.
It turned out better than expected and thankfully my fears about using the Vallejo primer were not realized.
Next up:
Finish blocking in the black areas, do any needed touch up, clear coat, and then initial assembly can begin.
That looks great! I’ve had some issues with Vallejo’s surface primer, but it’s not consistent.
I haven’t seen one of these kits built in a long time. I still have one in gerwak mode where I’m missing the right hand and gun to antiquity. I’m wondering if I still have the decals for it lol.
Anyways, sweet project! How many of these do you have completed?
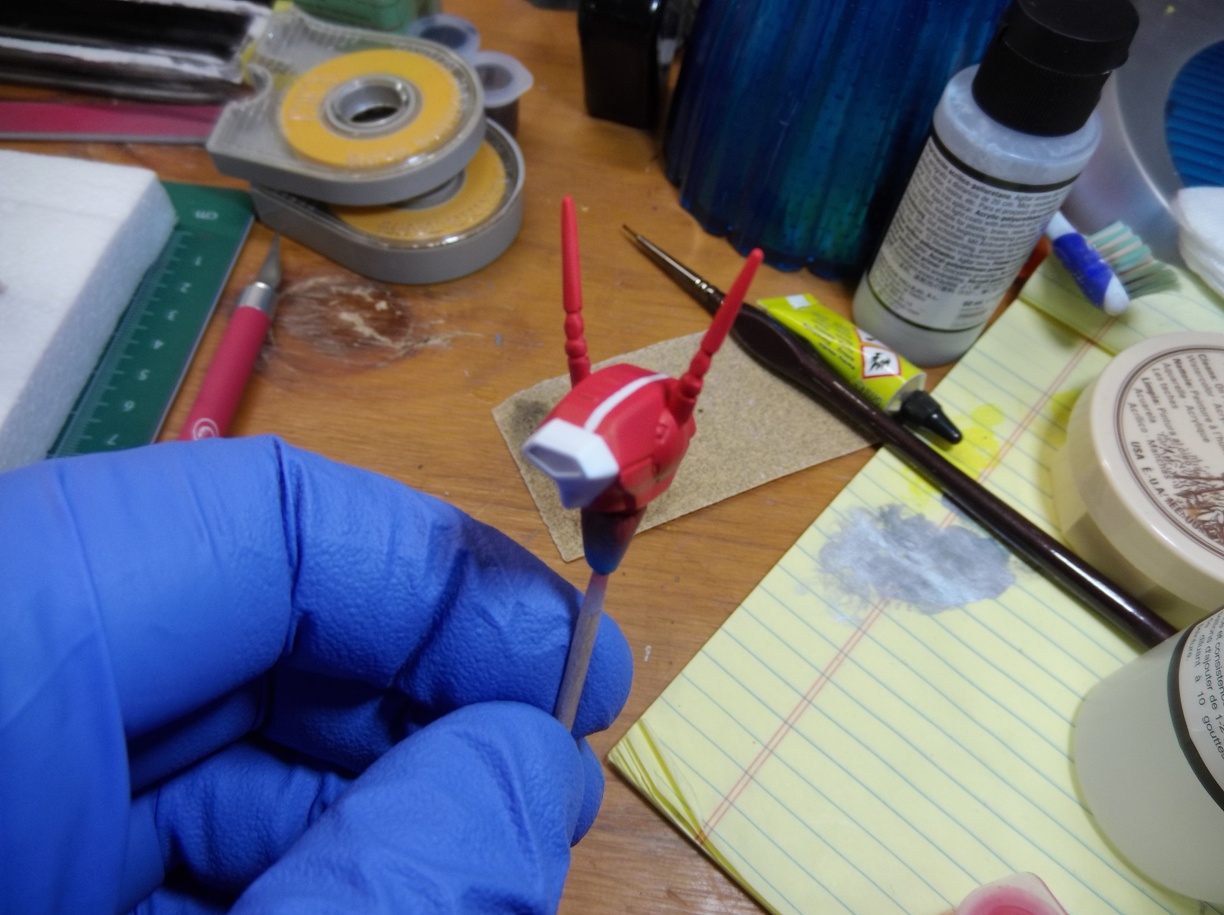
I have discovered Vallejo paints are sensitive to surface contaminants. I now wear gloves when doing any work on the models and it seems to have greatly improved the adhesion of the paint.
I probably built 5-6 of these way back when. None survived the trials time.
Since resuming the hobby 2 years ago I have built three the ARII models. A VF-1D Battroid, VF-1A Gerwalk, and a VF1-A fighter.
This VF-1J battroid will be the fourth but the first to be airbrushed.
I rarely get masking to work out that well. I don’t get much paint to peel up, just leakage under the mask. I’m tried lower spray pressure and carefully spraying away from the mask and I’ve been having much better results.
Thank you very much! Glad to hear those 3.5 hours were well spent!
I’ve read a lot about masking and ways to minimize color leakage and tried to use them all including everything you mentioned. Still had several spots were more a good amout of clean up was necessary. You can spot them in the photos if you’re looking for an eye spy challenge.
I’ll be getting plenty more practice in as the forearms and legs progresses.
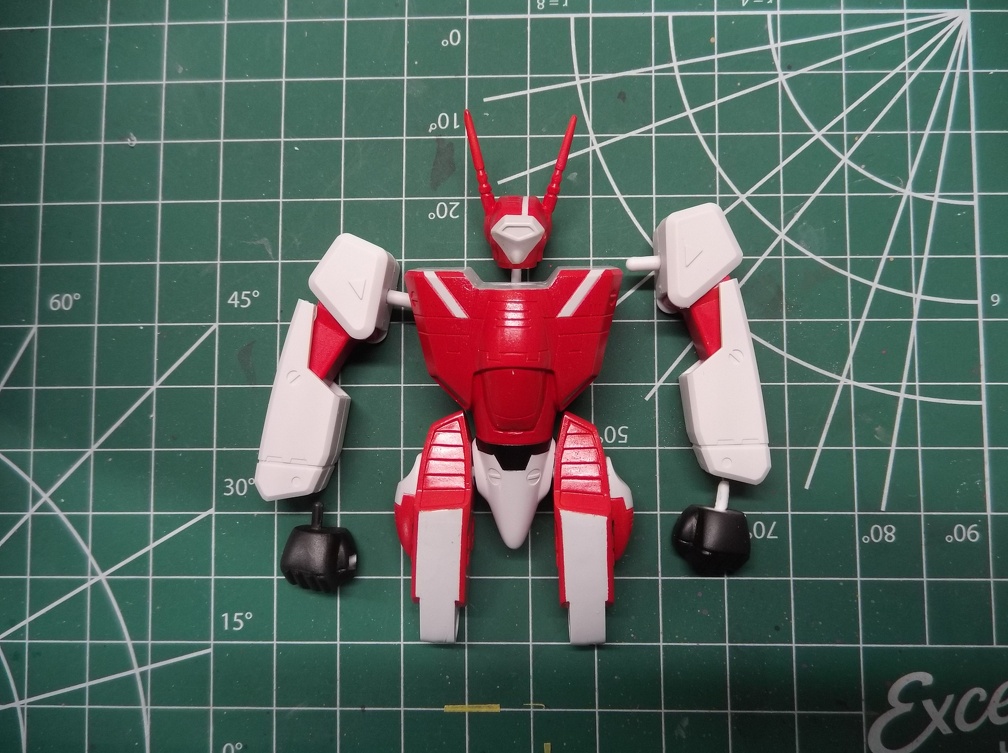
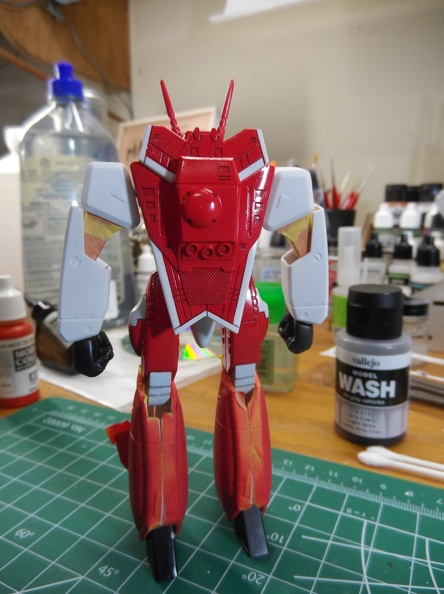
Gloss coated and test fit with foream and shoulder pieces.
Thought I would take a photo of the loose fit to give an idea of where this is going.
Was originally going to do the forearms in red but I am liking the current color scheme and may stick with it.
I used Pledge Gloss and not sure if I like it this glossy or how it is going down. I chose the PG because of the “self leveling” feature. Not sure I am seeing that. I am getting this uneven pebbly texture and in some places what looks like crazing.
Appreciate any thoughts the group may have on this unexptected behavior from the Pledge.
I tried Pledge as a gloss overcoat a few times and got the same pebbly ‘orange peel’ look. So I stopped using it. I’ve heard it’s ‘self-leveling’ if you brush it on but I like airbrushing to get a nice even overall coat.
Pledge is officially on my limited use list now. It does not react well to Vallejo thinners. Thinned some model color with airbrush thinner to detail a section and everywhere it touched turned into a gooey mess. Been cleaning up the aftermath.
Maybe it was a weird set of circumstance that caused it or carelessness on my part. Regardless, done with the clean up and moving on.
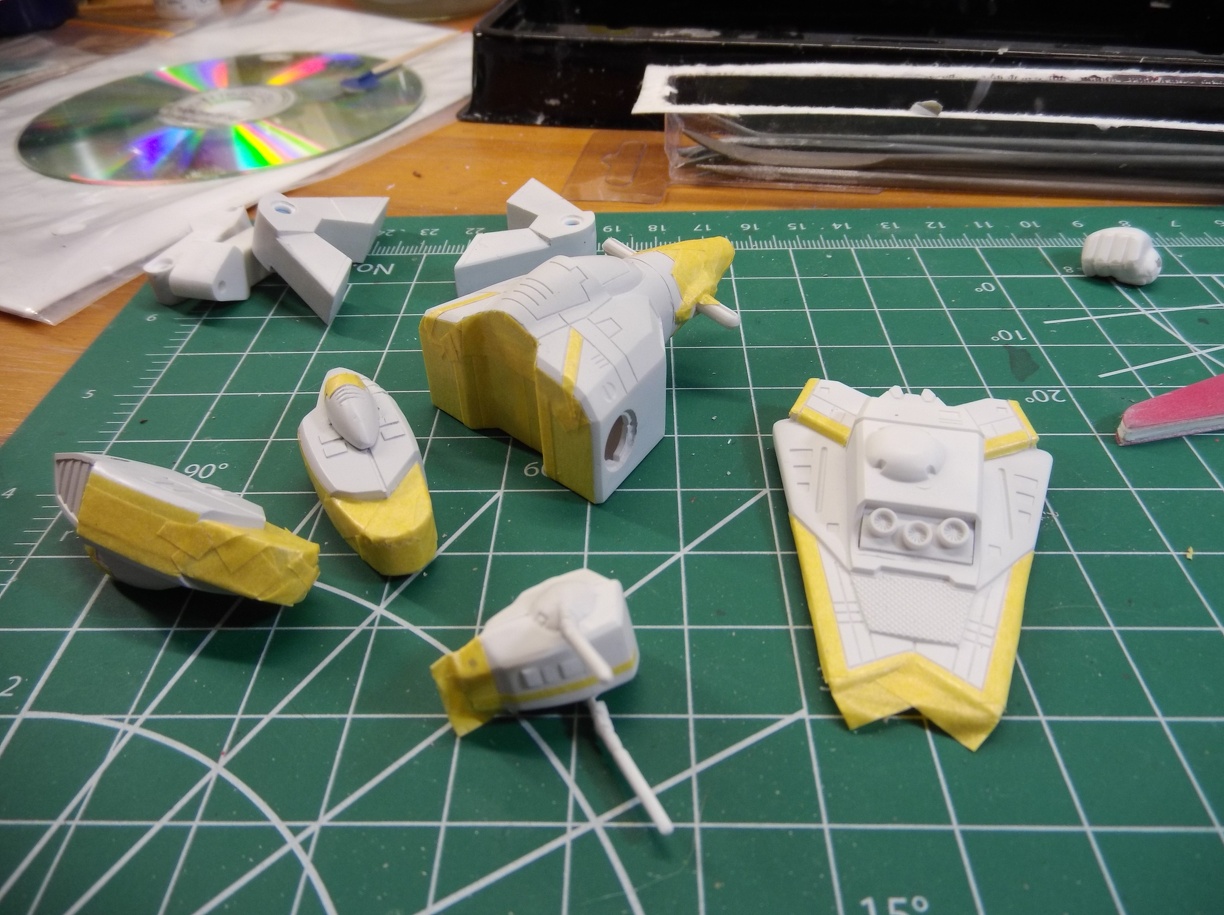
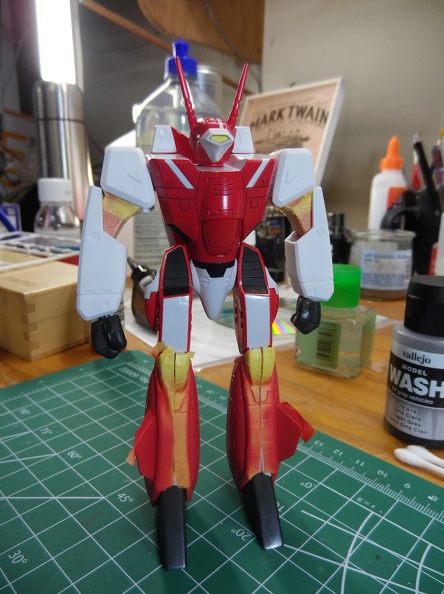
Legs masked and painted. Forearms and shoulders seams cleaned up and filled. Arms need another coat of the white grey before removing the mask on the red.
Photos of test fit. Masking not yet removed on the legs.
Like how the head and visor turned out.
Panel lines were done with a light grey pin wash. I think the subdued color looks better. A black pin wash would have been too dark.
Thinking of repainting the hands in red. The black doesn’t flow with the rest of the color scheme.
The high gloss isn’t working for me. Will try the final clear coat as a satin.
So it’s been a rather frustrating couple of days working on this.
Final check before disassembling the legs for a clear coat.
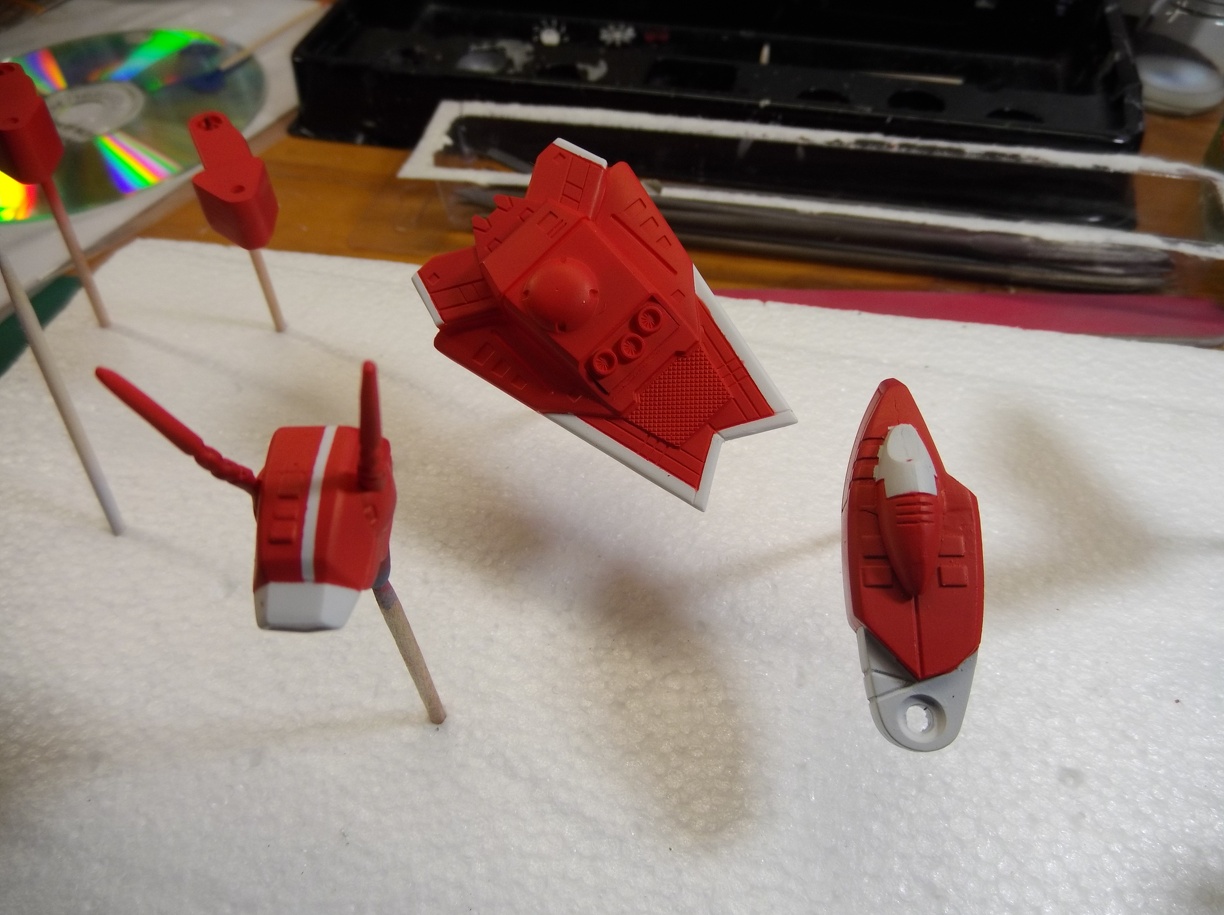
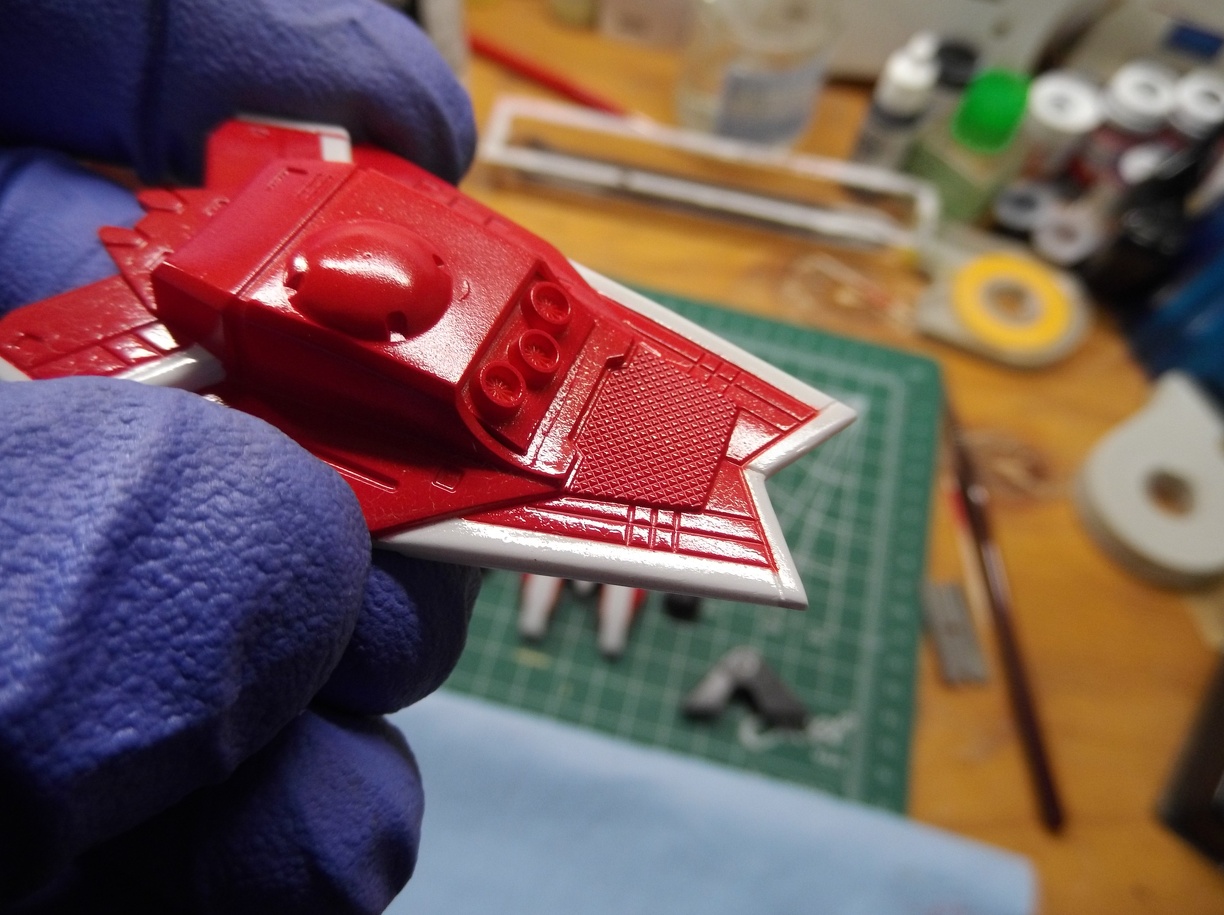
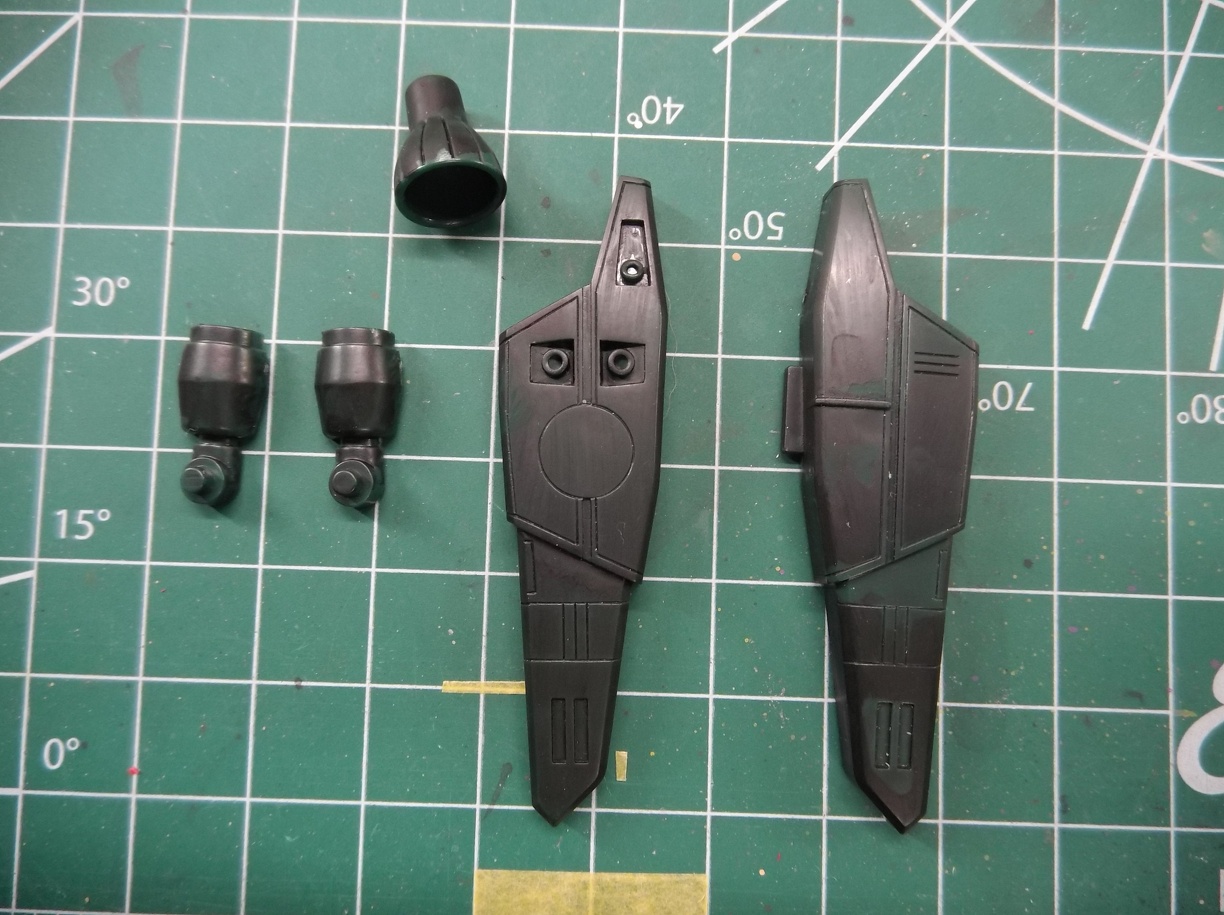
While that was drying I started in on the build of the fire extinguisher backpack.
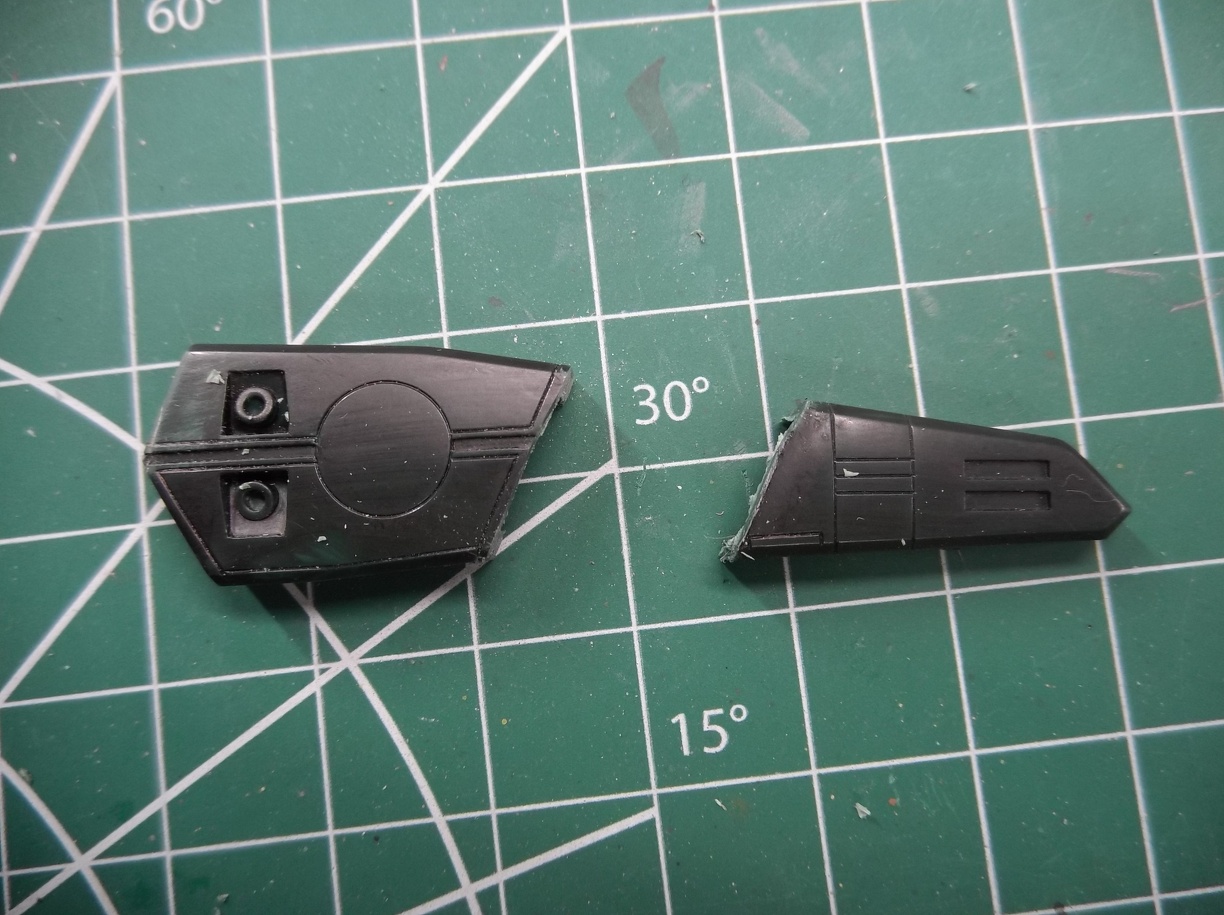
This is going to be hacked from parts of a Super Valkyrie kit.
These packs are attached to the back of the robot. I am going to try and use the attitude jets as connectors for feed lines between the two pods and the foam dispensing gun.
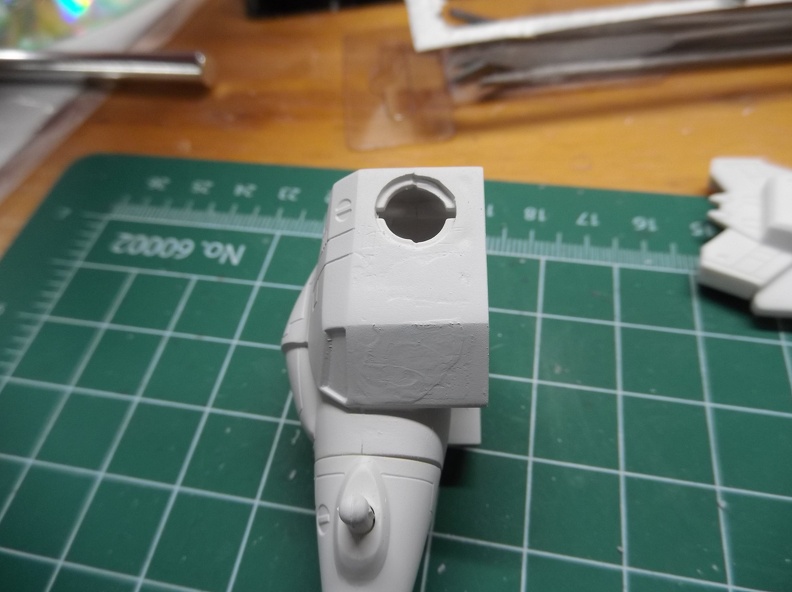
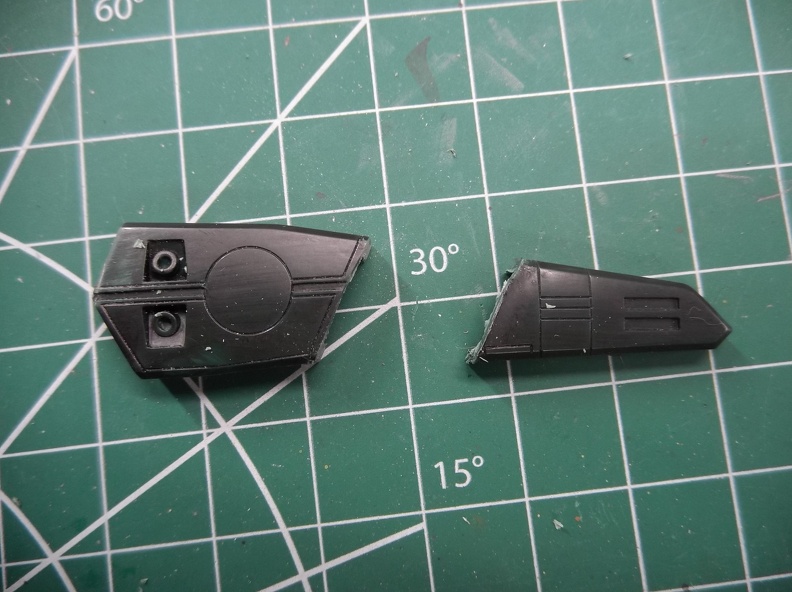
Didn’t like the bit that stuck out so hacked it off
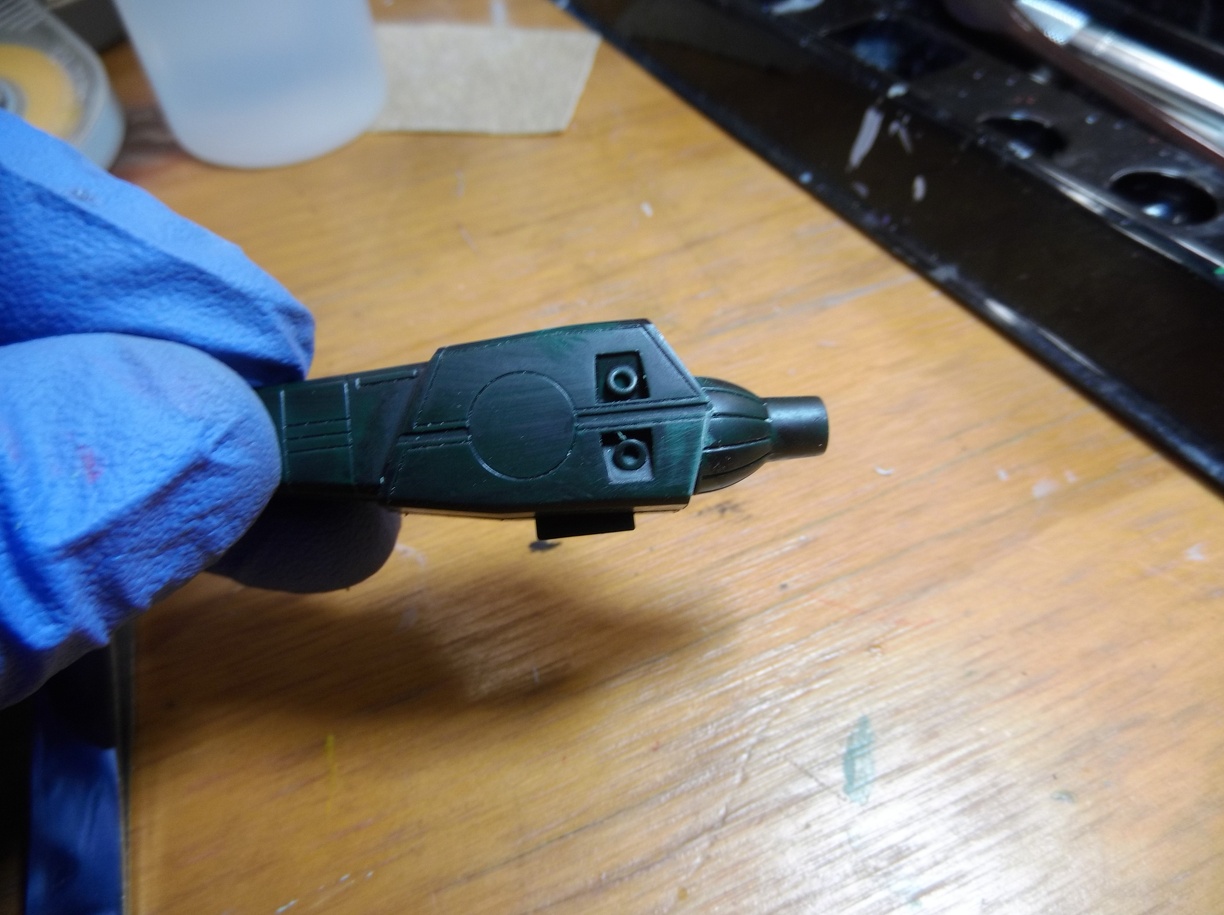
The original part was fitted for a different model so cutting having to remove some of the raised detail to create a better fit.
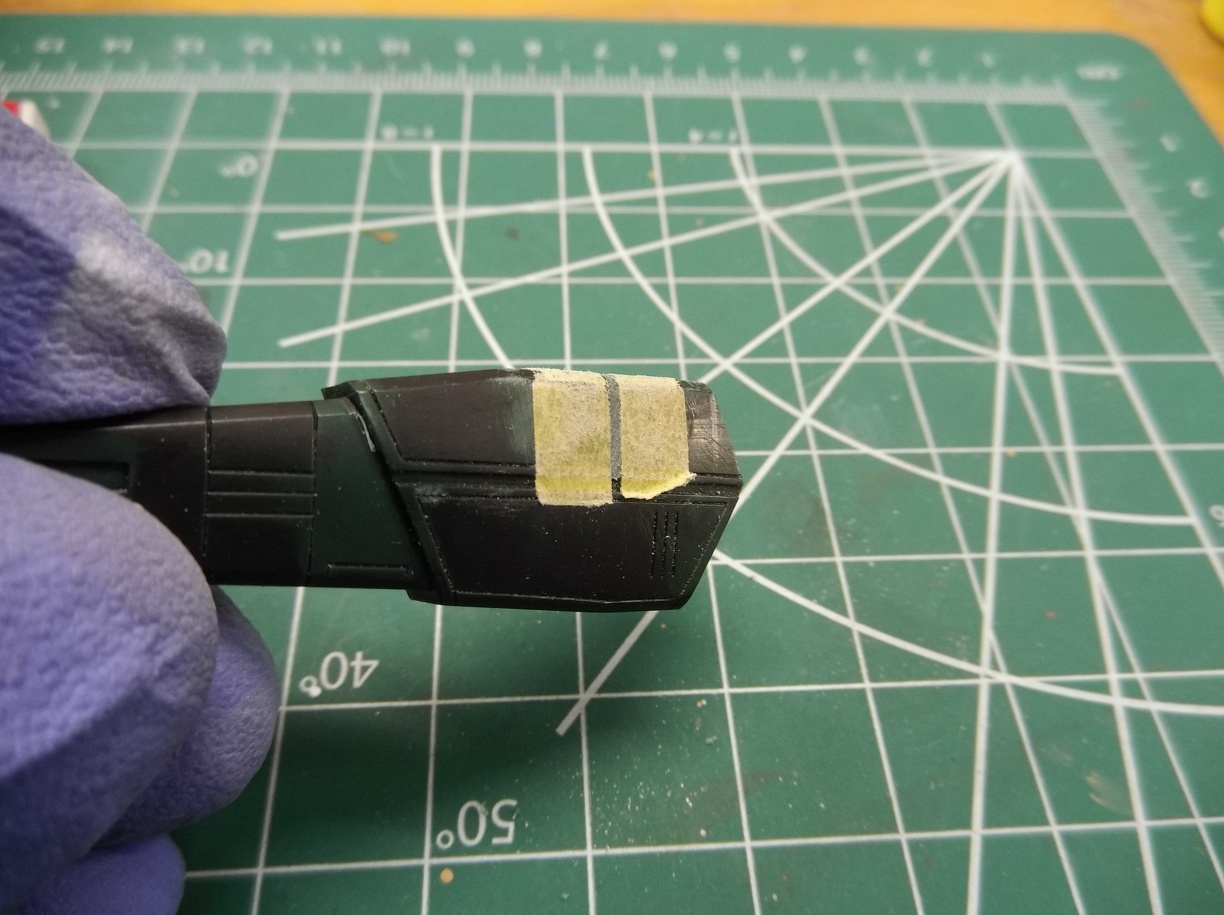
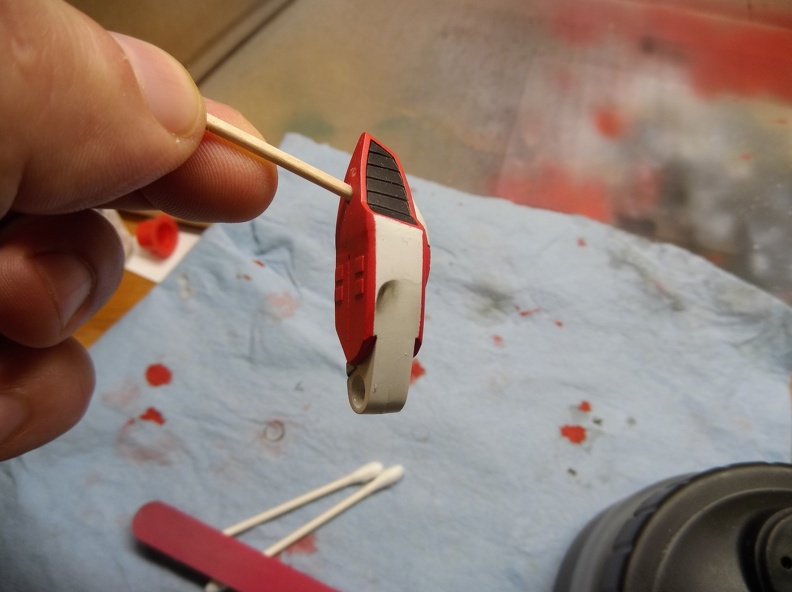
used the tip I learned from FSM to mask around the part to minimize loss of detail. Had to remove it to take off the remaining stub.
I have plans to further mod this so it looks like there are pressurized tanks in the pack. That means removing more of the existing structure.
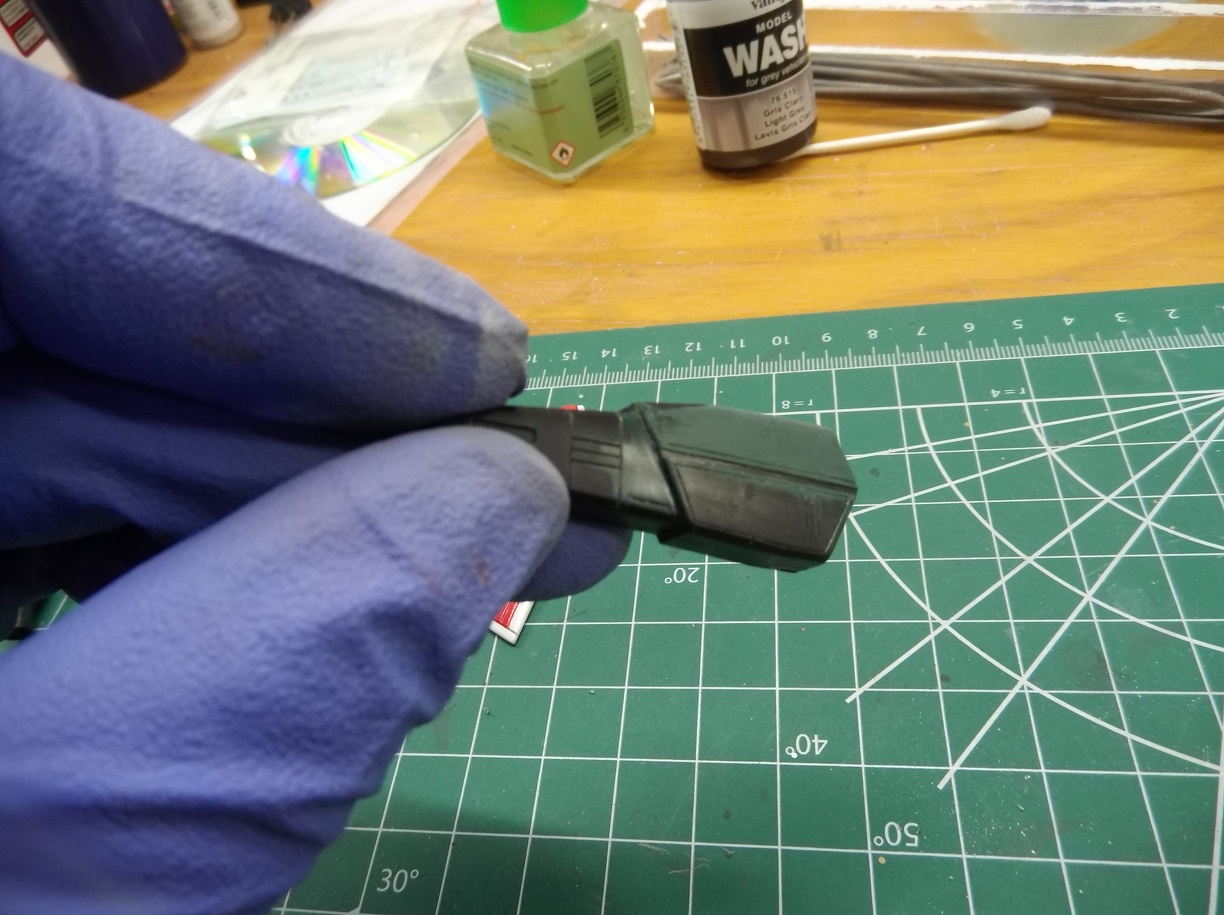
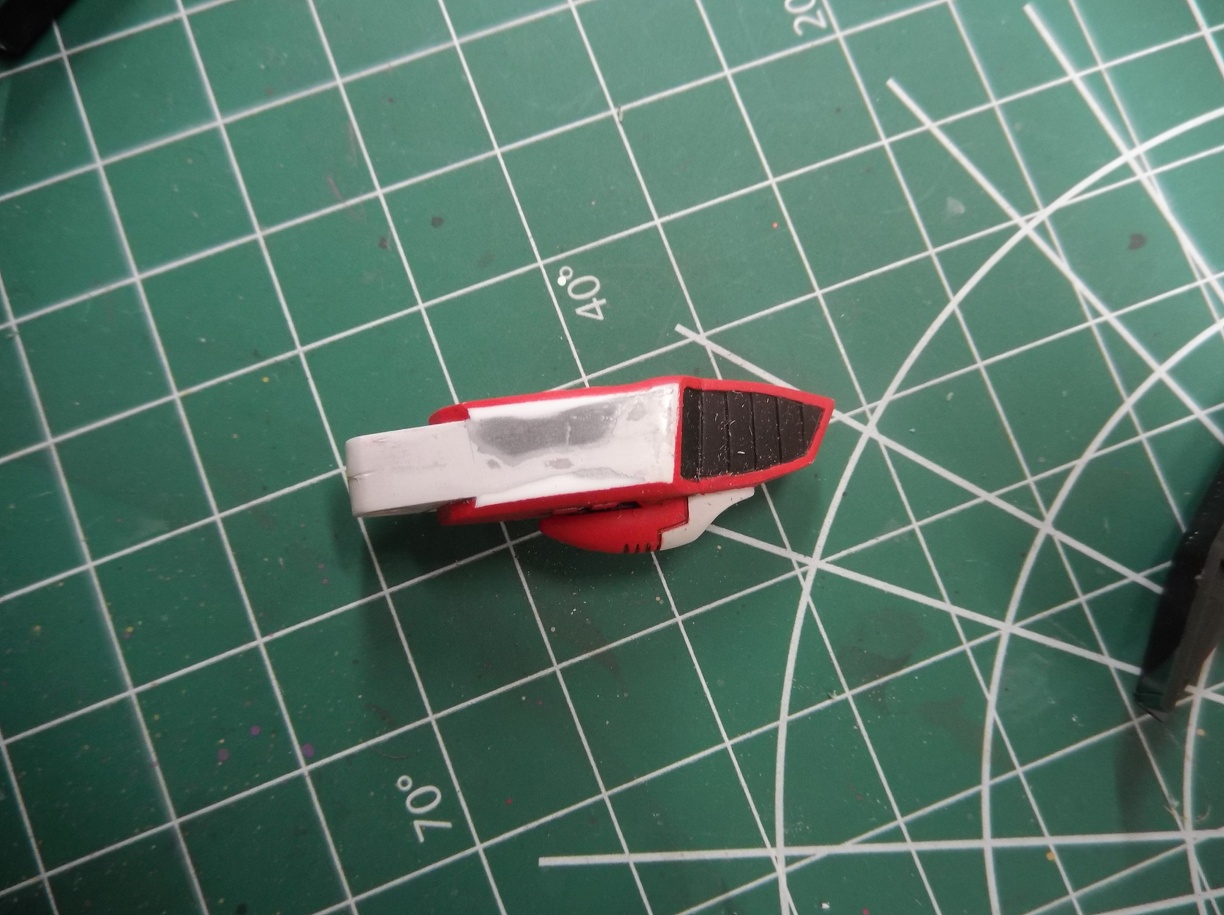
Got that final bit removed. But broke three blades doing that to get both sides. I kept binding the blade in the created gap while I was scraping out the plastic. A fine tooth saw is on my wish list.
Haven’t done any scratchbuilding before so no styrene bits available to use. Went to the hobby store to pick up some cylinderical styrene. Came back, wrong size. Measured. Went back. Wrong size again. Sigh. One more trip in my future.
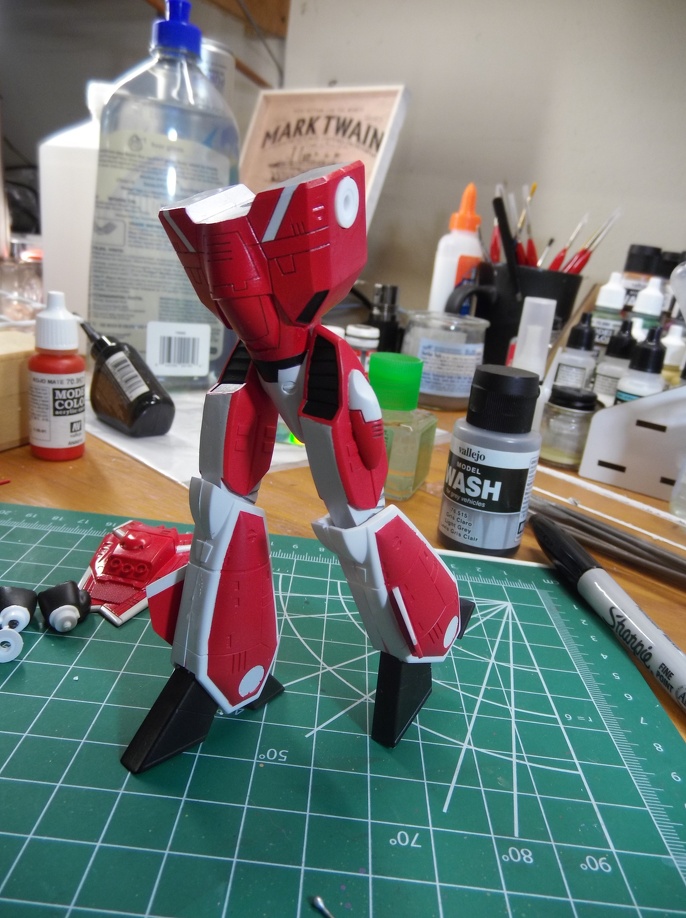
So while all the above was happening the clear coat was drying and since I couldn’t work on the backpack, went to work more on the legs and found this.
No idea where that black stuff came from but it wasn’t there when I put it down and I can’t find what it may have come in contact with.
Started to sand it off before realizing it wasn’t hard but gel like. Gunked up one sanding stick with it. Had to use a rag to rub off most of what was there which peeled up the paint.[bnghead]
With lots of cleaning and sanding got it back to this.
Taking a break from the comedy of errors that was the last couple of days.[:(DD]
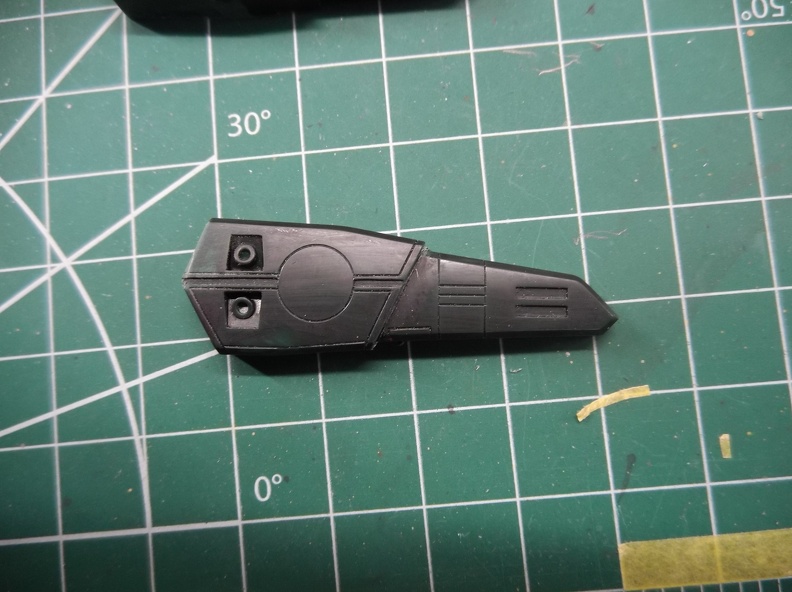
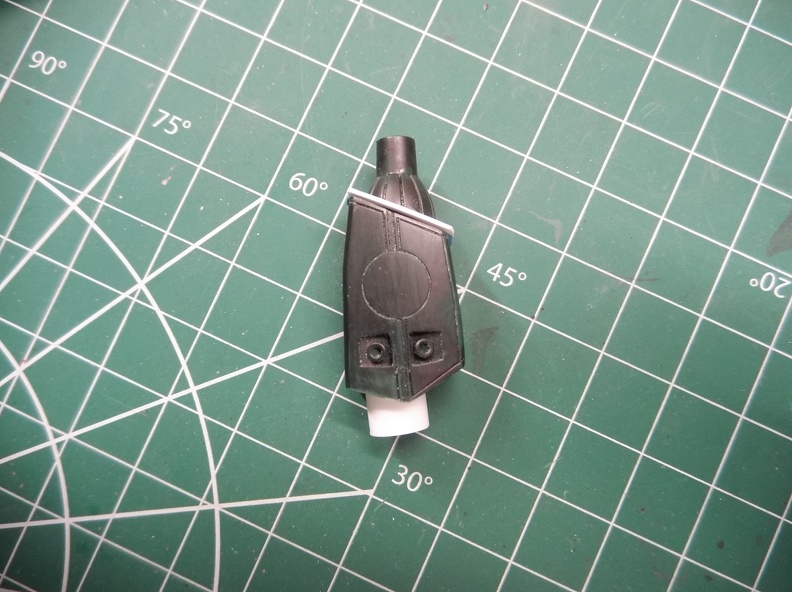
Layout of what it should look like. The image on the right has the pieces held together with poster tack.
Sanded the topof the cylinder so it matches the angle of the top. That way the cylinder looks as if it is poking through. Not sure I like the length of the cylinder. Probably make it longer so the pack has a more balanced look.
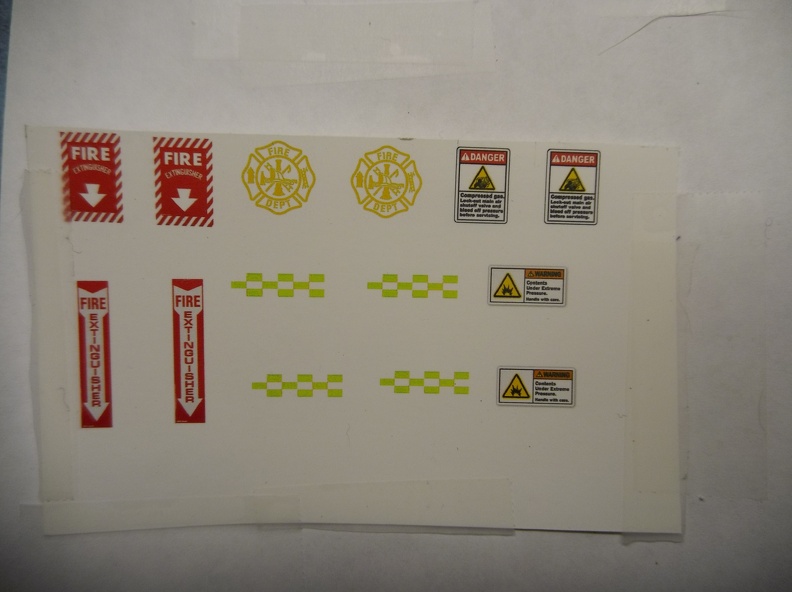
Decals I printed for the model. Thought it would be amusing to have some fire extinguisher and warning signs on it. [:)] Will probably reprint the checkering as it came out more green than yellow.
Lucky to have an old copy of Photoshop Elements as I was able to use calipers to get the sizing and Elements can resize images based upon inch measurements. Saves on a lot of trial and error for fit.