Yeah that’s about what I figured. The Achilles uses them on the turret and front glacis, but all the side ones have to go (except on the Canadian version, where they still have to go, but it still uses lugs, only in different places…).
How are you finding the M10? And whose fenders are those? My Eduard PE set includes fenders, but I’m not sure that I’m quite up to that kind of challenge yet!
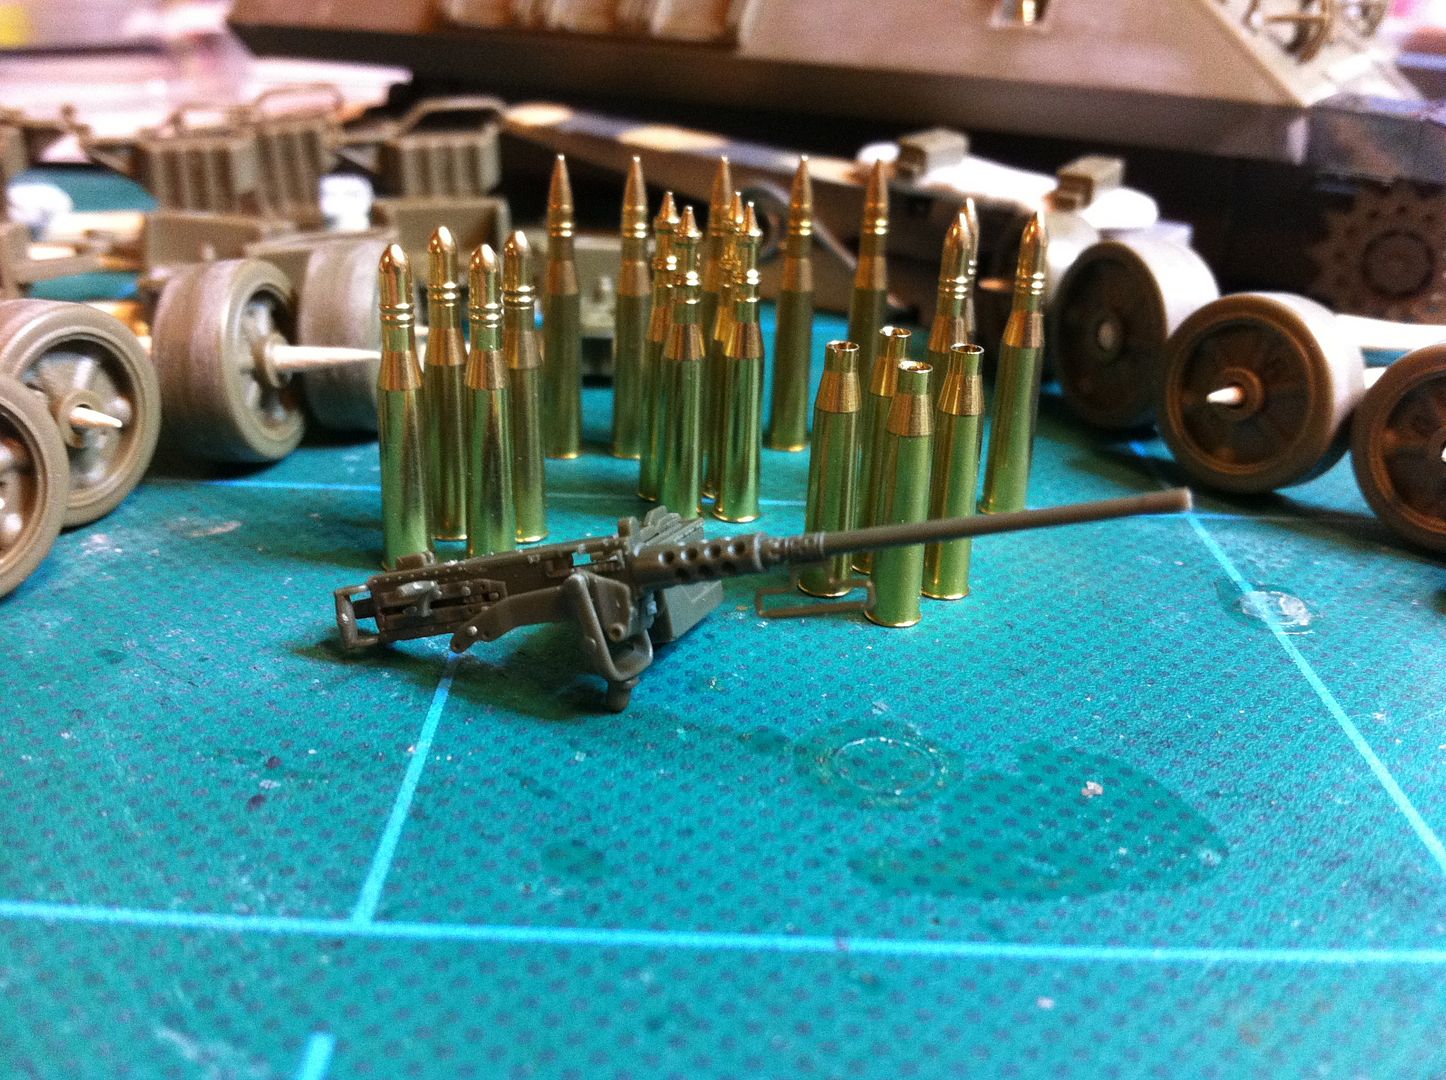
Doogs… I finished up my M-10 last spring… for the Winter weathering GB… I built the AFV club kit… added a resin engine bay and photo etch details… the PE wasnt bad at all… here’s a final pic… before I added snow…
p38jl - that thing looks fantastic! I’ve now got something to live up to!
Alas, not much work on the Achilles over the past few nights…the Mossie’s been getting its paint, and that’s been taking up all my bench time. Hopefully I’ll get to play a bit more tonight.
Also, anybody happen to know if the SCC 15/SCC 14 camoflage used a hard or soft edge? The painting guide is inconclusive and I can’t for the life of me find any archival images…
Thanks Dave! You know, I honestly have no idea why the weight’s there (while not on, say, Fireflies). I can only guess it has to do with balancing out the weight of the breech assembly?
So I keep revising my plans in how to attack this beast.
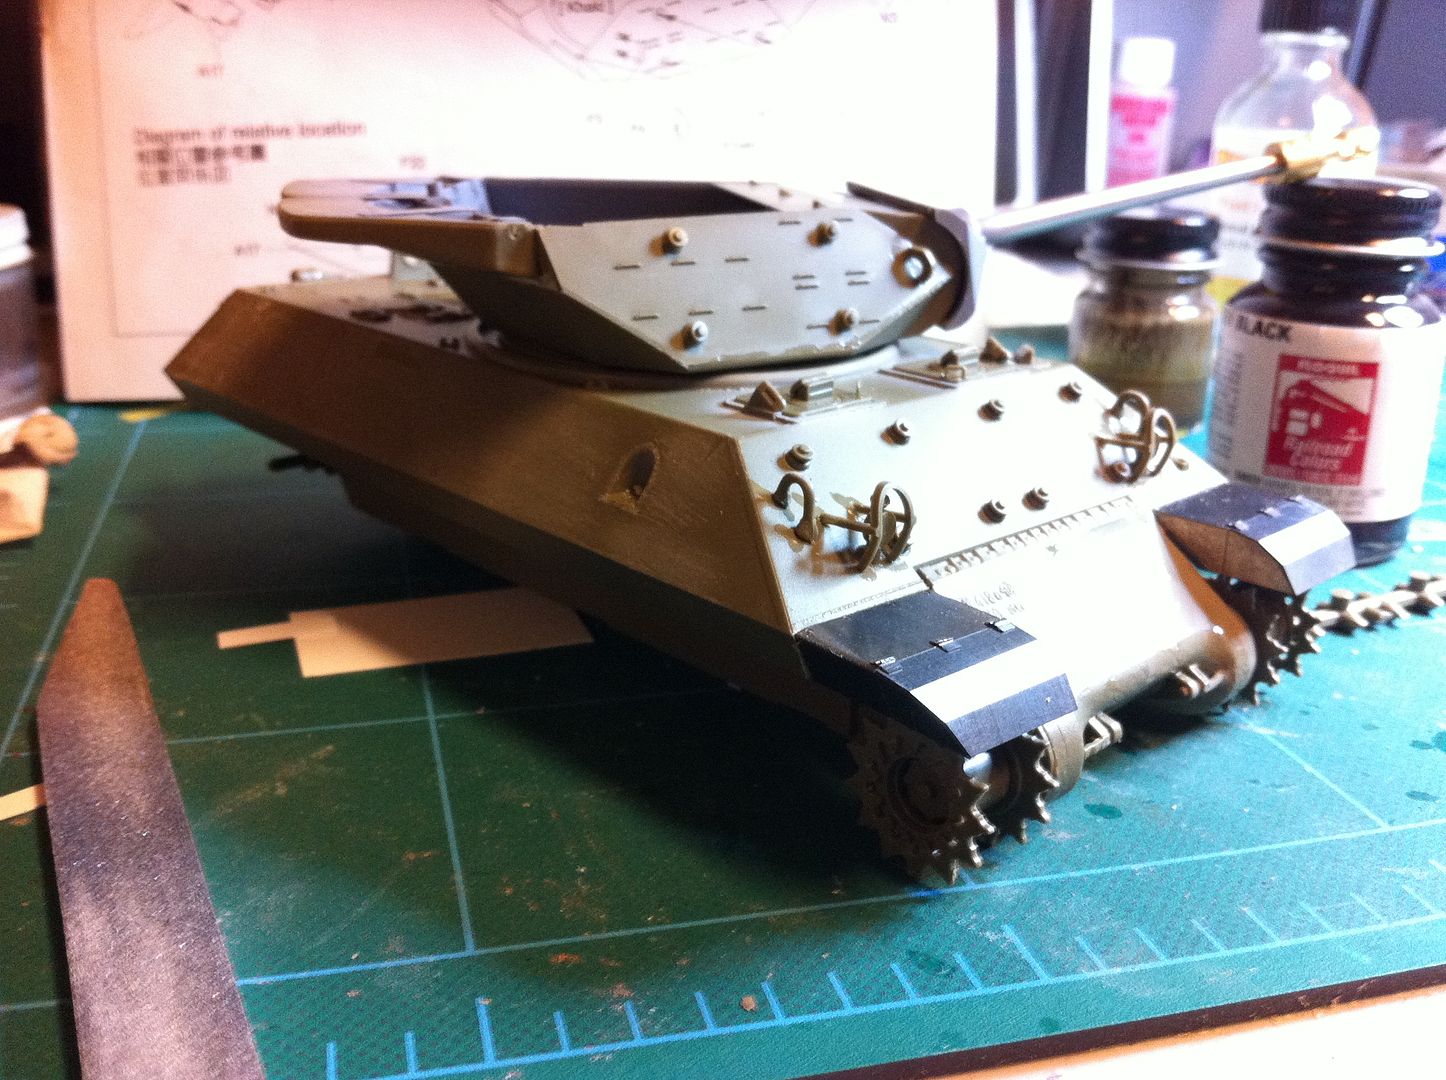
At the moment, instead of pushing on and painting the rest of the interior and the open turret, I’m going to complete all the construction I can. That way, when it comes time to spray the green, I can get the interior and exterior in one go.
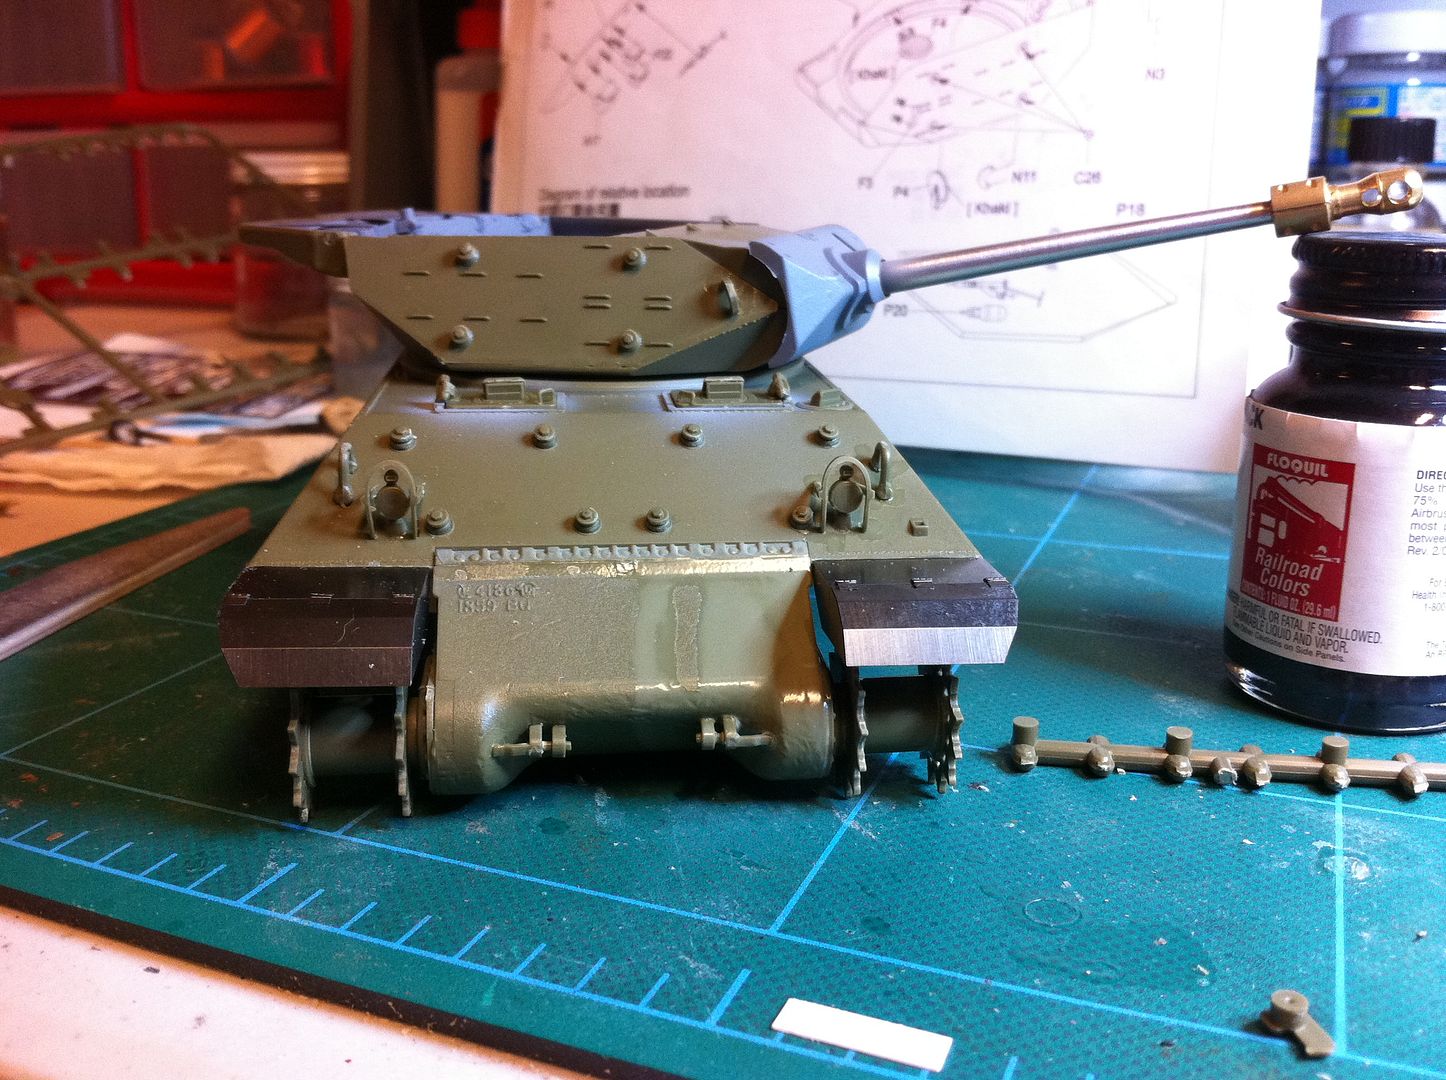
Also decided to get all ambitious and attach the Eduard PE fenders last night. They definitely look more to scale than the kit fenders, but there’s a slight problem - a gap between them and the main fenders extending back along the sides of the tank. I’m planning to glue a thin piece of card stock or something behind the gap, then use putty to disappear it.
You ever have one of those nights where nothing’s going right, you know you should just step away from the bench, but you stick at it and things get even worse?
Yeah.
Started out last night trying to decal the Mossie…but somehow the Future laid down very grainy-like. Polished a few areas down went to go apply some decals, and the Micro Set lifted the paint. Umm…what?
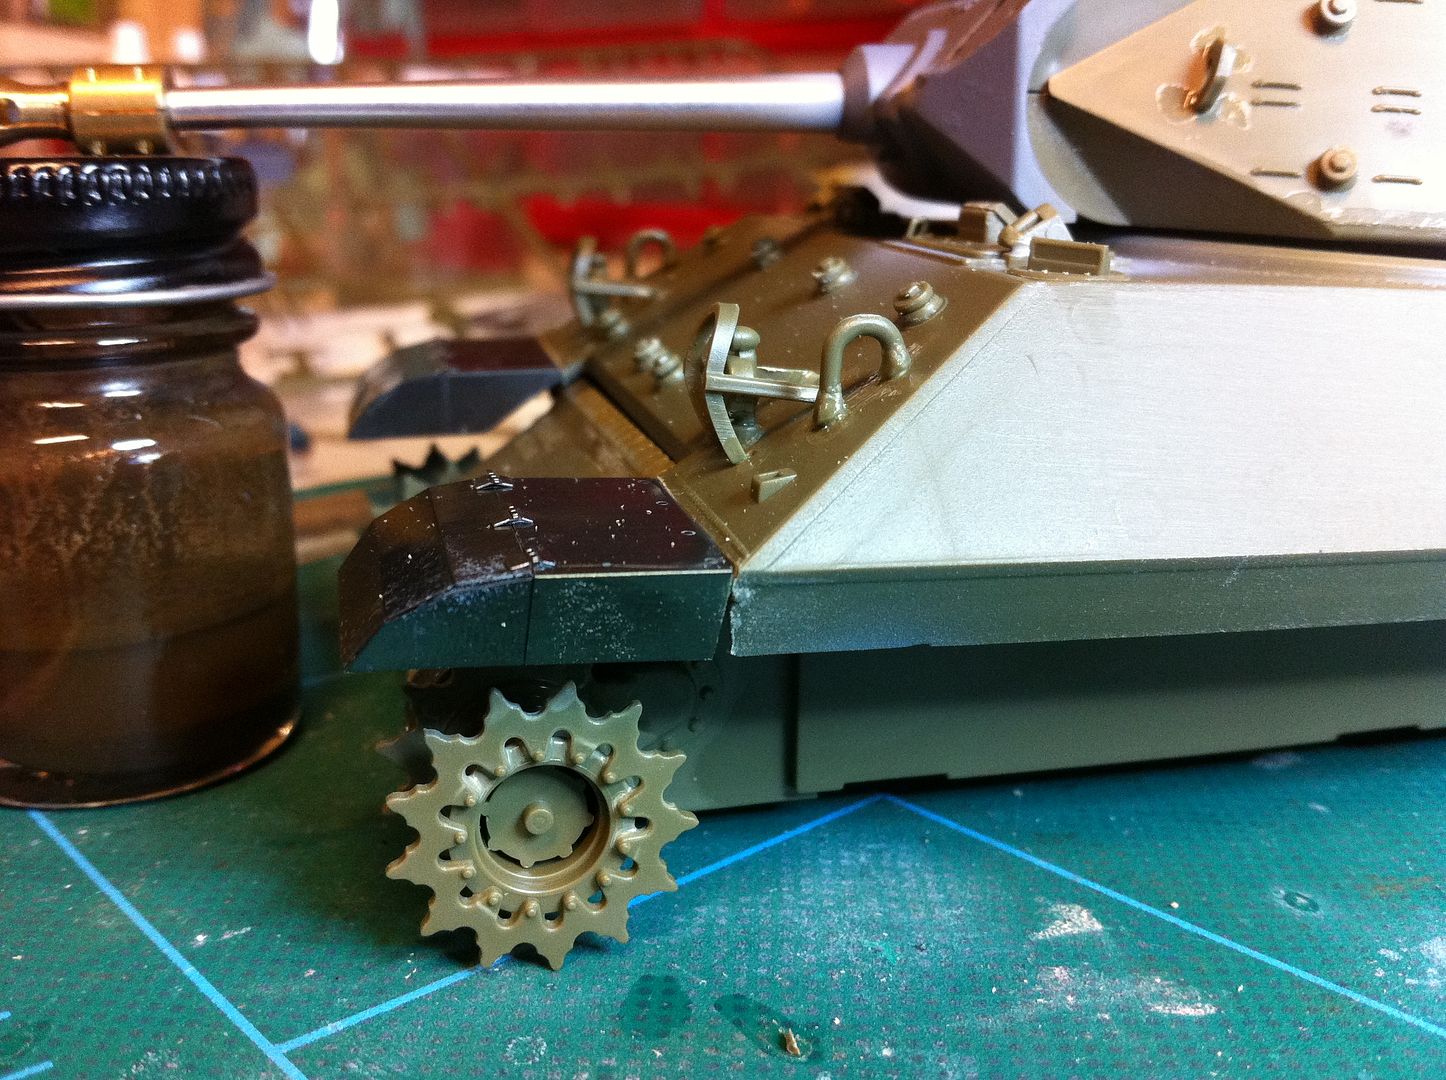
So I set that aside and moved on the Achilles. Trying to get it as built up as I can before painting. Kept battling the concrete monster all night…then managed to knock over a bottle of solvent. Which spilled all over my cutting mat. And the lower hull of the Achilles. The transmission cover took the brunt of it…and one of the drive sprockets is now locked down, never to move again. Could’ve been a lot worse, but still…
On a more positive note, FedEx just brought me a Dragon Firefly Ic Hybrid and RoG’s new Arado Ar 196!
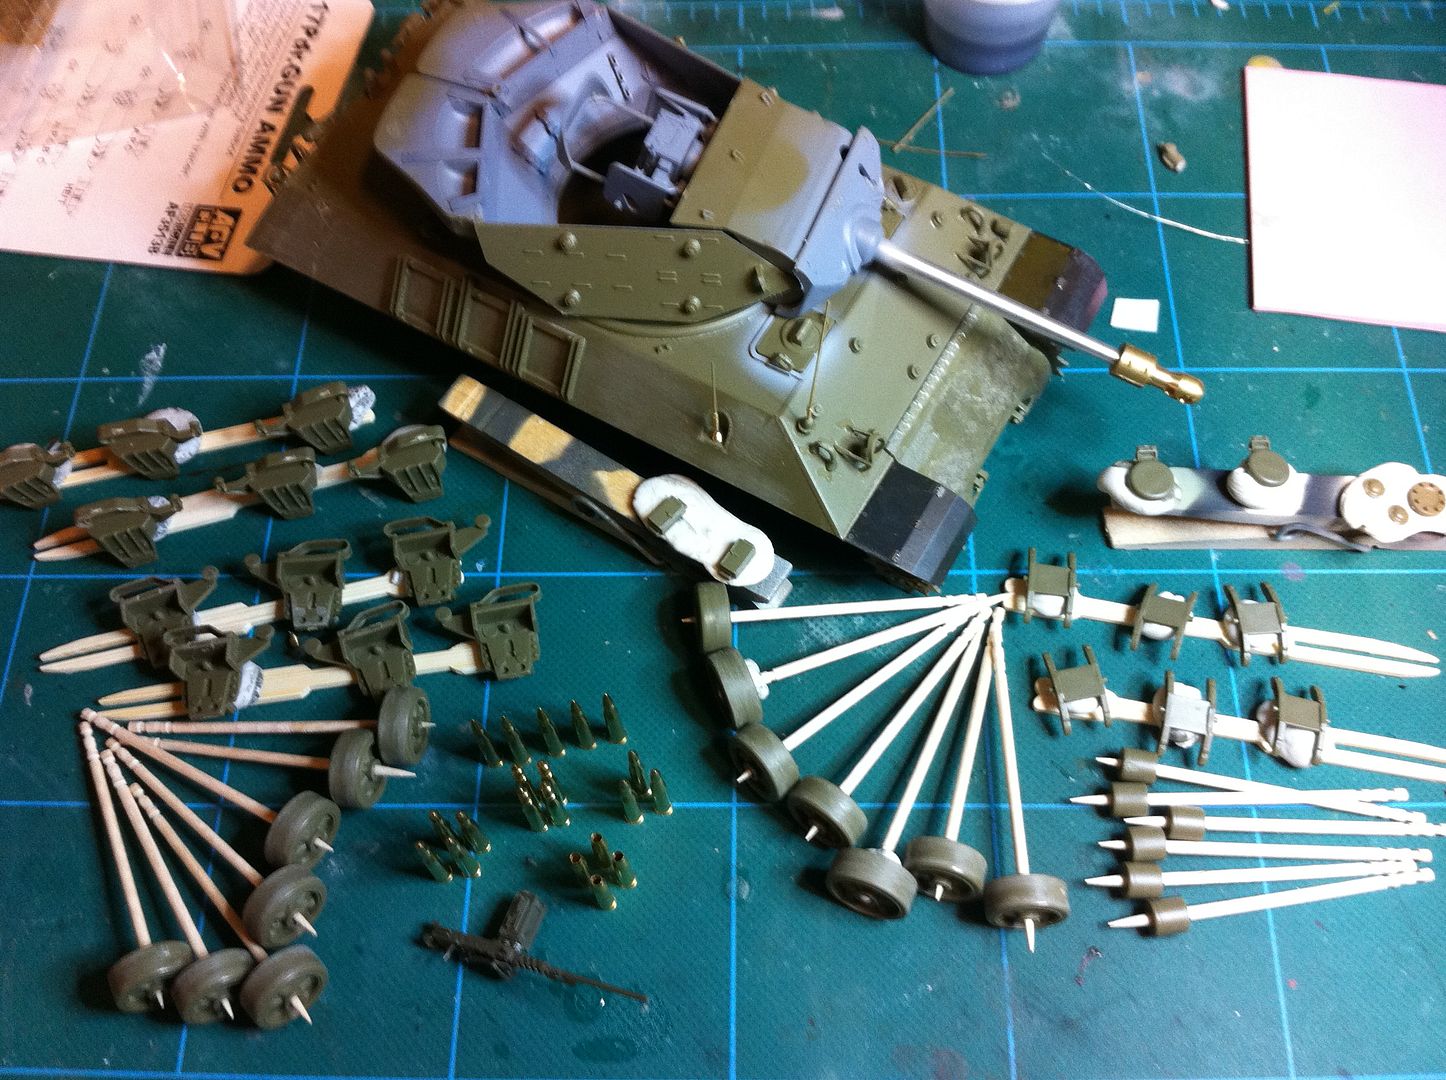
You got me motivated to go and dig my Achilles out of the stash and start on it, it has been there for quite some time. Everything is pretty much straight forward, I have the hull done and am starting on the turret but it seems that there are 2 sets of turret walls, the instructions say to use the P sprue parts and nothing said about what the A sprue parts are for. Any idea what the story is on these.
That was my thinking as well! Typically, I’d consider such a thing an extravagance, but since they’ll be so prominent with the exposed turret, I figured they’d be worth it.
Sorry to hear about your accidents but she’ s coming along great Doogs. I love those PE fenders, despite the gap problems they look a great deal better than the plastic ones.
I actually ended up making lemonade out of the Tenax spill and used it as an excuse to experiment with using solvents to enhance the casting texture on the tranny cover. You can kind of see the results in the lastest pics I posted.
Have to agree about the fenders…I ended up just welding small strips of plastic into the gaps. Working on sanding them so they blend in with the side skirts a bit better, but already a big improvement.
I’m itching to get cranking on my Sopwith Pup, but I’m determined to get this thing into paint first!