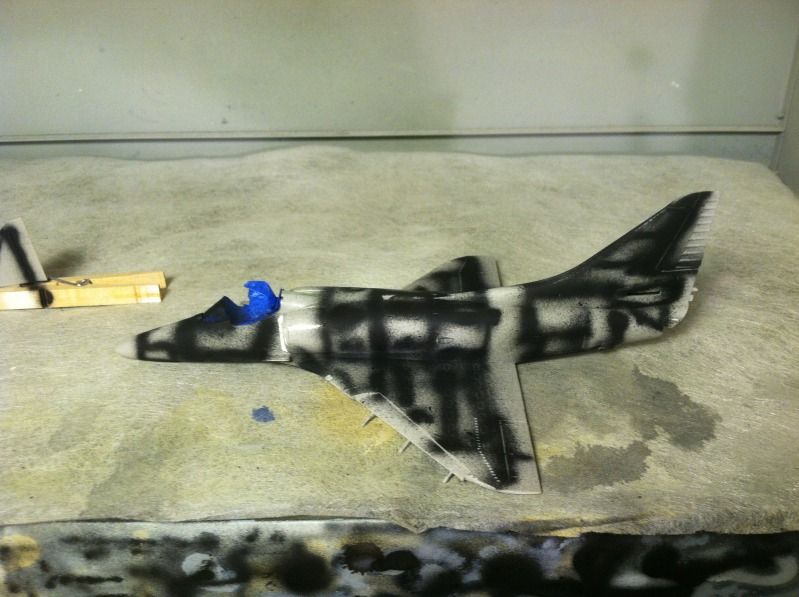
About a week and a half ago I got the white bits painted (but didn’t, for whatever reason, feel it photo-worthy). Today, I did my preshading… still heavy handed in spots but I feel like it’s progress from the last project (which, truth be told, didn’t turn out all THAT bad…)
Been a crazy month or so (two last half marathons of the year, a wedding to go to, a couple NFL games - including tonight - to go to, and of course gift shopping and the annual party circuit… where I won third place in an ugly sweater contest, but I digress).
Anyway, haven’t had a lot of time to get on the boards but I HAVE managed to tinker away at this project, and thought I’d offer a quick update before hitting the road for tonights game in Seattle and then over the mountains to visit the folks and my sister.
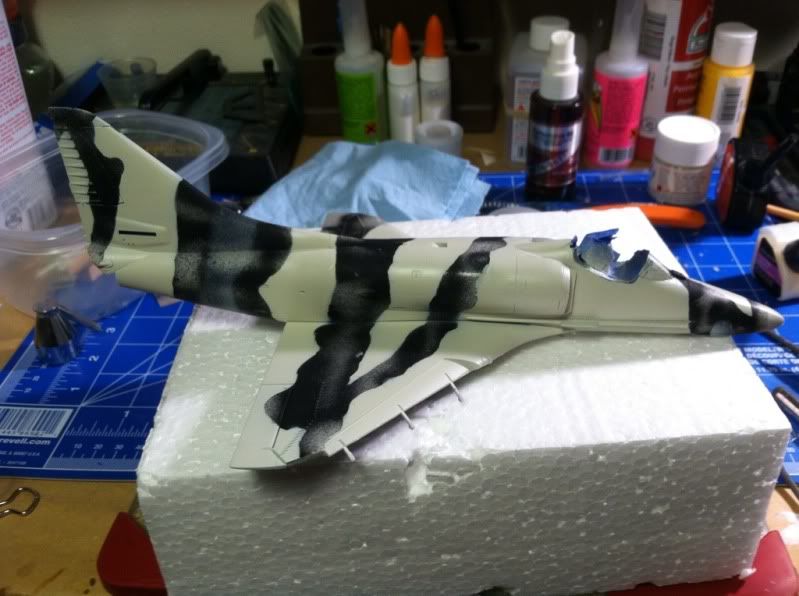
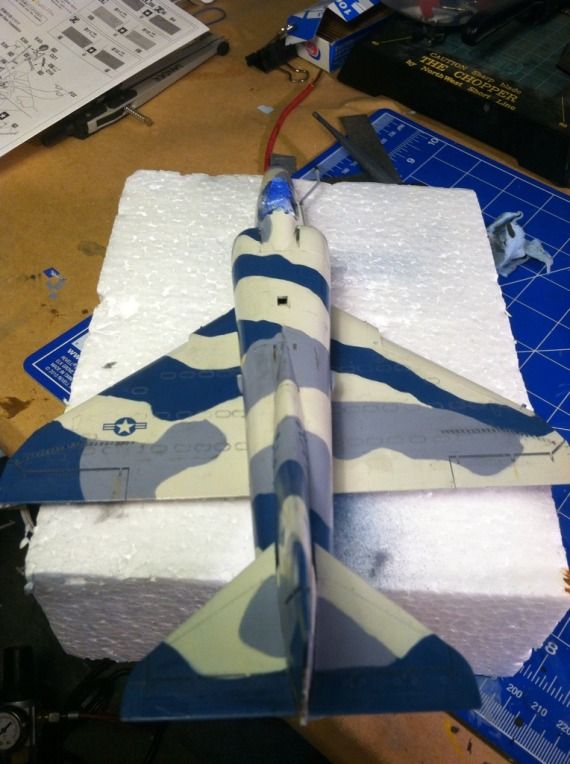
As you can see, the major painting is done:
Now, my camo masking evidently didn’t survive my hiatus intact, so I’ve got a little touching up to do - but when I’ve got that done, I can get the first clear coat on and press ahead!
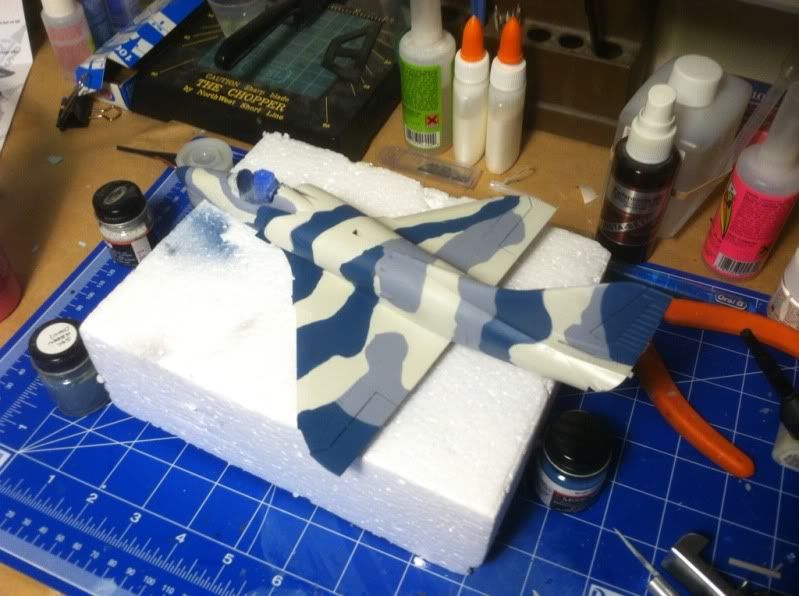
I have been looking for a colorful scheme for an A-4 “Mike” and the blue/gray aggressor scheme hits the spot. Many thanks for the reference photos. Anyone know the FS color #s for these aircraft.
Managed to carve out some time to apply the first coat of Future (which I didn’t really figure was photo worthy, as nothing has really changed - it’s just shiny).
Strangely the Future didn’t go down as smoothly as it normally does for me, but between me being able to wick away most of what ran (?!) and its self-leveling properties, it seems to be turning out OK (I shot it an hour and a half ago). Plus, I figure with another coat of Future to come and then a dull coat, there’s ample opportunity for the finish to get evened out.
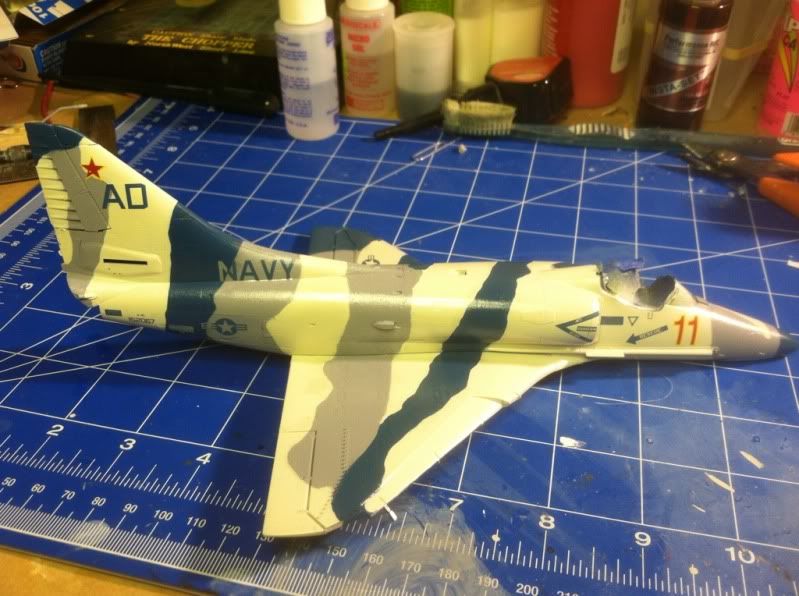
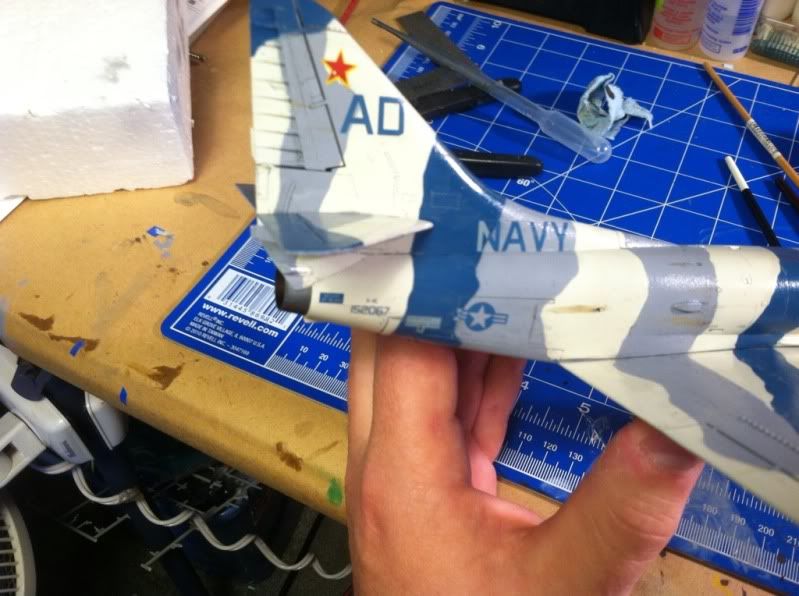
Still going. Had the chance to sit down and get some work done this afternoon after a training run (my first half marathon of the year is next Sunday!). I was supposed to help my girlfriend shop for a new TV since her old one died, but since the federal governments fiscal woes mean she will probably be furloughed for 22 work days soon (we’re hoping it will be spaced out), she decided to defer the purchase. So, modelling time for me - and decals are finally on. Being a fairly uncomplicated adversary scheme, I could knock it out in one session - not one ‘sitting’ as i had to get up for more beer a couple times…
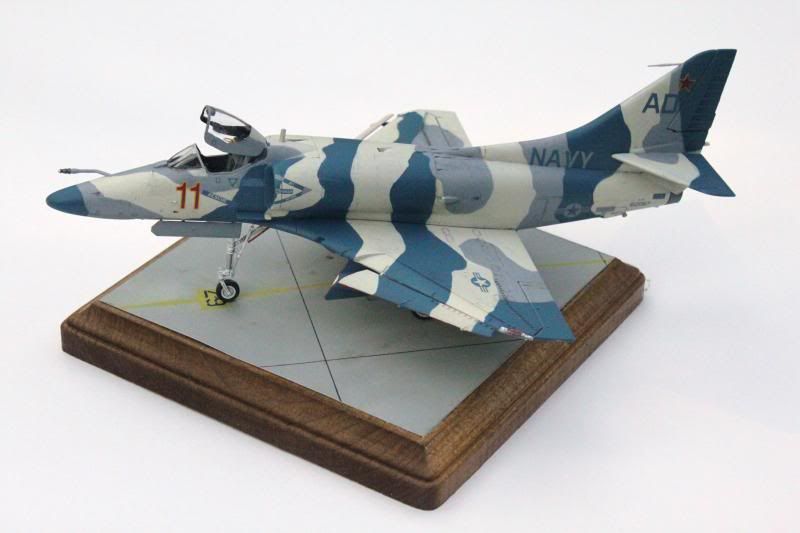
As you can see, on the left side forward of the intake, that blue band is too big so the end of the ‘RESCUE’ arrow kind of disappears. However, this is the first scheme I can remember doing where multi-part decals cross color demarcations like in this one, so if that’s my biggest faux pas, I feel OK about it. How the intake warning, ‘NAVY’ titles, and national insignia (fear not, after seeing the picture, I fixed the one on the right speedbrake before it totally set) all came out makes me pretty happy!
A long overdue and, regrettably, incremental update - panel line wash and some artist oil weathering, plus the exhaust painted (Testor’s Metalizers on both inside and out).
Next up is replacing the mounting brackets (for lack of a better term) for the slats; as you can tell I broke quite a few off during the painting process. I figure I should do the replacement work before attaching things like landing gear and doors. I’ve got a plan - the brackets themselves may not look 100% accurate but will be close, and stronger, and any glaring inaccuracy will be hidden under the slat itself. Wish me luck…
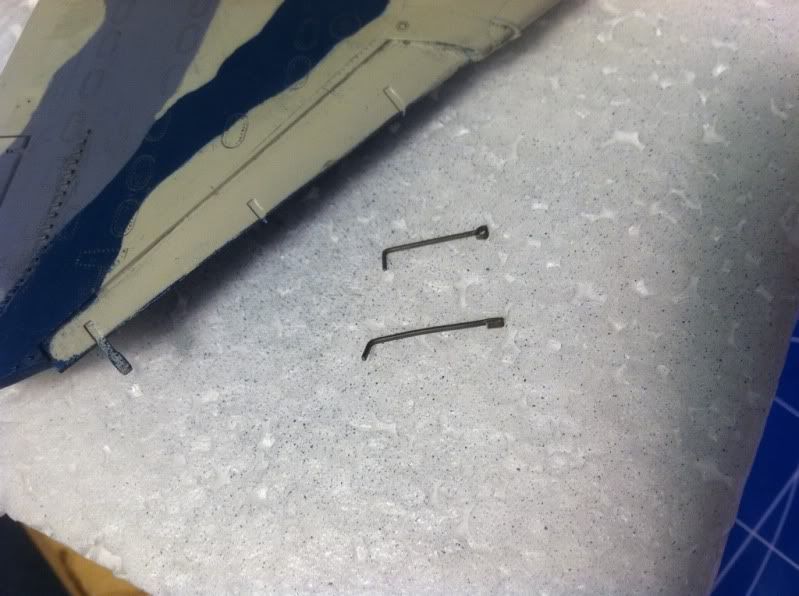
The solution for the missing slat racks turned out to be handrail stanchions from an HO scale model railroad locomotive. The metal is soft, so they eyelet at the top was easily flattened to make a mating surface for the slat itself. The angled part was just snipped off.
Then they were just inserted into the wing after drilling out where the kit slat tracks broke off. In this picture you can see the first replacement I made compared with the sole surviving kit part on the right wing.
After painting them to match the wing around them and mounting the slats, everything should blend in nicely.
Rather hard to believe it’s been 2 months since I’ve posted an update - life has indeed been keeping me quite busy (though for the most part with GOOD things, so there’s that).
Work on this project HAS continued, though as I got into the installing details (and repairing damage done whilst building) phase, there weren’t many truly photo-worthy milestones. However, all the small stuff is on - flaps and slats, landing gear and doors, and antennae. Clear parts were unmasked, and survived their excessively long time under tape. Lights, and protruding cockpit details like the ejection seat handle and the control stick, were all installed.
Which brings me to where I am now, which is the point of having to make something to conceal the fact that I completely forgot to add weight to the nose of the airplane. If you look at where the main landing gear of the A-4 is, it’s much of a stretch to see how a model of one would be something of a tail-sitter - especially with the nosegear giving it such a nose-high stance on the ground. And in fact, Hasegawa even TELLS you to add weight. I just plum forgot.
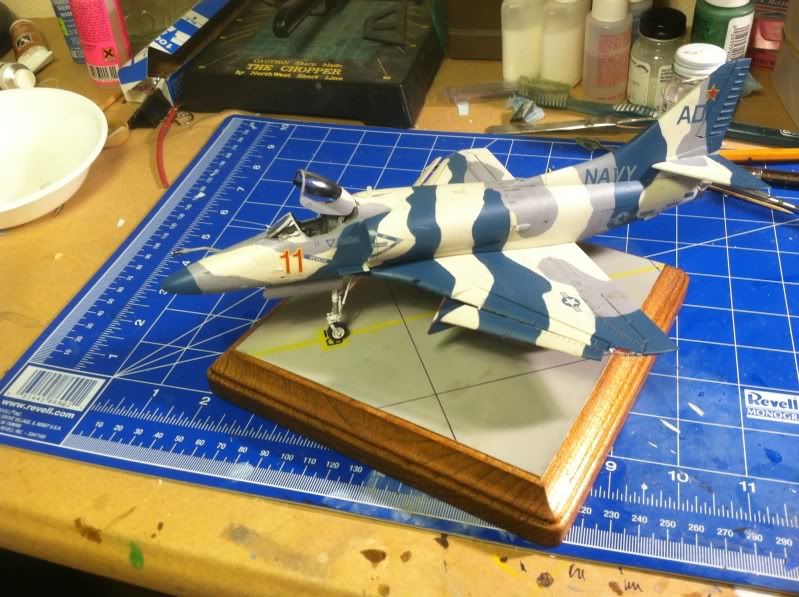
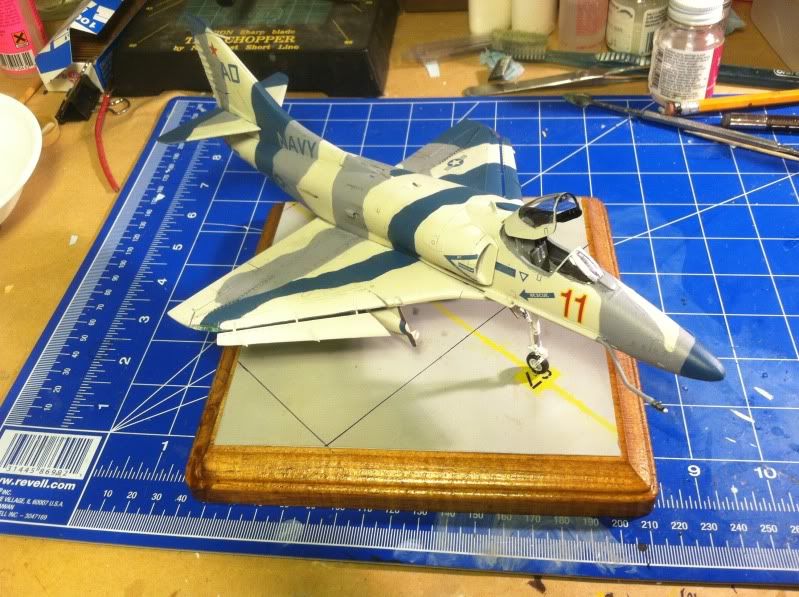
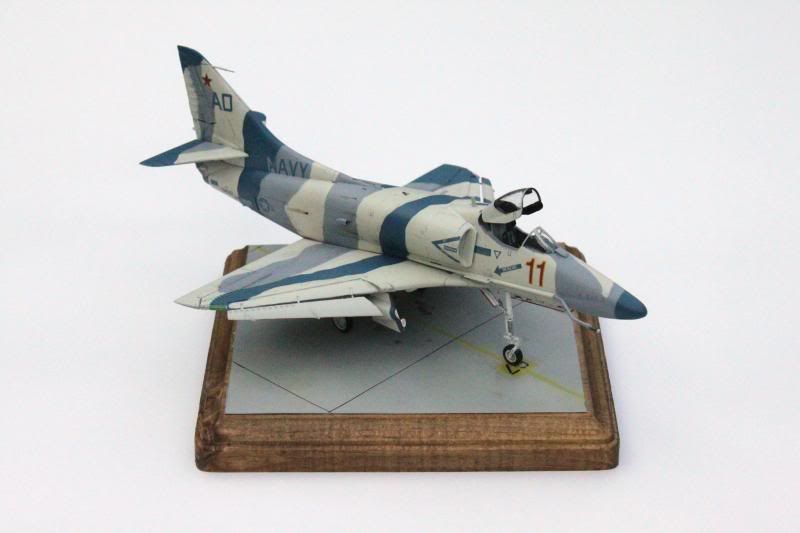
So, last week I got my hands on a small wooden plaque from a craft store. I’ve stained the beveled edges of it, so now it just needs to be varnished. Meanwhile, I’ve got a sheet of cheap plastic I’m painting up to look like concrete. That will give me something to tether the nosegear to in order to keep the airplane sitting like it’s supposed to. Final pictures soon!
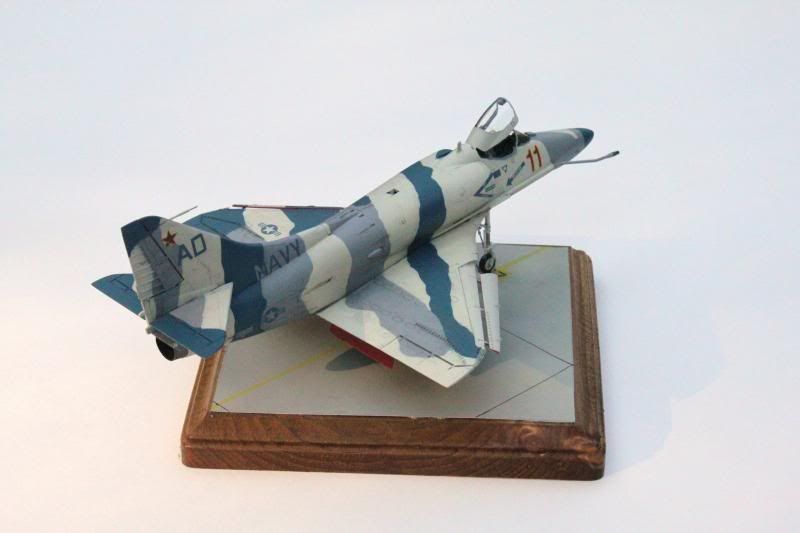
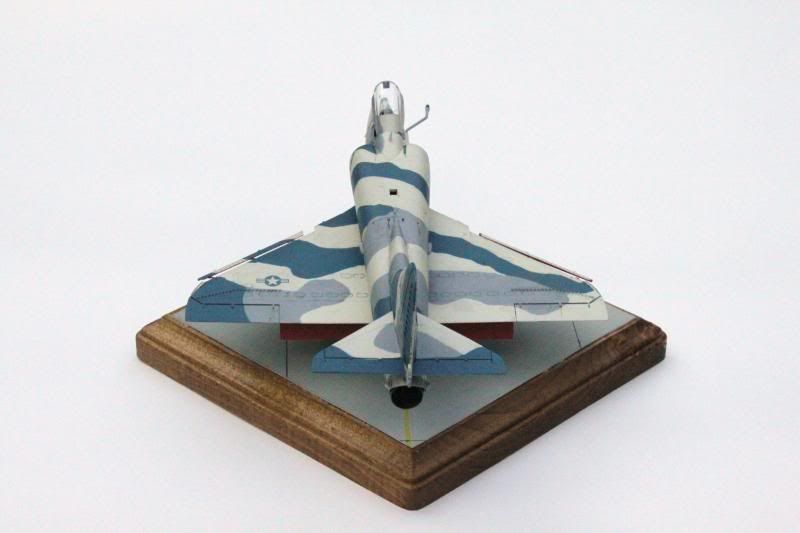
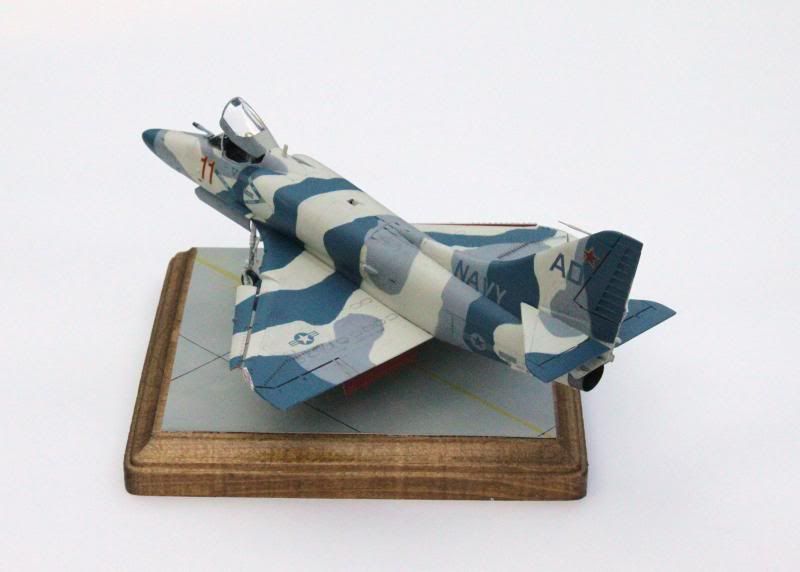
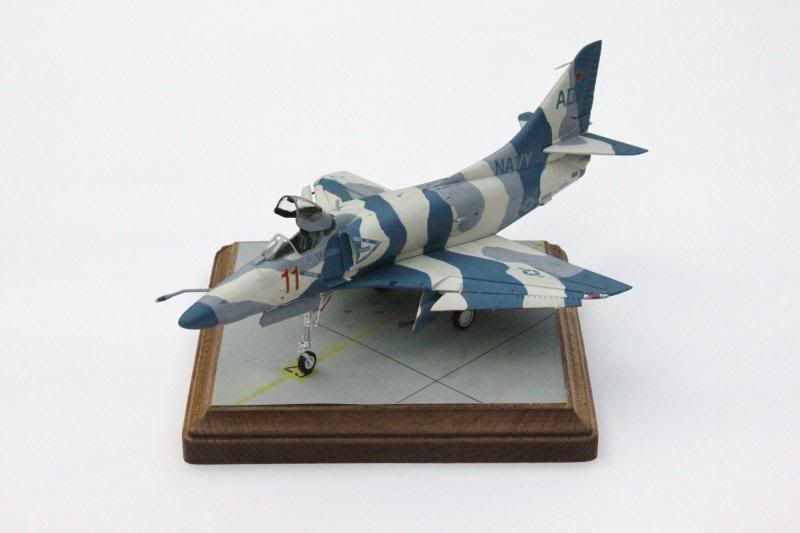
Only took about a year or so [:P] but here it is, tail-sitting fixed and all. Just a couple ‘teasers’ before I bust out the DLSR and take some proper pictures, sans cluttered background.