Great progress, Tony! Toe camo looks excellent! This one is 1:72, right? Brilliant work on something so small!
M/TB379
Great progress, Tony! Toe camo looks excellent! This one is 1:72, right? Brilliant work on something so small!
M/TB379
Thanks Mike. Yep 1/72. I’ve just spent a couple of hours wrestling with the tracks, well, I’ve got one done.
Cheers
Tony
I haven’t got a photo yet, but I’ve attached the wheels and tracks, gloss coated it and applied the decals.
Hopefully I can start the weathering process this evening.
Cheers
Tony
Looking forward to seeing it! I better get the finger out and hurry up on mine! I started painting but there’s some scratch work to do, a few details of the upper hull need adding. I’ve been busy on Panzers…
M/TB379
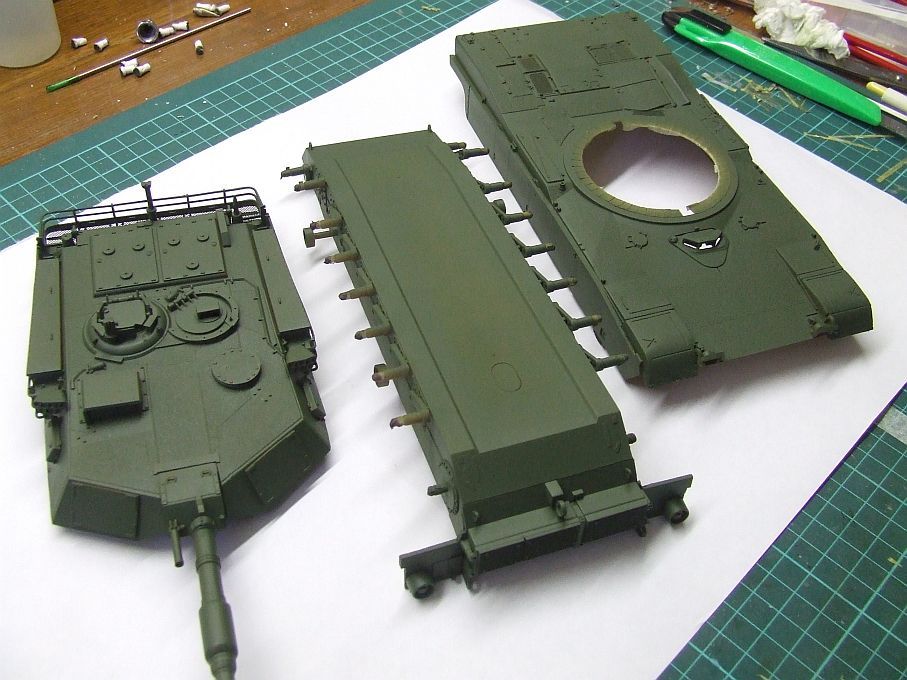
As promised, I got my finger out! Here’s some progress on the -HA:
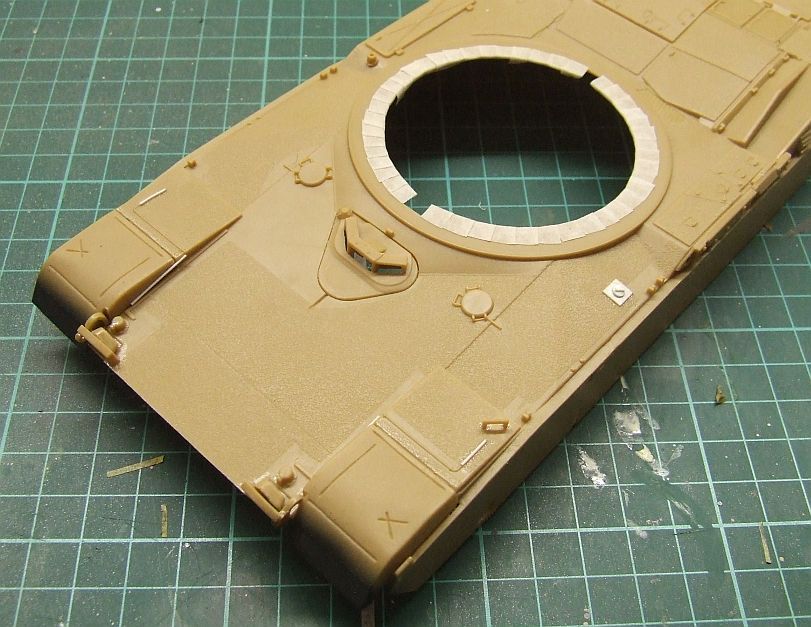
Visible here: The Z-springs have been added – fiddly, because Trumpeter moulded the center parts of them flush with the non-slip coating. To remove them and do the springs in wire, which is what I’ve done on the last two M1s I’ve built, would ruin the nonslip effect, and that’s one of the perks in this kit. So I used .020" rod, scraped down to half-round, and used a fine brush to paint the glue on for the four bits. Not perfect but they’ll pass muster from a distance.
The headlights have been completed, a part vanished on my bench and I had to raid another kit from my stash for a replacement… Next, the driver’s periscope apertures are cleaned up, they’ll get parts added from the back. I scratch built the structure on the port flank, which IIRC is something to do with the cabin heater or humidity control, I’d have to look it up. Lastly, I masked the turret ring receiver, as the turret is a very tight fit and the only way it’s going to work is bare plastic to bare plastic.
There are a couple of lifting lugs on the transom, right at the top (on the rear plate subassembly) that are poorly represented with just a few bumps, they’ll be replaced with wire. As of last night I have some detailing wire on the way for that job, as some unused U-lugs in the Jagdpanther kit I’m doing right now were sadly 1mm too large to fit! With those, and the forward mudflaps masked, it’ll be time to put the hull halves into overall NATO Green. I might as well do the turret at the same time – the forward panels are too firmly attached to pry off and replace with plasticard, and I didn’t notice the turret malformation until it was way too late to do anything about it, so it’ll fly as is. I’m not complaining, I got this kit for $7 from China!
I’ll be getting a gas cylinder exchange in the morning so hopefully I’ll have some base-coated assemblies to show you before long.
Cheers, Mike/TB379
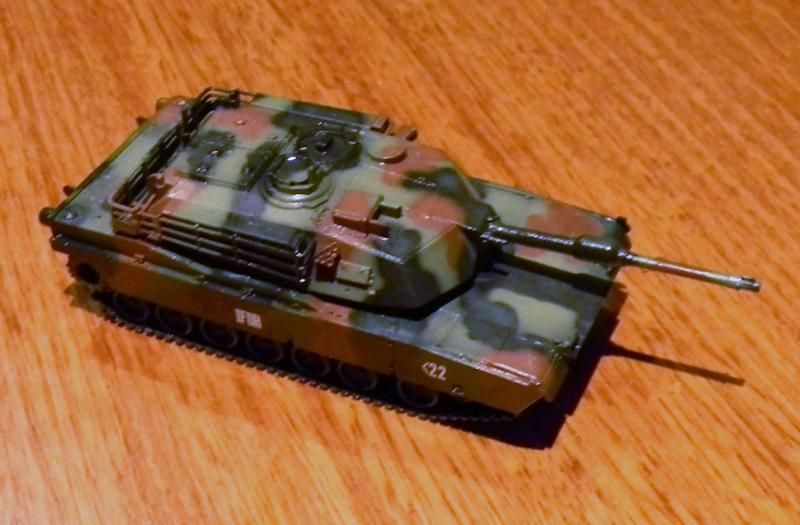
That’s coming along really well Mike, I like the detail work and description. Here is a photo of mine with gloss coat, decals and a filter applied. Next job is a dark pin wash.
Cheers
Tony
Well done, Tony, she’ll be finished in no time!
Progress – new gas cylinder installed so airbrushing again. This morning I got the trumpeter -HA into NATO Green overall. It just drank up the paint, four mixings worth. Also, I must have persisted in painting later in the day than I should, I was over-thinning to get the paint to flow and the surface is still dusty-rough where it should be smooth… Good job it’s a tank, if it was a plane I’d be milling the surface with 2000-grit and liquid soap. I’ll have to do that where the decals go anyway. Heat, the modeller’s curse in Aus!
There are a few details left to go, the CIP panels on the sides, the stowage boxes and tact board on the rear of the rack, they’ll get painted separately. I’ll change to the #1 tip and needle to do the camo mottling, and fit the periscopes from inside before closing the hull and re-spotting camo on the joints as necessary. It’s a weird process for me to paint before assembly like this, I’m used to Tamiya’s engineering!
I’ll try to get some more aspects done tomorrow, but this heatwave is stretching on…
Cheers, Mike/TB379
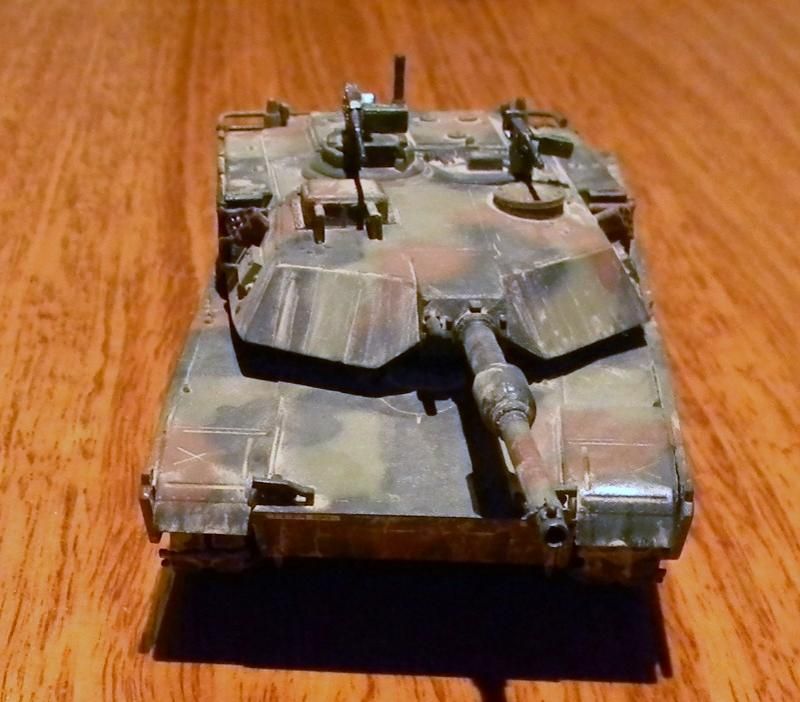
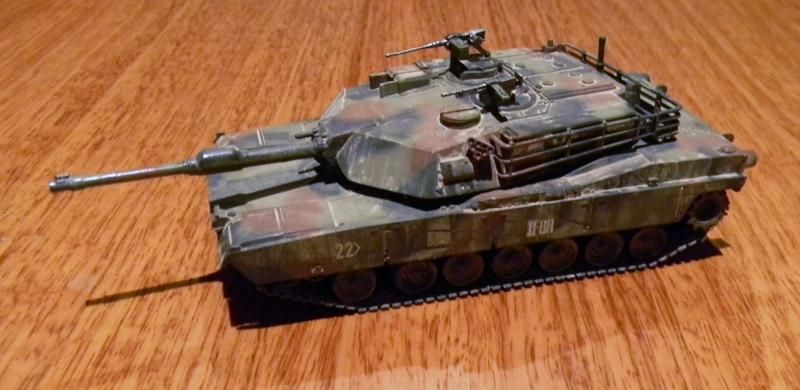
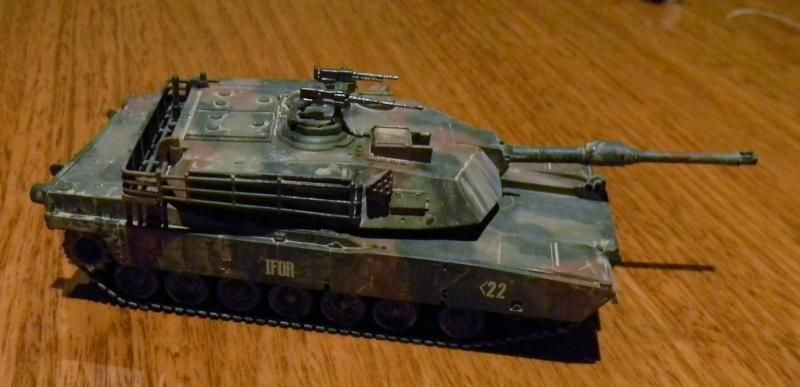
You were right Mike, it’s finished. I’ve tried to give it a muddy appearance, as many of the Abrams photos I researched from the IFOR mission did look quite muddy.
Cheers
Tony


Some nice looking builds coming along guys.
Flames of war uses 1/100? never bothered to check the scale before. One of my boys is into it so might be good to let him know.
TB379, all this time on these boards and it never clicked you were an aussie as well. Must be a senior moment for me.
Taxtp, nice finish on the almost mini-Abrams.
Tony – great finish on that braille-scale beast! Page 1 updated. KW – yep, Aussie since '71!
I’m hoping to get the APU and stowage boxes into green today, and the detailing wire arrived so I can do those lifting lugs on the rear end…
Cheers, Mike/TB379
Ok, I’m back in, mostly, with a few pictures of where I’m at. I have almost completed the building. I’m at 99%. I need to respray the entire tank and order a replacement piece.


MB95 – she’s coming along! It’s always complex when you have to mask the tracks like that. I’m thinking of maybe going that road, the skirts are cast in with the top hull on the Trumpeter kit so the tracks have to be mounted before joining upper and lower. They’re all into base NATO green but the hull is not yet joined, I have to make a call on that shortly…
M/TB379
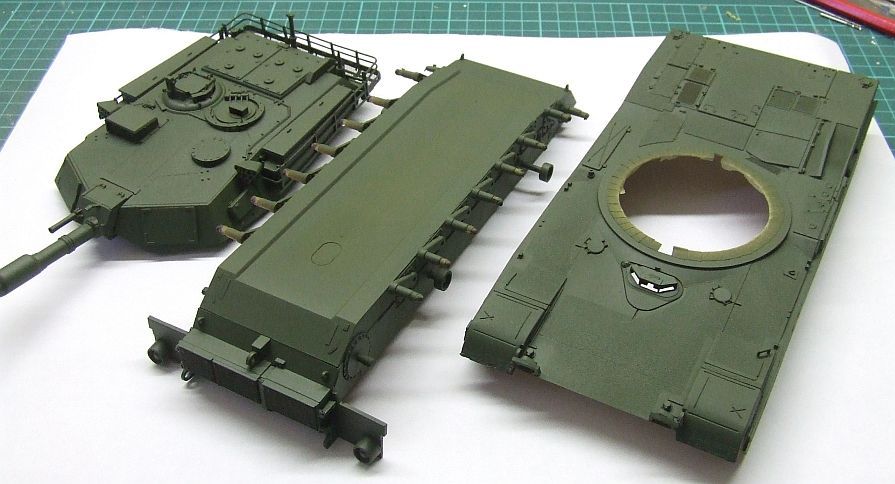
MB – you inspired me to jump back into mine and get the other two camo shades applied. I’m more than happy with my fineline performance, and the paints seem to have behaved well in the temperature and humidity conditions. Here’s the Trumpeter -HA as she stands right now:
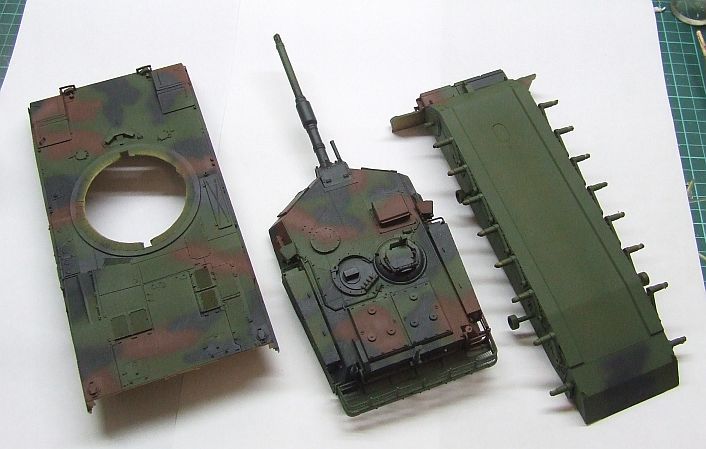
Hmmm, half the last post didn’t come out. Here’s the second pic:
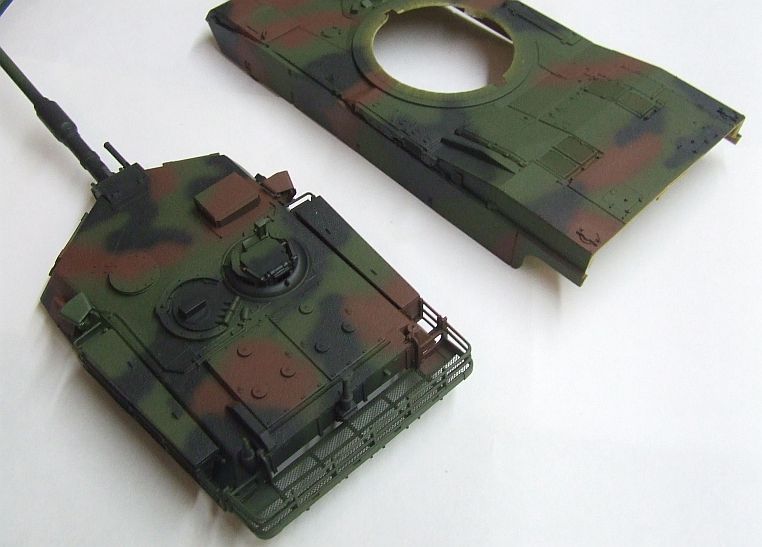
I also gave a rundown of the work to come – fade coat, periscopes, weather the running gear, paint the tracks, mount that lot, then close the hull and get her onto the final lap.
Cheers, M/TB379
Hello. I am new to this site and am semi new to scale model building. I came across this thread looking for some ideas for my Academy 1:35 M1A1 Abrams (Iraq 2003). I was wondering if it is too late to jump on board of this group build. I am not far into my build at all and can update with some pics of how it is coming along. I wasn’t going to ask because i fear my workmanship will not be anywheres near the quality i have seen so far in this thread but like i said i am new and was thinking doing things like this could help me improve my modeling skills.
Hi there, jayjay82. By all means, that’s what group builds are all about, sharing modelling skills and building our repertoire of tricks and techniques. Feel free to come aboard and complete your project here, and I’ll add you to the build listing. The GB has until midyear to run, so you’ve around four months to complete your project.
Cheers, Mike/Thunderbolt 379
I finally resprayed the entire tank and other parts needed to complete it. I will not post pictures because it looks the same as before. I will post pictures of progress made on completing it when I get time.
Howdy. I am sorry that i have not been around much. Have had alot going on. I have come a long way on my build. Just about complete, got sidetracked on an Apache “what if”. Anyway. i’d say it’s 85% done. waiting on decals and some modern US military “stowage” because Academy decided not to include the decals like they are supposed too. Anyway enough rambling. Here she is so far. Keep in mind im kinda a noob but by all means criticize my work, give me suggestions, do’s and don’ts, whatever you wish.
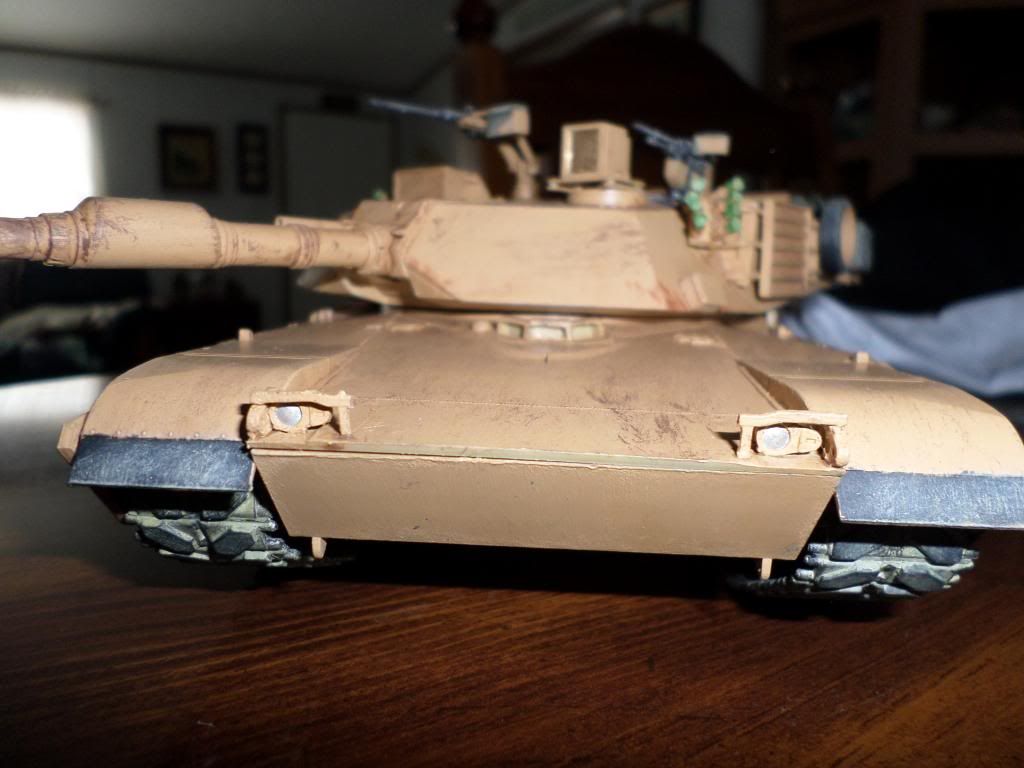
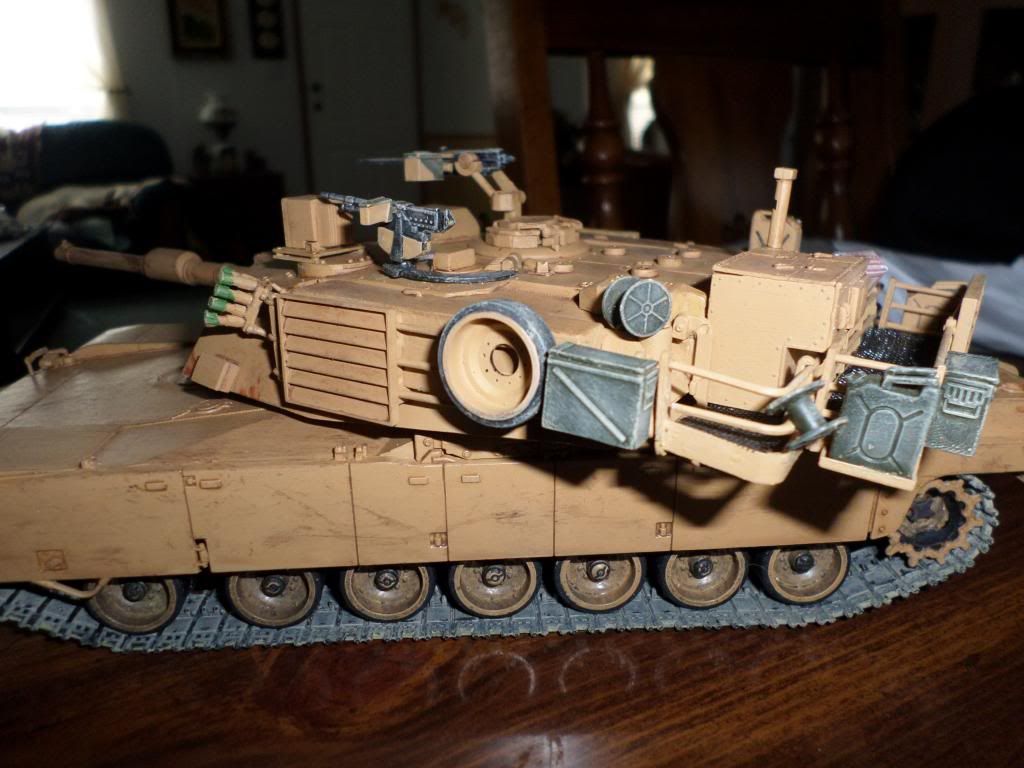
Remember i’m old school and DO NOT use an airbrush. i have tried…i failed.
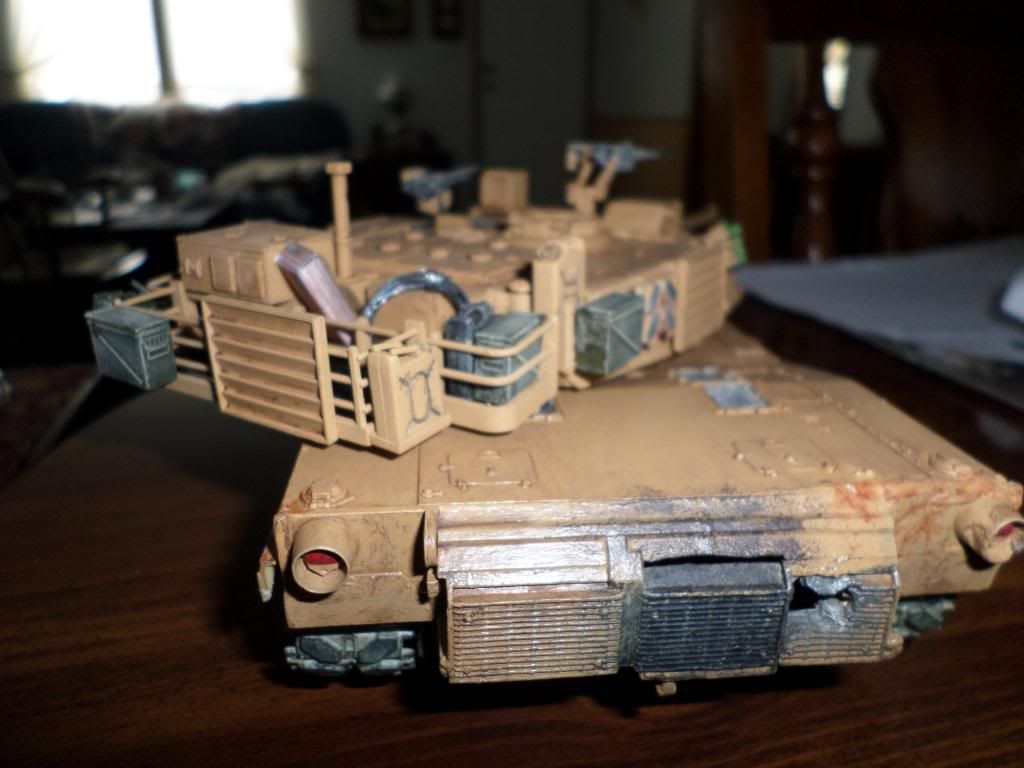
I was not going to show “damage” on this piece but i left this back panel out on my tabke overnight to dry and my Maltese puppy KC decided it would be a good idea to chew this. SOOOO large round through the rear of the tank…[8o|]
That’s a great result for a brush-painted job, the scuffing came out very well, and the “doggie damage” on the rear looks convincing! It looks like you’ve not far to go, the moment you declare her done I’ll update p1.
You’re better off going with AM decals, I had a disastrous experience with Academy decals on a Merkava which require fixing with a set from Isradecals… I mean, they would rather disintegrate than separate from the backing…
Thanks for sticking with it!
Mike/TB379
thank you for the feedback!
Yeah with the doggie damage i had to make the best of a bad situation so to speak. lol
I would like to get an airbrush at some point. I’m just strapped for cash at the moment and would rather buy new pieces,m to pass the time and practice my skills than drop a couple hundred on an airbrush. ![]()
I have to try to find a decent used one somewhere…