A P-47, a Sherman and a Jeep Walk Into a Bar…

I need your help with this one.
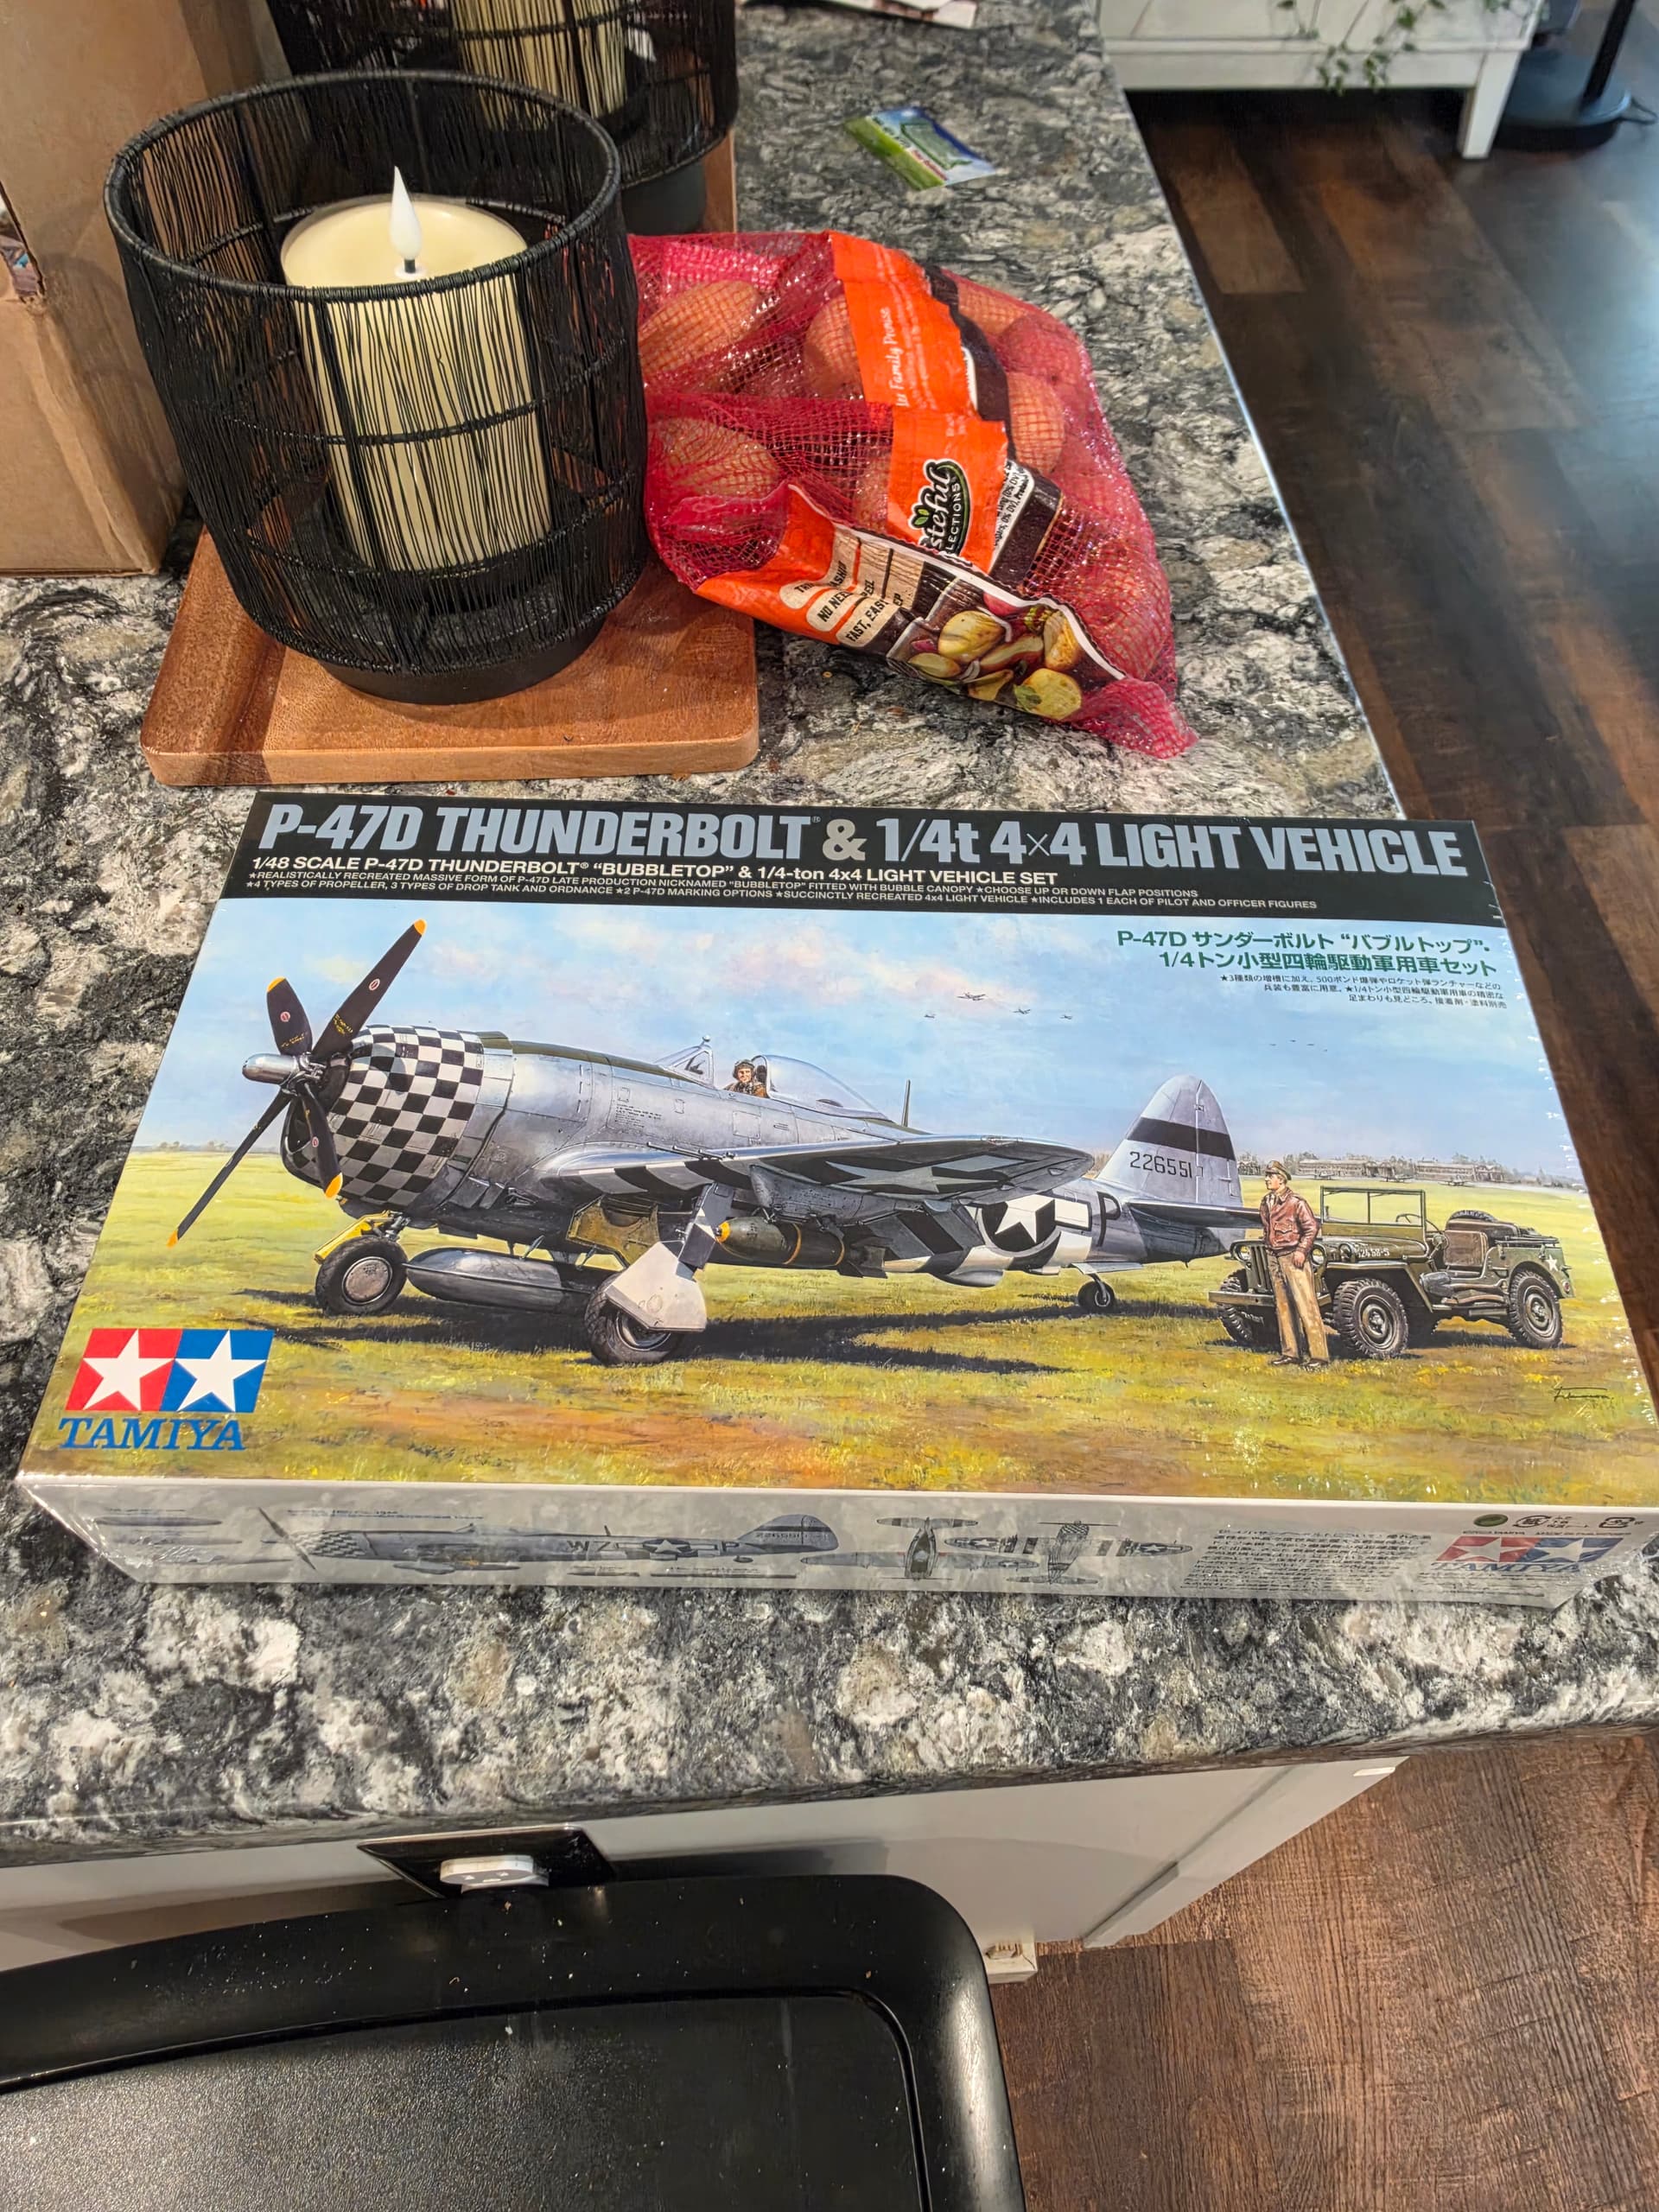
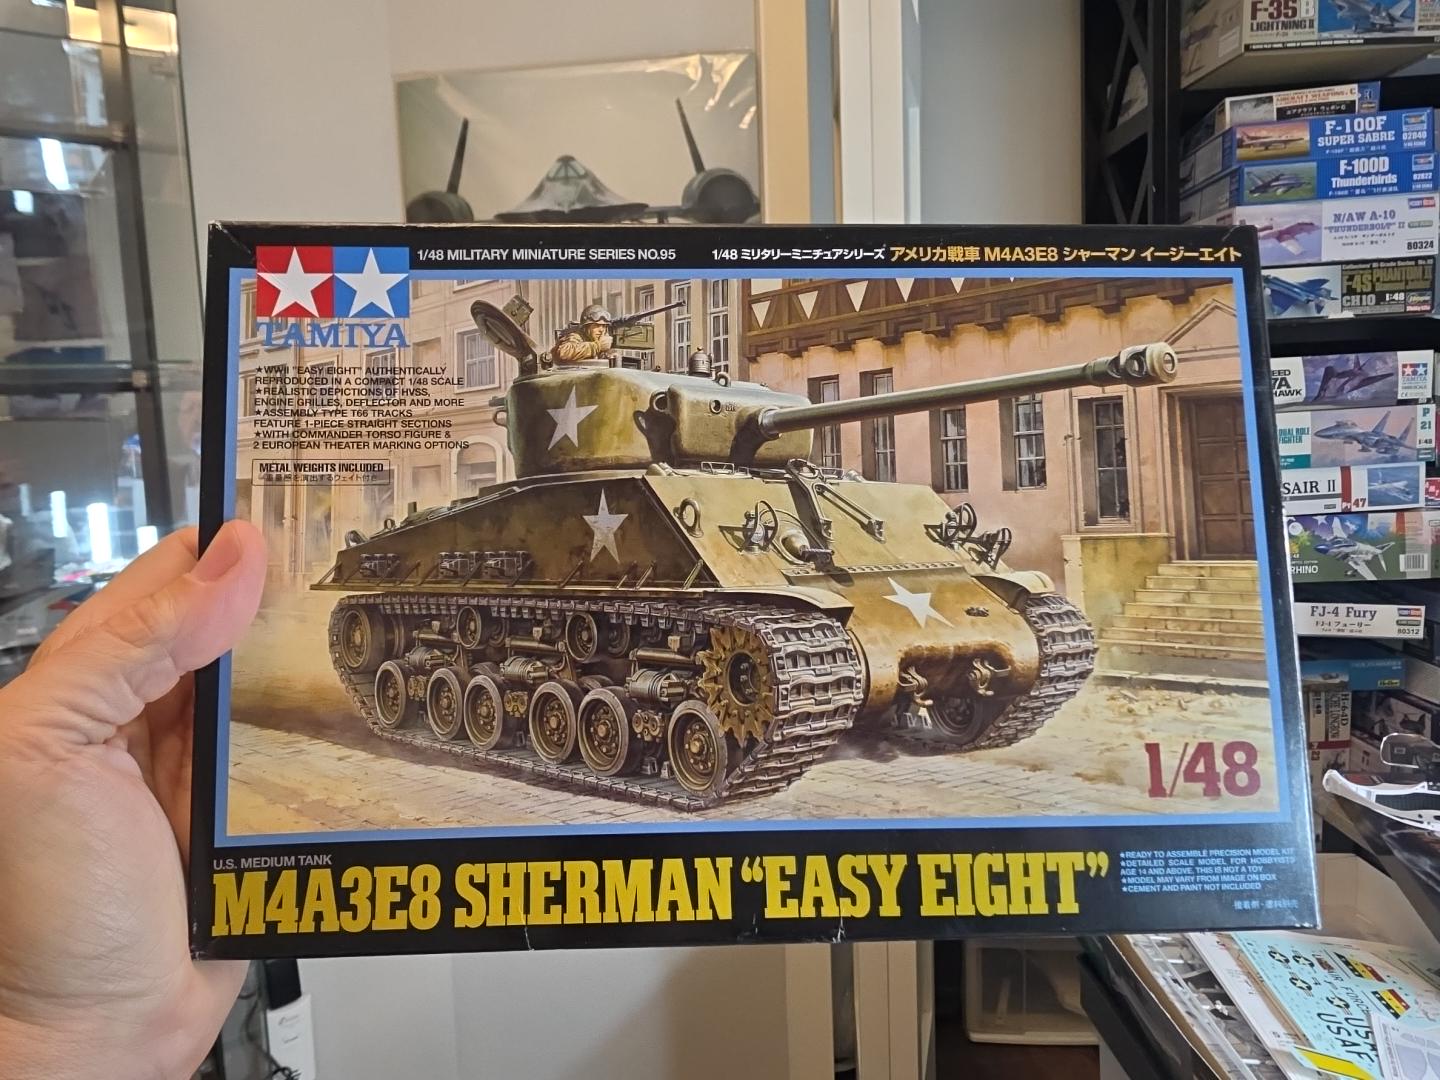
I already had the Tamiya M4A3E8 Easy Eight in my stash, and I’ve been wanting to try my first aircraft diorama. Since aircraft are really my thing, I started looking for an airplane that could plausibly share a late-war European scene with the Sherman while still being the main subject of the diorama.

After doing a little research, I kept coming back to the P-47, so I picked up the Tamiya kit. An added bonus is that it comes with the Jeep, which gives me another piece to work into the scene.

So now I have the ingredients: a P-47, an Easy Eight and a Jeep.

What I need is the story.

I’m picturing a forward airfield somewhere in Europe in the spring of 1945, with the P-47 parked alongside a muddy road and the Sherman arriving or passing by. The airplane would still be the main subject, with the vehicles and figures helping tell the story.

I don’t plan to build the P-47 in the natural-metal finish shown on the box. I’m picturing an olive-drab/camouflaged aircraft, which I think would fit the scene much better visually.

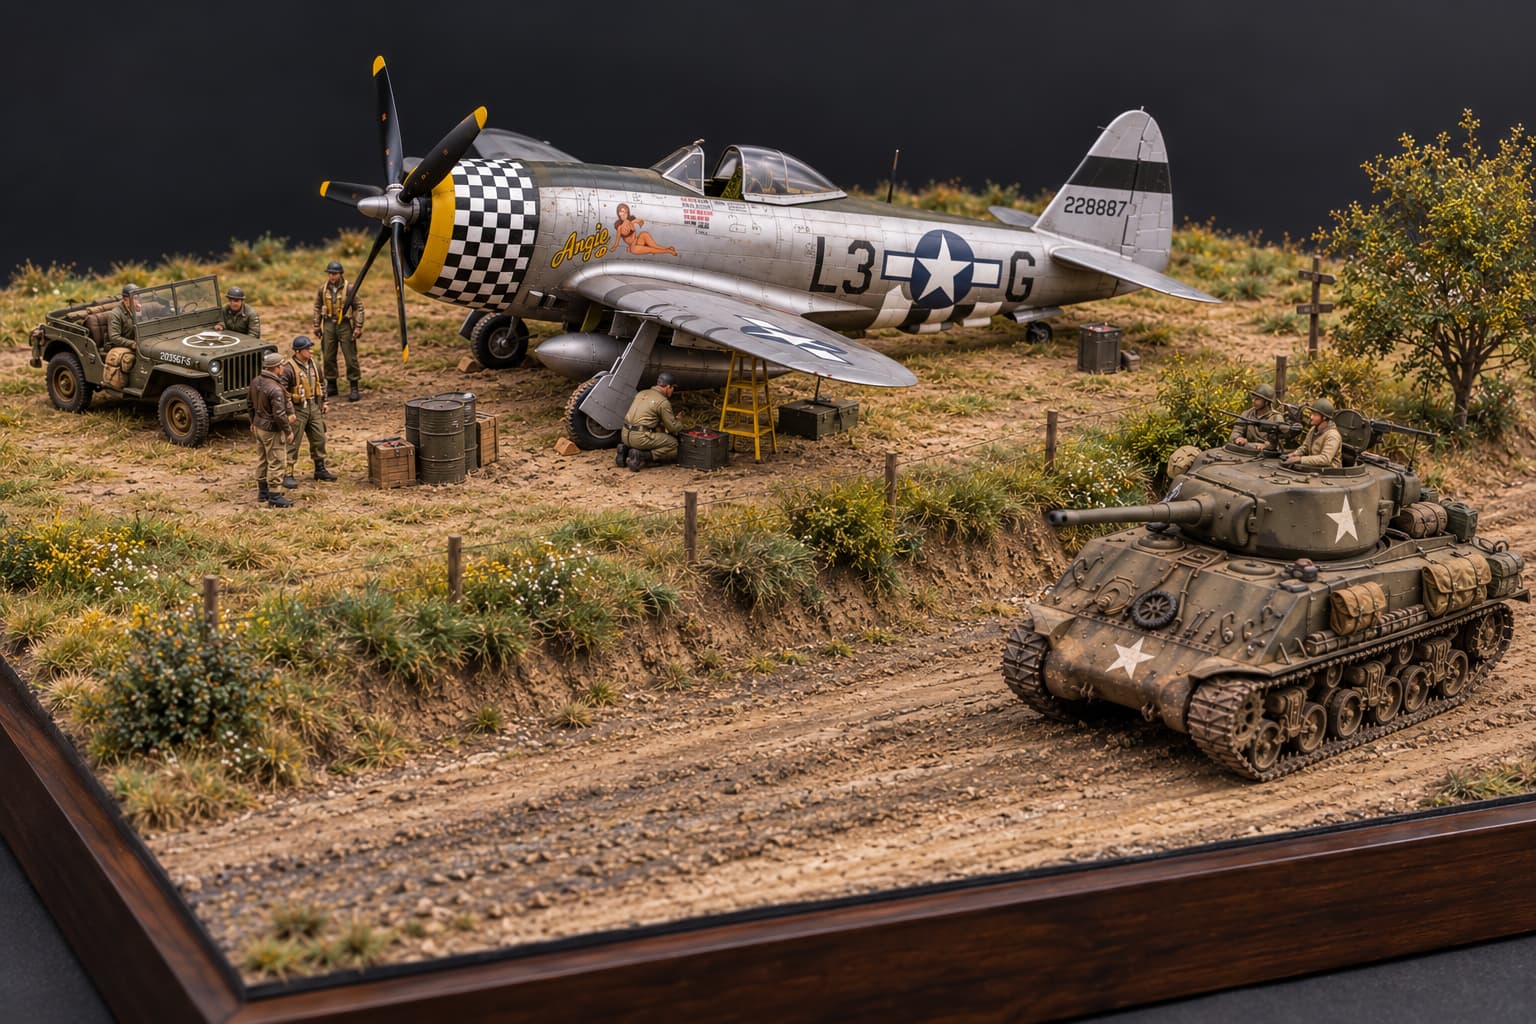
This is a mock-up of the basic idea I have in my head:
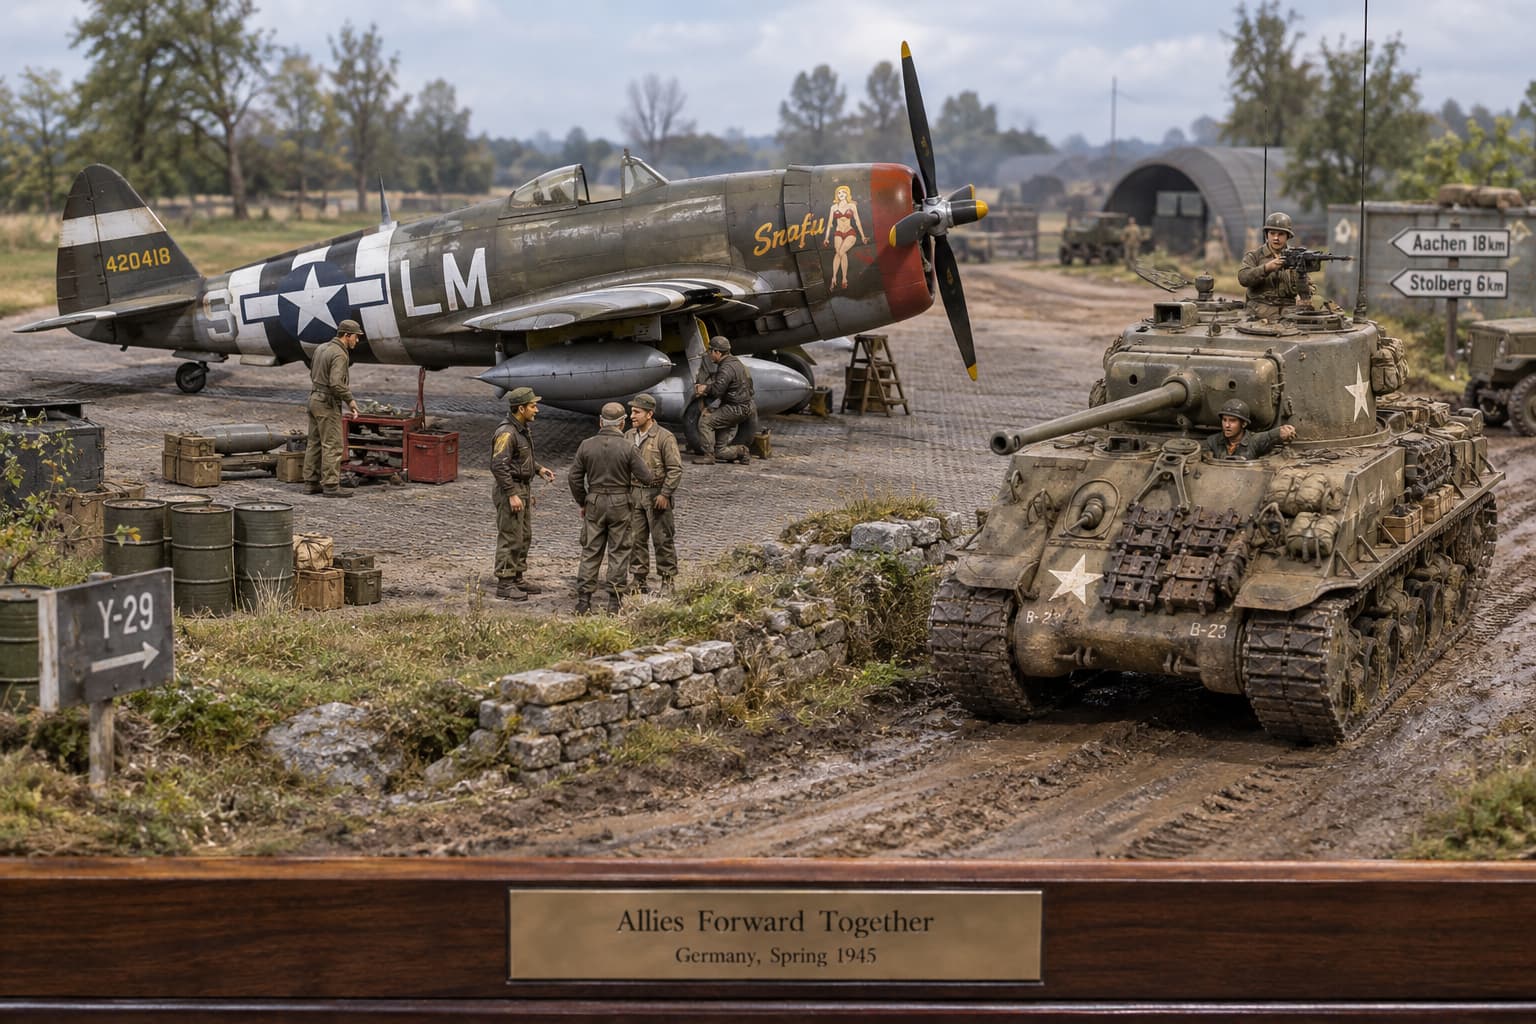
But I’d really like to make the scene historically accurate if possible. That’s where I could use the collective knowledge around here.

Does anybody know of a P-47 unit and an Easy Eight unit that could plausibly have crossed paths in the spring of 1945? Even better, is there a particular place, event or circumstance that could turn these three models into an actual historical story rather than just three things that happened to be parked next to each other?

I’m completely open to ideas. This will be my first armor build, my first diorama and my first World War II aircraft—all at the same time. What could possibly go wrong? :joy:

10 Likes

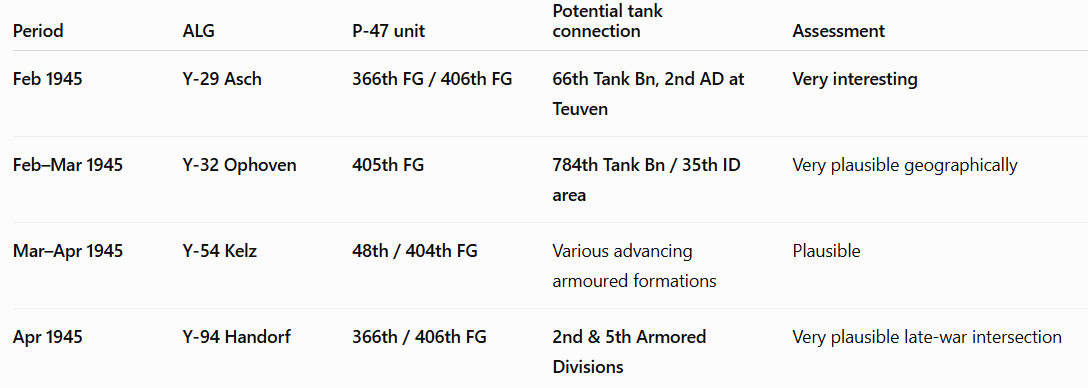
I have a ChatGPT result if that helps narrow things down… It was a detailed and lengthy response, but I’ve put the key findings below. Interestingly, it’s also landed on ALG Y-29 as a location of this coincidence in a similar fashion to your reference image.

Using the prompt: “Is there any evidence of an M4A3E8 being used for Airfield Security at an “Advanced Landing Ground” or just passing through, and if so, which P-47D squadrons and tank units might’ve crossed paths in this fashion?”

## The strongest candidate: Y-29 Asch, Belgium

This one immediately caught my attention.

Y-29 Asch was an operational ALG from November 1944 through June 1945. It hosted:

** 366th Fighter Group — 19 November 1944–11 April 1945, P-47s*
** 406th Fighter Group — 8 February–15 April 1945, P-47s.*

And, crucially, we have an Easy Eight marking option on Tamiya’s 1/35 M4A3E8 for:
> 66th Tank Battalion, 2nd Armored Division, Teuven, Belgium, February 1945

That isn’t just a generic “2nd Armored Division somewhere in Belgium” attribution — it is specifically a documented vehicle location in the same general locality as Y-29.

So this gives us a very credible geographical intersection:

February 1945

P-47s
** 513th FS / 514th FS, 406th FG at Asch*
** 366th FG also at Asch*

Shermans
** 66th Tank Battalion, 2nd Armored Division, at Teuven*

The 406th’s own wartime account confirms that it was still at Y-29 in April before moving to Handorf.

3 Likes

That’s a tough question to answer with any kind of confidence. I’ve seen pictures of tanks on airfields, but mostly captured enemy fields. However, captured fields were also used by allies even before all the wreckage and enemy aircraft were removed.

I recall seeing a picture of a P-47 that crashed on a beach, with a Sherman and crew investigating, but that was an earlier Sherman if I recall correctly, and for the life of me, I can’t find the image again.

My thoughts would be that an armoured group would be deployed in an area much further forward than a fighter squadron, but they could come into contact if said vehicles were repositioning from the rear, or a squadron was positioned well forward as the final retreats were underway.

Does that mean that you can’t make your planned scene? Absolutely not. No one can say that it couldn’t, wouldn’t or didn’t happen.

I can totally see different vehicle types coming in close proximity in situations like these….


4 Likes

Thank you Darren and Frozin!

This is awesome, and it gives me some hope that there really is a historical story in here somewhere.

When I was originally playing around with this idea, ChatGPT and I had already done some digging into where a late-war P-47 and an Easy Eight might plausibly have crossed paths, and Y-29 at Asch was one of the places that came up. That was part of what led to the mock-up I posted. What I hadn’t found was the kind of more specific connection you’re pointing toward here.

@Frozin totally agree. I’m comfortable with this ultimately being a “best historical guess” rather than recreating a documented photograph. I don’t need to prove that a particular Sherman was parked next to a particular P-47 on a particular day.

What I do want is for all the pieces to make sense together. If I can document that the aircraft unit was there, an Easy Eight from the appropriate armored unit could reasonably have been in the same area at the same time, and the scene I create is something that could plausibly have happened, that’s historically grounded enough for what I’m trying to do and your photos really help get me there.

So, this gives me a really good trail to start following. Thank you both for doing some digging for me.

2 Likes

Okay, I think this is getting pretty close to the working concept.

After playing around with the layout and taking into account the suggestions you guys made, a few things started falling into place. I’m going with a natural-metal bubbletop P-47. It fits the late-war/Y-29 timeframe we’re working with, and visually I really like what it does for the diorama. With the Sherman, Jeep, uniforms, grass and dirt all living in pretty muted earth tones, the NMF makes the airplane pop and keeps it clearly the star of the show.

I also backed away from the really muddy road. I’m thinking more dry, well-used dirt with ruts and some dust. Besides being a little less ambitious for my first diorama, I think it works better visually and means I don’t have to bury a natural-metal airplane in mud to make it belong in the scene.

The aircraft area will be slightly higher than the road, but only slightly. The Sherman isn’t interacting with the airplane or entering the airfield; it’s simply passing by on the road. The Jeep belongs with the aircraft and has just delivered a pilot or some of the maintenance crew.

I also cut back on some of the clutter from the earlier mock-up. I still want barrels, crates, tools, figures, fence posts and all those little things that make it look like a working forward airfield, but not so much that they compete with the airplane.

This is probably the closest we’ve gotten to what’s actually in my head. The P-47 is the subject; the Jeep, Sherman, figures and terrain are the supporting cast.

And apparently after spending all this time planning a P-47 diorama, my next build is… the Jeep. :joy: It looks like the perfect little palate cleanser before I jump into another aircraft project.

6 Likes

The more well-established road is a sensible choice. I would definitely recommend attempting a 2D layout drawn to scale before getting too carried away. Consider the P-47D model will have a roughly 10" x 9" footprint, and M4A3E8 roughly a 7" x 3" footprint, and you also want to fit a jeep and some figures in there. The scene above probably needs you to find a home for at least 3’ x 3’ of baseboard when the job is done.

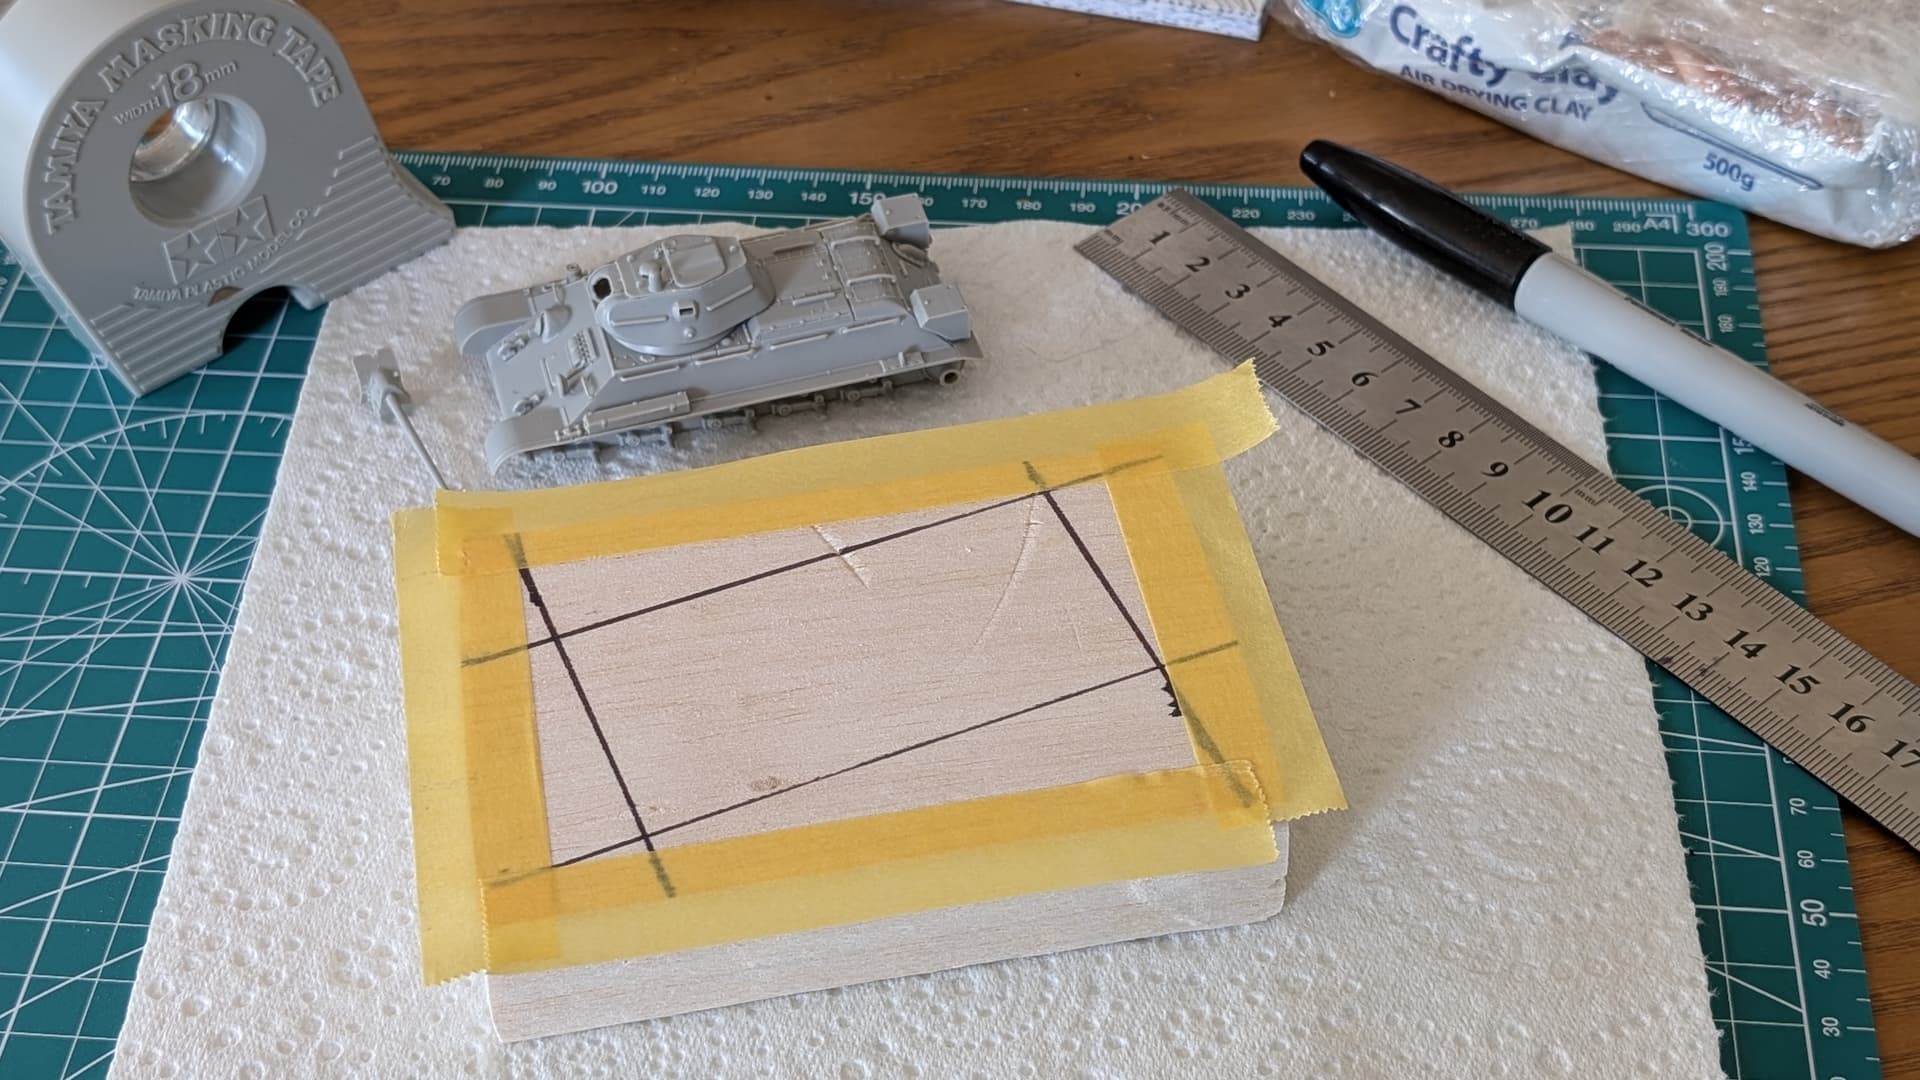
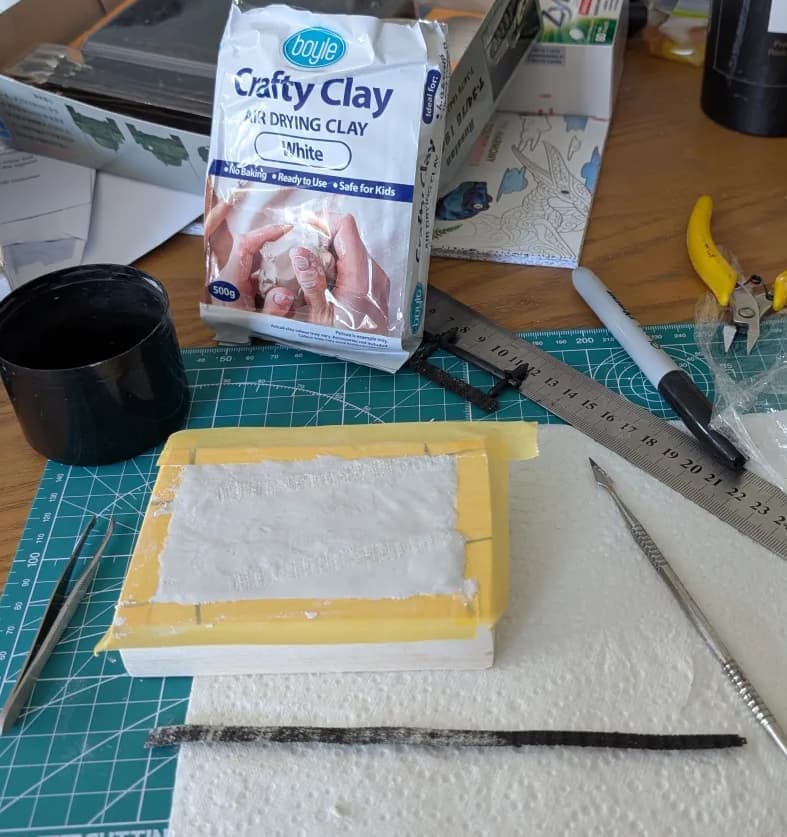
There are some much brighter dio-wizards here than I am, but for this T-34/76 build I was using some precut balsa blocks for the base that were basically the same size for all my other medium tanks. A little planning and premeasuring made sure I got the track orientation and impressions right for when the model landed.

2 Likes

That’s really helpful. I had already been thinking about how I was going to get the Sherman track impressions into the groundwork, but I hadn’t figured out exactly how to approach it yet. Seeing how you planned and measured everything before the model landed gives me a much better idea of how to do it.

My initial guess is that the mock-up will end up somewhere around 16" x 20", but I’m definitely going to take your suggestion and lay the whole thing out full-size first before I commit to anything.

Once I have the P-47, Sherman and Jeep sitting there at 1/48 scale, I should have a much better idea of what actually works.

And I’ll definitely be calling on you when the time comes to actually build this thing. I’m going to need some help and suggestions along the way. :joy:

2 Likes

My pleasure mate! There are a couple of ways to tackle it, each with their own pros and cons…

  1. Use the completed model:
    Pro - Perfect spacing and termination of tread impressions
    Con - Cleaning up diorama media from a completed model

  2. Use an incomplete model:
    Pro - Perfect spacing and termination of tread impressions
    Con - May force you to advance undercarriage assembly earlier than desired

  3. Make impressions off measure using unpainted track
    Pro - Avoids exposing model to diorama media or loss of control of assembly sequence
    Con - Risk of measuring twice, cutting once, also f**king it up once

Regardless of the method you choose, I can thoroughly recommend a generous application of baking flour to the track sections that you use to make your impressions in the clay / plaster / other. This allows a much cleaner release without the basing medium sticking and lifting.

1 Like

This is a really great concept and the mockup images look good. I typically use insulation foam boards which are easy to carve the terrain into (also using mutiple layers) if you have the right tools. A knife is difficult but doable, just make sure it’s sharp. For larger terrain features, a hand held hot wire is great, like this one:

You can also get tabletop hot wires. I don’t have one but they’d be good for cutting the edge of the base smoothly.

1 Like

Thank you both. This is exactly the kind of stuff I was hoping to learn by throwing this project out here.

@pr154, I was already wondering how you make the track impressions without having the diorama material stick to the tracks and make a mess of the finished model. The flour trick is something I never would have thought of, and I’m definitely filing that one away.

@S.Hollowell, the insulation foam makes a lot of sense too, especially since I’m going to need to create some changes in elevation rather than just build everything on a flat base. And for $25, I think one of those hot-wire cutters is probably going to find its way onto my workbench pretty quickly. :joy:

This is all going to be really useful. Thanks, guys.

possably Tarawa in the pto..

2 Likes

Place kitchen foil on the clay, take your model and press into the clay where you want track impressions and remove the foil - as easy as that!

2 Likes

Really? It’s that simple? Seems like the aluminum would create its own crinkles in the soil, that’s quite interesting to learn thank you.

1 Like

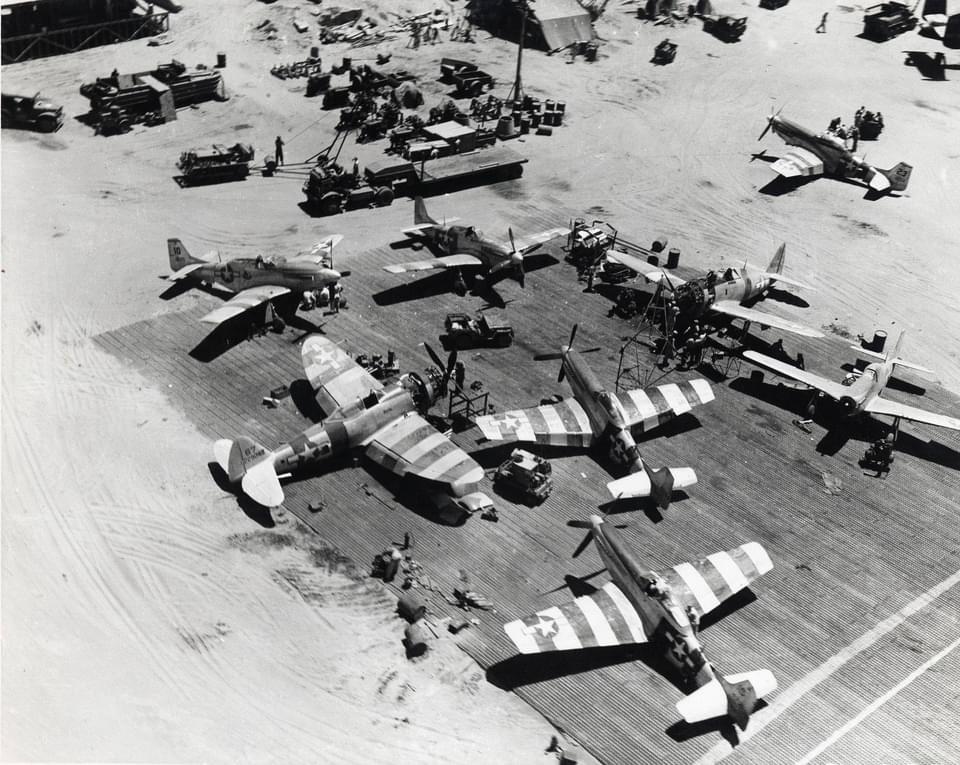
The first photo of the striped Mustangs is in the Philippines ( AF Colors, vol. 3, page 16)

2 Likes

No,no,no - I am not talking about aluminium foil! I am talking about the very thin transparent kitchen foil …

like cling wrap/saran wrap?

1 Like

Different countries might have different names … I know this as kitchen foil. It is this thin transparent foil, slightly self-sticky, to keep food fresh. For instance in a bowl without a lid or on a plate - that sort of thing.

1 Like

So this stuff

1 Like

Got you now, that makes more sense to my American Ears. Yeah, we don’t call that foil, it is usually called saran wrap or as @keavdog said “Cling wrap”. Interesting that other countries call that foil as it is clear plastic. I wonder how those two things that are so very different are called the same name in different countries?

Wow, you are good! I wouldn’t have had any idea but I’m a jet guy that is just now learning WWII stuff.