I’ve never built a fuel truck, or any other kind of truck for that matter, but what you have going on looks great! That is going to be a large diorama!
Really like the PE hood skirts. Add a level of detail ![]() . Make sure to paint the engine bay black before intalling.
. Make sure to paint the engine bay black before intalling.
2 Likes
Go back to the store and buy it! You won’t regret it.
2 Likes
Thank you for reminding me. I almost forgot.
1 Like
The only thing missing from that seat is the hole with the seat spring showing through! Great job!
By the way, I’ve never had Vegemite. I wonder how it would taste on Spam…
1 Like
My whole body just shuddered with revulsion…no offense to the spam.
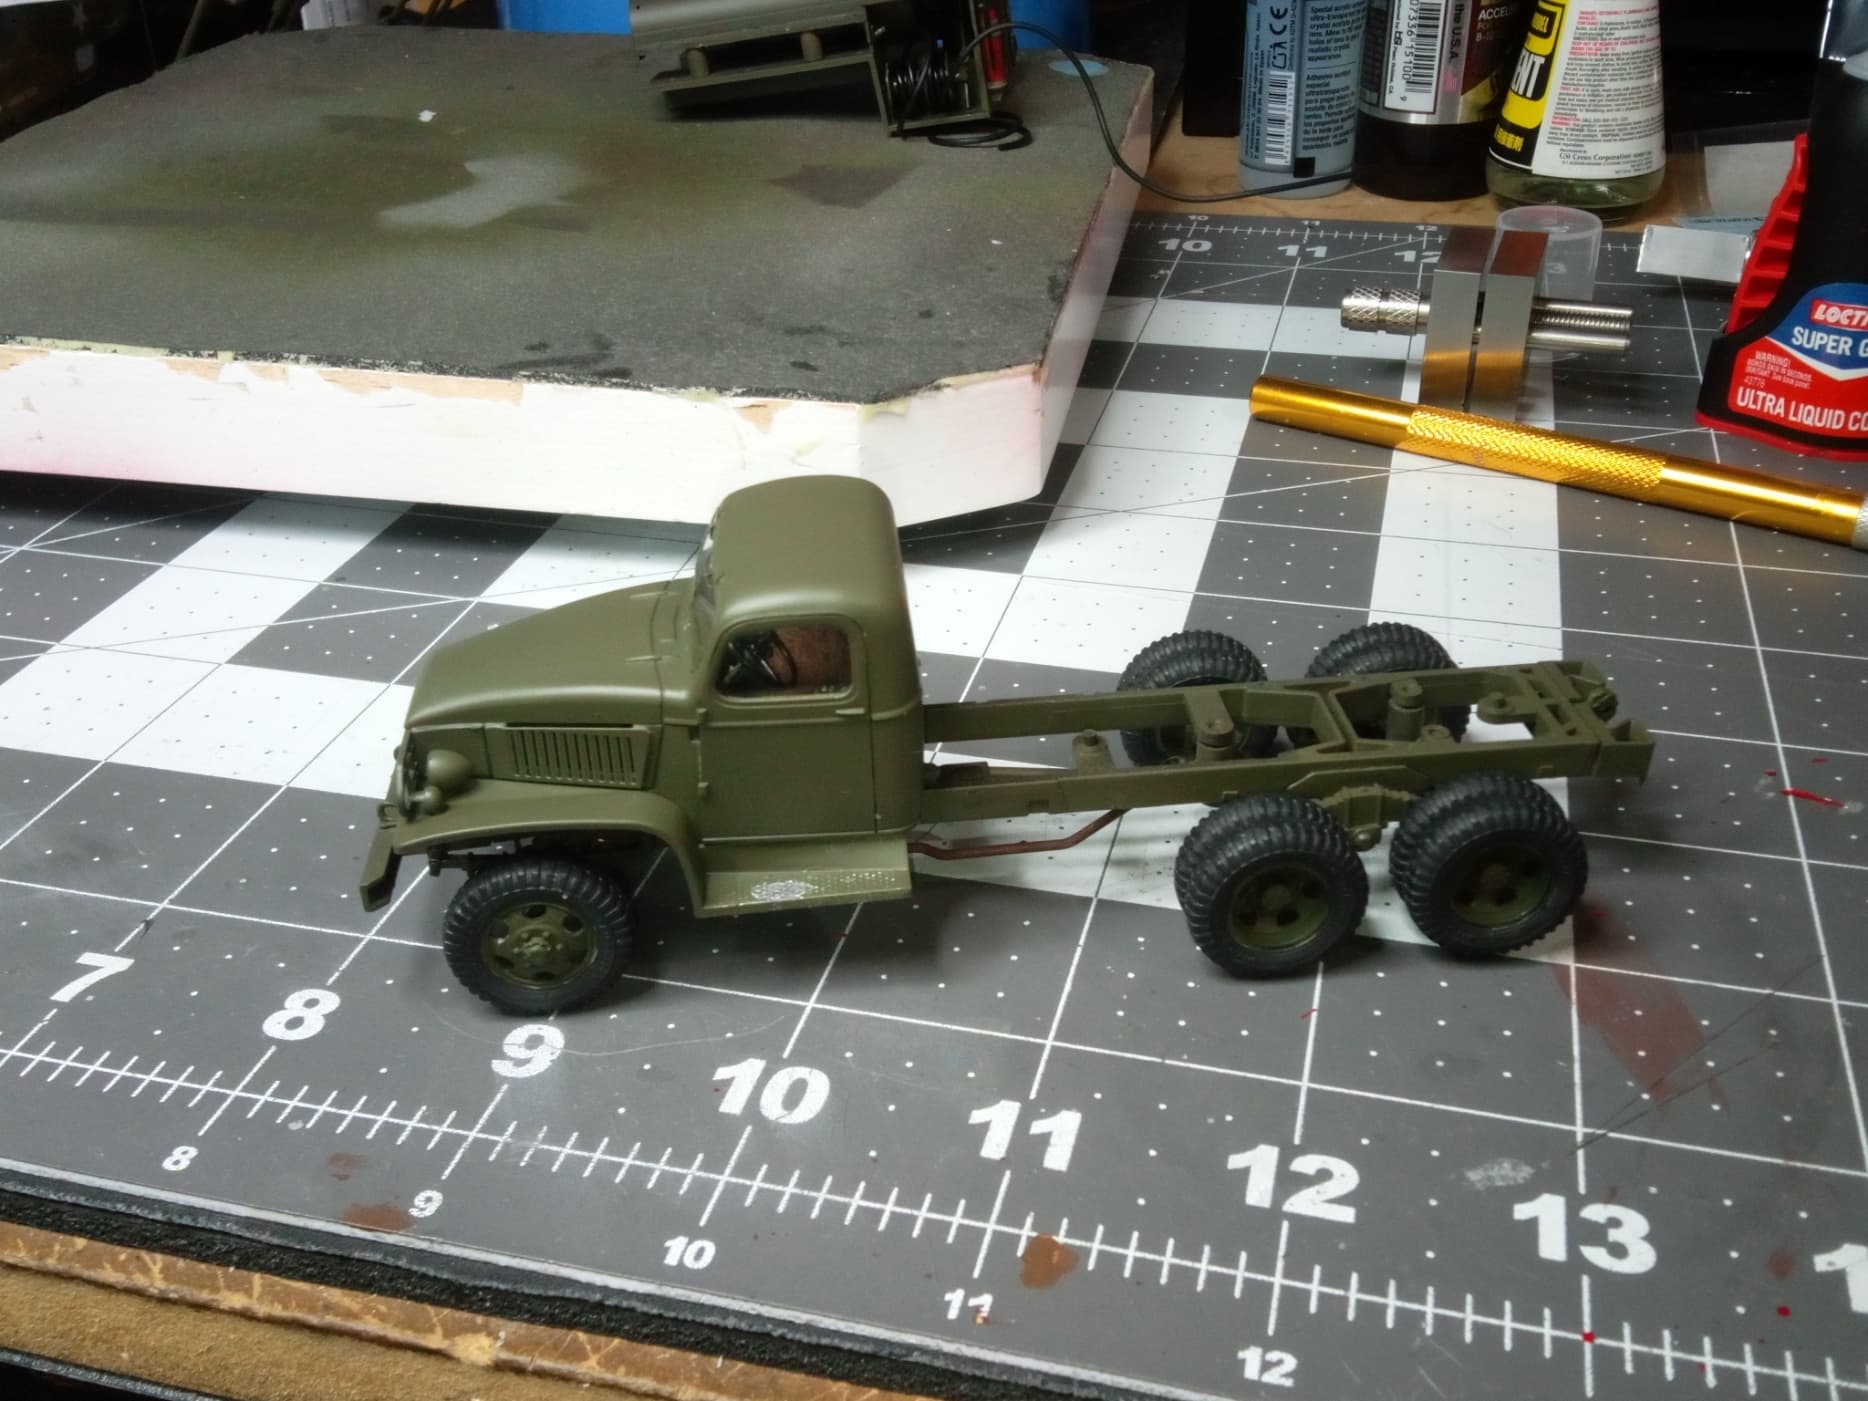
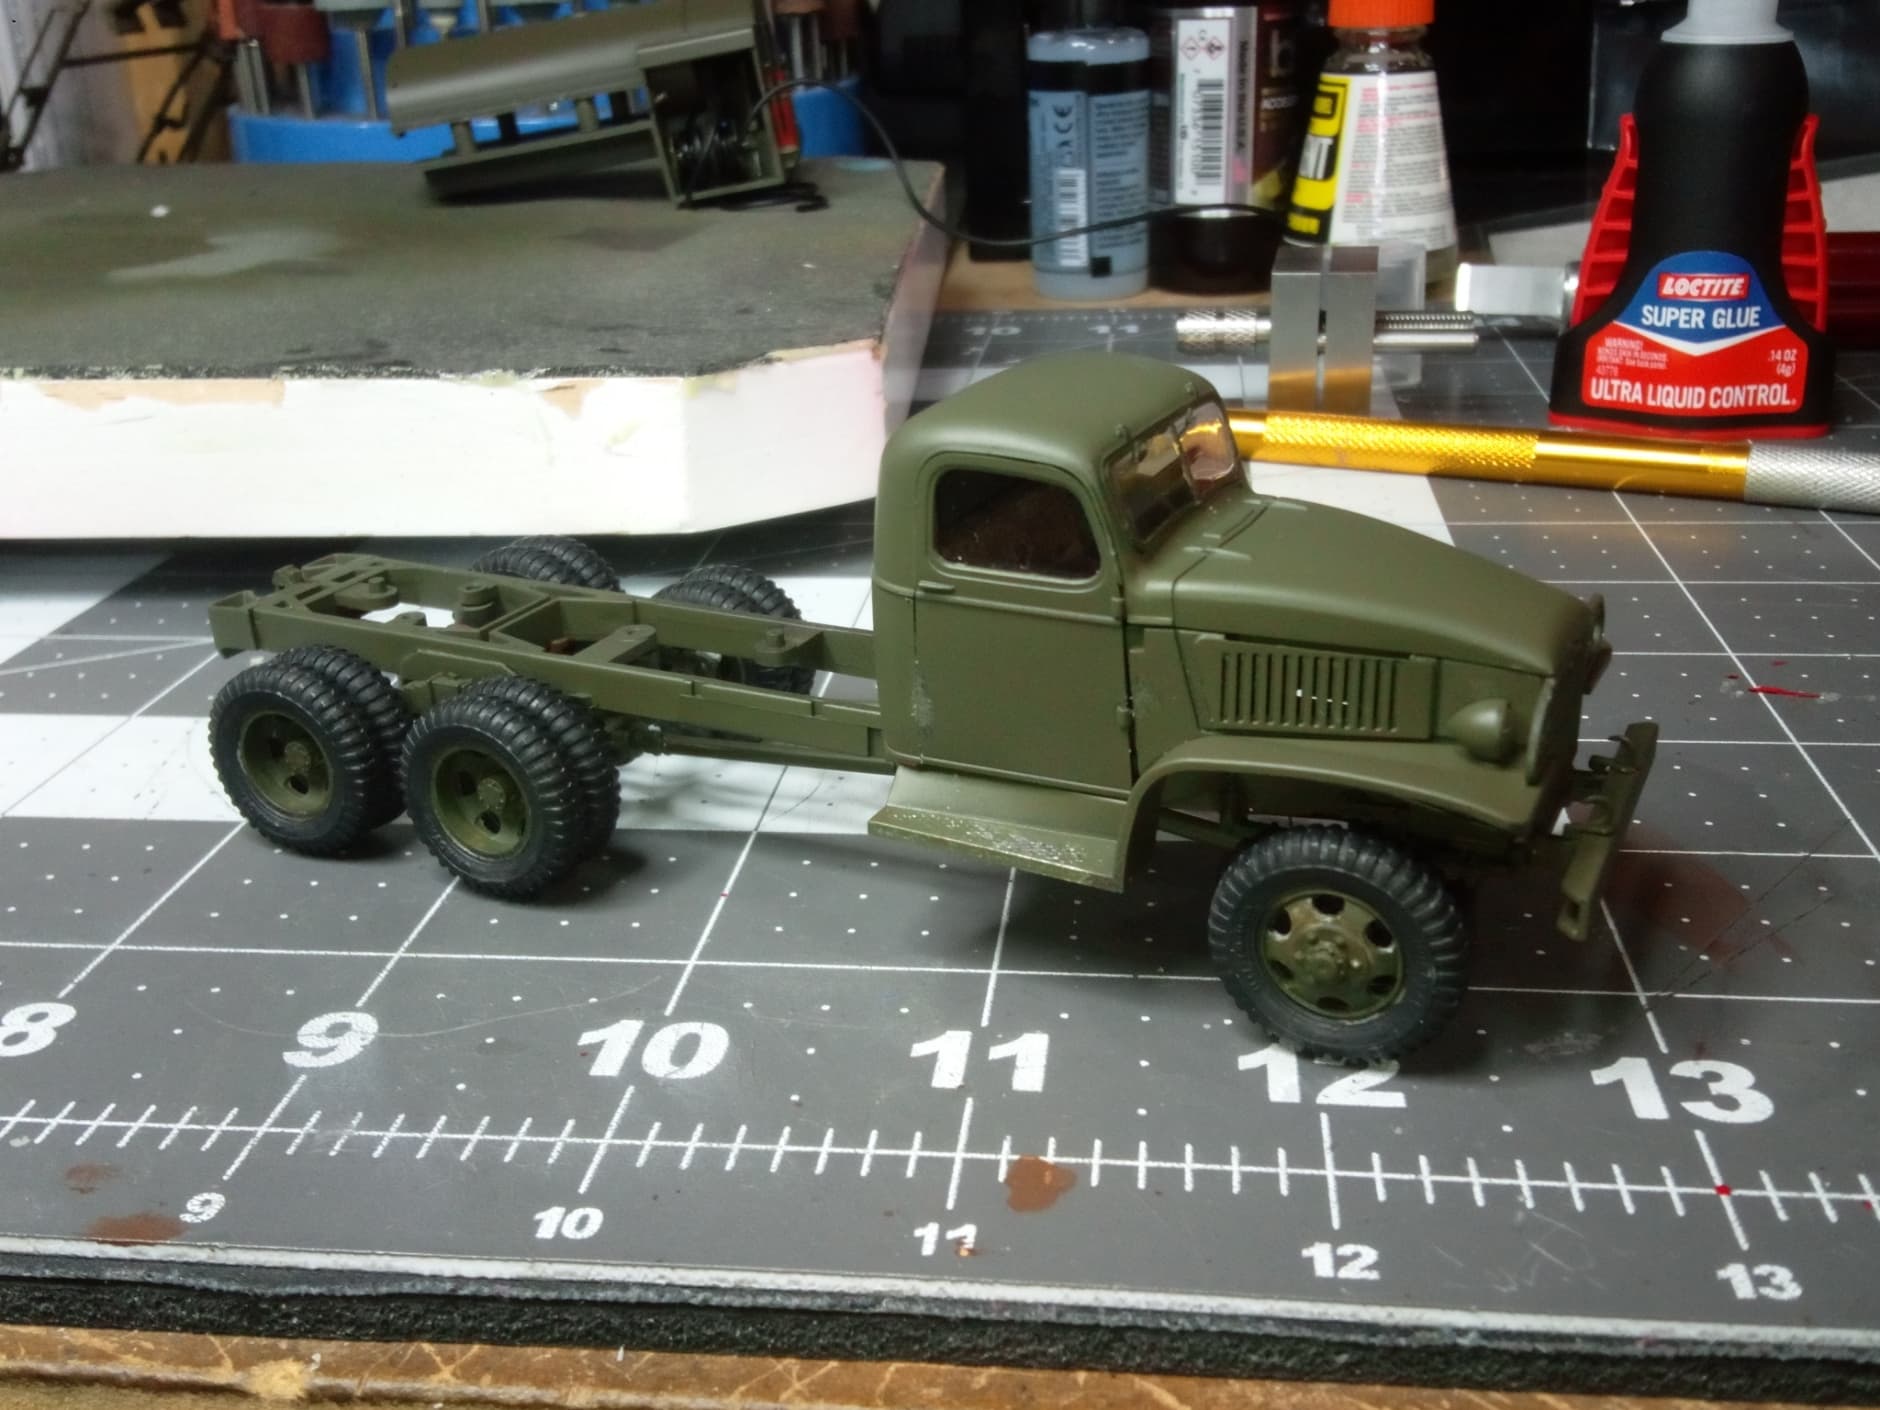
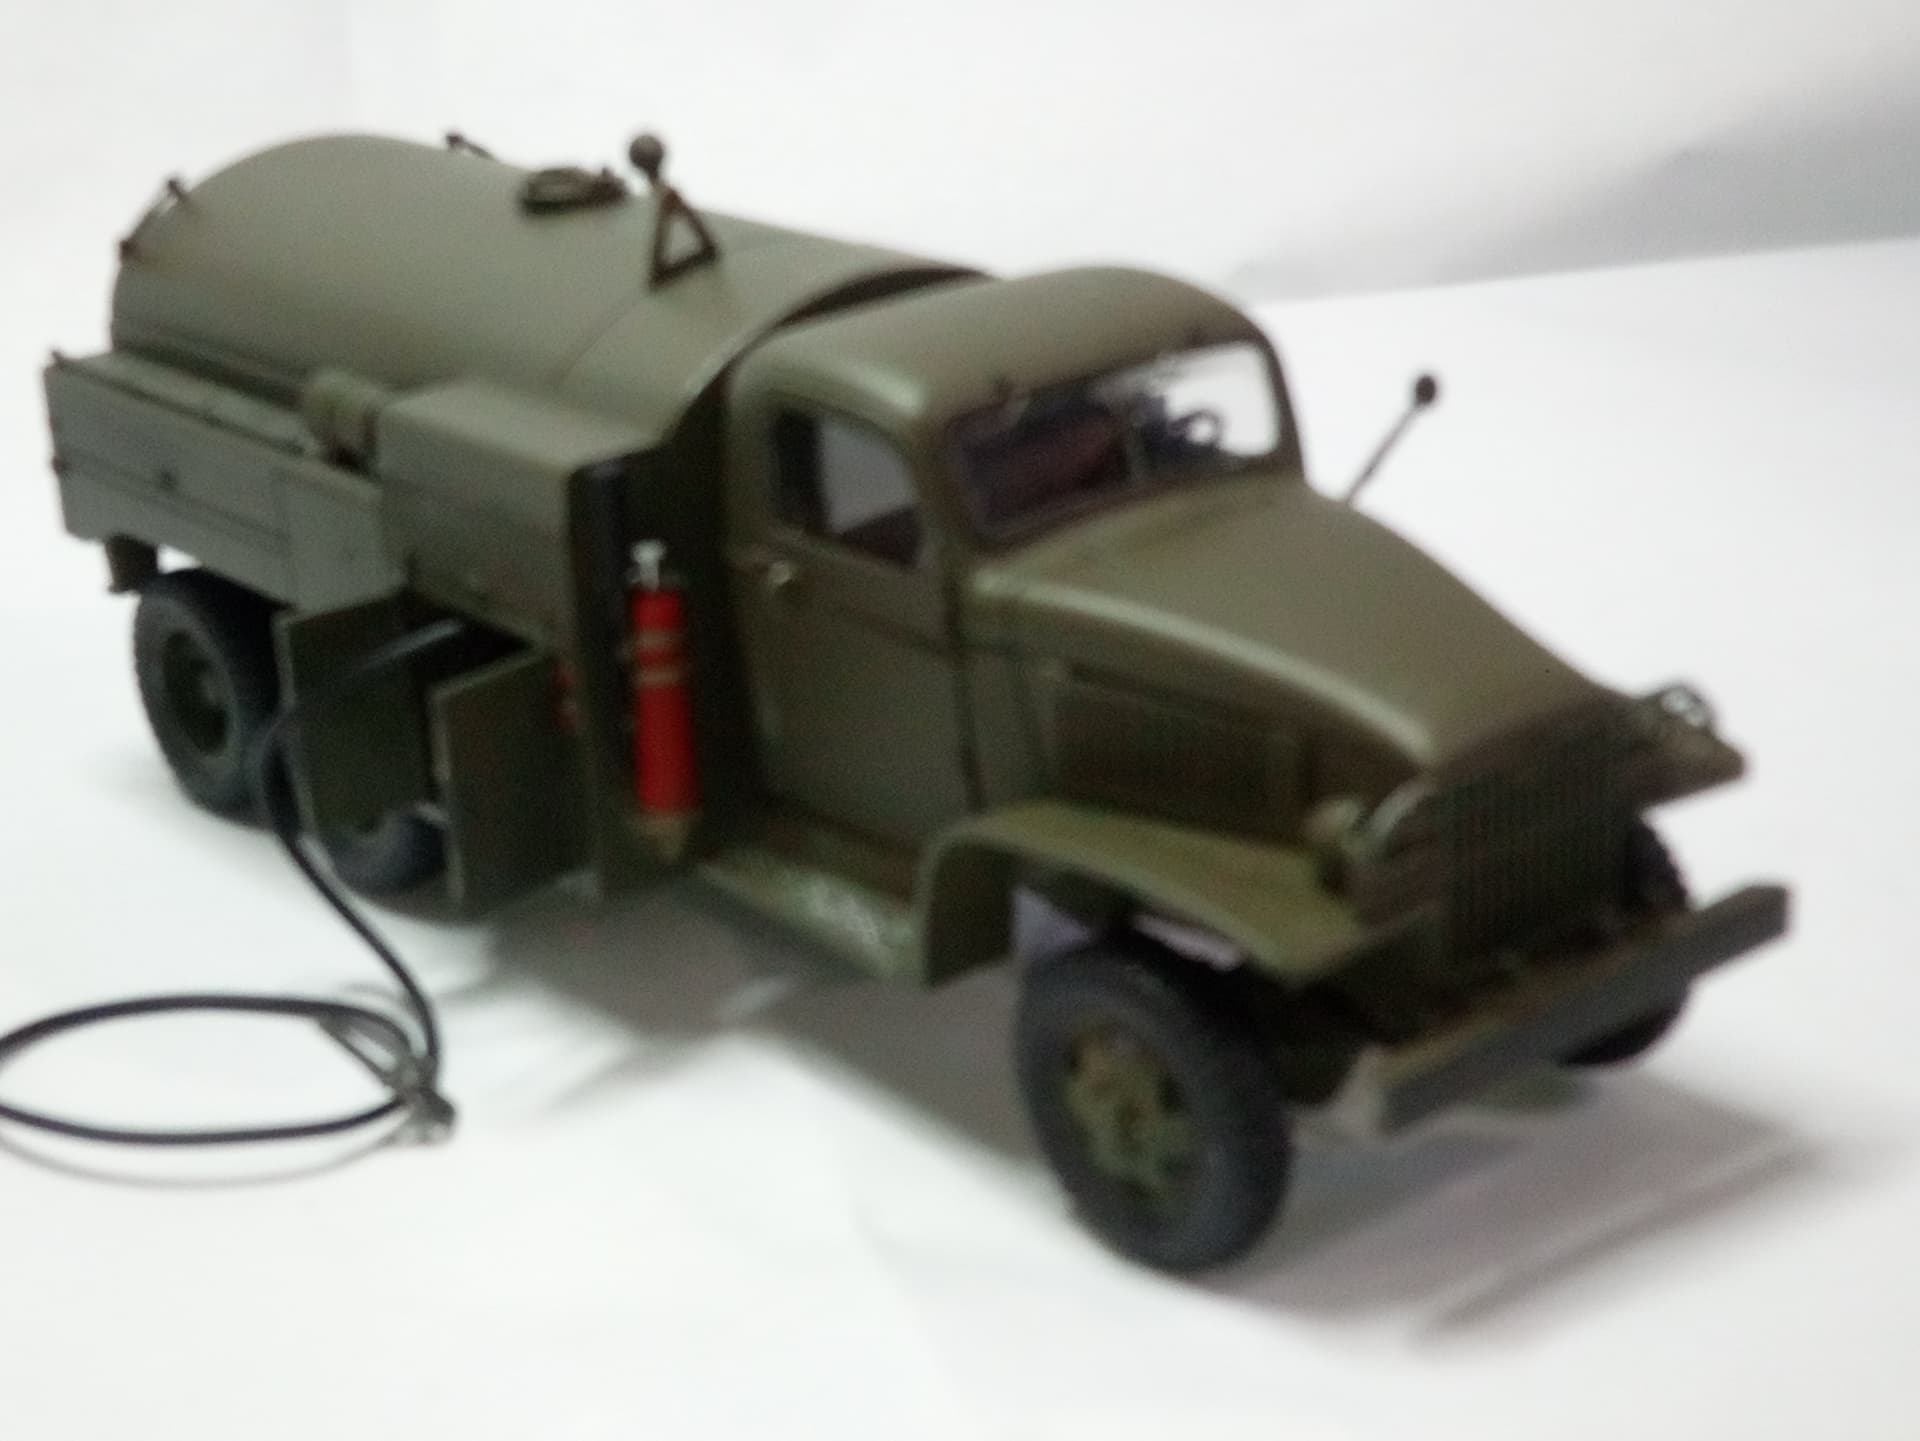
Got a couple of good days in at the bench and finished all the major construction on the fuel truck.
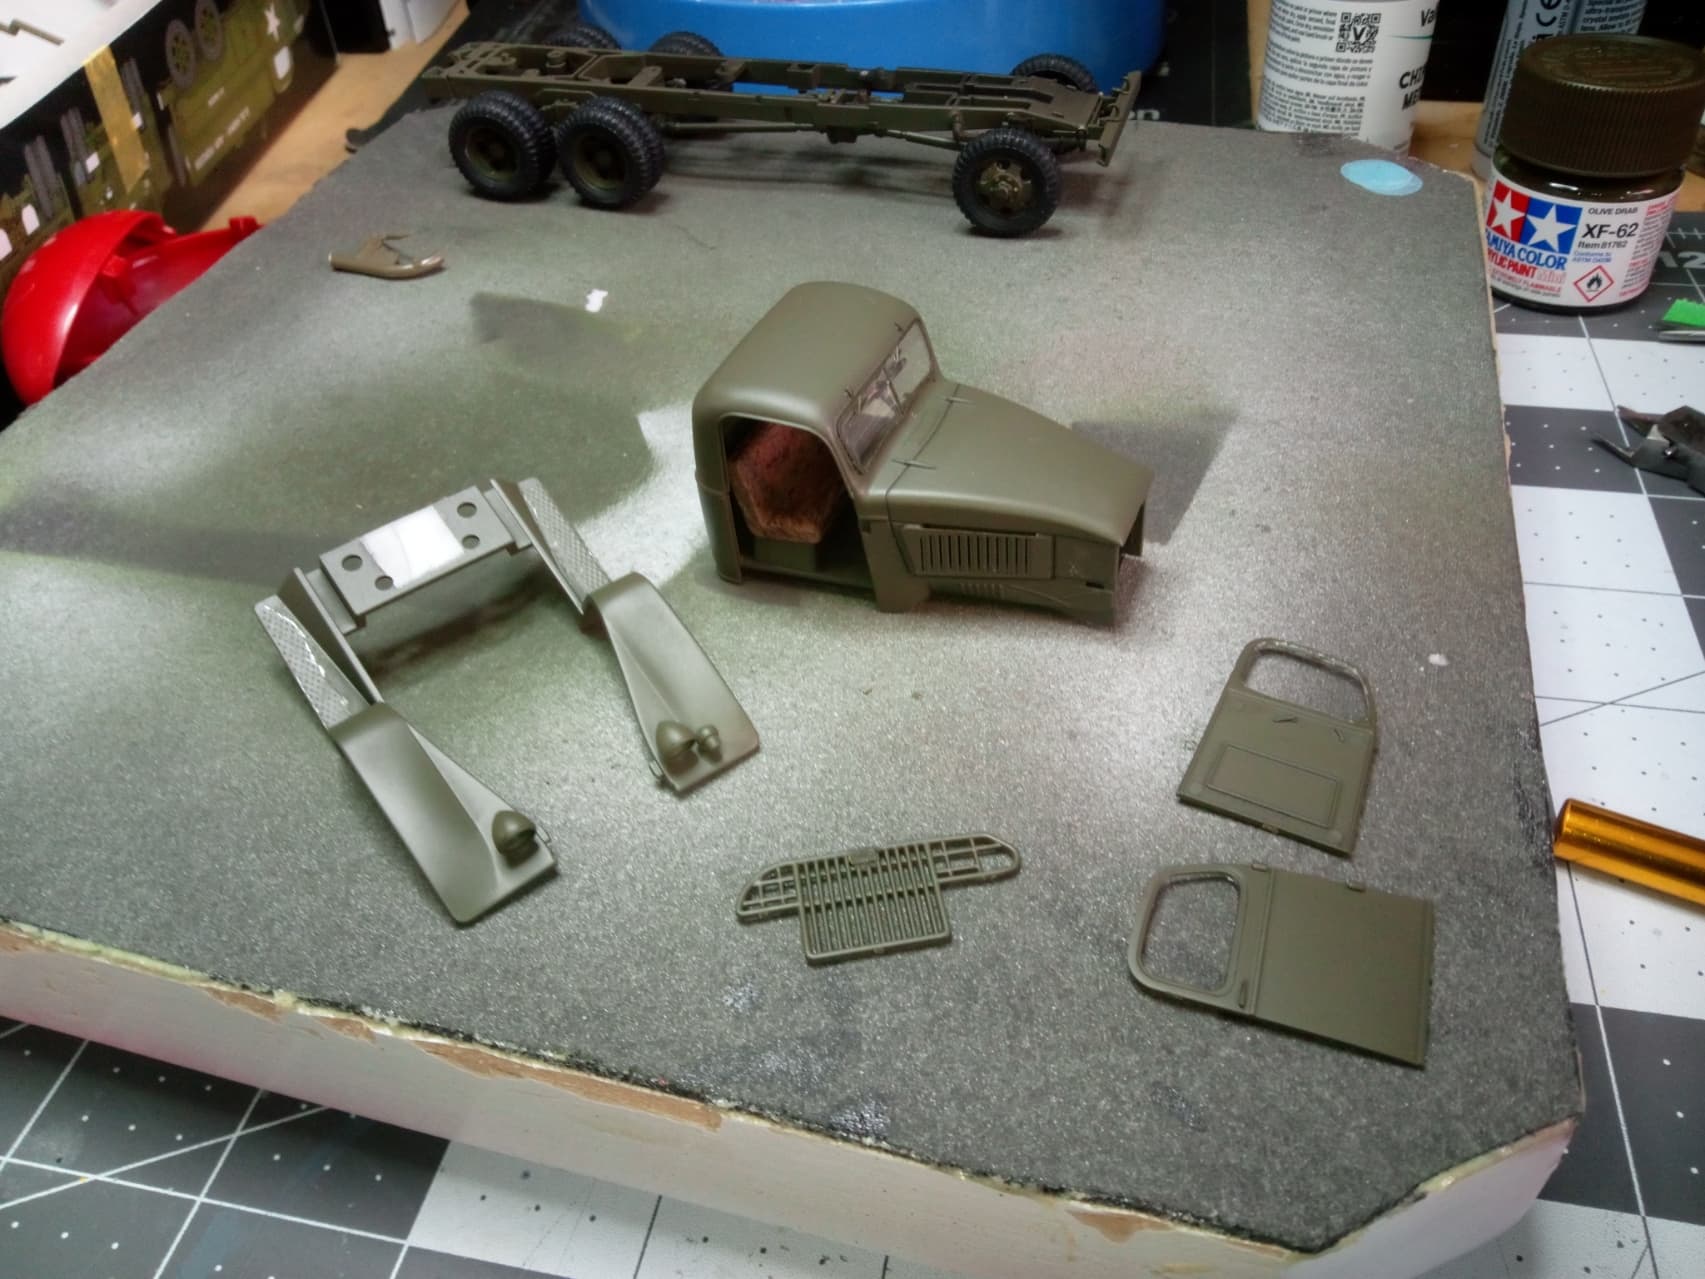
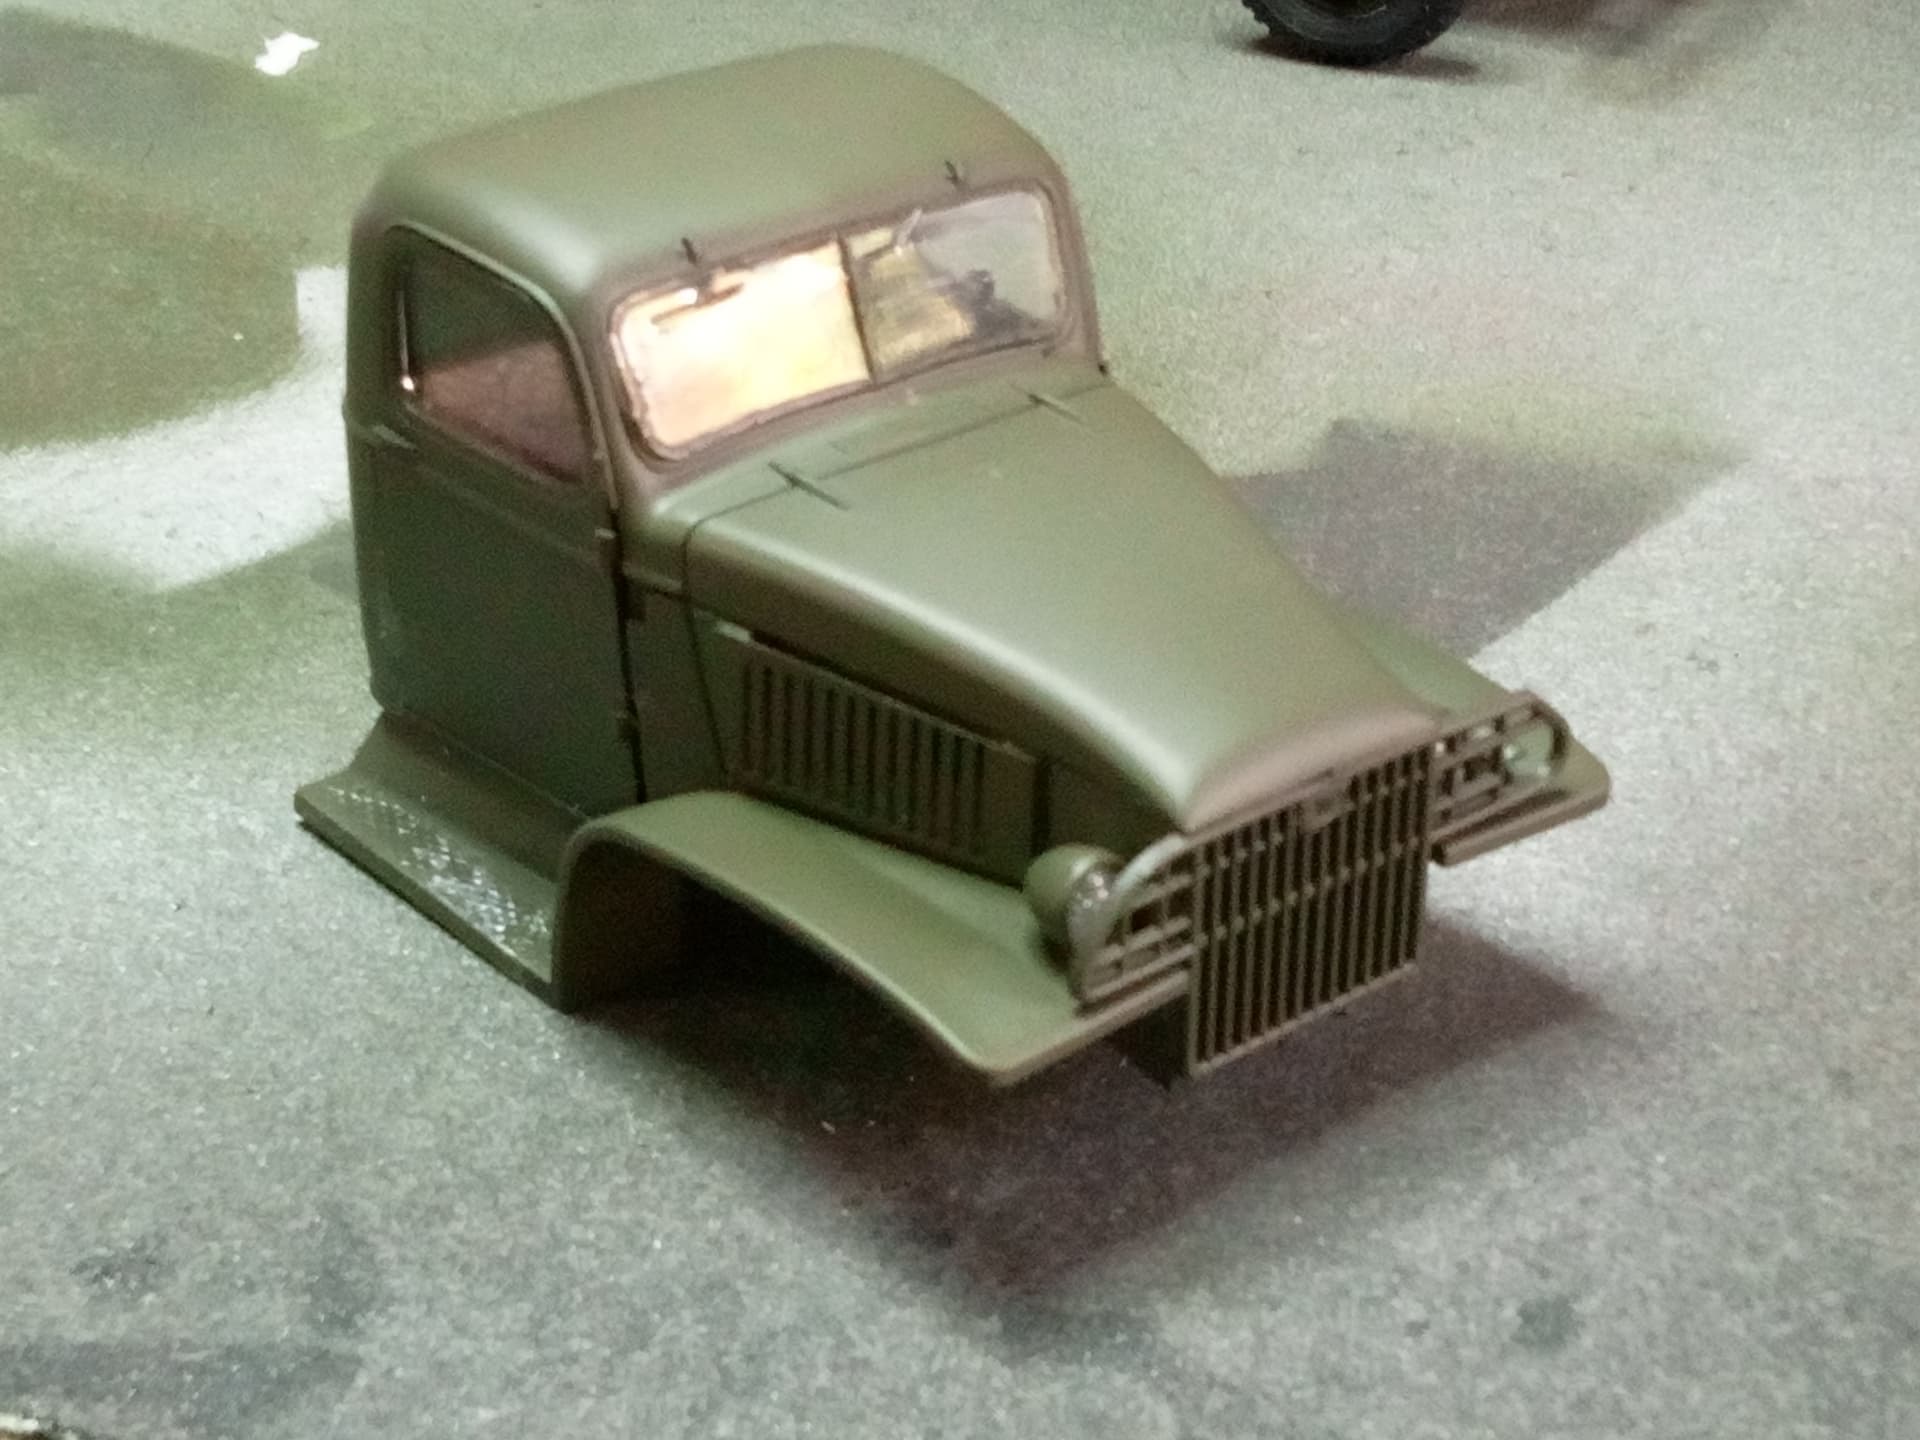
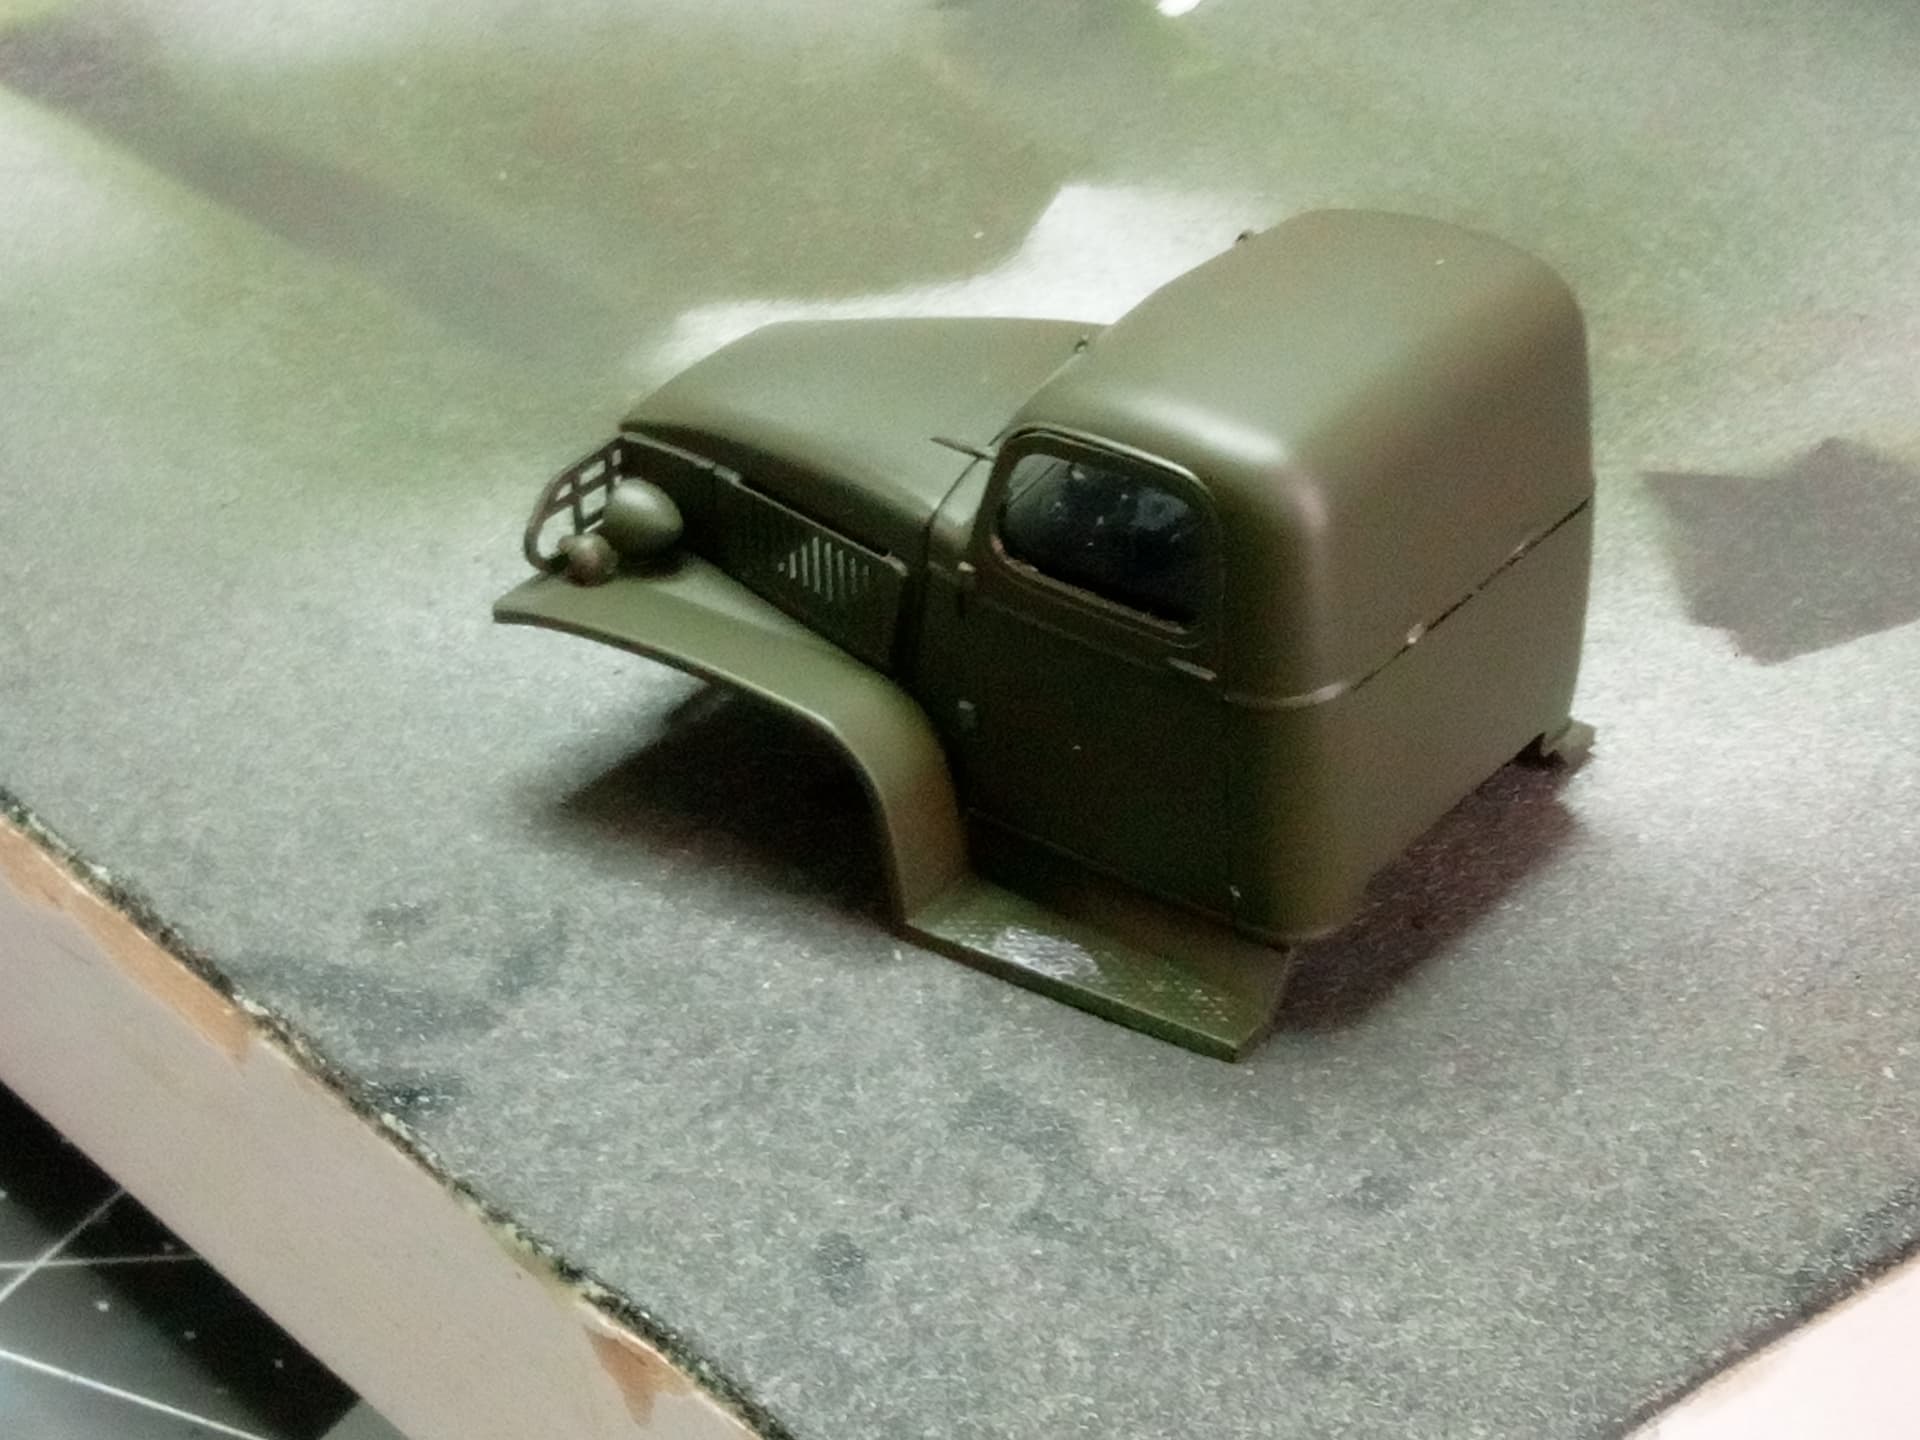
Cab is all buttoned up and mounted on the chassis:
On to finishing the fuel tank section:

A word of note here. The two hoses and their reels were a major pain. The hoses are made of a copper wire core which you have to slip into a vinyl sleeve. Then the instructions tell you wind the two hoses around the reels, but not to glue the reel halves together. The hoses aren’t stiff enough to hold shape, and holding the unglued reels while winding is not possible. On top of that, the central spindle the reels spin on is not quite long enough to clear two reels and mount into the sidewall of their box mount. If you choose to build this model, watch out for this!
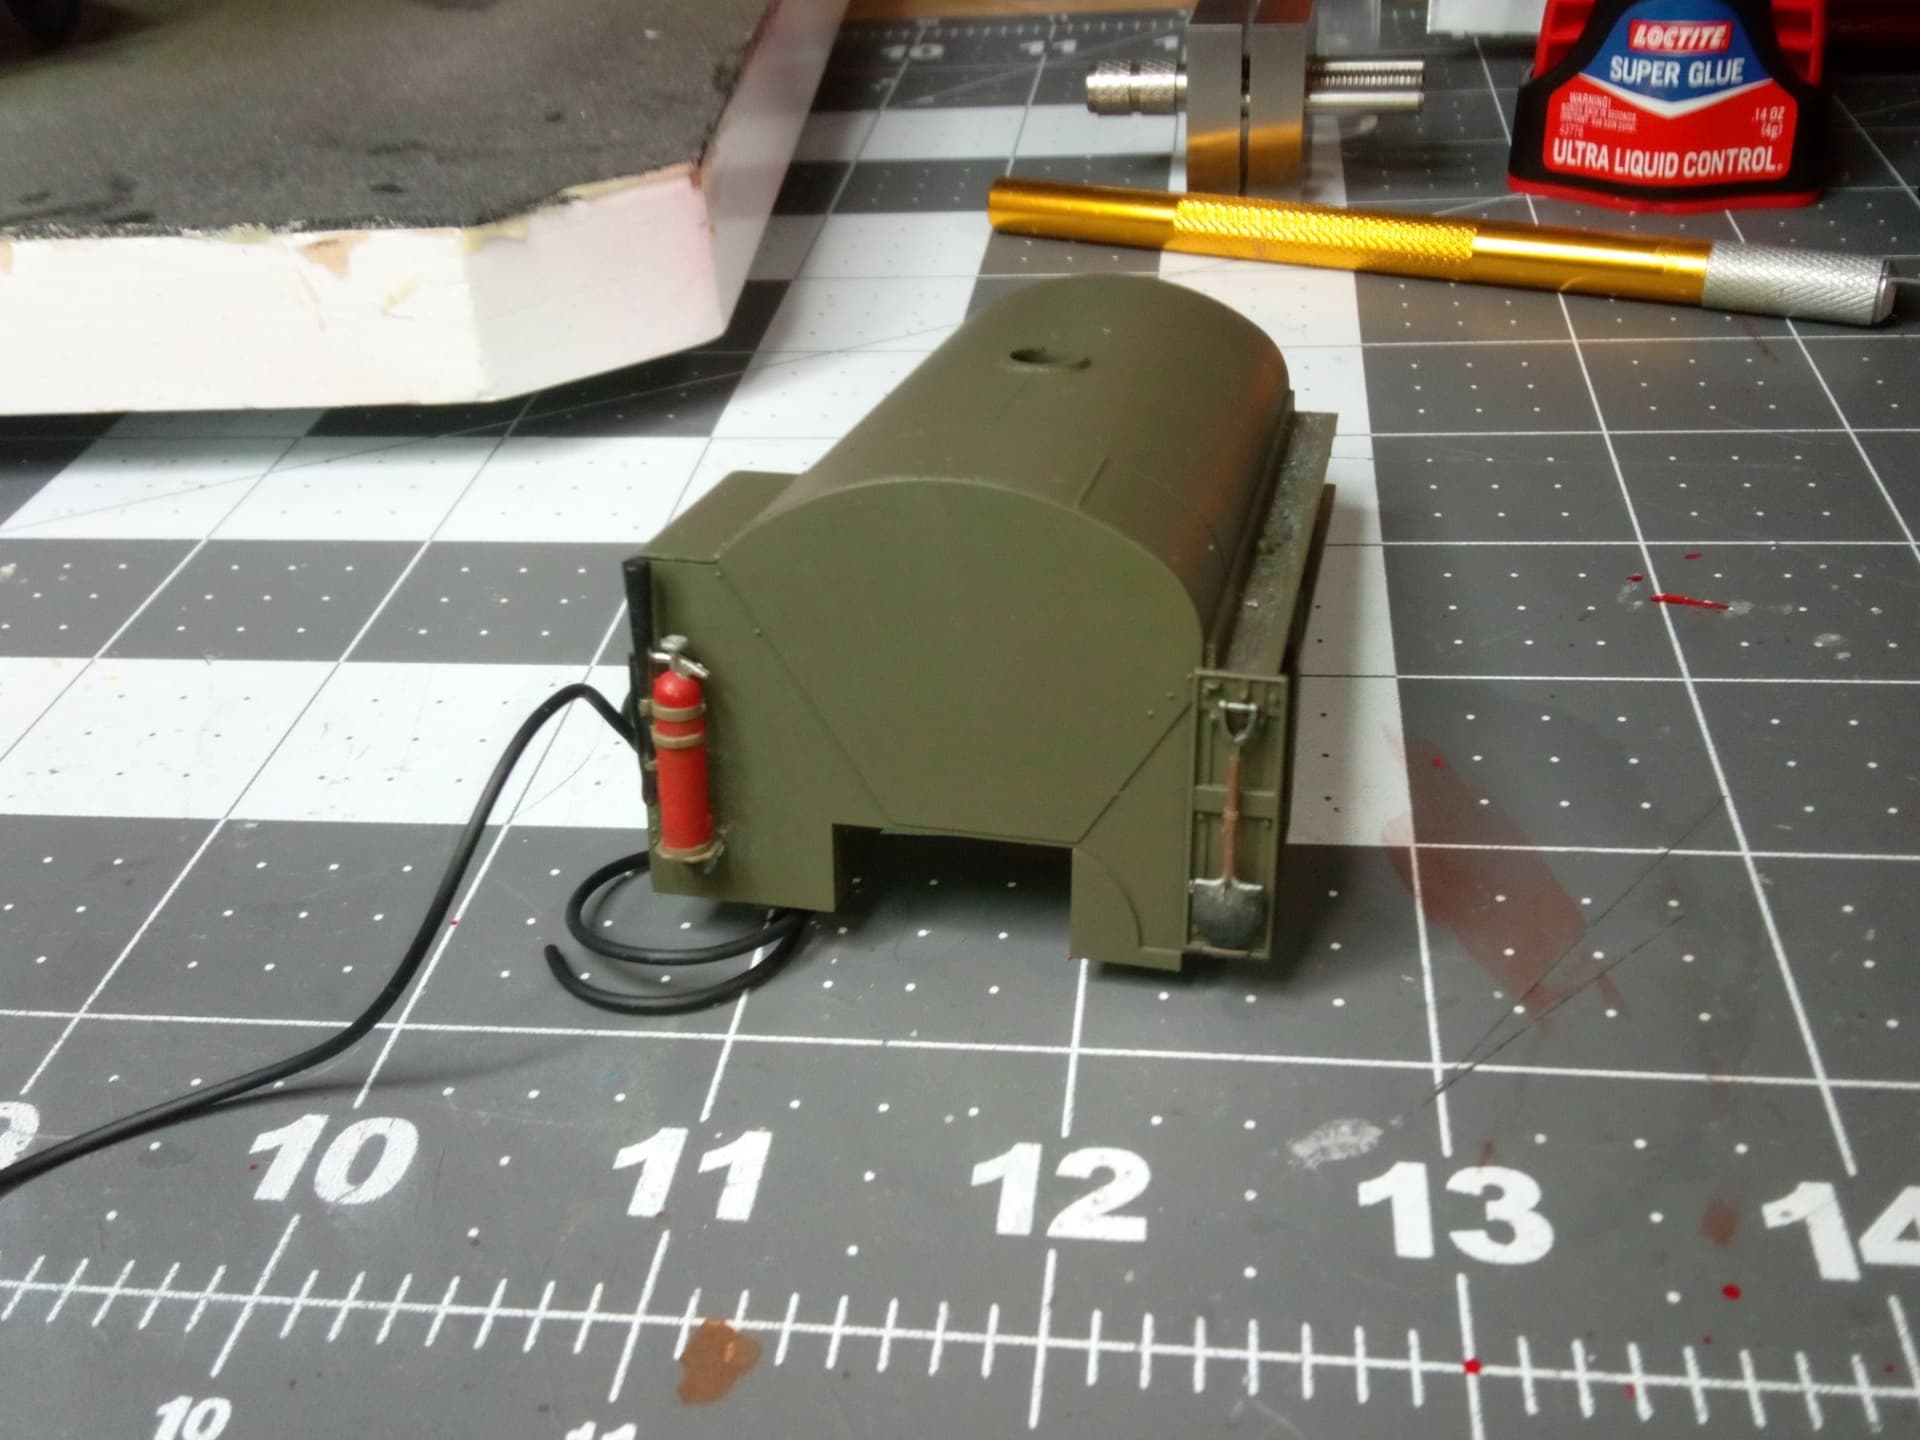
Liking the little details here with the shovel, extinguisher, and the wear and tear on the walkways on either side of the tank. You can see wear on the cab steps as well.
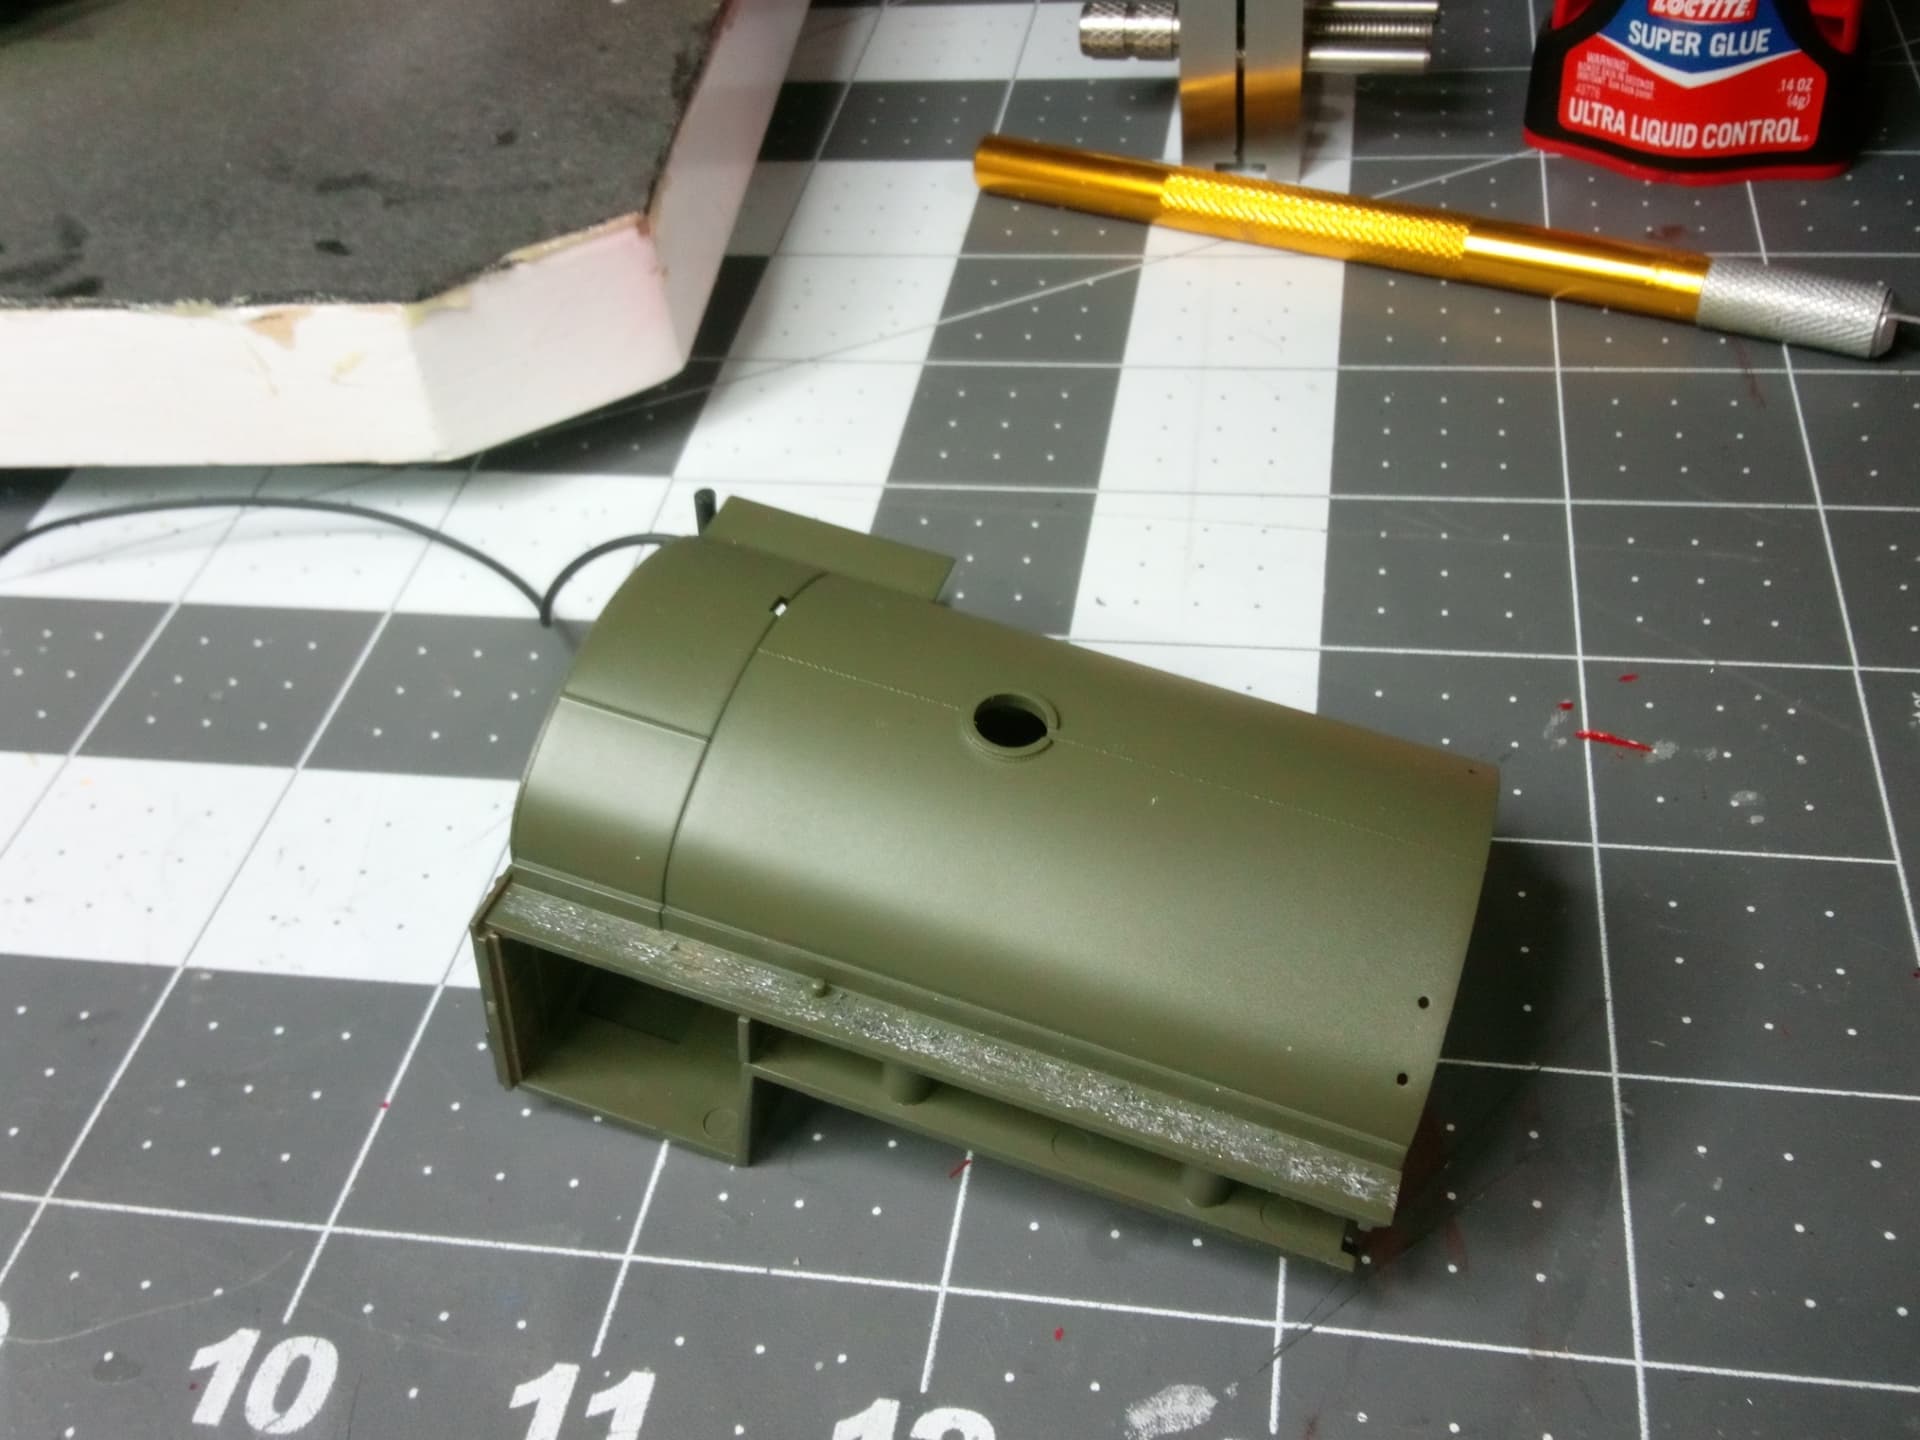
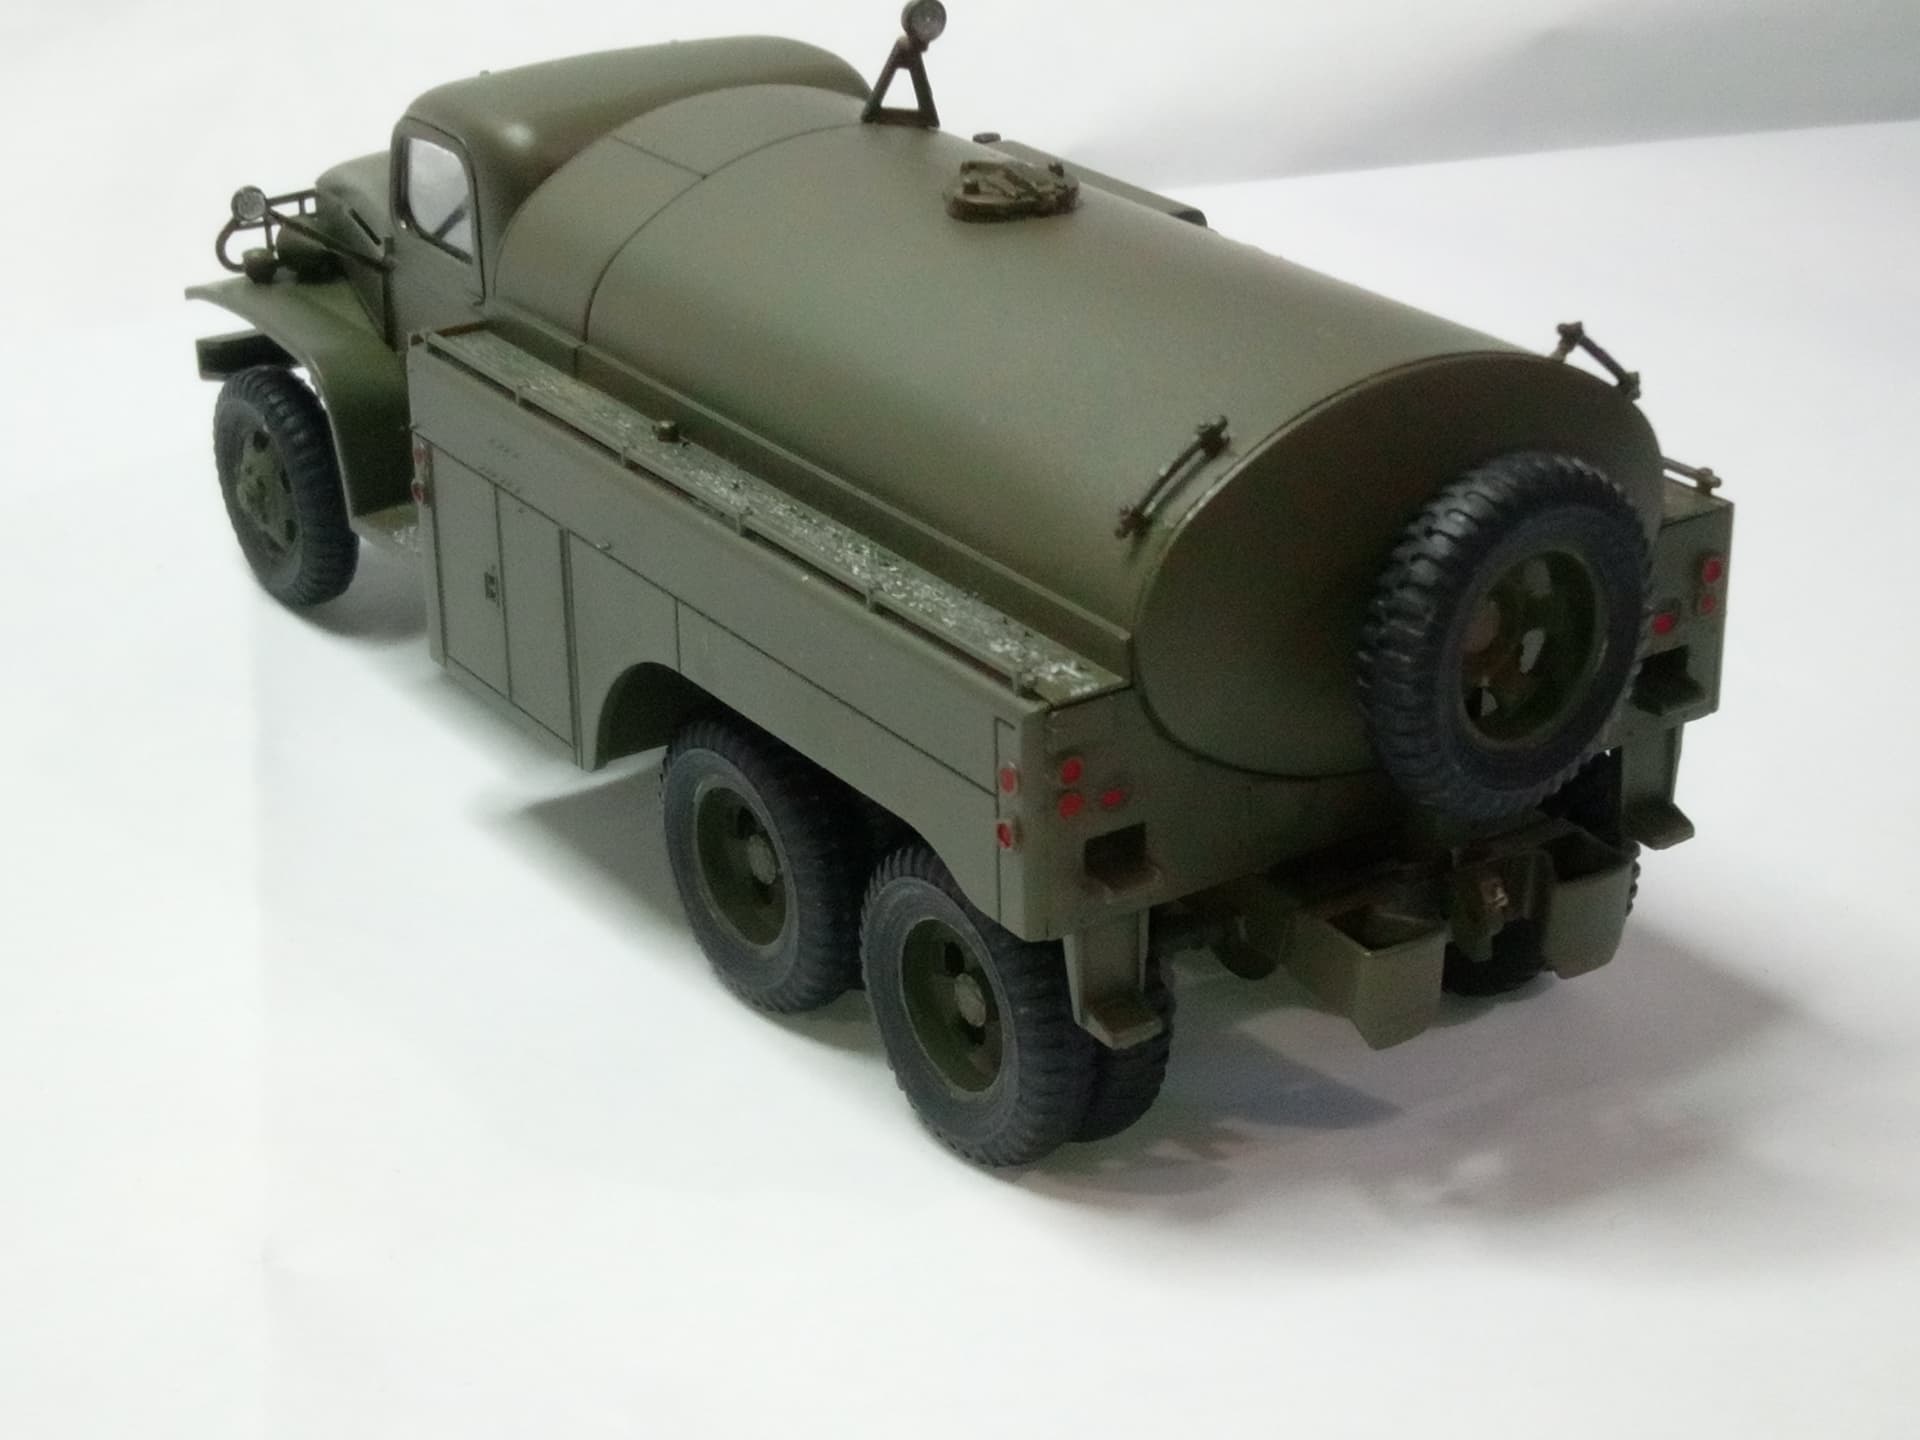
Glued the sides on, and the doors that cover the hose reels, then mounted the tank to the chassis. The following pictures are of the completed truck, except for decals, weathering, and dull coat. I did spray a Vallejo Gloss acrylic varnish on the complete truck (first time using this).
Nearly had a heart attack as the gloss gave the appearance of having white measles all over it, thought I ruined the paint. It dried okay, crisis averted.
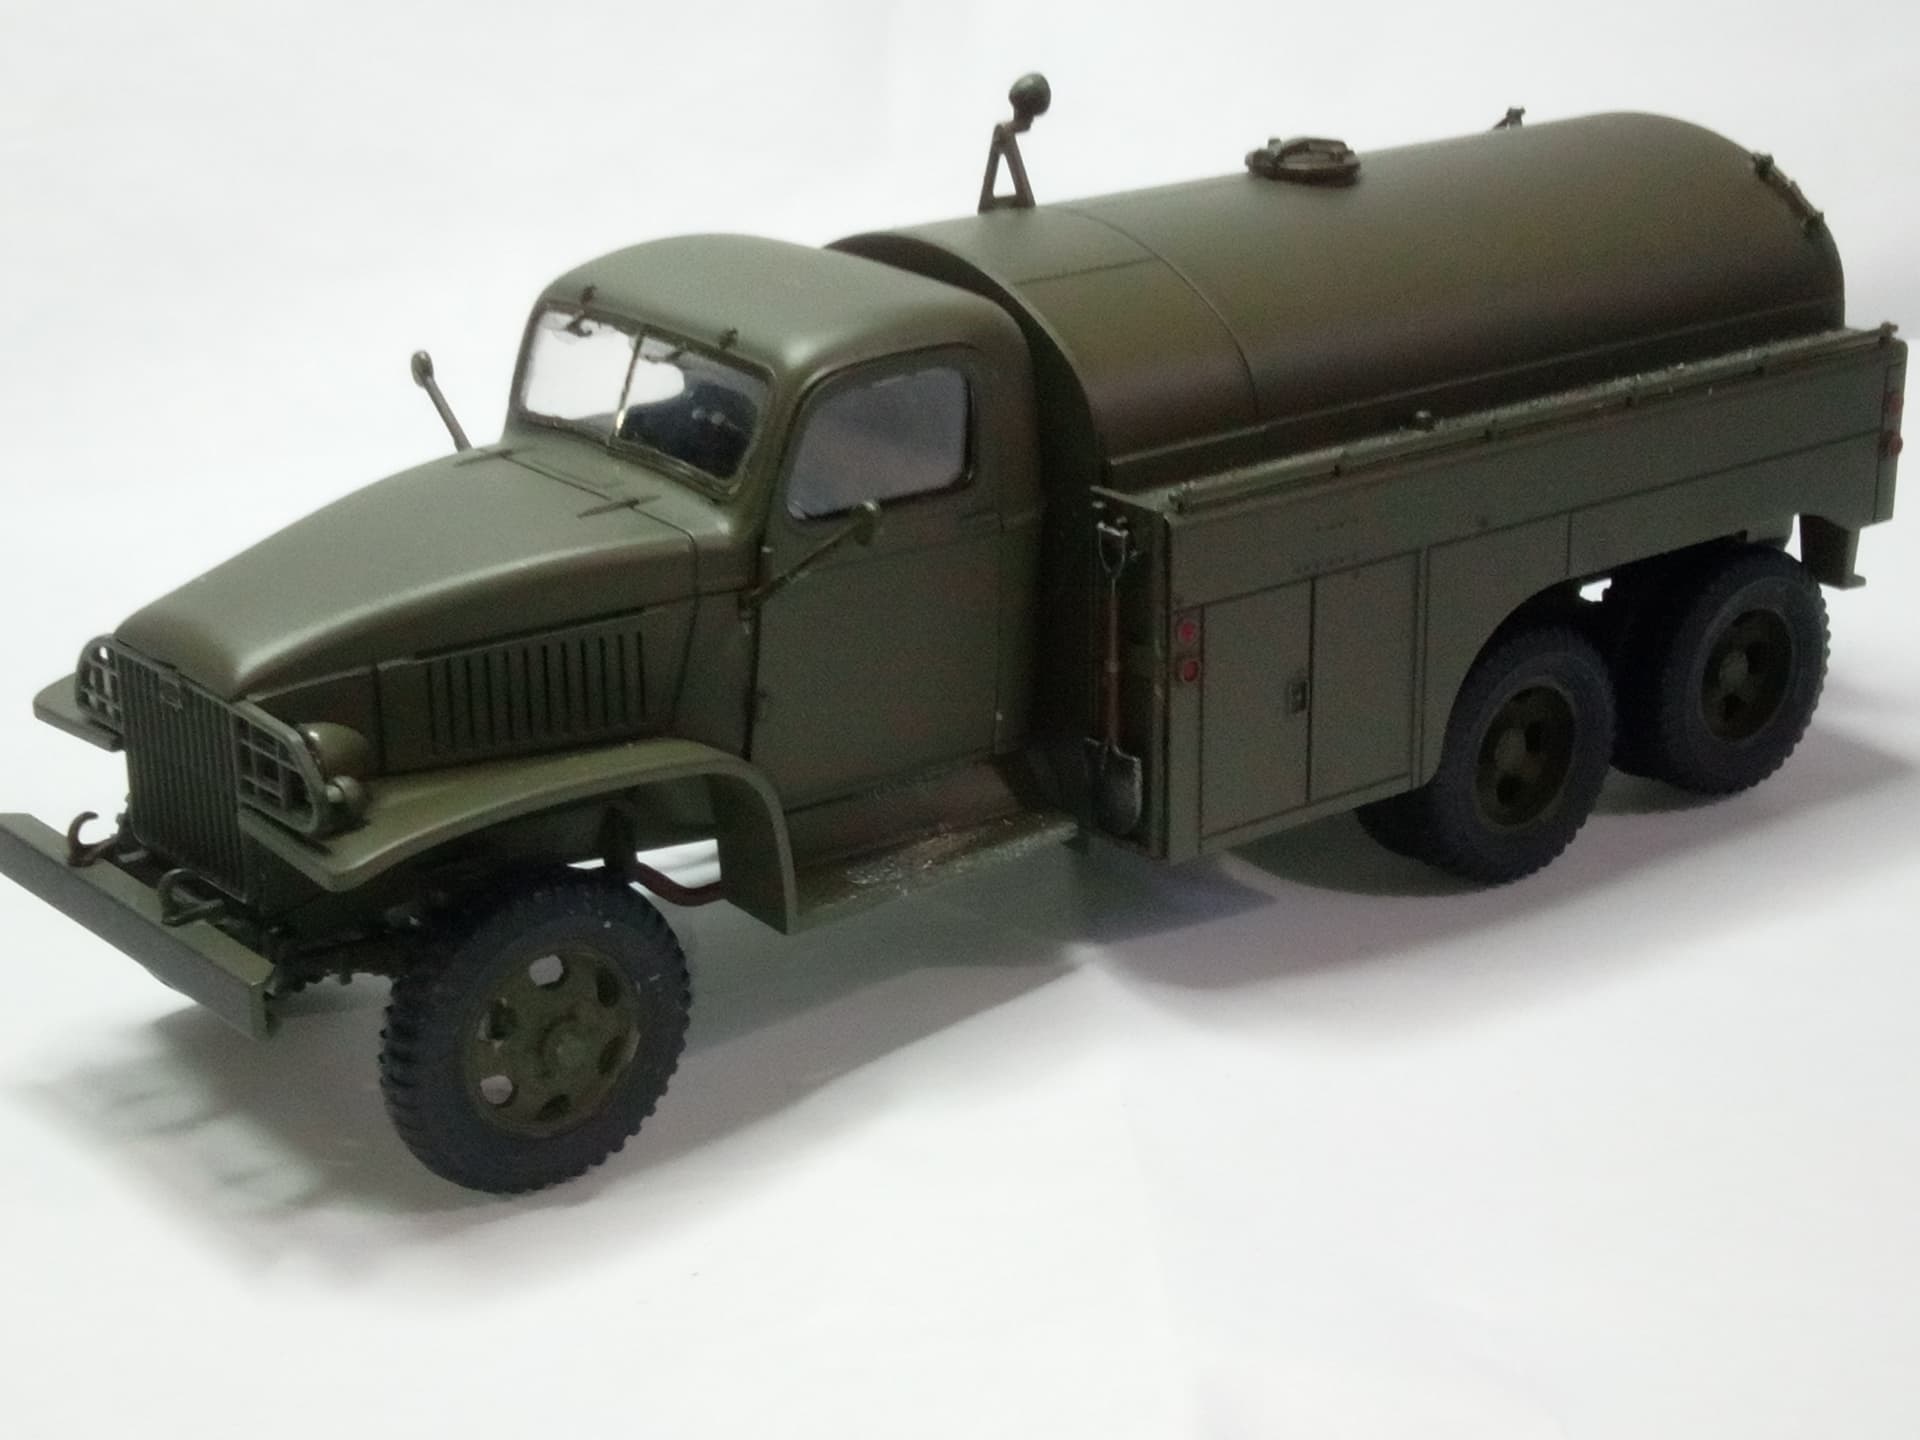
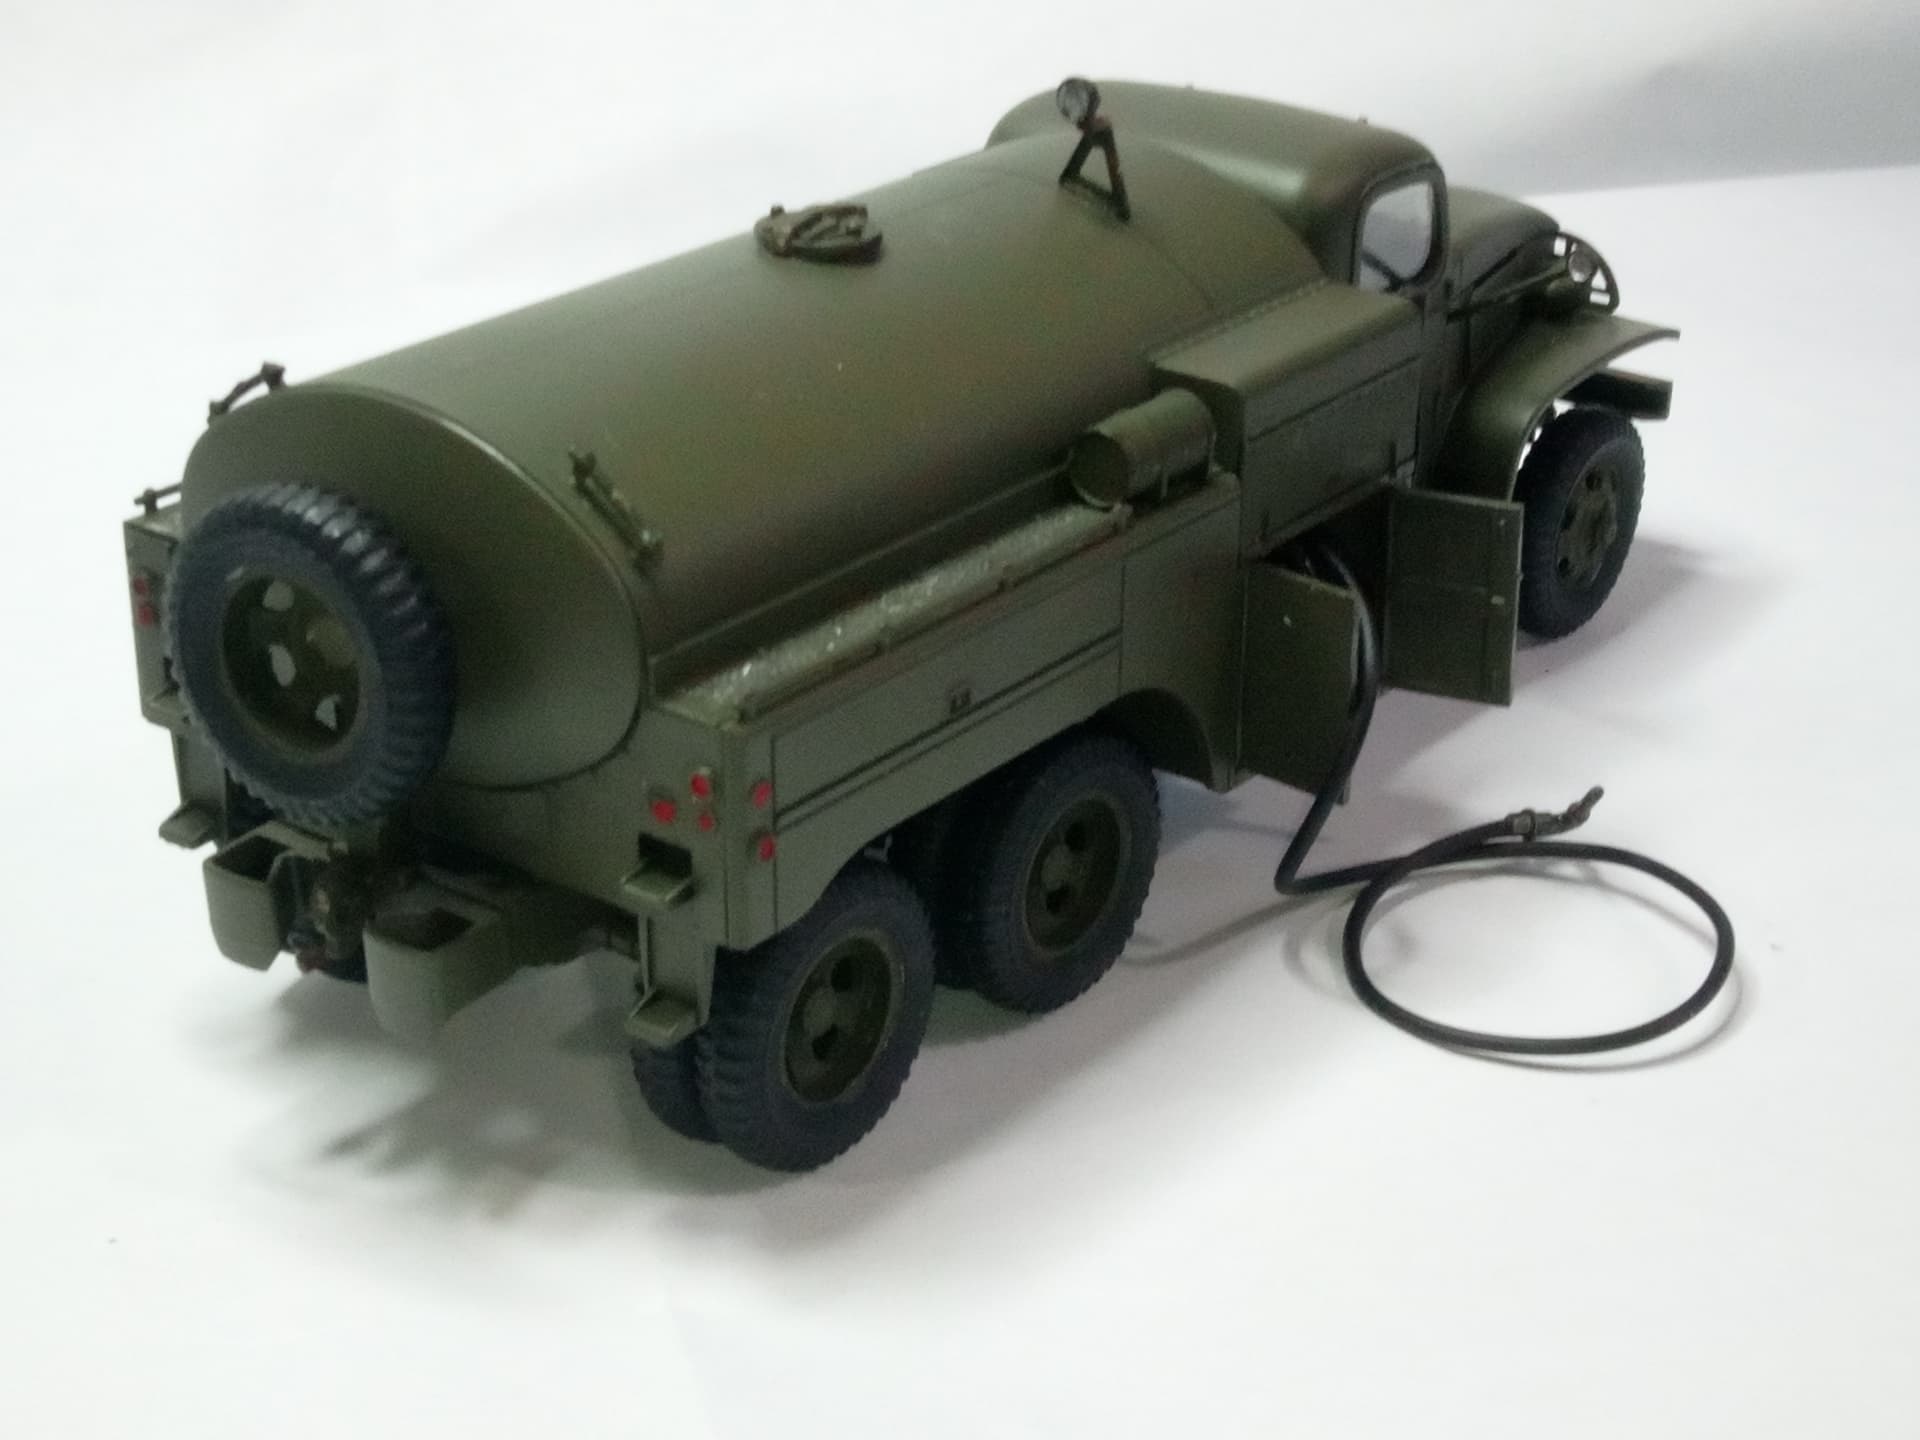
Now I can move on to building the next vehicle for this diorama, the jeep and trailer. I’ll be decaling simultaneously on the P-38J and the fuel truck, so busy times. I still need to paint all the figures and “stuff.” I’ll keep everyone posted.
Happy modeling!
9 Likes
Looking great! I just built that truck with a Hasegawa jeep in a small dio. Built the Hasegawa p38 right before that too. Your kit is coming out really nice.
1 Like
Looks awesome, nice job overcoming the hose reel situation, but rest assured, even in real life the hose reels are a pain in the…..
2 Likes
The fuel vehicle looks great and yeah, I can easily imagine the hoses being troublesome. I’ve had problems with ones like that before.
1 Like
As others have said, it looks perfectly done. You have finished it beautifully!
Nice work on both the plane and the truck…
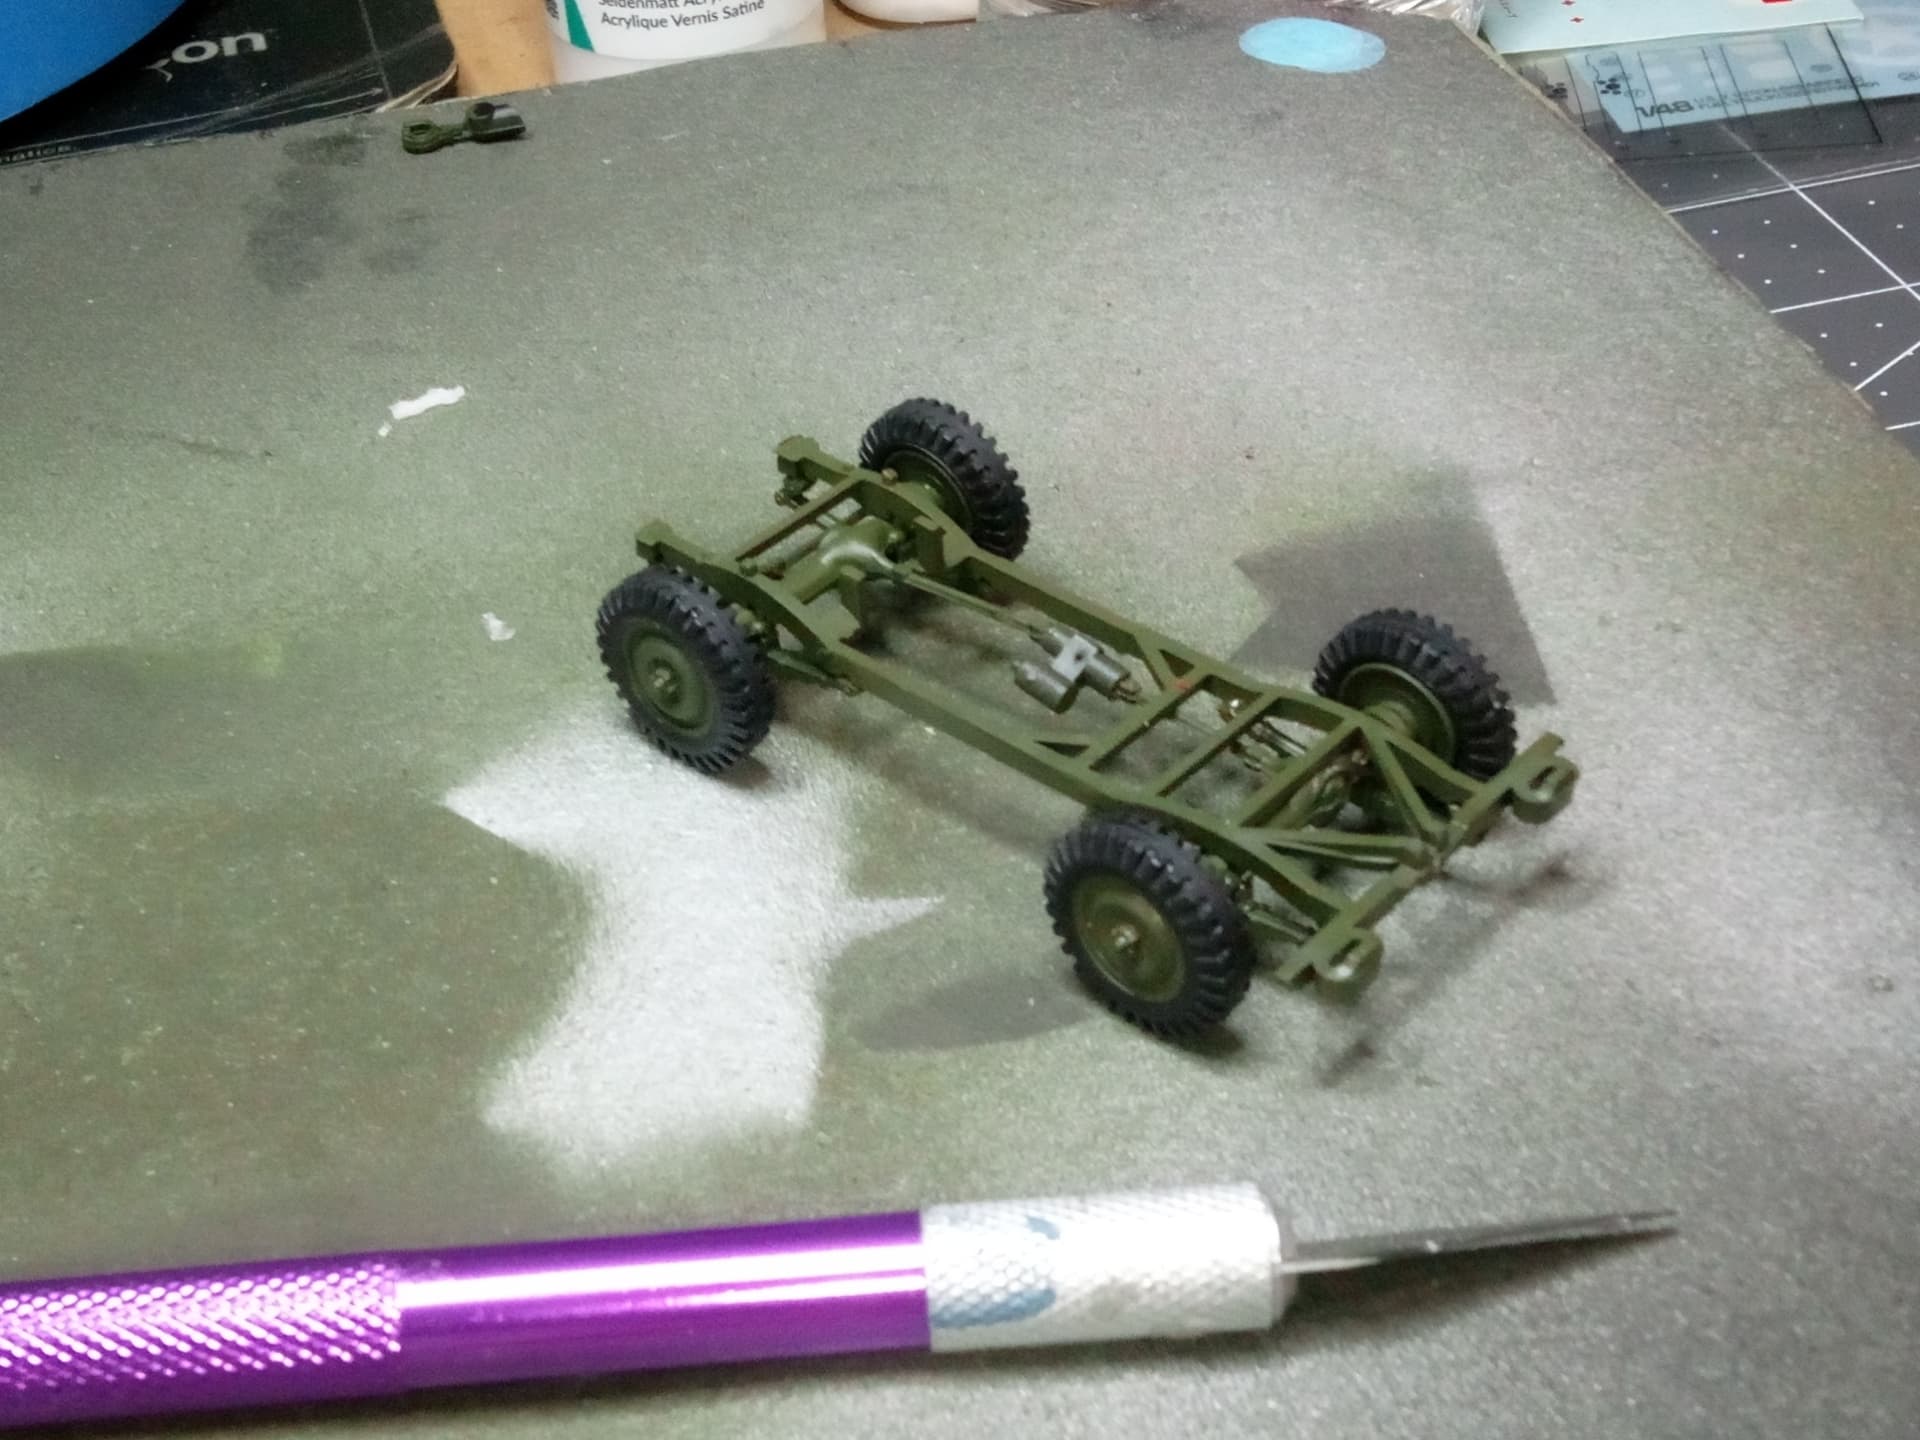
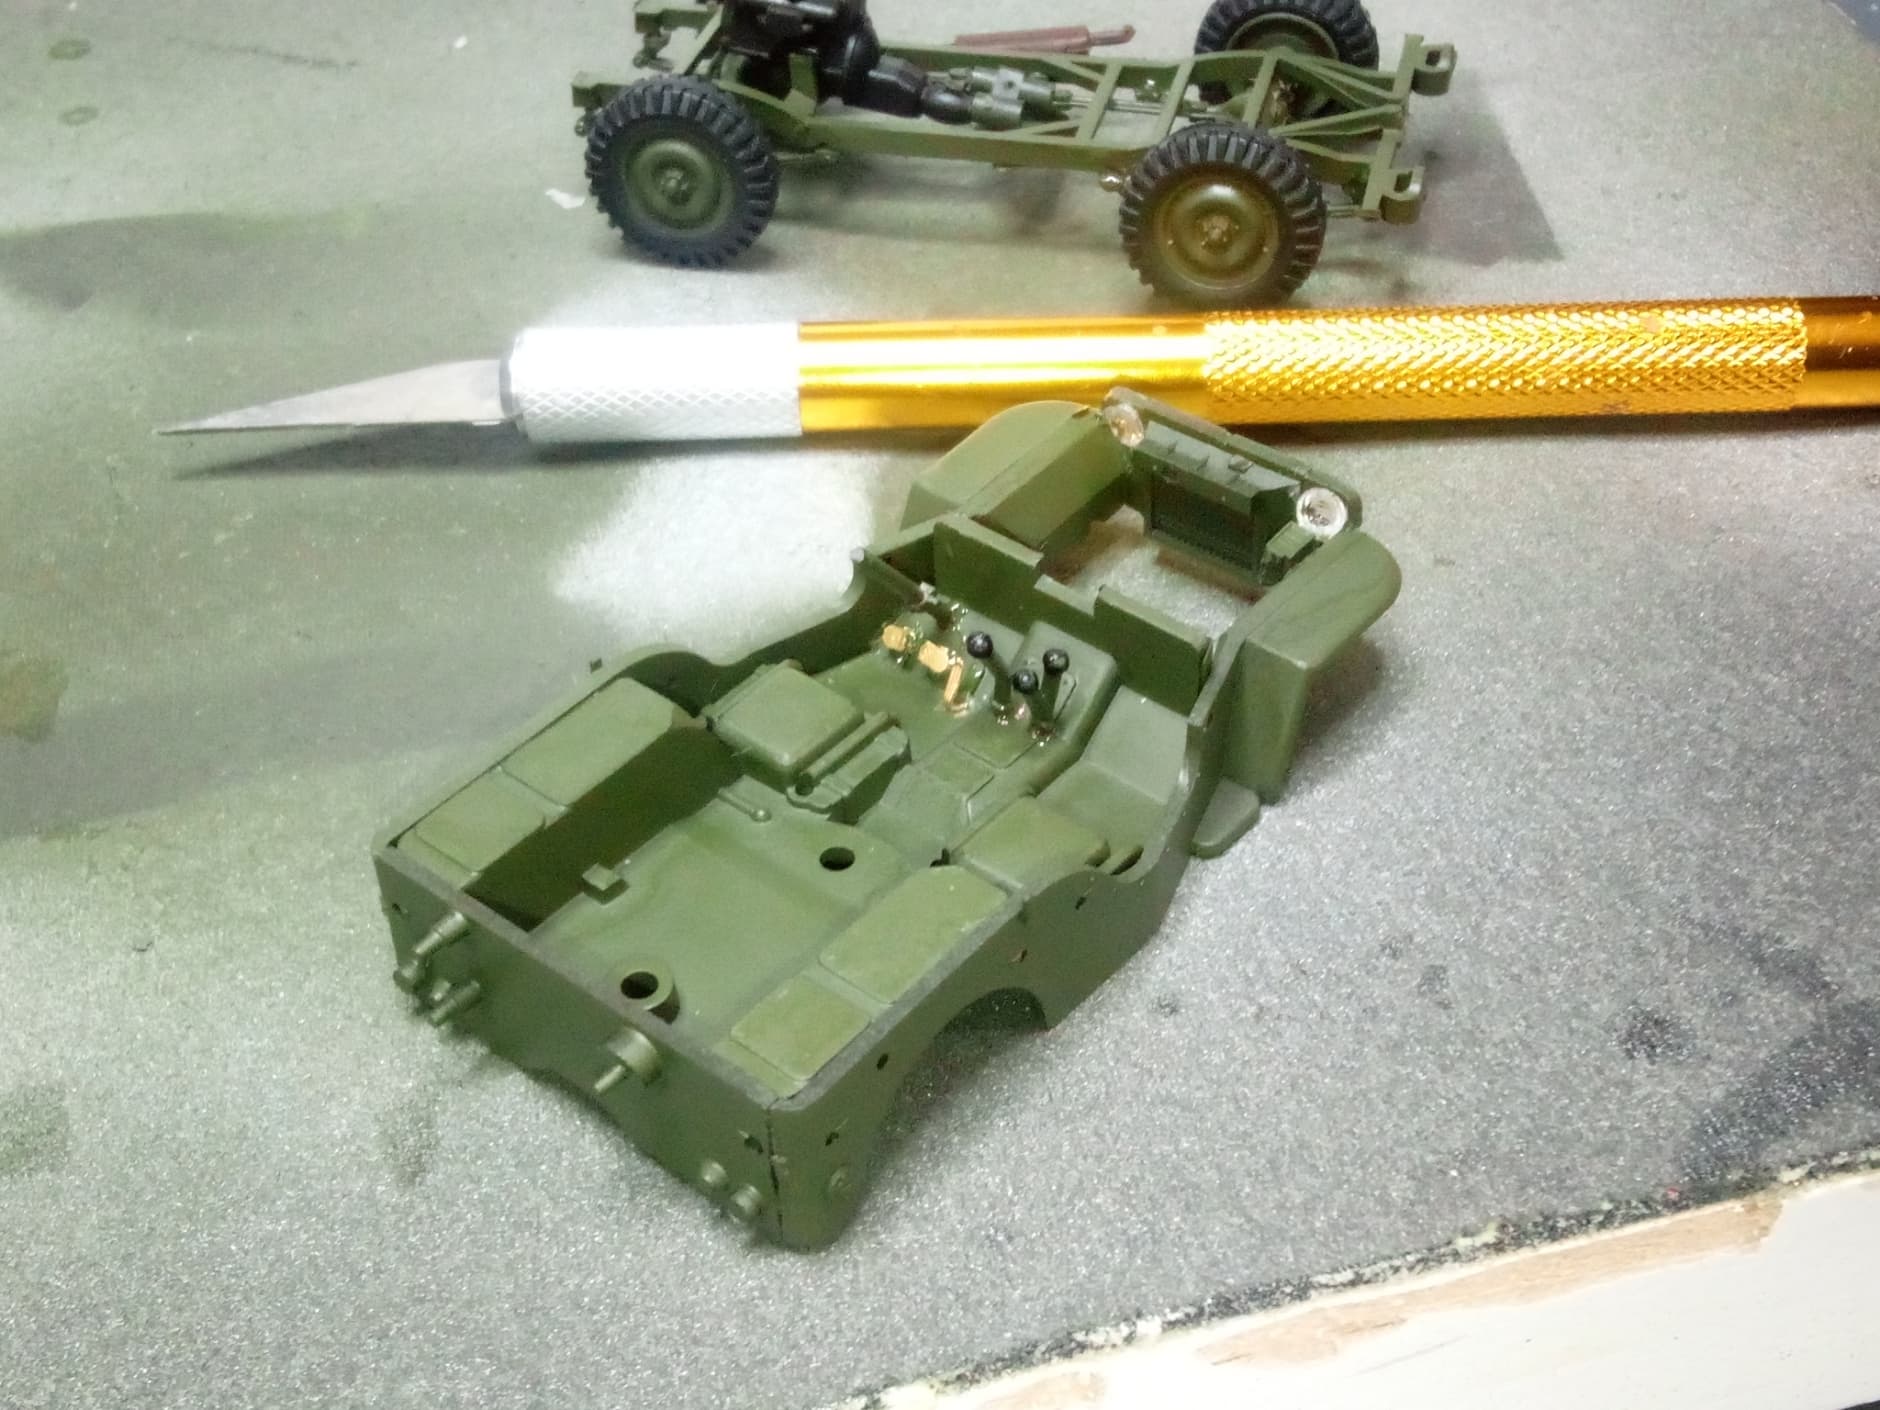
With the major construction complete on the P-38 and the fuel truck, I have begun construction of the Bandai 1/48 U.S. jeep. I bought this because it was the only jeep I could find in this scale (I thought that odd). I built a Bandai Mandolorian N-1 Starfighter a few years ago, which got me back into the hobby. I found it well engineered, detailed and enjoyable to build. This jeep is none of those things. The instructions are crude, bordering on useless. The parts have no locater pins, notches, ridges, or anything else that fit the parts together…everything is a smooth butt joint, making dry fitting impossible.
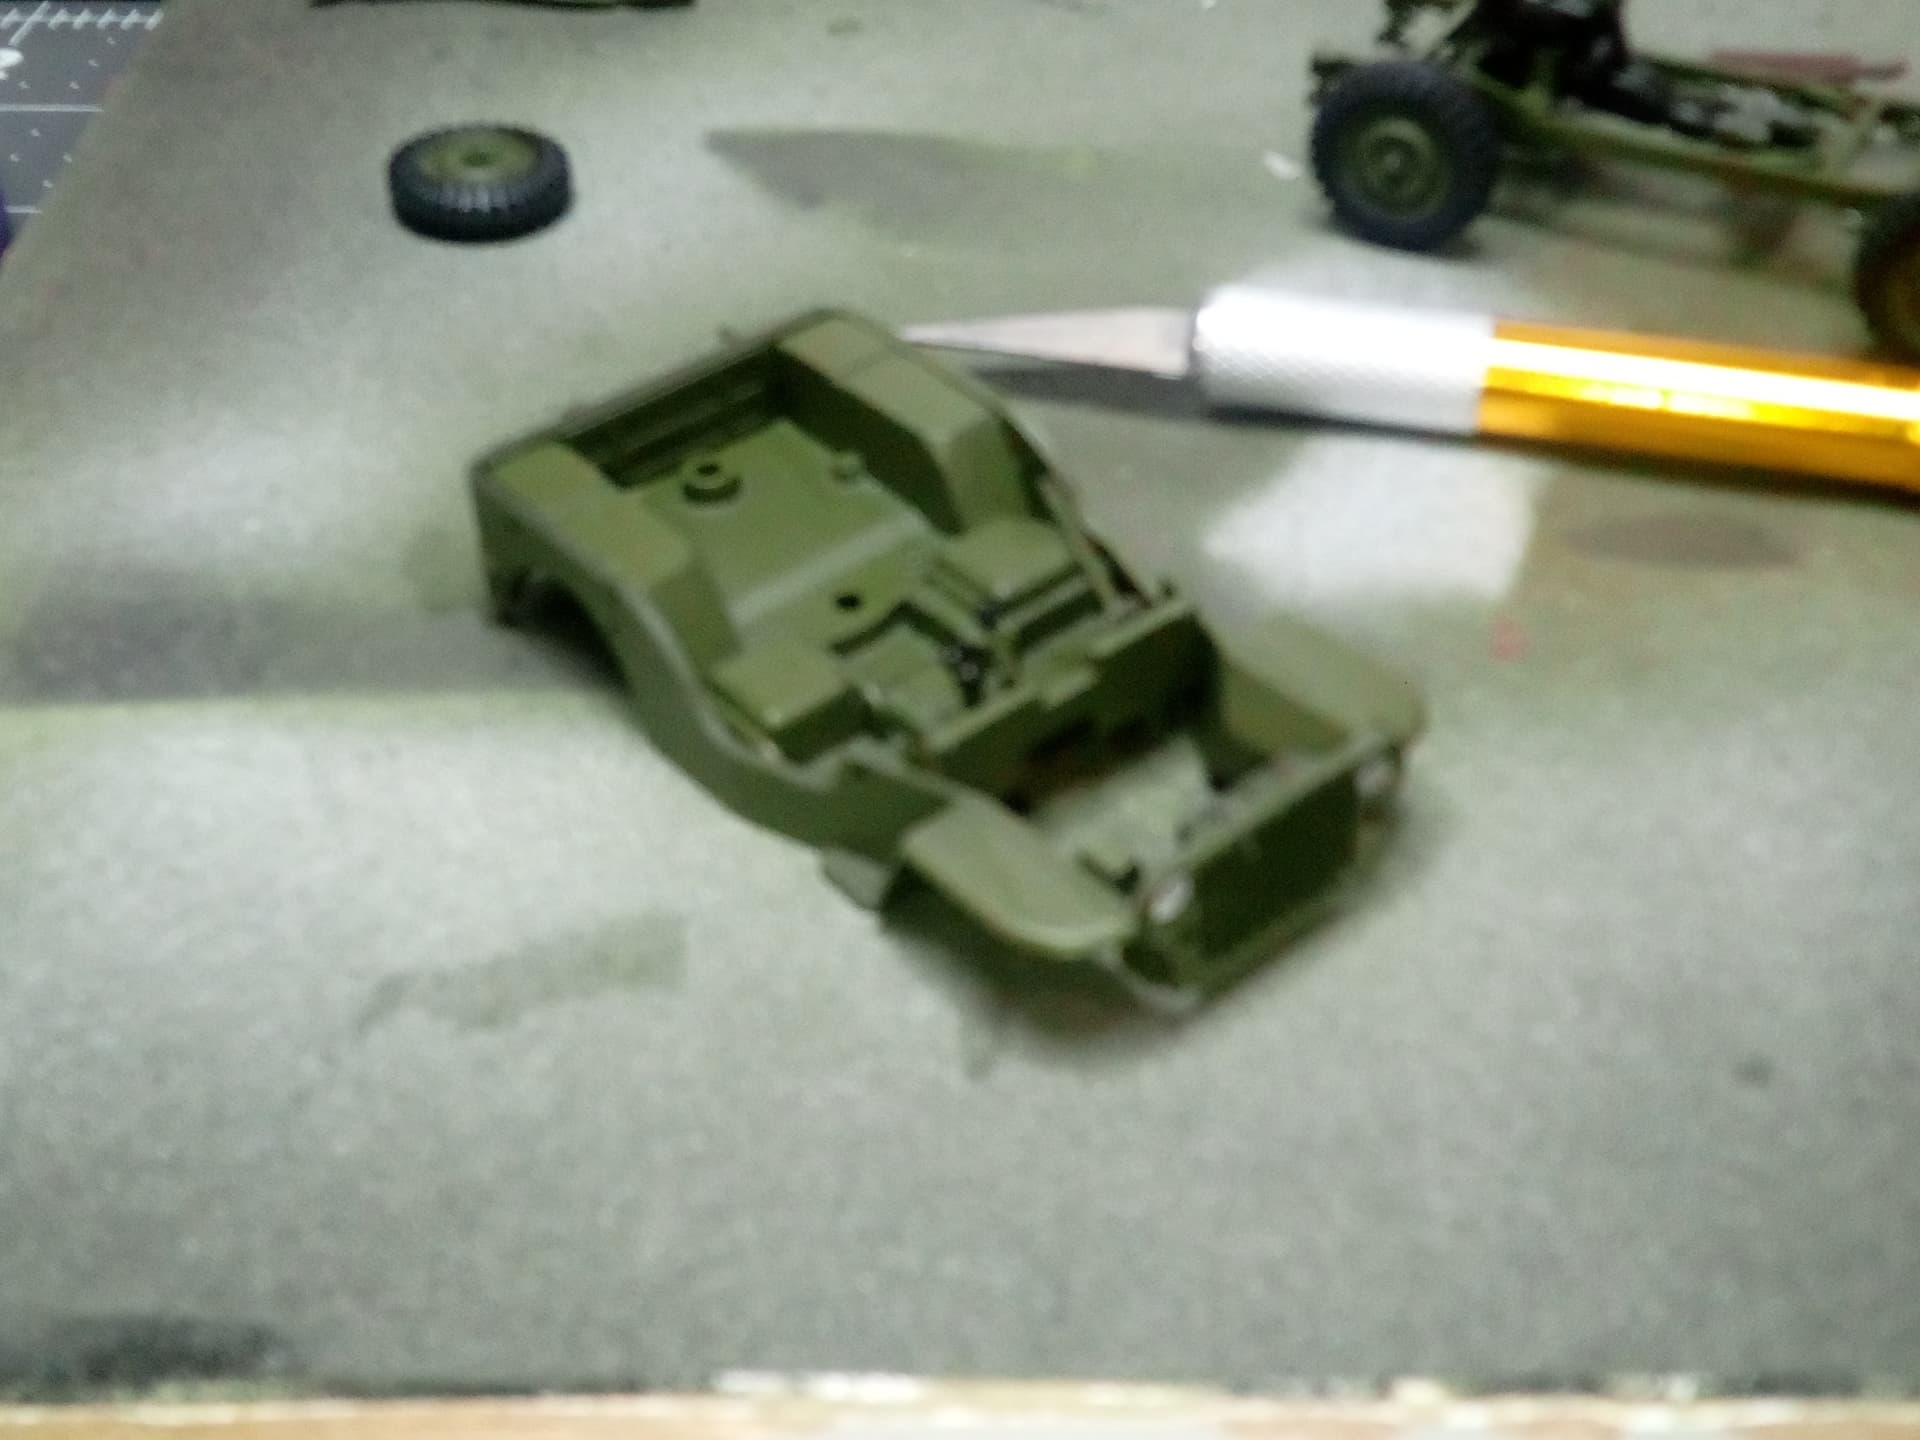
I built the rolling chassis last night, experiencing extreme difficulty getting everything straight on the frame. I then proceeded to try to get a feel for the body/passenger compartment, which is 5 pieces which cannot be dry fit or lined up without gluing everything up immediately. I stopped at this point, deciding to step back and regroup. I’ll glue up the body tomorrow.
The kit itself will be built quickly, as it is only two sprues. The attention to detail and getting things straight will necessitate more time than it should take to build if it were engineered properly. Anyway, here is a pic of the rolling chassis:
Until next time,
Happy modeling!
6 Likes
Wow, that thing is tiny (thank you for the knife scale reference). Seems like both a challenge and eventually rewarding at the same time. Rediculous that they don’t give better instructions.
Takes patience and skills to work at that level of detail in that scale.
And I agree, I don’t understand why there aren’t more options at 1/48th scale for things like jeeps and other diorama items.
Looking forward to the next post.
Tamiya offers a 1/48 scale jeep in the US infantry at rest set. Not sure if it is offered separately.

It is a very nice kit that I highly recommend if you are looking for a support vehicle in 1/48 scale.
4 Likes
Yep, should have bought that one. Next time for sure!
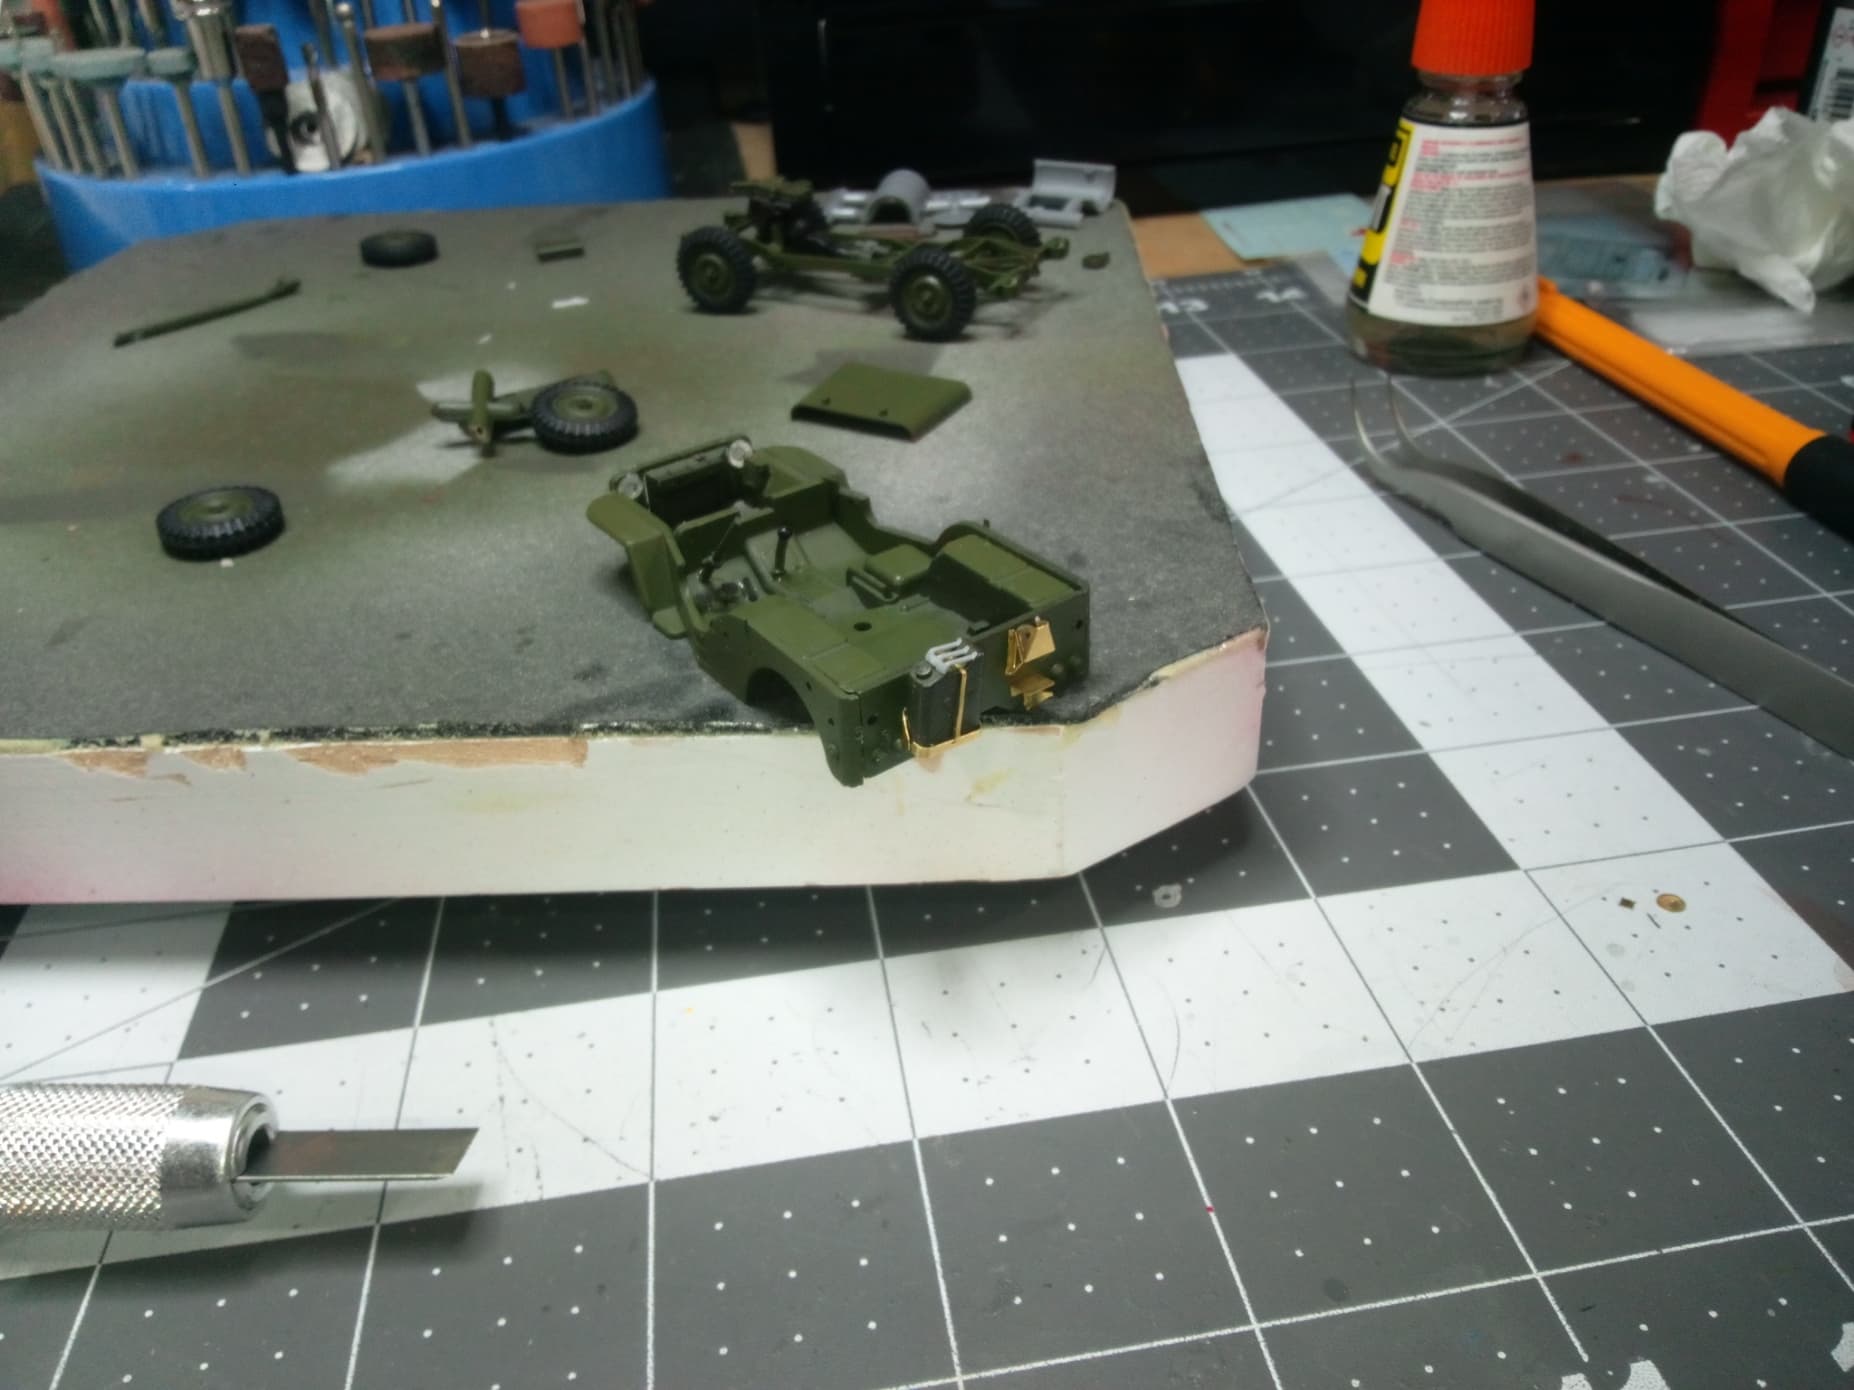
Back at it today. Got the passenger compartment and its five pieces together. Started by attaching the tailgate to the floorboards, then the two sides, then the front grill. Since this model is made-up entirely of butt joints, I had to eyeball everything square. It’s mostly there, and I figure any WW2 jeep was bent up in some way so it’s not entirely inaccurate. In the two pics you’ll see the completed subassembly ( look close for PE foot pedals) and in the background the rolling chassis with engine installed. That’s as far as I got, with holiday responsibilities getting more of my attention than I’d like,
Until next time, happy modeling!
6 Likes
I want the Vietnam era version of that.
Amazing work and an amazing project mrb865! The P-38 is my favorite WWII war bird and Bong was from my home state of Wisconsin so your project is “near & dear” to my heart! That Bong museum looks amazing and I’m going to have to make a trip up there.
2 Likes
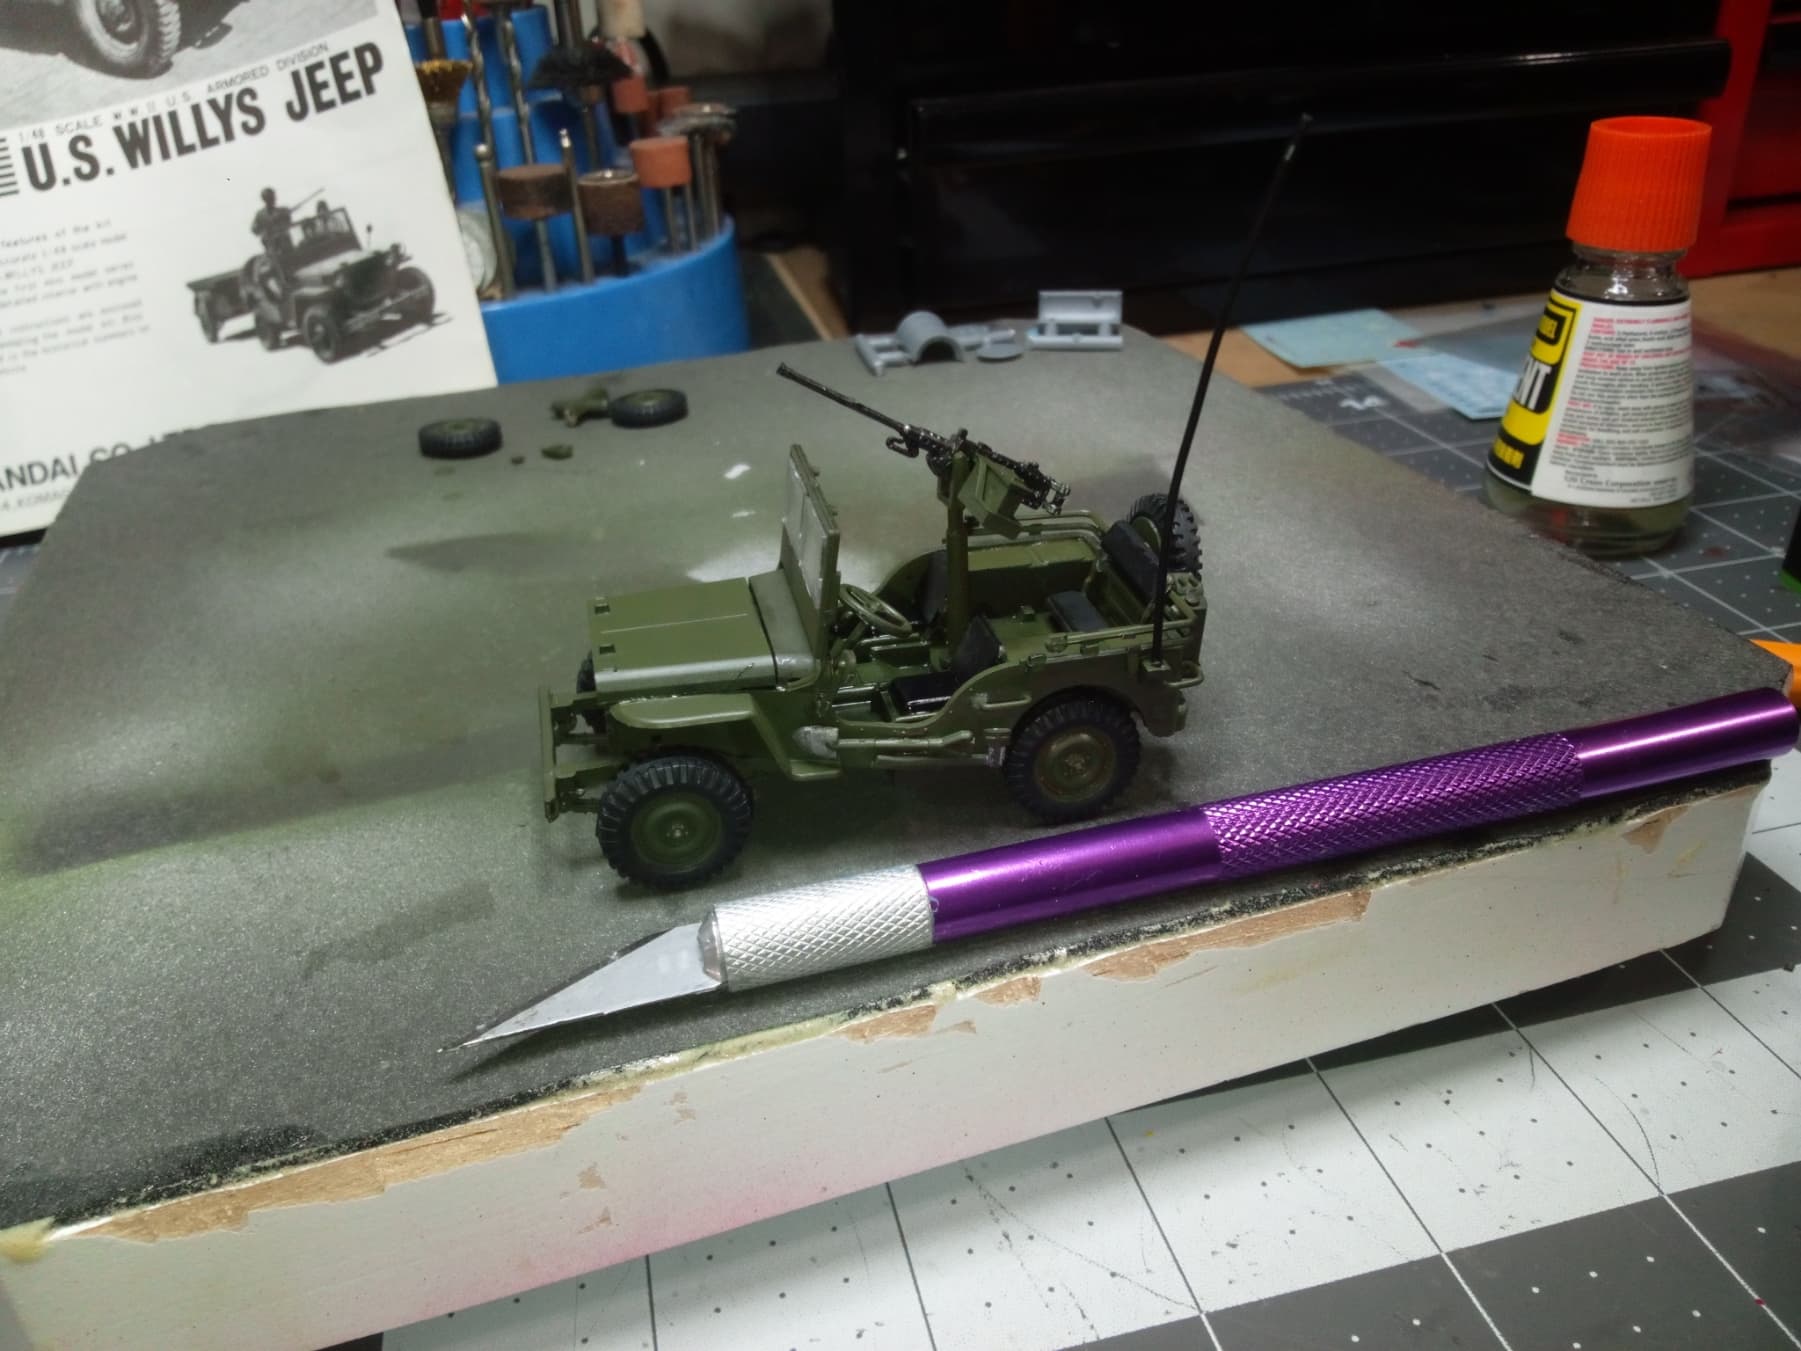
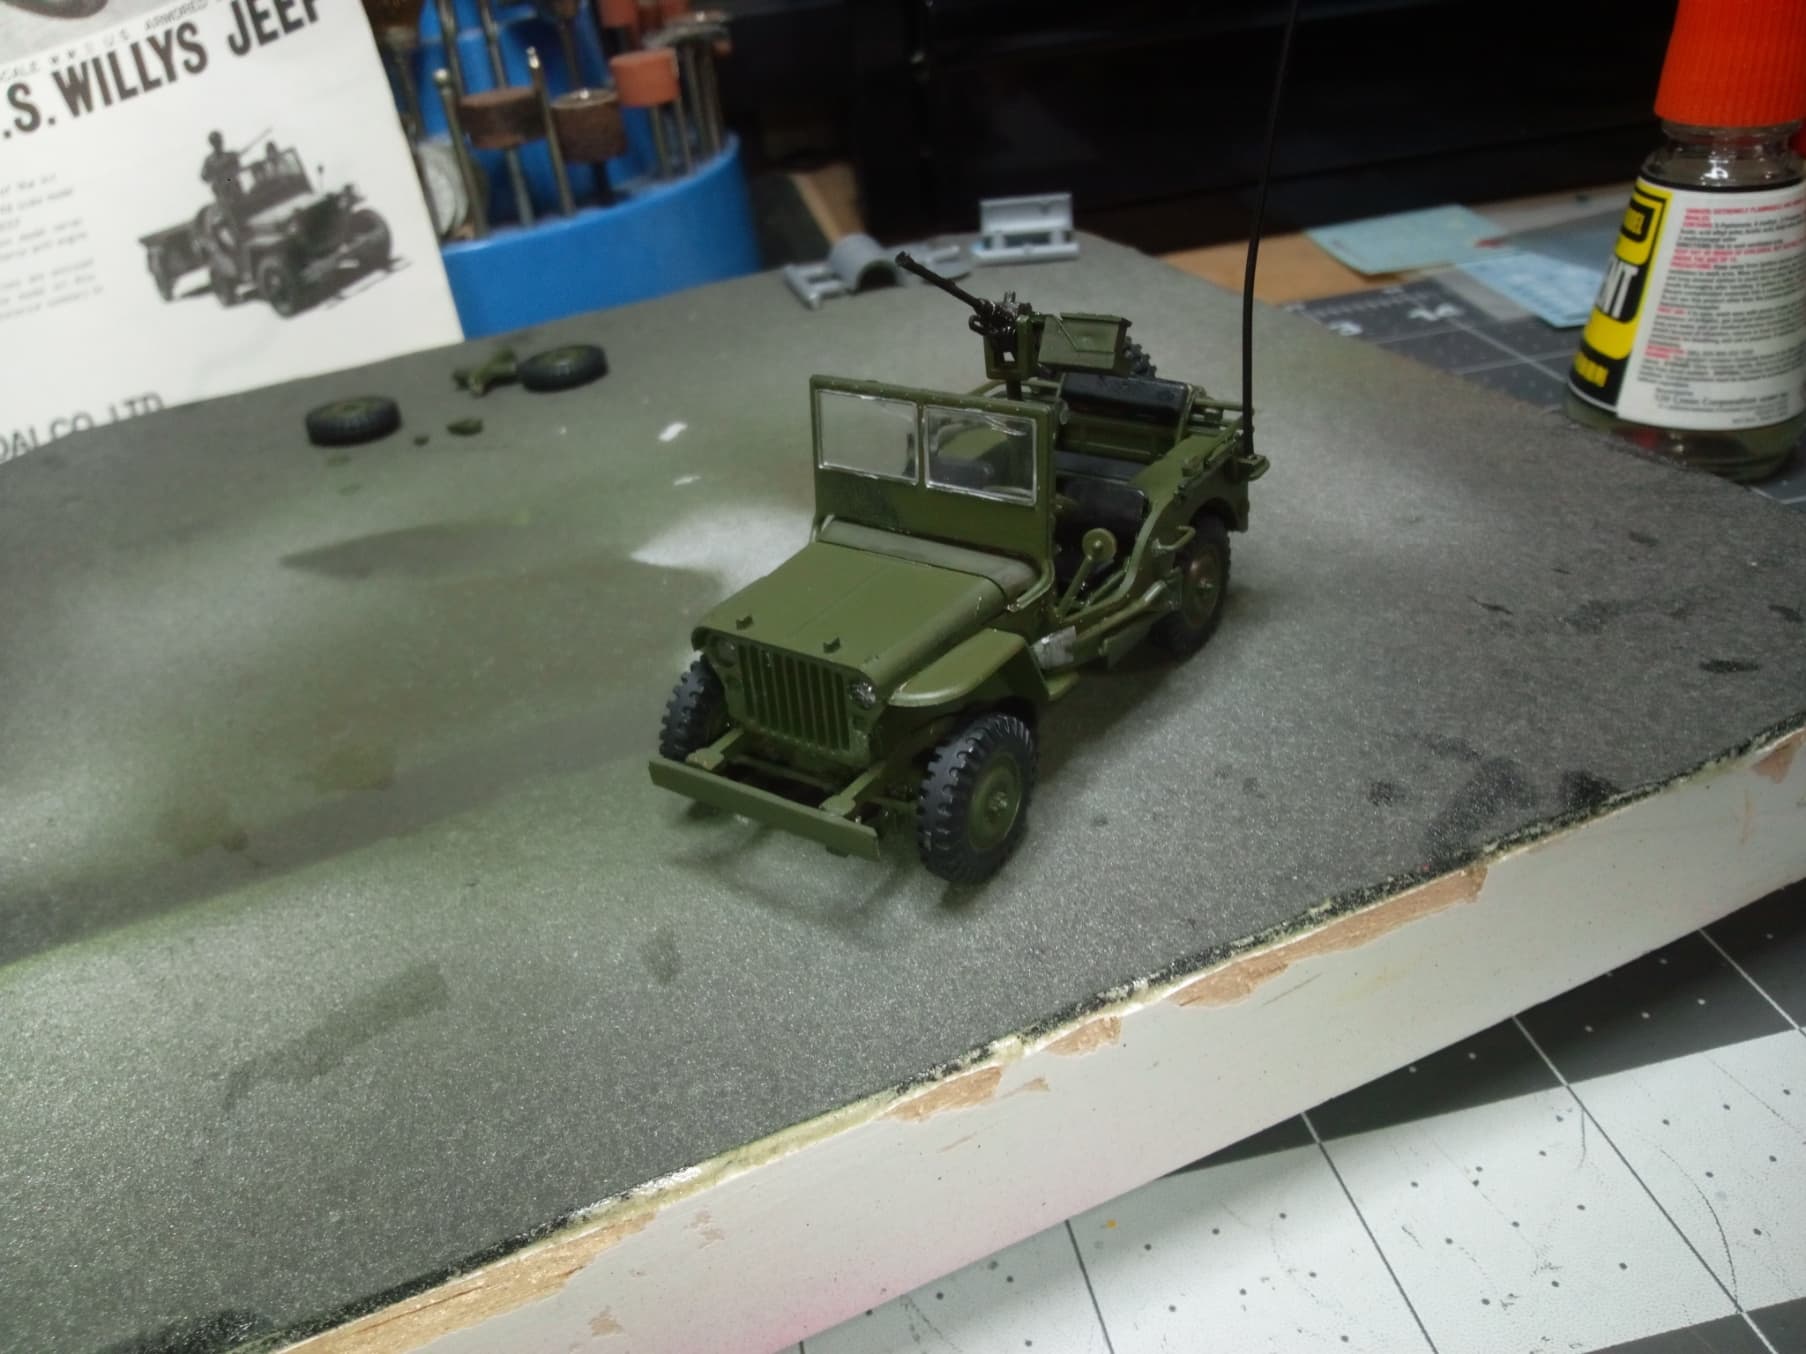
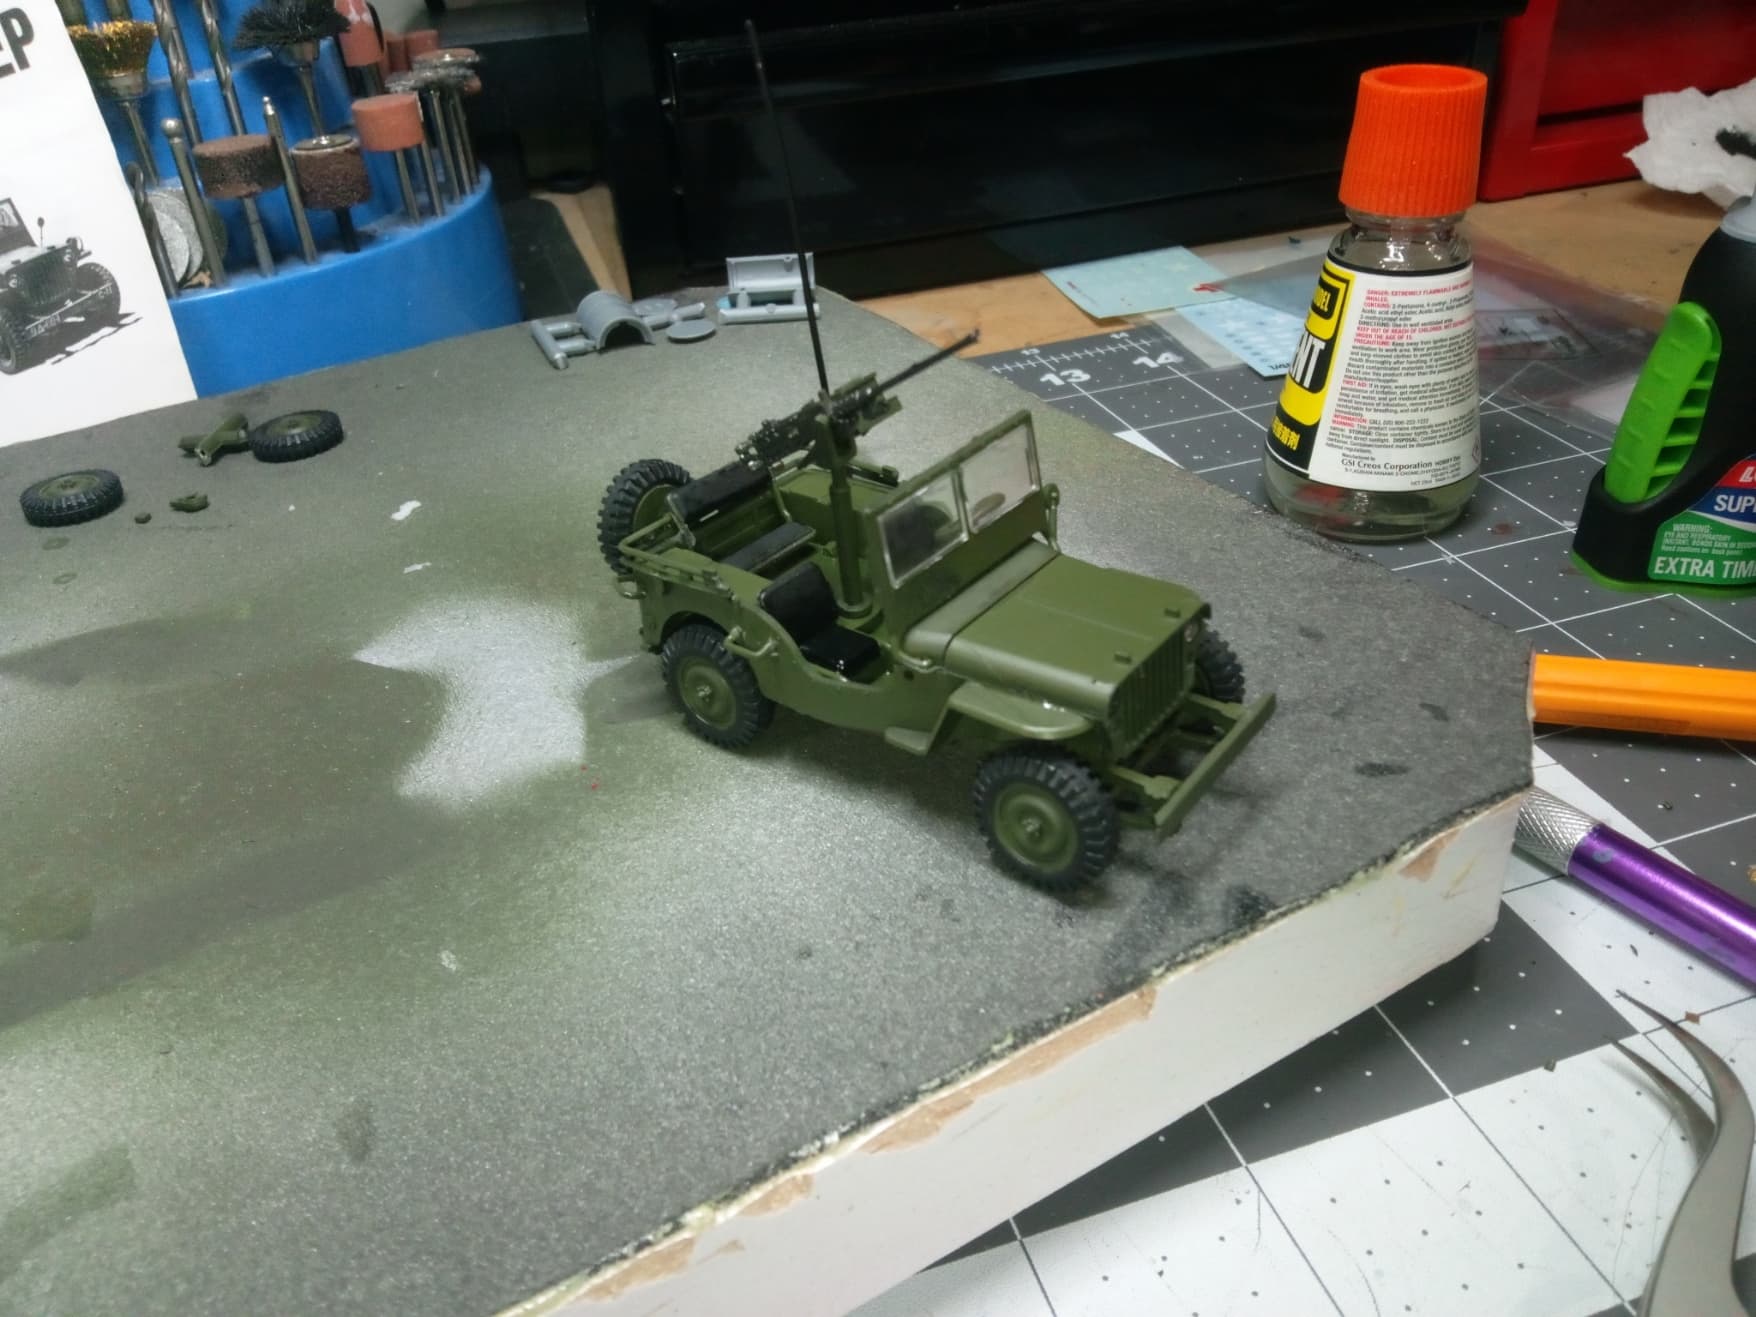
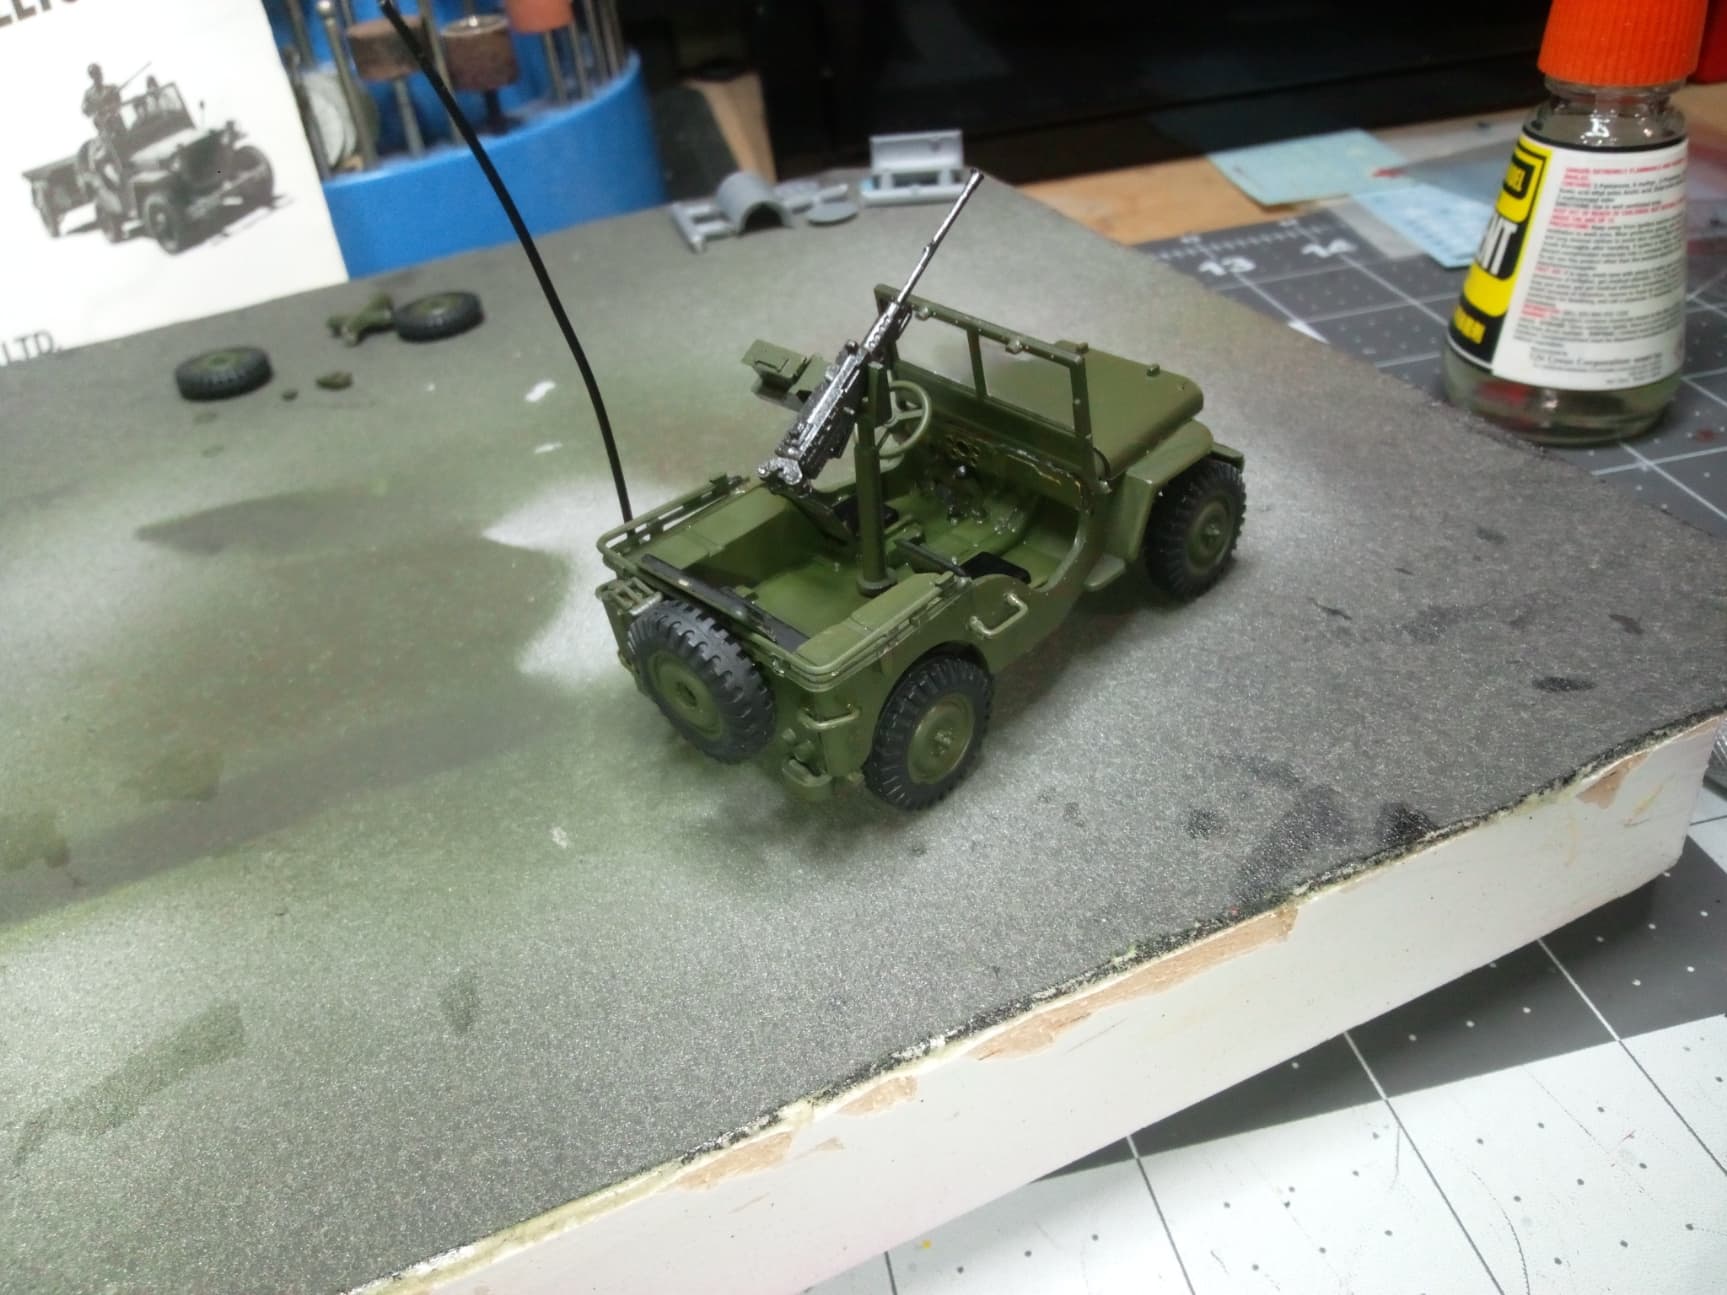
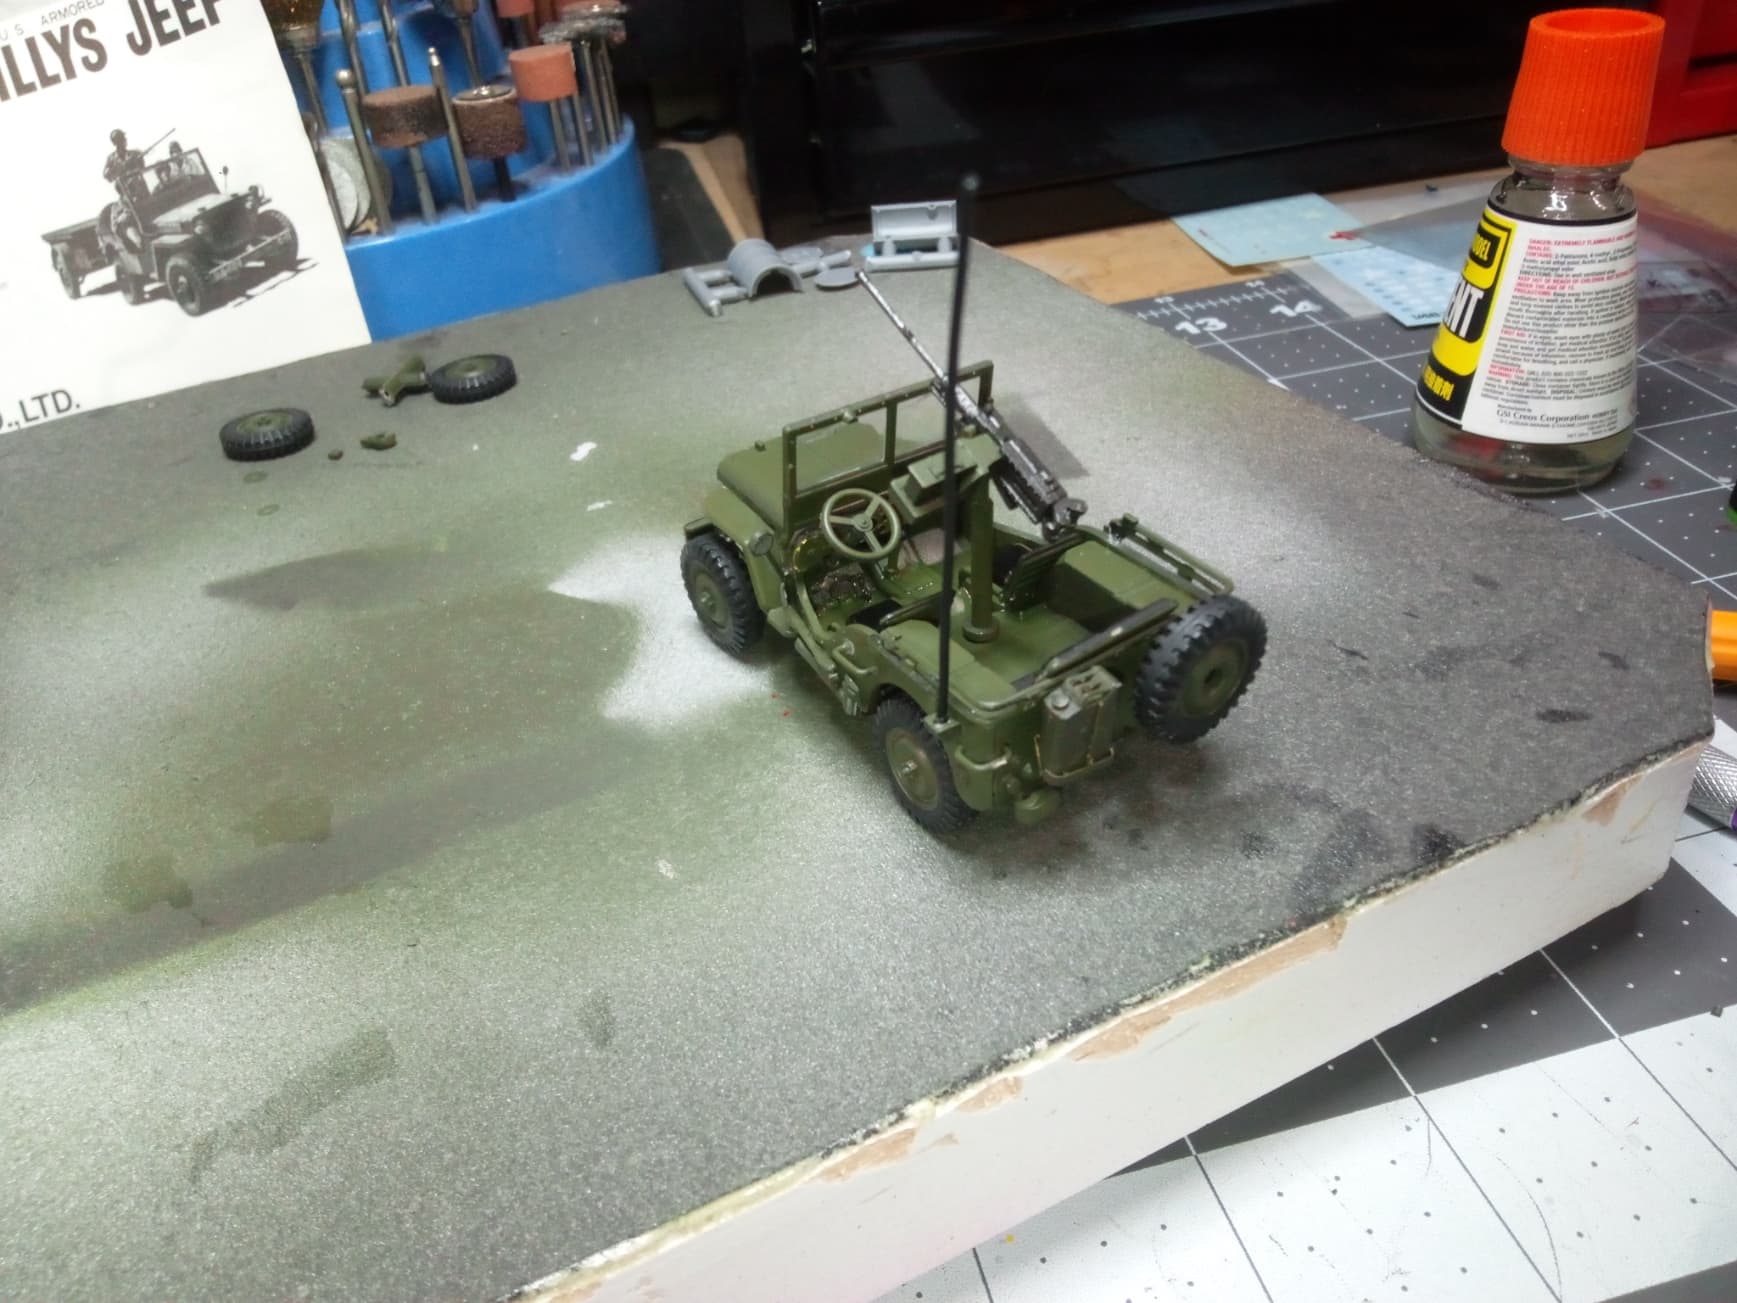
Finished major construction on the Bandai 1/48 Jeep. A battle from start to finish. I will buy a Tamiya kit next time. I think it turned out okay. I’ll except the fact that the bad fitting parts give it a slightly bent look indicative of hard use. On to weathering and decaling, and starting the Marston matt diorama base along with painting the figures. Pics:
6 Likes