I’m still fairly back new to modeling, but what is that material i see so many people using to hold small parts while they paint them? Milliput, stickytack?
Looking nice there matt.
I use Blue Tac often attached to cloths pegs to hold pars for painting. I wouldn’t use Milliput as that sets hard once mixed.
That’s really nice work, Matt-Joachim. Gun bay and engine are looking very good.
Thank you all! My first couple of builds might not be THE BEST but I’m VERY proud of them ![]()
Great going so far Matt…good call on opening up the engine.
Appears to be some rather fantastic work to me Matt. That is some sweet action opening up the gun bay and engine. nice detail work there. You have every reason to be proud of your modeling.
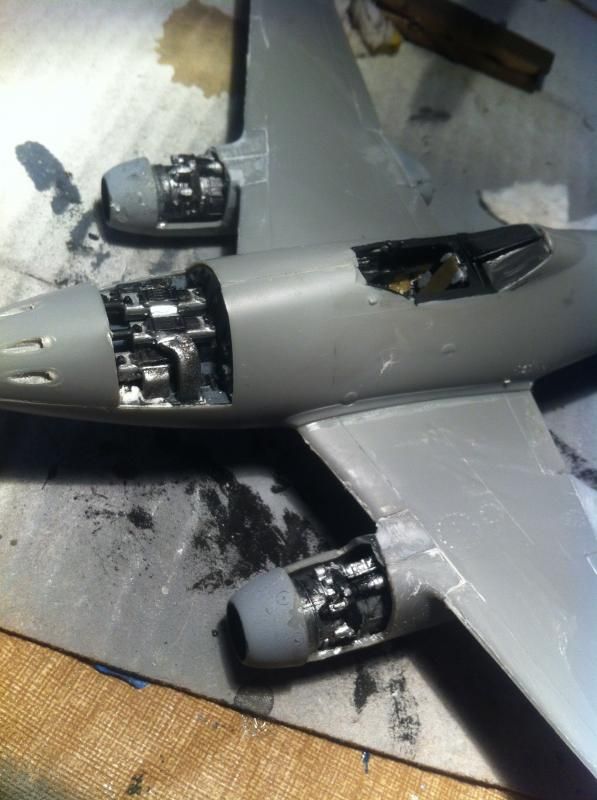
I scrapped my first revell 1/48 me262 months ago and i had an extra engine to open up. The revell kits only come with one engine you can open up and show off. I put both engines on mine since I had one from each kit and oped both of them up so its one-of-a-kind I guess, I just hope the quality lives up to it.
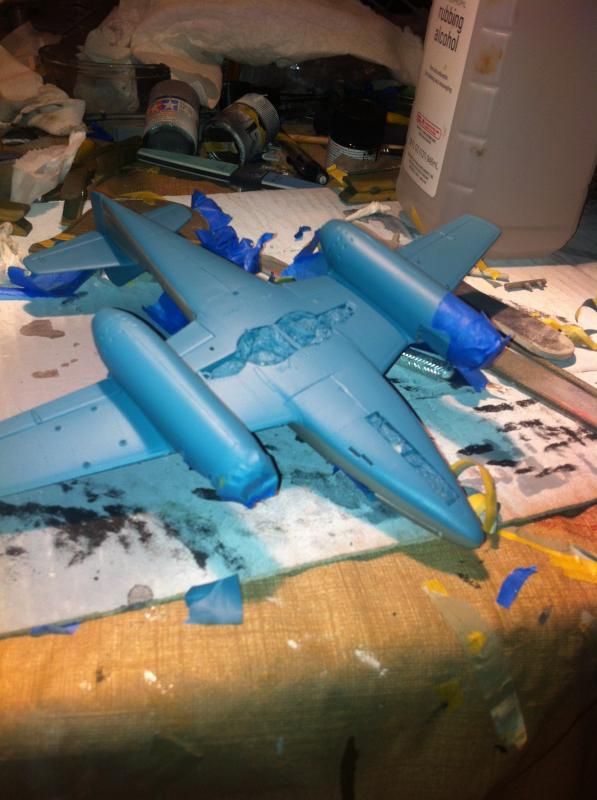
I installed the quad 30mm gun bay.
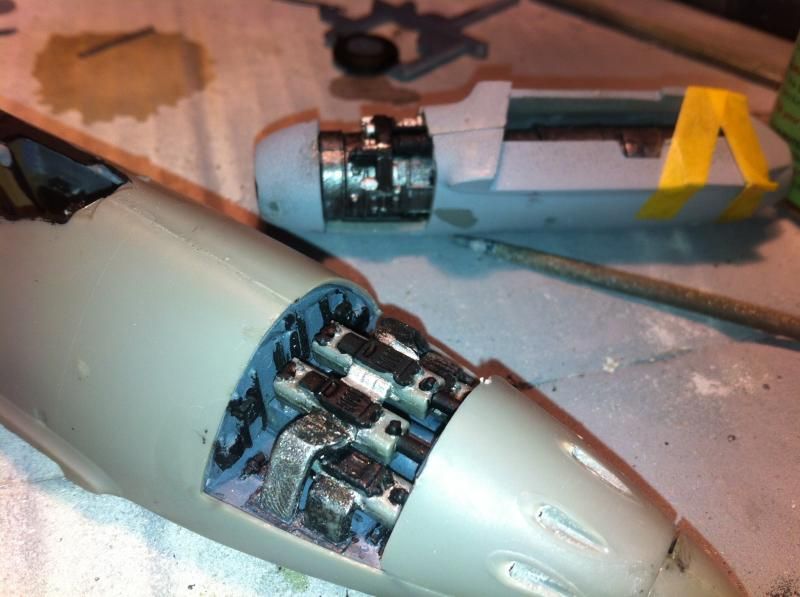
Here’s my work on the special double Jumo 004 engines.
Time for an all-nighter!
You Go Matt!! Git er done!!
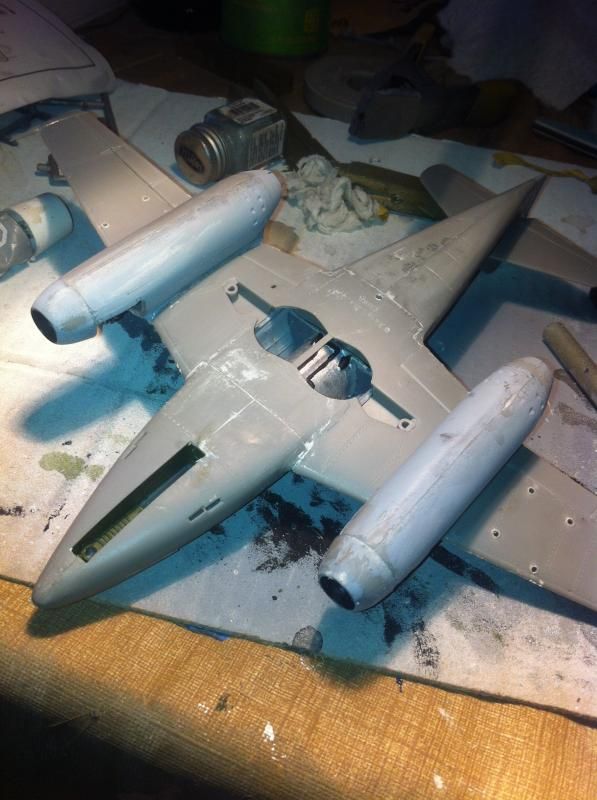
Bottom puttied and ready for paint.
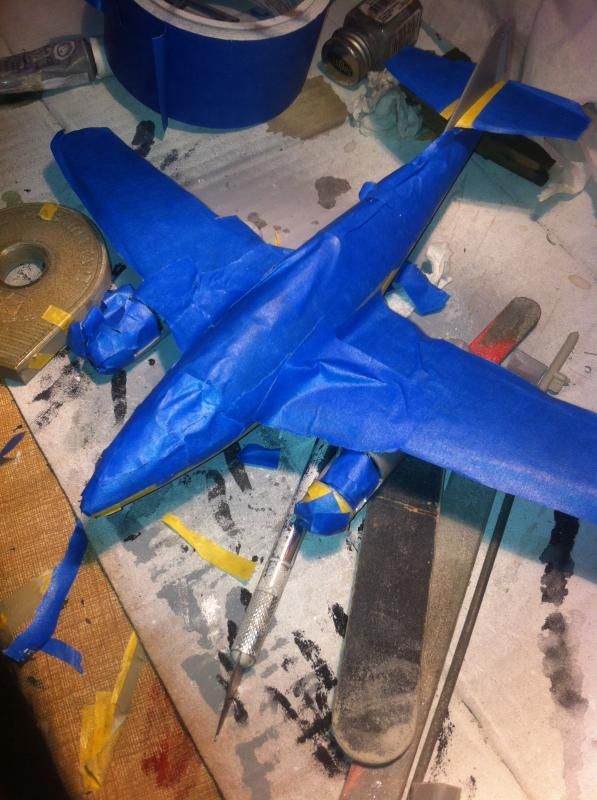
Top taped for the bottom layer O intermittent blue Tamiya rattle.
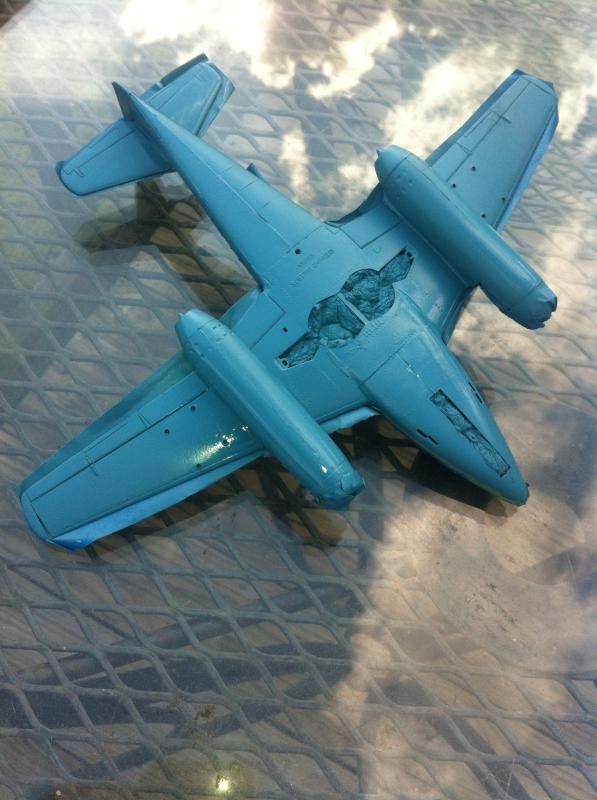
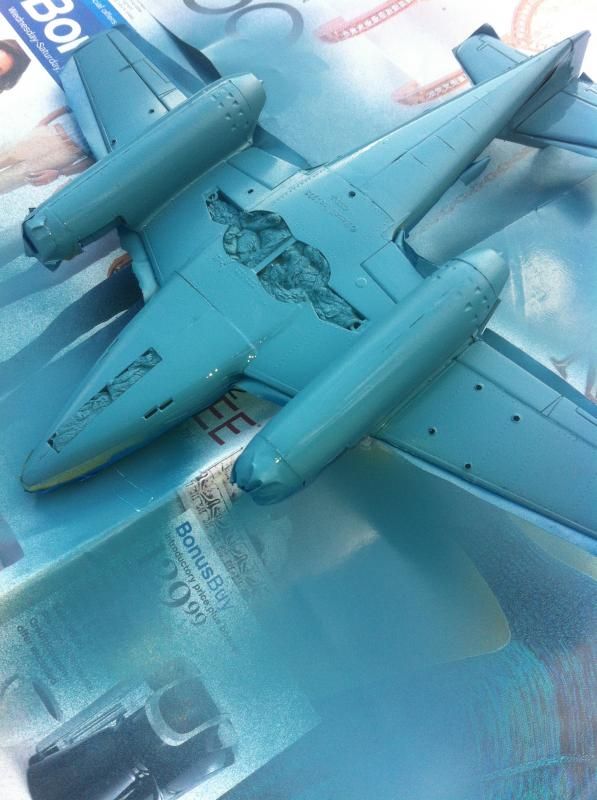
Better pics…
Nice work Matt. Keep it up.
I was looking back at some of the photos and was wondering how you all do the wires on the engines for the planes?
I am building a P-61 Black Widow and want to detail the engine. It is a Revell kit 1/48th. The palne is set in 1945 so I will not enter it in this build. I just need to know the tips and techniques on how to detail the engine. I have several reference photos on the wiring and all but the techniques it failing me.
Thanks Doug
Oh by the way I am still going to finish the USS Missouri but I need to get my airbrush problem worked out and get the masking done.
Paint looks great, Matt. Can’t wait to see the topside. [:)]
I wanted to post a couple of “weathering WIP” photos, to get some constructive feedback if I could. I feel like I’m partway there, but I’m missing something and I can’t put my finger on it. I brushed on some Doc O’Brien’s powders - a mix of Muddy Red and Dirty Brown on the road wheels (which I’m pretty pleased with), and Dirty Brown with a dash of Gritty Yellow on the hull. I still need to add some rust and fuel stains to the fuel barrels, and give it a shot of dullcoat (still a bit shiny from the coat of Future I put on).


I guess at this point it’s too late to add more paint, but any advice on how to proceed is greatly appreciated!
Steve, Your T-34 simply looks excellent. You have done a superb job. Now, I’m not an armor builder but, I have dabbled. Certainly the thing that stands out is, as you mentioned, that it still has some shine to it. One thing that comes to mind is to basically “tint” some rubbing alcohol with acrylic buff or tan color. Then over spray your T-34. Gradually build it up and what this does is blend everything together. In addition it will give an overall dusty appearance all the while,hopefully, knocking a bit of the shine out of it. It’s also good for creating streaks and post shading. This was a sweet little trick that Rigidrider showed me while in the Butcher Bird GB for toning down and blending my camo on my FW 190. I am quite sure that some of the other folks here with more experience with armor have some better ideas and observations. But nonetheless you should be very pleased with your efforts.
Joe
Exceptional T-34. Weathering looks good.
The T-34 is looking good Steve. Joe’s idea is a good one, I used to use Tamiya buff for a dust effect before moving on to AK products. Before that, a pin wash might be a good idea.
Hey Bish, Do you use AK products on your aircraft models? If so, which do you use?
So far I have only used the streaking grime to give a more grimy look. I mainly use Flory Washe’s for aircraft.
Thanks Bish. Yeah, that’s what I figured but I was curious nonetheless.