G, the 222 is indeed a fun little kit. I’m almost done with basic construction and will have some more photos up later.
Sarge, you and me both on hitting the speed bumps on painting. I can whip out a basic build fairly rapidly, but once I get to the paint stage, I tend to get into granny gear.
German, there was an old school method of folks using hot knives or soldering irons to add zimmerit directly into the plastic. Not something I would feel confident in myself, but I have seen it done with great results in magazines. No matter how you choose to go adding zimmerit, it is a big speed bump. Or you could forgo the zimm completely. It was no longer applied to vehicles produced from fall 1944 onwards. And just laying oodles of spare track as supplemental armor that was commonly seen would be quick and easy way to give more visual interest.
Hi stik, I tried the hot knife method with a soldering iron and “little to big” tip to add zimmerit to my tiger ii, it’s not that hard, just have to find the scale of the zimmerit.
What size of flat screwdriver could i use as a template to base my melting of plastic on?[:D]
Stik, I like ‘speed bumb’ better than weakness. I enjoy painting with an airbrush quite a lot, but I only started using my Iwata Eclipse six months ago, so I’m still learning new ways to do things. I ‘shift-down’ into low gear too every time it comes to deciding what to paint and when to paint. I’ve had the bad experience of not being able to paint something because I assembled it to early, or to late.
James, I spent most of Thursday, December 26th running errand, so I’m on the ’night-shift’ with a cup of coffee and extra-thin cement finishing assembly of my Willys MB Jeep. Thanks for asking about Christmas, it turned out very good… With three daughters and six grandchildren, their husbands, boyfriends and sisters, nieces and nephews a family gathering in our home can sometimes be a disaster.
Ugh, I still don’t know how to post photos from Flickr on the iFruit! However, I have been making progress on the new Tamiya M3 Stuart, and how can one not? It’s a stress free build so far. I wonder how the idler arms will handle the tension from the rubber band tracks? Anyway, gonna do this one OTTB, save for a wire antenna.
I am hampered a little bit by having the house heating go on the blink so priming and painting is not really possible but it should be fixed today and the house should hopefully toasty warm by this evening allowing me to catch up!
Finished chassis and body assembly tonight and ready to start painting later today. Talk about ‘fiddly bits’ the windshield has tinny little pieces for wiper blade vacuum motors and windscreen adjustment arms. If you drop something on the floor don’t bother looking as I did just get a lint roller out and hope you find what you dropped. You can barely see the rearview mirror in my picture but believe me it’s delicate. I sneezed while trying to attach it and broke it in half!
A few parts I laid out separate from the body and chassis get painted semi-gloss black. The engine block is supposed to be flat green, but I’ve seen enough pictures of the actual Jeep that have olive drab engines, so mine will get the O.D. treatment. The seats get Tamiya khaki XF-49 and there are a few other colors for things like tail lights and dashboard details.
Next step is a base coat of Tamiya NATO black XF-69 that will serve as a shadow coat. Then a light coat of Tamiya olive drab XF-62. The objective is to have enough NATO black showing through the O.D. to highlight details. I got this idea from watching a video https://www.youtube.com/watch?v=CQsXFl3yLho . Be patient, the information regarding a shadow coat is 5 minutes into the video. Hopefully it will work for me the way it did in the video.
Well I have been working on this for much of the past two days and here is what’s up now…
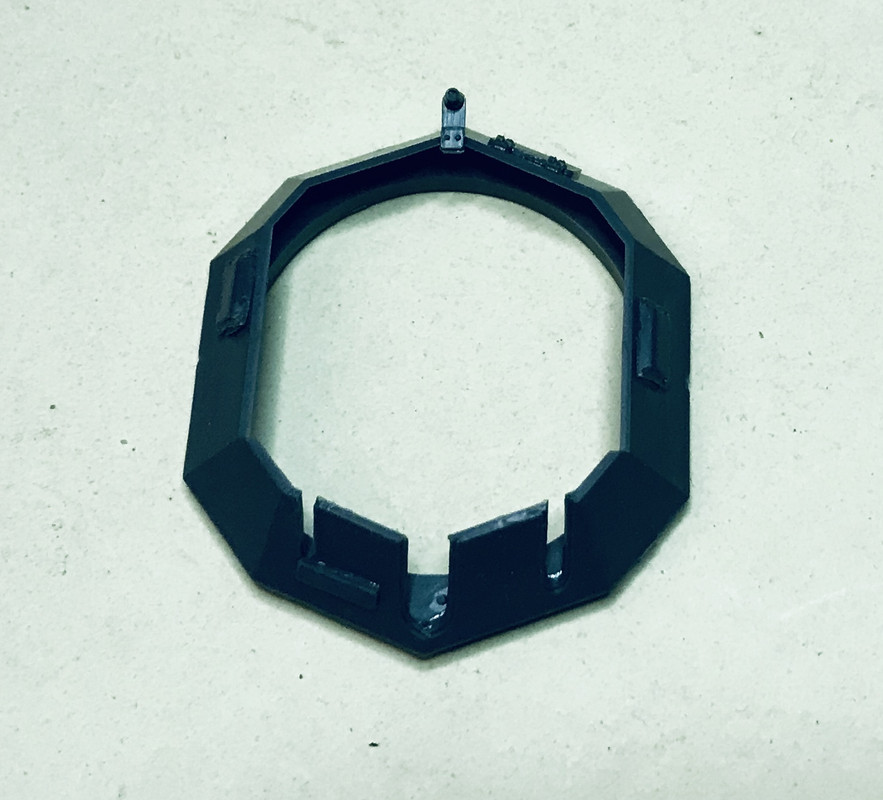
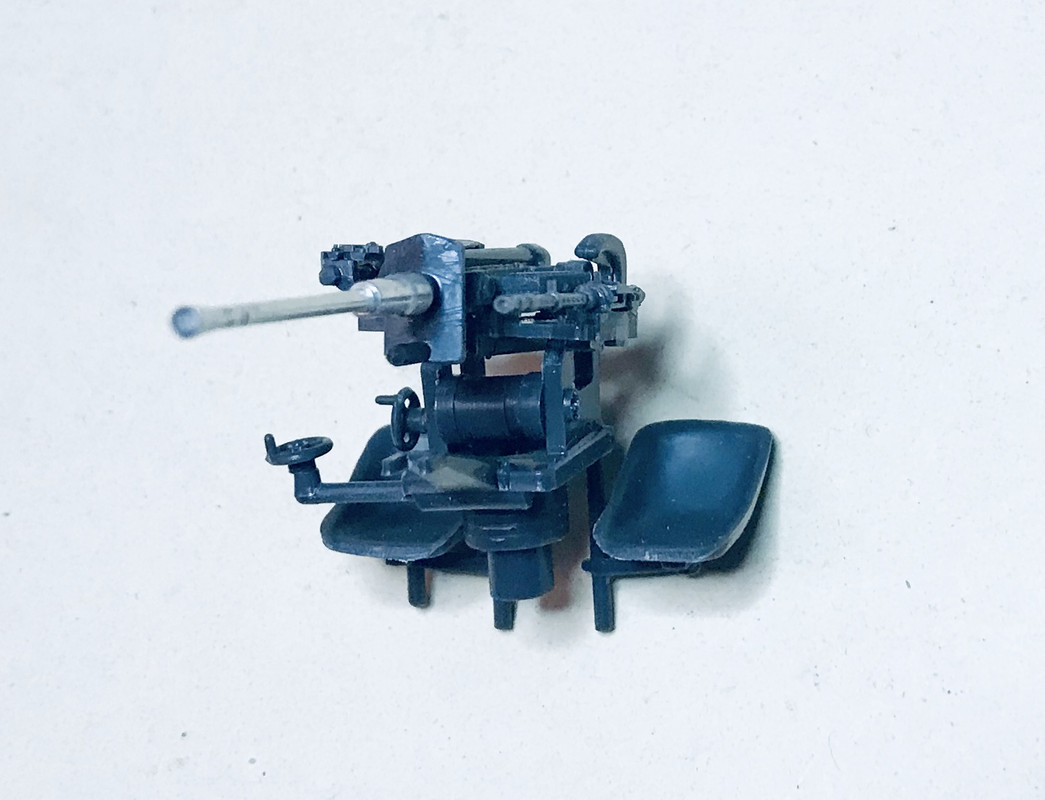
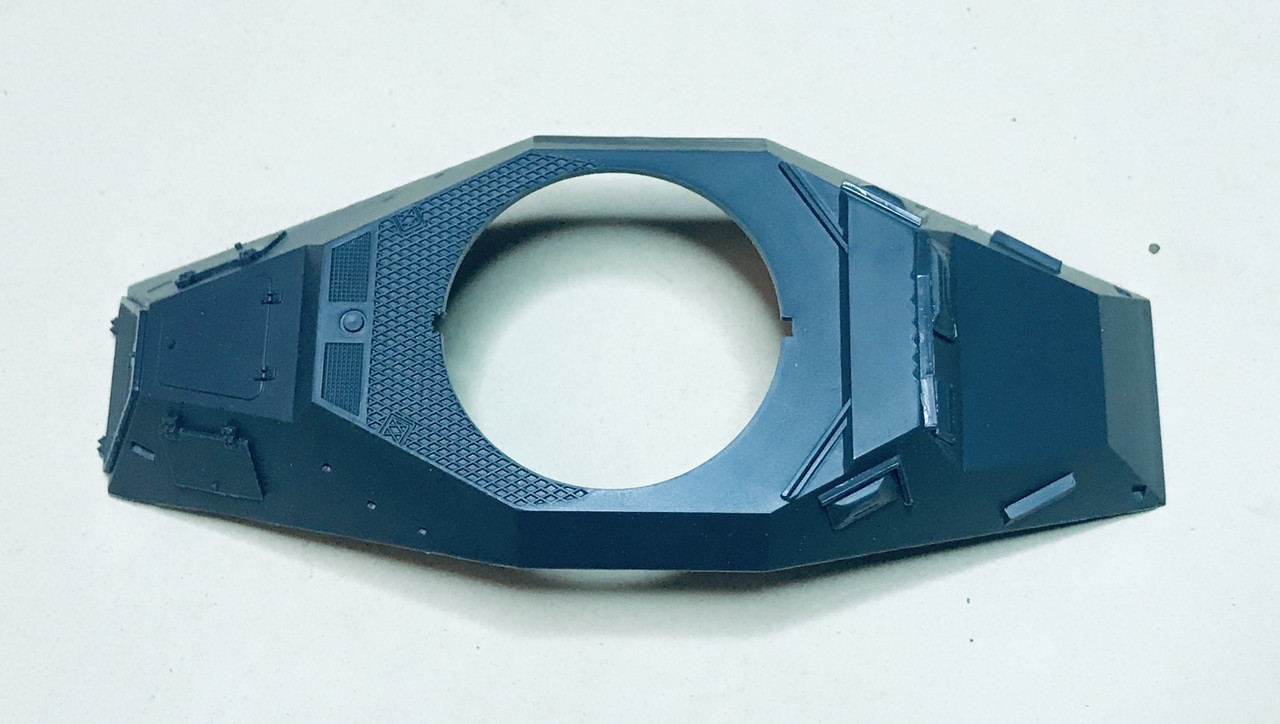
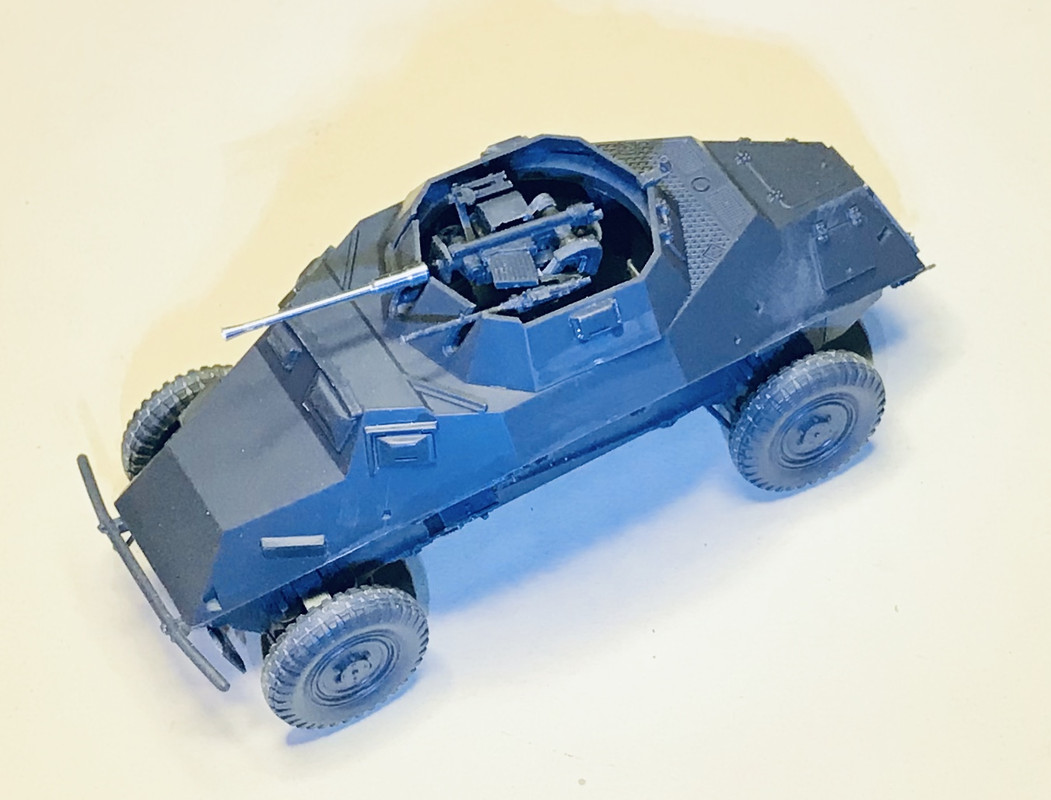
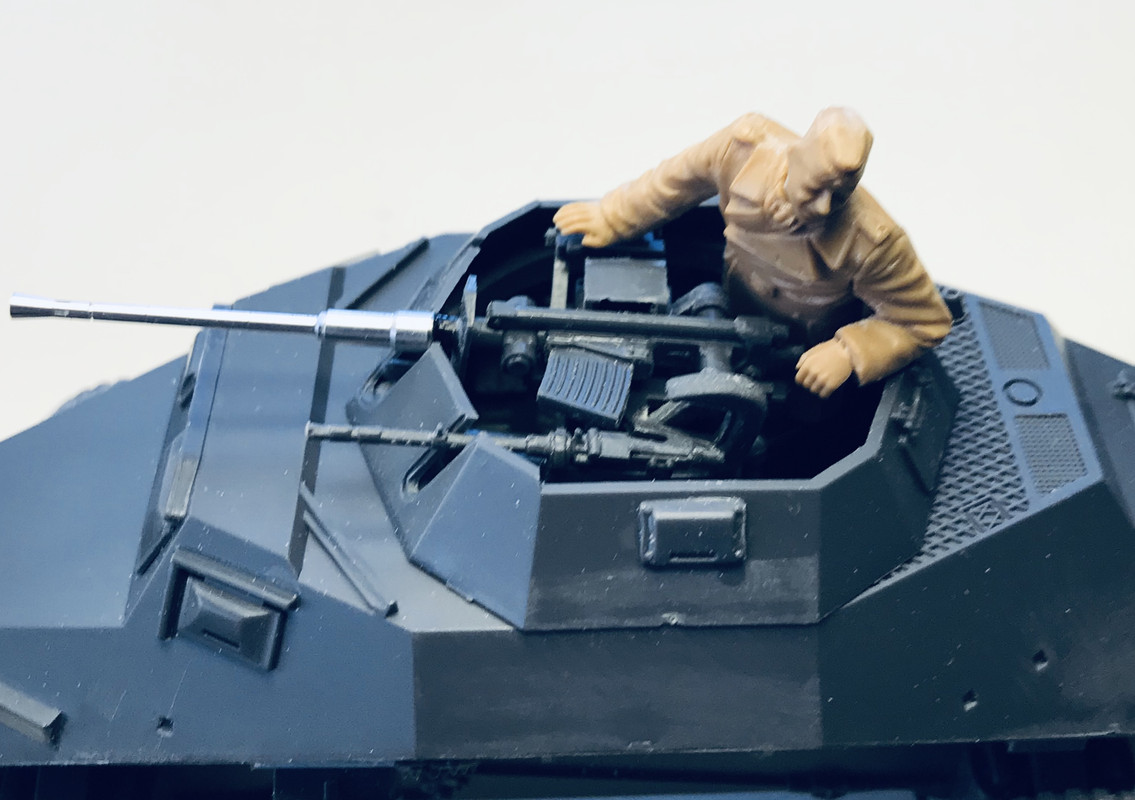
First up I built the turret and armament. The kit comes with a metal barrel for the 20mm gun, and I hollowed out the bore of the MG-34. And I started adding the upper hull fittings…
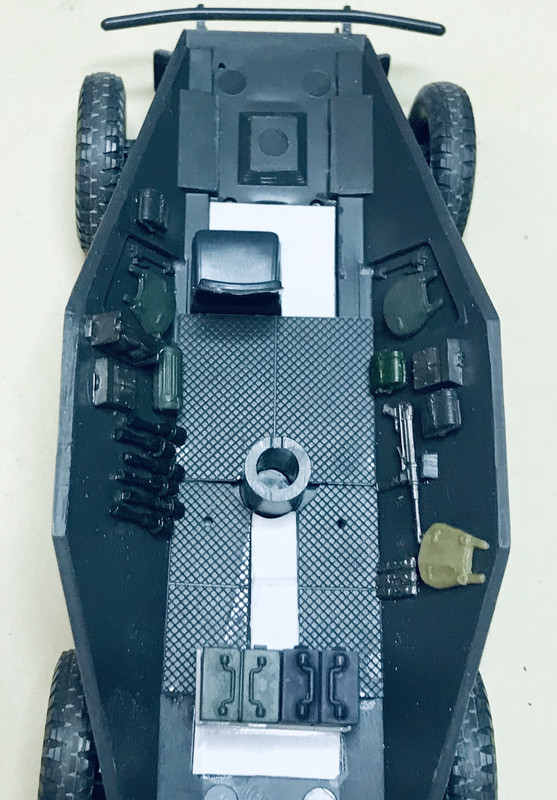
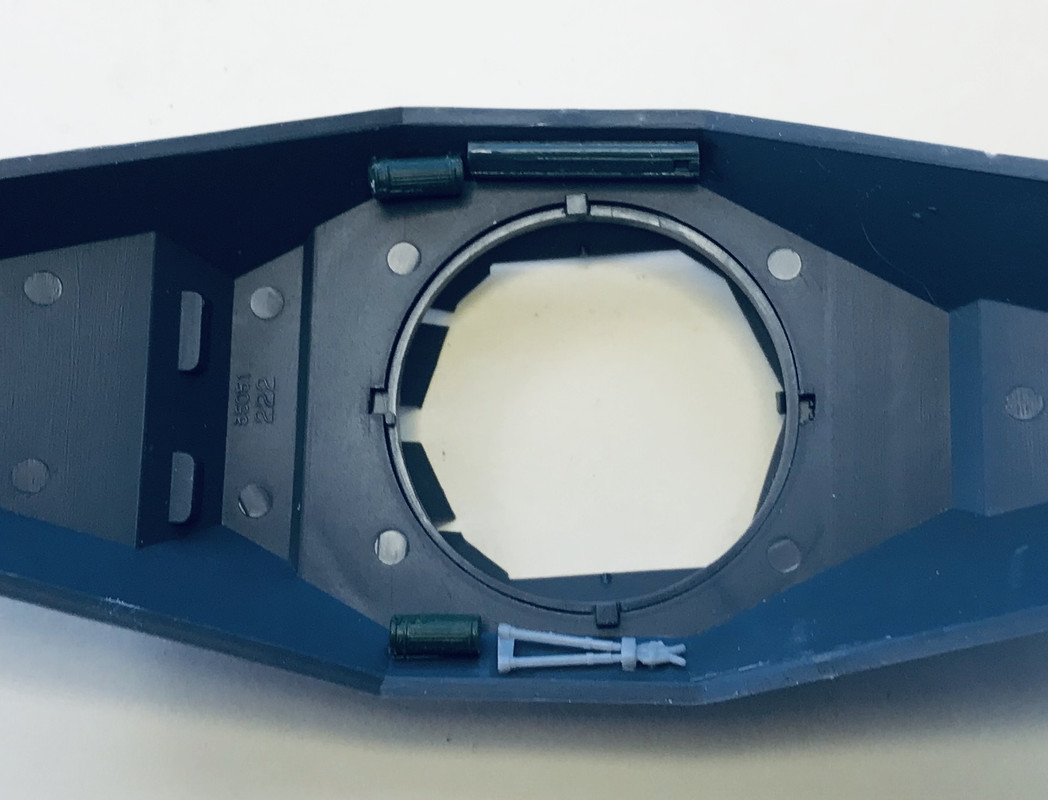
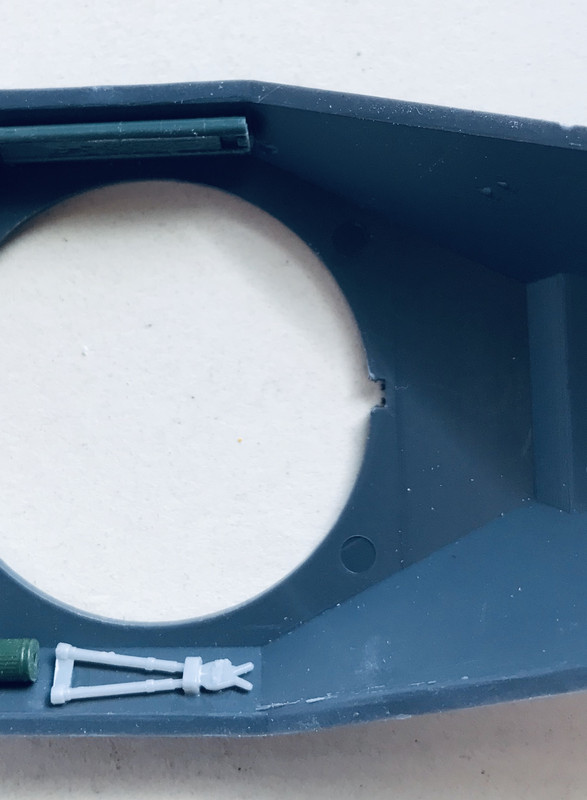
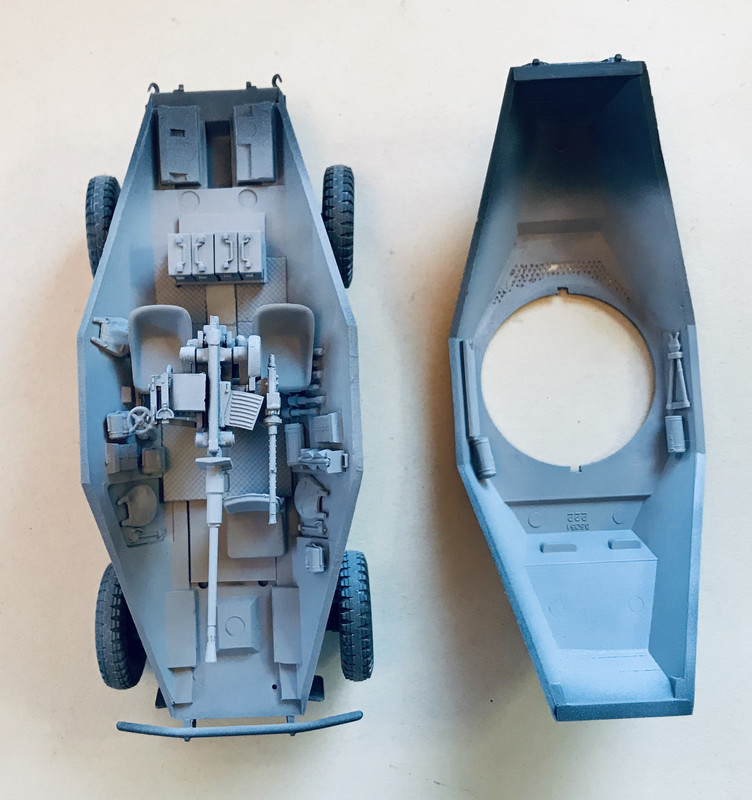
Then I decided to add some stuff into the interior since you can see into there thru the open turret top. So I hit my spares bin based off photos that I found on the internet. It’s not 100% accurate, but close enough, and gives something where there was nothing to see before… I did not go all out in there due to the 12 day time limit…
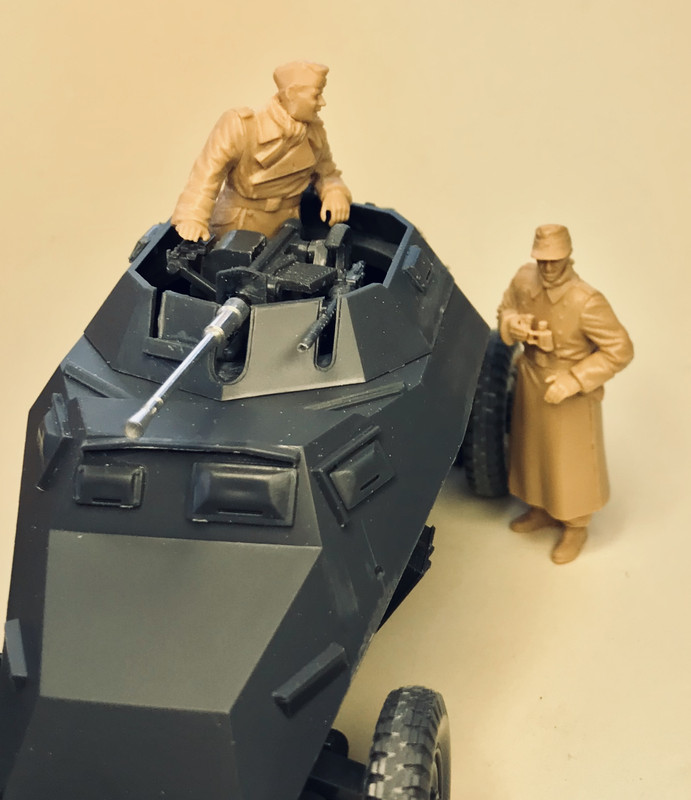
Here is how it looks with the top placed on the lower hull
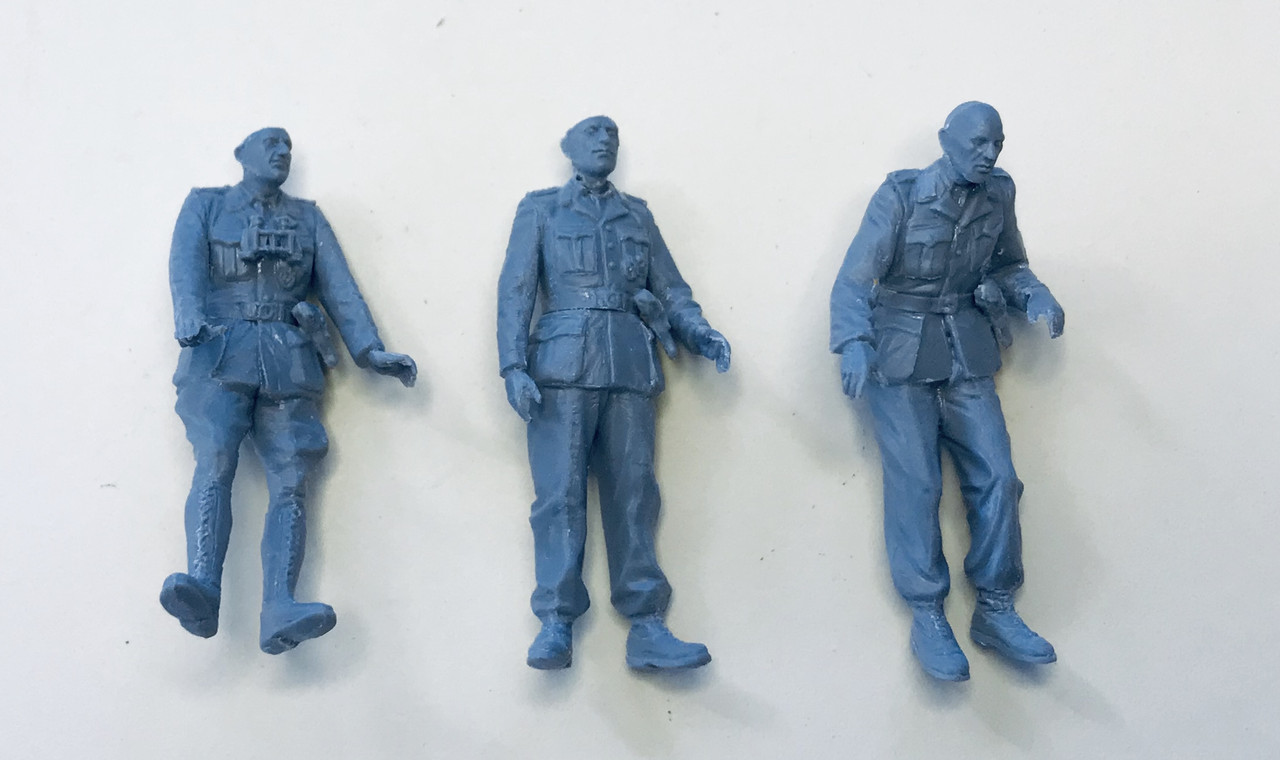
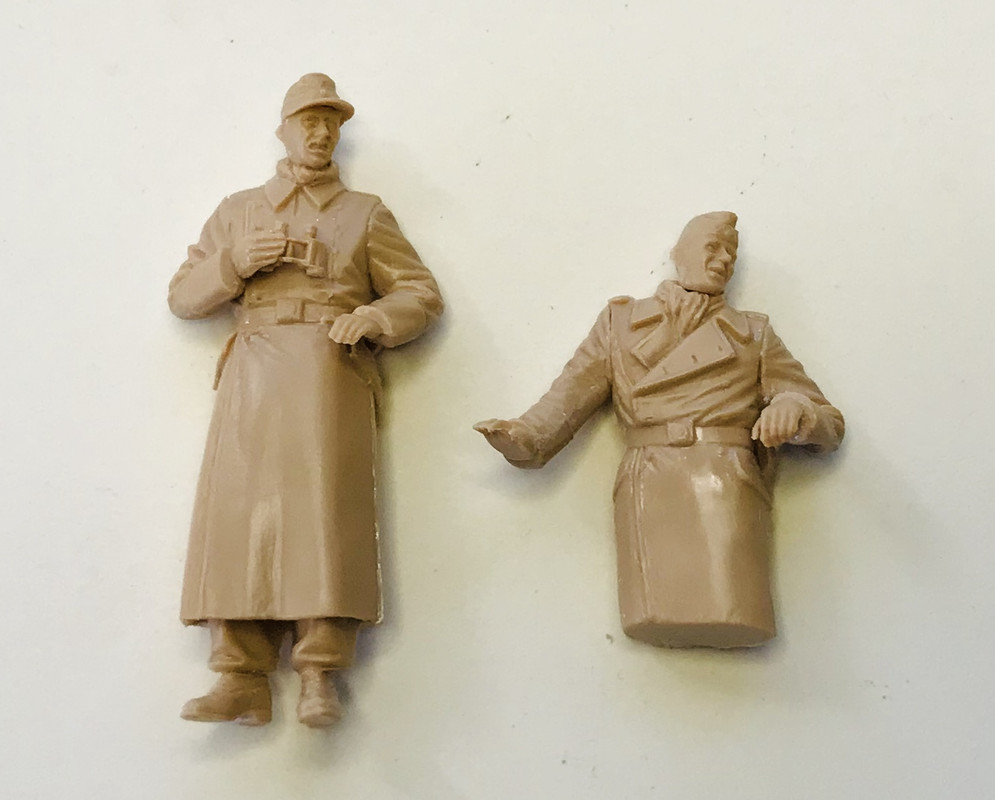
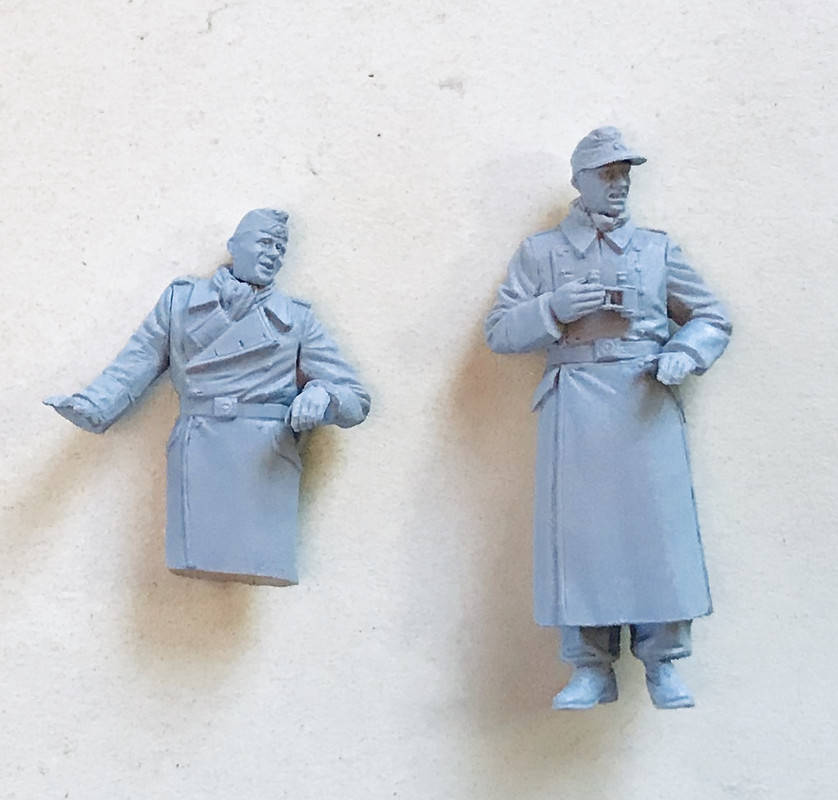
And lastly I’ve been working on some crew figures…
Some from Mini Art
And some from Tri Star
I’m leaning towards the Tri Star figures as the have the best fit in placement…
That looks nice and the inclusion of a metal barrel for the main gun just adds that nice little extra.
I would just go with the two figures in greatcoats and as these vehicles were used for light recon, go with the early grey and a very thin whitewash over it.
On my build, the heating is fixed and the house is no longer like a fridge and so it is now full steam ahead as there is stuff to paint! Photos later!
Thanks snap. Yes, the metal barrel is a nice addition. The kit also includes replacement PE parts for the grenade screens on the turret. Much nicer than the original plastic and fabric screen parts.
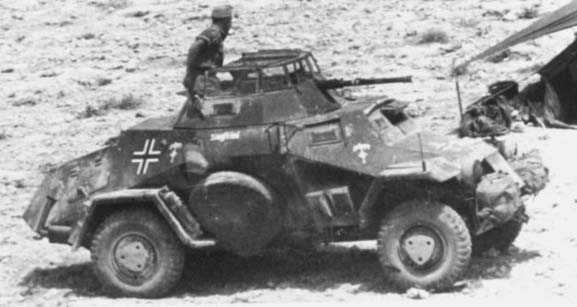
As far as the color scheme will go… while this kit comes with the markings for this particular vehicle… it’s not quite what I want. Yes, it has the DAK markings, but it is still in gray, which was only in the opening days of the Rommel’s campaigns in Libya
I am more drawn to this vehicle in the “mud” camo applied over the Dark Gray paint on early DAK vehicles before the Tropen paints arrived in Africa. Seeing the crew in the greatcoats here, just seals the deal.
Completed a shadow coat of Tamiya Nato Black XF-69 paint which went on without a problem. I used an Iwata Eclipse HP-SC air brush at 22 psi to give me a smooth even coat of paint. Next step is to apply a light coat of Tamiya Olive Drab XF-62 over the Nato Black that will allow the shadow effect to highlight details. If I have time I may add a very light dust coat of Tamiya Flat Buff XF-57.
Thanks, I was pleased with the way the paint turned out, hopefully the next step will turnout as well.
I have a driver figure for the Jeep, but I have never done figures before. I decided to concentrate on the vehicle and if I get done soon enough I will try painting the driver. The new radio should be delivered today and that is going to take a little time also.
Stik, you should be about ready to paint too, I will be watching to see how you do the camouflage. I have never done camouflage painting either, but I‘m very interested in learning how its done.
I need to get the interior painted first and then the upper hull glues on, along with fenders and such before I’m ready for exterior painting… a few more days…
My Legend BC 1306 (SCR-694) resin radio set arrived just in time today from Dagon Hobby. This was the standard issue HF radio set for vehicles in World War II. Since I just completed the shadow coat of paint I can easily add the radio bracket, antenna base and back seat to the Jeep before I apply the Olive Drab paint.
This little extra in my Jeep is important to me since logistics was critical during the battle for St. Vith which began on 16 December 1944 and represented the Allied resistance against the advance of the German 5th Panzer Army. The Battle of the Bulge as it was called was basically a battle of attrition. Allied forces had to delay the German Army long enough to force them out of fuel for their tanks.
Thanks Svenne. Yeah I just can’t leave well enough alone. I waould like to try one of those Bronco or Hobbyboss new tool 221/222 kits… nice work on your toad wheels…
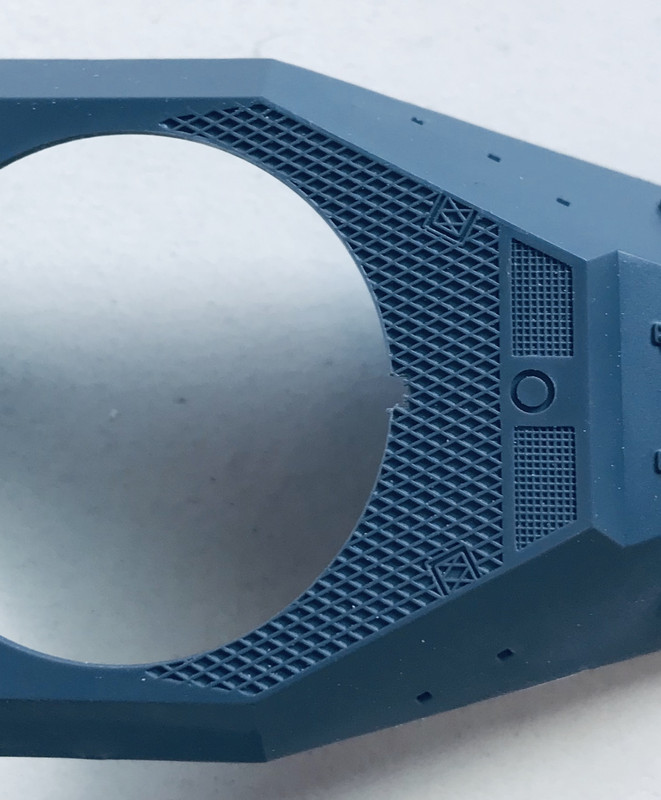
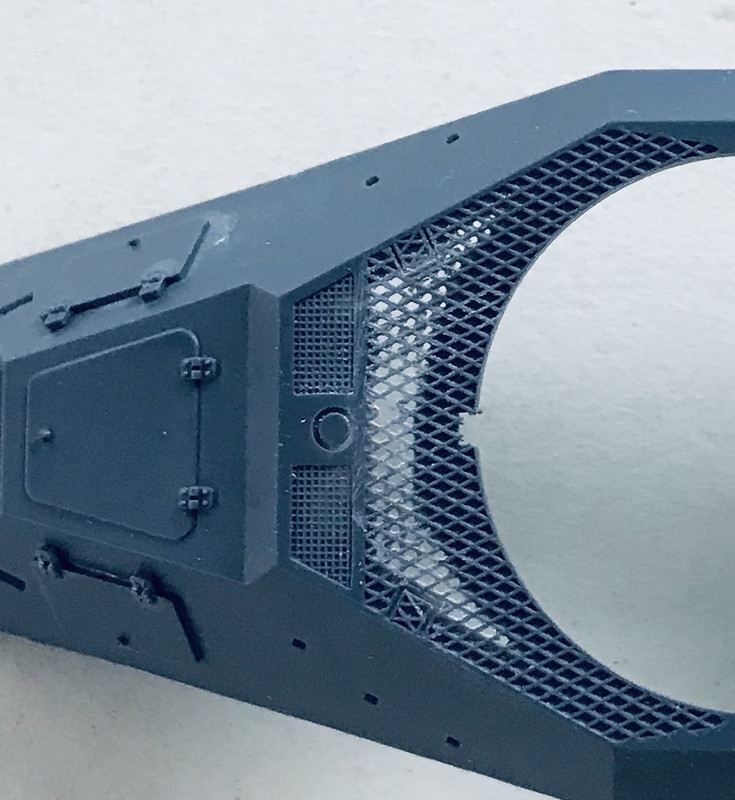
So during some image searches on this kit I found that the are on the top deck behind the turret is mesh on the real thing. Tamiya has it molded like it could be a texture plate non slip area…
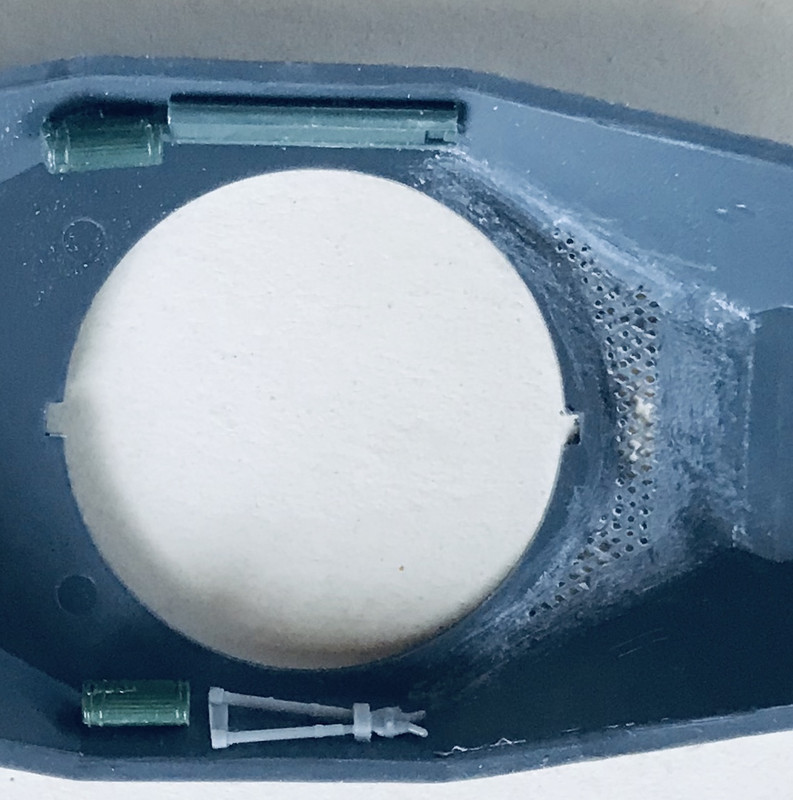
So I gave in to the urge and broke out my Dremel and a grinding bit to thin it out and open up the mesh area, then I poked thru with some sharp tools
I overdid it a bit on one grid, but not too bad…
and then it was time for some primer
No bench time today due to a double shift at work, so I’ll start painting tomorrow…
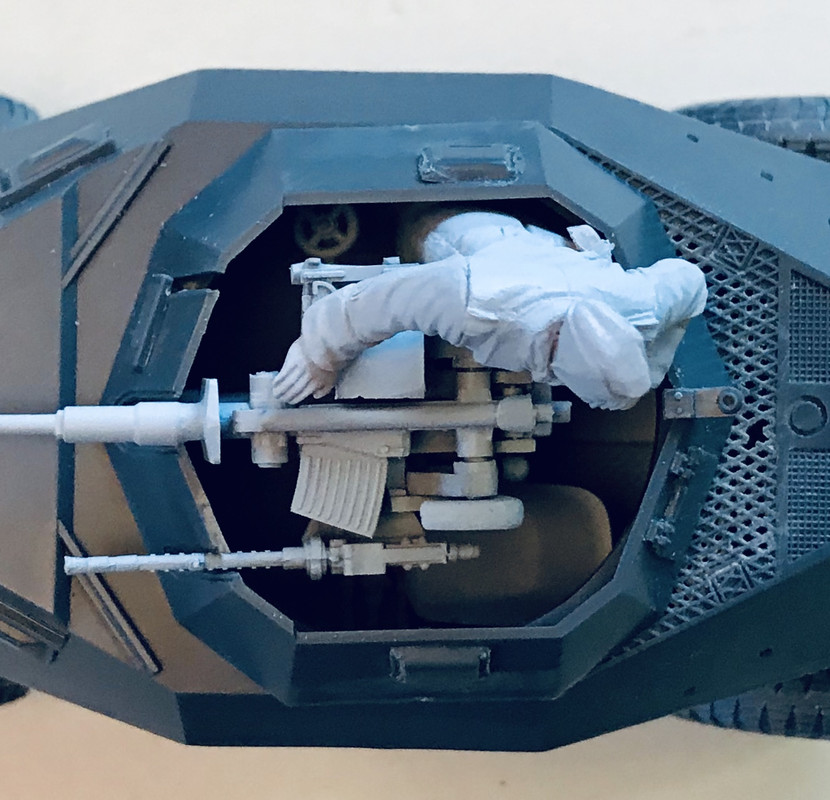
oh yes, I primed up the crew figures too. Here is a direct overhead shot of the legless guy in the turret… his lack of lower legs is mostly concealed by the gun mount and only shows up under such illumination as a penlight shined in there…