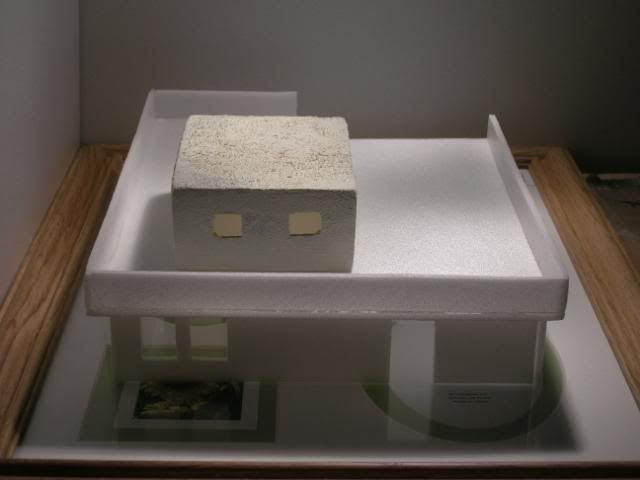
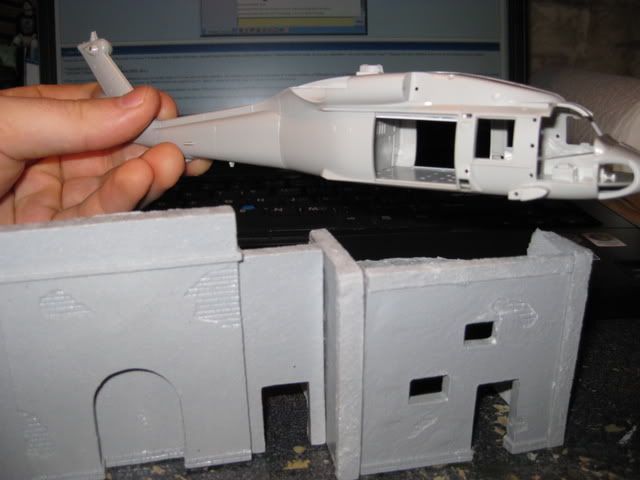
I think I did a descent job at getting the feel for the stucco with wall spackle thinned with water. I think it might be too big for 1/72.
I sprayed it with primer, and will be seeing how good paint looks on it soon. That is my second step of the testing process. First, I start with scraps, then the second step is the top structure, and the last step is the first floor.
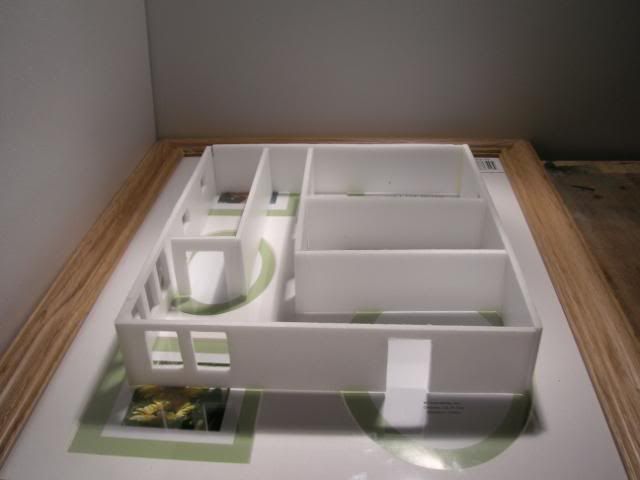
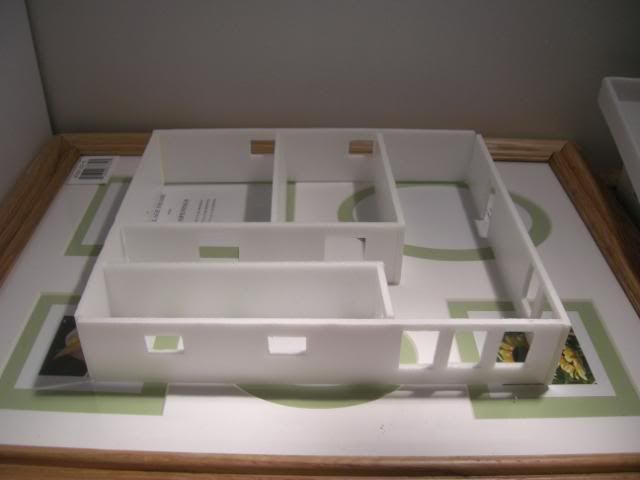
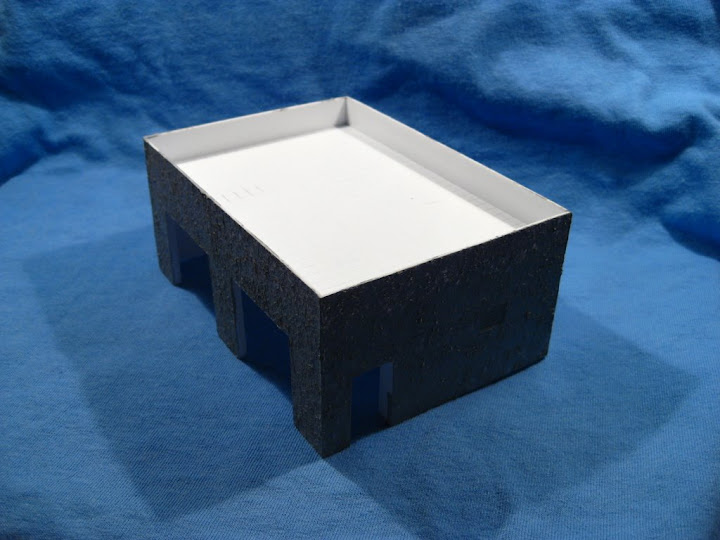
I re-cut out the first floor walls, this time with some interior.
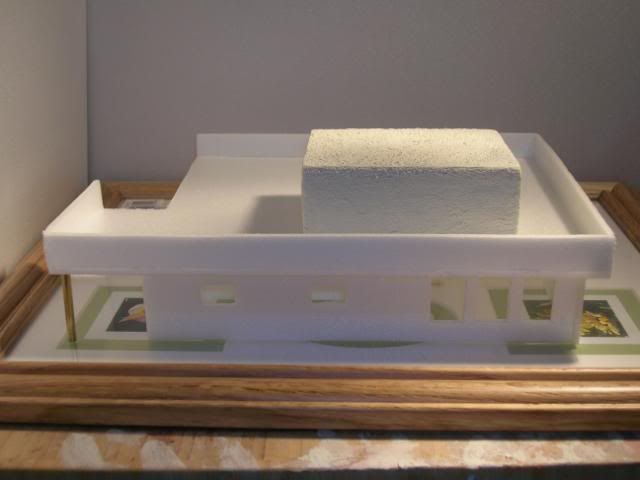
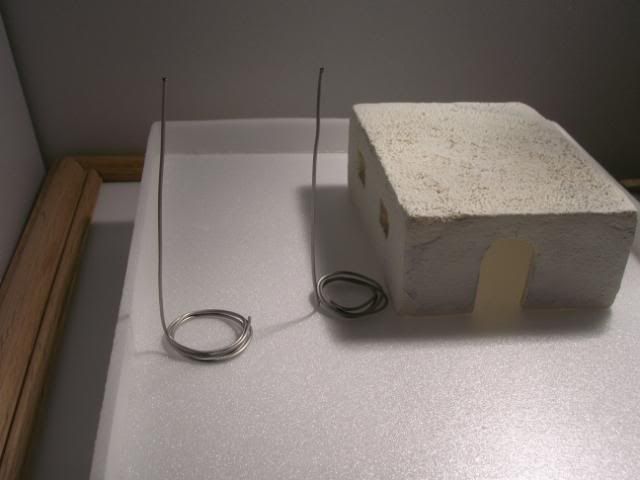
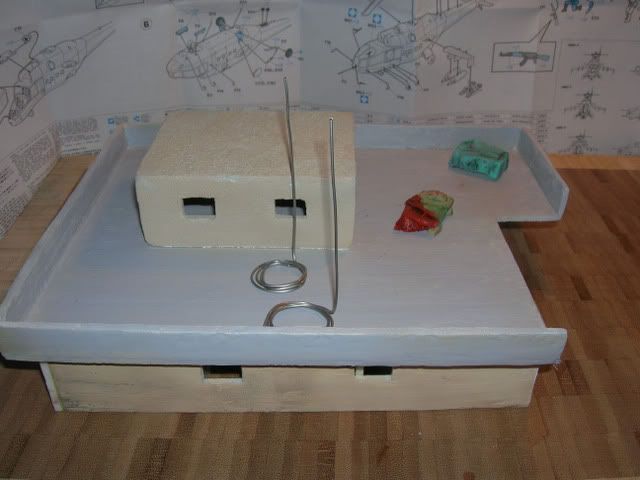
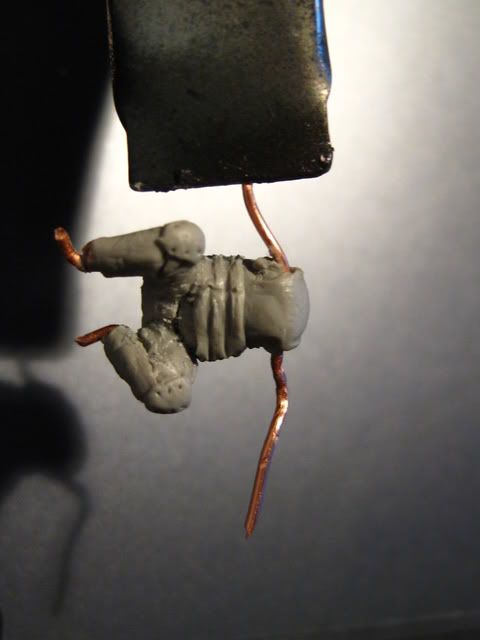
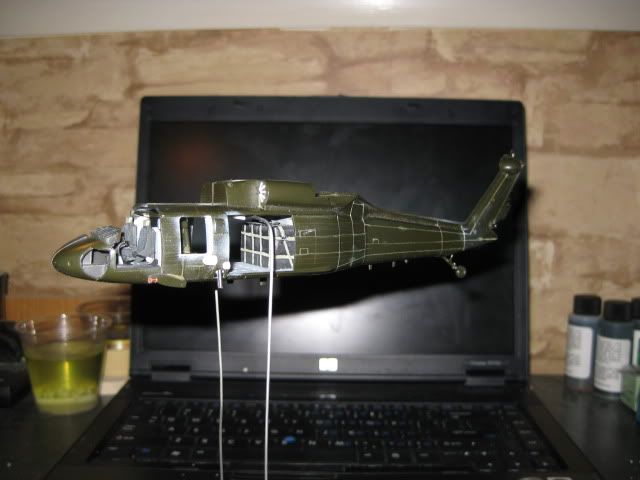
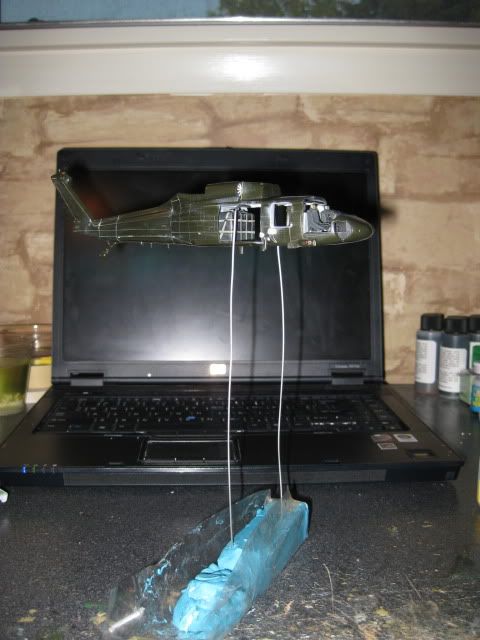
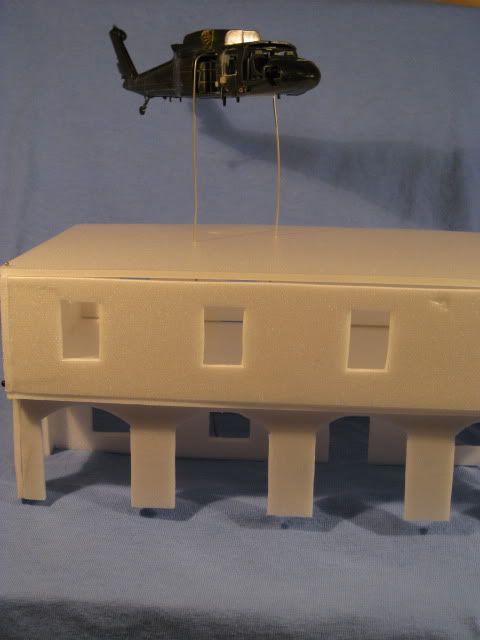
For supporting the model, I am using steel wire. I think the coils are a tad large (but still feasibly accurate, so I am not too concerned about them)
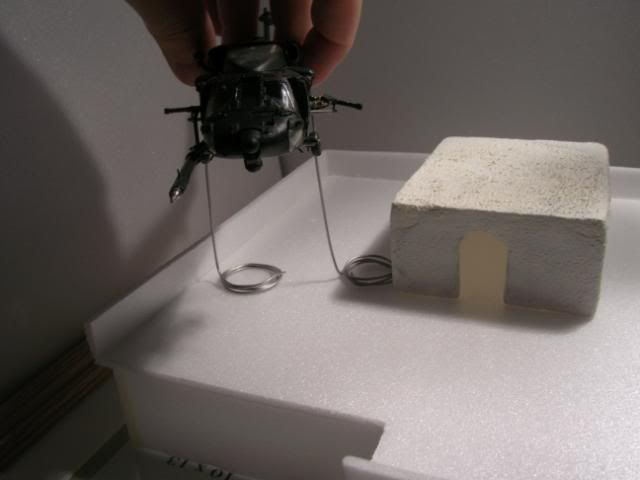
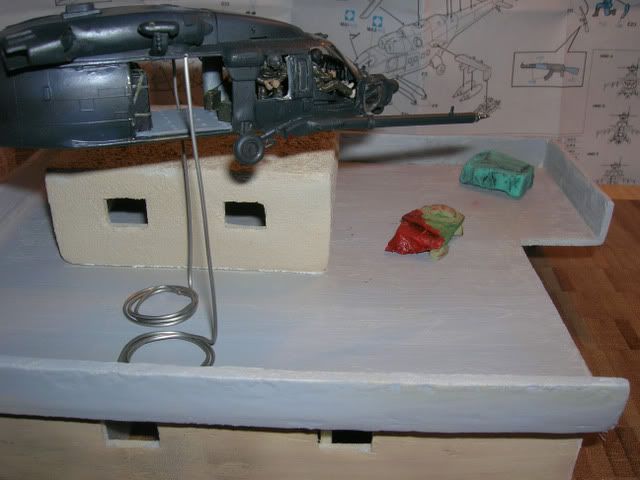
and how I’m thinking of positioning the MH-60K:
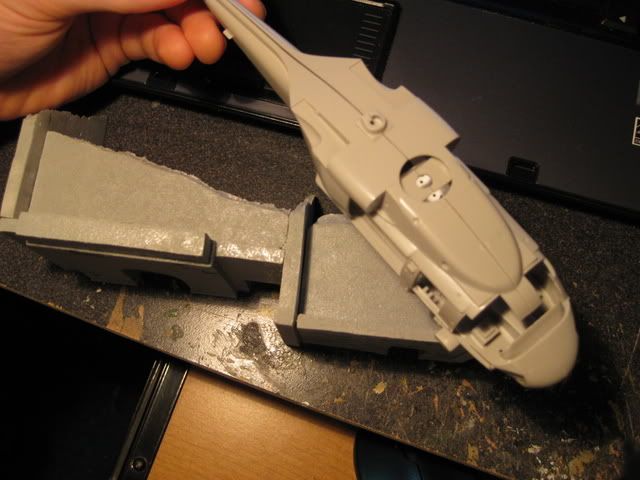
The MH-60K is a in the process of being refurbished, so it doesn’t look too good right now.
Then the next part of the diorama. The figures. Most likely they will be rangers (due to the fact that they have a more standard dress code for combat. I will have them wearing ACU’s and tan helmets, with the IOTV as the body armor.)
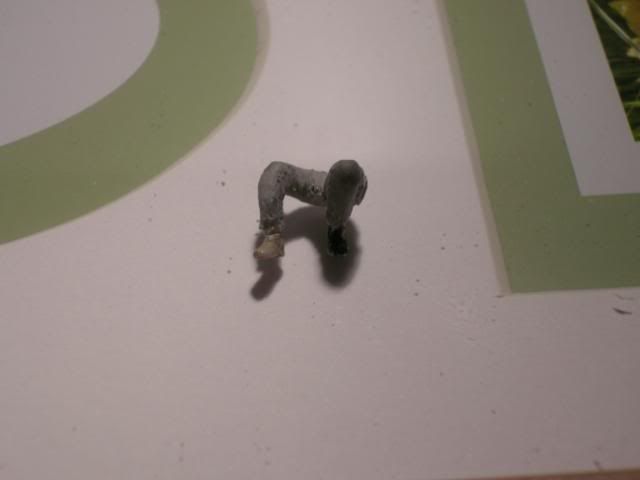
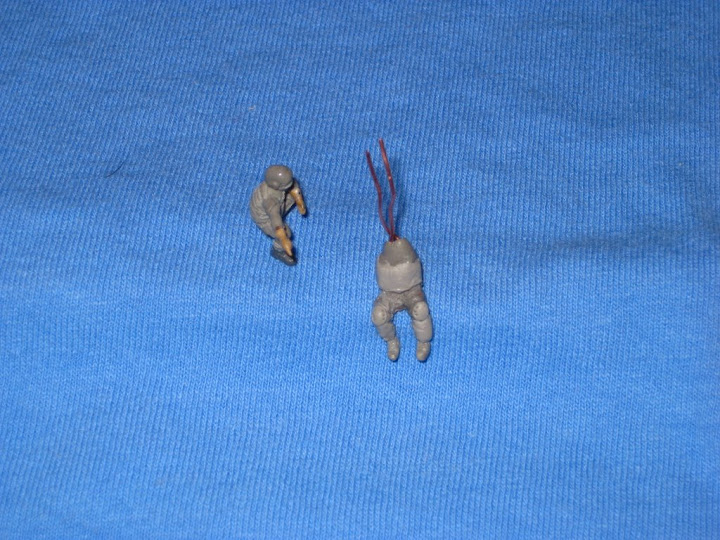
Here are the legs of one Soldier. Except for the feet, the figure was completely sculpted by me, which is my first attempt at sculpting legs. It still needs some cleaning up and minor detailing, but I am happy with the overall shape/size.
This is coming along nicely. I had a thought that it could be really nice to have a base that fits tightly around the ground floor of the building, that way the upper floor balcony hangs over the edge of the diorama and the helicopter can hang out even further. Think about the house Falling Water and you’ll see what I mean.
It would be a way of opening up the three dimensional space, without the restrictions of a base frame holding you back. Just a thought.
Some impressive beginings here…I would tend to agree with you on scale, however–the buildings look a little large for 1/72nd…based on the size of the doors/windows in relation to the blackhawk…what fig set are you using?
I think you oughta introduce a mockup of your bird at this point. It’ll hopefully help you eyeball the proportions. As a general rule in model buildings, selective compression is desirable. In other words exaggerate the height relative to the plan area by reducing the footprint of the building. Otherwise you are going to end up with a whole lot of roof. Not that thats a bad thing, and remember to detail it up. I would ask those brave gents who’ve looked down on this what might be up there. I’d think a dish for sure, maybe beds, hmmm…
Oh wow, long time, no update. Anyways, here it is in short:
I just glued the first floor walls together. I think I will just order a set or two from PDI to add to the interior versus try and scratchbuild a bunch of chairs and such.
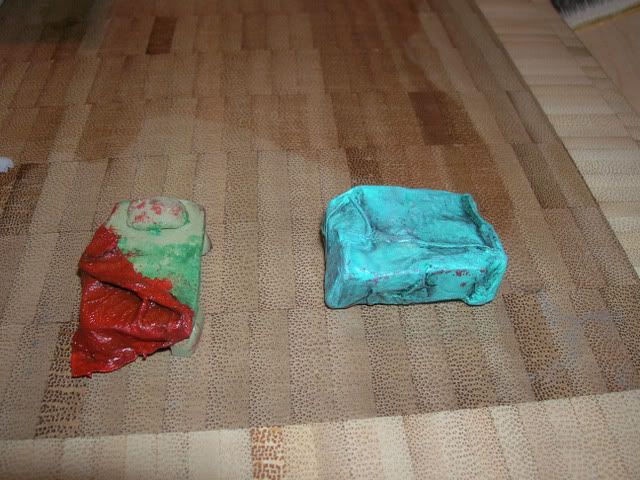
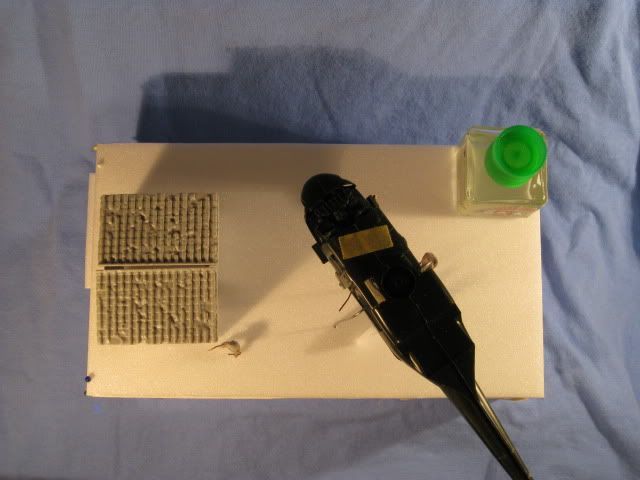
However, I made two things that will go on the roof. Ignore the red paint on the the tarp, because I cleaned it off. The blanket is tissue in white glue/water, painted with oils, and the tarp on the left is the same, but painted with acrylics/given an oil wash.
About the two items on the roof (looks to me like a couch with a tarp/blanket over it and a bed with a blanket pulled back), don’t forget that the UH-60, like most helos, have an INTENSE rotorwash, especially when combat loaded and hovering OGE (outside ground effect) because of increased throttle required to keep it in the air. So the blankets and tarps would most likely be LONG gone. To see what I’m talking about, look online, find and watch a video of a Blackhawk doing a roll-on landing in the desert or approaching a target for a fast rope operation. The movie “Blackhawk Down” also effectively shows this rotorwash effect. There is a cloud of dust/dirt/debris that preceeds the rotor disk and creates a brown-out condition initially, then as the hover is held, things clear up a bit (the movie doesn’t show this very well)–but the rotorwash blows anything not nailed down far, far away.
Just a long-winded thought (sorry [:I]), but nonetheless…the couch and bed look great! Excellent job making them!! [tup][tup] The -60 looks friggn awesome so far and I can’t wait to see more on this dio!! Where’d you find the crew figures? You’re making me want to pull my Blackhawk off the shelf and start working!! Keep us posted!
I thought about the rotor wash, so I may just end up having the blanket be flying off of the bed maybe caught up on the wall or something, but the tarp (idk what’s under it) I will have tied down. I am going to try and make a TV that was sitting on the blue tarp that got blown off. As for the brown out, I think thats where photoshop will come in.
Hey guys, its been a really long time, but I’ve started college and ROTC, and I’ve left all of my modelling stuff at home, but over my 2 week Christmas break, I got to work on it/in a sense started over. I ended up buying some HQ 72 buildings at the IPMS-USA Nats last year. Well, I’ve scrapped my older building and am looking at a few ideas. The size of the building is pretty small, but I find it advantageous to keep the diorama focused. I guess I am directing this to those who know, is the building too small, or is it just right? I compared it against Italeri’s Berlin house (much much larger, a bit too big IMO), which could pass as a training building or what not, but forgot to take pictures.
The helicopter pictured is a UH-60L that I’m working on too. I still plan on using an MH-60K though. And here’s some of my sculpting on the figure front.
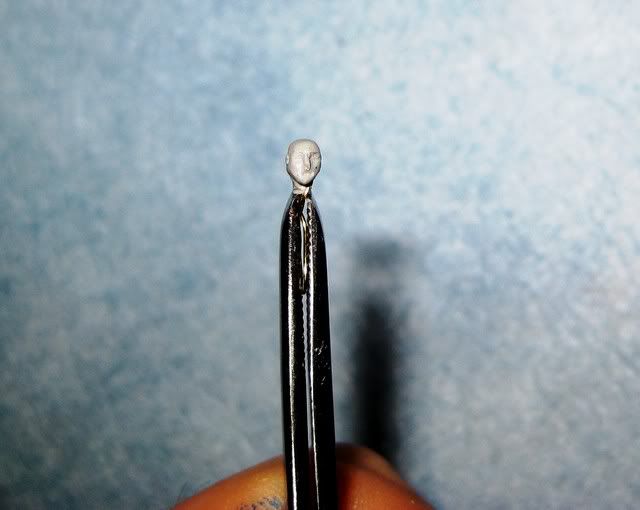
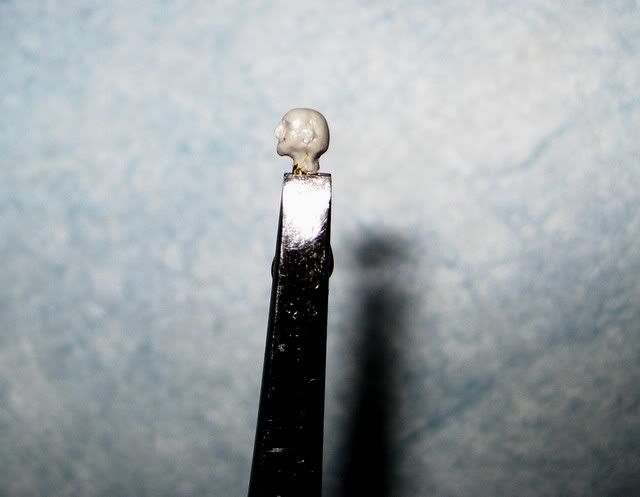
And my first ever attempt at a head in any scale (man 1/72 is TINY!)
I really liked what you were doing with your first building, but I do understand the need sometimes to start fresh! VERY WELL DONE on the figure sculpting! You are right–1/72 is tiny and you are off to an OUTSTANDING start on making your own figures!
Off topic–have you contracted with ROTC yet or are you just trying it out? I did ROTC for 2 years in college and had a blast, got out before I contracted, but a few years after college I enlisted and went to OCS. Was actually going Aviation to fly the -60, but paperwork got fouled up and now have my paperwork in to go MP.
WOW!!! Scratching your own figs is too much!![tup] Great job on the structures. Can’t wait to see the figs complete. what kind of magnification do you use? Id need to go use the observatory telescope for fine sculputering like that, incredible!
DITTO, not sure where the action is taking place but my impression was the Middle East…if so, I would reconsider trashing your first building…I thought it looked the part…nice to see you back on this one—I remember when you first started and I thought it was a cool dio idea…I did the 4 years of ROTC myself, good-luck!
Thanks guys! Yeah, I’m thinking about using the smaller HQ 72 building. I don’t use any magnification actually, I guess it’s just the young eyes. And yes, I’m a contracted MS I. I’m hoping for a slot in aviation when the time comes, but that’s still a really long ways away, and my mind will probably change before then, but who knows.
I´ve just completed a UH-60 today actually and came by your work by accident. I like your idea a lot and it seems to be coming together really well. I did my UH-60 with pilots and a gunner and it went fairly quickly. I do have to experience modelling figures and when it comes to painting soldiers in this scale I think less is more. It´s easy to apply too much detail, and in my view that´ll just clutter up the model, that´s already teeny tiny. I just panit them in an overall colour, usually making boots and gloves black to break up uniformitu a little, give the models a black wash with inks (a brown one for faces), matt coating and then drybrush the uniform in a lighter colour.
Aviation is a great business. I do controlling myself and you should consider that too.
The plastic square is representing the roof access while the tamiya cement is represent where the AC/de-swamper unit will be…
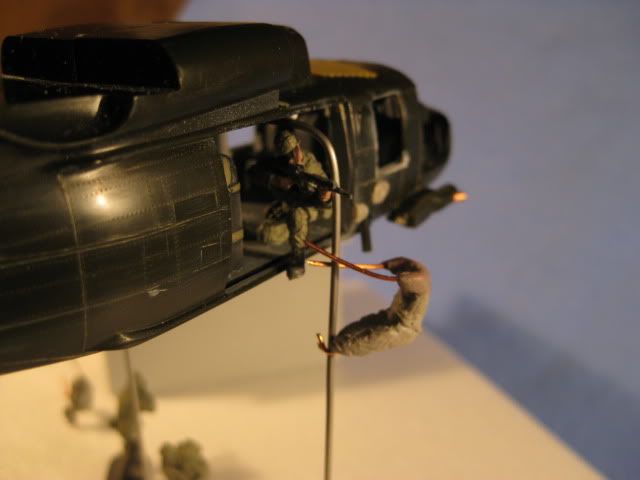
There will be 5 guys on the chopper/fast rope. The guy who is missing hands/head and stuff will be pointing and telling the kneeling ‘replacement’ to go. the kneeling guy is representing a seated Soldier reaching for the rope. There will be a guy at the bottom of the rope right before he hits the ground. On the other side, there will be one seated with one hand on the rope as the last guy is about half way down the rope.
This time out of styrene and used Mr. Surfacer 500 for the stucco. It’s a commercial garage/storage facility.
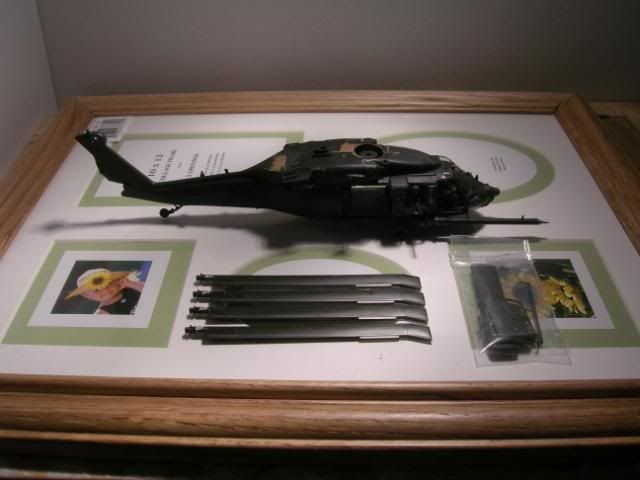
Here it is in reference with a HH-60G/‘vision picture’:
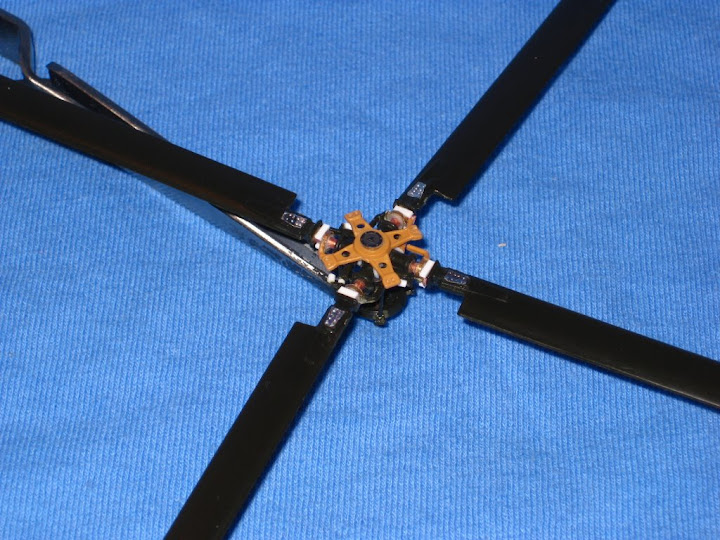
And then my improvements over Italeri’s rotorblade:
Then three figure pictures. The first two are of guys in back, one is pointing and telling the guy sitting on the ledge to go, and on the other is a guy on the fast rope and another one reaching for it. I plan on getting sculping another guy fastroping/getting off of the rope, and then another kneeling/crouching in the helicopter. The last one is of the half painted pilots.
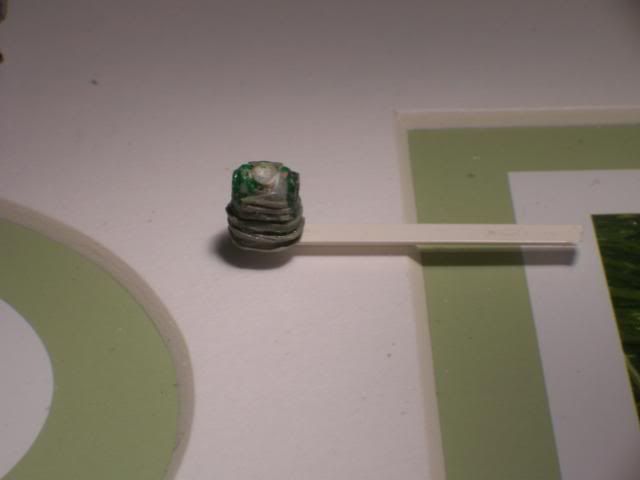
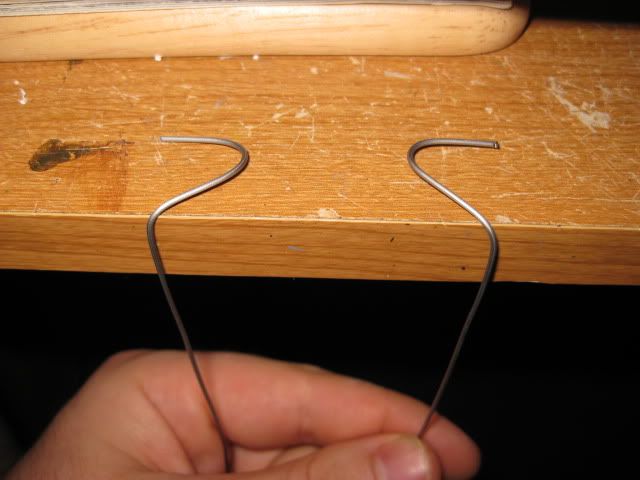
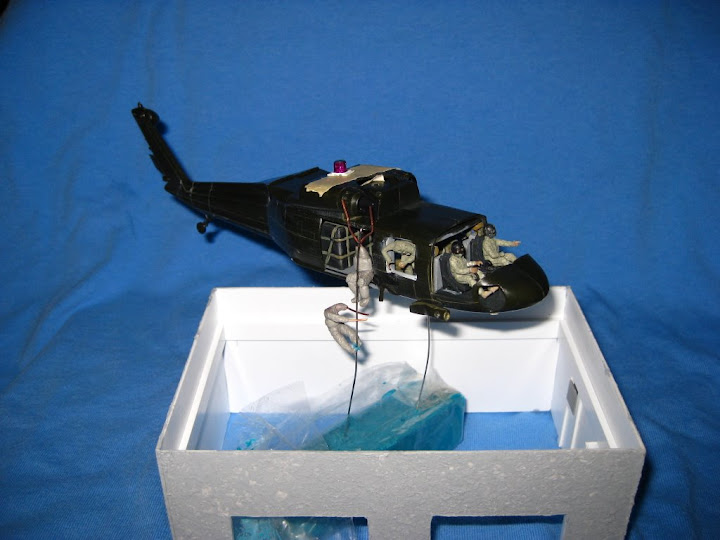
So I got a comment on the ARC that the fast ropes looked thick, so I did something that I should have done before I started. Research. Fast ropes average 40-44mm but mine were something closer to 76mm to 80mm. I looked around, tried a few things out, included winding thin brass wire together, but all in all I found some ~.6mm (43.2mm in scale) wire which should work just fine. Not the sturdiest thing, but it holds. Here’s pics from my test from earlier today. For the ALQ-144 I (in the 3rd pic down) I cut Echelon’s M-113 vision blocks into smaller squares and put them on there, and cover it in future. Two more pics are here.